LEXUS LS430 2003 Factory Owner's Guide
LS430 2003
LEXUS
LEXUS
https://www.carmanualsonline.info/img/36/57050/w960_57050-0.png
LEXUS LS430 2003 Factory Owner's Guide
Page 2167 of 4500
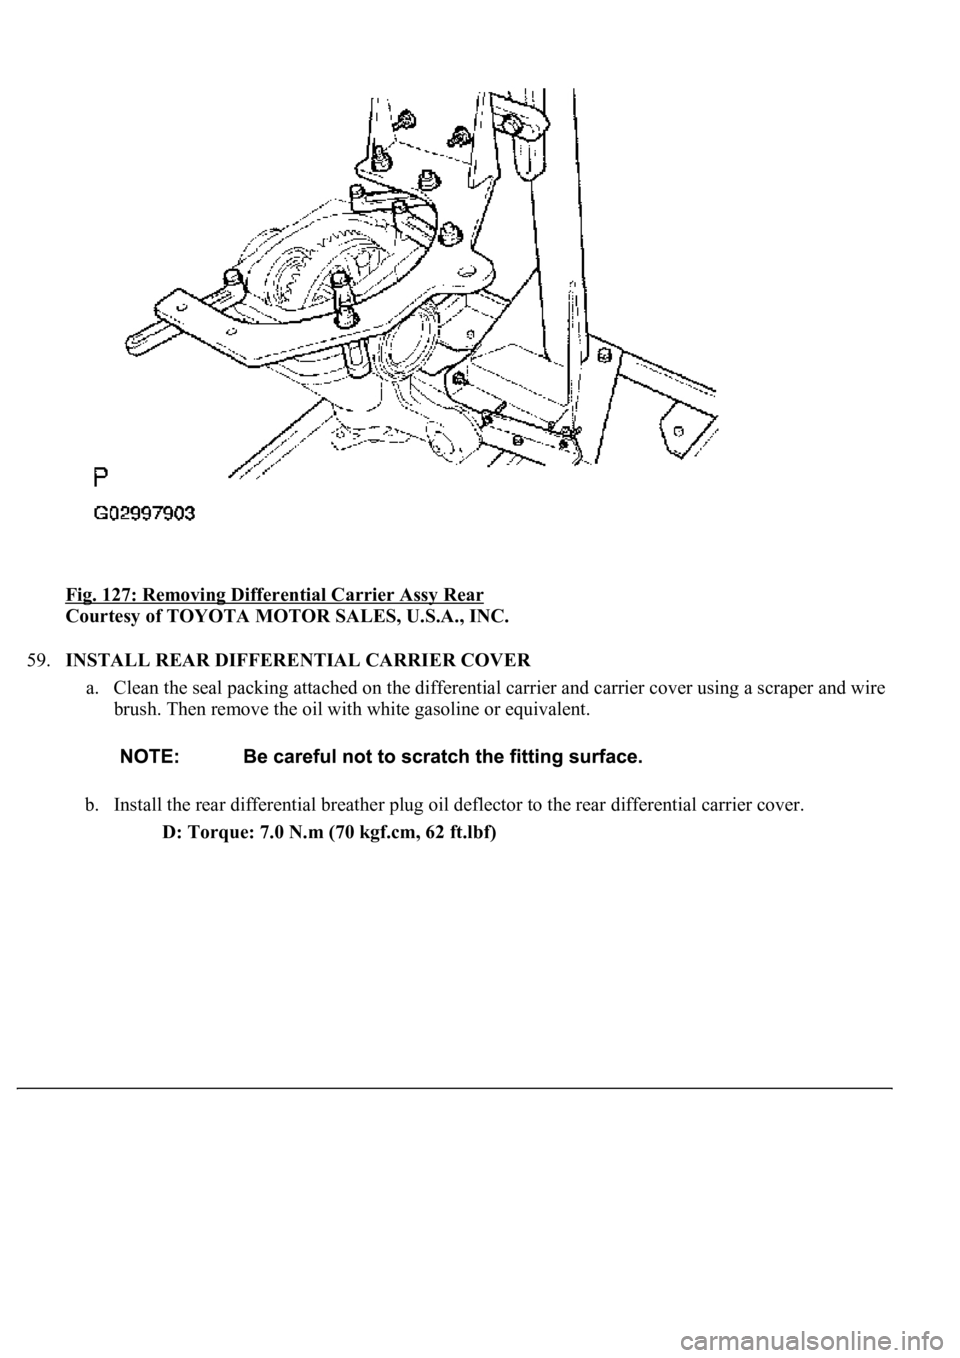
Fig. 127: Removing Differential Carrier Assy Rear
Courtesy of TOYOTA MOTOR SALES, U.S.A., INC.
59.INSTALL REAR DIFFERENTIAL CARRIER COVER
a. Clean the seal packing attached on the differential carrier and carrier cover using a scraper and wire
brush. Then remove the oil with white gasoline or equivalent.
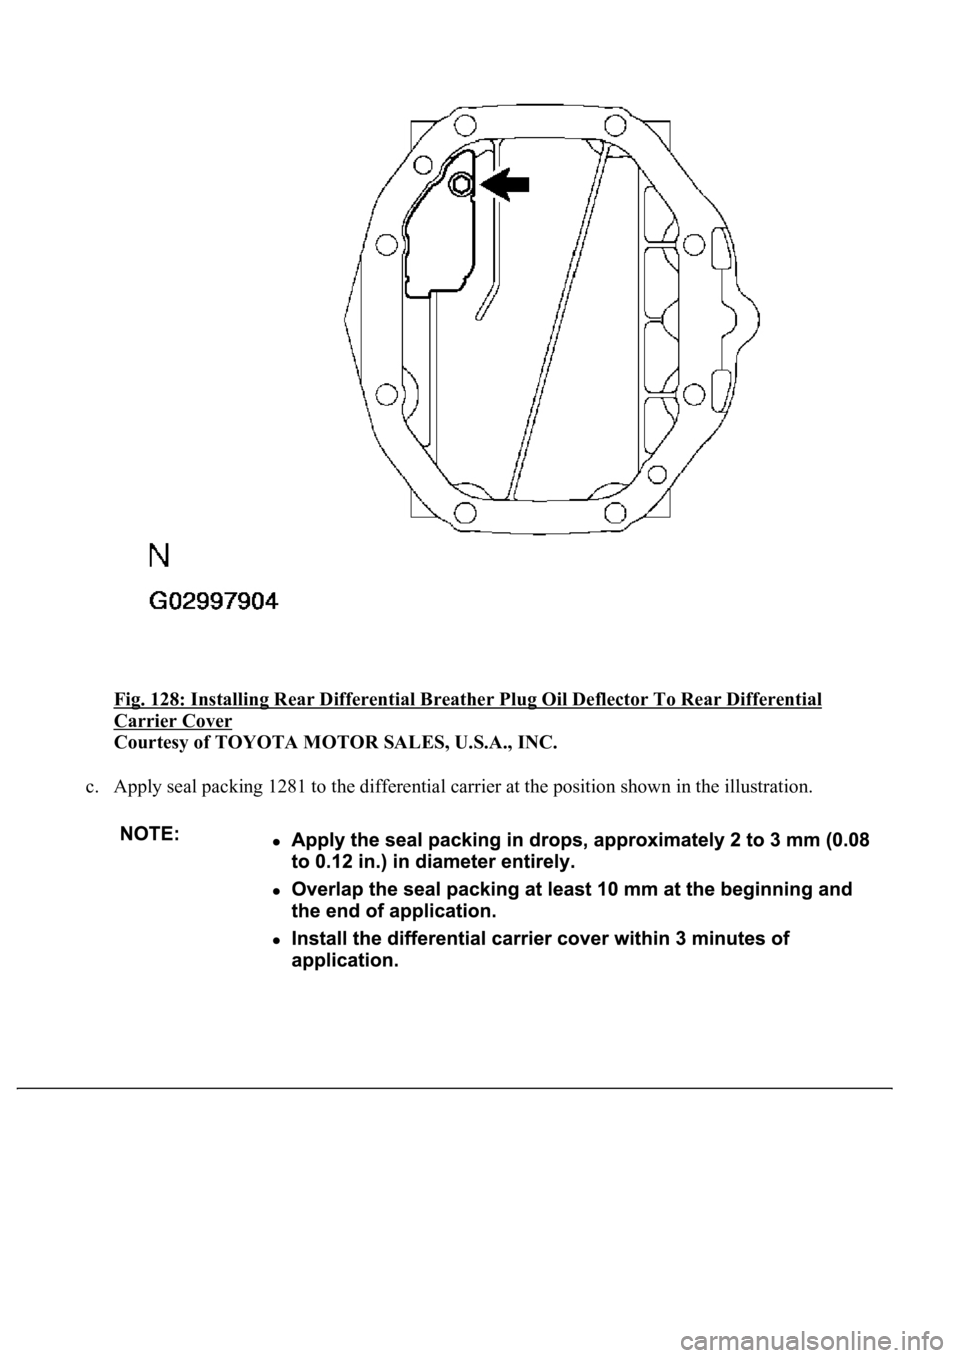
b. Install the rear differential breather plug oil deflector to the rear differential carrier cover.
D: Torque: 7.0 N.m (70 kgf.cm, 62 ft.lbf)
Page 2168 of 4500
Fig. 128: Installing Rear Differential Breather Plug Oil Deflector To Rear Differential
Carrier Cover
Courtesy of TOYOTA MOTOR SALES, U.S.A., INC.
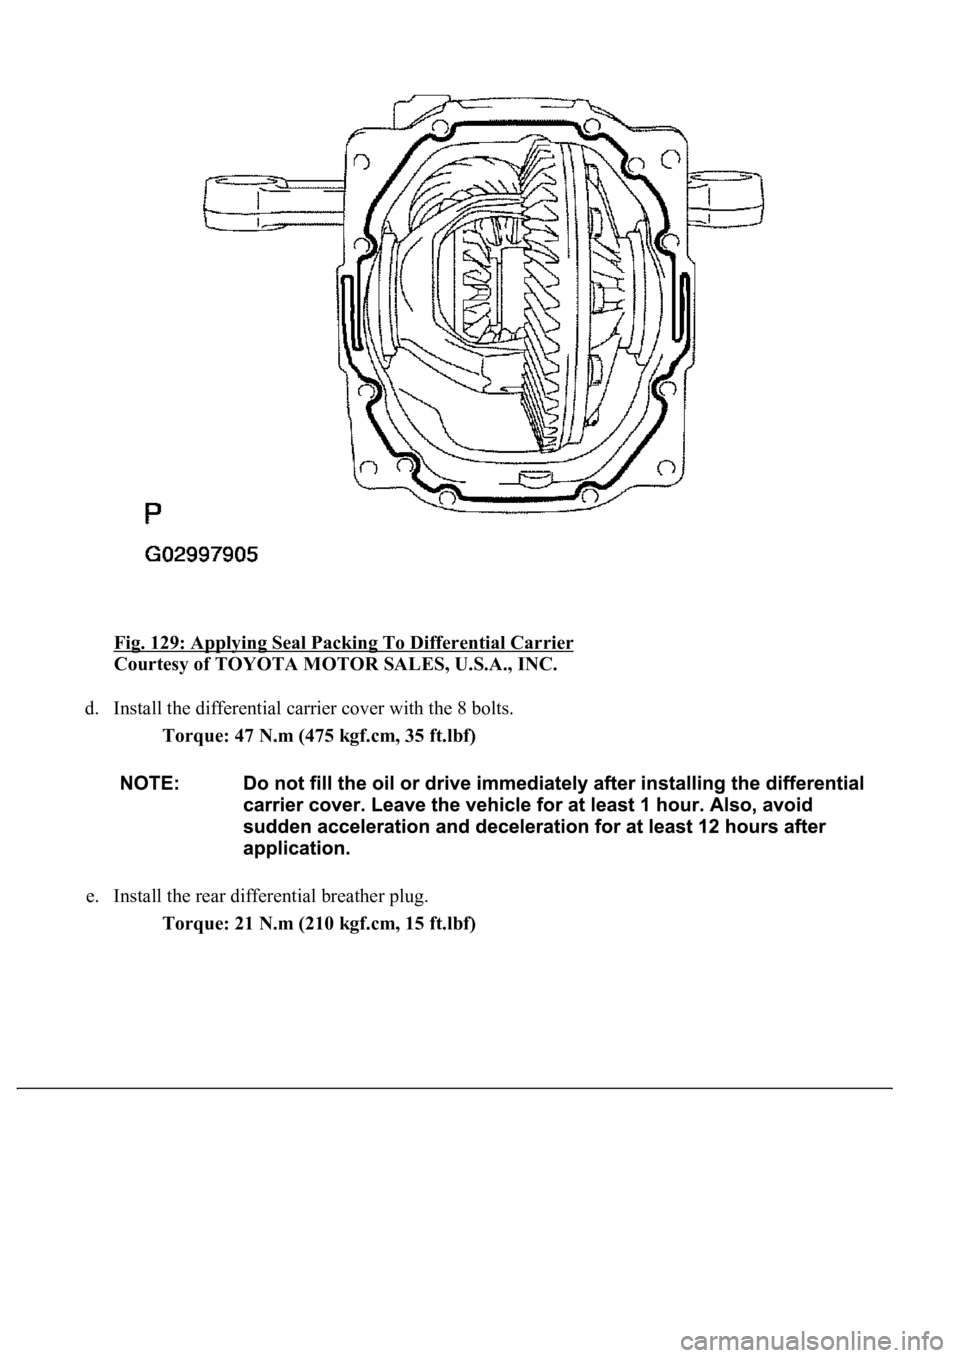
c. Apply seal packing 1281 to the differential carrier at the position shown in the illustration.
Page 2169 of 4500
Fig. 129: Applying Seal Packing To Differential Carrier
Courtesy of TOYOTA MOTOR SALES, U.S.A., INC.
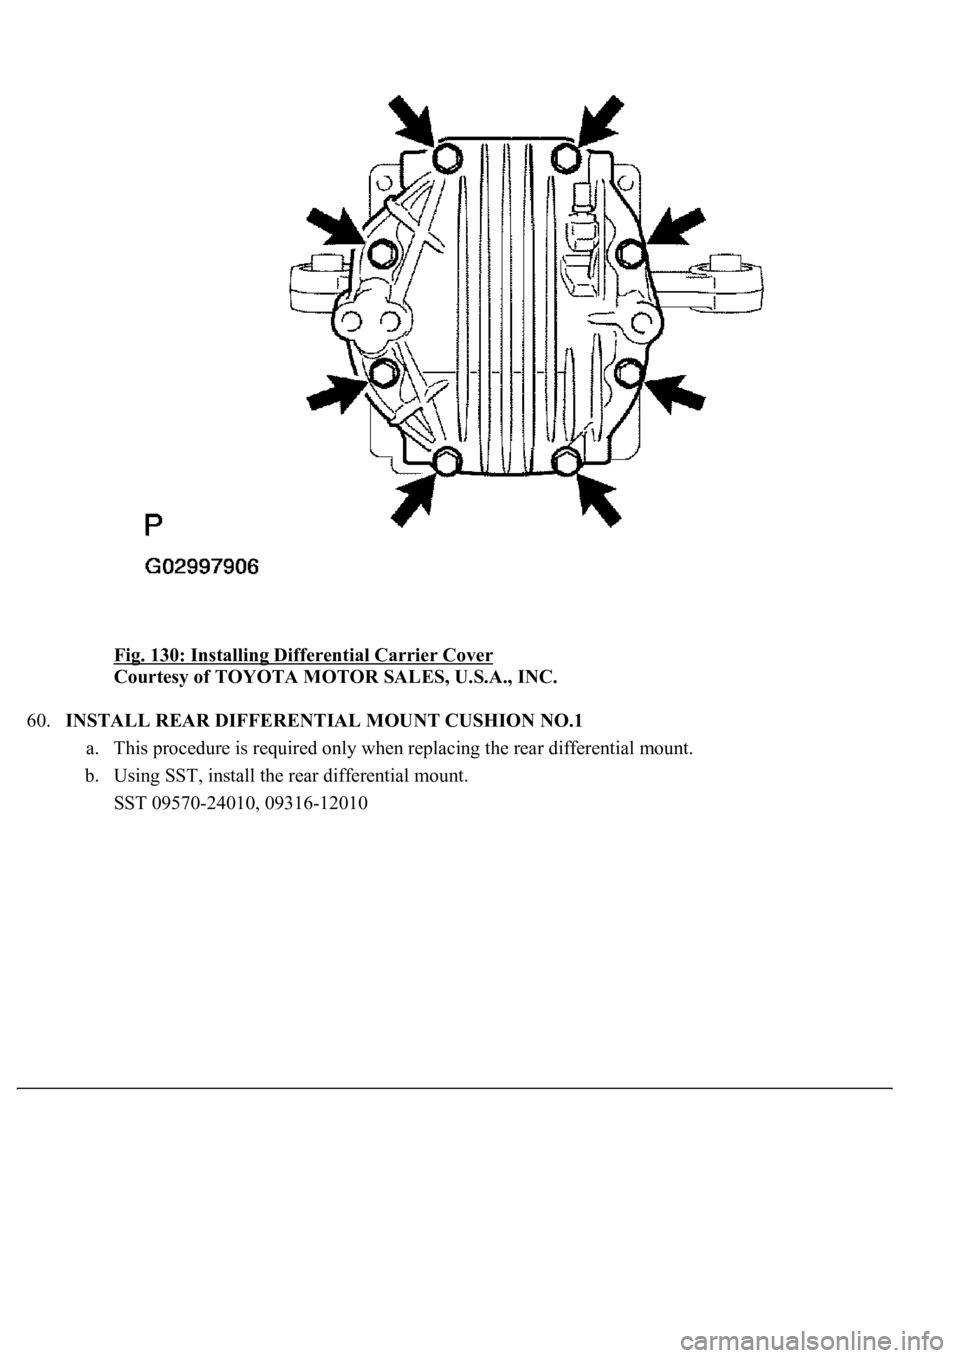
d. Install the differential carrier cover with the 8 bolts.
Torque: 47 N.m (475 kgf.cm, 35 ft.lbf)
e. Install the rear differential breather plug.
Torque: 21 N.m (210 kgf.cm, 15 ft.lbf)
Page 2170 of 4500
Fig. 130: Installing Differential Carrier Cover
Courtesy of TOYOTA MOTOR SALES, U.S.A., INC.
60.INSTALL REAR DIFFERENTIAL MOUNT CUSHION NO.1
a. This procedure is required only when replacing the rear differential mount.
b. Using SST, install the rear differential mount.
SST 09570-24010, 09316-12010
Page 2173 of 4500
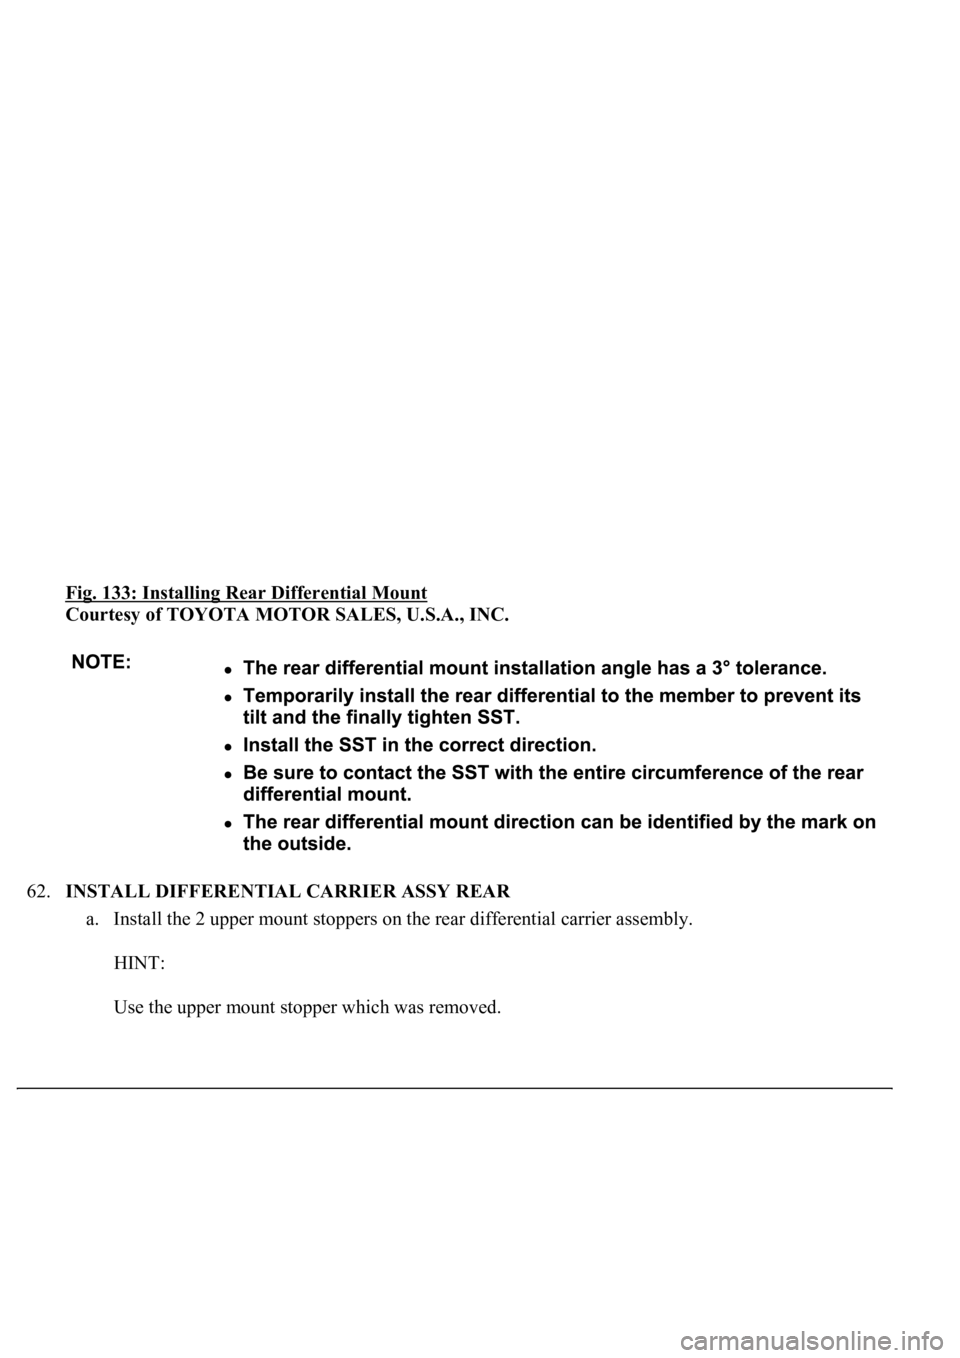
Fig. 133: Installing Rear Differential Mount
Courtesy of TOYOTA MOTOR SALES, U.S.A., INC.
62.INSTALL DIFFERENTIAL CARRIER ASSY REAR
a. Install the 2 upper mount stoppers on the rear differential carrier assembly.
HINT:
Use the upper mount stopper which was removed.
Page 2174 of 4500
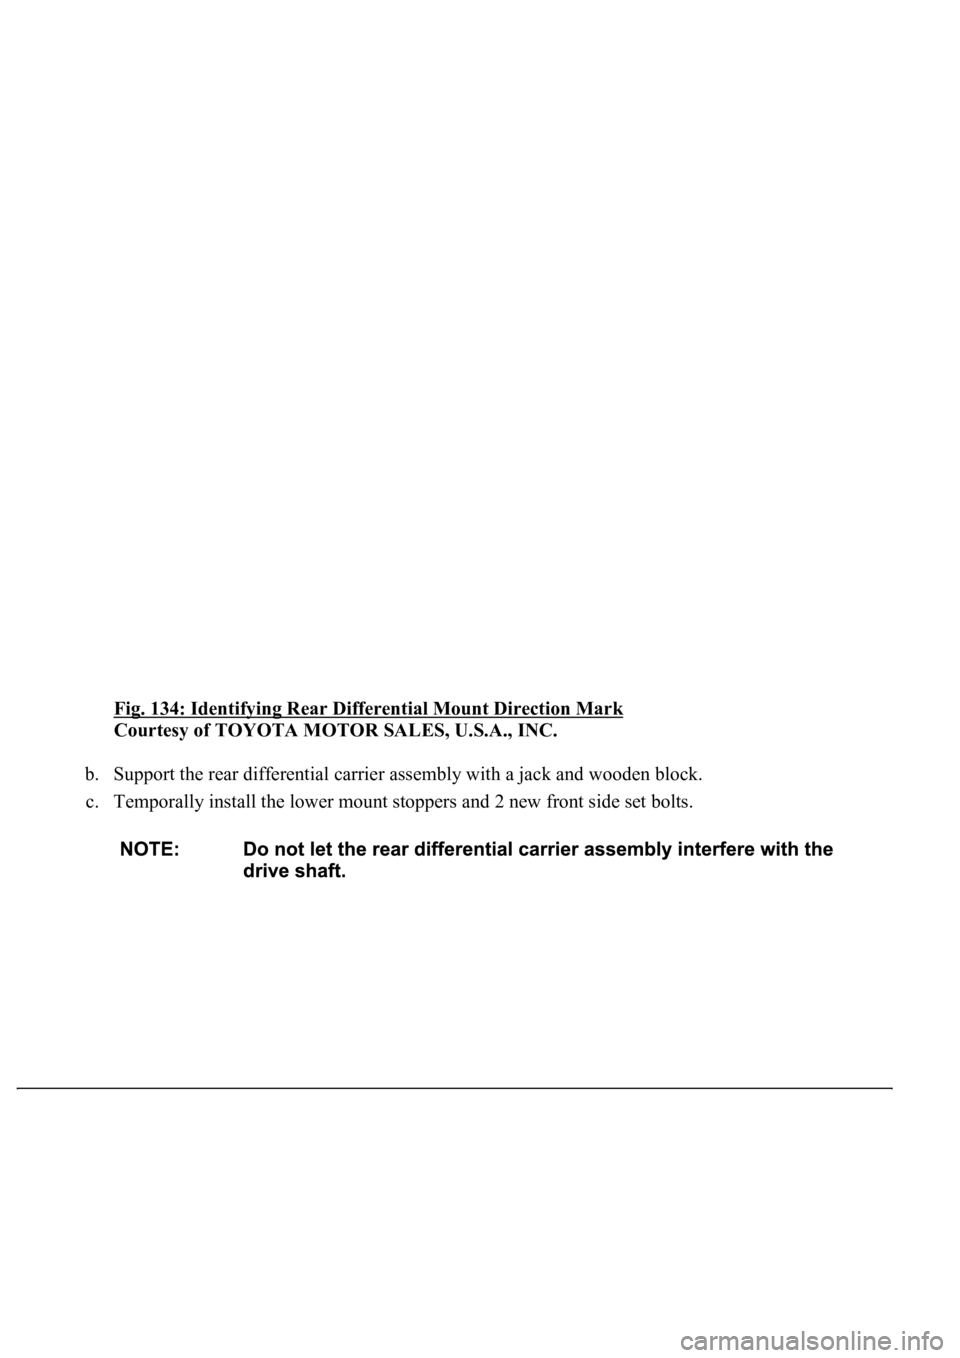
Fig. 134: Identifying Rear Differential Mount Direction Mark
Courtesy of TOYOTA MOTOR SALES, U.S.A., INC.
b. Support the rear differential carrier assembly with a jack and wooden block.
c. Temporally install the lower mount stoppers and 2 new front side set bolts.
Page 2177 of 4500
a. Fill the rear differential carrier assy with differential gear oil equivalent.
Oil type: Differential synthetic gear oil GL-5 75W-90 or equivalent
Capacity: 1.35 +/- 0.05 liters (1.43 +/- 0.05 US qts, 1.19 +/- 0.04 Imp. qts)
67.INSPECT DIFFERENTIAL OIL (SEE ADJUSTMENT
)
68.INSTALL REAR DIFFERENTIAL FILLER PLUG
a. Using a hexagon wrench (10 mm), install the filler plug with a new gasket.
Torque: 49 N.m (500 kgf.cm, 36 ft.lbf)
69.INSTALL REAR DRIVE SHAFT ASSY LH (SEE REPLACEMENT
)
70.INSTALL REAR DRIVE SHAFT ASSY RH
HINT:
Installation procedure of the RH side is the same as that of the LH side.
71.INSTALL FRONT FLOOR HEAT INSULATOR NO.1
a. Install the front floor heat insulator No.1 with the 4 bolts.
Torque: 5.4 N.m (55 kgf.cm, 48 in..lbf)
72.INSTALL REAR WHEEL
a. Install the rear wheel with the 5 nuts.
Torque: 103 N.m (1,050 kgf.cm, 76 ft.lbf)
73. Install the ornament with the 10 bolts.
Torque: 20 N.m (204 kgf.cm, 15 ft.lbf)
74.INSTALL PROPELLER W/CENTER BEARING SHAFT ASSY (SEE OVERHAUL
)
75.FULLY TIGHTEN CENTER SUPPORT BEARING ASSY NO.1 (SEE OVERHAUL
)
SST 09922-10010
76.INSPECT AND ADJUST NO.2 AND NO.3 JOINT ANGLE (SEE OVERHAUL
)
77.INSTALL PROPELLER SHAFT HEAT INSULATOR (SEE OVERHAUL
)
78.INSTALL EXHAUST PIPE ASSY (SEE REPLACEMENT
)
79.INSTALL OXYGEN SENSOR (SEE REPLACEMENT
)
80.INSPECT AND ADJUST REAR WHEEL ALIGNMENT (SEE ADJUSTMENT
)
81.ADJUST VEHICLE HEIGHT (W/ AIR SUSPENSION) (SEE ON
-VEHICLE INSPECTION )
82.INSPECT HEADLIGHT AIM ONLY (SEE ADJUSTMENT
)
83.CHECK ABS SPEED SENSOR SIGNAL (SEE TEST MODE PROCEDURE
)
84.INSPECT AIR LEAK (W/ AIR SUSPENSION) (SEE REPLACEMENT
)
HINT:
Perform this operation onl
y when the rear differential mount cushion is replaced.