LEXUS LS430 2003 Factory Manual Online
LS430 2003
LEXUS
LEXUS
https://www.carmanualsonline.info/img/36/57050/w960_57050-0.png
LEXUS LS430 2003 Factory Manual Online
Page 4375 of 4500
Fig. 27: Removing Combination Meter Assy
Courtesy of TOYOTA MOTOR SALES, U.S.A., INC.
45.DISCONNECT STARTER W/SMART SWITCH ASSY (SEE OVERHAUL
)
46.REMOVE STEERING COLUMN ASSY (SEE OVERHAUL
)
SSt 09921-00010
47.DISCONNECT PARKING BRAKE RELEASE CABLE SUB-ASSY (SEE OVERHAUL
)
48.REMOVE INSTRUMENT PANEL PLATE
a. Remove the bolt < D >, the 2 nuts < V > and the instrument panel plate.
Page 4376 of 4500
Fig. 28: Removing Instrument Panel Plate
Courtesy of TOYOTA MOTOR SALES, U.S.A., INC.
49.REMOVE INSTRUMENT PANEL SAFETY PAD SUB-ASSY W/REINFORCEMENT ASSY
a. Disconnect the connectors.
b. Disengage the clamps.
c. Remove the 2 earth bolts.
d. Remove the 3 bolts < E >, < K > and the 4 nuts < U >.
e. Disengage the instrument panel safety pad sub-assy from the reinforcement assy.
Page 4377 of 4500
<0029004c004a001100030015001c001d00030027004c005600480051004a0044004a004c0051004a0003002c00510056005700550058005000480051005700030033004400510048004f000300360044004900480057005c00030033004400470003003600
580045[-Assy From Reinforcement Assy
Courtesy of TOYOTA MOTOR SALES, U.S.A., INC.
f. Remove the 8 bolts < C >, < D > and loosen the bolt < A > indicated by the arrow shown in the
illustration.
g. Remove the instrument panel safety pad sub-assy w/reinforcement assy.
Page 4378 of 4500
Fig. 30: Removing Instrument Panel Safety Pad Sub-Assy W/Reinforcement Assy
Courtesy of TOYOTA MOTOR SALES, U.S.A., INC.
50.REMOVE INSTRUMENT PANEL WIRE
a. Remove the 8 screws < N >.
b. Disengage the clamps.
c. Remove the instrument panel wire.
51.REMOVE DEFROSTER NOZZLE ASSY
a. Remove the 3 screws < N >, the 2 clips and the defroster nozzle assy.
52.REMOVE INSTRUMENT PANEL REINFORCEMENT ASSY
53.REMOVE HEATER TO REGISTER DUCT ASSY
a. Remove the 2 screws < N > and the heater to re
gister duct assy.
Page 4382 of 4500
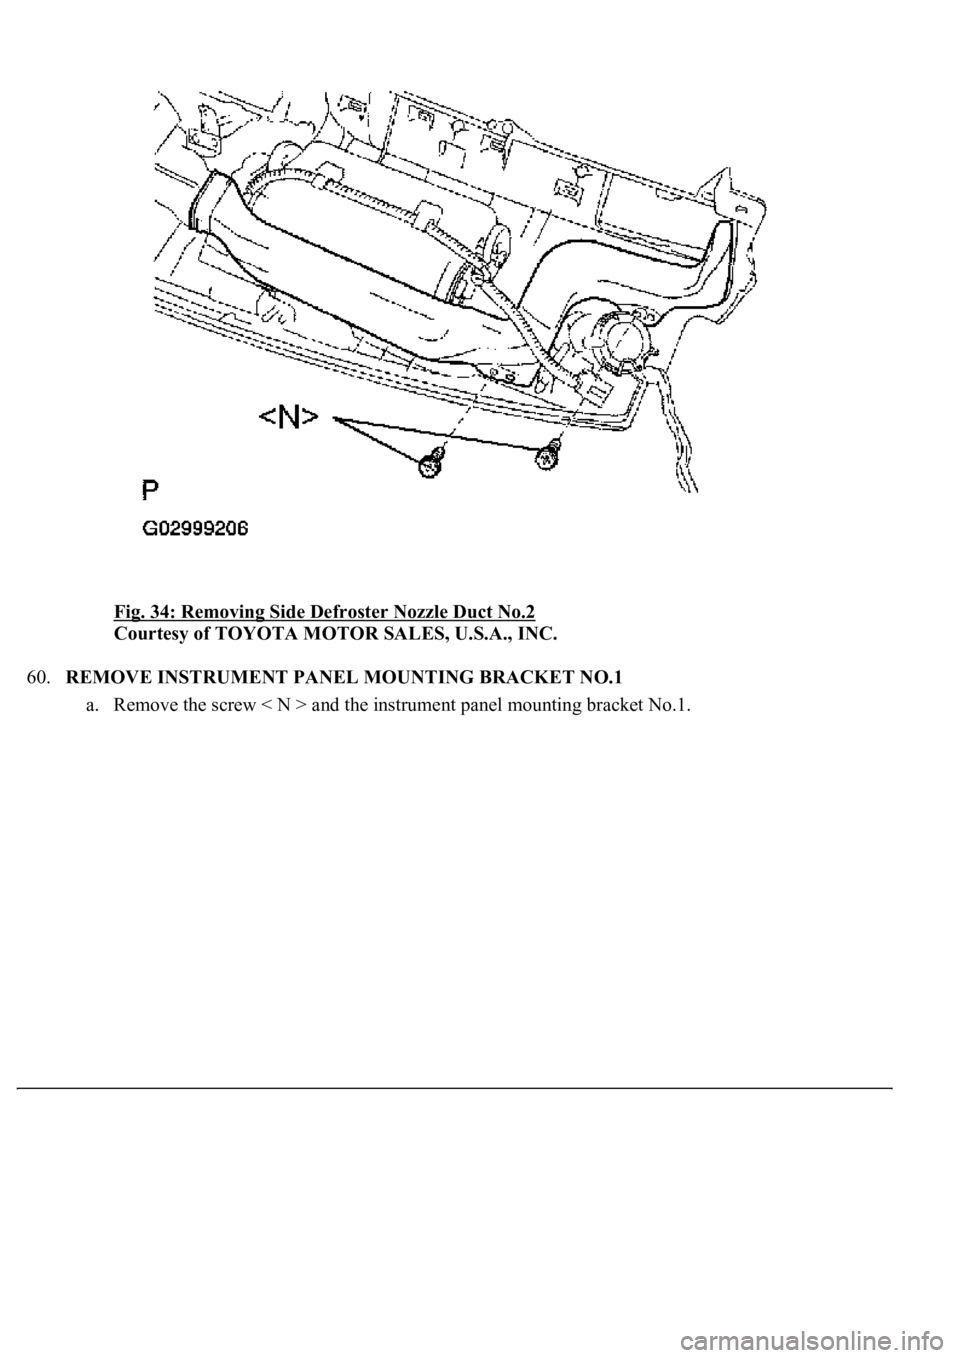
Fig. 34: Removing Side Defroster Nozzle Duct No.2
Courtesy of TOYOTA MOTOR SALES, U.S.A., INC.
60.REMOVE INSTRUMENT PANEL MOUNTING BRACKET NO.1
a. Remove the screw < N > and the instrument panel mountin
g bracket No.1.
Page 4384 of 4500
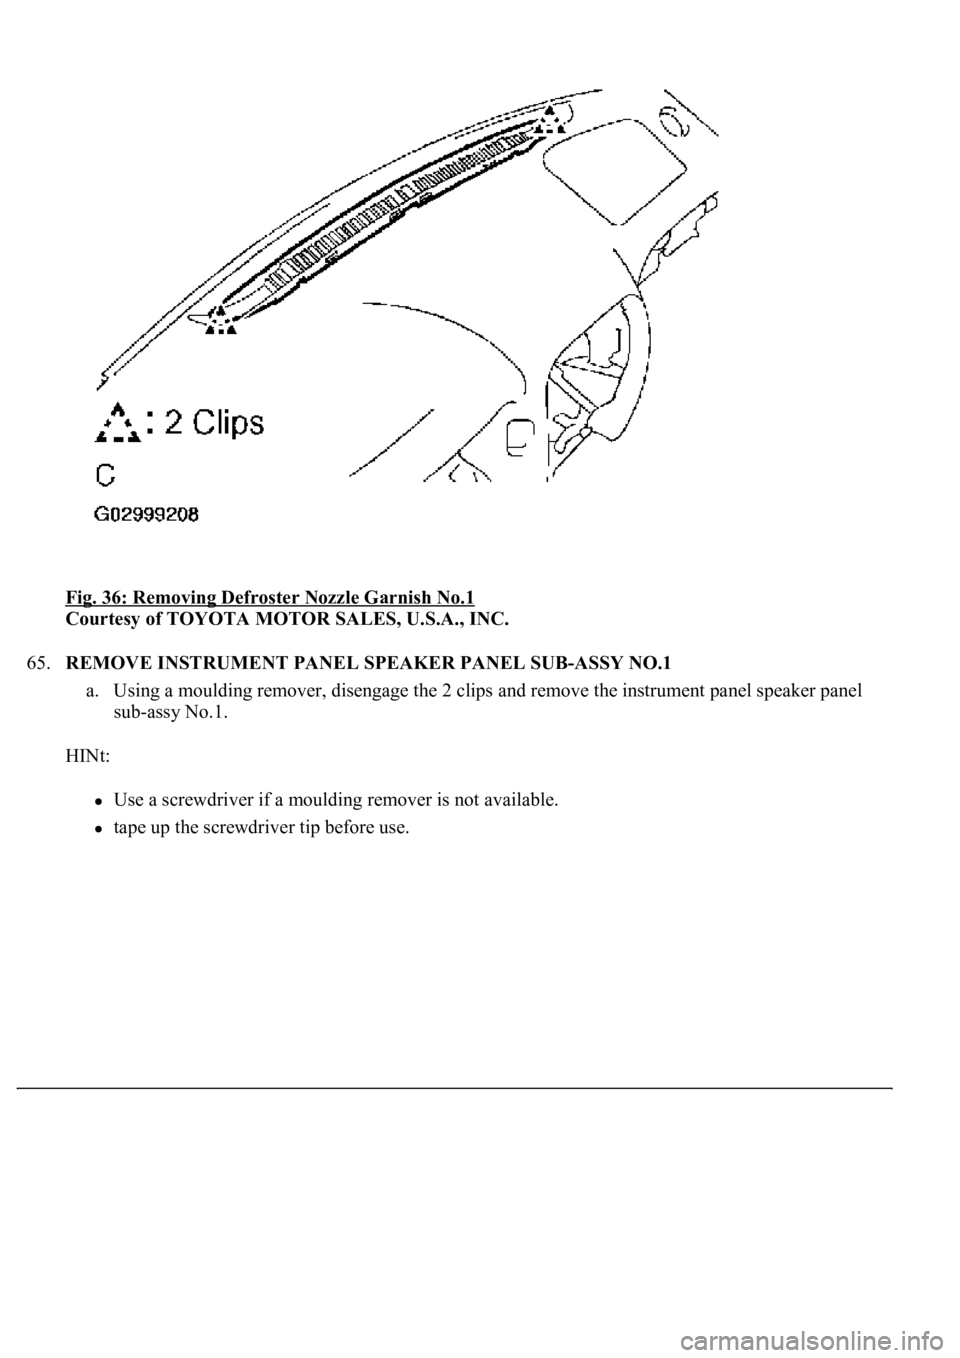
Fig. 36: Removing Defroster Nozzle Garnish No.1
Courtesy of TOYOTA MOTOR SALES, U.S.A., INC.
65.REMOVE INSTRUMENT PANEL SPEAKER PANEL SUB-ASSY NO.1
a. Using a moulding remover, disengage the 2 clips and remove the instrument panel speaker panel
sub-assy No.1.
HINt:
Use a screwdriver if a moulding remover is not available.
tape up the screwdriver tip before use.
Page 4385 of 4500
Fig. 37: Removing Instrument Panel Speaker Panel Sub-Assy No.1
Courtesy of TOYOTA MOTOR SALES, U.S.A., INC.
66.REMOVE INSTRUMENT PANEL SPEAKER PANEL SUB-ASSY NO.2
a. Use the same procedure described in the prior step.
67.REMOVE FRONT PASSENGER AIRBAG ASSY CONNECTOR (SEE REPLACEMENT
)
68.REMOVE INSTRUMENT PANEL SAFETY PAD SUB-ASSY
69.INSTALL FRONT PASSENGER AIRBAG ASSY CONNECTOR
70.INSTALL INSTRUMENT PANEL SAFETY PAD SUB-ASSY W/REINFORCEMENT ASSY
a. Install the instrument panel safety pad sub-assy w/reinforcement assy with the 9 bolts < A >, < C >,
< D >.
torque: 20 N.m (204 kgf.cm, 15 ft.Ibf)
Page 4386 of 4500
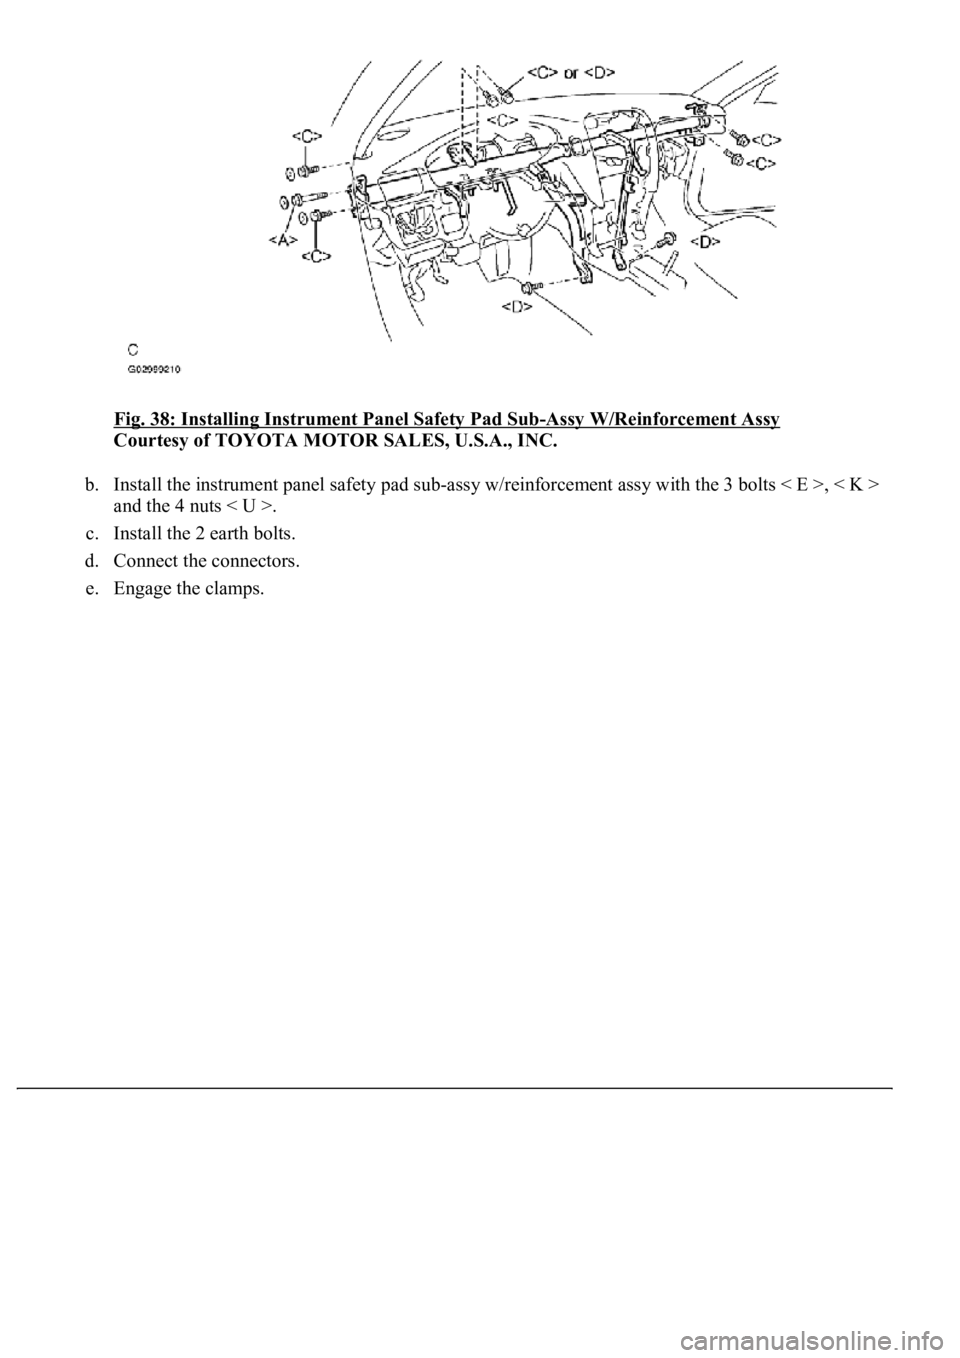
Fig. 38: Installing Instrument Panel Safety Pad Sub-Assy W/Reinforcement Assy
Courtesy of TOYOTA MOTOR SALES, U.S.A., INC.
b. Install the instrument panel safety pad sub-assy w/reinforcement assy with the 3 bolts < E >, < K >
and the 4 nuts < U >.
c. Install the 2 earth bolts.
d. Connect the connectors.
e. En
gage the clamps.
Page 4387 of 4500
Fig. 39: Installing Instrument Panel Safety Pad Sub-Assy W/Reinforcement Assy
Courtesy of TOYOTA MOTOR SALES, U.S.A., INC.
71.INSTALL STEERING COLUMN ASSY (SEE OVERHAUL
)
SSt 09921-00010
72.INSTALL INSTRUMENT PANEL AIR BAG ASSY LOWER NO.1
a. Connect the connectors.
b. Engage the clip and install the glove compartment door assy w/instrument panel airbag assy lower
No.2 with the 3 bolts < J > and the 3 screws < N >.
torque: 10 N.m (102 kgf.cm, 7 ft.Ibf)
Page 4388 of 4500
Fig. 40: Installing Instrument Panel Air Bag Assy Lower No.1
Courtesy of TOYOTA MOTOR SALES, U.S.A., INC.
73.INSTALL SPIRAL CABLE SUB-ASSY (SEE REPLACEMENT
)
74.CENTER SPIRAL CABLE (SEE REPLACEMENT
)
75.INSTALL STEERING WHEEL ASSY (SEE OVERHAUL
)
76.STEERING WHEEL CENTER POINT
77.INSTALL HORN BUTTON ASSY (SEE OVERHAUL
)
78.CONNECT BATTERY NEGATIVE TERMINAL
79.INSPECT HORN BUTTON ASSY (SEE REPLACEMENT
)
80.INSPECT SRS WARNING LIGHT (SEE DIAGNOSIS SYSTEM
)
81.PERFORM INITIALIZATION (SEE INITIALIZATION
)
OVERHAUL
HINt: