ESP LEXUS RC F 2017 User Guide
[x] Cancel search | Manufacturer: LEXUS, Model Year: 2017, Model line: RC F, Model: LEXUS RC F 2017Pages: 724, PDF Size: 15.76 MB
Page 112 of 724

1122. Instrument cluster
■Drive information 1/Drive information 2
Select to select up to 2 of the following items to display on each screen
respectively.
F SPORT models (main meter in center position): Each item is displayed sepa-
rately.
*1: Use the displayed figure (average fuel co nsumption, average vehicle speed, elapsed
time) for reference only.
*2: This distance is computed based on your average fuel consumption. As a result, the actual distance that can be driven may differ from that displayed.
*3: When only a small amount of fuel is added to the tank, the display may not beupdated.
When refueling, turn the engine switch off. If the vehicle is refueled without turning
the engine switch off, the display may not be updated.
Drive information
ItemContent
Current fuel
consumptionDisplays instantaneous current fuel consumption
Average fuel econ-
omy (after reset)Displays average fuel cons umption since display reset*1
Average fuel econ-
omy (after start)Displays average fuel consumption since engine start*1
Average fuel econ-
omy (after refuel)Displays average fuel consumption since refuel*1
Average vehicle
speed (after reset)Displays average vehicle speed since display reset*1
Average vehicle
speed (after start)Displays average vehicle speed since engine start*1
Elapsed time (after
reset)Displays elapsed time since display reset*1
Elapsed time (after
start)Displays elapsed time since engine start*1
Distance (driving
range)Displays driving range with remaining fuel*2, 3
Distance (after start)Displays drive distance since vehicle start
Page 114 of 724

1142. Instrument cluster
■Language
Select to change the language on the display.
■Units
Select to change the unit of measure for fuel consumption.
■Maintenance system (if equipped)
Select to reset the maintenance data after the required maintenance is per-
formed. (
→ P. 489)
■Eco Driving Indicator Light
Select to activate/deactivate th e Eco Driving Indicator Light.
■ switch settings (except F SPORT models)
Displays a procedure to register a desired screen to .
You can register 1 screen as a shortcut, which can be displayed by pressing . (
→P. 111)
■Drive information 1/Drive information 2
Select to select up to 2 items that will be displayed on the “Drive Info 1” screen
and “Drive Info 2” screen respectively. (
→ P. 112)
■Pop-up display
Select to set the following pop-up disp lays, which may appear in some situa-
tions, on/off. • Route guidance display of the navigation system-linked system (if equipped)
• Incoming call display of the hands-free phone system
• Dynamic radar cruise control operation display (if equipped)
• Instrument panel bright ness adjustment display
• Main meter switch operation display (F SPORT models)
■Accent color (except F SPORT models)
Select to change the accent colors on the screen, such as the cursor color.
■Needle (F SPORT models)
Select to change the needle color for the tachometer.
Settings display
Page 116 of 724

1162. Instrument cluster
WARNING
■Caution for use while driving
●When operating the multi-information display while driving, pay extra attention to the
safety of the area around the vehicle.
●Do not look continuously at the multi-information display while driving as you may fail
to see pedestrians, objects on the road, etc. ahead of the vehicle.
■The information display at low temperatures
Allow the interior of the vehicle to warm up before using the liquid crystal information
display. At extremely low temperatures, th e information display monitor may respond
slowly, and display changes may be delayed.
For example, there is a lag between the dr iver’s shifting and the new gear number
appearing on the display. This lag could ca use the driver to downshift again, causing
rapid and excessive engine braking and possibly an accident resulting in death or
injury.
■Cautions during setting up the display
As the engine needs to be running during sett ing up the display, ensure that the vehicle
is parked in a place with adequate ventilation. In a closed area such as a garage,
exhaust gases including harmful carbon mo noxide (CO) may collect and enter the
vehicle. This may lead to death or a serious health hazard.
NOTICE
■While setting up the display
To prevent battery discharge, ensure that the engine is running while setting up the dis-
play features.
Page 119 of 724

1192. Instrument cluster
2
Instrument cluster
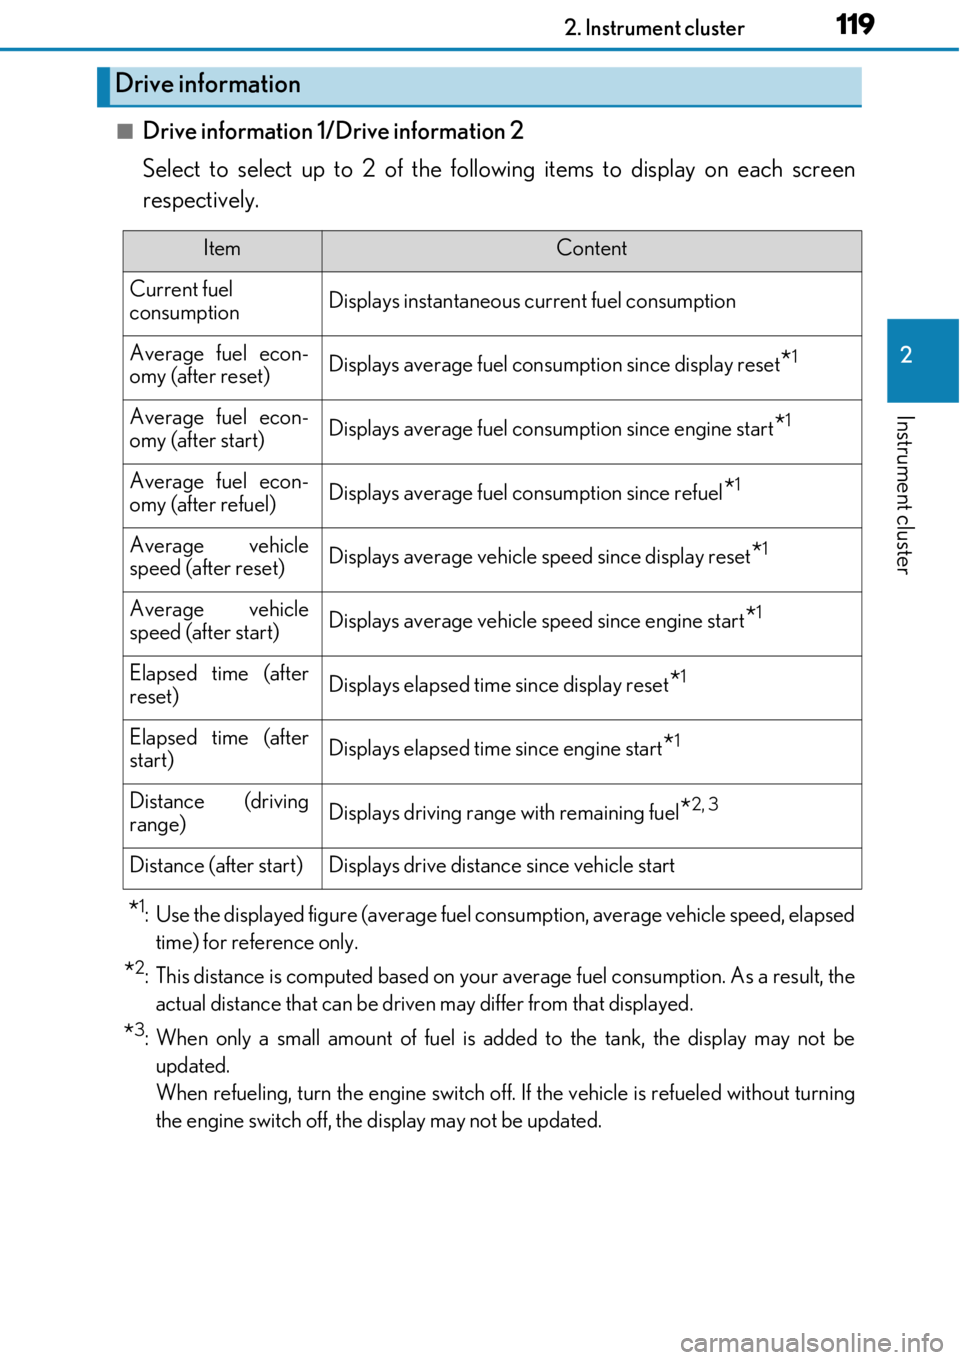
■Drive information 1/Drive information 2
Select to select up to 2 of the following items to display on each screen
respectively.
*1: Use the displayed figure (average fuel consumption, average vehicle speed, elapsed
time) for reference only.
*2: This distance is computed based on your average fuel consumption. As a result, the actual distance that can be driven may differ from that displayed.
*3: When only a small amount of fuel is added to the tank, the display may not beupdated.
When refueling, turn the engine switch off. If the vehicle is refueled without turning
the engine switch off, the display may not be updated.
Drive information
ItemContent
Current fuel
consumptionDisplays instantaneous current fuel consumption
Average fuel econ-
omy (after reset)Displays average fuel cons umption since display reset*1
Average fuel econ-
omy (after start)Displays average fuel consumption since engine start*1
Average fuel econ-
omy (after refuel)Displays average fuel consumption since refuel*1
Average vehicle
speed (after reset)Displays average vehicle speed since display reset*1
Average vehicle
speed (after start)Displays average vehicle speed since engine start*1
Elapsed time (after
reset)Displays elapsed time since display reset*1
Elapsed time (after
start)Displays elapsed time since engine start*1
Distance (driving
range)Displays driving range with remaining fuel*2, 3
Distance (after start)Displays drive distance since vehicle start
Page 126 of 724

1262. Instrument cluster
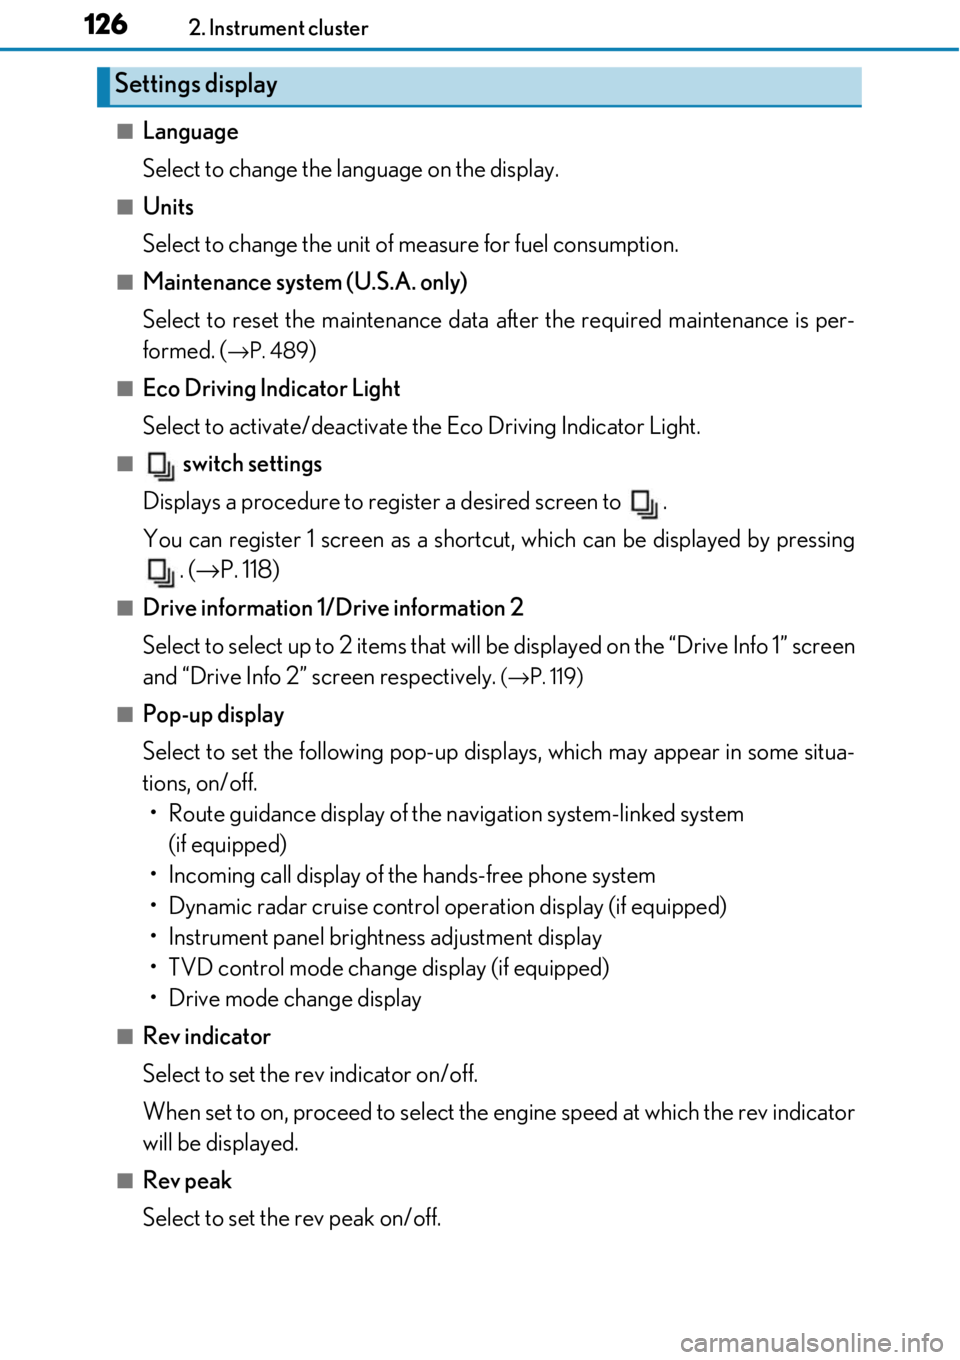
■Language
Select to change the language on the display.
■Units
Select to change the unit of measure for fuel consumption.
■Maintenance system (U.S.A. only)
Select to reset the maintenance data after the required maintenance is per-
formed. (
→ P. 489)
■Eco Driving Indicator Light
Select to activate/deactivate th e Eco Driving Indicator Light.
■ switch settings
Displays a procedure to register a desired screen to .
You can register 1 screen as a shortcut, which can be displayed by pressing . (→ P. 118)
■Drive information 1/Drive information 2
Select to select up to 2 items that will be displayed on the “Drive Info 1” screen
and “Drive Info 2” screen respectively.
( → P. 119)
■Pop-up display
Select to set the following pop-up disp lays, which may appear in some situa-
tions, on/off. • Route guidance display of the navigation system-linked system (if equipped)
• Incoming call display of the hands-free phone system
• Dynamic radar cruise control operation display (if equipped)
• Instrument panel bright ness adjustment display
• TVD control mode change display (if equipped)
• Drive mode change display
■Rev indicator
Select to set the rev indicator on/off.
When set to on, proceed to select the engine speed at which the rev indicator
will be displayed.
■Rev peak
Select to set the rev peak on/off.
Settings display
Page 128 of 724

1282. Instrument cluster
■Suspension of the settings display
In the following situations, operation of the settings display will be temporarily sus-
pended.
●When a warning message appears on the multi-information display
●When the vehicle begins to move
■Tire pressure
●It may take a few minutes to display the tire inflation pressure after the engine switch is
turned to IGNITION ON mode. It may also take a few minutes to display the tire infla-
tion pressure after inflation pressure has been adjusted.
●“---” may be displayed if the tire position information cannot be determined due to
unfavorable radio wave conditions.
●Tire inflation pressure changes with temperat ure. The displayed values may also be dif-
ferent from the values measured using a tire pressure gauge.
■When disconnecting and reconnecting battery terminals
The following information data will be reset:
●Drive information
●Lap timer: Measured lap times, history
●G-force: Record of the maximum G-forces
■Using the lap timer
If the engine is stopped while a lap is being timed, the lap timer will stop and the lap time
up to that point will be recorded.
■Liquid crystal display
→ P. 108
WARNING
■Caution for use while driving
●When operating the multi-information display while driving, pay extra attention to the
safety of the area around the vehicle.
●Do not look continuously at the multi-info rmation display while driving as you may fail
to see pedestrians, objects on the road, etc. ahead of the vehicle.
■The information display at low temperatures
Allow the interior of the vehicle to warm up before using the liquid crystal information
display. At extremely low temperatures, th e information display monitor may respond
slowly, and display changes may be delayed.
For example, there is a lag between the dr iver’s shifting and the new gear number
appearing on the display. This lag could ca use the driver to downshift again, causing
rapid and excessive engine braking and possibly an accident resulting in death or
injury.
■Cautions during setting up the display
As the engine needs to be running during sett ing up the display, ensure that the vehicle
is parked in a place with adequate ventilation. In a closed area such as a garage,
exhaust gases including harmful carbon mo noxide (CO) may collect and enter the
vehicle. This may lead to death or a serious health hazard.
Page 175 of 724

1753-3. Adjusting the seats
3
Operation of each component
■Adjusting the height of the head restraints
■Adjusting the rear seat head restraint
Always raise the head restraint one level from the stowed position when using.
Make sure that the head restraints are adjusted
so that the center of the
head restraint is closest
to the top of your ears.
WARNING
■Head restraint precautions
Observe the following precautions regarding th e head restraints. Failure to do so may
result in death or serious injury.
●Use the head restraints designed for each respective seat.
●Adjust the head restraints to th e correct position at all times.
●After adjusting the head restraints, push down on them and make sure they are
locked in position.
●Do not drive with the head restraints removed.
Page 178 of 724

1783-4. Adjusting the steering wheel and mirrors
The height of the rear view mirror can be adjusted to suit your driving posture.
Adjust the height of the rear view mir-
ror by moving it up and down.
Responding to the level of brightness of the headlights of vehicles behind, the
reflected light is automatically reduced.
Changing automatic anti-glare func-
tion mode
ON/OFF
When the automatic anti-glare function
is in ON mode, the indicator illuminates.
The function will set to ON mode each
time the engine switch is turned to
IGNITION ON mode.
Pressing the button turns the function to
OFF mode. (The indicator also turns
off.)
Inside rear view mirror
The rear view mirror’s position can be adjusted to enable sufficient confirma-
tion of the rear view.
Adjusting the height of rear view mirror
Anti-glare function
Indicator
Page 186 of 724

1863-5. Opening, closing the windows and moon roof
WARNING
Observe the following precautions.
Failure to do so may result in death or serious injury.
■Closing the windows
●The driver is responsible for all the power window operations, including the operation
for the passengers. In order to prevent accidental operation, especially by a child, do
not let a child operate the power windows. It is possible for children and other passen-
gers to have body parts caught in the powe r window. Also, when riding with a child, it
is recommended to use the window lock switch. ( →P. 183)
●Check to make sure that all passengers do not have any part of their body in a posi-
tion where it could be caught wh en a window is being operated.
●When using the wireless remote control or mechanical key and operating the power
windows, operate the power window after checking to make sure that there is no pos-
sibility of any passenger having any of their body parts caught in the window. Also do
not let a child operate window by the wirele ss remote control or mechanical key. It is
possible for children and other passengers to get caught in the power window.
●When exiting the vehicle, turn the engine sw itch off, carry the key and exit the vehicle
along with the child. There may be accidental operation, due to mischief, etc., that
may possibly lead to an accident.
■Jam protection function
●Never use any part of your body to intentionally activate the jam protection function.
●The jam protection function may not work if something gets jammed just before the
window is fully closed. Be careful not to get any part of your body jammed in the win-
dow.
■Catch protection function
●Never use any part of your body or clothing to intentionally activate the catch protec-
tion function.
●The catch protection function may not work if something gets caught just before the
window is fully opened. Be ca reful not to get any part of your body or clothing caught
in the window.
Page 190 of 724

1903-5. Opening, closing the windows and moon roof
WARNING
Observe the following precautions.
Failure to do so may cause death or serious injury.
■Opening the moon roof
●Do not allow any passengers to put their hands or heads outside the vehicle while it is
moving.
●Do not sit on top of the moon roof.
■Closing the moon roof
●The driver is responsible for moon roof opening and closing operations.
In order to prevent accidental operation, especially by a child, do not let a child oper-
ate the moon roof. It is possible for child ren and other passengers to have body parts
caught in the moon roof.
●Check to make sure that all passengers do not have any part of their body in a posi-
tion where it could be caught when the moon roof is being operated.
●When using the wireless remote control or mechanical key and operating the moon
roof, operate the moon roof after checking to make sure that there is no possibility of
any passenger having any of their body part s caught in the moon roof. Also, do not let
a child operate moon roof by the wireless remote control or mechanical key. It is pos-
sible for children and ot her passengers to get caught in the moon roof.
●When exiting the vehicle, turn the engine sw itch off, carry the key and exit the vehicle
along with the child. There may be accidental operation, due to mischief, etc., that
may possibly lead to an accident.
■Jam protection function
●Never use any part of your body to intentionally activate the jam protection function.
●The jam protection function may not work if something gets caught just before the
moon roof is fully closed. Also, the jam prot ection function is not designed to operate
while the moon roof switch is being pressed. Take care so that your fingers, etc. do not
get caught.
NOTICE
■To prevent damage to the moon roof
●Before opening, make sure that there are no foreign objects such as stones or ice
around the opening.
●Do not hit the face or edge of the moon roof with hard objects.
■Operating the moon roof
There is the possibility that water or rain will get into the vehicle if you operate the
moon roof after a rainfall, snowfall or car wash. Wipe the moon roof dry with a cloth
before operating it.