Ignition switch LINCOLN AVIATOR 2004 Owners Manual
[x] Cancel search | Manufacturer: LINCOLN, Model Year: 2004, Model line: AVIATOR, Model: LINCOLN AVIATOR 2004Pages: 336, PDF Size: 3.69 MB
Page 12 of 336
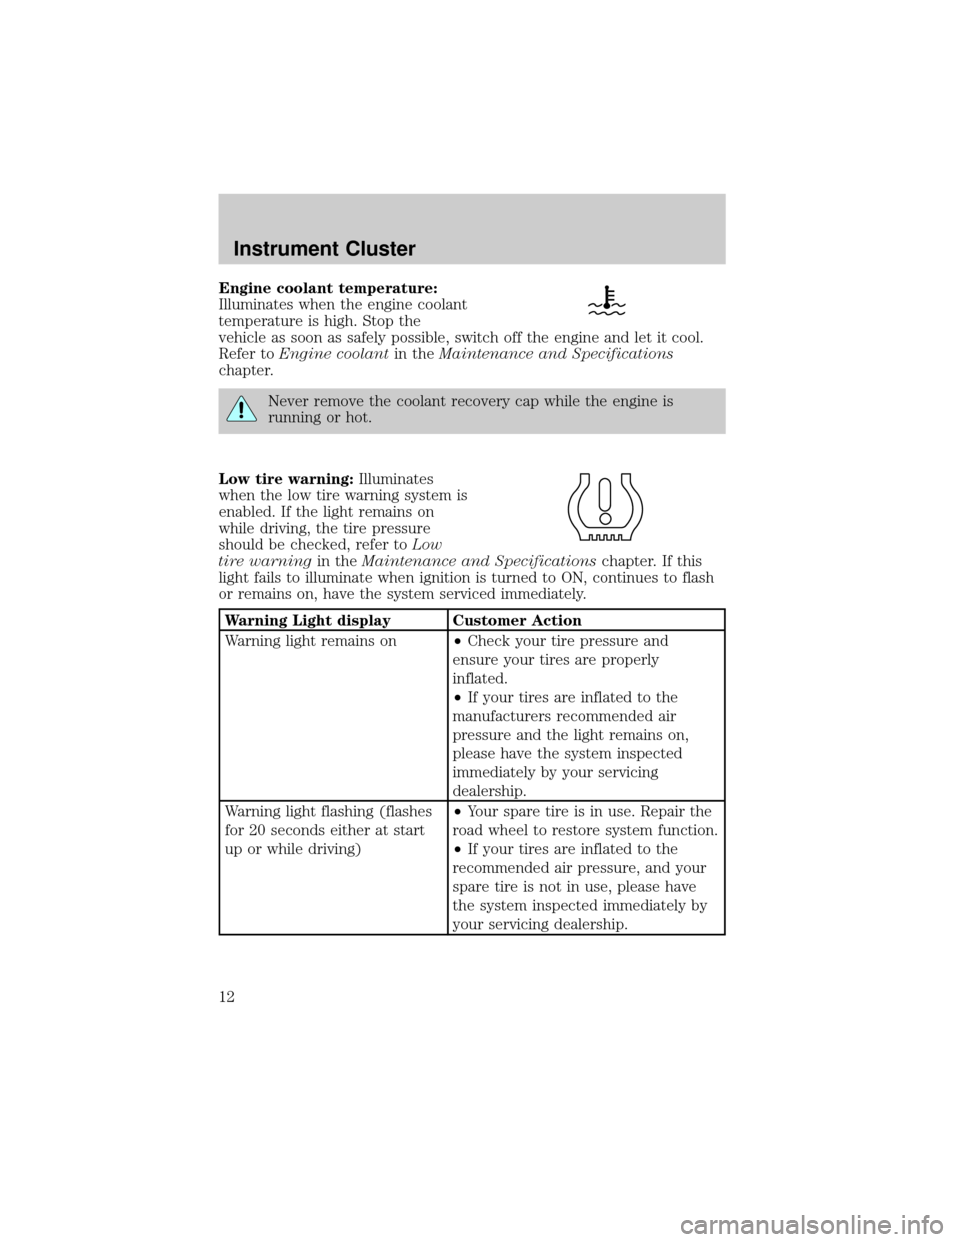
Engine coolant temperature:
Illuminates when the engine coolant
temperature is high. Stop the
vehicle as soon as safely possible, switch off the engine and let it cool.
Refer toEngine coolantin theMaintenance and Specifications
chapter.
Never remove the coolant recovery cap while the engine is
running or hot.
Low tire warning:Illuminates
when the low tire warning system is
enabled. If the light remains on
while driving, the tire pressure
should be checked, refer toLow
tire warningin theMaintenance and Specificationschapter. If this
light fails to illuminate when ignition is turned to ON, continues to flash
or remains on, have the system serviced immediately.
Warning Light display Customer Action
Warning light remains on²Check your tire pressure and
ensure your tires are properly
inflated.
²If your tires are inflated to the
manufacturers recommended air
pressure and the light remains on,
please have the system inspected
immediately by your servicing
dealership.
Warning light flashing (flashes
for 20 seconds either at start
up or while driving)²Your spare tire is in use. Repair the
road wheel to restore system function.
²If your tires are inflated to the
recommended air pressure, and your
spare tire is not in use, please have
the system inspected immediately by
your servicing dealership.
Instrument Cluster
12
Page 15 of 336
Refer toMessage Centerin theDrivers Controlschapter on how to
switch the display from Metric to English.
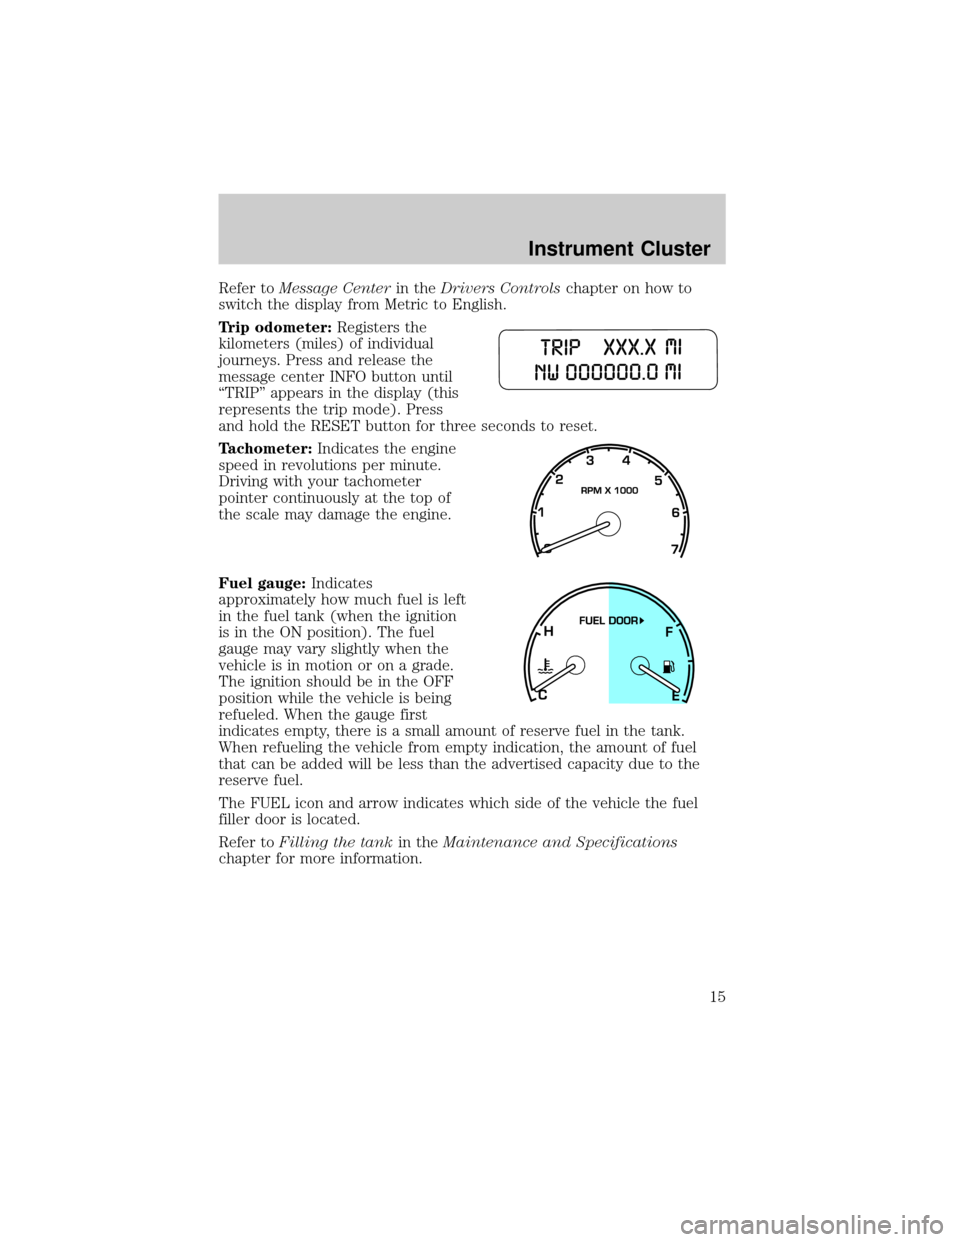
Trip odometer:Registers the
kilometers (miles) of individual
journeys. Press and release the
message center INFO button until
ªTRIPº appears in the display (this
represents the trip mode). Press
and hold the RESET button for three seconds to reset.
Tachometer:Indicates the engine
speed in revolutions per minute.
Driving with your tachometer
pointer continuously at the top of
the scale may damage the engine.
Fuel gauge:Indicates
approximately how much fuel is left
in the fuel tank (when the ignition
is in the ON position). The fuel
gauge may vary slightly when the
vehicle is in motion or on a grade.
The ignition should be in the OFF
position while the vehicle is being
refueled. When the gauge first
indicates empty, there is a small amount of reserve fuel in the tank.
When refueling the vehicle from empty indication, the amount of fuel
that can be added will be less than the advertised capacity due to the
reserve fuel.
The FUEL icon and arrow indicates which side of the vehicle the fuel
filler door is located.
Refer toFilling the tankin theMaintenance and Specifications
chapter for more information.
Instrument Cluster
15
Page 19 of 336
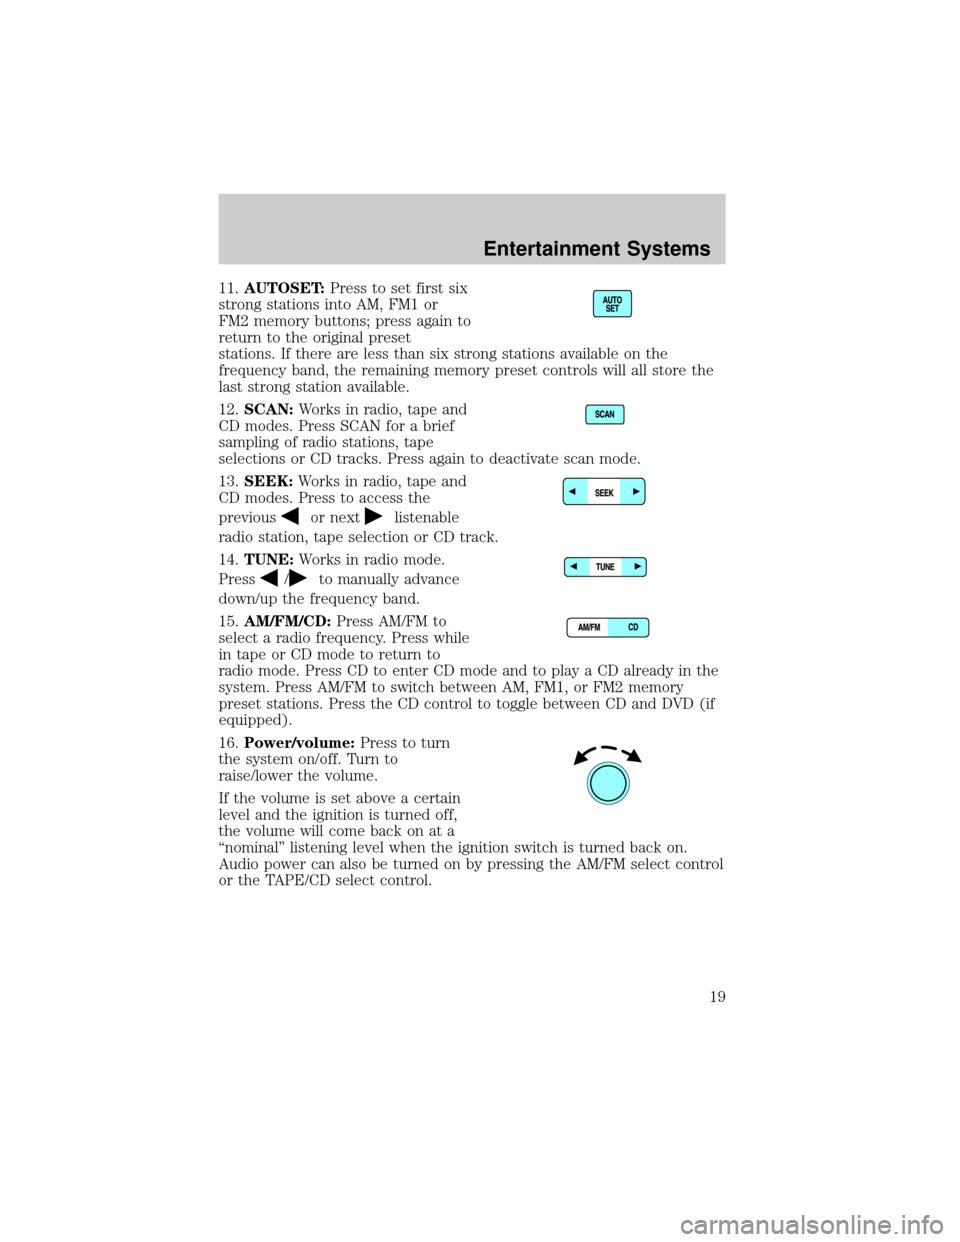
11.AUTOSET:Press to set first six
strong stations into AM, FM1 or
FM2 memory buttons; press again to
return to the original preset
stations. If there are less than six strong stations available on the
frequency band, the remaining memory preset controls will all store the
last strong station available.
12.SCAN:Works in radio, tape and
CD modes. Press SCAN for a brief
sampling of radio stations, tape
selections or CD tracks. Press again to deactivate scan mode.
13.SEEK:Works in radio, tape and
CD modes. Press to access the
previous
or nextlistenable
radio station, tape selection or CD track.
14.TUNE:Works in radio mode.
Press
/to manually advance
down/up the frequency band.
15.AM/FM/CD:Press AM/FM to
select a radio frequency. Press while
in tape or CD mode to return to
radio mode. Press CD to enter CD mode and to play a CD already in the
system. Press AM/FM to switch between AM, FM1, or FM2 memory
preset stations. Press the CD control to toggle between CD and DVD (if
equipped).
16.Power/volume:Press to turn
the system on/off. Turn to
raise/lower the volume.
If the volume is set above a certain
level and the ignition is turned off,
the volume will come back on at a
ªnominalº listening level when the ignition switch is turned back on.
Audio power can also be turned on by pressing the AM/FM select control
or the TAPE/CD select control.
Entertainment Systems
19
Page 82 of 336
HEADLAMP CONTROL
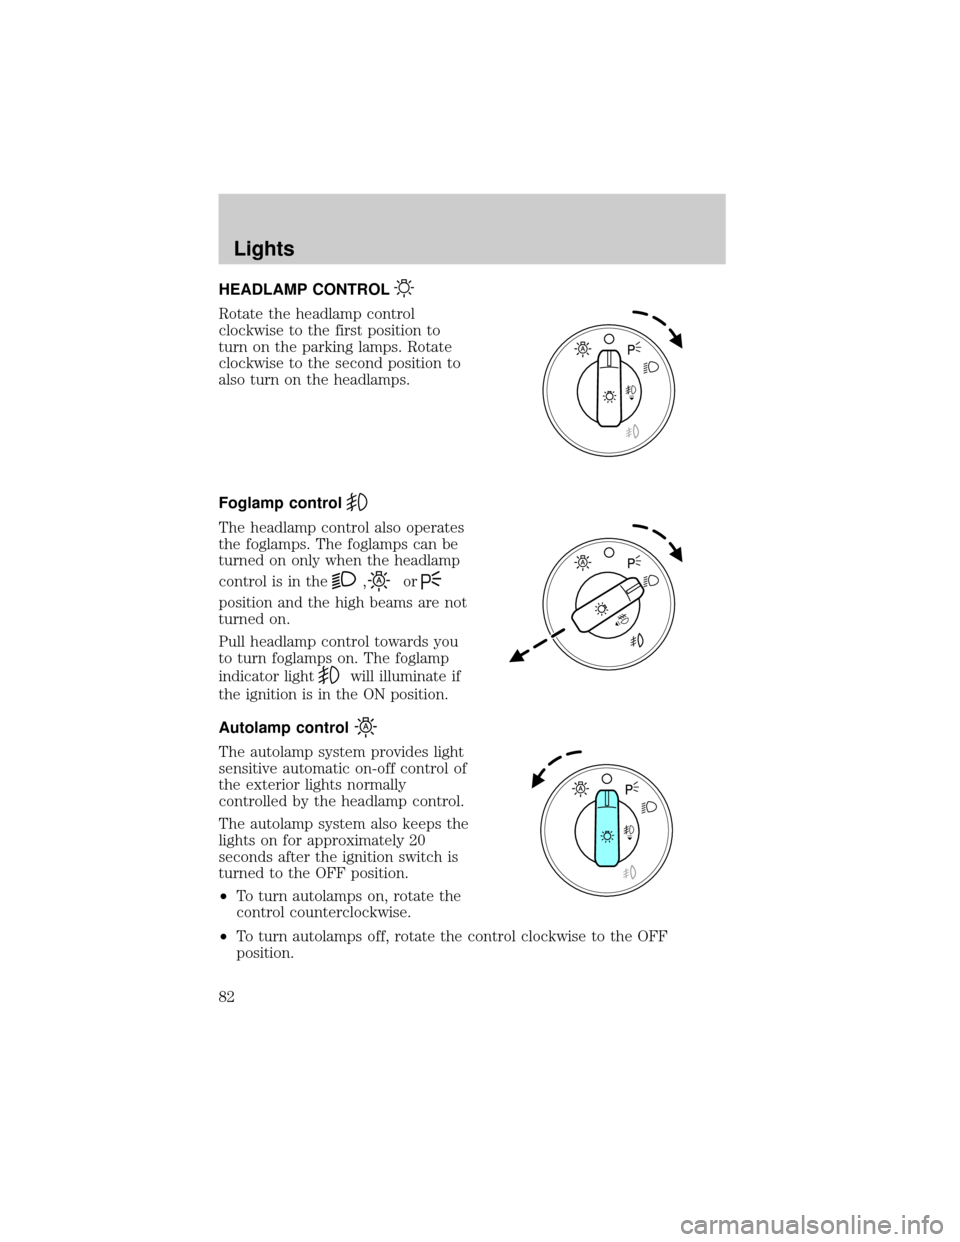
Rotate the headlamp control
clockwise to the first position to
turn on the parking lamps. Rotate
clockwise to the second position to
also turn on the headlamps.
Foglamp control
The headlamp control also operates
the foglamps. The foglamps can be
turned on only when the headlamp
control is in the
,or
position and the high beams are not
turned on.
Pull headlamp control towards you
to turn foglamps on. The foglamp
indicator light
will illuminate if
the ignition is in the ON position.
Autolamp control
The autolamp system provides light
sensitive automatic on-off control of
the exterior lights normally
controlled by the headlamp control.
The autolamp system also keeps the
lights on for approximately 20
seconds after the ignition switch is
turned to the OFF position.
²To turn autolamps on, rotate the
control counterclockwise.
²To turn autolamps off, rotate the control clockwise to the OFF
position.
Lights
Lights
82
Page 87 of 336
7. Close the hood and turn off the lamps.
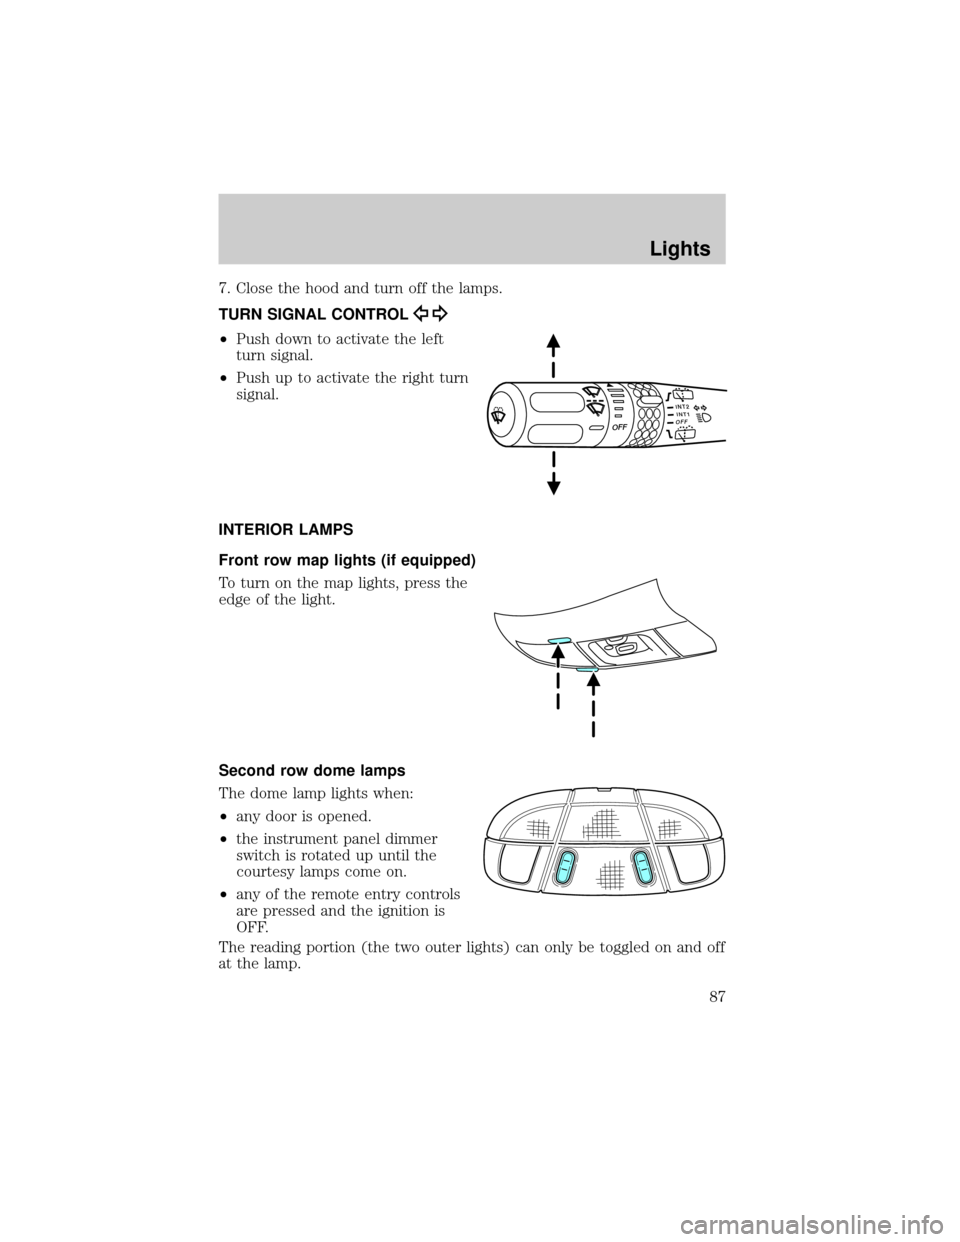
TURN SIGNAL CONTROL
²Push down to activate the left
turn signal.
²Push up to activate the right turn
signal.
INTERIOR LAMPS
Front row map lights (if equipped)
To turn on the map lights, press the
edge of the light.
Second row dome lamps
The dome lamp lights when:
²any door is opened.
²the instrument panel dimmer
switch is rotated up until the
courtesy lamps come on.
²any of the remote entry controls
are pressed and the ignition is
OFF.
The reading portion (the two outer lights) can only be toggled on and off
at the lamp.
INT2OFFOFFINT1
Lights
87
Page 105 of 336
Bounce-Back
When an obstacle has been detected in the window opening as the
window is moving upward, the window will automatically reverse
direction and move down. This is known as ªbounce-backº. If the ignition
is turned OFF (without accessory delay being active) during
bounce-back, the window will move down until the bounce back position
is reached.
Security Override
If during a bounce-back condition, the switch is released to the neutral
position, then held in the one touch up position within two seconds after
the window reaches the bounce-back position,the window will travel
up with no bounce-back protection.If the switch is released before
the window reaches fully closed or the ignition is turned OFF (without
accessory delay being active), the window will stop. Security override
can be used if there is ice on the window or seals, causing a restriction.
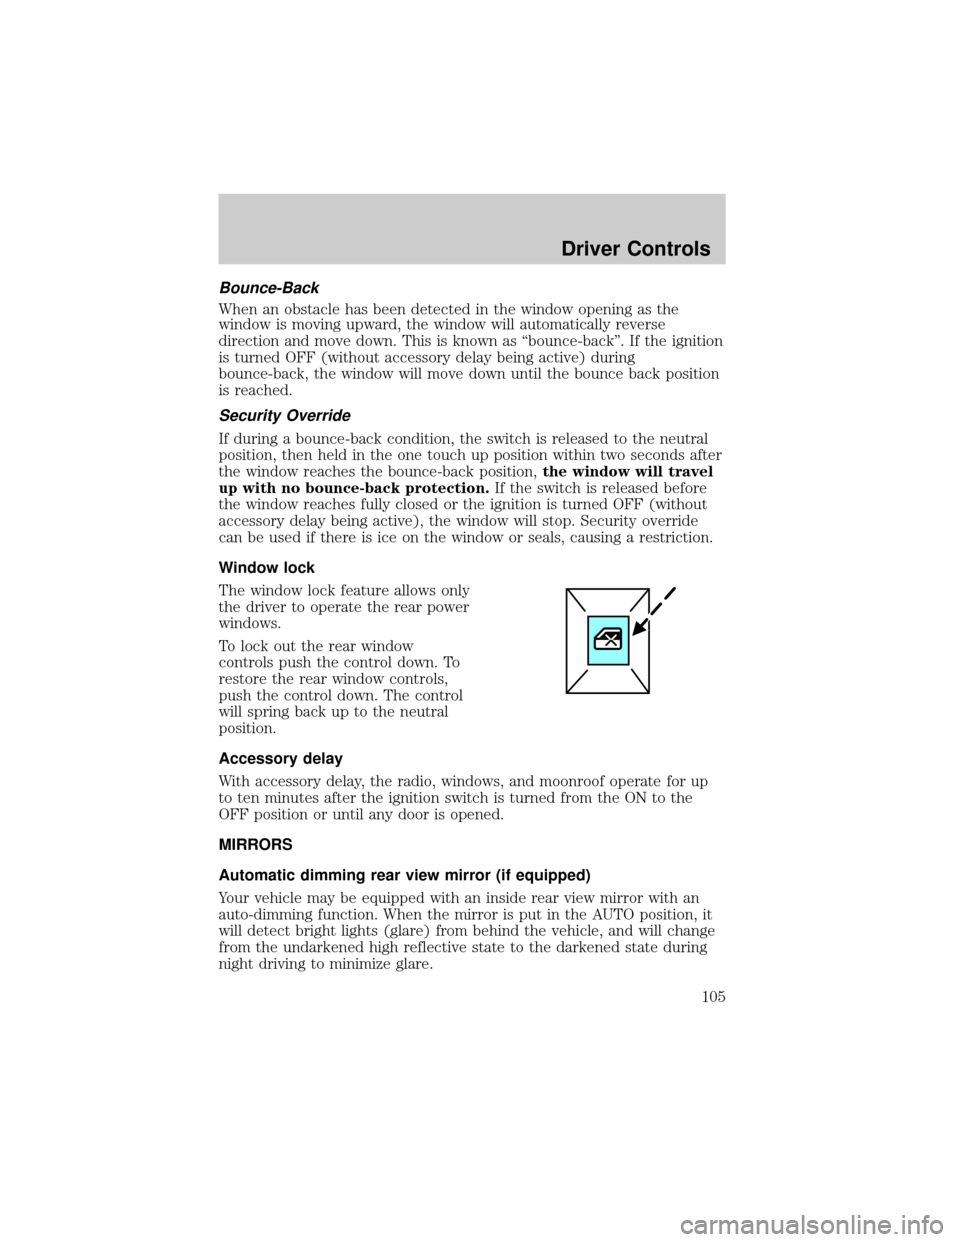
Window lock
The window lock feature allows only
the driver to operate the rear power
windows.
To lock out the rear window
controls push the control down. To
restore the rear window controls,
push the control down. The control
will spring back up to the neutral
position.
Accessory delay
With accessory delay, the radio, windows, and moonroof operate for up
to ten minutes after the ignition switch is turned from the ON to the
OFF position or until any door is opened.
MIRRORS
Automatic dimming rear view mirror (if equipped)
Your vehicle may be equipped with an inside rear view mirror with an
auto-dimming function. When the mirror is put in the AUTO position, it
will detect bright lights (glare) from behind the vehicle, and will change
from the undarkened high reflective state to the darkened state during
night driving to minimize glare.
Driver Controls
105
Page 108 of 336
Reverse tilt down mirrors
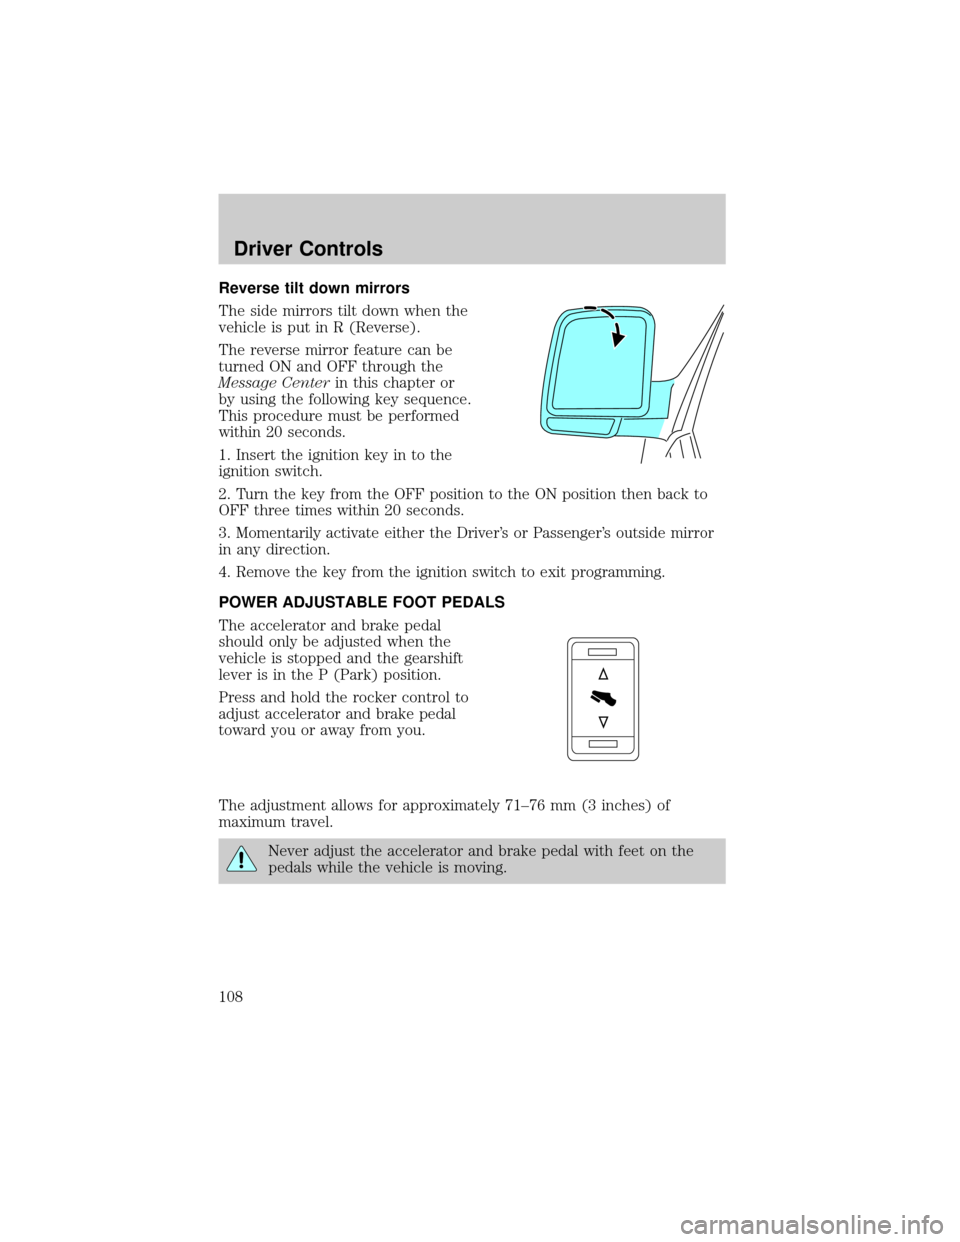
The side mirrors tilt down when the
vehicle is put in R (Reverse).
The reverse mirror feature can be
turned ON and OFF through the
Message Centerin this chapter or
by using the following key sequence.
This procedure must be performed
within 20 seconds.
1. Insert the ignition key in to the
ignition switch.
2. Turn the key from the OFF position to the ON position then back to
OFF three times within 20 seconds.
3. Momentarily activate either the Driver's or Passenger's outside mirror
in any direction.
4. Remove the key from the ignition switch to exit programming.
POWER ADJUSTABLE FOOT PEDALS
The accelerator and brake pedal
should only be adjusted when the
vehicle is stopped and the gearshift
lever is in the P (Park) position.
Press and hold the rocker control to
adjust accelerator and brake pedal
toward you or away from you.
The adjustment allows for approximately 71±76 mm (3 inches) of
maximum travel.
Never adjust the accelerator and brake pedal with feet on the
pedals while the vehicle is moving.
Driver Controls
108
Page 115 of 336
When programming your HomeLinktWireless Control System to
a garage door or gate, be sure that people and objects are out of
the way to prevent potential harm or damage.
Do not use the HomeLinktWireless Control System with any garage
door opener that lacks safety stop and reverse features as required by
U.S. federal safety standards (this includes any garage door opener
model manufactured before April 1, 1982). A garage door which cannot
detect an object, signaling the door to stop and reverse, does not meet
current U.S. federal safety standards. For more information, contact
HomeLinktat:www.homelink.comor1±800±355±3515.
Retain the original transmitter for use in other vehicles as well as for
future programming procedures (i.e. new HomeLinktequipped vehicle
purchase). It is also suggested that upon the sale of the vehicle, the
programmed Homelinktbuttons be erased for security purposes, refer to
Programmingin this section.
Programming
Do not program HomeLinktwith the vehicle parked in the garage.
Note:Some vehicles may require the ignition switch to be turned to the
second (or ªACCº) position for programming and/or operation of the
HomeLinkt. It is also recommended that a new battery be placed in the
hand-held transmitter of the device being programmed to HomeLinktfor
quicker training and accurate transmission of the radio-frequency signal.
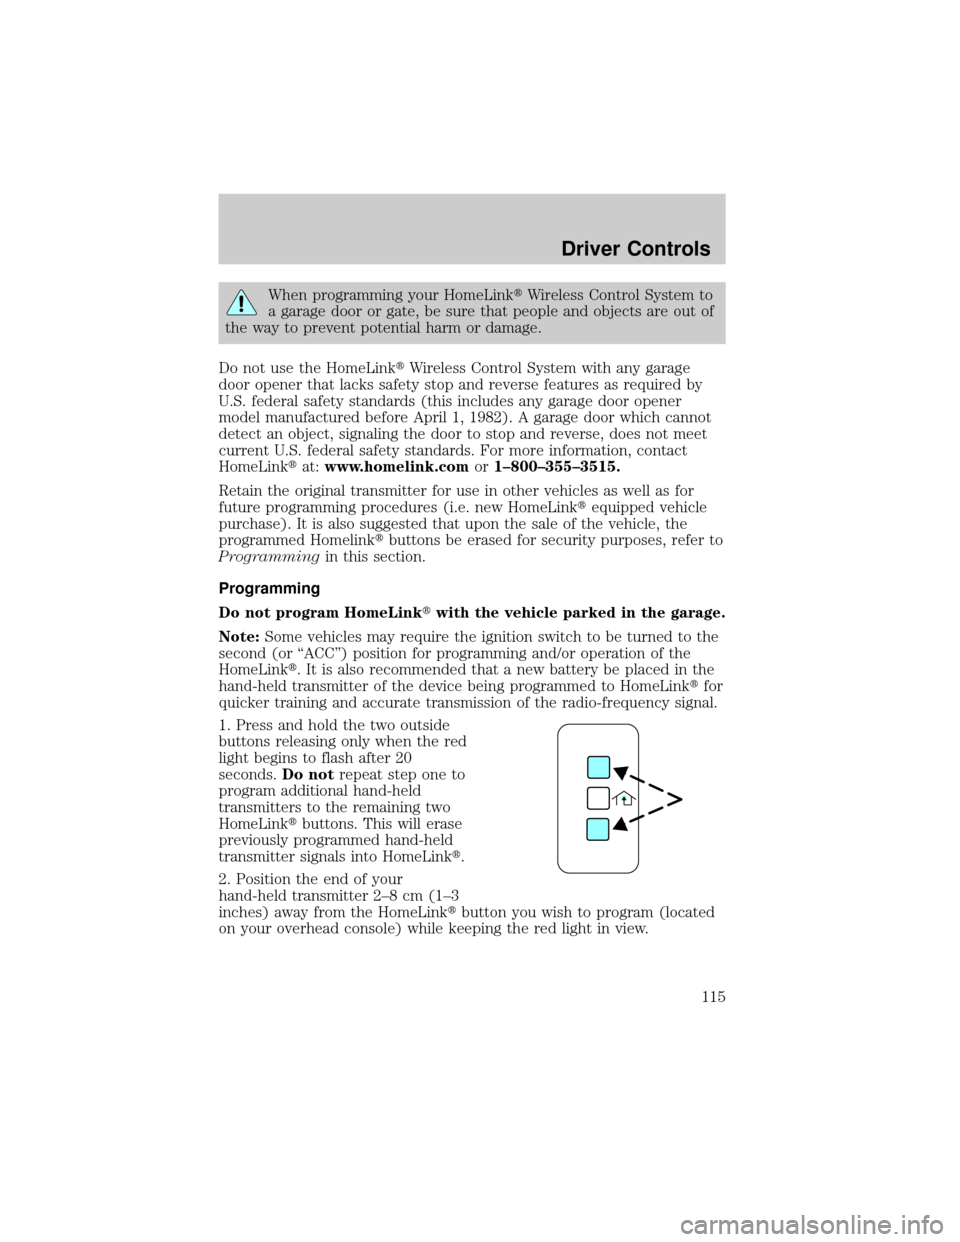
1. Press and hold the two outside
buttons releasing only when the red
light begins to flash after 20
seconds.Do notrepeat step one to
program additional hand-held
transmitters to the remaining two
HomeLinktbuttons. This will erase
previously programmed hand-held
transmitter signals into HomeLinkt.
2. Position the end of your
hand-held transmitter 2±8 cm (1±3
inches) away from the HomeLinktbutton you wish to program (located
on your overhead console) while keeping the red light in view.
Driver Controls
115
Page 147 of 336
The SecuriLockypassive anti-theft system is not compatible with
non-Ford aftermarket remote start systems. Use of these systems may
result in vehicle starting problems and a loss of security protection.
THEFT INDICATOR
The theft indicator is the flashing red indicator located on the dash
panel.
²When the ignition is in the OFF position, the indicator will flash once
every 2 seconds to indicate the SecuriLockysystem is functioning as
a theft deterrent.
²When the ignition is in the ON position, the indicator will glow for 3
seconds to indicate normal system functionality.
If a problem occurs with the SecuriLockysystem, the indicator will flash
rapidly or glow steadily when the ignition is in the ON position. If this
occurs, the vehicle should be taken to an authorized dealer for service.
Automatic arming
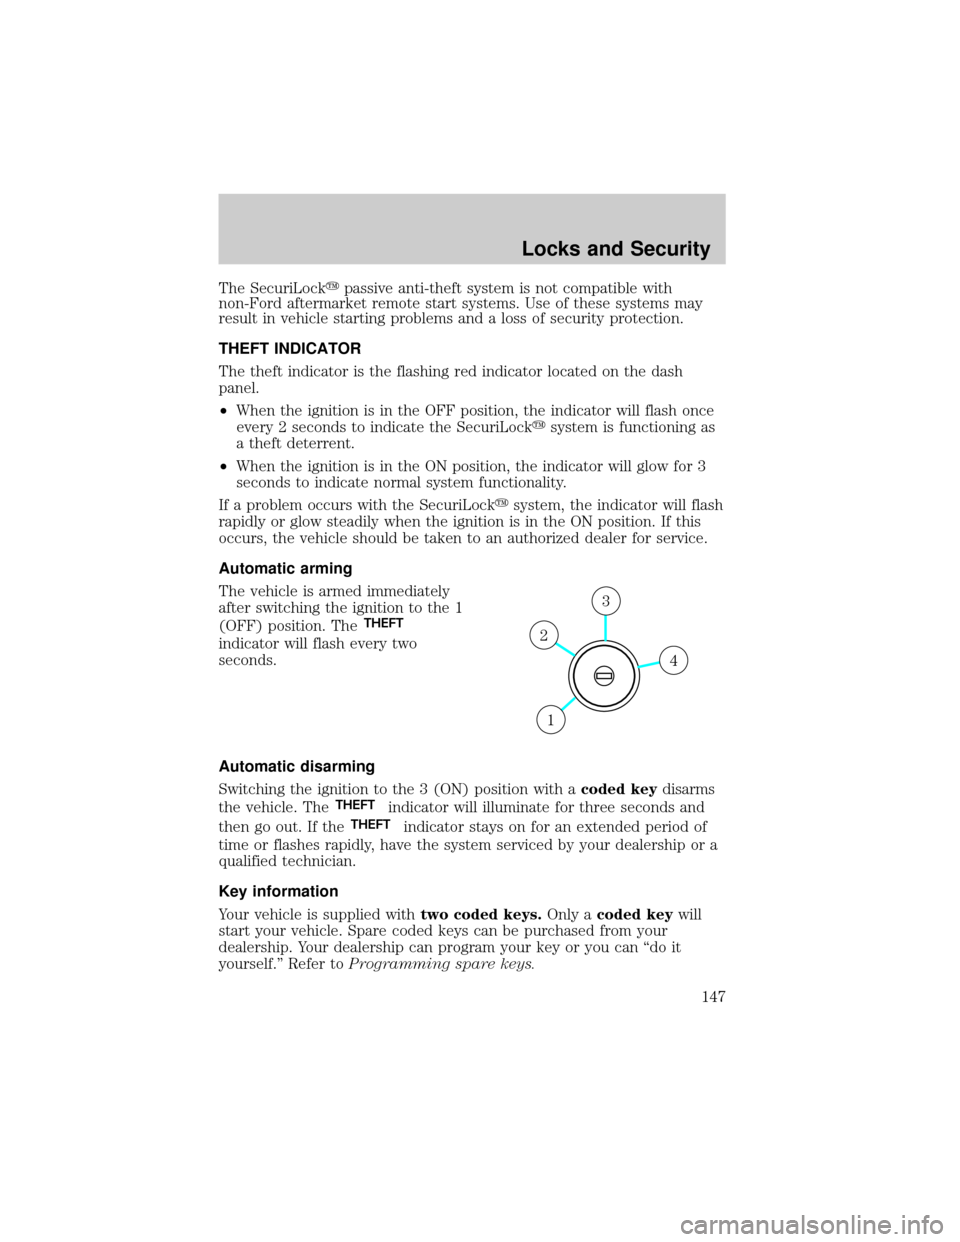
The vehicle is armed immediately
after switching the ignition to the 1
(OFF) position. The
THEFT
indicator will flash every two
seconds.
Automatic disarming
Switching the ignition to the 3 (ON) position with acoded keydisarms
the vehicle. The
THEFTindicator will illuminate for three seconds and
then go out. If the
THEFTindicator stays on for an extended period of
time or flashes rapidly, have the system serviced by your dealership or a
qualified technician.
Key information
Your vehicle is supplied withtwo coded keys.Only acoded keywill
start your vehicle. Spare coded keys can be purchased from your
dealership. Your dealership can program your key or you can ªdo it
yourself.º Refer toProgramming spare keys.
4
3
2
1
Locks and Security
147
Page 156 of 336
Memory seats/rearview mirrors/adjustable pedals
This system allows automatic
positioning of the driver seat,
outside rearview mirrors, and
adjustable pedals to two
programmable positions.
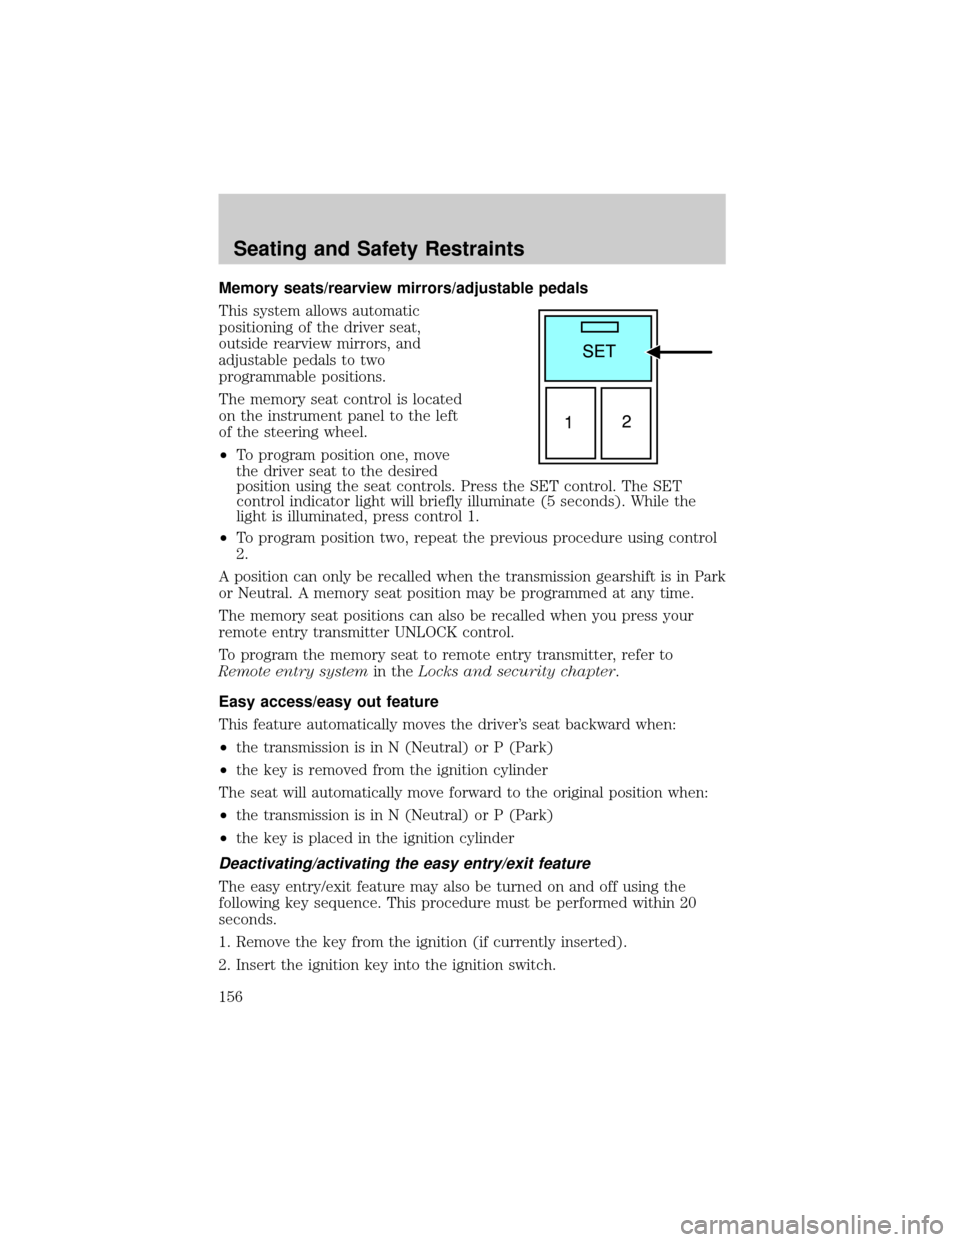
The memory seat control is located
on the instrument panel to the left
of the steering wheel.
²To program position one, move
the driver seat to the desired
position using the seat controls. Press the SET control. The SET
control indicator light will briefly illuminate (5 seconds). While the
light is illuminated, press control 1.
²To program position two, repeat the previous procedure using control
2.
A position can only be recalled when the transmission gearshift is in Park
or Neutral. A memory seat position may be programmed at any time.
The memory seat positions can also be recalled when you press your
remote entry transmitter UNLOCK control.
To program the memory seat to remote entry transmitter, refer to
Remote entry systemin theLocks and security chapter.
Easy access/easy out feature
This feature automatically moves the driver's seat backward when:
²the transmission is in N (Neutral) or P (Park)
²the key is removed from the ignition cylinder
The seat will automatically move forward to the original position when:
²the transmission is in N (Neutral) or P (Park)
²the key is placed in the ignition cylinder
Deactivating/activating the easy entry/exit feature
The easy entry/exit feature may also be turned on and off using the
following key sequence. This procedure must be performed within 20
seconds.
1. Remove the key from the ignition (if currently inserted).
2. Insert the ignition key into the ignition switch.
Seating and Safety Restraints
156