dome light LINCOLN AVIATOR 2004 Owners Manual
[x] Cancel search | Manufacturer: LINCOLN, Model Year: 2004, Model line: AVIATOR, Model: LINCOLN AVIATOR 2004Pages: 336, PDF Size: 3.69 MB
Page 15 of 336
Refer toMessage Centerin theDrivers Controlschapter on how to
switch the display from Metric to English.
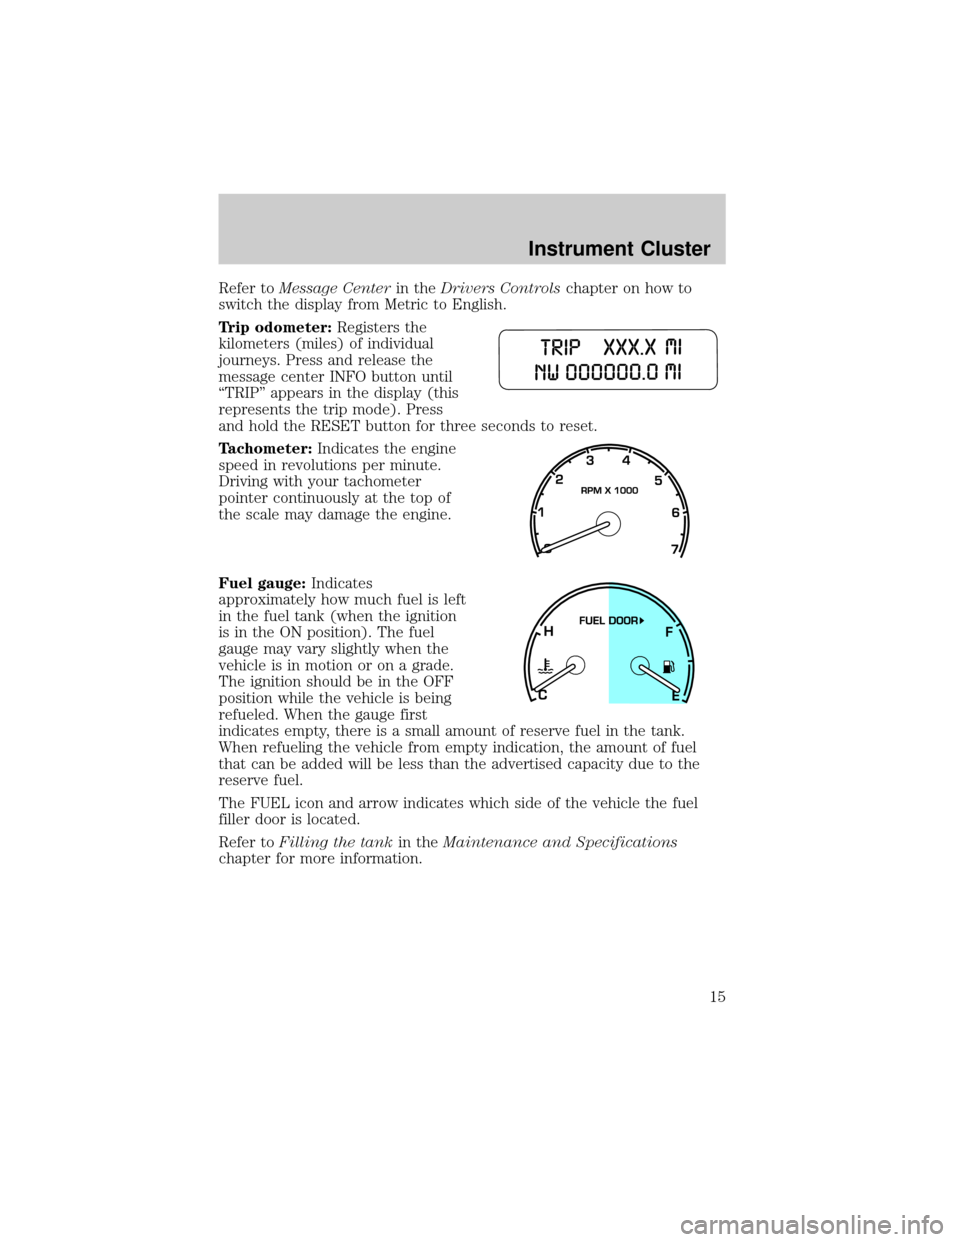
Trip odometer:Registers the
kilometers (miles) of individual
journeys. Press and release the
message center INFO button until
ªTRIPº appears in the display (this
represents the trip mode). Press
and hold the RESET button for three seconds to reset.
Tachometer:Indicates the engine
speed in revolutions per minute.
Driving with your tachometer
pointer continuously at the top of
the scale may damage the engine.
Fuel gauge:Indicates
approximately how much fuel is left
in the fuel tank (when the ignition
is in the ON position). The fuel
gauge may vary slightly when the
vehicle is in motion or on a grade.
The ignition should be in the OFF
position while the vehicle is being
refueled. When the gauge first
indicates empty, there is a small amount of reserve fuel in the tank.
When refueling the vehicle from empty indication, the amount of fuel
that can be added will be less than the advertised capacity due to the
reserve fuel.
The FUEL icon and arrow indicates which side of the vehicle the fuel
filler door is located.
Refer toFilling the tankin theMaintenance and Specifications
chapter for more information.
Instrument Cluster
15
Page 85 of 336
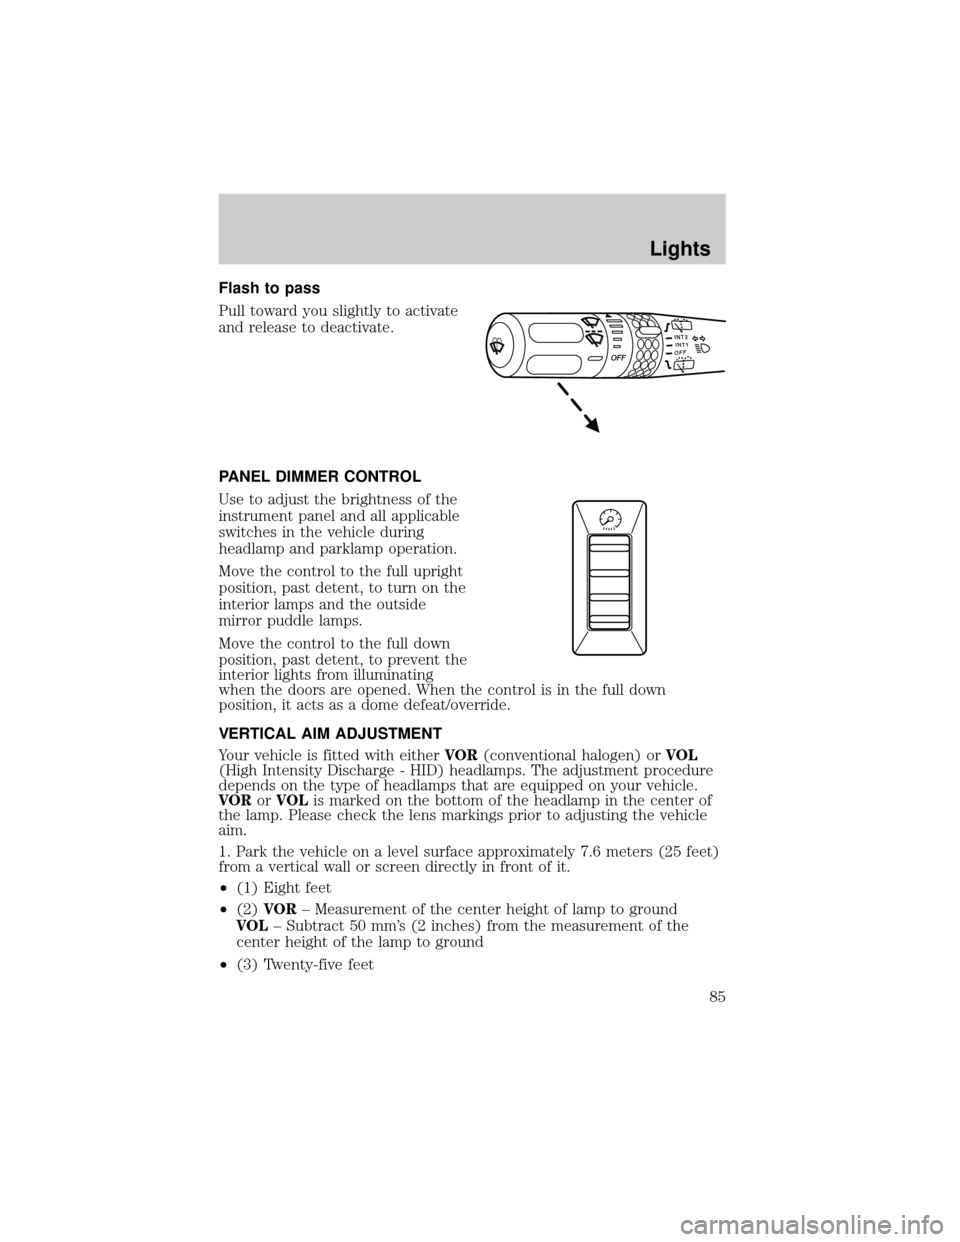
Flash to pass
Pull toward you slightly to activate
and release to deactivate.
PANEL DIMMER CONTROL
Use to adjust the brightness of the
instrument panel and all applicable
switches in the vehicle during
headlamp and parklamp operation.
Move the control to the full upright
position, past detent, to turn on the
interior lamps and the outside
mirror puddle lamps.
Move the control to the full down
position, past detent, to prevent the
interior lights from illuminating
when the doors are opened. When the control is in the full down
position, it acts as a dome defeat/override.
VERTICAL AIM ADJUSTMENT
Your vehicle is fitted with eitherVOR(conventional halogen) orVOL
(High Intensity Discharge - HID) headlamps. The adjustment procedure
depends on the type of headlamps that are equipped on your vehicle.
VORorVOLis marked on the bottom of the headlamp in the center of
the lamp. Please check the lens markings prior to adjusting the vehicle
aim.
1. Park the vehicle on a level surface approximately 7.6 meters (25 feet)
from a vertical wall or screen directly in front of it.
²(1) Eight feet
²(2)VOR± Measurement of the center height of lamp to ground
VOL± Subtract 50 mm's (2 inches) from the measurement of the
center height of the lamp to ground
²(3) Twenty-five feet
INT2OFFOFFINT1
Lights
85
Page 87 of 336
7. Close the hood and turn off the lamps.
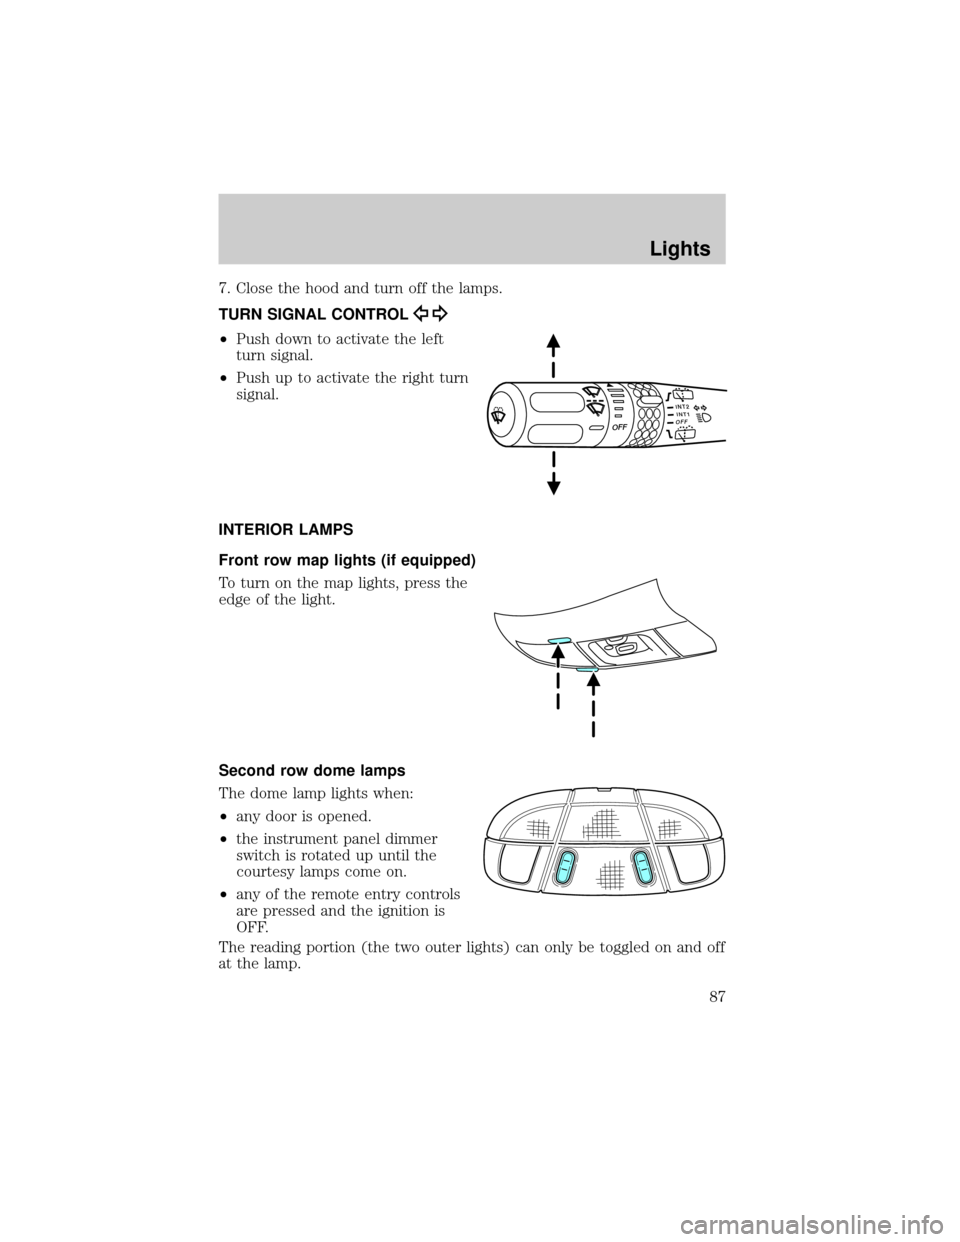
TURN SIGNAL CONTROL
²Push down to activate the left
turn signal.
²Push up to activate the right turn
signal.
INTERIOR LAMPS
Front row map lights (if equipped)
To turn on the map lights, press the
edge of the light.
Second row dome lamps
The dome lamp lights when:
²any door is opened.
²the instrument panel dimmer
switch is rotated up until the
courtesy lamps come on.
²any of the remote entry controls
are pressed and the ignition is
OFF.
The reading portion (the two outer lights) can only be toggled on and off
at the lamp.
INT2OFFOFFINT1
Lights
87
Page 88 of 336
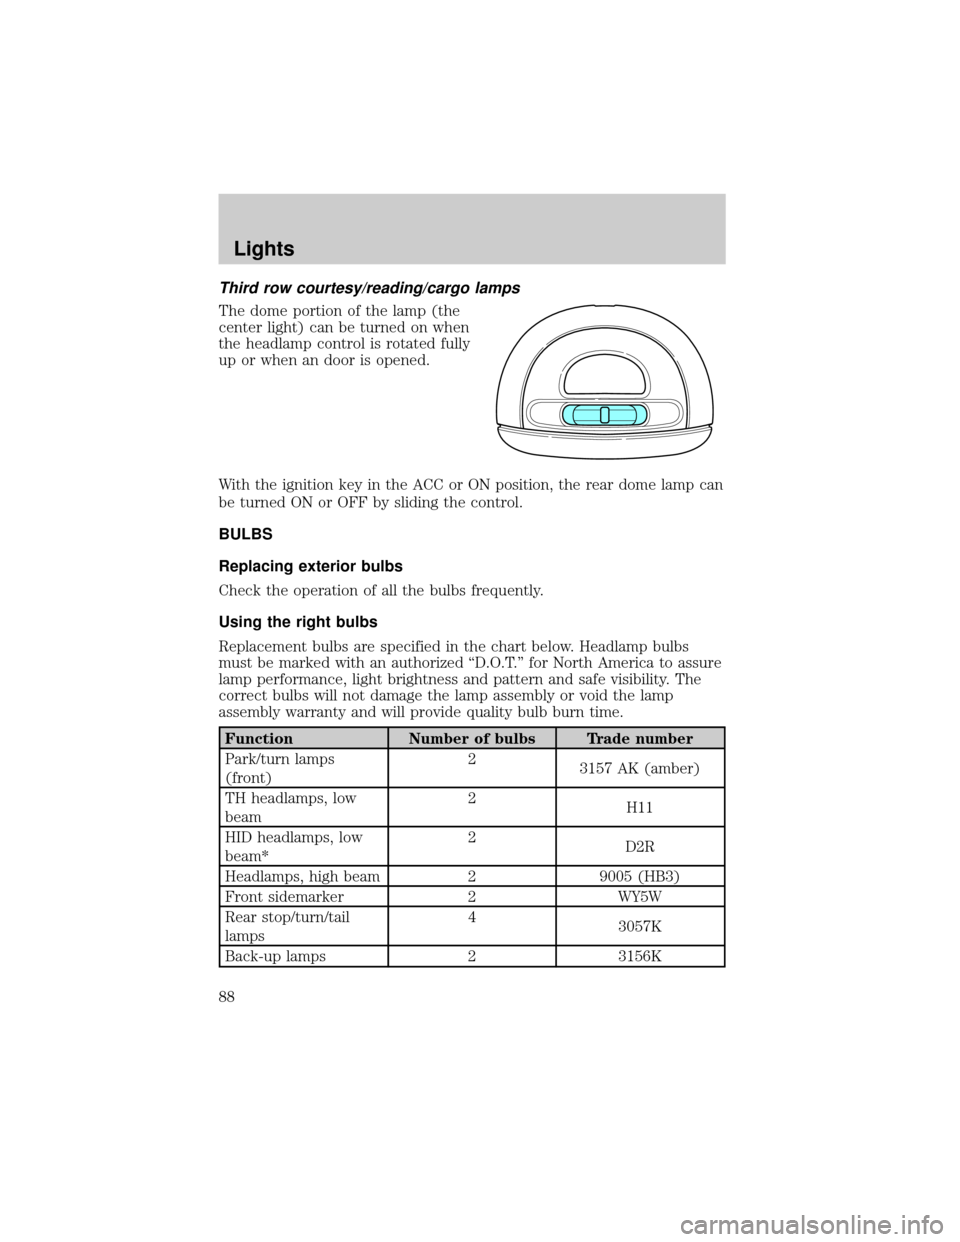
Third row courtesy/reading/cargo lamps
The dome portion of the lamp (the
center light) can be turned on when
the headlamp control is rotated fully
up or when an door is opened.
With the ignition key in the ACC or ON position, the rear dome lamp can
be turned ON or OFF by sliding the control.
BULBS
Replacing exterior bulbs
Check the operation of all the bulbs frequently.
Using the right bulbs
Replacement bulbs are specified in the chart below. Headlamp bulbs
must be marked with an authorized ªD.O.T.º for North America to assure
lamp performance, light brightness and pattern and safe visibility. The
correct bulbs will not damage the lamp assembly or void the lamp
assembly warranty and will provide quality bulb burn time.
Function Number of bulbs Trade number
Park/turn lamps
(front)2
3157 AK (amber)
TH headlamps, low
beam2
H11
HID headlamps, low
beam*2
D2R
Headlamps, high beam 2 9005 (HB3)
Front sidemarker 2 WY5W
Rear stop/turn/tail
lamps4
3057K
Back-up lamps 2 3156K
Lights
88
Page 119 of 336
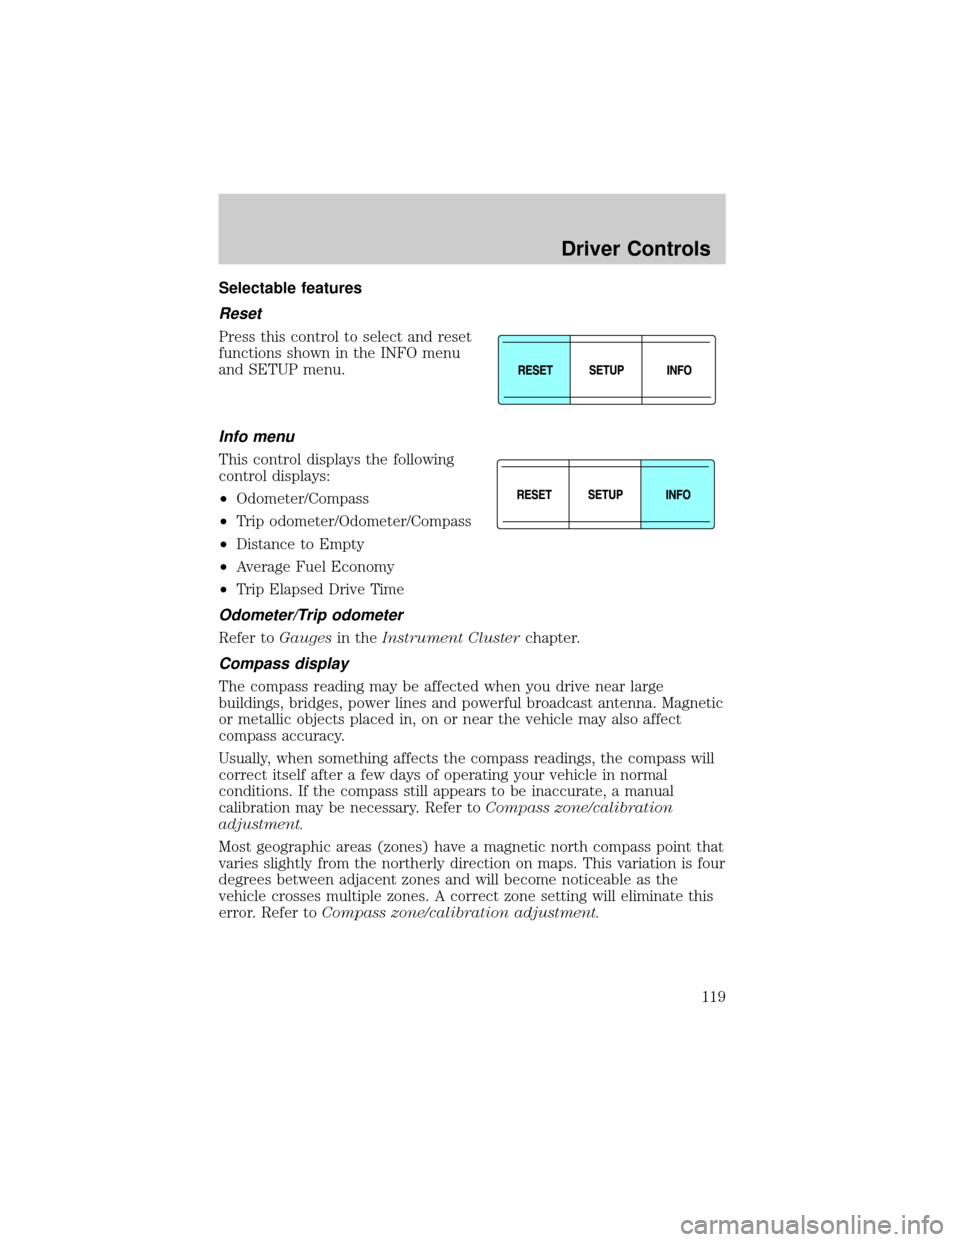
Selectable features
Reset
Press this control to select and reset
functions shown in the INFO menu
and SETUP menu.
Info menu
This control displays the following
control displays:
²Odometer/Compass
²Trip odometer/Odometer/Compass
²Distance to Empty
²Average Fuel Economy
²Trip Elapsed Drive Time
Odometer/Trip odometer
Refer toGaugesin theInstrument Clusterchapter.
Compass display
The compass reading may be affected when you drive near large
buildings, bridges, power lines and powerful broadcast antenna. Magnetic
or metallic objects placed in, on or near the vehicle may also affect
compass accuracy.
Usually, when something affects the compass readings, the compass will
correct itself after a few days of operating your vehicle in normal
conditions. If the compass still appears to be inaccurate, a manual
calibration may be necessary. Refer toCompass zone/calibration
adjustment.
Most geographic areas (zones) have a magnetic north compass point that
varies slightly from the northerly direction on maps. This variation is four
degrees between adjacent zones and will become noticeable as the
vehicle crosses multiple zones. A correct zone setting will eliminate this
error. Refer toCompass zone/calibration adjustment.
Driver Controls
119
Page 142 of 336

Programming remote transmitters
It is necessary to haveall(maximum of four Ð original and/or new) of
your remote transmitters available prior to beginning this procedure.
To program the transmitters yourself:
1. Ensure the vehicle is
electronically unlocked.
2. Put the key in the ignition.
3. Turn the key from the 1 (LOCK)
position to 3 (ON).
4. Cycle, eight times, rapidly (within
10 seconds) between the 1 (LOCK)
position and 3 (ON).Note:The
eighth turn must end in the 3 (ON)
position.
5. The doors will lock, then unlock, to confirm that the programming
mode has been activated.
6. Within 20 seconds press any button on the remote entry transmitter.
Note:If more than 20 seconds have passed you will need to start the
procedure over again.
7. The doors will lock, then unlock, to confirm that this remote entry
transmitter has been programmed.
8. Repeat the previous steps to program each additional remote entry
transmitter.
9. Turn the ignition to the 1 (LOCK) position after you have finished
programming all of the remote entry transmitters.
10. The doors will lock, then unlock, to confirm that the programming
has been completed.
Illuminated entry
The interior lamps illuminate when the remote entry system is used to
unlock the door(s).
The system automatically turns off after 25 seconds or when the ignition
is turned to the ON or ACC position. The dome lamp control (if
equipped) mustnotbe set to the OFF position for the illuminated entry
system to operate.
The inside lights will not turn off if:
²they have been turned on with the dimmer control, or
4
3
2
1
Locks and Security
142