traction control LINCOLN AVIATOR 2023 Owners Manual
[x] Cancel search | Manufacturer: LINCOLN, Model Year: 2023, Model line: AVIATOR, Model: LINCOLN AVIATOR 2023Pages: 681, PDF Size: 9.33 MB
Page 8 of 681
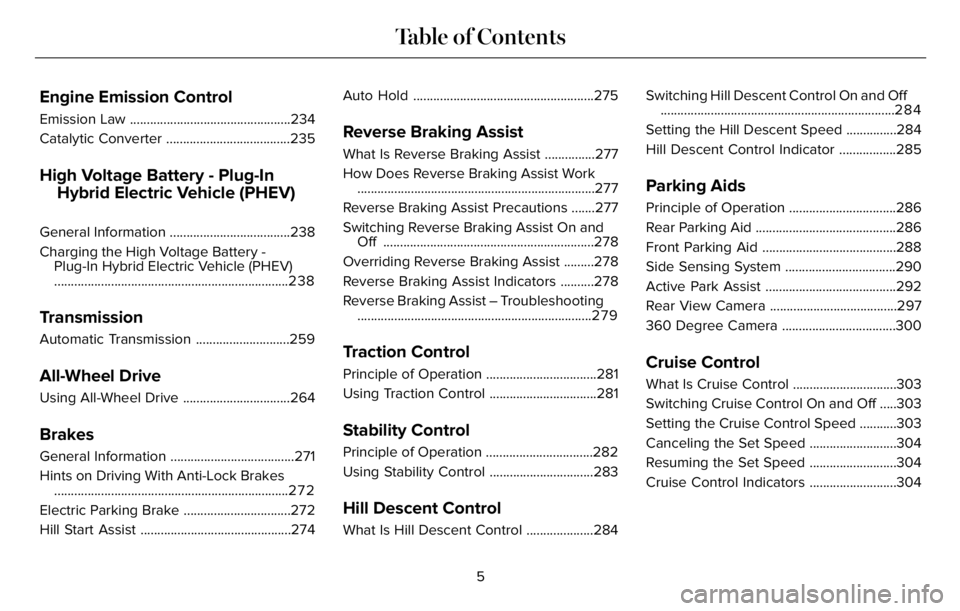
Engine Emission Control
Emission Law ................................................234
Catalytic Converter .....................................235
High Voltage Battery - Plug-In
Hybrid Electric Vehicle (PHEV)
General Information ....................................238
Charging the High Voltage Battery -
Plug-In Hybrid Electric Vehicle (PHEV)
......................................................................238
Transmission
Automatic Transmission ............................259
All-Wheel Drive
Using All-Wheel Drive ................................264
Brakes
General Information .....................................271
Hints on Driving With Anti-Lock Brakes
......................................................................2 7 2
Electric Parking Brake ................................272
Hill Start Assist .............................................274Auto Hold ......................................................275
Reverse Braking Assist
What Is Reverse Braking Assist ...............277
How Does Reverse Braking Assist Work
.......................................................................277
Reverse Braking Assist Precautions .......277
Switching Reverse Braking Assist On and
Off ...............................................................278
Overriding Reverse Braking Assist .........278
Reverse Braking Assist Indicators ..........278
Reverse Braking Assist – Troubleshooting
......................................................................2 7 9
Traction Control
Principle of Operation .................................281
Using Traction Control ................................281
Stability Control
Principle of Operation ................................282
Using Stability Control ...............................283
Hill Descent Control
What Is Hill Descent Control ....................284Switching Hill Descent Control On and Off
......................................................................284
Setting the Hill Descent Speed ...............284
Hill Descent Control Indicator .................285
Parking Aids
Principle of Operation ................................286
Rear Parking Aid ..........................................286
Front Parking Aid ........................................288
Side Sensing System .................................290
Active Park Assist .......................................292
Rear View Camera ......................................297
360 Degree Camera ..................................300
Cruise Control
What Is Cruise Control ...............................303
Switching Cruise Control On and Off .....303
Setting the Cruise Control Speed ...........303
Canceling the Set Speed ..........................304
Resuming the Set Speed ..........................304
Cruise Control Indicators ..........................304
5
Table of Contents
Page 28 of 681
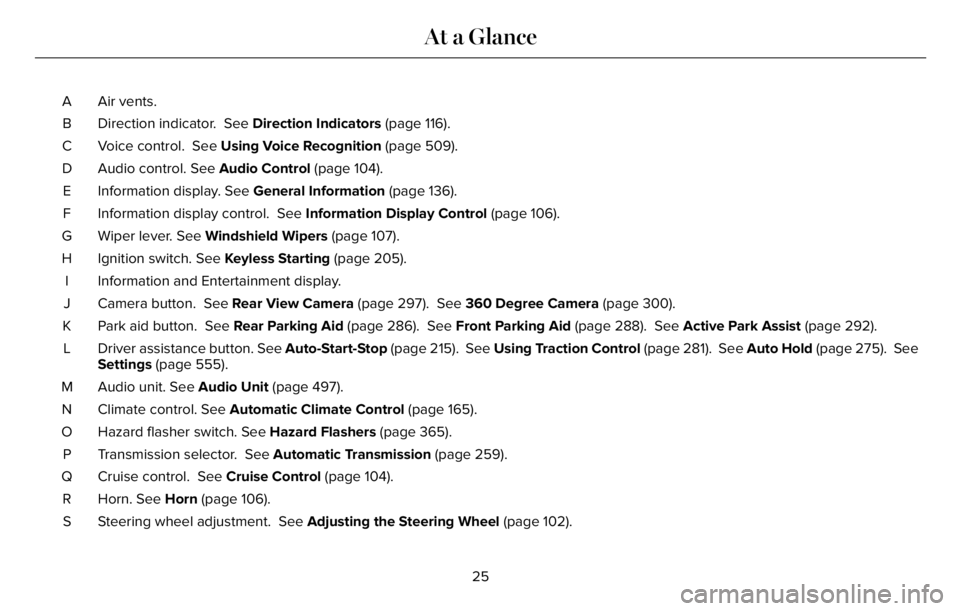
Air vents. A
Direction indicator. See Direction Indicators (page 116). B
Voice control. See Using Voice Recognition (page 509). C
Audio control. See Audio Control (page 104). D
Information display. See General Information (page 136). E
Information display control. See Information Display Control (page 106). F
Wiper lever. See Windshield Wipers (page 107). G
Ignition switch. See Keyless Starting (page 205). H
Information and Entertainment display. I
Camera button. See Rear View Camera (page 297). See 360 Degree Camera (page 300). J
Park aid button. See Rear Parking Aid (page 286). See Front Parking Aid (page 288). See Active Park Assist (page 292). K
Driver assistance button. See Auto-Start-Stop (page 215). See Using Traction Control (page 281). See Auto Hold (page 275). See
Settings (page 555). L
Audio unit. See Audio Unit (page 497). M
Climate control. See Automatic Climate Control (page 165). N
Hazard flasher switch. See Hazard Flashers (page 365). O
Transmission selector. See Automatic Transmission (page 259). P
Cruise control. See Cruise Control (page 104). Q
Horn. See Horn (page 106). R
Steering wheel adjustment. See Adjusting the Steering Wheel (page 102). S
25
At a Glance
Page 82 of 681
Note:Not every feature applies to every
vehicle in every market. When they are
available for your vehicle, then they appear
in the information display, providing choices
to switch them on or off, or to select a more
specific setting.
• Various vehicle speed limits so the
MyKey driver cannot exceed certain
speeds. The information display shows
warnings followed by an audible tone
when the MyKey driver reaches the set
speed. You cannot override the set
speed by fully depressing the accelerator
pedal.
WARNING: Do not set MyKey
maximum speed limit to a limit that will
prevent the driver from maintaining a safe
speed considering posted speed limits and
prevailing road conditions. The driver is
always responsible to drive in accordance
with local laws and prevailing conditions.
Failure to do so could result in accident or
injury.• Various vehicle speed reminders so
MyKey drivers know when their vehicle
speed approaches the limits. Warnings
appear in the information display and a
tone sounds when the MyKey drivers
exceed the set vehicle speed.
• The audio system's maximum volume
limits to 45% so MyKey drivers can
concentrate on the road. A message
appears in the information display when
MyKey drivers attempt to exceed the
limited volume. MyKey also disables the
automatic volume control. Note: If your
vehicle includes an AM/FM radio or a
very basic audio system, then the radio
may not limit.
• Always on setting. This setting forces
certain features to remain on and active
for MyKey drivers. For example, E911 or
emergency assistance and the do not
disturb features stay on even if a MyKey
driver uses the feature's control to switch
it off. When selected, you will not be able
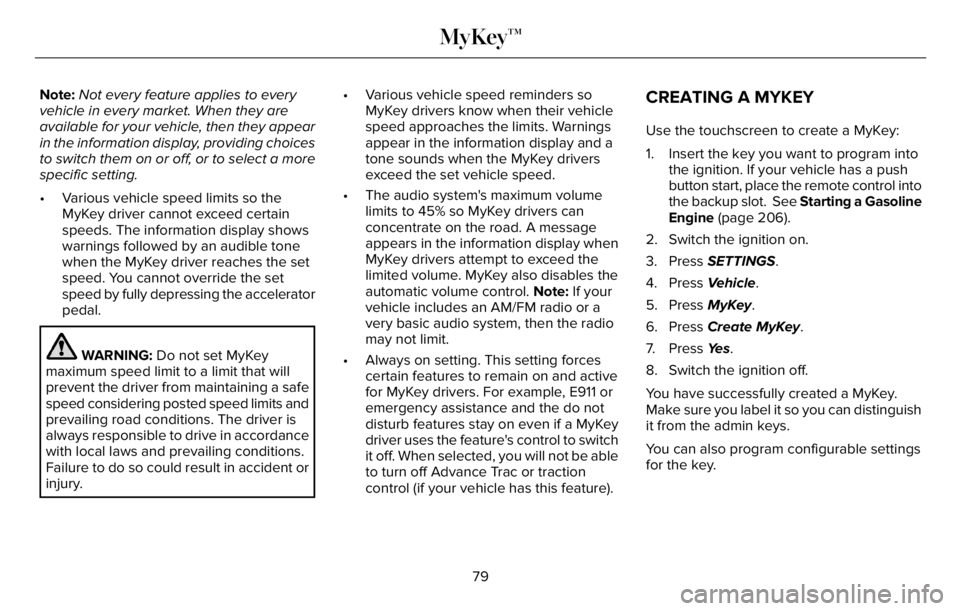
to turn off Advance Trac or traction
control (if your vehicle has this feature).
CREATING A MYKEY
Use the touchscreen to create a MyKey:
1. Insert the key you want to program into
the ignition. If your vehicle has a push
button start, place the remote control into
the backup slot. See Starting a Gasoline
Engine (page 206).
2. Switch the ignition on.
3. Press SETTINGS.
4. Press Vehicle.
5. Press MyKey.
6. Press Create MyKey.
7. Press Ye s.
8. Switch the ignition off.
You have successfully created a MyKey.
Make sure you label it so you can distinguish
it from the admin keys.
You can also program configurable settings
for the key.
79
MyKey™
Page 147 of 681
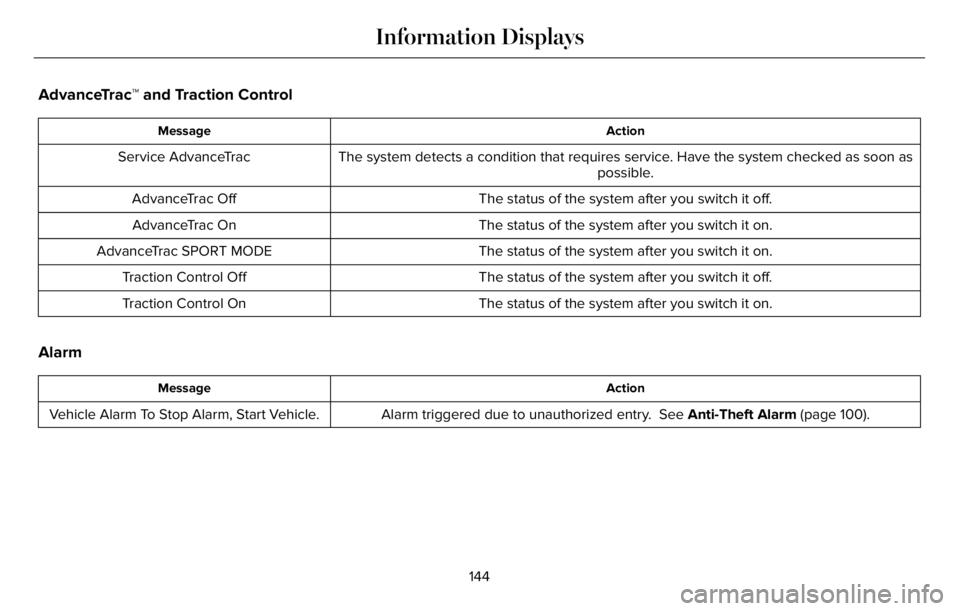
AdvanceTrac™ and Traction Control
Action Message
The system detects a condition that requires service. Have the system checked as soon as
possible. Service AdvanceTrac
The status of the system after you switch it off. AdvanceTrac Off
The status of the system after you switch it on. AdvanceTrac On
The status of the system after you switch it on. AdvanceTrac SPORT MODE
The status of the system after you switch it off. Traction Control Off
The status of the system after you switch it on. Traction Control On
Alarm
Action Message
Alarm triggered due to unauthorized entry. See Anti-Theft Alarm (page 100). Vehicle Alarm To Stop Alarm, Start Vehicle.
144
Information Displays
Page 159 of 681
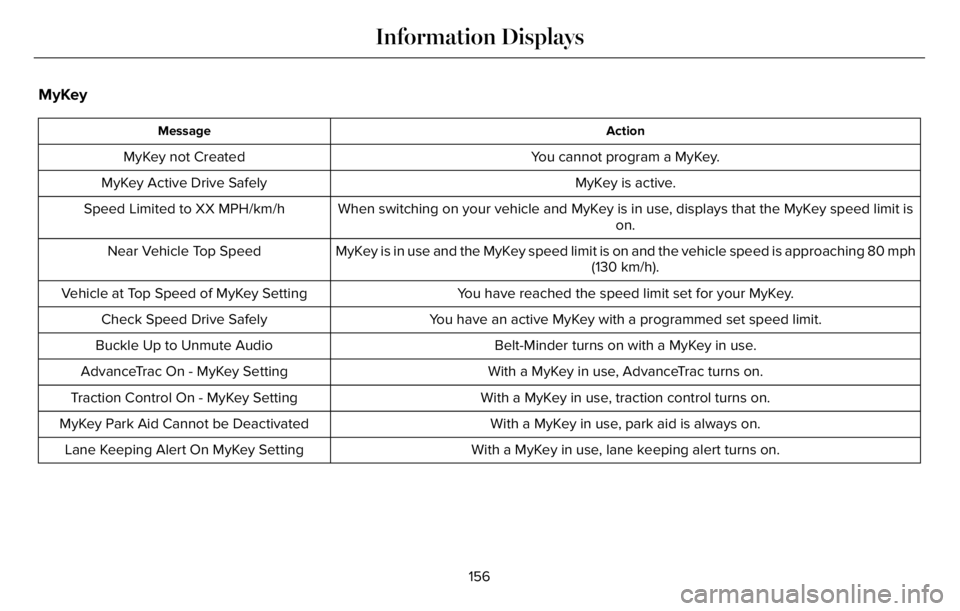
MyKey
Action Message
You cannot program a MyKey. MyKey not Created
MyKey is active. MyKey Active Drive Safely
When switching on your vehicle and MyKey is in use, displays that the MyKey speed limit is
on. Speed Limited to XX MPH/km/h
MyKey is in use and the MyKey speed limit is on and the vehicle speed is approaching 80 mph
(130 km/h). Near Vehicle Top Speed
You have reached the speed limit set for your MyKey. Vehicle at Top Speed of MyKey Setting
You have an active MyKey with a programmed set speed limit. Check Speed Drive Safely
Belt-Minder turns on with a MyKey in use. Buckle Up to Unmute Audio
With a MyKey in use, AdvanceTrac turns on. AdvanceTrac On - MyKey Setting
With a MyKey in use, traction control turns on. Traction Control On - MyKey Setting
With a MyKey in use, park aid is always on. MyKey Park Aid Cannot be Deactivated
With a MyKey in use, lane keeping alert turns on. Lane Keeping Alert On MyKey Setting
156
Information Displays
Page 267 of 681
USING ALL-WHEEL DRIVE
WARNING: Vehicles with a higher
center of gravity (utility and four-wheel
drive vehicles) handle differently than
vehicles with a lower center of gravity
(passenger cars). Avoid sharp turns,
excessive speed and abrupt steering in
these vehicles. Failure to drive cautiously
increases the risk of losing control of your
vehicle, vehicle rollover, personal injury
and death.
WARNING: Do not become
overconfident in the ability of all-wheel
drive vehicles. Although an all-wheel drive
vehicle may accelerate better than a
two-wheel drive vehicle in low traction
situations, it won't stop any faster than
two-wheel drive vehicles. Always drive at
a safe speed.The intelligent AWD system continuously
monitors vehicle conditions and adjusts the
power distribution between the front and
rear wheels. It combines transparent
all-surface operation with highly capable
all-wheel drive.
The AWD system is always active and
requires no driver input. It is capable of
handling all road conditions including street
and highway driving as well as off-road and
winter driving. You can optimize more AWD
control by selecting different drive modes.
See Selecting a Drive Mode (page 343).
Note:A warning message displays in the
information display when an AWD system
fault is present. See Information Messages
(page 142). A AWD system fault causes the
AWD system to default to rear-wheel drive
only mode. When this warning message
displays, have your vehicle serviced.Note:A warning message displays in the
information display if the AWD system
overheats. See Information Messages
(page 142). This condition could occur if you
operate your vehicle in extreme conditions
with excessive wheel slip, such as deep
sand. To resume normal AWD function as
soon as possible, stop the vehicle in a safe
location and stop the engine for at least 10
minutes. After you restart the engine and the
AWD system adequately cools, the warning
message turns off and normal AWD function
returns.Operating All-Wheel Drive (AWD)
Vehicles With Spare Tires
Do not use a different size spare tire other
than the tire provided. If the mini-spare tire
is installed, the AWD system will disable and
enter rear-wheel drive only mode to protect
driveline components. Some limited AWD
traction could be provided if the mini-spare
is installed on one of the front wheels. If you
are in driving conditions where limited AWD
traction is needed while the mini-spare is
installed, it is recommended the mini-spare
be installed on the front axle.
264
All-Wheel Drive (If Equipped)
Page 270 of 681
If Your Vehicle Gets Stuck
WARNING: Apply the parking brake,
shift into park (P), switch the ignition off
and remove the key before you leave your
vehicle. Failure to follow this instruction
could result in personal injury or death.
WARNING: If the parking brake is
fully released, but the brake warning lamp
remains illuminated, the brakes may not
be working properly. Have your vehicle
checked as soon as possible.
WARNING: Do not spin the wheels
at over 34 mph (55 km/h). The tires may
fail and injure a passenger or bystander.
If your vehicle gets stuck in mud or snow it
could be rocked out by shifting between
forward and reverse gears, stopping
between shifts, in a steady pattern. Press
lightly on the accelerator in each gear.
It could be beneficial to disengage Traction
Control while attempting to rock the vehicle.Note:Do not rock the vehicle if the engine
is not at normal operating temperature or
damage to the transmission could occur.
Note:Do not rock the vehicle for more than
a few minutes or damage to the transmission
and tires could occur or the engine could
overheat.
Emergency Maneuvers
• In an unavoidable emergency situation
where a sudden sharp turn must be
made, remember to avoid "over-driving"
your vehicle (i.e., turn the steering wheel
only as rapidly and as far as required to
avoid the emergency). Excessive steering
can result in less vehicle control, not
more. Additionally, smooth variations of
the accelerator and/or brake pedal
pressure should be utilized if changes in
vehicle speed are called for. Avoid abruptsteering, acceleration or braking which
could result in an increased risk of loss
of vehicle control, vehicle rollover and/or
personal injury. Use all available road
surface to return the vehicle to a safe
direction of travel.
• In the event of an emergency stop, avoid
skidding the tires and do not attempt any
sharp steering wheel movements.
• If the vehicle goes from one type of
surface to another (i.e., from concrete to
gravel) there is a change in the way the
vehicle responds to a maneuver
(steering, acceleration or braking). Again,
avoid these abrupt inputs.
Sand
When driving over sand, try to keep all four
wheels on the most solid area of the trail.
Avoid reducing the tire pressures but shift
to a lower gear and drive steadily through
the terrain. Apply the accelerator slowly and
avoid spinning the wheels.
267
All-Wheel Drive (If Equipped)
Page 271 of 681
Avoid excessive speed because vehicle
momentum can work against you and cause
the vehicle to become stuck to the point that
assistance could be required from another
vehicle. Remember, you could be able to
back out the way you came if you proceed
with caution.
Mud and Water
If you must drive through high water, drive
slowly. Traction or brake capability could be
limited.
Note:Driving through deep water could
damage your vehicle.
When driving through water, determine the
depth; avoid water higher than the bottom
of the hubs (if possible) and proceed slowly.
If the ignition system gets wet, the vehicle
could stall.
Once through water, always try the brakes.
Wet brakes do not stop the vehicle as
effectively as dry brakes. Drying can be
improved by moving your vehicle slowly
while applying light pressure on the brake
pedal.Be cautious of sudden changes in vehicle
speed or direction when you are driving in
mud. Even AWD vehicles can lose traction
in slick mud. As when you are driving over
sand, apply the accelerator slowly and avoid
spinning your wheels. If the vehicle does
slide, steer in the direction of the slide until
you regain control of the vehicle.
After driving through mud, clean off residue
stuck to rotating driveshafts and tires. Excess
mud stuck on tires and rotating driveshafts
causes an imbalance that could damage
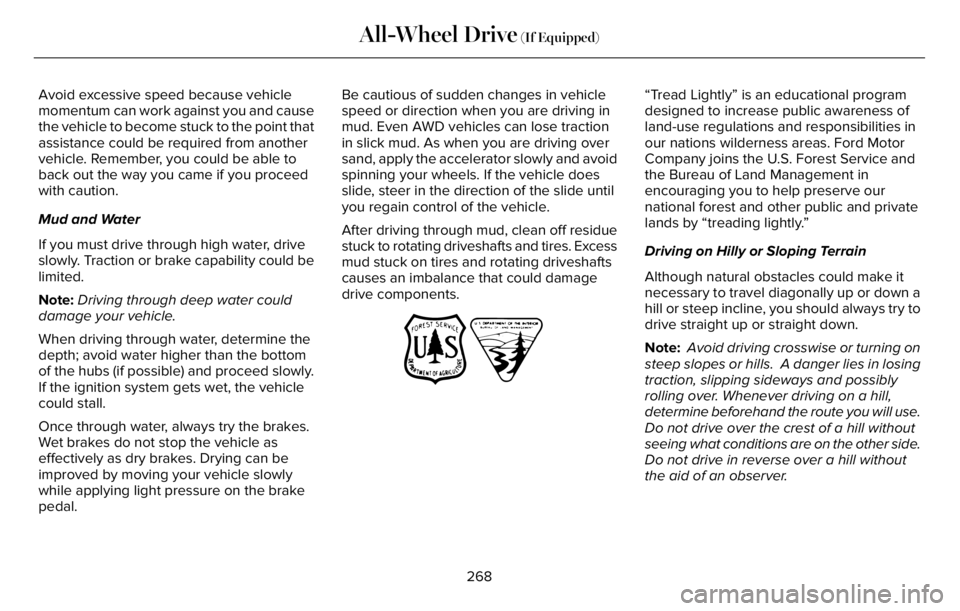
drive components.“Tread Lightly” is an educational program
designed to increase public awareness of
land-use regulations and responsibilities in
our nations wilderness areas. Ford Motor
Company joins the U.S. Forest Service and
the Bureau of Land Management in
encouraging you to help preserve our
national forest and other public and private
lands by “treading lightly.”
Driving on Hilly or Sloping Terrain
Although natural obstacles could make it
necessary to travel diagonally up or down a
hill or steep incline, you should always try to
drive straight up or straight down.
Note: Avoid driving crosswise or turning on
steep slopes or hills. A danger lies in losing
traction, slipping sideways and possibly
rolling over. Whenever driving on a hill,
determine beforehand the route you will use.
Do not drive over the crest of a hill without
seeing what conditions are on the other side.
Do not drive in reverse over a hill without
the aid of an observer.
268
All-Wheel Drive (If Equipped)
Page 272 of 681
When climbing a steep slope or hill, start in
a lower gear rather than downshifting to a
lower gear from a higher gear once the
ascent has started. This reduces strain on
the engine and the possibility of stalling.
If you do stall out, do not try to turn around
because you might roll over. It is better to
back down to a safe location.
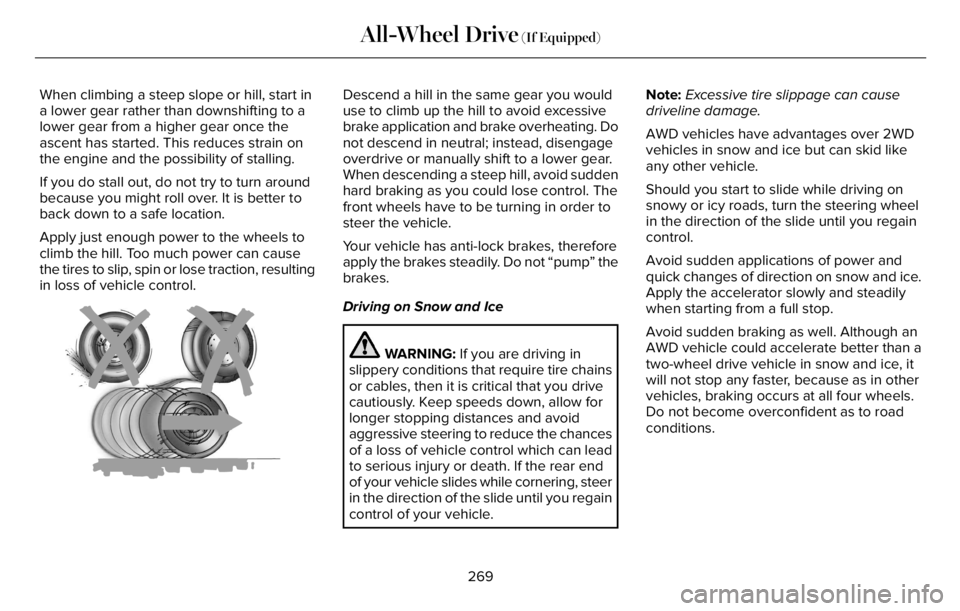
Apply just enough power to the wheels to
climb the hill. Too much power can cause
the tires to slip, spin or lose traction, resulting
in loss of vehicle control.Descend a hill in the same gear you would
use to climb up the hill to avoid excessive
brake application and brake overheating. Do
not descend in neutral; instead, disengage
overdrive or manually shift to a lower gear.
When descending a steep hill, avoid sudden
hard braking as you could lose control. The
front wheels have to be turning in order to
steer the vehicle.
Your vehicle has anti-lock brakes, therefore
apply the brakes steadily. Do not “pump” the
brakes.
Driving on Snow and Ice
WARNING: If you are driving in
slippery conditions that require tire chains
or cables, then it is critical that you drive
cautiously. Keep speeds down, allow for
longer stopping distances and avoid
aggressive steering to reduce the chances
of a loss of vehicle control which can lead
to serious injury or death. If the rear end
of your vehicle slides while cornering, steer
in the direction of the slide until you regain
control of your vehicle.Note:Excessive tire slippage can cause
driveline damage.
AWD vehicles have advantages over 2WD
vehicles in snow and ice but can skid like
any other vehicle.
Should you start to slide while driving on
snowy or icy roads, turn the steering wheel
in the direction of the slide until you regain
control.
Avoid sudden applications of power and
quick changes of direction on snow and ice.
Apply the accelerator slowly and steadily
when starting from a full stop.
Avoid sudden braking as well. Although an
AWD vehicle could accelerate better than a
two-wheel drive vehicle in snow and ice, it
will not stop any faster, because as in other
vehicles, braking occurs at all four wheels.
Do not become overconfident as to road
conditions.
269
All-Wheel Drive (If Equipped)
Page 283 of 681
REVERSE BRAKING ASSIST –
FREQUENTLY ASKED QUESTIONS
Why is reverse braking assist unavailable?
• Make sure you switch the system on.
See Switching Reverse Braking Assist
On and Off (page 278).
• Make sure that the liftgate, hood and all
doors are closed.
• Make sure the cross traffic alert system
is on. See Cross Traffic Alert (page 330).
• Make sure the rear parking aid system is
on. See Rear Parking Aid (page 286).
• Make sure traction control is on. See
Using Traction Control (page 281).
• The vehicle has sustained a rear end
impact. Have the sensors checked for
proper coverage and operation.
• An ABS, traction control or stability
control event may have occurred. The
system resumes operation when the
event is complete.• Make sure the rear view camera and 360
degree camera are not dirty or
obstructed. If it is dirty, clean the camera.
See Rear View Camera (page 297). See
360 Degree Camera (page 300). If the
message still appears after cleaning the
camera, wait a short time and the
message should clear. If the message
does not clear, have the system checked.
• Make sure the sensors are not blocked
or faulted. See Cross Traffic Alert (page
330). See Rear Parking Aid (page 286).
• You recently had your vehicle serviced,
or the battery disconnected. Drive your
vehicle a short distance to resume
system operation.
• The system does not function when you
connect a trailer. Operation resumes
when you disconnect the trailer.
Note:If the answers to why the system is
unavailable do not assist in returning reverse
braking assist to available, have the system
checked as soon as possible.
280
Reverse Braking Assist (If Equipped)