warning light LINCOLN AVIATOR 2023 User Guide
[x] Cancel search | Manufacturer: LINCOLN, Model Year: 2023, Model line: AVIATOR, Model: LINCOLN AVIATOR 2023Pages: 681, PDF Size: 9.33 MB
Page 118 of 681
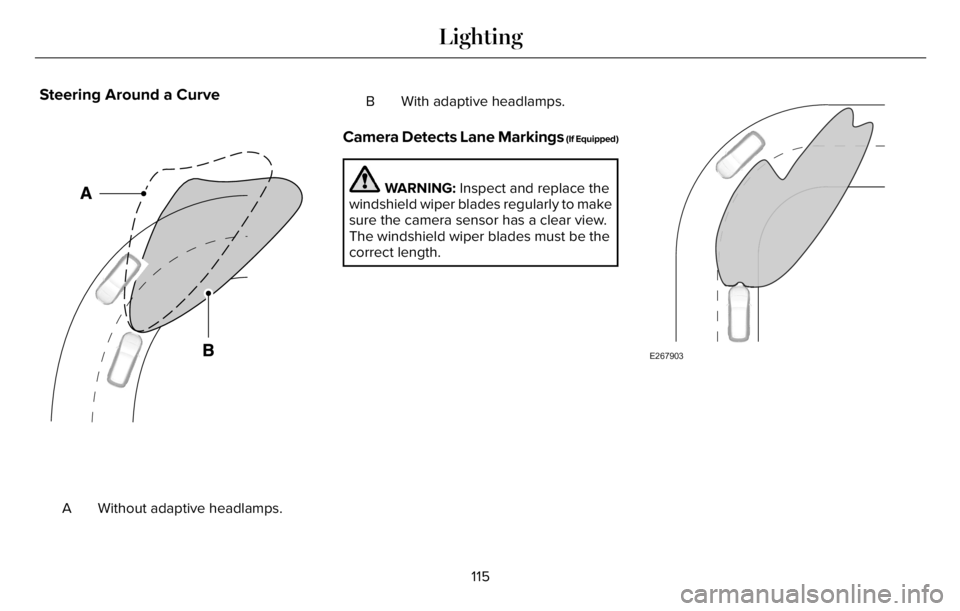
Steering Around a Curve
E161714E161714
Without adaptive headlamps. AB With adaptive headlamps.
Camera Detects Lane Markings (If Equipped)
WARNING: Inspect and replace the
windshield wiper blades regularly to make
sure the camera sensor has a clear view.
The windshield wiper blades must be the
correct length.
E267903
115
Lighting
Page 122 of 681
WHAT IS AUTOMATIC HIGH BEAM
CONTROL
The system turns on high beams if it is dark
enough and no other traffic is present. If it
detects an approaching vehicle’s headlamps
or tail lamps, or street lighting ahead, the
system turns the high beams off. Low beams
remain on.
A camera sensor, centrally mounted behind
the windshield of your vehicle, continuously
monitors conditions to turn the high beams
on and off.
SWITCHING AUTOMATIC HIGH
BEAM CONTROL ON AND OFF
WARNING: Do not use the system in
poor visibility, for example fog, heavy rain,
spray or snow.
Use the touchscreen to select the following:
1. Select Settings.
2. Select Vehicle.3. Select Lighting.
Activating the Automatic High Beam
Control
E281240
Switch the lighting control to the
autolamps position. See
Autolamps (page 112).
Note:The lighting control defaults to
autolamps each time you switch your vehicle
on.
When active, the high beams turn on if all
the following conditions occur:
• The ambient light level is low enough.
• There is no traffic in front of your vehicle.
• The vehicle speed is greater than
approximately 25 mph (40 km/h).
When active, the high beams turn off if at
least one of the following conditions occur:
• The ambient light level is high enough
that you do not require high beams.
• The system detects an approaching
vehicle's headlamps or tail lamps.
• The system detects severe rain, snow or
fog.• A blocked vehicle camera.
• The vehicle speed falls below
approximately 19 mph (30 km/h).
Note:The deactivation speed is lower on
curves.
Note:Certain curvy road situations may
delay high beam reactivation.
Note:If you have a blocked sensor, the
system may not operate properly. Keep the
windshield free from obstruction or damage.
Note:The system may not operate properly
in cold or inclement conditions. You can
switch on the high beams by overriding the
system.
Note:If the system detects a blockage, for
example bird droppings, bug splatter, snow
or ice, the system goes into low beam mode
until you clear the blockage. If you have a
blocked camera, a message may appear in
the information display.
Note:Using much larger tires or equipping
vehicle accessories such as snowplows can
modify your vehicle's ride height and
degrade automatic high beam control
performance.
119
Automatic High Beam Control
Page 124 of 681
POWER WINDOWS
WARNING: Do not leave children
unattended in your vehicle and do not let
them play with the power windows. Failure
to follow this instruction could result in
personal injury.
WARNING: When closing the power
windows, verify they are free of obstruction
and make sure that children and pets are
not in the proximity of the window
openings.
E295317
Note:You may hear a pulsing noise when
just one of the windows is open. Lower the
opposite window slightly to reduce this
noise.
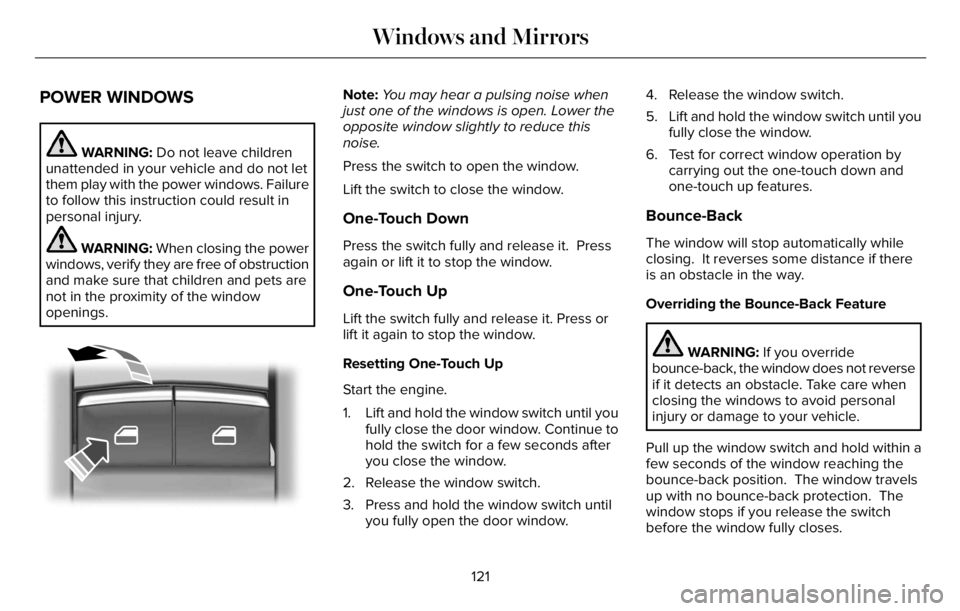
Press the switch to open the window.
Lift the switch to close the window.
One-Touch Down
Press the switch fully and release it. Press
again or lift it to stop the window.
One-Touch Up
Lift the switch fully and release it. Press or
lift it again to stop the window.
Resetting One-Touch Up
Start the engine.
1. Lift and hold the window switch until you
fully close the door window. Continue to
hold the switch for a few seconds after
you close the window.
2. Release the window switch.
3. Press and hold the window switch until
you fully open the door window.4. Release the window switch.
5. Lift and hold the window switch until you
fully close the window.
6. Test for correct window operation by
carrying out the one-touch down and
one-touch up features.
Bounce-Back
The window will stop automatically while
closing. It reverses some distance if there
is an obstacle in the way.
Overriding the Bounce-Back Feature
WARNING: If you override
bounce-back, the window does not reverse
if it detects an obstacle. Take care when
closing the windows to avoid personal
injury or damage to your vehicle.
Pull up the window switch and hold within a
few seconds of the window reaching the
bounce-back position. The window travels
up with no bounce-back protection. The
window stops if you release the switch
before the window fully closes.
121
Windows and Mirrors
Page 127 of 681
To reset the power-fold feature, use the
power-folding mirror control to fold and
unfold the mirrors. You may hear a loud noise
as you reset the power-folding mirrors. This
sound is normal. Repeat this process as
needed each time you manually fold the
mirrors.
Heated Exterior Mirrors
See Heated Exterior Mirrors (page 171).
Memory Mirrors
You can save and recall the mirror positions
through the memory function. See Memory
Function (page 184).
Auto-dimming Feature
The driver exterior mirror dims when the
interior auto-dimming mirror turns on.
Direction Indicator Mirrors
When the vehicle is running, the
forward-facing portion of the appropriate
mirror housing blinks when you switch on
the direction indicator.
Lincoln Welcome Mat Projection Lamp
The lamps on the bottom part of the exterior
mirror lower housing light when you use your
transmitter to unlock the doors or when you
open a door.
360-Degree Camera (If Equipped)
See 360 Degree Camera (page 300).
Blind Spot Information System (If Equipped)
See Blind Spot Information System (page
326).
INTERIOR MIRROR
WARNING: Do not adjust the mirrors
when your vehicle is moving. This could
result in the loss of control of your vehicle,
serious personal injury or death.
Note:Do not clean the housing or glass of
any mirror with harsh abrasives, fuel or other
petroleum or ammonia-based cleaning
products.You can adjust the interior mirror to your
preference. Some mirrors also have a second
pivot point. This lets you move the mirror
head up or down and from side to side.
Auto-Dimming Mirror
Note: Do not block the sensors on the front
and back of the mirror. A rear center
passenger or raised rear center head
restraint may also block light from reaching
the sensor.
The mirror dims to reduce the effect of bright
light from behind. It returns to normal when
the bright light from behind is no longer
present or if you shift into reverse (R).
124
Windows and Mirrors
Page 134 of 681
WARNING LAMPS AND
INDICATORS
The following warning lamps and indicators
alert you to a vehicle condition that may
become serious. Some lamps illuminate
when you start your vehicle to make sure
they work. If any lamps remain on after
starting your vehicle, refer to the respective
system warning lamp for further information.
Depending on your vehicle options and
instrument cluster type, not all warning lamps
and indicators shown are available.
Note:Some warning indicators appear in
the instrument cluster and function the same
as a warning lamp, but do not display when
you start your vehicle.
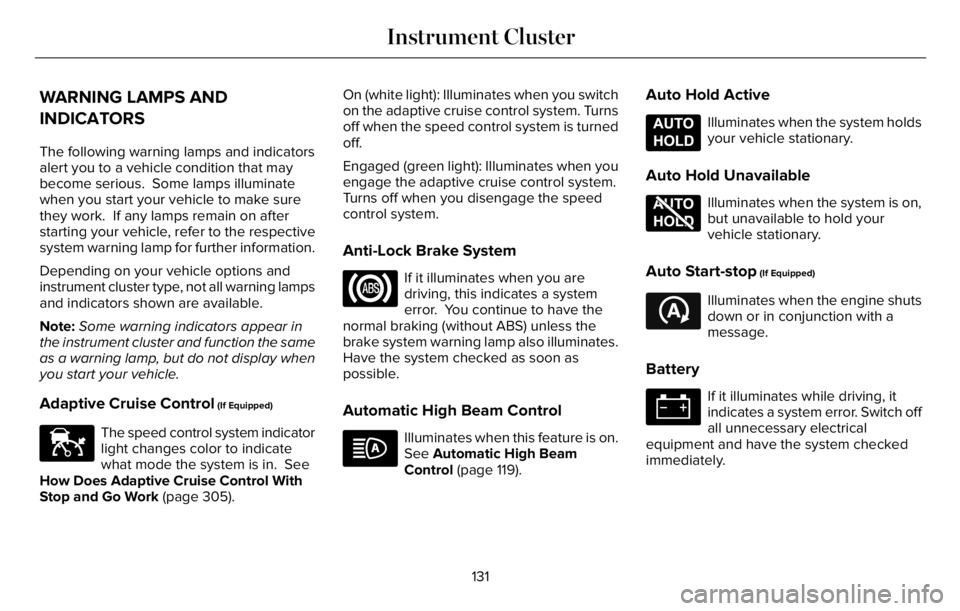
Adaptive Cruise Control (If Equipped)
E144524
The speed control system indicator
light changes color to indicate
what mode the system is in. See
How Does Adaptive Cruise Control With
Stop and Go Work (page 305).On (white light): Illuminates when you switch
on the adaptive cruise control system. Turns
off when the speed control system is turned
off.
Engaged (green light): Illuminates when you
engage the adaptive cruise control system.
Turns off when you disengage the speed
control system.
Anti-Lock Brake System
If it illuminates when you are
driving, this indicates a system
error. You continue to have the
normal braking (without ABS) unless the
brake system warning lamp also illuminates.
Have the system checked as soon as
possible.
Automatic High Beam Control
Illuminates when this feature is on.
See Automatic High Beam
Control (page 119).
Auto Hold Active
E197933
Illuminates when the system holds
your vehicle stationary.
Auto Hold Unavailable
E197934
Illuminates when the system is on,
but unavailable to hold your
vehicle stationary.
Auto Start-stop (If Equipped)
E121377
Illuminates when the engine shuts
down or in conjunction with a
message.
Battery
If it illuminates while driving, it
indicates a system error. Switch off
all unnecessary electrical
equipment and have the system checked
immediately.
131
Instrument Cluster
Page 179 of 681
SITTING IN THE CORRECT
POSITION
WARNING: Sitting improperly, out of
position or with the seatback reclined too
far can take weight off the seat cushion
and affect the decision of the passenger
sensing system, resulting in serious injury
or death in the event of a crash. Always sit
upright against your seat back, with your
feet on the floor.
WARNING: Do not recline the seat
backrest too far as this can cause the
occupant to slide under the seatbelt,
resulting in personal injury in the event of
a crash.
WARNING: Do not place objects
higher than the top of the seat backrest.
Failure to follow this instruction could result
in personal injury or death in the event of
a sudden stop or crash.
E68595
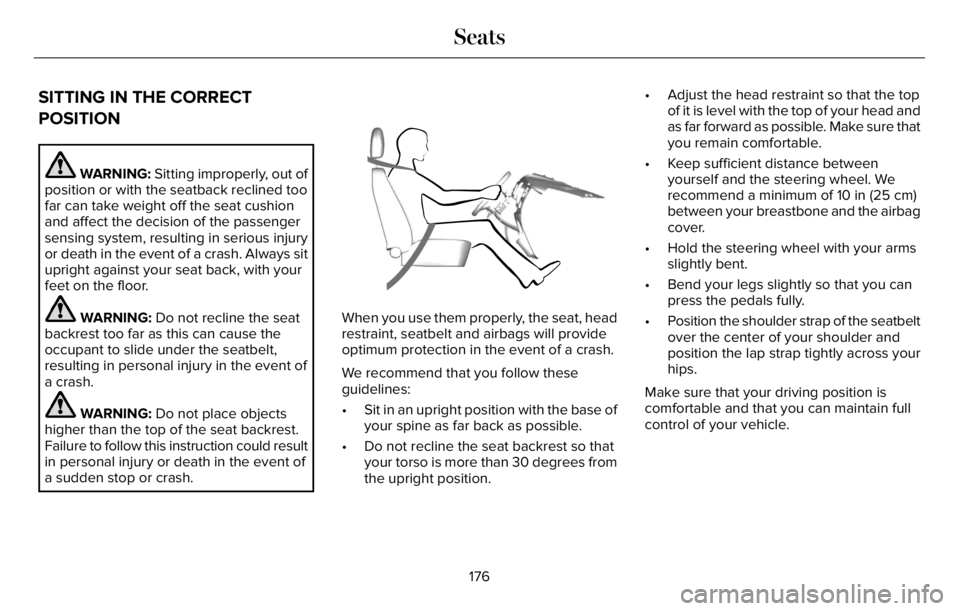
When you use them properly, the seat, head
restraint, seatbelt and airbags will provide
optimum protection in the event of a crash.
We recommend that you follow these
guidelines:
• Sit in an upright position with the base of
your spine as far back as possible.
• Do not recline the seat backrest so that
your torso is more than 30 degrees from
the upright position.• Adjust the head restraint so that the top
of it is level with the top of your head and
as far forward as possible. Make sure that
you remain comfortable.
• Keep sufficient distance between
yourself and the steering wheel. We
recommend a minimum of 10 in (25 cm)
between your breastbone and the airbag
cover.
• Hold the steering wheel with your arms
slightly bent.
• Bend your legs slightly so that you can
press the pedals fully.
• Position the shoulder strap of the seatbelt
over the center of your shoulder and
position the lap strap tightly across your
hips.
Make sure that your driving position is
comfortable and that you can maintain full
control of your vehicle.
176
Seats
Page 194 of 681
• Pressing any keyless entry keypad
button.
• Switching the ignition on.
HEATED SEATS
WARNING: Use caution when using
the heated seat if you are unable to feel
pain to your skin because of advanced
age, chronic illness, diabetes, spinal cord
injury, medication, alcohol use, exhaustion
or other physical conditions. The heated
seat could cause burns even at low
temperatures, especially if used for long
periods of time. Failure to follow this
instruction could result in personal injury.
WARNING: Do not poke sharp
objects into the seat cushion or seat
backrest. This could damage the heated
seat element and cause it to overheat.
Failure to follow this instruction could result
in personal injury.
WARNING: Do not place anything on
the seat that blocks the heat, for example
a seat cover or a cushion. This could cause
the seat to overheat. Failure to follow this
instruction could result in personal injury.
Front Seats
Do not do the following:
• Place heavy objects on the seat.
• Operate the heated seat if water or any
other liquid spills on the seat. Allow the
seat to dry thoroughly.
Note:The engine must be running to use
this feature.
E146322
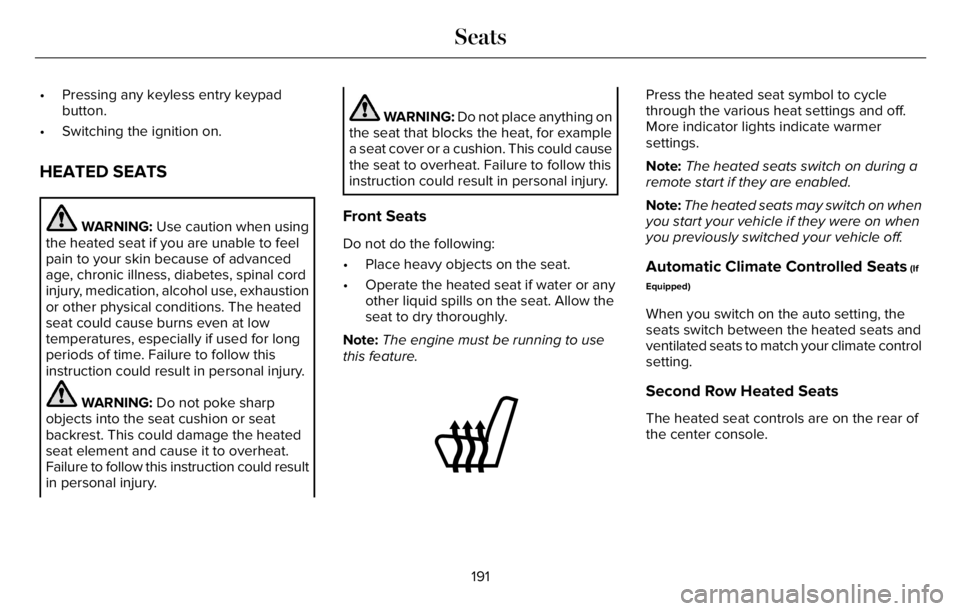
Press the heated seat symbol to cycle
through the various heat settings and off.
More indicator lights indicate warmer
settings.
Note:The heated seats switch on during a
remote start if they are enabled.
Note:The heated seats may switch on when
you start your vehicle if they were on when
you previously switched your vehicle off.
Automatic Climate Controlled Seats (If
Equipped)
When you switch on the auto setting, the
seats switch between the heated seats and
ventilated seats to match your climate control
setting.
Second Row Heated Seats
The heated seat controls are on the rear of
the center console.
191
Seats
Page 198 of 681
GARAGE DOOR OPENER
INTRODUCTION
HomeLink Wireless Control System
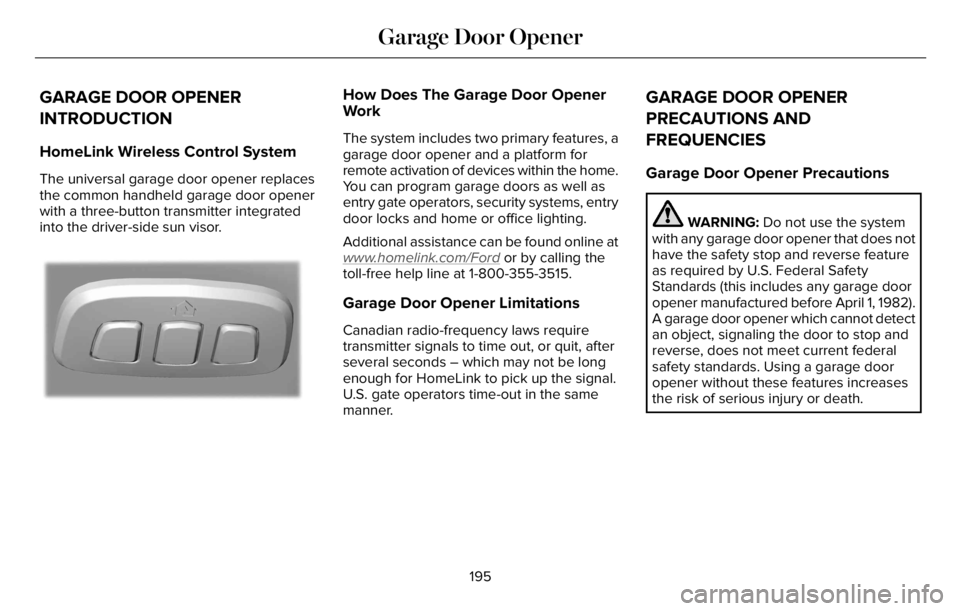
The universal garage door opener replaces
the common handheld garage door opener
with a three-button transmitter integrated
into the driver-side sun visor.
E18821E1882111
How Does The Garage Door Opener
Work
The system includes two primary features, a
garage door opener and a platform for
remote activation of devices within the home.
You can program garage doors as well as
entry gate operators, security systems, entry
door locks and home or office lighting.
Additional assistance can be found online at
www
.homelink.com/Ford or by calling the
toll-free help line at 1-800-355-3515.
Garage Door Opener Limitations
Canadian radio-frequency laws require
transmitter signals to time out, or quit, after
several seconds – which may not be long
enough for HomeLink to pick up the signal.
U.S. gate operators time-out in the same
manner.
GARAGE DOOR OPENER
PRECAUTIONS AND
FREQUENCIES
Garage Door Opener Precautions
WARNING: Do not use the system
with any garage door opener that does not
have the safety stop and reverse feature
as required by U.S. Federal Safety
Standards (this includes any garage door
opener manufactured before April 1, 1982).
A garage door opener which cannot detect
an object, signaling the door to stop and
reverse, does not meet current federal
safety standards. Using a garage door
opener without these features increases
the risk of serious injury or death.
195
Garage Door Opener
Page 203 of 681
12 Volt DC Power Point
WARNING: Do not plug optional
electrical accessories into the cigar lighter
socket. Incorrect use of the cigar lighter
can cause damage not covered by the
vehicle warranty, and can result in fire or
serious injury.
Note:When you switch the ignition on, you
can use the socket to power 12 volt
appliances with a maximum current rating
of 15 amps.
Note:If the power supply does not work after
you switch the ignition off, switch the ignition
on.
Note:Do not hang any accessory from the
accessory plug.
Note:Do not use the power point over the
vehicle capacity of 12 volt DC 180 watts or
a fuse may blow.
Note:Always keep the power point caps
closed when not in use.Do not insert objects other than an accessory
plug into the power point. This damages the
power point and may blow the fuse.
Run the vehicle for full capacity use of the
power point.
To prevent the battery from running out of
charge:
• Do not use the power point longer than
necessary when the vehicle is not
running.
• Do not leave devices plugged in
overnight or when you park your vehicle
for extended periods.
USB Port and Power Point Locations
USB Ports and Power Points may be in the
following locations:
• On the lower instrument panel.
• Inside the first row center console.
• Inside the second row center console.
• On the front of the center console.
• On the rear of the center console.
• In the cargo area.• On the passenger side floor panel.
• 3rd row on the quarter trim panels.
Note:Some of the USB ports may not have
data transfer capabilities.
Note:Incorrect use of the USB ports can
cause damage not covered by the vehicle
warranty.
110 Volt AC Power Point
WARNING: Do not keep electrical
devices plugged in the power point
whenever the device is not in use. Do not
use any extension cord with the 110 volt
AC power point, since it will defeat the
safety protection design. Doing so may
cause the power point to overload due to
powering multiple devices that can reach
beyond the 150 watt load limit and could
result in fire or serious injury.
Note:The power point turns off when you
switch off the ignition, when the vehicle is
not in accessory mode or when the battery
voltage drops below 11 volts.
200
Auxiliary Power Points
Page 209 of 681
• Without applying the brake pedal, press
and release the button once when the
ignition is in the on mode, or when your
vehicle is running but is not moving.
On: All electrical circuits are operational and
the warning lamps and indicators illuminate.
• Without applying the brake pedal, press
and release the button once.
Start: Starts your vehicle. The engine may
not start when your vehicle starts.
• Press the brake pedal, and then press
the button for any length of time. An
indicator light on the button illuminates
when the ignition is on and when your
vehicle starts.
STARTING A GASOLINE ENGINE
When you start the engine, the idle speed
increases. This helps to warm up the
engine. If the engine idle speed does not
slow down, have your vehicle checked as
soon as possible.Note: You can crank the engine for a total
of 60 seconds without the engine starting
before the starting system temporarily
disables. The 60 seconds does not have to
be all at once. For example, if you crank the
engine three times for 20 seconds each time,
without the engine starting, you reached the
60-second time limit. A message appears
in the information display alerting you that
you exceeded the cranking time. You
cannot attempt to start the engine for at
least 15 minutes. After 15 minutes, you are
limited to a 15-second engine cranking time.
You need to wait 60 minutes before you can
crank the engine for 60 seconds again.
Before starting your vehicle, check the
following:
• Make sure all occupants have fastened
their seatbelts.
• Make sure the headlamps and electrical
accessories are off.
• Make sure the parking brake is on.
• Make sure the transmission is in park (P).
• Switch the ignition on.
Note:Do not touch the accelerator pedal.Note:You must have your intelligent access
key in your vehicle in order to shift the
transmission out of park (P).
1. Fully press the brake pedal.
2. Press the push button ignition switch.
The system does not function if:
• The passive key frequencies are jammed.
• The key battery has no charge.
If you are unable to start your vehicle, do the
following:
206
Starting and Stopping the Engine