LINCOLN LS 2000 Workshop Manual
Manufacturer: LINCOLN, Model Year: 2000, Model line: LS, Model: LINCOLN LS 2000Pages: 272, PDF Size: 2.36 MB
Page 51 of 272
Setting the clock with radio data system (RDS) feature
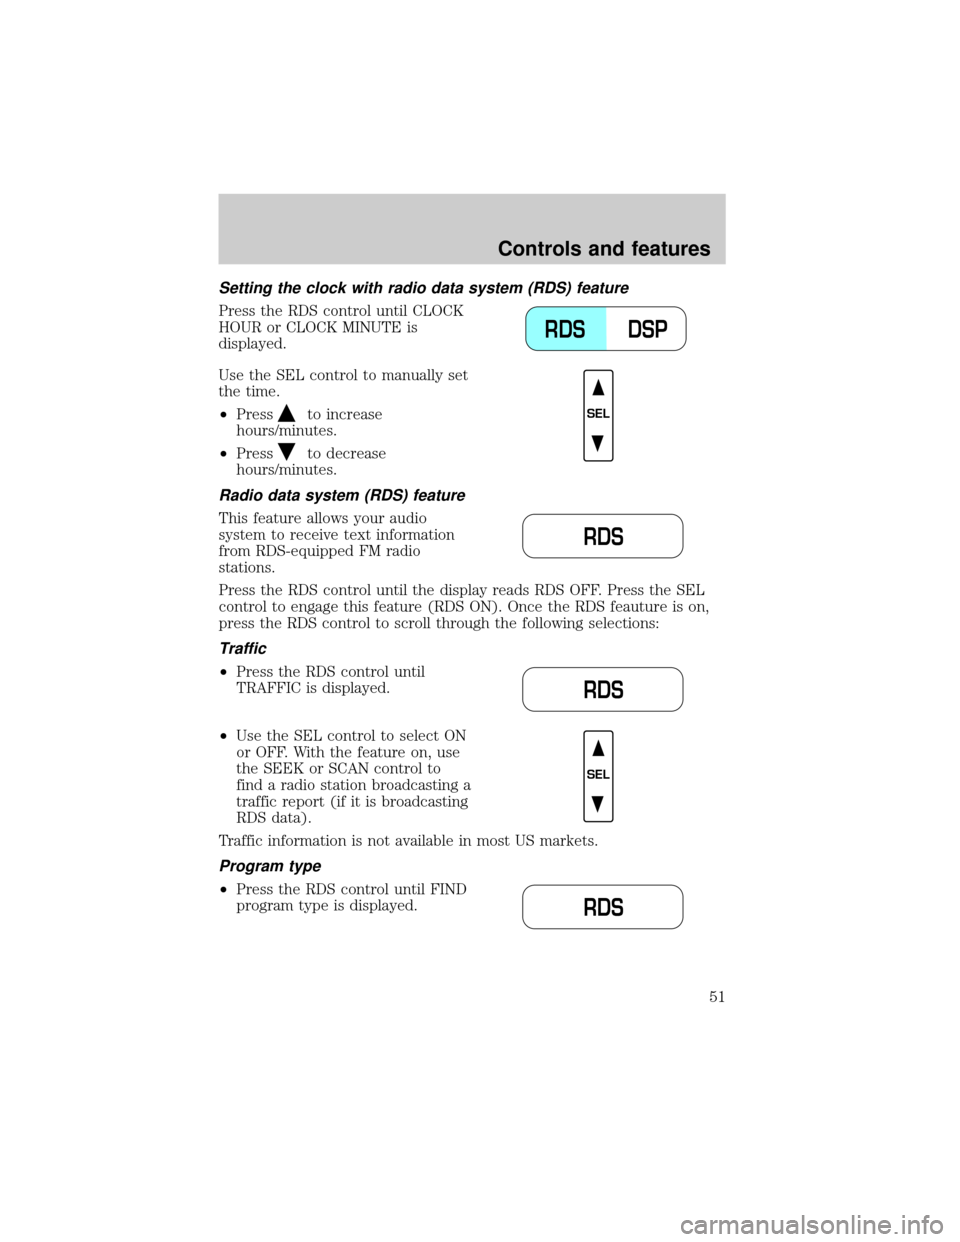
Press the RDS control until CLOCK
HOUR or CLOCK MINUTE is
displayed.
Use the SEL control to manually set
the time.
²Press
to increase
hours/minutes.
²Press
to decrease
hours/minutes.
Radio data system (RDS) feature
This feature allows your audio
system to receive text information
from RDS-equipped FM radio
stations.
Press the RDS control until the display reads RDS OFF. Press the SEL
control to engage this feature (RDS ON). Once the RDS feauture is on,
press the RDS control to scroll through the following selections:
Traffic
²Press the RDS control until
TRAFFIC is displayed.
²Use the SEL control to select ON
or OFF. With the feature on, use
the SEEK or SCAN control to
find a radio station broadcasting a
traffic report (if it is broadcasting
RDS data).
Traffic information is not available in most US markets.
Program type
²Press the RDS control until FIND
program type is displayed.
DSP RDS
SEL
RDS
RDS
SEL
RDS
Controls and features
51
Page 52 of 272
²Use the SEL control to select the
program type. With the feature
on, use the SEEK or SCAN
control to find the desired
program type from the following
selections:
²Classic
²Country
²Info
²Jazz
²Oldies
²R&B
²Religious
²Rock
²Soft
²To p 4 0
Show
²With RDS activated, press the
RDS control until SHOW is
displayed.
²Use the SEL control to select
TYPE, NAME or NONE.
RDS clock feature
Refer toSetting the clockfor information.
Phone/mute mode
This feature allows you to control
the factory-installed cellular phone
(if equipped) through the radio
controls.
SEL
RDS
SEL
MUTE
Controls and features
52
Page 53 of 272
²Press the phone/mute control to enter phone mode.
²Use SEEK or radio presets 1 through 6 to select a phone number.
²Press the phone/mute control again to send and end calls.
Press the control again to return to the playing media.
This control will mute the playing media even if your vehicle is not
equipped with a factory-installed cellular phone.
Digital signal processing (if equipped)
The digital signal processing (DSP)
feature allows you to change the
signal mode to suit your listening
tastes.
Press the control to turn the feature on or off.
Use the SEL control to select the
desired signal mode (the selected
mode will appear in the display).
The following signal modes can be
selected:
²JAZZ CLUBÐjazz club with
clearly reflected sounds.
²HALLÐrectangular concert hall capacity of about 2 000
²CHURCHÐchurch with a high vault.
²STADIUMÐoutdoor stadium with a capacity of about 30 000.
²NEWSЪvoice-onlyº type of sound with a limited audio band.
Press the DSP control until one of
the following appears:
²ALL SEATS
²DRIVER SEAT
²REAR SEATS
Use the SELECT control to change
the equalization to the desired
mode.
DSP RDS
SEL
DSP RDS
SEL
Controls and features
53
Page 54 of 272
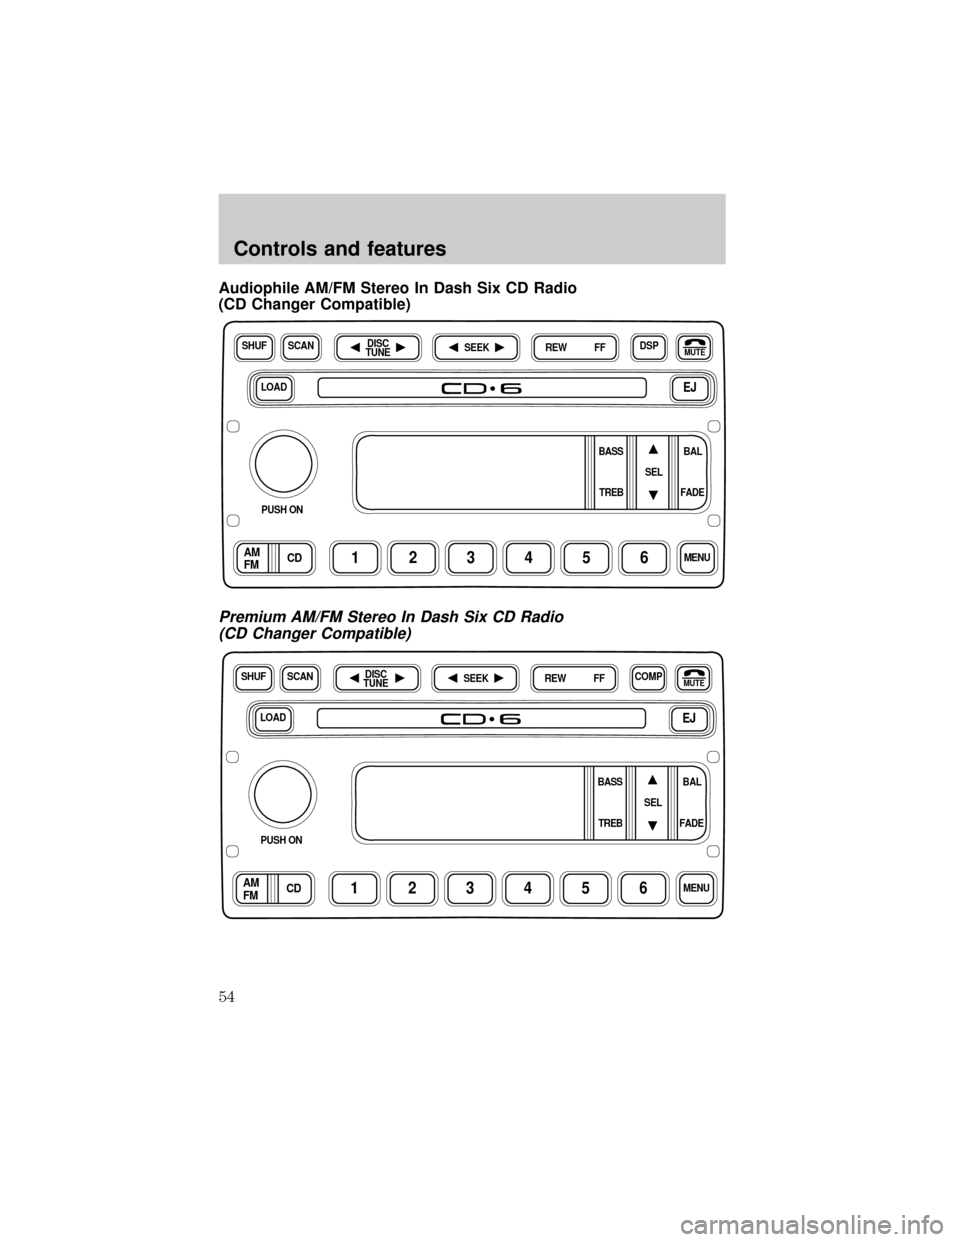
Audiophile AM/FM Stereo In Dash Six CD Radio
(CD Changer Compatible)
Premium AM/FM Stereo In Dash Six CD Radio
(CD Changer Compatible)
LOADEJ
SHUFDSPMUTE
SELBAL BASS
FADE TREB
SCAN
PUSH ON
CD123456MENUAM
FM
SEEKREW FFDISC
TUNE
LOADEJ
SHUFCOMPMUTE
SELBAL BASS
FADE TREB
SCANDISC
TUNE
PUSH ON
CD123456MENUAM
FM
SEEKREW FF
Controls and features
54
Page 55 of 272
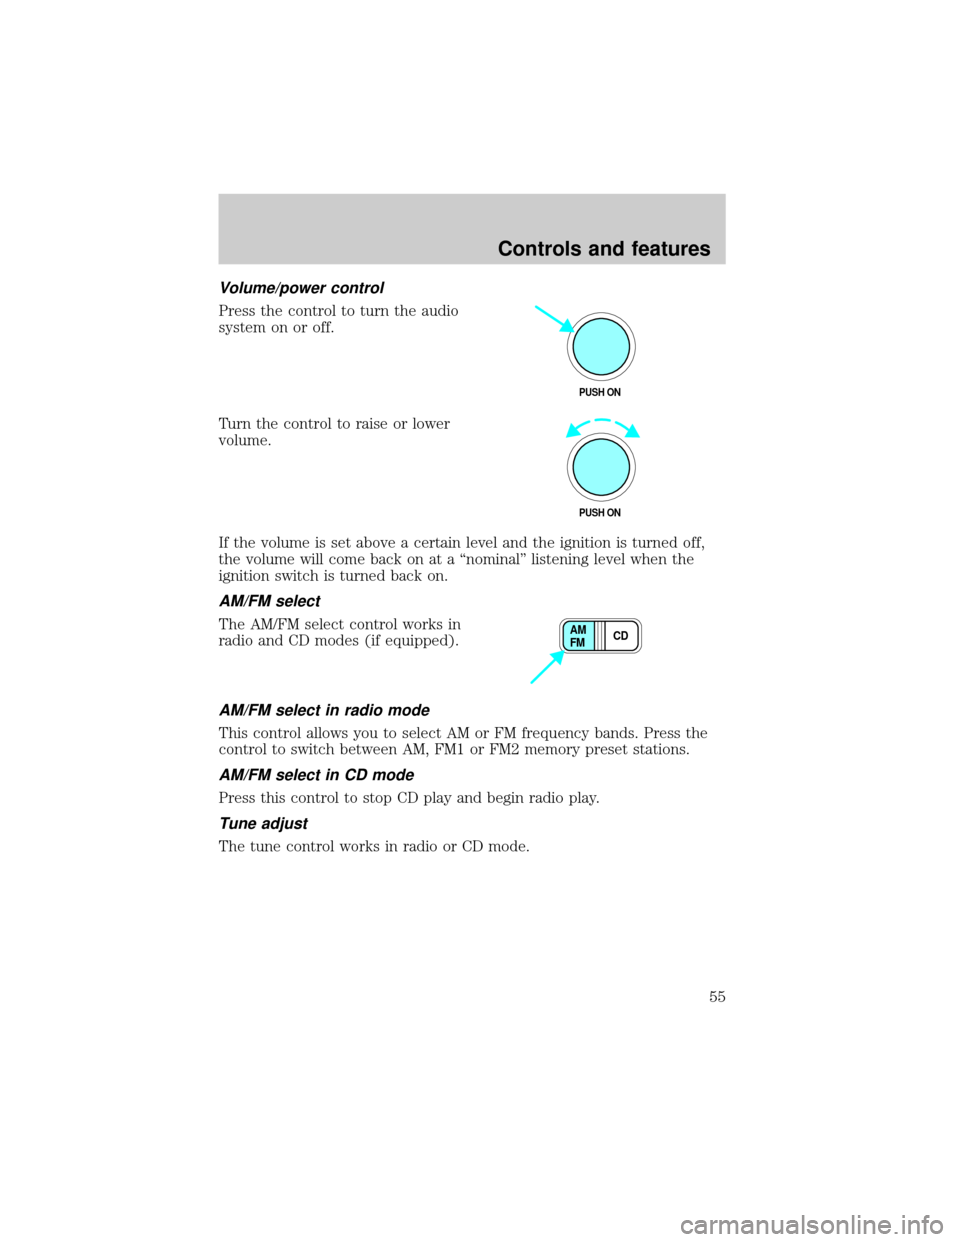
Volume/power control
Press the control to turn the audio
system on or off.
Turn the control to raise or lower
volume.
If the volume is set above a certain level and the ignition is turned off,
the volume will come back on at a ªnominalº listening level when the
ignition switch is turned back on.
AM/FM select
The AM/FM select control works in
radio and CD modes (if equipped).
AM/FM select in radio mode
This control allows you to select AM or FM frequency bands. Press the
control to switch between AM, FM1 or FM2 memory preset stations.
AM/FM select in CD mode
Press this control to stop CD play and begin radio play.
Tune adjust
The tune control works in radio or CD mode.
PUSH ON
PUSH ON
CD AM
FM
Controls and features
55
Page 56 of 272
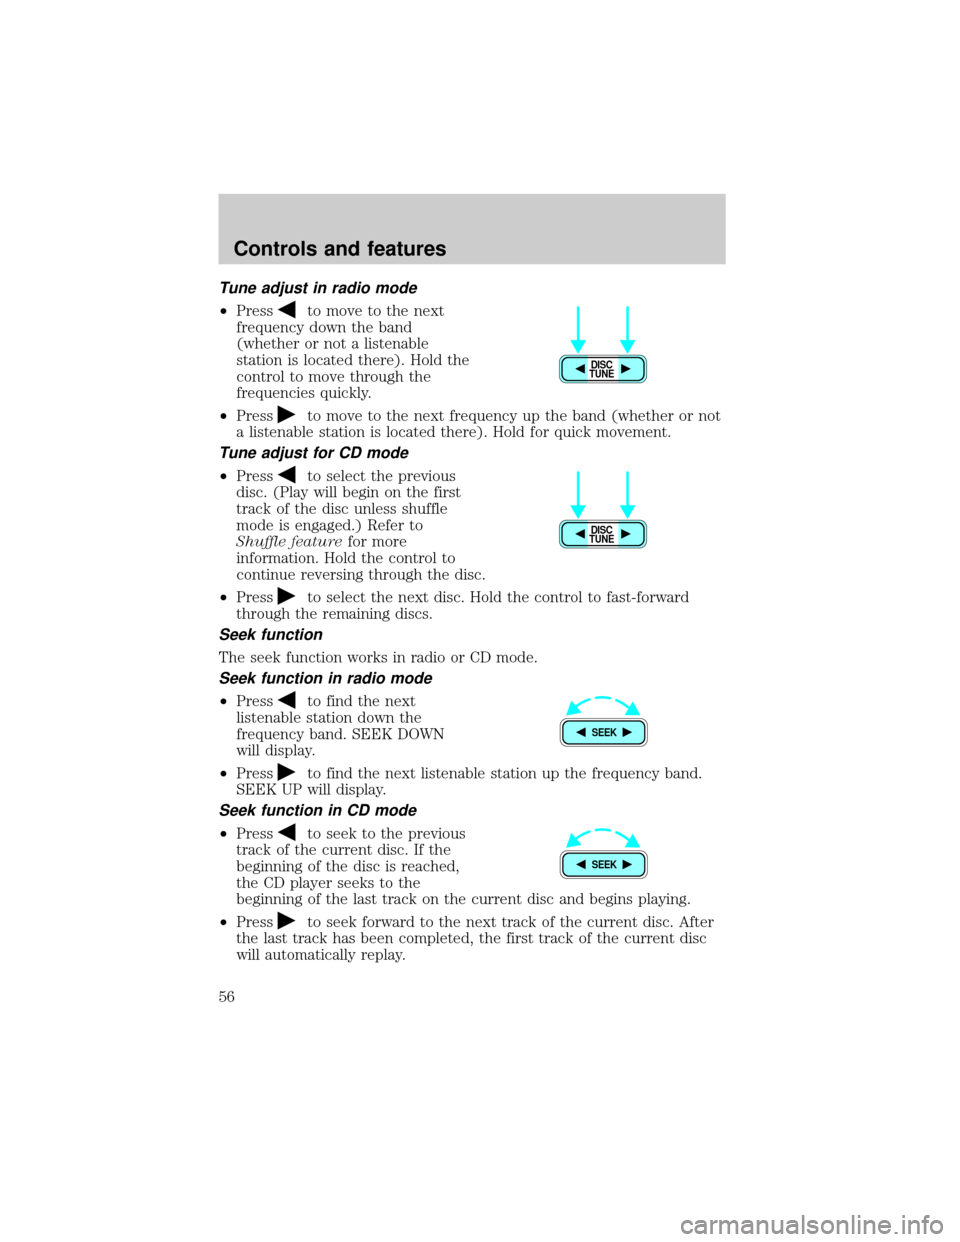
Tune adjust in radio mode
²Pressto move to the next
frequency down the band
(whether or not a listenable
station is located there). Hold the
control to move through the
frequencies quickly.
²Press
to move to the next frequency up the band (whether or not
a listenable station is located there). Hold for quick movement.
Tune adjust for CD mode
²Pressto select the previous
disc. (Play will begin on the first
track of the disc unless shuffle
mode is engaged.) Refer to
Shuffle featurefor more
information. Hold the control to
continue reversing through the disc.
²Press
to select the next disc. Hold the control to fast-forward
through the remaining discs.
Seek function
The seek function works in radio or CD mode.
Seek function in radio mode
²Pressto find the next
listenable station down the
frequency band. SEEK DOWN
will display.
²Press
to find the next listenable station up the frequency band.
SEEK UP will display.
Seek function in CD mode
²Pressto seek to the previous
track of the current disc. If the
beginning of the disc is reached,
the CD player seeks to the
beginning of the last track on the current disc and begins playing.
²Press
to seek forward to the next track of the current disc. After
the last track has been completed, the first track of the current disc
will automatically replay.
DISC
TUNE
DISC
TUNE
SEEK
SEEK
Controls and features
56
Page 57 of 272
Scan function
The scan function works in radio or
CD mode.
Scan function in radio mode
Press the SCAN control to hear a brief sampling of all listenable stations
on the frequency band. Press the SCAN control again to stop the scan
mode.
Scan function in CD mode
Press the SCAN control to hear a short sampling of all selections on the
CD (The CD scans in a forward direction, wrapping back to the first
track at the end of the CD.) To stop on a particular selection, press the
control again.
Radio station memory preset
The radio is equipped with six station memory preset controls. These
controls can be used to select up to 12 preset AM stations and 18 FM
stations (six in AM, six in AMAutostore, six in FM1, six in FM2, and six
in FM Autostore). There is a total possible of 30 preset stations.
Setting memory preset stations
1. Select the frequency band with the AM/FM select control. Press the
AM/FM control to toggle between AM, FM1, or FM2.
2. Press the SEEK control to access the next listenable station up or
down the frequency band. Press the TUNE control to go up or down the
listening band in individual increments.
3. Select a station. Refer toSeek functionfor more information on
selecting a station.
4. Press and hold a memory preset control. The playing media will mute
momentarily. When the sound returns, the station is held in memory on
the control you selected. The display will read SAVED.
SCAN
123456
Controls and features
57
Page 58 of 272
Autostore
Autostore allows you to set the strongest local radio stations without
losing your original manually set preset stations. This feature is helpful
on trips when you travel between cities with different radio stations.
Starting autostore
1. Press and momentarily hold the AM/FM control.
2. AUTOSTORE will flash in the
display as the frequency band is
scrolled through.
3. When the six strongest stations
are filled, the station stored in
memory preset control 1 will start playing.
If there are less than six strong stations available on the frequency band,
the remaining memory preset controls will all store the last strong
station available.
To deactivate autoset and return to your audio system's manually set
memory stations, press the AM/FM control again.
CD select
CD mode may be entered by
pressing the CD control and then
loading a CD into the audio system.
The first track of the disc will begin
playing. After that, CD play will
begin where it stopped last.
If an alternative CD is desired, press the corresponding preset control
(1±6) of a loaded CD, or press the TUNE control to access the other
loaded CDs.
NO CD will display if the CD control is activated when there is not a CD
present in the audio system.
If the CD control is pressed followed by with a preset number and that
particular slot is empty, NO CD will display and the system will begin the
play the next available disc.
If your vehicle is equipped with a CD changer, pressing the CD control
again will allow you to toggle between accessing the multi disc system
and the CD changer. The display will read CD or CDDJ.
CD AM
FM
CD AM
FM
Controls and features
58
Page 59 of 272
Display description
Six circles are always lit in the digital display. These signify the six CD
slots in the audio system. When a disc is loaded into a particular slot
(1±6), the number inside that specific circle lights. If the circle is empty,
there is no CD in that particular slot.
Load
The load feature allows you to load
single CDs into the player internal
to the radio.
This six disc CD player is equipped with a CD door. Compact
discs should only be inserted into the player after the door has
been opened by the player. Do not attempt to force the door
open. Compact discs should only be loaded by pressing the LOAD
control.
Press the LOAD control. (You can choose which slot will be loaded by
pressing the desired preset number. If you do not choose a slot, the
system will choose the next available one.) Wait until the CD door opens.
Load the CD into the player. LOADING CD# is displayed. When the CD
has been loaded, the door will close and the CD will begin to play. For
example, to load a CD into slot #2, press the LOAD control and then
press preset #2.
Auto load
This feature allows you to autoload
up to 6 discs into the multi disc CD
player internal to the radio.
Press and hold the LOAD control until AUTOLOAD # is displayed. The
CD door will open. Load the desired disc, one at a time. The CD is
loaded into position and the audio system will display CD#. Each time
the CD door opens, INSERT CD# is displayed. The door will close and
the player will move to the next slot after each disc has been loaded.
The process is repeated until all 6 slots are full. The audio system plays
the last CD loaded and the display is updated. If some slots are already
full and autoload is activated, the system will fill all empty slots.
LOAD
LOAD
Controls and features
59
Page 60 of 272
Eject
Press the EJ control to stop and
eject a CD. You can choose which
CD will be ejected by pressing the
EJ control and the desired preset
number (1±6). For example, to eject CD#2, press the EJ control and
then press the present #2 control. If you do not choose a specific CD,
the player will eject the current CD.
If a CD is ejected and not removed from the door of the CD player, the
player will automatically reload the CD. This feature may be used when
the ignition is ON or OFF.
Auto eject
Press and momentarily hold the EJ
control to engage auto eject. All CDs
which are present in the player will
be ejected one at a time. If a CD is
ejected and not removed from the door of the CD player, the player will
automatically reload the CD. This feature may be used when the ignition
is ON or OFF.
Rewind
The rewind control works in CD
modes.
Press and hold the REW control
until the desired selection is
reached. If the beginning of the disc is reached, the CD will begin play at
the first track. Release the control to disengage rewind mode.
When in rewind mode, your audio system will automatically lower the
volume level of the playing media.
Fast forward
The fast forward control works in
CD modes.
Press and hold the FF control until
the desired selection is reached. If
the end of the disc is reached, the CD will return to the first track on
the first disc. Release the control to disengage fast forward mode.
EJ
EJ
REW FF
REW FF
Controls and features
60