reset LINCOLN LS 2002 User Guide
[x] Cancel search | Manufacturer: LINCOLN, Model Year: 2002, Model line: LS, Model: LINCOLN LS 2002Pages: 288, PDF Size: 2.44 MB
Page 37 of 288
CD select
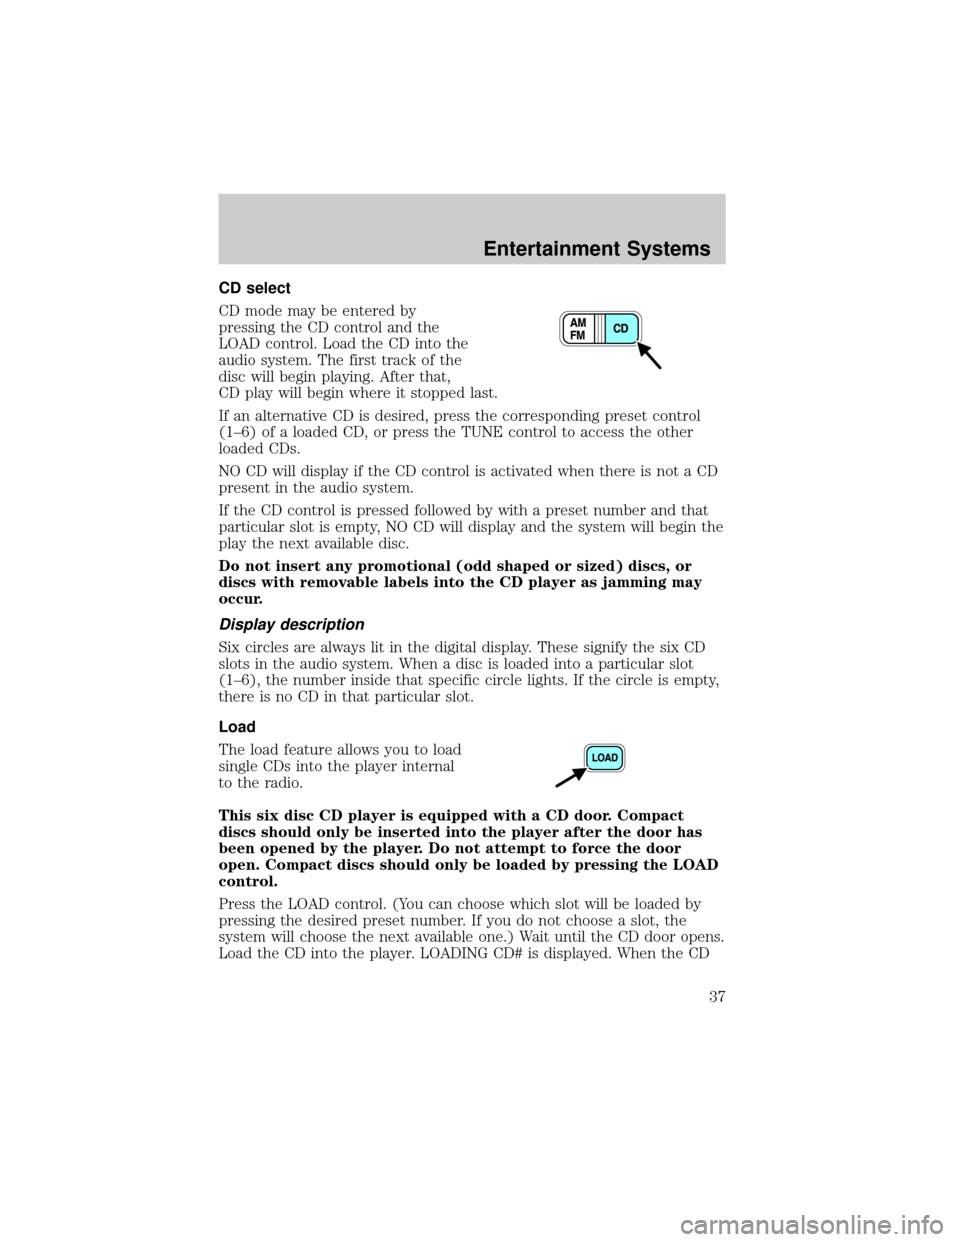
CD mode may be entered by
pressing the CD control and the
LOAD control. Load the CD into the
audio system. The first track of the
disc will begin playing. After that,
CD play will begin where it stopped last.
If an alternative CD is desired, press the corresponding preset control
(1±6) of a loaded CD, or press the TUNE control to access the other
loaded CDs.
NO CD will display if the CD control is activated when there is not a CD
present in the audio system.
If the CD control is pressed followed by with a preset number and that
particular slot is empty, NO CD will display and the system will begin the
play the next available disc.
Do not insert any promotional (odd shaped or sized) discs, or
discs with removable labels into the CD player as jamming may
occur.
Display description
Six circles are always lit in the digital display. These signify the six CD
slots in the audio system. When a disc is loaded into a particular slot
(1±6), the number inside that specific circle lights. If the circle is empty,
there is no CD in that particular slot.
Load
The load feature allows you to load
single CDs into the player internal
to the radio.
This six disc CD player is equipped with a CD door. Compact
discs should only be inserted into the player after the door has
been opened by the player. Do not attempt to force the door
open. Compact discs should only be loaded by pressing the LOAD
control.
Press the LOAD control. (You can choose which slot will be loaded by
pressing the desired preset number. If you do not choose a slot, the
system will choose the next available one.) Wait until the CD door opens.
Load the CD into the player. LOADING CD# is displayed. When the CD
Entertainment Systems
37
Page 38 of 288
has been loaded, the door will close and the CD will begin to play. For
example, to load a CD into slot 2, press the LOAD control and then press
preset 2.
Auto load
This feature allows you to autoload
up to 6 discs into the multi disc CD
player internal to the radio.
Press and hold the LOAD control until AUTOLOAD # is displayed. The
CD door will open. Load the desired disc, one at a time. The CD is
loaded into position and the audio system will display CD#. Each time
the CD door opens, INSERT CD# is displayed. The door will close and
the player will move to the next slot after each disc has been loaded.
The process is repeated until all 6 slots are full. The audio system plays
the last CD loaded and the display is updated. If some slots are already
full and autoload is activated, the system will fill all empty slots.
Eject
Press the EJ control to stop and
eject a CD. You can choose which
CD will be ejected by pressing the
EJ control and the desired preset
number (1±6). For example, to eject CD 2, press the EJ control and then
press the preset 2 control. If you do not choose a specific CD, the player
will eject the current CD.
If a CD is ejected and not removed from the door of the CD player, the
player will automatically reload the CD. This feature may be used when
the ignition is ON or OFF.
Auto eject
Press and momentarily hold the EJ
control to engage auto eject. All CDs
which are present in the player will
be ejected one at a time. If a CD is
ejected and not removed from the door of the CD player, the player will
automatically reload the CD. This feature may be used when the ignition
is ON or OFF.
Entertainment Systems
38
Page 43 of 288
Digital signal processing (if equipped)
The digital signal processing (DSP) feature allows you to change the
signal mode to suit your listening tastes.
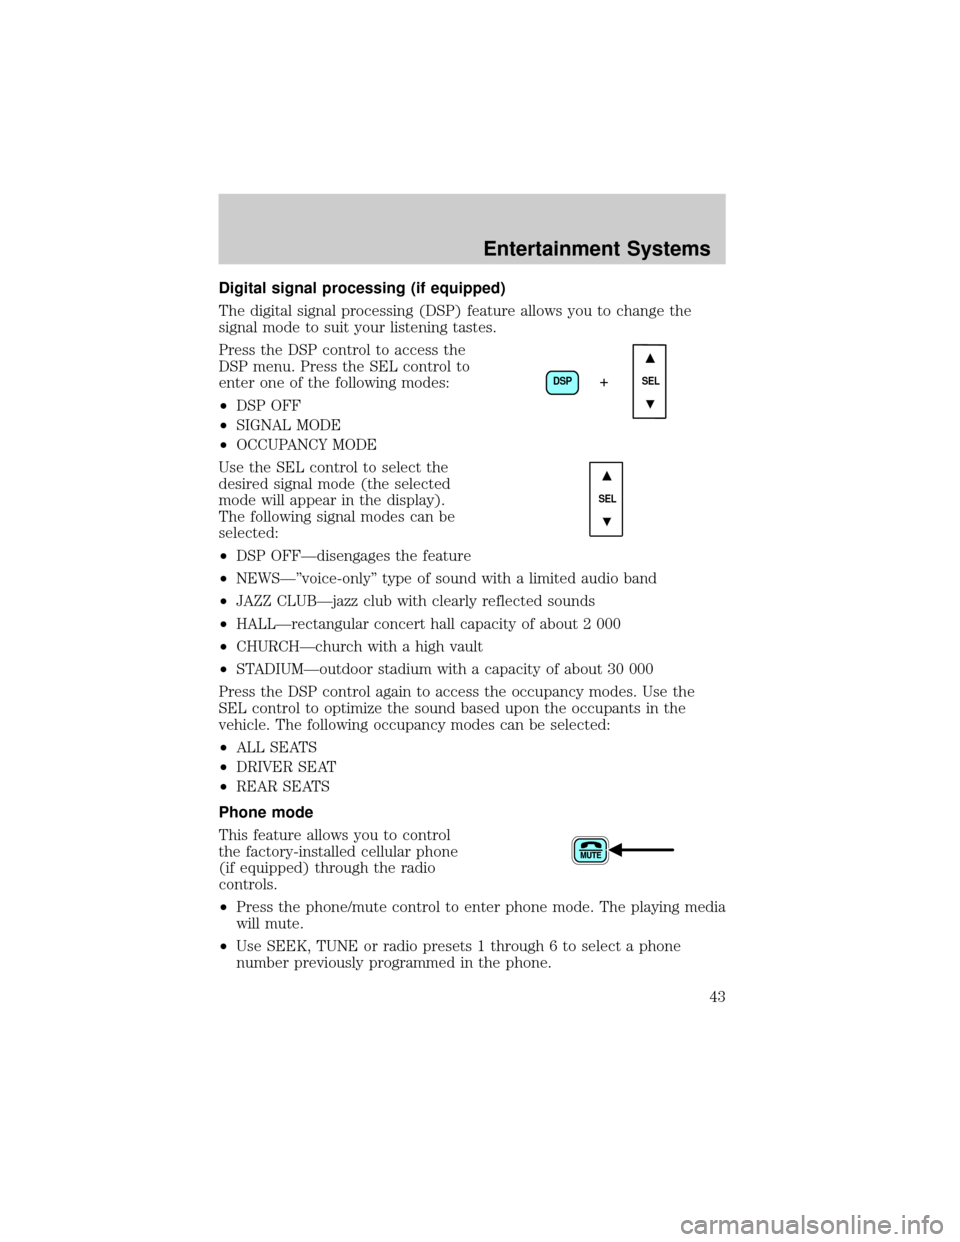
Press the DSP control to access the
DSP menu. Press the SEL control to
enter one of the following modes:
²DSP OFF
²SIGNAL MODE
²OCCUPANCY MODE
Use the SEL control to select the
desired signal mode (the selected
mode will appear in the display).
The following signal modes can be
selected:
²DSP OFFÐdisengages the feature
²NEWSкvoice-onlyº type of sound with a limited audio band
²JAZZ CLUBÐjazz club with clearly reflected sounds
²HALLÐrectangular concert hall capacity of about 2 000
²CHURCHÐchurch with a high vault
²STADIUMÐoutdoor stadium with a capacity of about 30 000
Press the DSP control again to access the occupancy modes. Use the
SEL control to optimize the sound based upon the occupants in the
vehicle. The following occupancy modes can be selected:
²ALL SEATS
²DRIVER SEAT
²REAR SEATS
Phone mode
This feature allows you to control
the factory-installed cellular phone
(if equipped) through the radio
controls.
²Press the phone/mute control to enter phone mode. The playing media
will mute.
²Use SEEK, TUNE or radio presets 1 through 6 to select a phone
number previously programmed in the phone.
DSP
SEL+
SEL
Entertainment Systems
43
Page 58 of 288
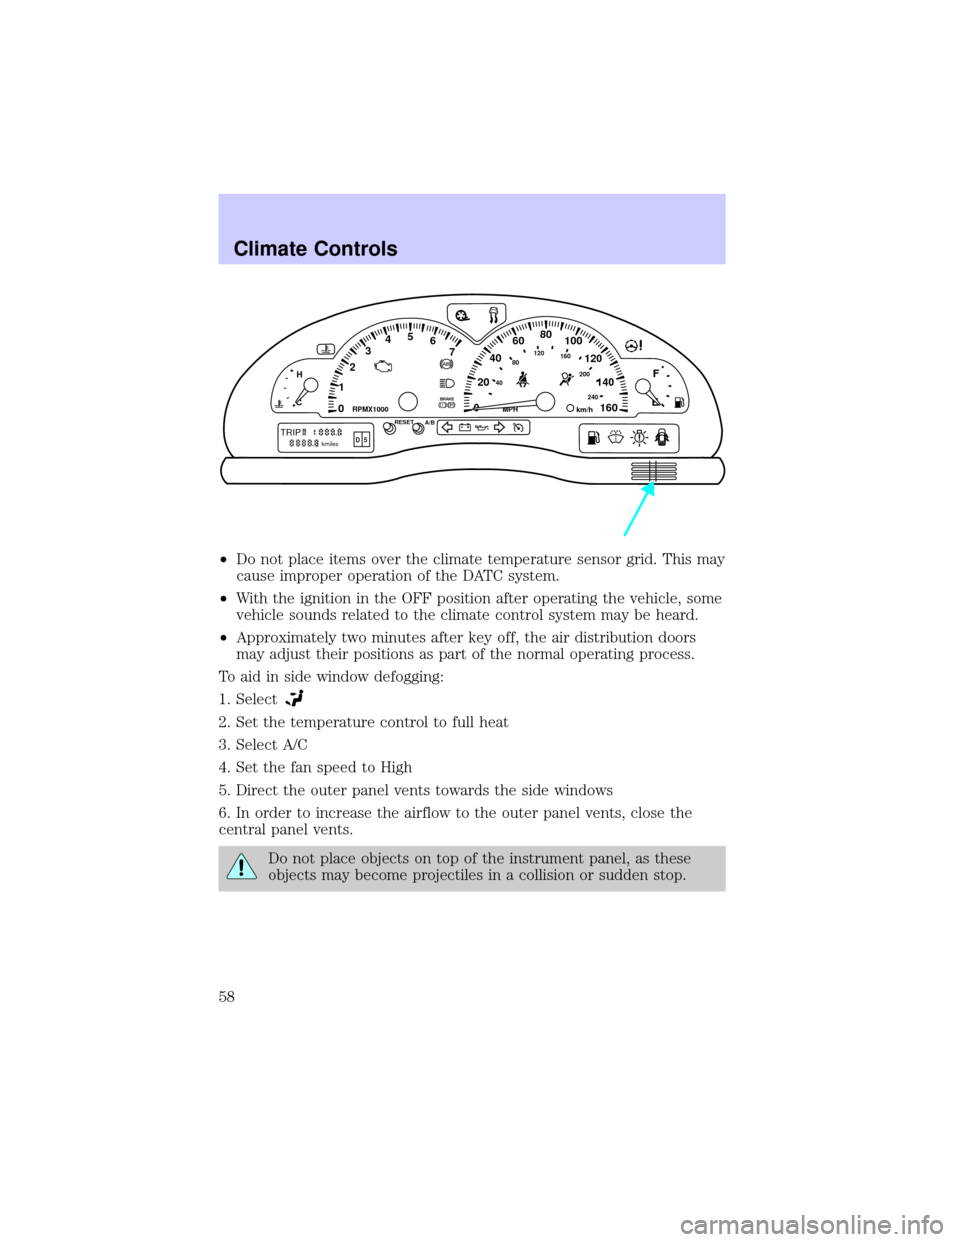
²Do not place items over the climate temperature sensor grid. This may
cause improper operation of the DATC system.
²With the ignition in the OFF position after operating the vehicle, some
vehicle sounds related to the climate control system may be heard.
²Approximately two minutes after key off, the air distribution doors
may adjust their positions as part of the normal operating process.
To aid in side window defogging:
1. Select
2. Set the temperature control to full heat
3. Select A/C
4. Set the fan speed to High
5. Direct the outer panel vents towards the side windows
6. In order to increase the airflow to the outer panel vents, close the
central panel vents.
Do not place objects on top of the instrument panel, as these
objects may become projectiles in a collision or sudden stop.
0020406080
100
120
140
160 12345
6
7P! BRAKE
H
C
40
80120160
200
240km/hRPMX1000RESETMPHA/B
F
E
TRIPkmilesABD 5
Climate Controls
58
Page 84 of 288
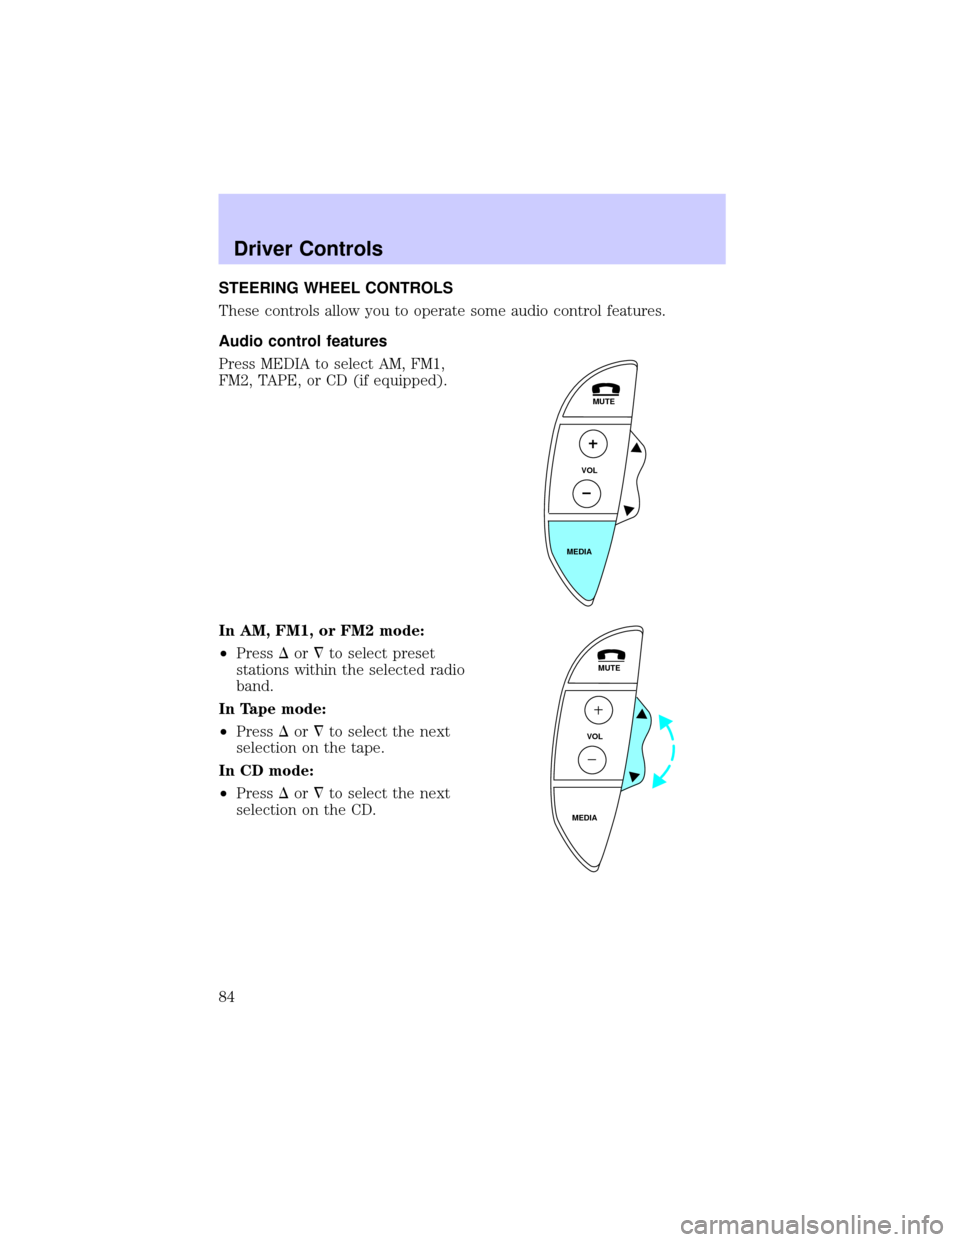
STEERING WHEEL CONTROLS
These controls allow you to operate some audio control features.
Audio control features
Press MEDIA to select AM, FM1,
FM2, TAPE, or CD (if equipped).
In AM, FM1, or FM2 mode:
²PressDor¹to select preset
stations within the selected radio
band.
In Tape mode:
²PressDor¹to select the next
selection on the tape.
In CD mode:
²PressDor¹to select the next
selection on the CD.
MUTE
VOL
MEDIA
MUTE
VOL
MEDIA
Driver Controls
84
Page 94 of 288
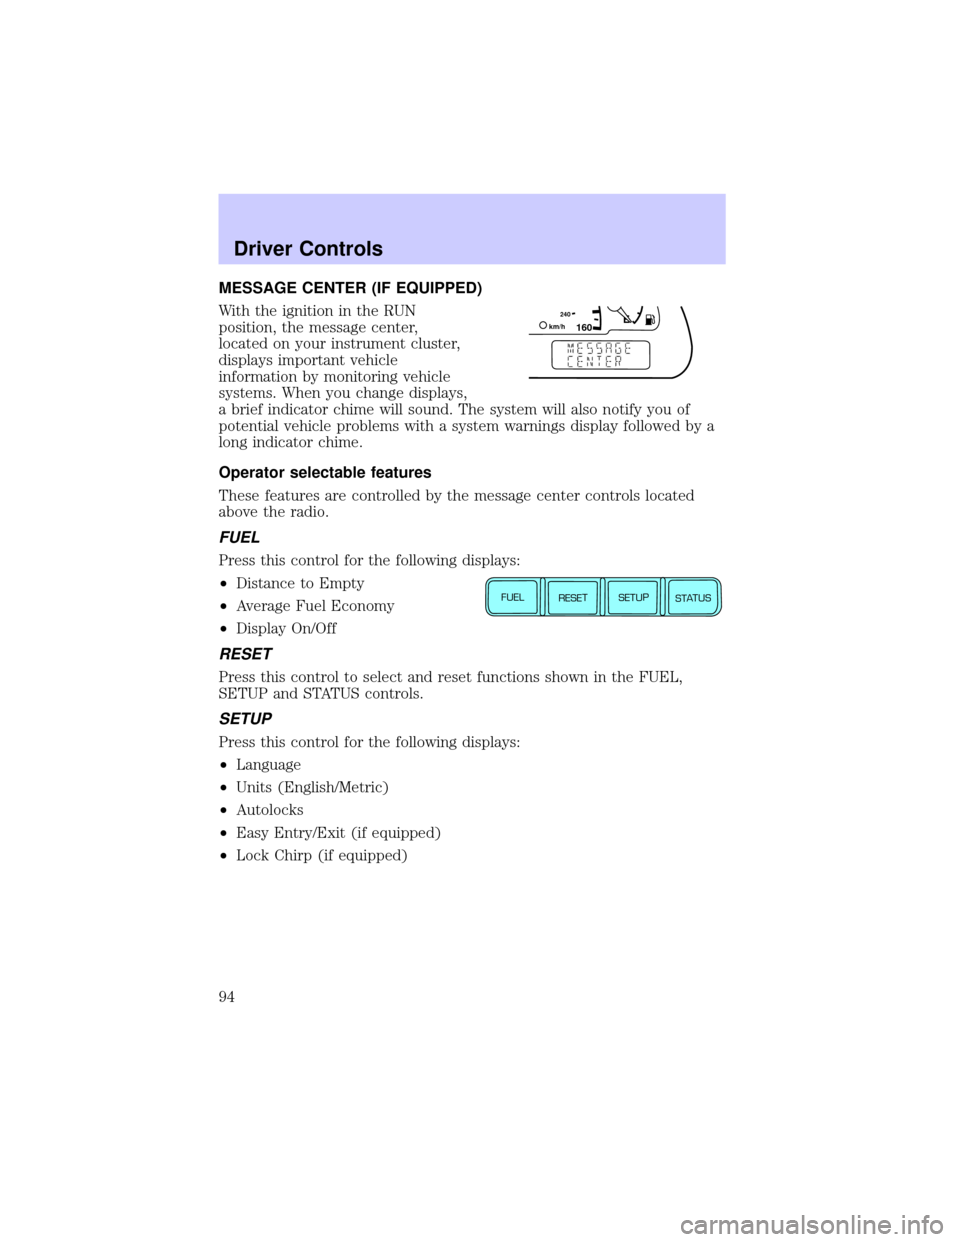
MESSAGE CENTER (IF EQUIPPED)
With the ignition in the RUN
position, the message center,
located on your instrument cluster,
displays important vehicle
information by monitoring vehicle
systems. When you change displays,
a brief indicator chime will sound. The system will also notify you of
potential vehicle problems with a system warnings display followed by a
long indicator chime.
Operator selectable features
These features are controlled by the message center controls located
above the radio.
FUEL
Press this control for the following displays:
²Distance to Empty
²Average Fuel Economy
²Display On/Off
RESET
Press this control to select and reset functions shown in the FUEL,
SETUP and STATUS controls.
SETUP
Press this control for the following displays:
²Language
²Units (English/Metric)
²Autolocks
²Easy Entry/Exit (if equipped)
²Lock Chirp (if equipped)
160240km/hE
FUEL
RESET
SETUP
STATUS
Driver Controls
94
Page 95 of 288
STATUS
Selecting this function from the STATUS control causes the message
center to cycle through each of the systems being monitored. For each
of the monitored systems, the message center will indicate either an OK
message or a warning message for four seconds.
The sequence of the status check report is as follows:
²oil life in XX%
²AC (cabin) filter XX%
²charging system
²engine temperature
²brake fluid level
²washer fluid level
²doors closed (driver and passenger side, front and rear). This message
can only be reset by closing the door(s). If the RESET control is
pressed, PLEASE CLOSE DOOR will be displayed.
²trunk status
²exterior lamps (front and rear turn, brake, tail and side repeater lamp
(if equipped) status)
²Traction Controlyor AdvanceTracy(if equipped)
Message center functions
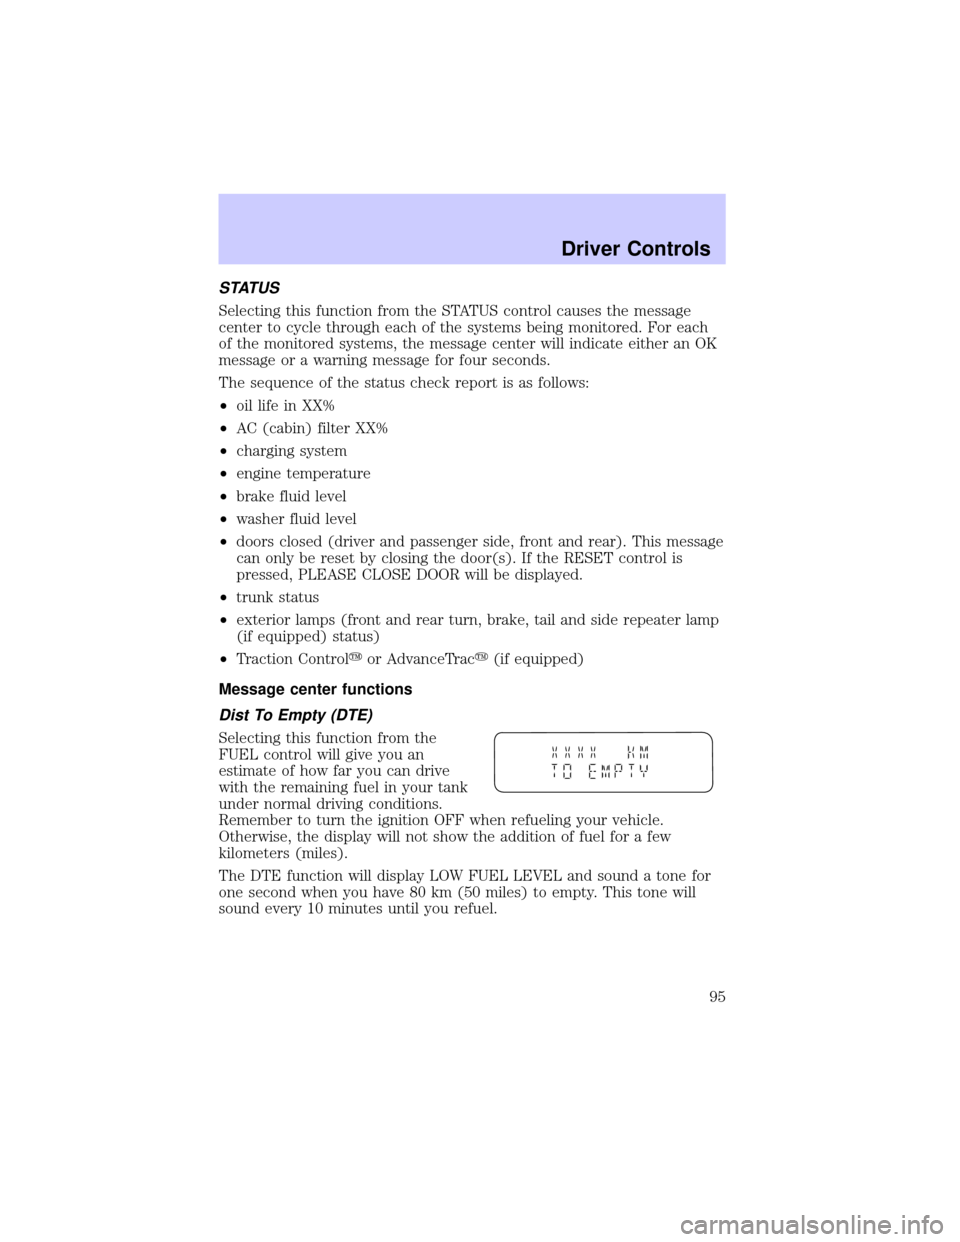
Dist To Empty (DTE)
Selecting this function from the
FUEL control will give you an
estimate of how far you can drive
with the remaining fuel in your tank
under normal driving conditions.
Remember to turn the ignition OFF when refueling your vehicle.
Otherwise, the display will not show the addition of fuel for a few
kilometers (miles).
The DTE function will display LOW FUEL LEVEL and sound a tone for
one second when you have 80 km (50 miles) to empty. This tone will
sound every 10 minutes until you refuel.
Driver Controls
95
Page 96 of 288
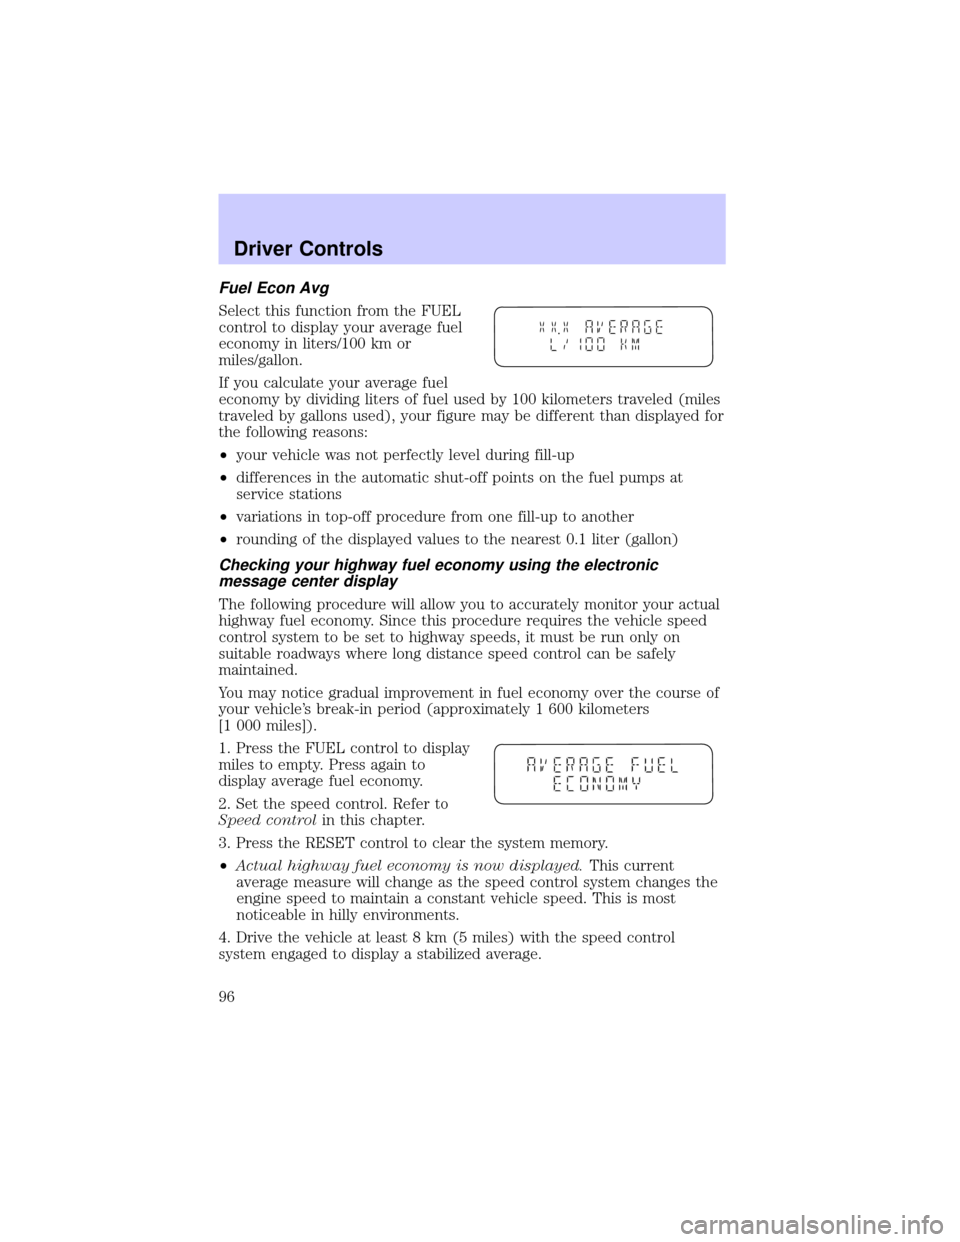
Fuel Econ Avg
Select this function from the FUEL
control to display your average fuel
economy in liters/100 km or
miles/gallon.
If you calculate your average fuel
economy by dividing liters of fuel used by 100 kilometers traveled (miles
traveled by gallons used), your figure may be different than displayed for
the following reasons:
²your vehicle was not perfectly level during fill-up
²differences in the automatic shut-off points on the fuel pumps at
service stations
²variations in top-off procedure from one fill-up to another
²rounding of the displayed values to the nearest 0.1 liter (gallon)
Checking your highway fuel economy using the electronic
message center display
The following procedure will allow you to accurately monitor your actual
highway fuel economy. Since this procedure requires the vehicle speed
control system to be set to highway speeds, it must be run only on
suitable roadways where long distance speed control can be safely
maintained.
You may notice gradual improvement in fuel economy over the course of
your vehicle's break-in period (approximately 1 600 kilometers
[1 000 miles]).
1. Press the FUEL control to display
miles to empty. Press again to
display average fuel economy.
2. Set the speed control. Refer to
Speed controlin this chapter.
3. Press the RESET control to clear the system memory.
²Actual highway fuel economy is now displayed.This current
average measure will change as the speed control system changes the
engine speed to maintain a constant vehicle speed. This is most
noticeable in hilly environments.
4. Drive the vehicle at least 8 km (5 miles) with the speed control
system engaged to display a stabilized average.
Driver Controls
96
Page 97 of 288
5. Record the highway fuel economy for future reference.
It is important to press the RESET control after setting the speed
control to get accurate highway fuel economy readings.
Display On/Off
Select this function from the FUEL control to turn your message center
display OFF or ON.
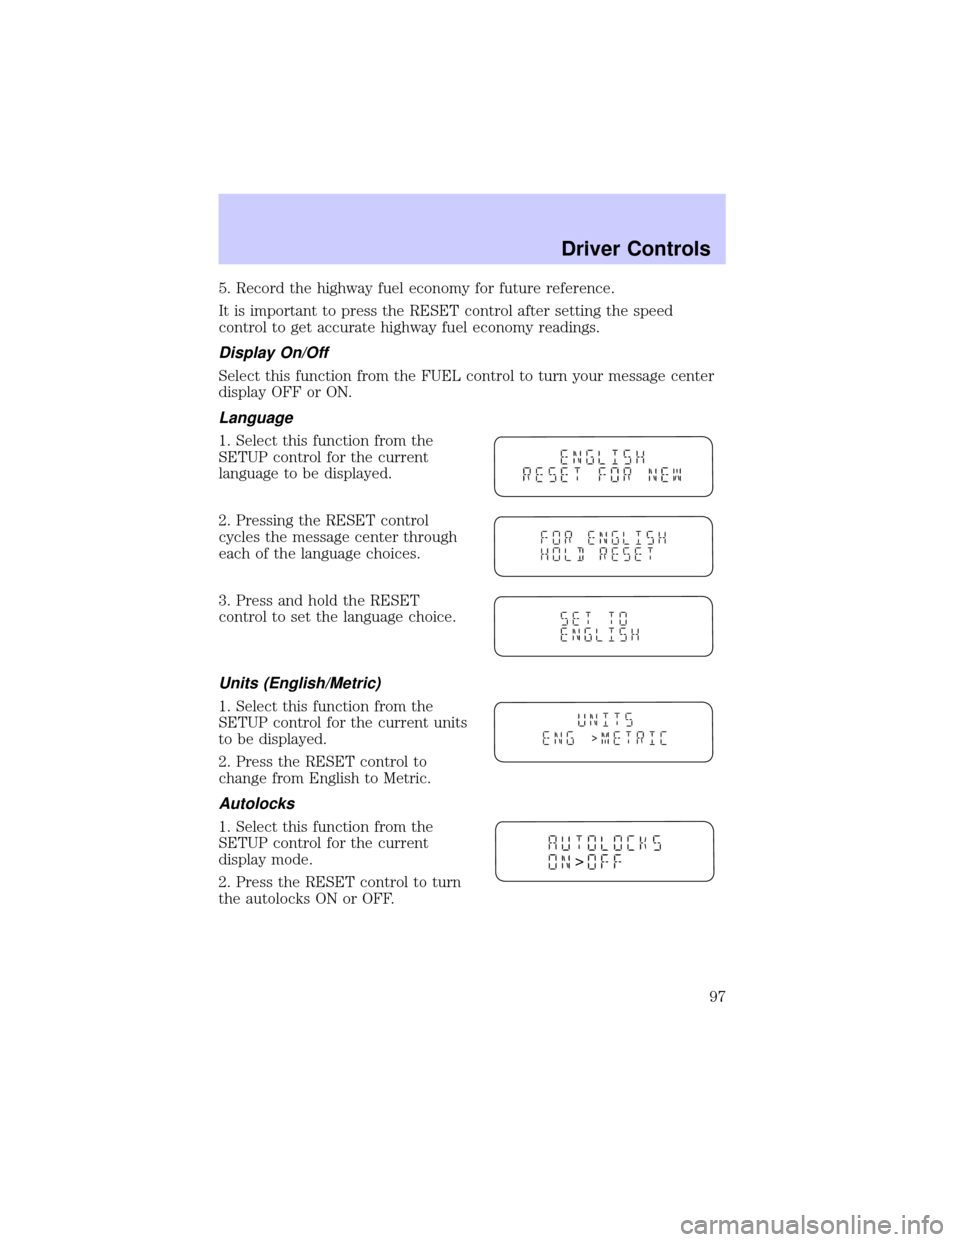
Language
1. Select this function from the
SETUP control for the current
language to be displayed.
2. Pressing the RESET control
cycles the message center through
each of the language choices.
3. Press and hold the RESET
control to set the language choice.
Units (English/Metric)
1. Select this function from the
SETUP control for the current units
to be displayed.
2. Press the RESET control to
change from English to Metric.
Autolocks
1. Select this function from the
SETUP control for the current
display mode.
2. Press the RESET control to turn
the autolocks ON or OFF.
>
>
Driver Controls
97
Page 98 of 288
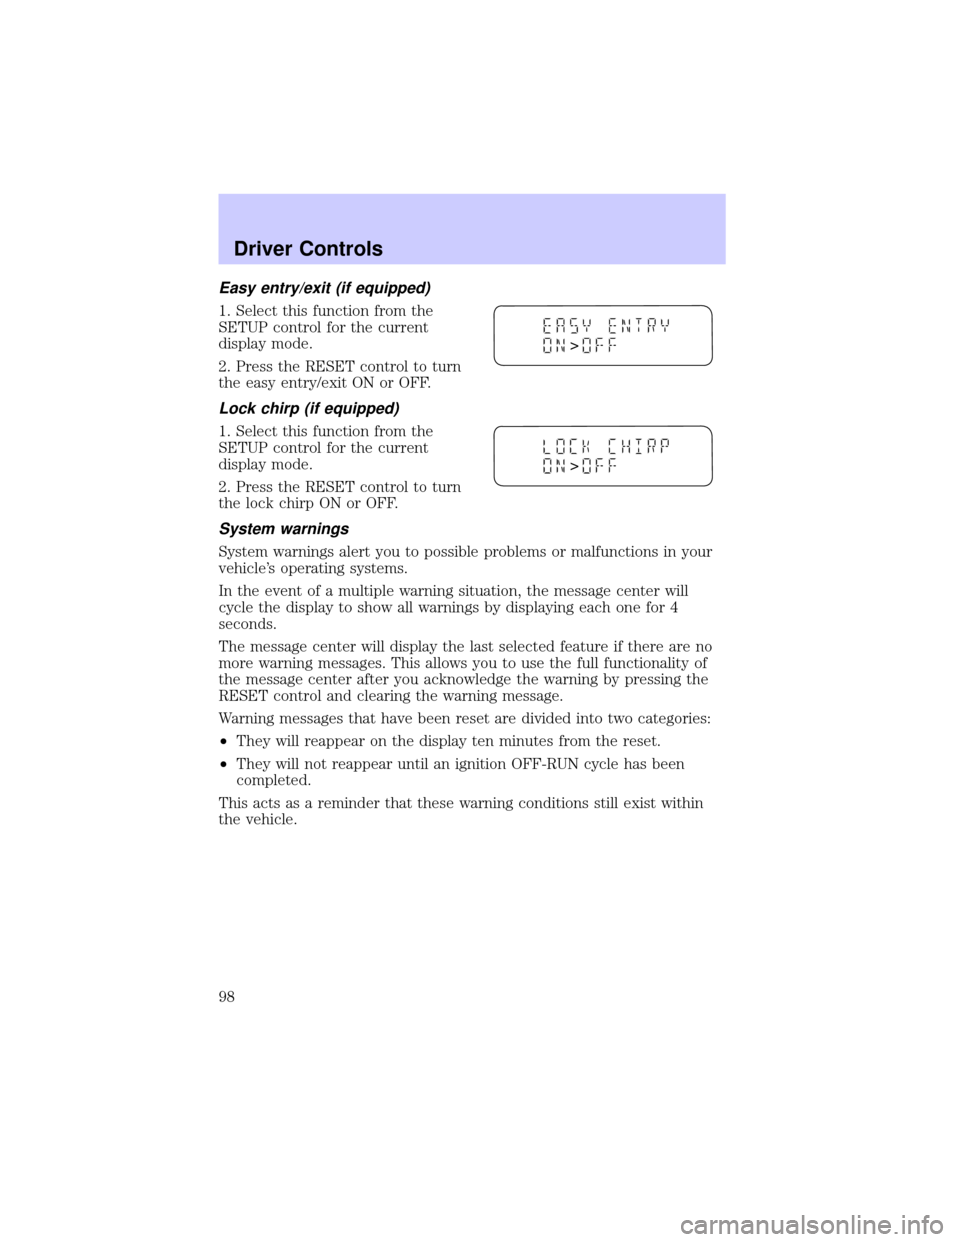
Easy entry/exit (if equipped)
1. Select this function from the
SETUP control for the current
display mode.
2. Press the RESET control to turn
the easy entry/exit ON or OFF.
Lock chirp (if equipped)
1. Select this function from the
SETUP control for the current
display mode.
2. Press the RESET control to turn
the lock chirp ON or OFF.
System warnings
System warnings alert you to possible problems or malfunctions in your
vehicle's operating systems.
In the event of a multiple warning situation, the message center will
cycle the display to show all warnings by displaying each one for 4
seconds.
The message center will display the last selected feature if there are no
more warning messages. This allows you to use the full functionality of
the message center after you acknowledge the warning by pressing the
RESET control and clearing the warning message.
Warning messages that have been reset are divided into two categories:
²They will reappear on the display ten minutes from the reset.
²They will not reappear until an ignition OFF-RUN cycle has been
completed.
This acts as a reminder that these warning conditions still exist within
the vehicle.
>
>
Driver Controls
98