instrument panel LINCOLN MKC 2015 Owners Manual
[x] Cancel search | Manufacturer: LINCOLN, Model Year: 2015, Model line: MKC, Model: LINCOLN MKC 2015Pages: 490, PDF Size: 4.74 MB
Page 8 of 490
Cleaning the Interior...................................302
Cleaning the Instrument Panel and
Instrument Cluster Lens.........................303
Cleaning Leather Seats..............................304
Repairing Minor Paint Damage.................305
Cleaning the Alloy Wheels........................305
Vehicle Storage
............................................305
Wheels and Tires
General Information
.....................................308
Tire Care
..........................................................310
Using Snow Chains......................................323
Tire Pressure Monitoring System.............324
Changing a Road Wheel............................328
Technical Specifications.............................334
Capacities and Specifications
Engine Specifications
..................................336
Motorcraft Parts.............................................337
Vehicle Identification Number
..................339
Vehicle Certification Label
.........................339
Transmission Code Designation..............340
Technical Specifications..............................341 Audio System
General Information.....................................345
Audio unit -
Vehicles With: Premium AM/
FM/CD.........................................................346
Media Hub
......................................................348
MyLincoln Touch ™
General Information
.....................................350
Settings...........................................................363
Entertainment................................................376
Phone..............................................................396
Information.....................................................403
Climate.............................................................414
Navigation.......................................................418
Accessories
Accessories...................................................428
Appendices
End User License Agreement
...................430
Extended Service Plan (ESP)
Extended Service Plan (ESP).....................448 Scheduled Maintenance
General Maintenance Information............451
Normal Scheduled Maintenance
.............455
Special Operating Conditions Scheduled Maintenance.............................................459
Scheduled Maintenance Record
..............463
5
MKC (TME), enUSA Table of Contents
Page 22 of 490
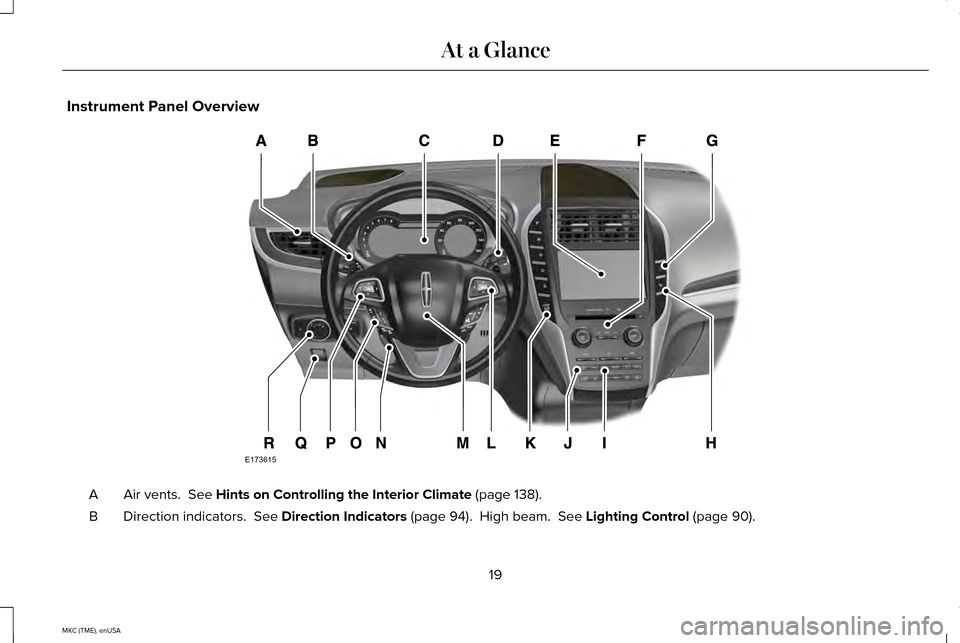
Instrument Panel Overview
Air vents. See Hints on Controlling the Interior Climate (page 138).
A
Direction indicators.
See Direction Indicators (page 94). High beam. See Lighting Control (page 90).
B
19
MKC (TME), enUSA At a GlanceE173615
Page 53 of 490
WARNINGS
Any alteration or modification to the
front passenger seat may affect the
performance of the front passenger sensing
system which could seriously increase the
risk of injury or death. This system works with sensors that are part
of the front passenger’
s seat and safety belt
to detect the presence of a properly-seated
occupant and determine if the front
passenger’ s frontal airbag should be enabled
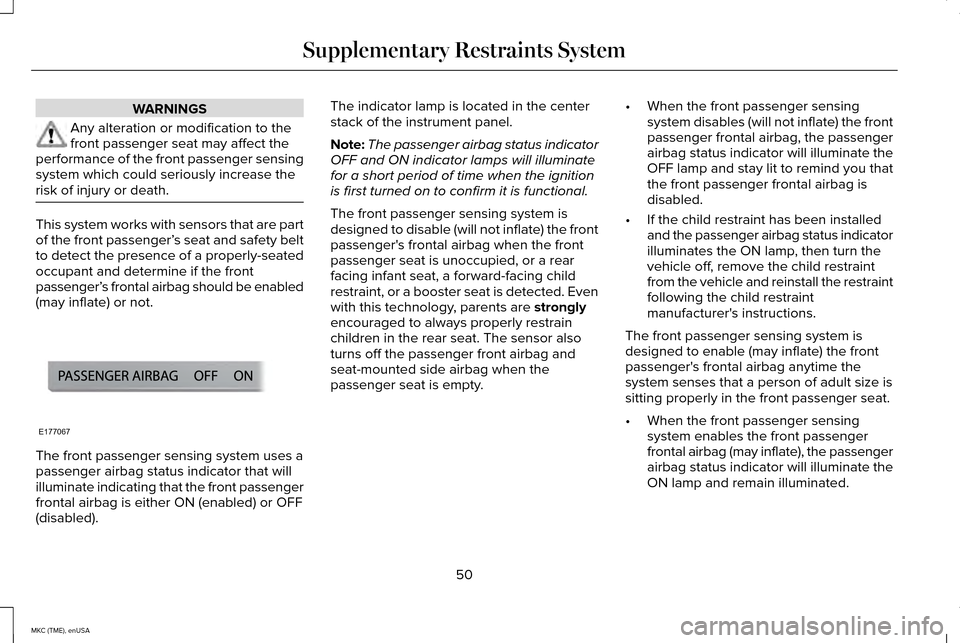
(may inflate) or not. The front passenger sensing system uses a
passenger airbag status indicator that will
illuminate indicating that the front passenger
frontal airbag is either ON (enabled) or OFF
(disabled). The indicator lamp is located in the center
stack of the instrument panel.
Note:
The passenger airbag status indicator
OFF and ON indicator lamps will illuminate
for a short period of time when the ignition
is first turned on to confirm it is functional.
The front passenger sensing system is
designed to disable (will not inflate) the front
passenger's frontal airbag when the front
passenger seat is unoccupied, or a rear
facing infant seat, a forward-facing child
restraint, or a booster seat is detected. Even
with this technology, parents are strongly
encouraged to always properly restrain
children in the rear seat. The sensor also
turns off the passenger front airbag and
seat-mounted side airbag when the
passenger seat is empty. •
When the front passenger sensing
system disables (will not inflate) the front
passenger frontal airbag, the passenger
airbag status indicator will illuminate the
OFF lamp and stay lit to remind you that
the front passenger frontal airbag is
disabled.
• If the child restraint has been installed
and the passenger airbag status indicator
illuminates the ON lamp, then turn the
vehicle off, remove the child restraint
from the vehicle and reinstall the restraint
following the child restraint
manufacturer's instructions.
The front passenger sensing system is
designed to enable (may inflate) the front
passenger's frontal airbag anytime the
system senses that a person of adult size is
sitting properly in the front passenger seat.
• When the front passenger sensing
system enables the front passenger
frontal airbag (may inflate), the passenger
airbag status indicator will illuminate the
ON lamp and remain illuminated.
50
MKC (TME), enUSA Supplementary Restraints SystemE177067
Page 56 of 490
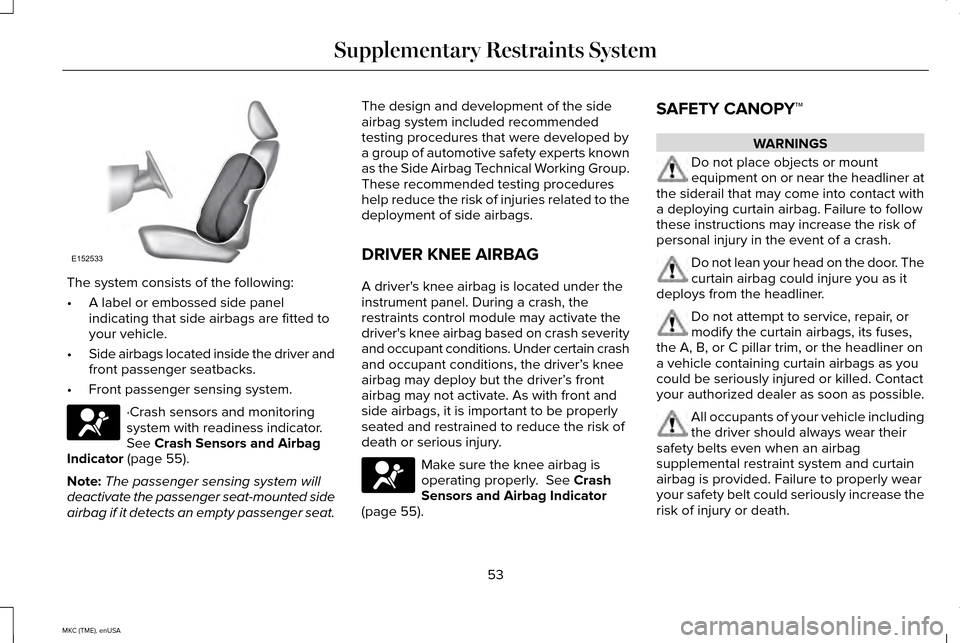
The system consists of the following:
•
A label or embossed side panel
indicating that side airbags are fitted to
your vehicle.
• Side airbags located inside the driver and
front passenger seatbacks.
• Front passenger sensing system. ·Crash sensors and monitoring
system with readiness indicator.
See Crash Sensors and Airbag
Indicator (page 55).
Note: The passenger sensing system will
deactivate the passenger seat-mounted side
airbag if it detects an empty passenger seat. The design and development of the side
airbag system included recommended
testing procedures that were developed by
a group of automotive safety experts known
as the Side Airbag Technical Working Group.
These recommended testing procedures
help reduce the risk of injuries related to the
deployment of side airbags.
DRIVER KNEE AIRBAG
A driver's knee airbag is located under the
instrument panel. During a crash, the
restraints control module may activate the
driver's knee airbag based on crash severity
and occupant conditions. Under certain crash
and occupant conditions, the driver’
s knee
airbag may deploy but the driver’ s front
airbag may not activate. As with front and
side airbags, it is important to be properly
seated and restrained to reduce the risk of
death or serious injury. Make sure the knee airbag is
operating properly.
See Crash
Sensors and Airbag Indicator
(page
55). SAFETY CANOPY™ WARNINGS
Do not place objects or mount
equipment on or near the headliner at
the siderail that may come into contact with
a deploying curtain airbag. Failure to follow
these instructions may increase the risk of
personal injury in the event of a crash. Do not lean your head on the door. The
curtain airbag could injure you as it
deploys from the headliner. Do not attempt to service, repair, or
modify the curtain airbags, its fuses,
the A, B, or C pillar trim, or the headliner on
a vehicle containing curtain airbags as you
could be seriously injured or killed. Contact
your authorized dealer as soon as possible. All occupants of your vehicle including
the driver should always wear their
safety belts even when an airbag
supplemental restraint system and curtain
airbag is provided. Failure to properly wear
your safety belt could seriously increase the
risk of injury or death.
53
MKC (TME), enUSA Supplementary Restraints SystemE152533
Page 78 of 490
If the liftgate falls after the liftgate has
stopped in the open position, you may hear
four short warning tones. This indicates
excessive weight on the gate or a possible
gas strut failure. Have an authorized dealer
check the system if you still have the issue
after you remove the load.
Opening and Closing the Liftgate
WARNING
Make sure all persons are clear of the
power liftgate area before using the
power liftgate control. Note:
Be careful when opening or closing
the liftgate in a garage or other enclosed
area to avoid damaging the liftgate.
Note: Do not leave the liftgate open while
driving. This could damage the liftgate and
its components. Note:
You can stop the liftgate movement
direction with a second press of the
instrument panel button or the button on the
liftgate trim, a second double press of the
transmitter button, or by using a kicking
motion with your foot for a hands-free liftgate
(if equipped).
From the Instrument Panel Press the instrument panel button.
With the Remote Control Press the remote control button
twice within three seconds.
Hands-Free Feature (If Equipped)
Make sure you have an intelligent access
transmitter within 3 feet (1 meter) of the
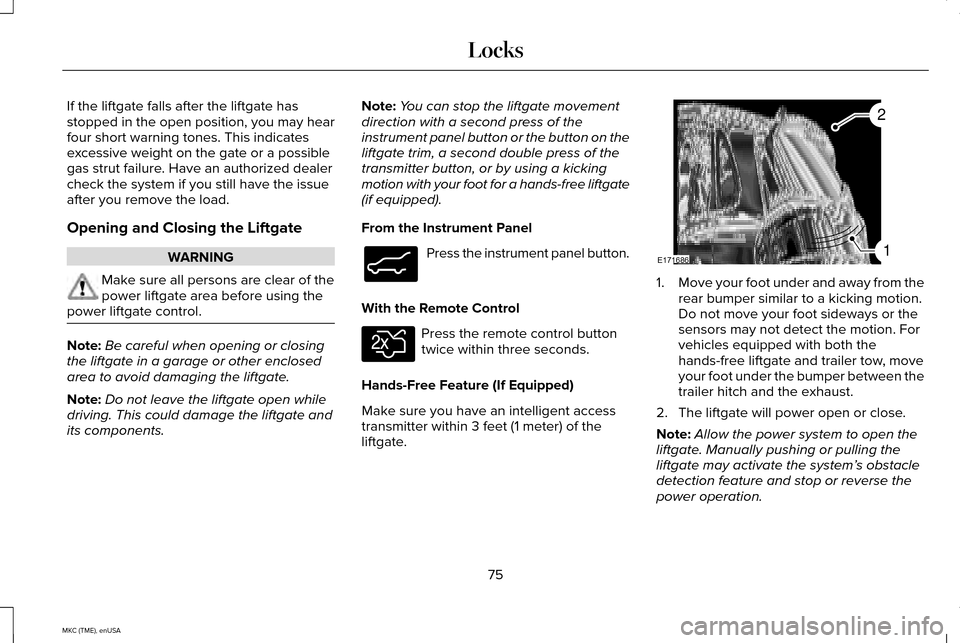
liftgate. 1.
Move your foot under and away from the
rear bumper similar to a kicking motion.
Do not move your foot sideways or the
sensors may not detect the motion. For
vehicles equipped with both the
hands-free liftgate and trailer tow, move
your foot under the bumper between the
trailer hitch and the exhaust.
2. The liftgate will power open or close.
Note: Allow the power system to open the
liftgate. Manually pushing or pulling the
liftgate may activate the system’ s obstacle
detection feature and stop or reverse the
power operation.
75
MKC (TME), enUSA LocksE138633 E138630 E171686
2
1
Page 93 of 490
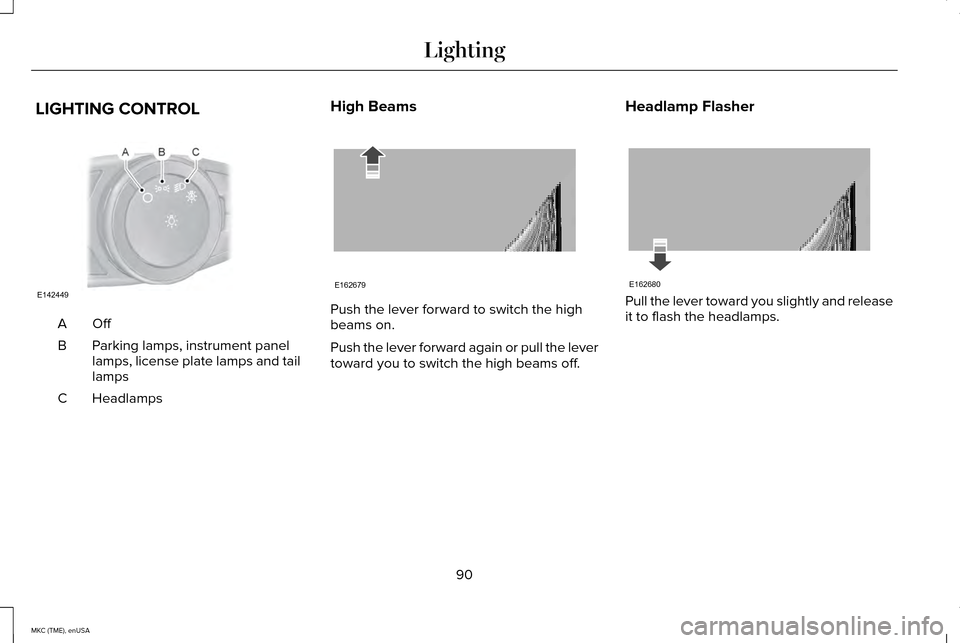
LIGHTING CONTROL
OffA
Parking lamps, instrument panel
lamps, license plate lamps and tail
lamps
B
Headlamps
C High Beams Push the lever forward to switch the high
beams on.
Push the lever forward again or pull the lever
toward you to switch the high beams off.
Headlamp Flasher Pull the lever toward you slightly and release
it to flash the headlamps.
90
MKC (TME), enUSA LightingE142449 E162679 E162680
Page 140 of 490
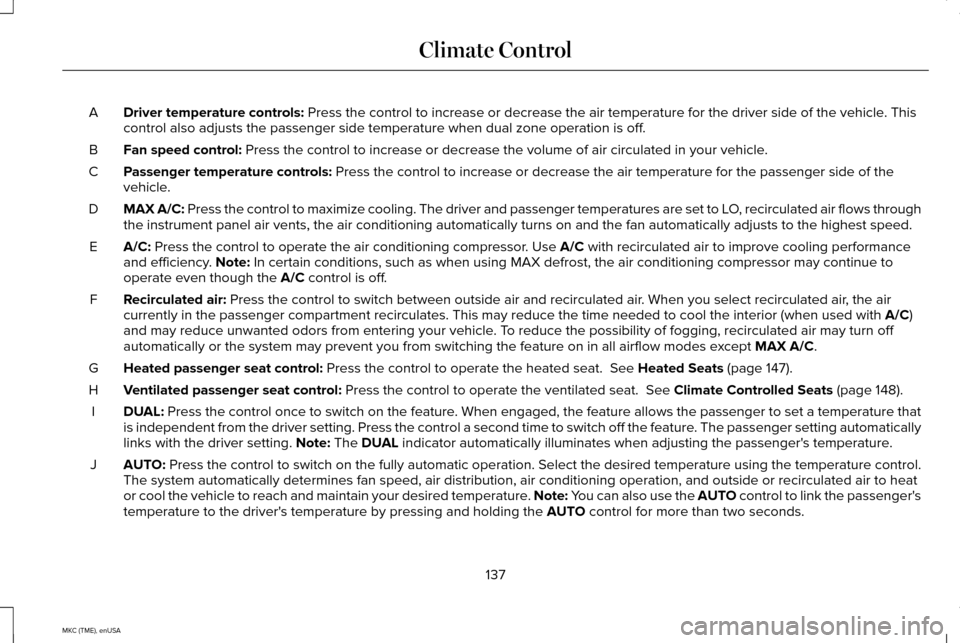
Driver temperature controls: Press the control to increase or decrease the air temperature for the d\
river side of the vehicle. This
control also adjusts the passenger side temperature when dual zone opera\
tion is off.
A
Fan speed control:
Press the control to increase or decrease the volume of air circulated \
in your vehicle.
B
Passenger temperature controls:
Press the control to increase or decrease the air temperature for the p\
assenger side of the
vehicle.
C
MAX A/C: Press the control to maximize cooling. The driver and passenger tempera\
tures are set to LO, recirculated air flows through
the instrument panel air vents, the air conditioning automatically turns\
on and the fan automatically adjusts to the highest speed.
D
A/C:
Press the control to operate the air conditioning compressor. Use A/C with recirculated air to improve cooling performance
and efficiency. Note: In certain conditions, such as when using MAX defrost, the air conditio\
ning compressor may continue to
operate even though the A/C control is off.
E
Recirculated air:
Press the control to switch between outside air and recirculated air. When you select recirculated air, the air
currently in the passenger compartment recirculates. This may reduce the\
time needed to cool the interior (when used with A/C)
and may reduce unwanted odors from entering your vehicle. To reduce the possibility of fogging, recirculated air may turn off
automatically or the system may prevent you from switching the feature o\
n in all airflow modes except
MAX A/C.
F
Heated passenger seat control:
Press the control to operate the heated seat. See Heated Seats (page 147).
G
Ventilated passenger seat control:
Press the control to operate the ventilated seat. See Climate Controlled Seats (page 148).
H
DUAL:
Press the control once to switch on the feature. When engaged, the feature allows the passenger to set a temperature th\
at
is independent from the driver setting. Press the control a second time \
to switch off the feature. The passenger setting automatically
links with the driver setting.
Note: The DUAL indicator automatically illuminates when adjusting the passenger's temperature.
I
AUTO:
Press the control to switch on the fully automatic operation. Select th\
e desired temperature using the temperature control.
The system automatically determines fan speed, air distribution, air con\
ditioning operation, and outside or recirculated air to heat
or cool the vehicle to reach and maintain your desired temperature.
Note: You can also use the AUTO control to link the passenger's
temperature to the driver's temperature by pressing and holding the AUTO control for more than two seconds.
J
137
MKC (TME), enUSA Climate Control
Page 141 of 490
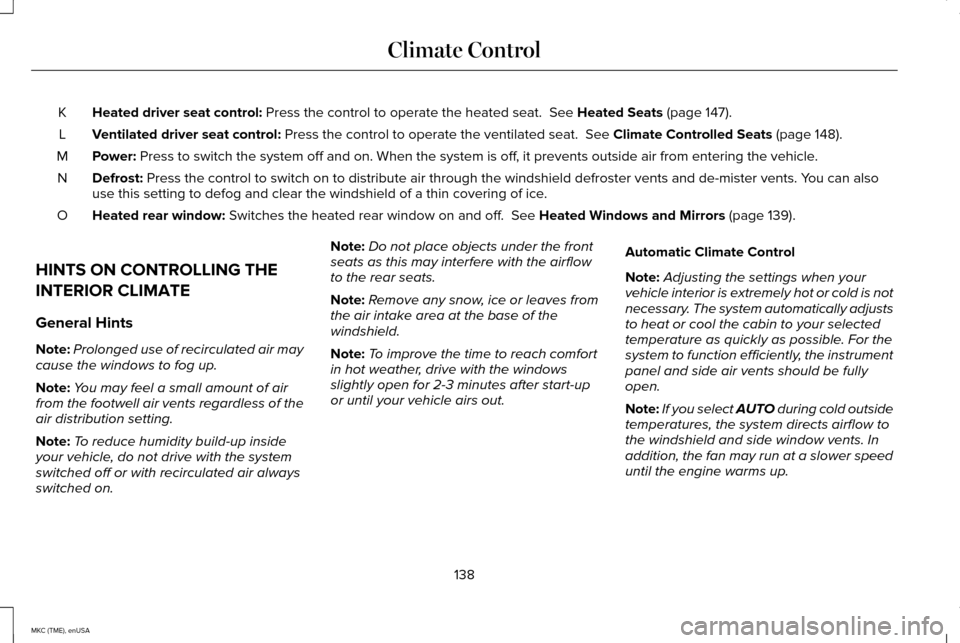
Heated driver seat control: Press the control to operate the heated seat. See Heated Seats (page 147).
K
Ventilated driver seat control:
Press the control to operate the ventilated seat. See Climate Controlled Seats (page 148).
L
Power:
Press to switch the system off and on. When the system is off, it prevents outside air from entering the vehicle.
M
Defrost:
Press the control to switch on to distribute air through the windshield\
defroster vents and de-mister vents. You can also
use this setting to defog and clear the windshield of a thin covering of\
ice.
N
Heated rear window:
Switches the heated rear window on and off. See Heated Windows and Mirrors (page 139).
O
HINTS ON CONTROLLING THE
INTERIOR CLIMATE
General Hints
Note: Prolonged use of recirculated air may
cause the windows to fog up.
Note: You may feel a small amount of air
from the footwell air vents regardless of the
air distribution setting.
Note: To reduce humidity build-up inside
your vehicle, do not drive with the system
switched off or with recirculated air always
switched on. Note:
Do not place objects under the front
seats as this may interfere with the airflow
to the rear seats.
Note: Remove any snow, ice or leaves from
the air intake area at the base of the
windshield.
Note: To improve the time to reach comfort
in hot weather, drive with the windows
slightly open for 2-3 minutes after start-up
or until your vehicle airs out. Automatic Climate Control
Note:
Adjusting the settings when your
vehicle interior is extremely hot or cold is not
necessary. The system automatically adjusts
to heat or cool the cabin to your selected
temperature as quickly as possible. For the
system to function efficiently, the instrument
panel and side air vents should be fully
open.
Note: If you select
AUTO during cold outside
temperatures, the system directs airflow to
the windshield and side window vents. In
addition, the fan may run at a slower speed
until the engine warms up.
138
MKC (TME), enUSA Climate Control
Page 142 of 490
Note:
If you select AUTO during hot outside
temperatures, or when the inside of the
vehicle is hot, the system automatically uses
recirculated air to maximize interior cooling.
When the interior reaches the selected
temperature, the system automatically
switches to using outside air.
Heating the Interior Quickly
1. Press the AUTO button.
2. Adjust the temperature control to the desired setting.
Recommended Settings for Heating
1. Press the
AUTO button.
2. Adjust the temperature control to the desired setting. Use 72°F (22°C) as a
starting point, then adjust the setting as
necessary.
Cooling the Interior Quickly
Press the
MAX A/C button.
Recommended Settings for Cooling
1. Press the
AUTO button. 2. Adjust the temperature control to the
desired setting. Use 72°F (22°C) as a
starting point, then adjust the setting as
necessary.
Side Window Defogging in Cold
Weather
1. Press the defrost button.
2. Adjust the temperature control to the desired setting. Use 72°F (22°C) as a
starting point, then adjust the setting as
necessary.
3. Direct the instrument panel side air vents
toward the side windows.
4. Close the instrument panel vents.
HEATED WINDOWS AND MIRRORS
Heated Rear Window
Note: You must switch the ignition on to use
this feature. Press the button to clear the rear
window of thin ice and fog. Press
the button again within 10 minutes
to switch it off. It switches off automatically
after 10 minutes, or when you switch the
ignition off.
Do not use razor blades or other sharp
objects to clean the inside of the rear
window or to remove decals from the inside
of the rear window. This may cause damage
to the heated grid lines, which your
warranty does not cover.
Heated Exterior Mirror
Note: Do not remove ice from the mirrors
with a scraper or attempt to readjust the
mirror glass if it has frozen in place. These
actions could cause damage to the glass
and mirrors.
Note: Do not clean the housing or glass of
any mirror with harsh abrasives, fuel or other
petroleum-based cleaning products.
Both heated mirrors remove ice, mist and
fog when you switch on the heated rear
window.
139
MKC (TME), enUSA Climate ControlE72507
Page 143 of 490
CABIN AIR FILTER
Your vehicle is equipped with a cabin air
filter. It is located inside the instrument panel
and to the left of the glove box.
The particulate filtration system reduces the
concentration of airborne particles such as
dust, spores and pollen in the air supplied to
the interior of your vehicle.
Note:
Make sure the cabin air filter is in
place at all times. Running the system
without a filter in place could result in
degradation or damage to the system.
The particulate filtration system gives you
and your passengers the following benefits:
• It improves your driving comfort by
reducing particle concentration.
• It improves the interior compartment
cleanliness.
• It protects the climate control
components from particle deposits.
Replace the filter at regular intervals. See
Scheduled Maintenance (page 451). For additional cabin air filter information, or
to replace the filter, see an authorized dealer.
REMOTE START
The remote start feature allows you to
pre-condition the interior of your vehicle. The
climate control system works to achieve
comfort according to your previous settings.
Note:
You cannot adjust the system during
remote start operation.
Turn the ignition on to return the system to
its previous settings. You can now make
adjustments normally, but you need to turn
certain vehicle-dependent features back on,
such as:
• Heated seats.
• Cooled seats.
• Heated steering wheel.
• Heated mirrors.
• Heated rear window. You can adjust the default remote start
settings using the information display
controls.
See Information Displays (page
112).
Automatic Settings
In hot weather, the system is set to 72°F
(22°C). The cooled seats are set to high (if
available, and selected to AUTO in the
information display).
In moderate weather, the system either heats
or cools (based on previous settings). The
rear defroster, heated mirrors and heated
seats do not automatically switch on.
In cold weather, the system is set to 72°F
(22°C). The heated seats are set to high (if
available, and selected to AUTO in the
information display). The rear defroster and
heated mirrors automatically switch on.
140
MKC (TME), enUSA Climate Control