hood open LINCOLN MKC 2019 Owners Manual
[x] Cancel search | Manufacturer: LINCOLN, Model Year: 2019, Model line: MKC, Model: LINCOLN MKC 2019Pages: 581, PDF Size: 5.41 MB
Page 7 of 581
Using Cruise Control...................................210
Using Adaptive Cruise Control..................211
Driving Aids
Driver Alert.....................................................219
Lane Keeping System.................................221
Blind Spot Information System................226
Cross Traffic Alert........................................228
Steering.........................................................232
Pre-Collision Assist.....................................233
Drive Control................................................237
Load Carrying
Rear Under Floor Storage.........................239
Luggage Covers..........................................239
Roof Racks and Load Carriers.................239
Load Limit......................................................240
Towing
Towing a Trailer............................................245
Trailer Sway Control...................................246
Recommended Towing Weights.............246
Essential Towing Checks..........................248
Towing the Vehicle on Four Wheels......250
Driving Hints
Breaking-In....................................................251
Economical Driving......................................251
Driving Through Water...............................251
Floor Mats.....................................................252
Roadside Emergencies
Roadside Assistance..................................254
Hazard Flashers..........................................255
Fuel Shutoff..................................................255
Jump Starting the Vehicle.........................256
Post-Crash Alert System...........................258
Transporting the Vehicle...........................258
Customer Assistance
Getting the Services You Need...............260
In California (U.S. Only)...............................261
The Better Business Bureau (BBB) AutoLine Program (U.S. Only).......................262
Utilizing the Mediation/Arbitration Program(Canada Only)..........................................263
Getting Assistance Outside the U.S. andCanada......................................................264
Ordering Additional Owner's Literature......................................................................266
Reporting Safety Defects (U.S. Only)......266
Reporting Safety Defects (Canada Only)......................................................................267
Fuses
Fuse Specification Chart...........................268
Changing a Fuse.........................................284
Maintenance
General Information....................................287
Opening and Closing the Hood..............287
Under Hood Overview..............................288
Engine Oil Dipstick.....................................290
Engine Oil Check........................................290
Oil Change Indicator Reset.......................291
Engine Coolant Check...............................292
Automatic Transmission Fluid Check.....296
Brake Fluid Check......................................296
Washer Fluid Check...................................296
Fuel Filter.......................................................297
4
MKC (TME) Canada/United States of America, enUSA, Edition date: 201802, Second-Printing
Table of Contents
Page 55 of 581
WARNING: To reduce risk of injury, donot obstruct or place objects in thedeployment path of the airbag.
WARNING: If a supplementary restraintsystem component has deployed, it will notfunction again. Have the system andassociated components inspected as soonas possible. Failure to follow this instructioncould result in personal injury or death.
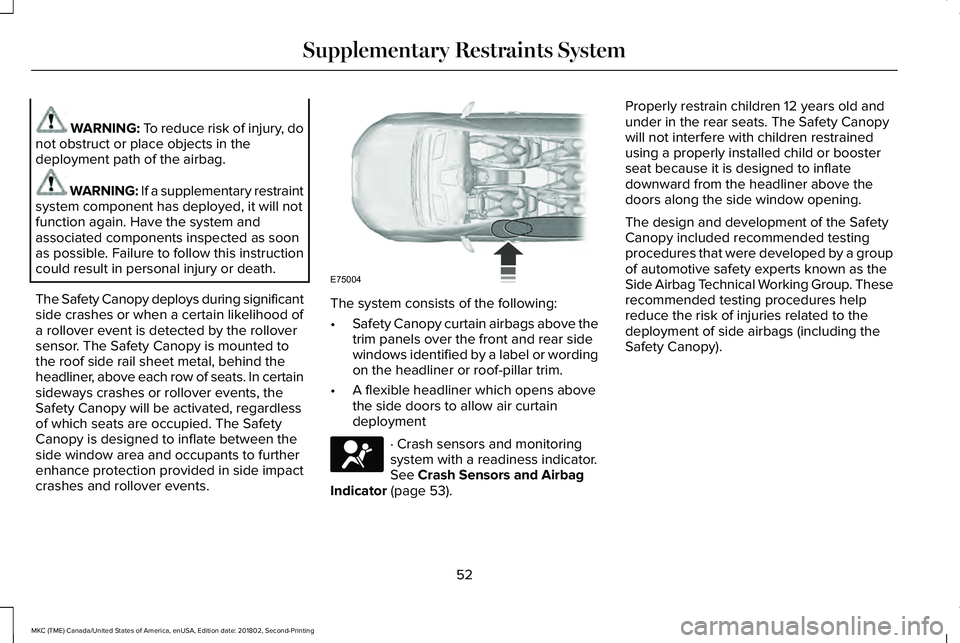
The Safety Canopy deploys during significantside crashes or when a certain likelihood ofa rollover event is detected by the rolloversensor. The Safety Canopy is mounted tothe roof side rail sheet metal, behind theheadliner, above each row of seats. In certainsideways crashes or rollover events, theSafety Canopy will be activated, regardlessof which seats are occupied. The SafetyCanopy is designed to inflate between theside window area and occupants to furtherenhance protection provided in side impactcrashes and rollover events.
The system consists of the following:
•Safety Canopy curtain airbags above thetrim panels over the front and rear sidewindows identified by a label or wordingon the headliner or roof-pillar trim.
•A flexible headliner which opens abovethe side doors to allow air curtaindeployment
· Crash sensors and monitoringsystem with a readiness indicator.See Crash Sensors and AirbagIndicator (page 53).
Properly restrain children 12 years old andunder in the rear seats. The Safety Canopywill not interfere with children restrainedusing a properly installed child or boosterseat because it is designed to inflatedownward from the headliner above thedoors along the side window opening.
The design and development of the SafetyCanopy included recommended testingprocedures that were developed by a groupof automotive safety experts known as theSide Airbag Technical Working Group. Theserecommended testing procedures helpreduce the risk of injuries related to thedeployment of side airbags (including theSafety Canopy).
52
MKC (TME) Canada/United States of America, enUSA, Edition date: 201802, Second-Printing
Supplementary Restraints SystemE75004 E67017
Page 61 of 581
5. Reinstall the battery housing cover ontothe transmitter and install the key blade.
Car Finder
Press the button twice within threeseconds. A tone sounds and thedirection indicators will flash. Werecommend you use this method to locateyour vehicle, rather than using the panicalarm.
Sounding the Panic Alarm
Note:The panic alarm only operates whenthe ignition is off.
Press the button to sound thepanic alarm. Press the buttonagain or switch the ignition on toturn it off.
Remote Start
WARNING: To avoid exhaust fumes,do not use remote start if your vehicle isparked indoors or in areas that are not wellventilated.
Note:Do not use remote start if your fuellevel is low.
The remote start button is on thetransmitter.
This feature allows you to start your vehiclefrom the outside. The transmitter has anextended operating range.
You can configure your automatic climatecontrol to operate when you remote startyour vehicle. See Climate Control (page132).
Many states and provinces have restrictionsfor the use of remote start. Check your localand state or provincial laws for specificrequirements regarding remote startsystems.
The remote start system does not work if anyof the following occur:
•The ignition is on.
•The anti-theft alarm triggers.
•You switch the feature off in theinformation display.
•The hood is open.
•The transmission is not in park (P).
•The battery voltage is below theminimum operating voltage.
Remote Control Feedback (If Equipped)
An LED on the remote control provides statusfeedback of remote start or stop commands.
StatusLED
Remote startsuccessfulSolid green
Remote stopsuccessfulSolid red
Request failed orstatus not receivedBlinking red
Status incompleteBlinking green
58
MKC (TME) Canada/United States of America, enUSA, Edition date: 201802, Second-Printing
Keys and Remote ControlsE138623 E138624 E138625
Page 69 of 581

Press the button again within three secondsto confirm that all the doors are closed. Thedoors lock again, a tone sounds and thedirection indicators flash if all the doors andthe luggage compartment are closed.
Mislock
If any door or the luggage compartment isopen, or if the hood is open on vehicles withan anti-theft alarm or remote start, a tonesounds and the direction indicators will notflash. You can switch this feature on or off inthe information display. See GeneralInformation (page 108).
Audible and Visual Locking Confirmation
If audible and visual locking confirmation isconfigurable, you can turn it on or off usingthe information display. See GeneralInformation (page 108).
Mechanical Key
The intelligent access key also contains aremovable key blade that you can use to lockand unlock your vehicle. See RemoteControl (page 56).
Turn the top of the key toward the front ofyour vehicle once to lock all doors.
Turn the top of the key toward the rear ofyour vehicle once to unlock the driver dooronly.
Locking the Doors Individually
If the power locks fail to operate, lock thedoors individually using the key in theposition shown.
Left-Hand Side
Turn clockwise to lock.
66
MKC (TME) Canada/United States of America, enUSA, Edition date: 201802, Second-Printing
Doors and LocksE180643
Page 81 of 581
Make sure that the ignition is switched offbefore beginning this procedure. Make surethat you close all the doors before beginningand that they remain closed throughout theprocedure. Carry out all steps within 30seconds of starting the sequence. Stop andwait for at least one minute before startingagain if you carry out any steps out ofsequence.
Read and understand the entire procedurebefore you begin.
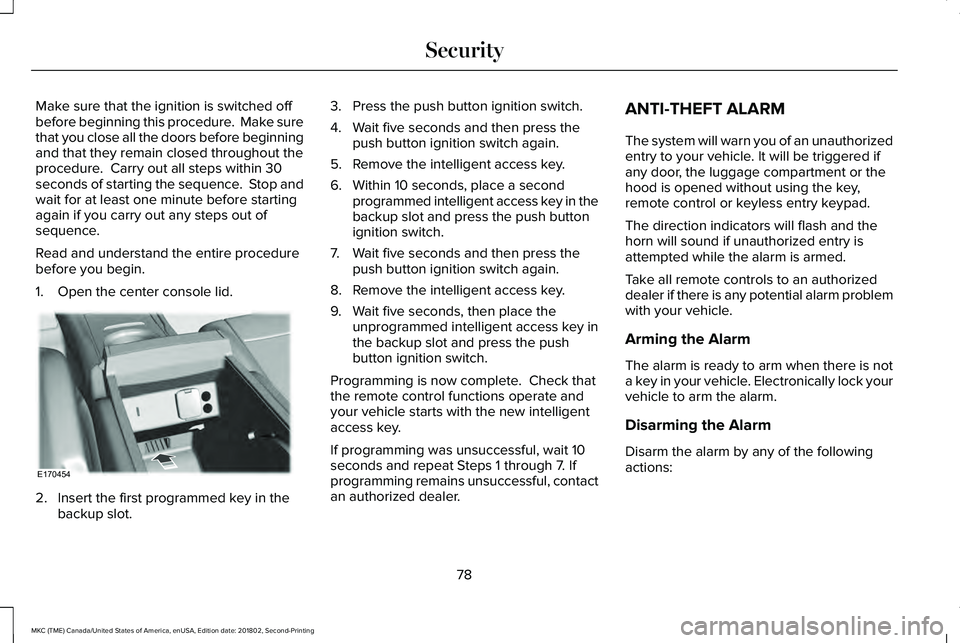
1. Open the center console lid.
2. Insert the first programmed key in thebackup slot.
3. Press the push button ignition switch.
4. Wait five seconds and then press thepush button ignition switch again.
5. Remove the intelligent access key.
6. Within 10 seconds, place a secondprogrammed intelligent access key in thebackup slot and press the push buttonignition switch.
7. Wait five seconds and then press thepush button ignition switch again.
8. Remove the intelligent access key.
9. Wait five seconds, then place theunprogrammed intelligent access key inthe backup slot and press the pushbutton ignition switch.
Programming is now complete. Check thatthe remote control functions operate andyour vehicle starts with the new intelligentaccess key.
If programming was unsuccessful, wait 10seconds and repeat Steps 1 through 7. Ifprogramming remains unsuccessful, contactan authorized dealer.
ANTI-THEFT ALARM
The system will warn you of an unauthorizedentry to your vehicle. It will be triggered ifany door, the luggage compartment or thehood is opened without using the key,remote control or keyless entry keypad.
The direction indicators will flash and thehorn will sound if unauthorized entry isattempted while the alarm is armed.
Take all remote controls to an authorizeddealer if there is any potential alarm problemwith your vehicle.
Arming the Alarm
The alarm is ready to arm when there is nota key in your vehicle. Electronically lock yourvehicle to arm the alarm.
Disarming the Alarm
Disarm the alarm by any of the followingactions:
78
MKC (TME) Canada/United States of America, enUSA, Edition date: 201802, Second-Printing
SecurityE170454
Page 166 of 581
AUTO-START-STOP (If Equipped)
WARNING: Always fully apply theparking brake. Make sure you shift into park(P) for vehicles with an automatictransmission. Switch the ignition off andremove the key whenever you leave yourvehicle.
WARNING: Before opening the hoodor performing any maintenance, fully applythe parking brake, shift into park (P) orneutral (N) and switch the ignition off.
WARNING: Always switch the ignitionoff before leaving the vehicle. If the ignitionis switched on an automatic restart mayoccur at any time.
WARNING: The system may requirethe engine to automatically restart when theauto-start-stop indicator illuminates green orflashes amber. Failure to follow thisinstruction could result in personal injury.
The system helps reduce fuel consumptionby automatically shutting off and restartingthe engine while your vehicle is stopped.The engine will restart automatically whenyou release the brake pedal. In somesituations, your vehicle may restartautomatically, for example:
•To maintain interior comfort
•To recharge the battery
Note:Power assist steering is turned offwhen the engine is off.
The Auto-Start-Stop system status isavailable at a glance within the informationdisplay. See Information Displays (page108).
Enabling Auto-Start-Stop
The system is automatically enabled everytime you start your vehicle if the followingconditions are met:
•The Auto-Start-Stop button is not pressed(not illuminated).
•Your vehicle exceeds an initial speed of3 mph (5 km/h) after the vehicle has beeninitially started.
•Your vehicle is stopped.
•Your foot is on the brake pedal.
•The transmission is in drive (D).
•The driver's door is closed.
•There is adequate brake vacuum.
•The interior compartment has beencooled or warmed to an acceptable level.
•The front windshield defroster is off.
•The steering wheel is not turned rapidlyor is not at a sharp angle.
•The vehicle is not on a steep road grade.
•The battery is within optimal operatingconditions (battery state of charge andtemperature in range).
•The engine coolant is at operatingtemperature.
•Elevation is below approximately10,000 ft (3,048 m).
•Ambient temperature is moderate.
The green Auto-Start-Stopindicator light on the instrumentcluster will illuminate to indicatewhen the automatic engine stop occurs.
163
MKC (TME) Canada/United States of America, enUSA, Edition date: 201802, Second-Printing
Unique Driving Characteristics
Page 290 of 581
GENERAL INFORMATION
Have your vehicle serviced regularly to helpmaintain its roadworthiness and resale value.There is a large network of authorizeddealers that are there to help you with theirprofessional servicing expertise. We believethat their specially trained technicians arebest qualified to service your vehicle properlyand expertly. They are supported by a widerange of highly specialized tools developedspecifically for servicing your vehicle.
If your vehicle requires professional service,an authorized dealer can provide thenecessary parts and service. Check yourwarranty information to find out which partsand services are covered.
Use only recommended fuels, lubricants,fluids and service parts conforming tospecifications. Motorcraft® parts aredesigned and built to provide the bestperformance in your vehicle.
Precautions
•Do not work on a hot engine.
•Make sure that nothing gets caught inmoving parts.
•Do not work on a vehicle with the enginerunning in an enclosed space, unless youare sure you have enough ventilation.
•Keep all open flames and other burningmaterial (such as cigarettes) away fromthe battery and all fuel related parts.
Working with the Engine Off
1. Set the parking brake and shift thetransmission to park (P).
2. Switch off the engine.
3. Block the wheels.
Working with the Engine On
WARNING: To reduce the risk ofvehicle damage and personal burn injuries,do not start your engine with the air cleanerremoved and do not remove it while theengine is running.
1. Set the parking brake and shift thetransmission to park (P).
2. Block the wheels.
OPENING AND CLOSING THE
HOOD
Opening the Hood
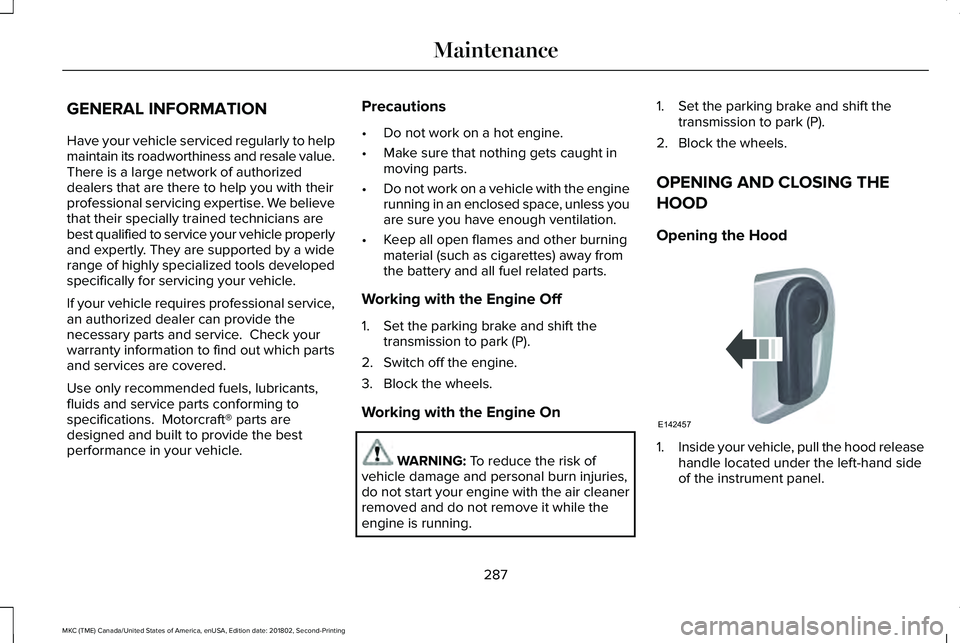
1.Inside your vehicle, pull the hood releasehandle located under the left-hand sideof the instrument panel.
287
MKC (TME) Canada/United States of America, enUSA, Edition date: 201802, Second-Printing
MaintenanceE142457
Page 291 of 581
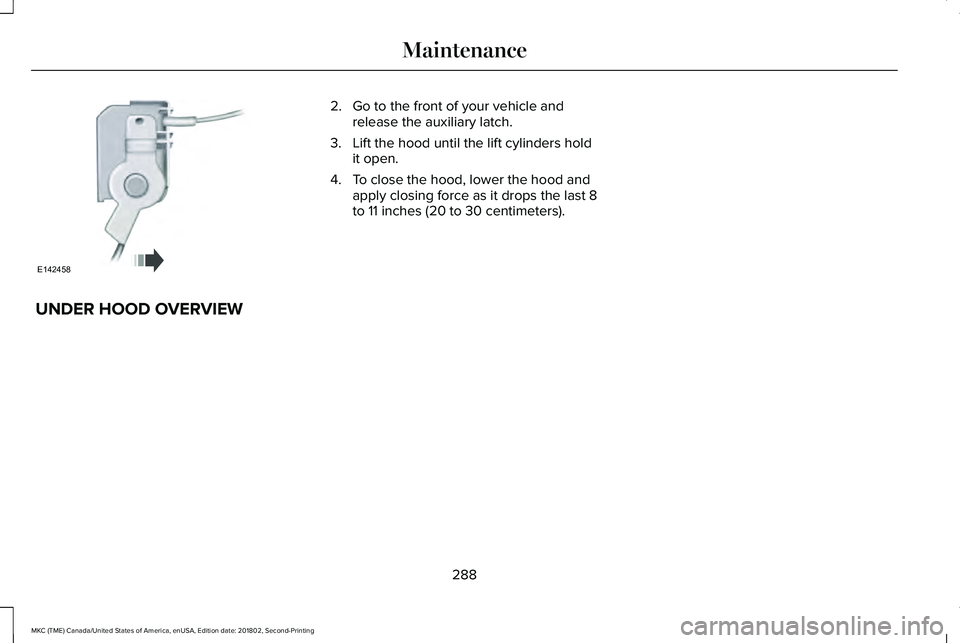
2. Go to the front of your vehicle andrelease the auxiliary latch.
3. Lift the hood until the lift cylinders holdit open.
4. To close the hood, lower the hood andapply closing force as it drops the last 8to 11 inches (20 to 30 centimeters).
UNDER HOOD OVERVIEW
288
MKC (TME) Canada/United States of America, enUSA, Edition date: 201802, Second-Printing
MaintenanceE142458
Page 293 of 581
Engine coolant reservoir. SeeEngine Coolant Check (page 292).A
Engine oil dipstick. See Engine OilDipstick (page 290).B
Engine oil filler cap. See EngineOil Check (page 290).C
Brake fluid reservoir. See BrakeFluid Check (page 296).D
Battery. See Changing the 12VBattery (page 297).E
Power distribution box. See Fuses(page 268).F
Air filter assembly. See Changingthe Engine Air Filter (page 302).G
Windshield washer fluid reservoir.See Washer Fluid Check (page296).
H
ENGINE OIL DIPSTICK
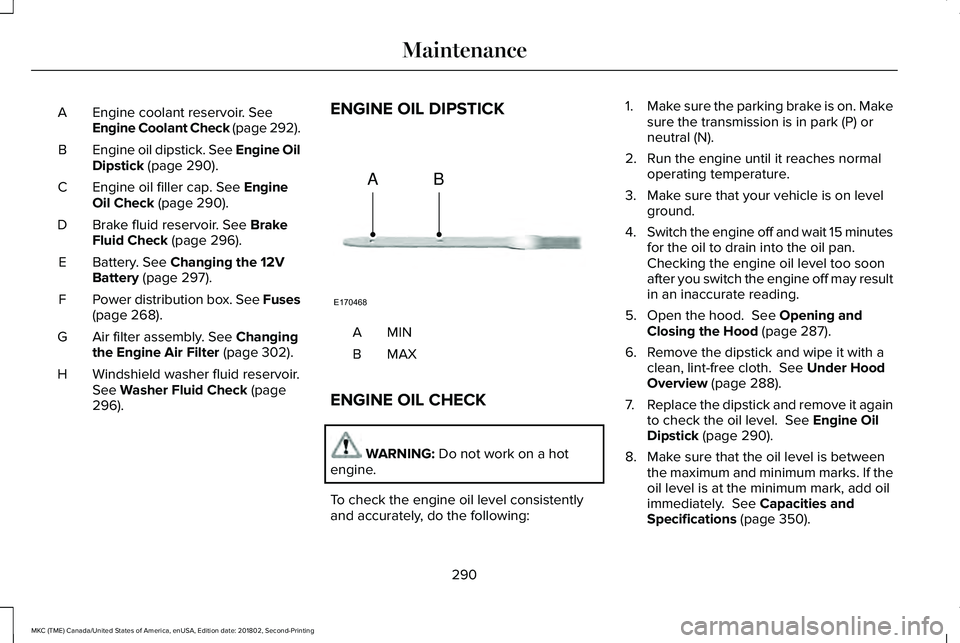
MINA
MAXB
ENGINE OIL CHECK
WARNING: Do not work on a hotengine.
To check the engine oil level consistentlyand accurately, do the following:
1.Make sure the parking brake is on. Makesure the transmission is in park (P) orneutral (N).
2. Run the engine until it reaches normaloperating temperature.
3. Make sure that your vehicle is on levelground.
4.Switch the engine off and wait 15 minutesfor the oil to drain into the oil pan. Checking the engine oil level too soonafter you switch the engine off may resultin an inaccurate reading.
5. Open the hood. See Opening andClosing the Hood (page 287).
6. Remove the dipstick and wipe it with aclean, lint-free cloth. See Under HoodOverview (page 288).
7.Replace the dipstick and remove it againto check the oil level. See Engine OilDipstick (page 290).
8. Make sure that the oil level is betweenthe maximum and minimum marks. If theoil level is at the minimum mark, add oilimmediately. See Capacities andSpecifications (page 350).
290
MKC (TME) Canada/United States of America, enUSA, Edition date: 201802, Second-Printing
MaintenanceE170468
AB
Page 294 of 581
9. If the oil level is correct, replace thedipstick and make sure it is fully seated.
Note:Do not remove the dipstick when theengine is running.
Note: If the oil level is between themaximum and minimum marks, the oil levelis acceptable. Do not add oil.
Note:The oil consumption of new enginesreaches its normal level after approximately3,000 mi (5,000 km).
Adding Engine Oil
WARNING: Do not add engine oil whenthe engine is hot. Failure to follow thisinstruction could result in personal injury.
WARNING: Do not remove the fillercap when the engine is running.
Do not use supplemental engine oil additivesbecause they are unnecessary and couldlead to engine damage that may not becovered by the vehicle Warranty.
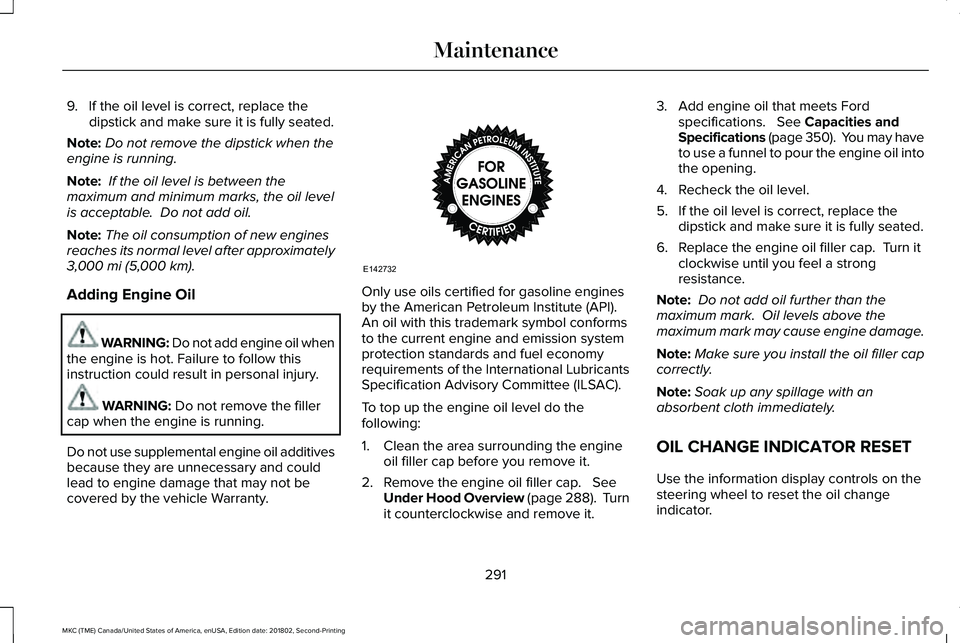
Only use oils certified for gasoline enginesby the American Petroleum Institute (API). An oil with this trademark symbol conformsto the current engine and emission systemprotection standards and fuel economyrequirements of the International LubricantsSpecification Advisory Committee (ILSAC).
To top up the engine oil level do thefollowing:
1. Clean the area surrounding the engineoil filler cap before you remove it.
2. Remove the engine oil filler cap. SeeUnder Hood Overview (page 288). Turnit counterclockwise and remove it.
3. Add engine oil that meets Fordspecifications. See Capacities andSpecifications (page 350). You may haveto use a funnel to pour the engine oil intothe opening.
4. Recheck the oil level.
5. If the oil level is correct, replace thedipstick and make sure it is fully seated.
6. Replace the engine oil filler cap. Turn itclockwise until you feel a strongresistance.
Note: Do not add oil further than themaximum mark. Oil levels above themaximum mark may cause engine damage.
Note:Make sure you install the oil filler capcorrectly.
Note:Soak up any spillage with anabsorbent cloth immediately.
OIL CHANGE INDICATOR RESET
Use the information display controls on thesteering wheel to reset the oil changeindicator.
291
MKC (TME) Canada/United States of America, enUSA, Edition date: 201802, Second-Printing
MaintenanceE142732