roof LINCOLN MKZ 2013 Owners Manual
[x] Cancel search | Manufacturer: LINCOLN, Model Year: 2013, Model line: MKZ, Model: LINCOLN MKZ 2013Pages: 474, PDF Size: 3.79 MB
Page 5 of 474
Security
Passive Anti-Theft System................72
Anti-Theft Alarm
...................................73
Steering Wheel
Adjusting the Steering Wheel...........75
Audio Control
.........................................76
Voice Control
...........................................77
Cruise Control
.........................................77
Information Display Control..............77
Heated Steering Wheel......................78
Wipers and Washers
Windshield Wipers
...............................79
Autowipers..............................................79
Windshield Washers
...........................80
Lighting
Lighting Control
.....................................82
Autolamps...............................................82
Instrument Lighting Dimmer............83
Headlamp Exit Delay...........................83
Daytime Running Lamps...................83
Automatic High Beam Control
........84
Direction Indicators
..............................85
Interior Lamps
........................................85
Windows and Mirrors
Power Windows
....................................87
Global Opening and Closing............88
Exterior Mirrors......................................88
Interior Mirror
.........................................90
Sun Visors
...............................................90
Sun Shades
..............................................91 Moonroof..................................................91
Instrument Cluster
Gauges......................................................94
Warning Lamps and Indicators.......95
Audible Warnings and
Indicators.............................................99
Information Displays
General Information
..........................100
Information Messages
......................105
Audio System
General Information
...........................122
Audio unit - Vehicles With: Premium AM/FM/CD
........................................123
Media Hub
..............................................125
Climate Control
Automatic Climate Control.............126
Hints on Controlling the Interior Climate................................................127
Heated Windows and Mirrors.........128
Cabin Air Filter
......................................129
Remote Start
........................................129
Seats
Sitting in the Correct Position
..........131
Head Restraints
....................................131
Power Seats
..........................................133
Memory Function................................135
Rear Seats..............................................137
Heated Seats
.........................................137
Ventilated Seats
..................................139
Rear Seat Armrest
..............................140
2
Table of Contents
Page 32 of 474

Note:
If you install a child seat with
rigid LATCH attachments, do not
tighten the tether strap enough to lift
the child seat off your vehicle seat
cushion when the child is seated in it.
Keep the tether strap just snug without
lifting the front of the child seat.
Keeping the child seat just touching
your vehicle seat gives the best
protection in a severe crash.
1. Route the child safety seat tether strap over the back of the seat. For
outboard seating positions, route
the tether strap under the head
restraint and between the head
restraint posts. For the center
seating positions, route the tether
strap over the top of the head
restraint. If needed, the head
restraints can also be removed. 2. Locate the correct anchor for the
selected seating position, then
open the tether anchor cover. 3.
Clip the tether strap to the anchor
as shown.
4. Tighten the child safety seat tether
strap according to the
manufacturer's instructions.
If your child restraint system is
equipped with a tether strap, and the
child restraint manufacturer
recommends its use, Ford also
recommends its use.
CHILD SAFETY LOCKS
When these locks are set, the rear
doors cannot be opened from the
inside. The childproof locks are located on
the rear edge of each rear door and
must be set separately for each door.
Left-Hand Side
Turn counterclockwise to lock and
clockwise to unlock.
29
Child SafetyE144274 E144275 E112197
Page 53 of 474
WARNINGS
To reduce risk of injury, do not
obstruct or place objects in the
deployment path of the side curtain
airbag. If the side curtain airbags have
deployed, the side curtain
airbags will not function again. The
side curtain airbags (including the A,
B and C pillar trim and headliner)
must be inspected and serviced by an
authorized dealer. If the side curtain
airbag is not replaced, the unrepaired
area will increase the risk of injury in a
collision. The side curtain airbags will deploy
during significant side collisions. The
side curtain airbags are mounted to
the roof side-rail sheet metal, behind
the headliner, above each row of
seats. In certain lateral collisions, the
side curtain airbags on the impacted
side of the vehicle will be activated.
The side curtain airbags are designed
to inflate between the side window
area and occupants to further
enhance protection provided in side
impact collisions.
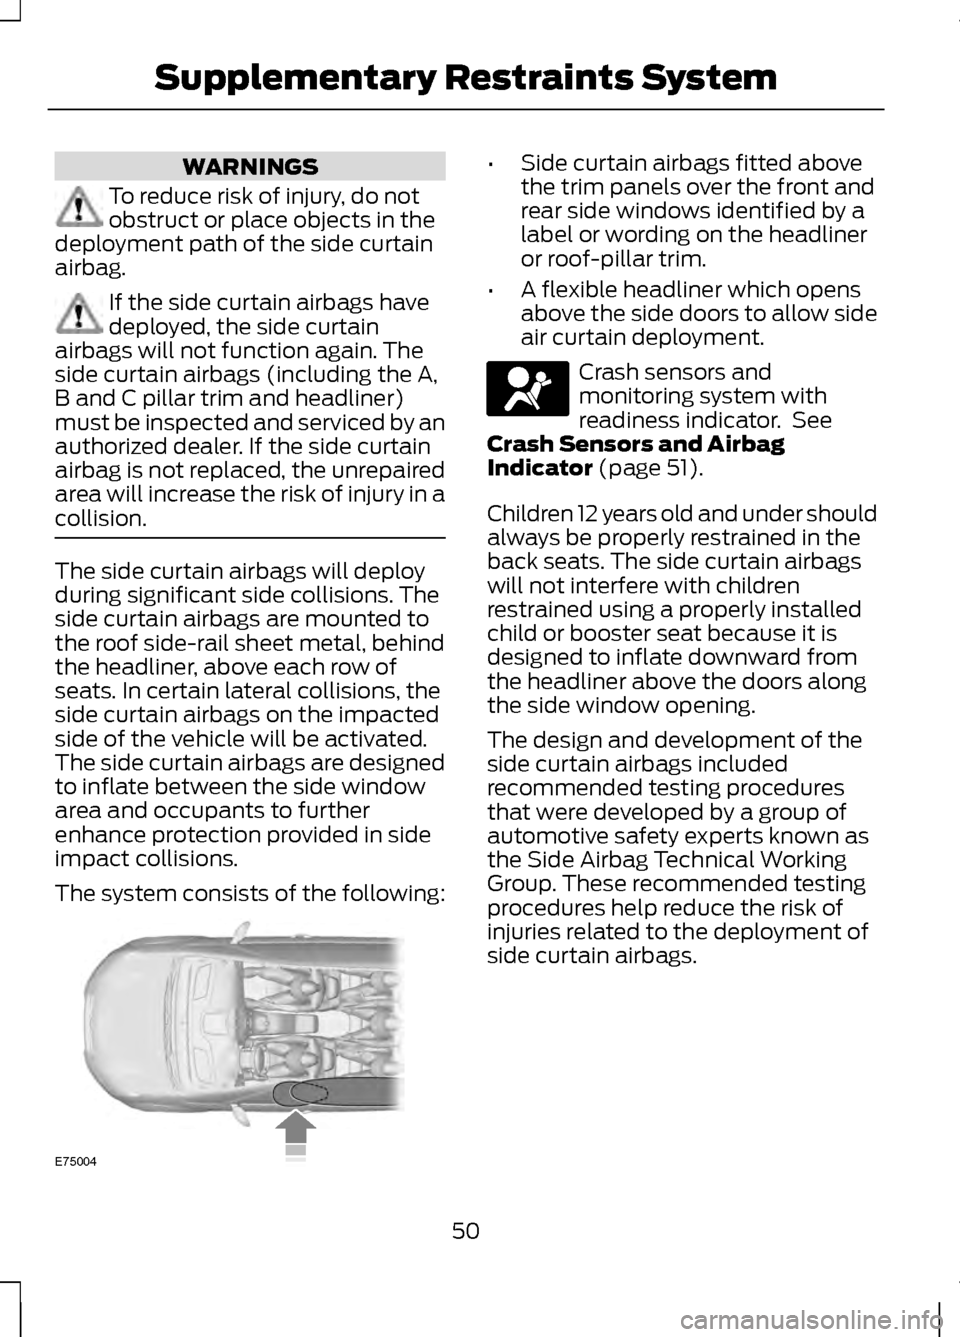
The system consists of the following: •
Side curtain airbags fitted above
the trim panels over the front and
rear side windows identified by a
label or wording on the headliner
or roof-pillar trim.
• A flexible headliner which opens
above the side doors to allow side
air curtain deployment. Crash sensors and
monitoring system with
readiness indicator. See
Crash Sensors and Airbag
Indicator (page 51).
Children 12 years old and under should
always be properly restrained in the
back seats. The side curtain airbags
will not interfere with children
restrained using a properly installed
child or booster seat because it is
designed to inflate downward from
the headliner above the doors along
the side window opening.
The design and development of the
side curtain airbags included
recommended testing procedures
that were developed by a group of
automotive safety experts known as
the Side Airbag Technical Working
Group. These recommended testing
procedures help reduce the risk of
injuries related to the deployment of
side curtain airbags.
50
Supplementary Restraints SystemE75004
Page 89 of 474

Front Interior Lamp
Note:
The front interior lamp switches
are on the overhead console. The exact
location of each switch on the
overhead console depends upon which
roof, sunroof, and window shade
features are equipped on the vehicle.
Note: Touch switch C to switch the
door function off when you open any
door. The indicator lamp will illuminate
amber when the door function is off.
When the door function is off and you
open a door, the courtesy and door
lamps will stay off. Touch switch C
again to switch the door function back
on. The indicator lamp will illuminate
white when the door function is on.
When the door function is on and you
open a door, the courtesy and door
lamps will switch on. All lamps on switch
A
Door function switch
B
All lamps off switch
C
You can switch individual front map
lamps on independently by touching
a map lens. Rear Interior Lamp
The rear interior lamps are hidden in
the headliner. You can switch
individual rear interior lamps on
independently by waving your hand
near the small white light in the
headliner.
86
LightingABCE146410 E150100
Page 91 of 474
Accessory Delay
You can use the window switches for
several minutes after you switch the
ignition off or until you open either
front door.
GLOBAL OPENING AND
CLOSING
You can use the remote control to
operate the windows with the ignition
off.
Note:
You can enable or disable this
feature in the information display or
see an authorized dealer. See General
Information (page 100).
Note: To operate this feature,
accessory delay must not be active.
Opening the Windows
You can only open the windows for a
short time after you unlock your
vehicle with the remote control. After
you unlock your vehicle, press and
hold the remote control unlock button
to open the windows and vent the
moonroof. Release the button once
movement starts. Press the lock or
unlock button to stop movement.
Closing the Windows WARNING
When closing the windows and
moonroof, you should verify they
are free of obstructions and make sure
that children and pets are not in the
proximity of the window openings. To close the windows and moonroof,
press and hold the remote control
lock button. Release the button once
movement starts. Press the lock or
unlock button to stop movement.
EXTERIOR MIRRORS
Power Exterior Mirrors
WARNING
Do not adjust the mirrors when
your vehicle is moving.
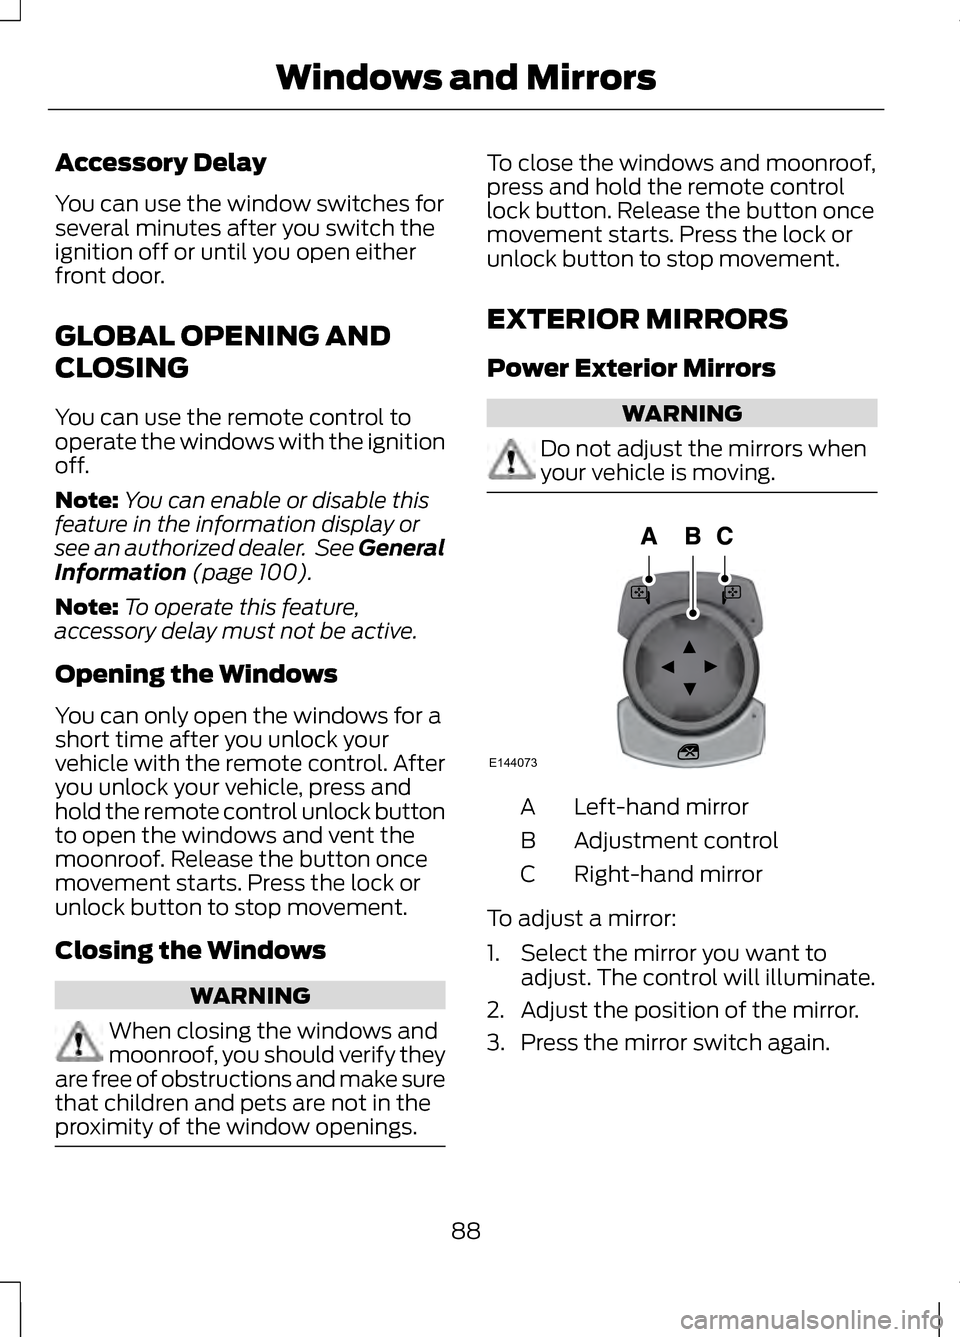
Left-hand mirror
A
Adjustment control
B
Right-hand mirror
C
To adjust a mirror:
1. Select the mirror you want to adjust. The control will illuminate.
2. Adjust the position of the mirror.
3. Press the mirror switch again.
88
Windows and MirrorsE144073
Page 94 of 474
Illuminated Vanity Mirror
Lift the cover to switch the lamp on.
SUN SHADES (IF EQUIPPED)
Note: Do not try to manually move the
sun shade.
The power rear sun shade covers the
rear window of the vehicle. The control is located in the overhead
console.
The sun shade has a one-touch up
and down feature. Press and release
the control to move the sun shade. To
stop motion, press the control a
second time.
The sun shade will automatically
retract when the transmission is
shifted into
R. MOONROOF
(IF EQUIPPED) WARNINGS
Do not let children play with the
moonroof or leave them
unattended in the vehicle. They may
seriously hurt themselves. When closing the moonroof, you
should verify that it is free of
obstructions and make sure that
children and pets are not in the
proximity of the roof opening. The sliding shade can be manually
opened or closed when the moonroof
is closed. Pull the shade toward the
front of the vehicle to close it.
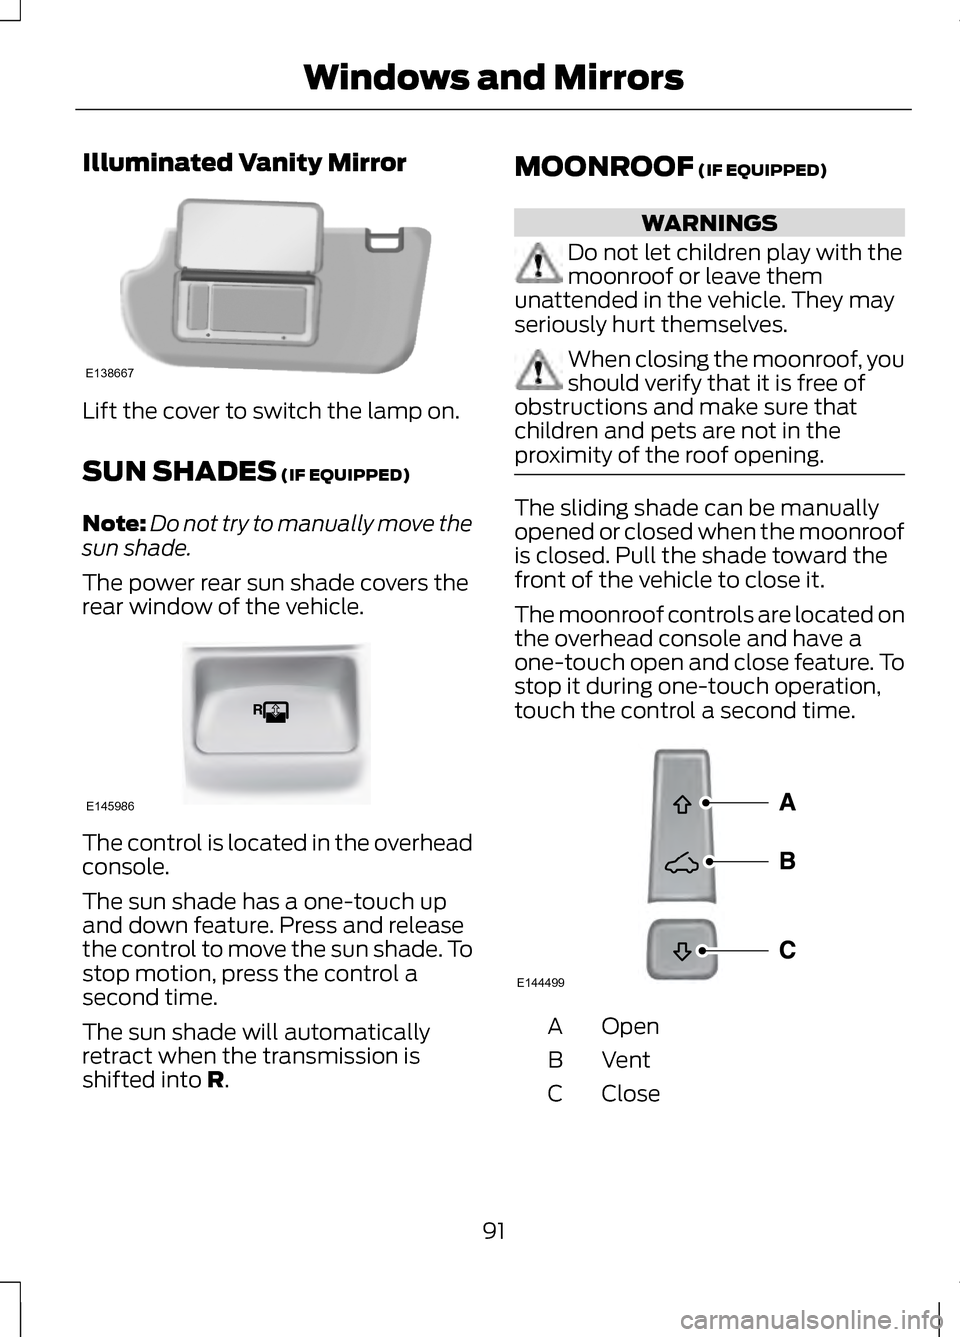
The moonroof controls are located on
the overhead console and have a
one-touch open and close feature. To
stop it during one-touch operation,
touch the control a second time.
Open
A
VentB
Close
C
91
Windows and MirrorsE138667 E145986 E144499
Page 95 of 474
Opening and Closing the
Moonroof
Touch (A) to open the moonroof. It
will stop short of the fully opened
position.
Note:
This position helps to reduce
wind noise or rumbling which may
happen with the moonroof fully open.
Touch (A) again to fully open the
moonroof.
Touch (C) to close the moonroof.
Bounce-Back
The moonroof will stop automatically
and reverse some distance if an
obstacle is detected while closing.
Touch and hold (C) within two
seconds of a bounce-back event to
override this function.
Venting the Moonroof
Touch (B) to vent the moonroof.
Touch (C) to close it.
Retractable Panoramic Roof (If
Equipped)
The moonroof controls on the
overhead console operate the same
except the moonroof will open fully
when the open control is touched. Automatic Glass Movement
When the retractable panoramic roof
is open, it will automatically move to
a position less than full open under
certain vehicle conditions. This helps
to reduce wind noise. If the glass is
between this position and full open
and your vehicle reaches a high speed,
the glass will automatically move to
the defined position.
You can override automatic
movement by touching the moonroof
open or close control. The feature will
remain overridden until the ignition is
switched off then back on.
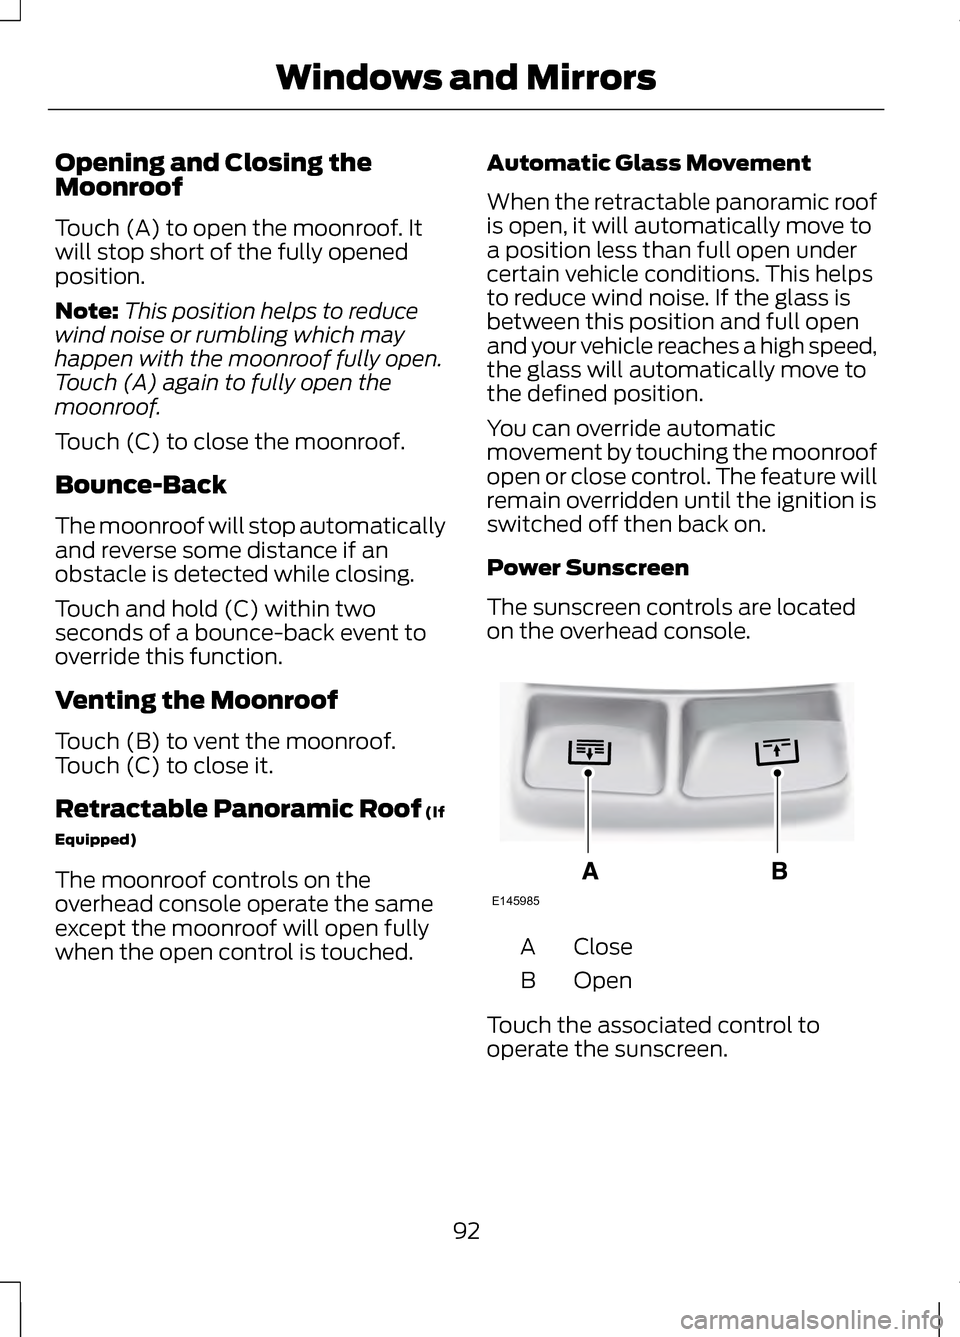
Power Sunscreen
The sunscreen controls are located
on the overhead console.
Close
A
Open
B
Touch the associated control to
operate the sunscreen.
92
Windows and MirrorsE145985
Page 96 of 474
The sunscreen must be open before
opening the moonroof. If the
sunscreen is closed and the moonroof
open control is touched, the
sunscreen will open first followed by
the moonroof. If both the sunscreen
and moonroof are open and the
moonroof close control is touched,
the sunscreen will close first followed
by the moonroof.
93
Windows and Mirrors
Page 185 of 474
PRINCIPLE OF OPERATION
WARNINGS
Vehicle modifications involving
braking system, aftermarket roof
racks, suspension, steering system,
tire construction and wheel and tire
size may change the handling
characteristics of the vehicle and may
adversely affect the performance of
the AdvanceTrac system. In addition,
installing any stereo loudspeakers
may interfere with and adversely
affect the AdvanceTrac system.
Install any aftermarket stereo
loudspeaker as far as possible from
the front center console, the tunnel,
and the front seats in order to
minimize the risk of interfering with
the AdvanceTrac sensors. Reducing
the effectiveness of the AdvanceTrac
system could lead to an increased risk
of loss of vehicle control, vehicle
rollover, personal injury and death. Remember that even advanced
technology cannot defy the laws
of physics. It’ s always possible to lose
control of a vehicle due to
inappropriate driver input for the
conditions. Aggressive driving on any
road condition can cause you to lose
control of your vehicle increasing the
risk of personal injury or property
damage. Activation of the
AdvanceTrac system is an indication
that at least some of the tires have
exceeded their ability to grip the road; WARNINGS
this could reduce the operator ’s ability
to control the vehicle potentially
resulting in a loss of vehicle control,
vehicle rollover, personal injury and
death. If your AdvanceTrac system
activates, SLOW DOWN. The AdvanceTrac Control system
helps you keep control of your vehicle
when on a slippery surface. The
electronic stability control portion of
the system helps avoid skids and
lateral slides and roll stability control
helps avoid a vehicle rollover. The
traction control system helps avoid
drive wheel spin and loss of traction.
See Using Traction Control (page
181).
182
Stability Control
Page 190 of 474
Note:
The sensors may not detect
objects with surfaces that absorb
ultrasonic waves.
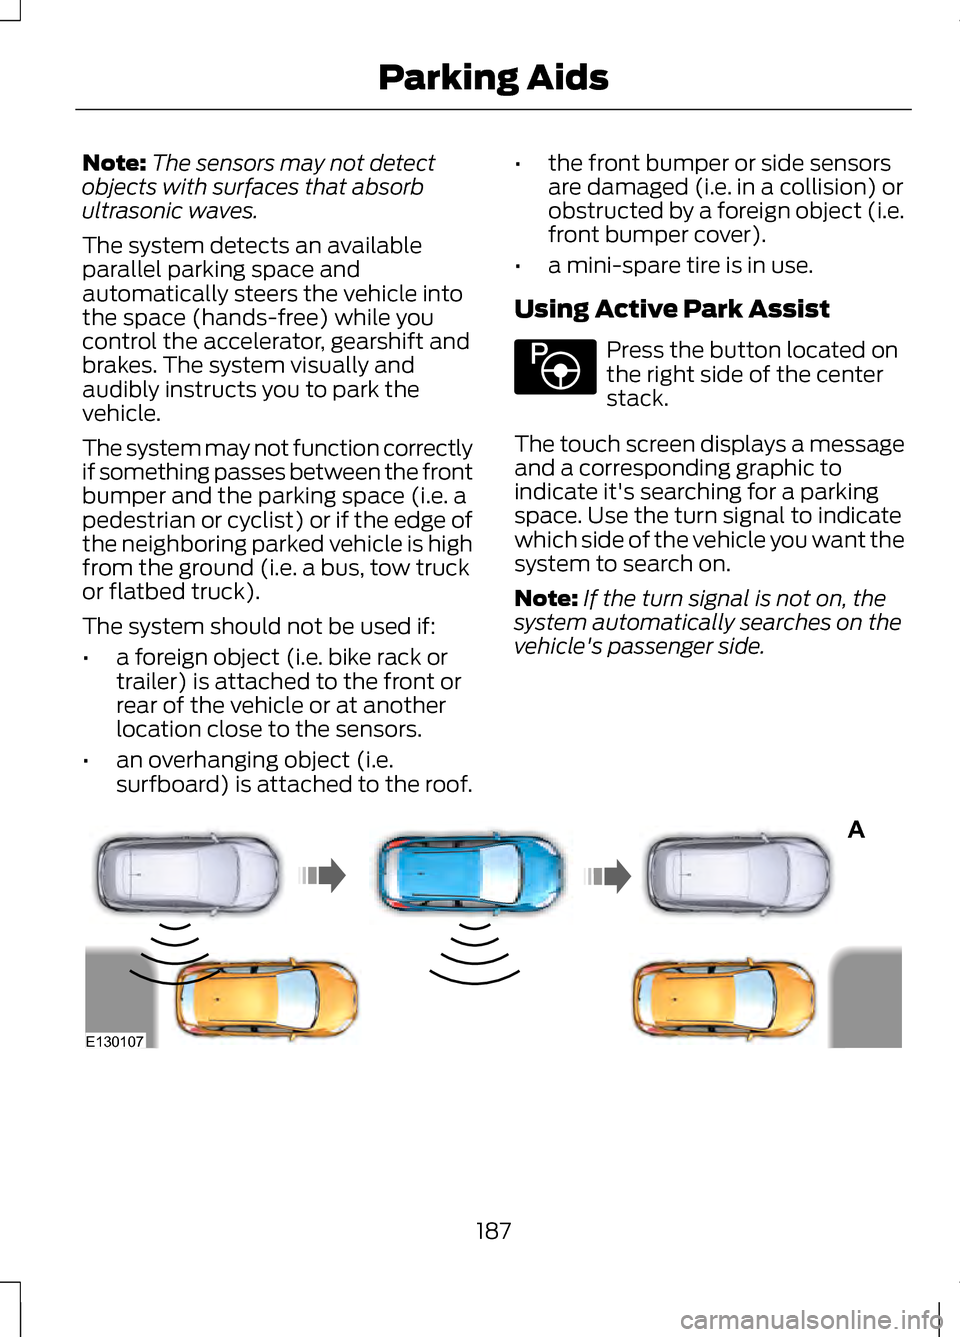
The system detects an available
parallel parking space and
automatically steers the vehicle into
the space (hands-free) while you
control the accelerator, gearshift and
brakes. The system visually and
audibly instructs you to park the
vehicle.
The system may not function correctly
if something passes between the front
bumper and the parking space (i.e. a
pedestrian or cyclist) or if the edge of
the neighboring parked vehicle is high
from the ground (i.e. a bus, tow truck
or flatbed truck).
The system should not be used if:
• a foreign object (i.e. bike rack or
trailer) is attached to the front or
rear of the vehicle or at another
location close to the sensors.
• an overhanging object (i.e.
surfboard) is attached to the roof. •
the front bumper or side sensors
are damaged (i.e. in a collision) or
obstructed by a foreign object (i.e.
front bumper cover).
• a mini-spare tire is in use.
Using Active Park Assist Press the button located on
the right side of the center
stack.
The touch screen displays a message
and a corresponding graphic to
indicate it's searching for a parking
space. Use the turn signal to indicate
which side of the vehicle you want the
system to search on.
Note: If the turn signal is not on, the
system automatically searches on the
vehicle's passenger side. 187
Parking AidsE146186 A
E130107