ESP LINCOLN MKZ 2020 User Guide
[x] Cancel search | Manufacturer: LINCOLN, Model Year: 2020, Model line: MKZ, Model: LINCOLN MKZ 2020Pages: 561, PDF Size: 5.7 MB
Page 60 of 561
GENERAL INFORMATION ON
RADIO FREQUENCIES
This device complies with Part 15 of the FCC
Rules and with Industry Canada
license-exempt RSS standard(s). Operation
is subject to the following two conditions: (1)
This device may not cause harmful
interference, and (2) This device must accept
any interference received, including
interference that may cause undesired
operation.
WARNING: Changes or modifications
not expressively approved by the party
responsible for compliance could void the
user's authority to operate the equipment.
The term "IC:" before the radio certification
number only signifies that Industry Canada
technical specifications were met.
The typical operating range for your
transmitter is approximately 33 ft (10 m).
Vehicles with the remote start feature will
have a greater range. One of the following could cause a decrease
in operating range:
•
Weather conditions.
• Nearby radio towers.
• Structures around the vehicle.
• Other vehicles parked next to your
vehicle.
The radio frequency used by your remote
control can also be used by other radio
transmitters, for example amateur radios,
medical equipment, wireless headphones,
wireless remote controls, cell phones, battery
chargers and alarm systems. If the
frequencies are jammed, you will not be able
to use your remote control. You can lock and
unlock the doors with the key.
Note: Make sure to lock your vehicle before
leaving it unattended.
Note: If you are in range, the remote control
will operate if you press any button
unintentionally.
Note: The remote control contains sensitive
electrical components. Exposure to moisture
or impact may cause permanent damage. Intelligent Access
(If Equipped)
The system uses a radio frequency signal to
communicate with your vehicle and authorize
your vehicle to unlock when one of the
following conditions are met:
• You activate the front exterior door
handle switch.
• You press the luggage compartment
button.
• You press a button on the transmitter.
If excessive radio frequency interference is
present in the area or if the transmitter
battery is low, you may need to mechanically
unlock your door. You can use the
mechanical key blade in your intelligent
access key to open the driver door in this
situation.
See Remote Control (page 57).
REMOTE CONTROL
Intelligent Access Key
Note: You may not be able to shift out of
park (P) unless the intelligent access key is
inside your vehicle.
57
MKZ (CC9) Canada/United States of America, enUSA, Edition date: 201905, Second-Printing Keys and Remote Controls
Page 66 of 561
Note:
Not every feature applies to every
vehicle in every market. When they are
available for your vehicle, then they appear
in your information display, providing choices
to switch them on or off, or to select a more
specific setting.
• Various vehicle speed limits so the
MyKey driver cannot exceed certain
speeds. The information display shows
warnings followed by an audible tone
when the MyKey driver reaches the set
speed. You cannot override the set
speed by fully depressing the accelerator
pedal. WARNING: Do not set MyKey
maximum speed limit to a limit that will
prevent the driver from maintaining a safe
speed considering posted speed limits and
prevailing road conditions. The driver is
always responsible to drive in accordance
with local laws and prevailing conditions.
Failure to do so could result in accident or
injury. •
Various vehicle speed reminders so
MyKey drivers know when their vehicle
speed approaches the limits. Warnings
appear in your information display and a
tone sounds when the MyKey drivers
exceed the set vehicle speed.
• The audio system's maximum volume
limits to 45% so MyKey drivers can
concentrate on the road. A message
appears in the information display when
MyKey drivers attempt to exceed the
limited volume. MyKey also disables the
automatic volume control.
Note: If your
vehicle includes an AM/FM radio or a
very basic audio system, then the radio
may not limit.
• Always on setting. This setting forces
certain features to remain on and active
for MyKey drivers. For example, E911 or
emergency assistance and the do not
disturb features stay on even if a MyKey
driver uses the feature's control to switch
it off. When selected, you will not be able
to turn off Advance Trac or traction
control (if your vehicle has this feature). CREATING A MYKEY
Use the information display to create a
MyKey:
1. Insert the key you want to program into
the ignition. If your vehicle is equipped
with a push-button start, place the remote
control into the backup slot. See Starting
a Gasoline Engine
(page 162).
2. Switch the ignition on.
3. Access the main menu in the information
display and then scroll through the
menus to change the settings of your
MyKey. From the MyKey menu select the
option Create MyKey.
See Information
Displays (page 109).
4. When prompted, hold the OK button until
you see a message informing you to label
this key as a MyKey. The programmed
restrictions apply when you key off, open
and close the driver door and restart your
vehicle with the programmed key or
transmitter.
MyKey is successfully created. Make sure
you label it so you can distinguish it from the
admin keys.
63
MKZ (CC9) Canada/United States of America, enUSA, Edition date: 201905, Second-Printing MyKey™
Page 91 of 561
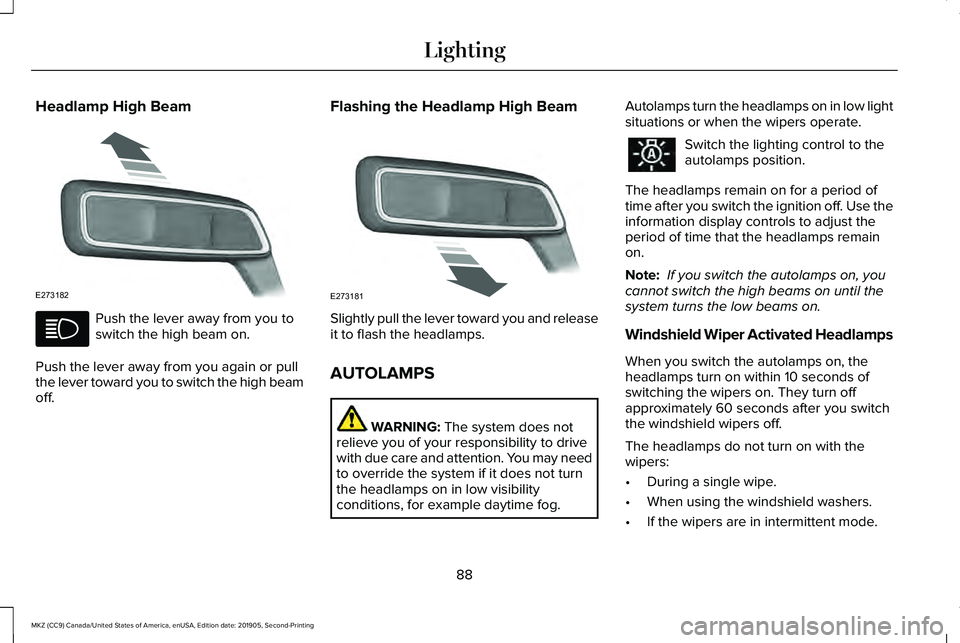
Headlamp High Beam
Push the lever away from you to
switch the high beam on.
Push the lever away from you again or pull
the lever toward you to switch the high beam
off. Flashing the Headlamp High Beam
Slightly pull the lever toward you and release
it to flash the headlamps.
AUTOLAMPS
WARNING: The system does not
relieve you of your responsibility to drive
with due care and attention. You may need
to override the system if it does not turn
the headlamps on in low visibility
conditions, for example daytime fog. Autolamps turn the headlamps on in low light
situations or when the wipers operate. Switch the lighting control to the
autolamps position.
The headlamps remain on for a period of
time after you switch the ignition off. Use the
information display controls to adjust the
period of time that the headlamps remain
on.
Note: If you switch the autolamps on, you
cannot switch the high beams on until the
system turns the low beams on.
Windshield Wiper Activated Headlamps
When you switch the autolamps on, the
headlamps turn on within 10 seconds of
switching the wipers on. They turn off
approximately 60 seconds after you switch
the windshield wipers off.
The headlamps do not turn on with the
wipers:
• During a single wipe.
• When using the windshield washers.
• If the wipers are in intermittent mode.
88
MKZ (CC9) Canada/United States of America, enUSA, Edition date: 201905, Second-Printing LightingE273182 E273181
Page 97 of 561
AUTOMATIC HIGH BEAM
CONTROL INDICATORS
The indicator illuminates to confirm
when the system is ready to assist.
OVERRIDING AUTOMATIC HIGH
BEAM CONTROL WARNING: The system does not
relieve you of your responsibility to drive
with due care and attention. You may need
to override the system if it does not turn
the high beams on or off. WARNING:
You may need to
override the system when approaching
other road users. WARNING:
You may need to
override the system during inclement
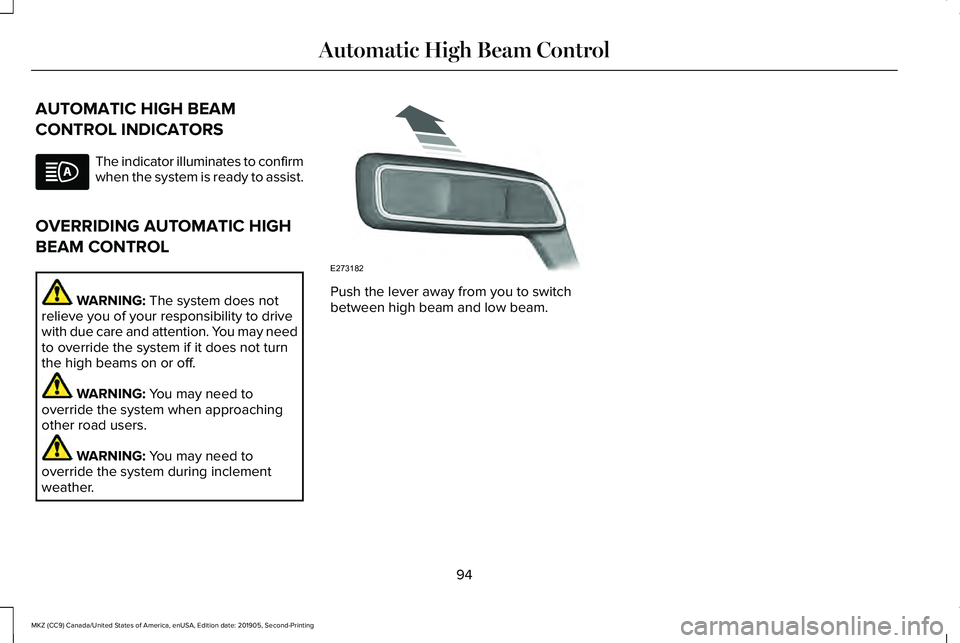
weather. Push the lever away from you to switch
between high beam and low beam.
94
MKZ (CC9) Canada/United States of America, enUSA, Edition date: 201905, Second-Printing Automatic High Beam Control E273182
Page 107 of 561
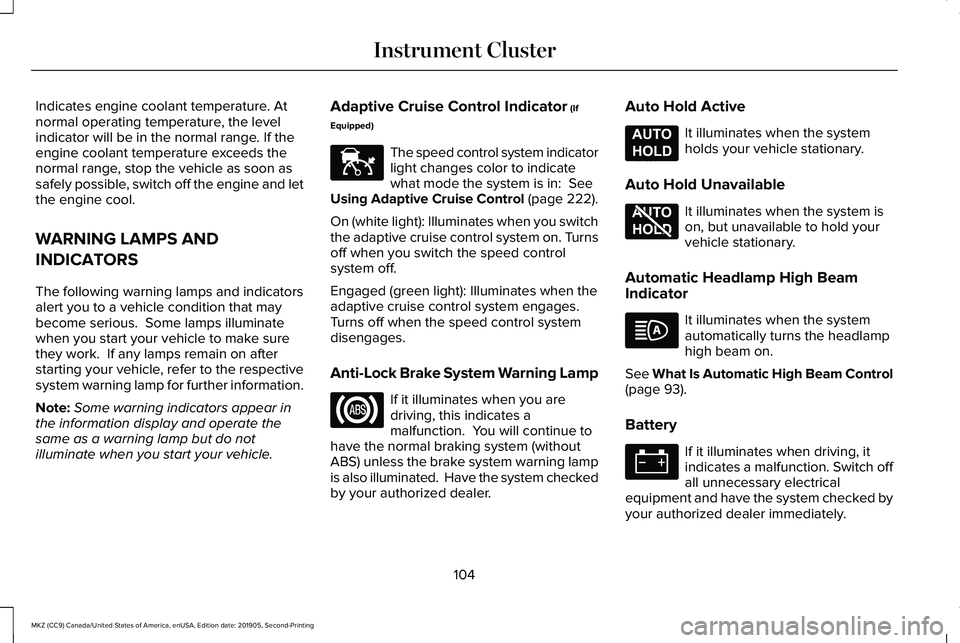
Indicates engine coolant temperature. At
normal operating temperature, the level
indicator will be in the normal range. If the
engine coolant temperature exceeds the
normal range, stop the vehicle as soon as
safely possible, switch off the engine and let
the engine cool.
WARNING LAMPS AND
INDICATORS
The following warning lamps and indicators
alert you to a vehicle condition that may
become serious. Some lamps illuminate
when you start your vehicle to make sure
they work. If any lamps remain on after
starting your vehicle, refer to the respective
system warning lamp for further information.
Note:
Some warning indicators appear in
the information display and operate the
same as a warning lamp but do not
illuminate when you start your vehicle. Adaptive Cruise Control Indicator (If
Equipped) The speed control system indicator
light changes color to indicate
what mode the system is in:
See
Using Adaptive Cruise Control (page 222).
On (white light): Illuminates when you switch
the adaptive cruise control system on. Turns
off when you switch the speed control
system off.
Engaged (green light): Illuminates when the
adaptive cruise control system engages.
Turns off when the speed control system
disengages.
Anti-Lock Brake System Warning Lamp If it illuminates when you are
driving, this indicates a
malfunction. You will continue to
have the normal braking system (without
ABS) unless the brake system warning lamp
is also illuminated. Have the system checked
by your authorized dealer. Auto Hold Active It illuminates when the system
holds your vehicle stationary.
Auto Hold Unavailable It illuminates when the system is
on, but unavailable to hold your
vehicle stationary.
Automatic Headlamp High Beam
Indicator It illuminates when the system
automatically turns the headlamp
high beam on.
See
What Is Automatic High Beam Control
(page 93).
Battery If it illuminates when driving, it
indicates a malfunction. Switch off
all unnecessary electrical
equipment and have the system checked by
your authorized dealer immediately.
104
MKZ (CC9) Canada/United States of America, enUSA, Edition date: 201905, Second-Printing Instrument ClusterE144524 E197933 E197934
Page 112 of 561
GENERAL INFORMATION
WARNING: Driving while distracted
can result in loss of vehicle control, crash
and injury. We strongly recommend that
you use extreme caution when using any
device that may take your focus off the
road. Your primary responsibility is the safe
operation of your vehicle. We recommend
against the use of any hand-held device
while driving and encourage the use of
voice-operated systems when possible.
Make sure you are aware of all applicable
local laws that may affect the use of
electronic devices while driving.
You can control various systems on your
vehicle using the information display controls
on the steering wheel. The information
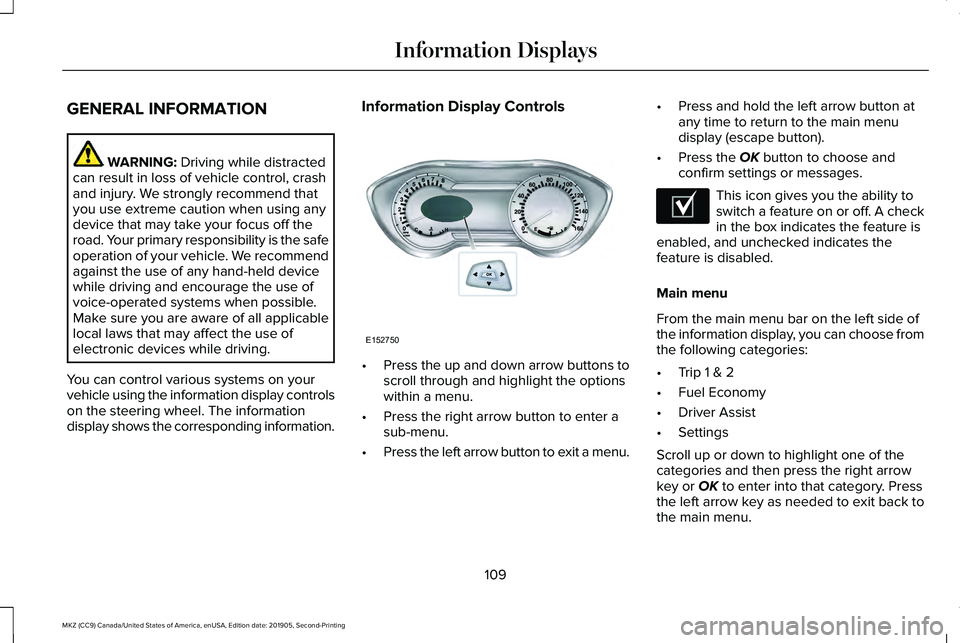
display shows the corresponding information. Information Display Controls
•
Press the up and down arrow buttons to
scroll through and highlight the options
within a menu.
• Press the right arrow button to enter a
sub-menu.
• Press the left arrow button to exit a menu. •
Press and hold the left arrow button at
any time to return to the main menu
display (escape button).
• Press the OK button to choose and
confirm settings or messages. This icon gives you the ability to
switch a feature on or off. A check
in the box indicates the feature is
enabled, and unchecked indicates the
feature is disabled.
Main menu
From the main menu bar on the left side of
the information display, you can choose from
the following categories:
• Trip 1 & 2
• Fuel Economy
• Driver Assist
• Settings
Scroll up or down to highlight one of the
categories and then press the right arrow
key or
OK to enter into that category. Press
the left arrow key as needed to exit back to
the main menu.
109
MKZ (CC9) Canada/United States of America, enUSA, Edition date: 201905, Second-Printing Information DisplaysE152750 E204495
Page 151 of 561
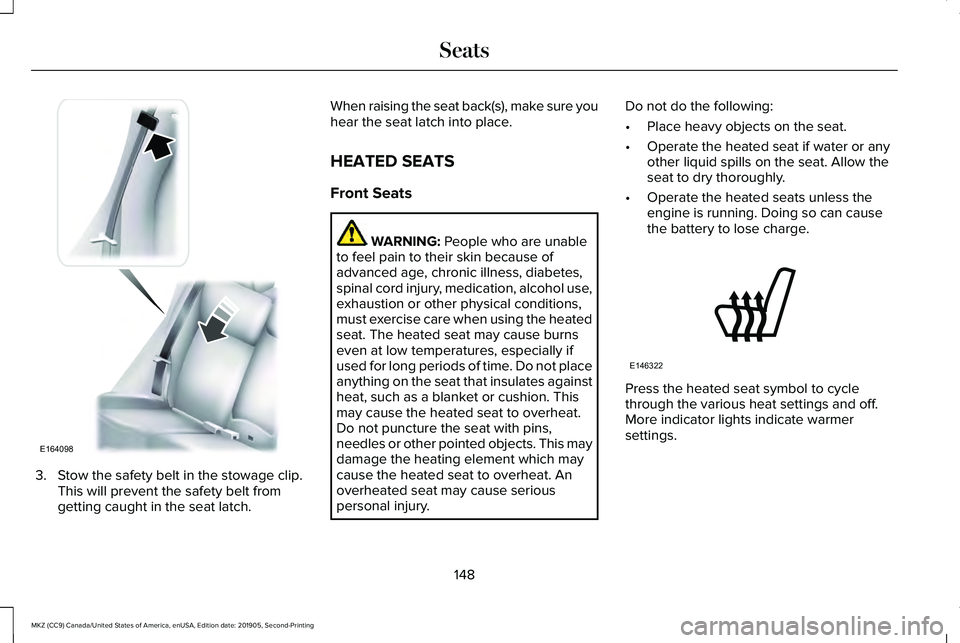
3. Stow the safety belt in the stowage clip.
This will prevent the safety belt from
getting caught in the seat latch. When raising the seat back(s), make sure you
hear the seat latch into place.
HEATED SEATS
Front Seats
WARNING: People who are unable
to feel pain to their skin because of
advanced age, chronic illness, diabetes,
spinal cord injury, medication, alcohol use,
exhaustion or other physical conditions,
must exercise care when using the heated
seat. The heated seat may cause burns
even at low temperatures, especially if
used for long periods of time. Do not place
anything on the seat that insulates against
heat, such as a blanket or cushion. This
may cause the heated seat to overheat.
Do not puncture the seat with pins,
needles or other pointed objects. This may
damage the heating element which may
cause the heated seat to overheat. An
overheated seat may cause serious
personal injury. Do not do the following:
•
Place heavy objects on the seat.
• Operate the heated seat if water or any
other liquid spills on the seat. Allow the
seat to dry thoroughly.
• Operate the heated seats unless the
engine is running. Doing so can cause
the battery to lose charge. Press the heated seat symbol to cycle
through the various heat settings and off.
More indicator lights indicate warmer
settings.
148
MKZ (CC9) Canada/United States of America, enUSA, Edition date: 201905, Second-Printing SeatsE164098 E146322
Page 152 of 561
Rear Seats
WARNING: Persons who are unable
to feel pain to the skin because of
advanced age, chronic illness, diabetes,
spinal cord injury, medication, alcohol use,
exhaustion, or other physical conditions,
must exercise care when using the seat
heater. The seat heater may cause burns
even at low temperatures, especially if
used for long periods of time. Do not place
anything on the seat that insulates against
heat, such as a blanket or cushion,
because this may cause the seat heater to
overheat. Do not puncture the seat with
pins, needles, or other pointed objects
because this may damage the heating
element which may cause the seat heater
to overheat. An overheated seat may
cause serious personal injury. Do not do the following:
•
Place heavy objects on the seat.
• Operate the seat heater if water or any
other liquid is spilled on the seat. Allow
the seat to dry thoroughly.
• Operate the heated seats unless the
engine is running. Doing so can cause
the battery to lose charge.
The rear seat heat controls are located on
the rear of the center console. Press the heated seat symbol to cycle
through the various heat settings and off.
More indicator lights indicate warmer
settings.The heated seat module resets at every
ignition run cycle. While the ignition is on,
press the high or low heated seat switch to
enable heating mode. When activated, they
will turn off automatically when you turn the
engine off.
CLIMATE CONTROLLED SEATS
(IF
EQUIPPED)
Heated Seats WARNING:
People who are unable
to feel pain to their skin because of
advanced age, chronic illness, diabetes,
spinal cord injury, medication, alcohol use,
exhaustion or other physical conditions,
must exercise care when using the heated
seat. The heated seat may cause burns
even at low temperatures, especially if
used for long periods of time. Do not place
anything on the seat that insulates against
heat, such as a blanket or cushion. This
may cause the heated seat to overheat.
149
MKZ (CC9) Canada/United States of America, enUSA, Edition date: 201905, Second-Printing SeatsE146322
Page 158 of 561
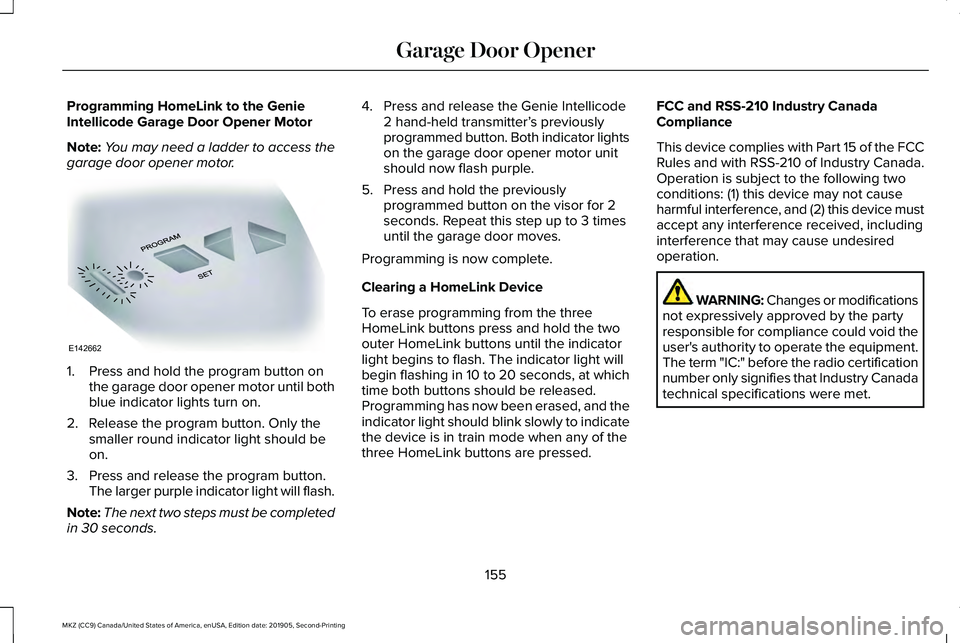
Programming HomeLink to the Genie
Intellicode Garage Door Opener Motor
Note:
You may need a ladder to access the
garage door opener motor. 1. Press and hold the program button on
the garage door opener motor until both
blue indicator lights turn on.
2. Release the program button. Only the smaller round indicator light should be
on.
3. Press and release the program button. The larger purple indicator light will flash.
Note: The next two steps must be completed
in 30 seconds. 4. Press and release the Genie Intellicode
2 hand-held transmitter’ s previously
programmed button. Both indicator lights
on the garage door opener motor unit
should now flash purple.
5. Press and hold the previously programmed button on the visor for 2
seconds. Repeat this step up to 3 times
until the garage door moves.
Programming is now complete.
Clearing a HomeLink Device
To erase programming from the three
HomeLink buttons press and hold the two
outer HomeLink buttons until the indicator
light begins to flash. The indicator light will
begin flashing in 10 to 20 seconds, at which
time both buttons should be released.
Programming has now been erased, and the
indicator light should blink slowly to indicate
the device is in train mode when any of the
three HomeLink buttons are pressed. FCC and RSS-210 Industry Canada
Compliance
This device complies with Part 15 of the FCC
Rules and with RSS-210 of Industry Canada.
Operation is subject to the following two
conditions: (1) this device may not cause
harmful interference, and (2) this device must
accept any interference received, including
interference that may cause undesired
operation.
WARNING: Changes or modifications
not expressively approved by the party
responsible for compliance could void the
user's authority to operate the equipment.
The term "IC:" before the radio certification
number only signifies that Industry Canada
technical specifications were met.
155
MKZ (CC9) Canada/United States of America, enUSA, Edition date: 201905, Second-Printing Garage Door OpenerE142662
Page 168 of 561
ENGINE BLOCK HEATER
WARNING: Failure to follow engine
block heater instructions could result in
property damage or serious personal
injury. WARNING:
Do not use your heater
with ungrounded electrical systems or
two-pronged adapters. There is a risk of
electrical shock. WARNING:
Do not fully close the
hood, or allow it to drop under its own
weight when using the engine block
heater. This could damage the power cable
and may cause an electrical short resulting
in fire, injury and property damage.
Note: The heater is most effective when
outdoor temperatures are below
0°F (-18°C). The heater acts as a starting aid by warming
the engine coolant. This allows the climate
control system to respond quickly. The
equipment includes a heater element,
installed in the engine block and a wire
harness. You can connect the system to a
grounded 120-volt AC electrical source.
We recommend that you do the following for
a safe and correct operation:
•
Use a 16-gauge outdoor extension cord
that is product certified by Underwriter’ s
Laboratory (UL) or Canadian Standards
Association (CSA). This extension cord
must be suitable for use outdoors, in cold
temperatures, and be clearly marked
Suitable for Use with Outdoor
Appliances. Do not use an indoor
extension cord outdoors. This could
result in an electric shock or become a
fire hazard.
• Use as short an extension cord as
possible.
• Do not use multiple extension cords. •
Make sure that when in operation, the
extension cord plug and heater cord plug
connections are free and clear of water.
This could cause an electric shock or fire.
• If the block heater cord is under the
hood, Do Not remove the wiring from its
original location. Do Not close the hood
on the extension wiring.
• Make sure your vehicle is parked in a
clean area, clear of combustibles.
• Make sure the heater, heater cord and
extension cord are firmly connected.
• Check for heat anywhere in the electrical
hookup once the system has been
operating for approximately 30 minutes.
• Make sure the system is unplugged and
properly stowed before starting and
driving your vehicle. Make sure the
protective cover seals the prongs of the
block heater cord plug when not in use.
• Make sure the heater system is checked
for proper operation before winter.
165
MKZ (CC9) Canada/United States of America, enUSA, Edition date: 201905, Second-Printing Starting and Stopping the Engine