radio LINCOLN MKZ HYBRID 2013 Owners Manual
[x] Cancel search | Manufacturer: LINCOLN, Model Year: 2013, Model line: MKZ HYBRID, Model: LINCOLN MKZ HYBRID 2013Pages: 475, PDF Size: 3.89 MB
Page 3 of 475
Introduction
About This Manual..................................7
Symbols Glossary
....................................7
Data Recording........................................9
California Proposition 65
.....................11
Perchlorate................................................11
Lincoln Credit
...........................................12
Replacement Parts Recommendation..............................12
Special Notices
.......................................13
Mobile Communications Equipment............................................13
Export Unique Options........................13
Child Safety
General Information.............................15
Child Seat Positioning
..........................17
Booster Seats
..........................................18
Installing Child Seats
............................21
Child Safety Locks................................29
Safety Belts
Principle of Operation..........................31
Fastening the Safety Belts................32
Safety Belt Height Adjustment.......36
Safety Belt Warning Lamp and Indicator Chime.................................37
Safety Belt Minder
................................38
Child Restraint and Safety Belt Maintenance......................................39
Personal Safety System ™
Personal Safety System ™
.................41Supplementary Restraints
System
Principle of Operation
.........................42
Driver and Passenger Airbags..........43
Knee Airbag
............................................44
Front Passenger Sensing System..................................................45
Side Airbags............................................47
Side Curtain Airbags............................48
Crash Sensors and Airbag Indicator...............................................50
Airbag Disposal.......................................51
Keys and Remote Controls
General Information on Radio Frequencies.........................................52
Remote Control
.....................................53
Replacing a Lost Key or Remote Control..................................................56
MyKey ™
Principle of Operation.........................57
Creating a MyKey
..................................58
Clearing All MyKeys.............................58
Checking MyKey System Status...................................................59
Using MyKey With Remote Start Systems...............................................59
MyKey Troubleshooting
.....................59
Locks
Locking and Unlocking.......................62
Keyless Entry...........................................67
Interior Luggage Compartment Release
.................................................70
1
MKZ Hybrid (CC9) Table of Contents
Page 15 of 475
SPECIAL NOTICES
New Vehicle Limited Warranty
For a detailed description of what is
covered and what is not covered by
your vehicle
’s New Vehicle Limited
Warranty, refer to the Warranty
Manual that is provided to you along
with your Owner ’s Manual.
Special Instructions
For your added safety, your vehicle is
fitted with sophisticated electronic
controls. WARNINGS
Failure to follow the specific
warnings and instructions could
result in personal injury. See
Supplementary Restraints System
(page 42). Front seat mounted rear-facing
child or infant seats should
NEVER
be placed in front of an active
passenger airbag. MOBILE
COMMUNICATIONS
EQUIPMENT
Using mobile communications
equipment is becoming increasingly
important in the conduct of business
and personal affairs. However, you
must not compromise your own or
others’
safety when using such
equipment. Mobile communications
can enhance personal safety and
security when appropriately used, particularly in emergency situations.
Safety must be paramount when
using mobile communications
equipment to avoid negating these
benefits. Mobile communication
equipment includes, but is not limited
to, cellular phones, pagers, portable
email devices, text messaging devices
and portable two-way radios.
WARNING
Driving while distracted can
result in loss of vehicle control,
crash and injury. We strongly
recommend that you use extreme
caution when using any device that
may take your focus off the road. Your
primary responsibility is the safe
operation of your vehicle. We
recommend against the use of any
hand-held device while driving and
encourage the use of voice-operated
systems when possible. Make sure you
are aware of all applicable local laws
that may affect the use of electronic
devices while driving. EXPORT UNIQUE OPTIONS
For your particular global region, your
vehicle may be equipped with
features and options that are different
from the features and options that are
described in this Owner
’s Manual. A
market unique supplement may be
supplied that complements this book.
By referring to the market unique
supplement, if provided, you can
properly identify those features,
recommendations and specifications
that are unique to your vehicle. This
Owner ’s Manual is written primarily
13
MKZ (CC9) Introduction
Page 54 of 475
GENERAL INFORMATION
ON RADIO FREQUENCIES
This device complies with Part 15 of
the FCC Rules and with Industry
Canada license-exempt RSS
standard(s). Operation is subject to
the following two conditions: (1) This
device may not cause harmful
interference, and (2) This device must
accept any interference received,
including interference that may cause
undesired operation.
Note:
Changes or modifications not
expressively approved by the party
responsible for compliance could void
the user's authority to operate the
equipment. The term IC before the
radio certification number only signifies
that Industry Canada technical
specifications were met.
The typical operating range for your
transmitter is approximately 33 feet
(10 meters). Vehicles with the remote
start feature will have a greater range.
One of the following could cause a
decrease in operating range:
• weather conditions
• nearby radio towers
• structures around the vehicle
• other vehicles parked next to your
vehicle The radio frequency used by your
remote control can also be used by
other short distance radio
transmissions, for example amateur
radios, medical equipment, wireless
headphones, remote controls and
alarm systems. If the frequencies are
jammed, you will not be able to use
your remote control. You can lock and
unlock the doors with the key.
Note:
Make sure to lock your vehicle
before leaving it unattended.
Note: If you are in range, the remote
control will operate if you press any
button unintentionally.
Intelligent Access
The system uses a radio frequency
signal to communicate with your
vehicle and authorize your vehicle to
unlock when one of the following
conditions are met:
• You touch the inside of the front
exterior door handle.
• You press the luggage
compartment button.
• You press a button on the
transmitter.
If excessive radio frequency
interference is present in the area or
if the transmitter battery is low, you
may need to mechanically unlock your
door. You can use the mechanical key
blade in your intelligent access key to
open the driver door in this situation.
See
Remote Control (page 53).
52
MKZ (CC9) Keys and Remote Controls
Page 58 of 475
The horn will sound if the system fails
to start, unless quiet start is on. Quiet
start will run the blower fan at a
slower speed to reduce noise. It can
be switched on or off in the
information display. See General
Information (page 103).
Note: If the vehicle has been remote
started with an integrated keyhead
transmitter, you must switch the
ignition on before driving your vehicle.
With an intelligent access transmitter,
you must press the
START/STOP
button on the instrument panel once
while applying the brake pedal before
driving your vehicle.
The power windows will not work
during the remote start and the radio
will not turn on automatically.
The parking lamps will remain on and
the vehicle will run for 5, 10, or 15
minutes, depending on the setting.
Extending the Vehicle Run Time
Repeat Steps 1 and 2 with the vehicle
still running to extend the run time for
another remote start duration. If you
programmed the duration to last 10
minutes, the second 10 minutes will
begin after what is left of the first
activation time. For example, if the
vehicle had been running from the first
remote start for five minutes, the
vehicle will continue to run now for a
total of 15 minutes. You can extend
the remote start up to a maximum of
35 minutes.
Wait at least five seconds before
remote starting after a vehicle
shutdown. Turning the Vehicle Off After
Remote Starting Press the button once. The
parking lamps will turn off.
You may have to be closer to
the vehicle than when starting due to
ground reflection and the added noise
of the running vehicle.
You can disable or enable the remote
start system through the information
display. See
General Information
(page 103).
REPLACING A LOST KEY OR
REMOTE CONTROL
Replacement keys or remote controls
can be purchased from an authorized
dealer. Authorized dealers can
program remote controls for your
vehicle. See
Passive Anti-Theft
System (page 72).
To re-program the passive anti-theft
system see an authorized dealer.
56
MKZ (CC9) Keys and Remote ControlsE138625
Page 78 of 475
Easy Entry and Exit Feature
When you switch the ignition off, the
steering column will move to the full
up and forward position to allow extra
room to exit your vehicle. The column
will return to the previous setting
when you switch the ignition on. You
can enable or disable this feature in
the information display. See
Information Displays (page 103).
Memory Feature
The steering column position saves
when you do a memory set function.
You can recall it with the memory
feature. See
Memory Function
(page 147).
Pressing the adjustment control
during memory recall cancels the
operation. The column responds to
the adjustment control.
The steering column sets a stopping
position just short of the end of the
column position to prevent damage
to the steering column. A new
stopping position sets if the steering
column encounters an object when
tilting or telescoping.
To reset the steering column to its
normal stopping position:
1. Press the steering column control again after encountering the new
stopping position.
2. Continue pressing the control until
it reaches the end of the column
position. A new stopping position is set. The
next time you tilt or telescope the
steering column, it will stop just short
of the end of the column position.
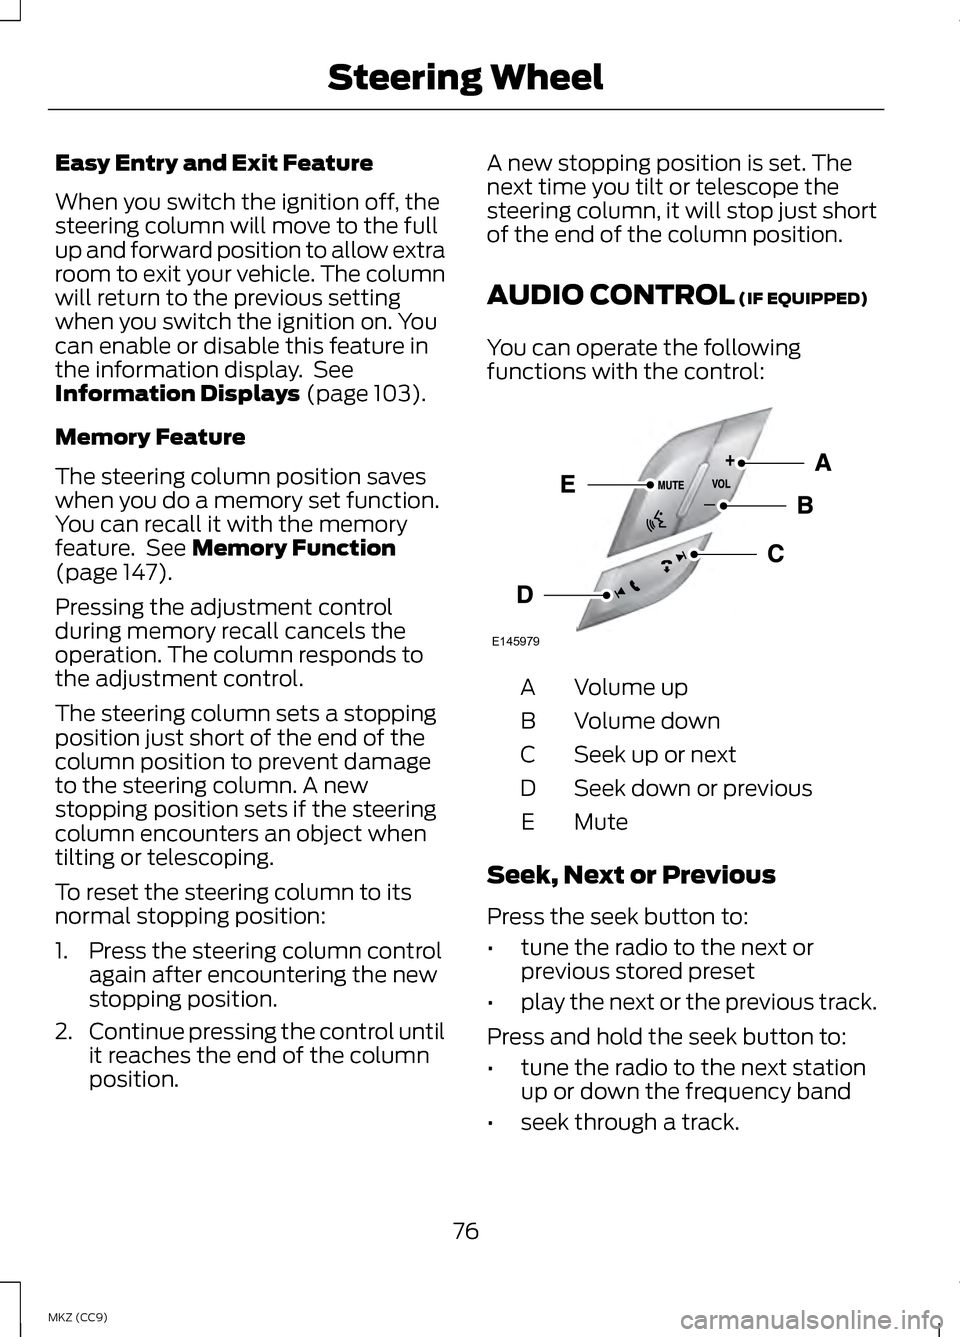
AUDIO CONTROL
(IF EQUIPPED)
You can operate the following
functions with the control: Volume up
A
Volume down
B
Seek up or next
C
Seek down or previous
D
MuteE
Seek, Next or Previous
Press the seek button to:
• tune the radio to the next or
previous stored preset
• play the next or the previous track.
Press and hold the seek button to:
• tune the radio to the next station
up or down the frequency band
• seek through a track.
76
MKZ (CC9) Steering WheelE145979
Page 136 of 475
GENERAL INFORMATION
Radio Frequencies and
Reception Factors
AM and FM frequencies are
established by the Federal
Communications Commission (FCC)
and the Canadian Radio and
Telecommunications Commission
(CRTC). Those frequencies are:
•
AM: 530, 540-1700, 1710 kHz
• FM: 87.9-107.7, 107.9 MHz Radio Reception Factors
The further you travel from an FM station, the
weaker the signal and the weaker the reception.
Distance and strength
Hills, mountains, tall buildings, bridges, tunnels,
freeway overpasses, parking garages, dense tree
foliage and thunderstorms can interfere with the
reception.
Terrain
When you pass a ground-based broadcast repeating
tower, a stronger signal may overtake a weaker one
and result in the audio system muting.
Station overload
CD and CD Player Information
Note: CD units play commercially
pressed 4.75-inch (12 centimeter)
audio compact discs only. Due to
technical incompatibility, certain
recordable and re-recordable compact
discs may not function correctly when
used in Ford CD players. Note:
Do not insert CDs with
homemade paper (adhesive) labels
into the CD player as the label may
peel and cause the CD to become
jammed. You should use a permanent
felt tip marker rather than adhesive
labels on your homemade CDs.
Ballpoint pens may damage CDs.
Please contact an authorized dealer
for further information.
Note: Do not use any irregularly
shaped discs or discs with a scratch
protection film attached.
Always handle discs by their edges
only. Clean the disc with an approved
CD cleaner only. Wipe it from the
center of the disc toward the edge. Do
not clean in a circular motion.
134
MKZ (CC9) Audio System
Page 137 of 475
Do not expose discs to direct sunlight
or heat sources for extended periods.
MP3 Track and Folder
Structure
Audio systems capable of recognizing
and playing MP3 individual tracks and
folder structures work as follows:
•
There are two different modes for
MP3 disc playback: MP3 track
mode (system default) and MP3
folder mode.
• MP3 track mode ignores any folder
structure on the MP3 disc. The
player numbers each MP3 track on
the disc (noted by the .mp3 file
extension) from T001 to a
maximum of T255. The maximum
number of playable MP3 files may
be less depending on the structure
of the CD and exact model of radio
present.
• MP3 folder mode represents a
folder structure consisting of one
level of folders. The CD player
numbers all MP3 tracks on the disc
(noted by the .mp3 file extension)
and all folders containing MP3
files, from F001 (folder) T001
(track) to F253 T255.
• Creating discs with only one level
of folders helps with navigation
through the disc files.
If you are burning your own MP3 discs,
it is important to understand how the
system reads the structures you
create. While various files may be
present, (files with extensions other
than mp3), only files with the .mp3 extension are played; other files are
ignored by the system. This enables
you to use the same MP3 disc for a
variety of tasks on your work
computer, home computer and your
in-vehicle system.
In track mode, the system displays
and plays the structure as if it were
only one level deep (all .mp3 files
play, regardless of being in a specific
folder). In folder mode, the system
only plays the .mp3 files in the current
folder.
AUDIO UNIT - VEHICLES
WITH: PREMIUM
AM/FM/CD
WARNING
Driving while distracted can
result in loss of vehicle control,
crash and injury. We strongly
recommend that you use extreme
caution when using any device that
may take your focus off the road. Your
primary responsibility is the safe
operation of your vehicle. We
recommend against the use of any
hand-held device while driving and
encourage the use of voice-operated
systems when possible. Make sure you
are aware of all applicable local laws
that may affect the use of electronic
devices while driving. Note:
The MyLincoln Touch system
controls most of the audio features.
See Entertainment (page 367).
135
MKZ (CC9) Audio System
Page 138 of 475
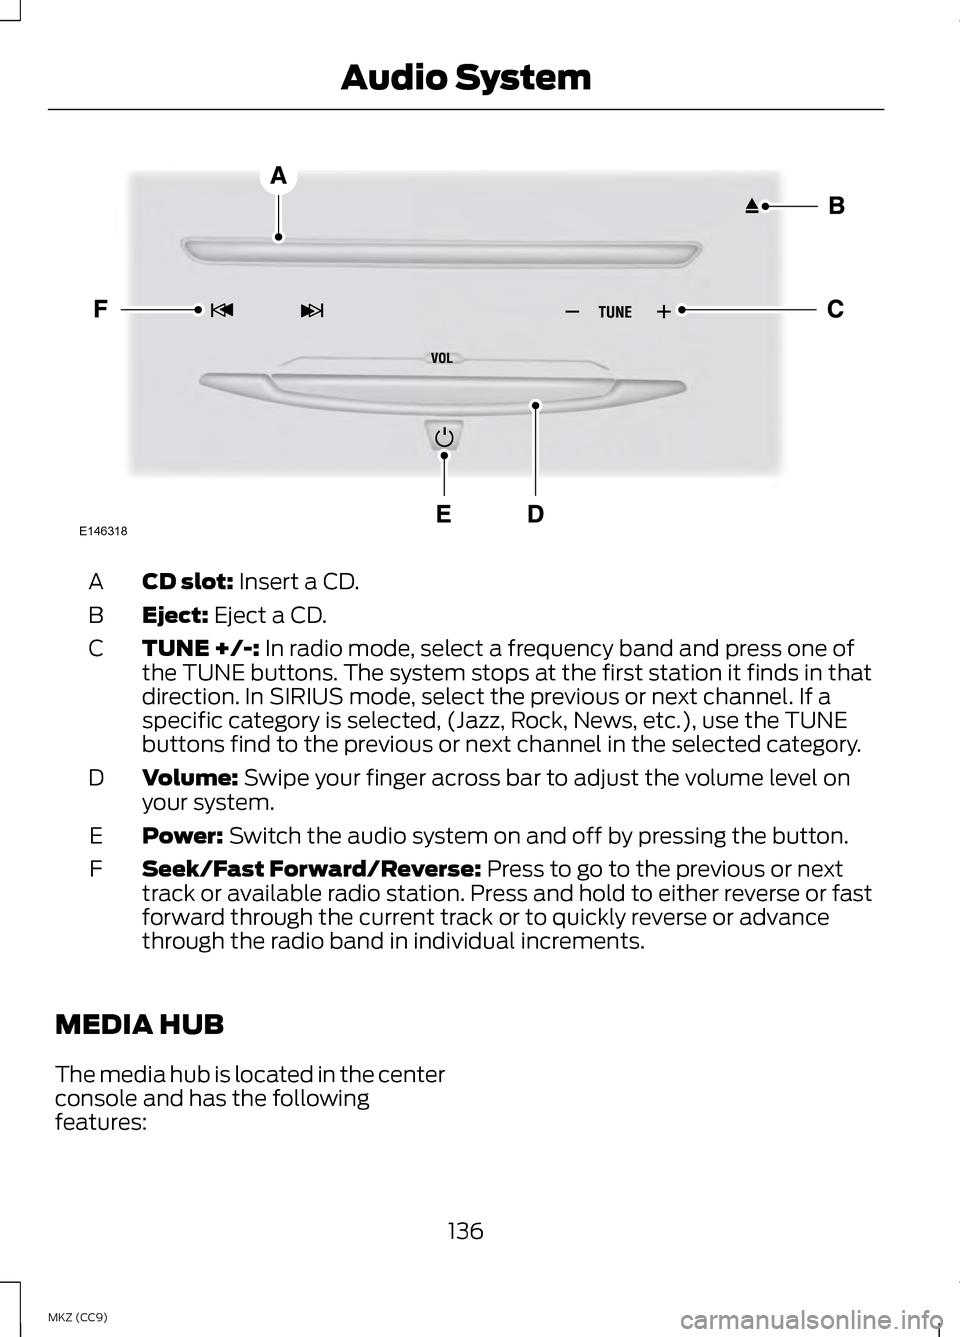
CD slot: Insert a CD.
A
Eject:
Eject a CD.
B
TUNE +/-:
In radio mode, select a frequency band and press one of
the TUNE buttons. The system stops at the first station it finds in that
direction. In SIRIUS mode, select the previous or next channel. If a
specific category is selected, (Jazz, Rock, News, etc.), use the TUNE
buttons find to the previous or next channel in the selected category.
C
Volume:
Swipe your finger across bar to adjust the volume level on
your system.
D
Power:
Switch the audio system on and off by pressing the button.
E
Seek/Fast Forward/Reverse:
Press to go to the previous or next
track or available radio station. Press and hold to either reverse or fast
forward through the current track or to quickly reverse or advance
through the radio band in individual increments.
F
MEDIA HUB
The media hub is located in the center
console and has the following
features: 136
MKZ (CC9) Audio SystemE146318
Page 155 of 475
HomeLink Wireless Control
System (If Equipped)
WARNING
Do not use the system with any
garage door opener that does
not have the safety stop and reverse
feature as required by U.S. Federal
Safety Standards (this includes any
garage door opener manufactured
before April 1, 1982). A garage door
opener which cannot detect an object,
signaling the door to stop and reverse,
does not meet current federal safety
standards. Using a garage door opener
without these features increases the
risk of serious injury or death. Note:
Make sure that the garage door
and security device are free from
obstruction when you are
programming. Do not program the
system with the vehicle in the garage.
Note: Make sure you keep the original
remote control transmitter for use in
other vehicles as well as for future
system programming.
Note: We recommend that upon the
sale or lease termination of your
vehicle, you erase the programmed
function buttons for security reasons.
See Erasing the function button codes
later in this section.
Note: You can program a maximum
of three devices. To change or replace
any of the three devices after it has
been initially programmed, you must
first erase the current settings. See
Erasing the function button codes later
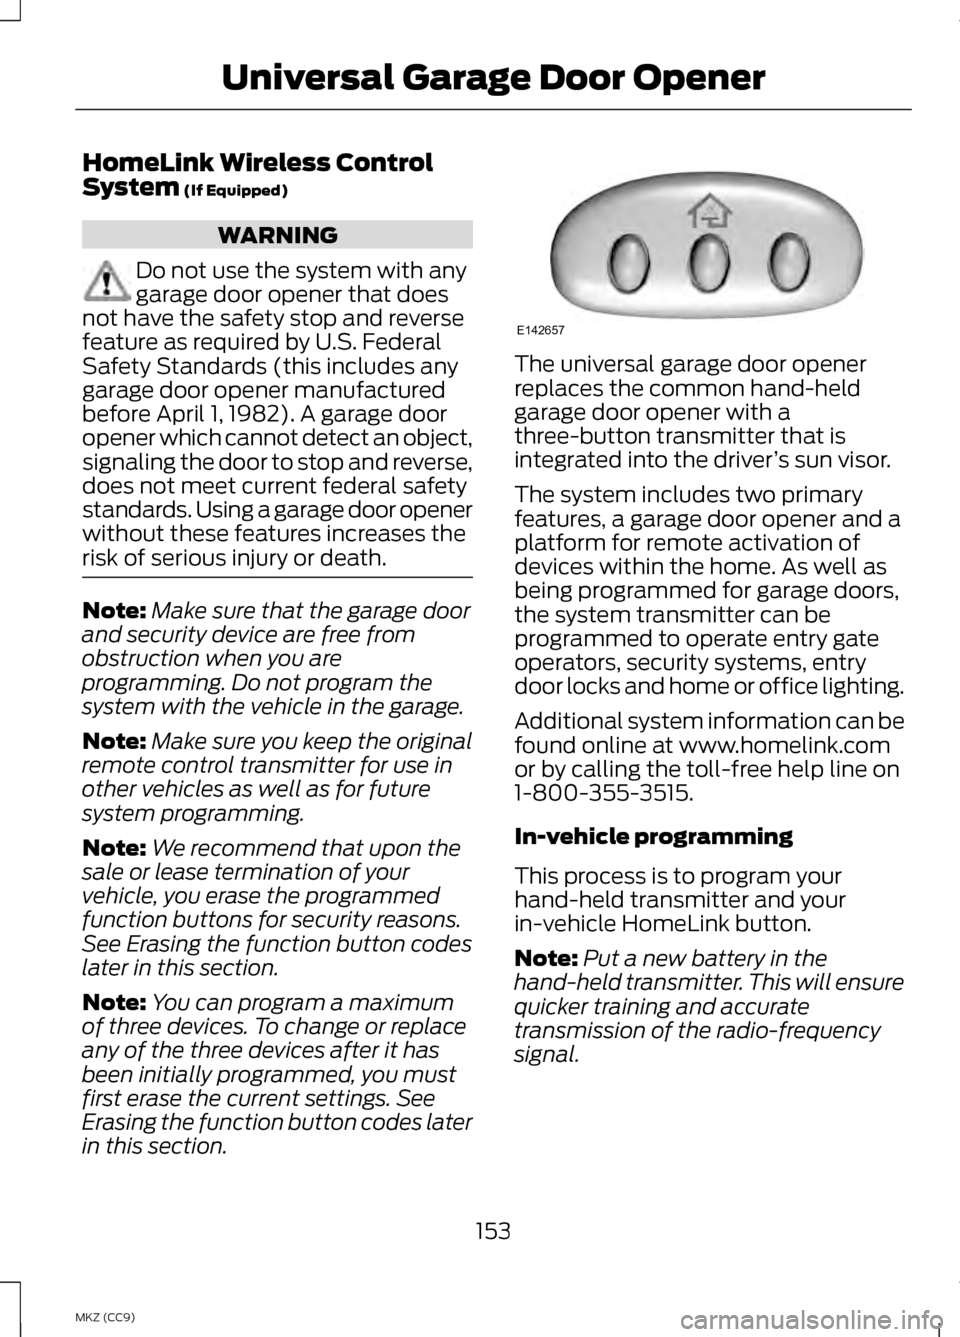
in this section. The universal garage door opener
replaces the common hand-held
garage door opener with a
three-button transmitter that is
integrated into the driver
’s sun visor.
The system includes two primary
features, a garage door opener and a
platform for remote activation of
devices within the home. As well as
being programmed for garage doors,
the system transmitter can be
programmed to operate entry gate
operators, security systems, entry
door locks and home or office lighting.
Additional system information can be
found online at www.homelink.com
or by calling the toll-free help line on
1-800-355-3515.
In-vehicle programming
This process is to program your
hand-held transmitter and your
in-vehicle HomeLink button.
Note: Put a new battery in the
hand-held transmitter. This will ensure
quicker training and accurate
transmission of the radio-frequency
signal.
153
MKZ (CC9) Universal Garage Door OpenerE142657
Page 156 of 475
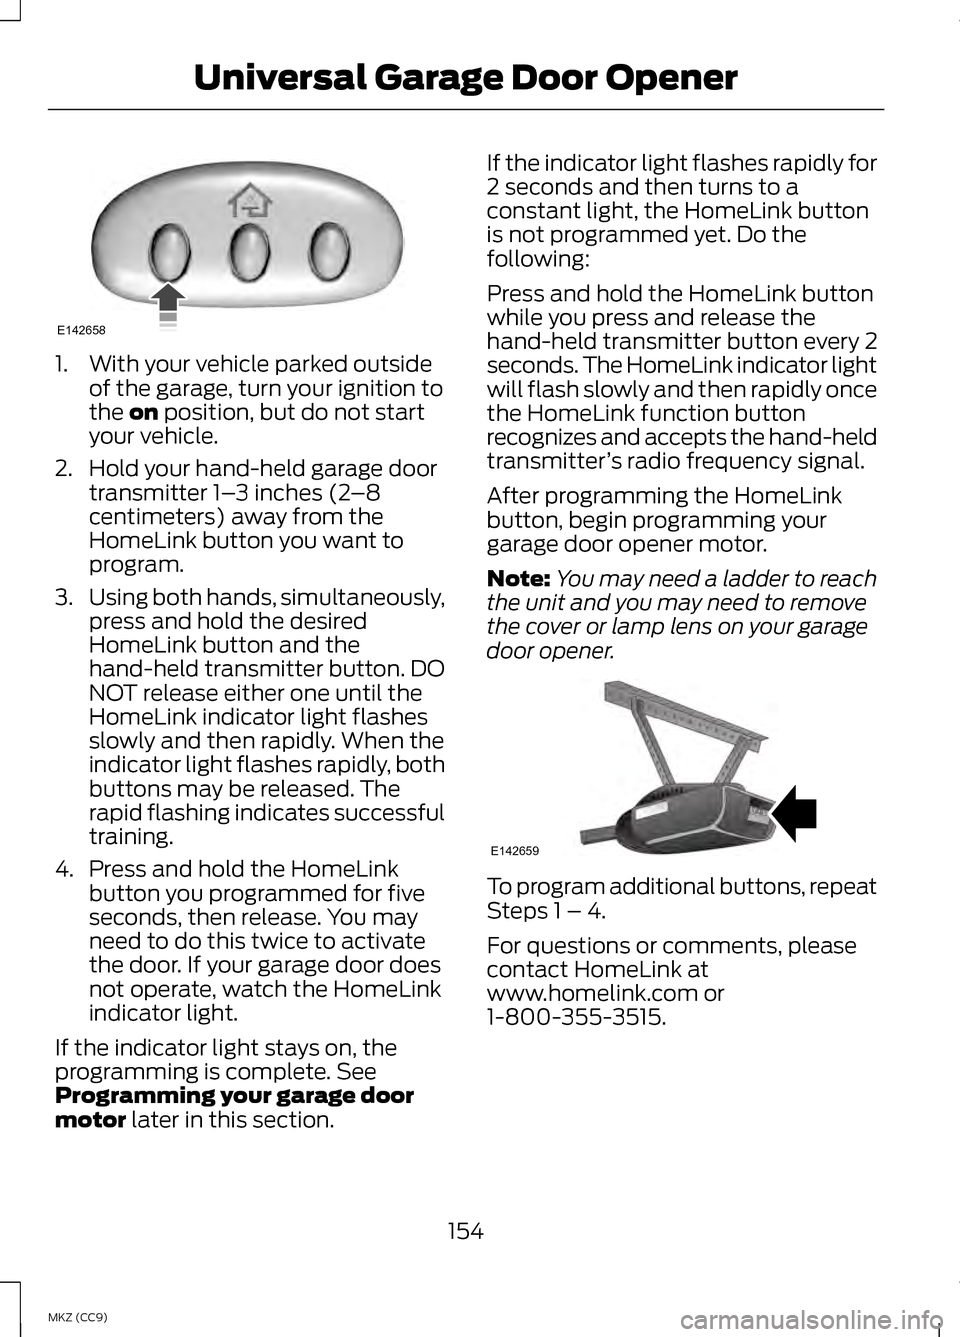
1. With your vehicle parked outside
of the garage, turn your ignition to
the on position, but do not start
your vehicle.
2. Hold your hand-held garage door transmitter 1– 3 inches (2–8
centimeters) away from the
HomeLink button you want to
program.
3. Using both hands, simultaneously,
press and hold the desired
HomeLink button and the
hand-held transmitter button. DO
NOT release either one until the
HomeLink indicator light flashes
slowly and then rapidly. When the
indicator light flashes rapidly, both
buttons may be released. The
rapid flashing indicates successful
training.
4. Press and hold the HomeLink button you programmed for five
seconds, then release. You may
need to do this twice to activate
the door. If your garage door does
not operate, watch the HomeLink
indicator light.
If the indicator light stays on, the
programming is complete. See
Programming your garage door
motor
later in this section. If the indicator light flashes rapidly for
2 seconds and then turns to a
constant light, the HomeLink button
is not programmed yet. Do the
following:
Press and hold the HomeLink button
while you press and release the
hand-held transmitter button every 2
seconds. The HomeLink indicator light
will flash slowly and then rapidly once
the HomeLink function button
recognizes and accepts the hand-held
transmitter
’s radio frequency signal.
After programming the HomeLink
button, begin programming your
garage door opener motor.
Note: You may need a ladder to reach
the unit and you may need to remove
the cover or lamp lens on your garage
door opener. To program additional buttons, repeat
Steps 1 – 4.
For questions or comments, please
contact HomeLink at
www.homelink.com or
1-800-355-3515.
154
MKZ (CC9) Universal Garage Door OpenerE142658 E142659