rear seats LINCOLN TOWN CAR 2004 Owners Manual
[x] Cancel search | Manufacturer: LINCOLN, Model Year: 2004, Model line: TOWN CAR, Model: LINCOLN TOWN CAR 2004Pages: 304, PDF Size: 2.87 MB
Page 7 of 304
Special instructions
For your added safety, your vehicle is fitted with sophisticated electronic
controls.
Please read the sectionSupplemental restraint system (SRS)
in theSeating and Safety Restraintschapter. Failure to follow
the specific warnings and instructions could result in personal injury.
Front seat mounted rear-facing child or infant seats should
NEVERbe placed in front of an active passenger air bag.
MIDDLE EAST/NORTH AFRICA VEHICLE SPECIFIC INFORMATION
For your particular global region, your vehicle may be equipped with
features and options that are different from the ones that are described
in thisOwner’s Guide;therefore, a supplement has been supplied that
complements this book. By referring to the pages in the provided
supplement, you can properly identify those features, recommendations
and specifications that are unique to your vehicle.Refer to this
Owner’s Guide for all other required information and warnings.
REVIEW COPY
2004 Town Car(tow), Owners Guide (post-2002-fmt)(own2002),
Market:USA_English(fus)
Introduction
7
Page 19 of 304
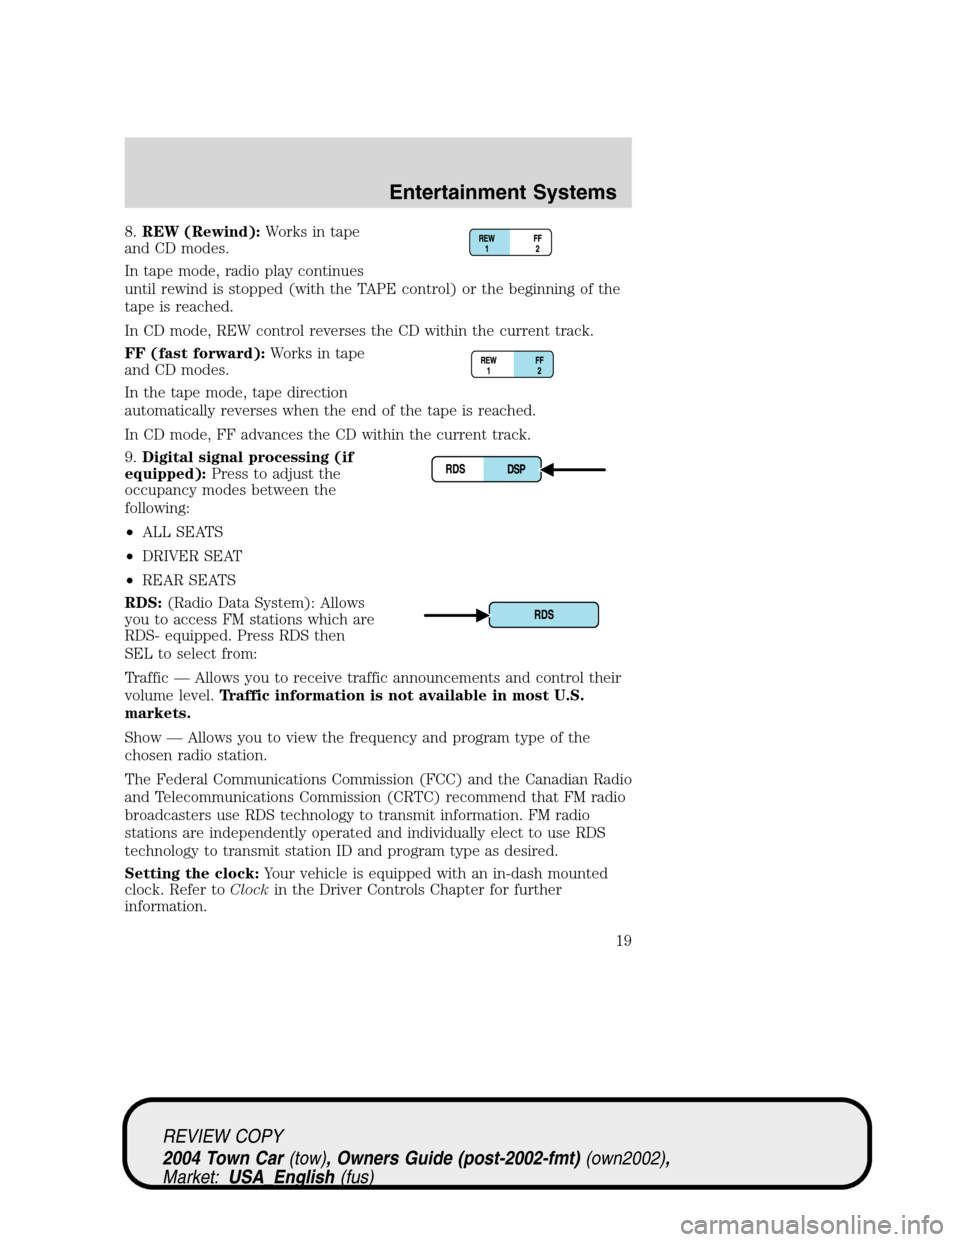
8.REW (Rewind):Works in tape
and CD modes.
In tape mode, radio play continues
until rewind is stopped (with the TAPE control) or the beginning of the
tape is reached.
In CD mode, REW control reverses the CD within the current track.
FF (fast forward):Works in tape
and CD modes.
In the tape mode, tape direction
automatically reverses when the end of the tape is reached.
In CD mode, FF advances the CD within the current track.
9.Digital signal processing (if
equipped):Press to adjust the
occupancy modes between the
following:
•ALL SEATS
•DRIVER SEAT
•REAR SEATS
RDS:(Radio Data System): Allows
you to access FM stations which are
RDS- equipped. Press RDS then
SEL to select from:
Traffic—Allows you to receive traffic announcements and control their
volume level.Traffic information is not available in most U.S.
markets.
Show—Allows you to view the frequency and program type of the
chosen radio station.
The Federal Communications Commission (FCC) and the Canadian Radio
and Telecommunications Commission (CRTC) recommend that FM radio
broadcasters use RDS technology to transmit information. FM radio
stations are independently operated and individually elect to use RDS
technology to transmit station ID and program type as desired.
Setting the clock:Your vehicle is equipped with an in-dash mounted
clock. Refer toClockin the Driver Controls Chapter for further
information.
REVIEW COPY
2004 Town Car(tow), Owners Guide (post-2002-fmt)(own2002),
Market:USA_English(fus)
Entertainment Systems
19
Page 41 of 304
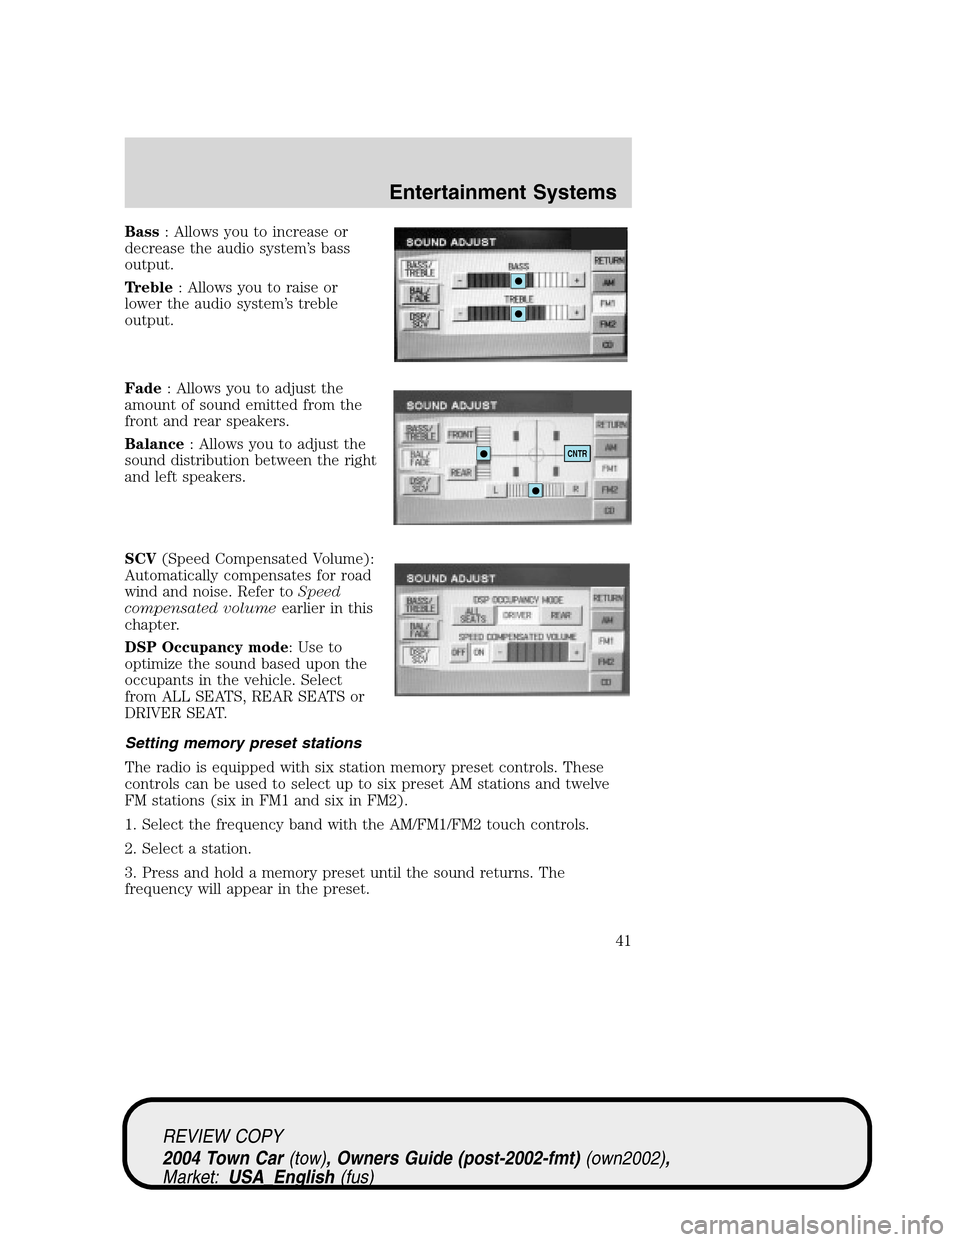
Bass: Allows you to increase or
decrease the audio system’s bass
output.
Treble: Allows you to raise or
lower the audio system’s treble
output.
Fade: Allows you to adjust the
amount of sound emitted from the
front and rear speakers.
Balance: Allows you to adjust the
sound distribution between the right
and left speakers.
SCV(Speed Compensated Volume):
Automatically compensates for road
wind and noise. Refer toSpeed
compensated volumeearlier in this
chapter.
DSP Occupancy mode: Use to
optimize the sound based upon the
occupants in the vehicle. Select
from ALL SEATS, REAR SEATS or
DRIVER SEAT.
Setting memory preset stations
The radio is equipped with six station memory preset controls. These
controls can be used to select up to six preset AM stations and twelve
FM stations (six in FM1 and six in FM2).
1. Select the frequency band with the AM/FM1/FM2 touch controls.
2. Select a station.
3. Press and hold a memory preset until the sound returns. The
frequency will appear in the preset.
CNTR
REVIEW COPY
2004 Town Car(tow), Owners Guide (post-2002-fmt)(own2002),
Market:USA_English(fus)
Entertainment Systems
41
Page 146 of 304
SEATING
Adjustable head restraints
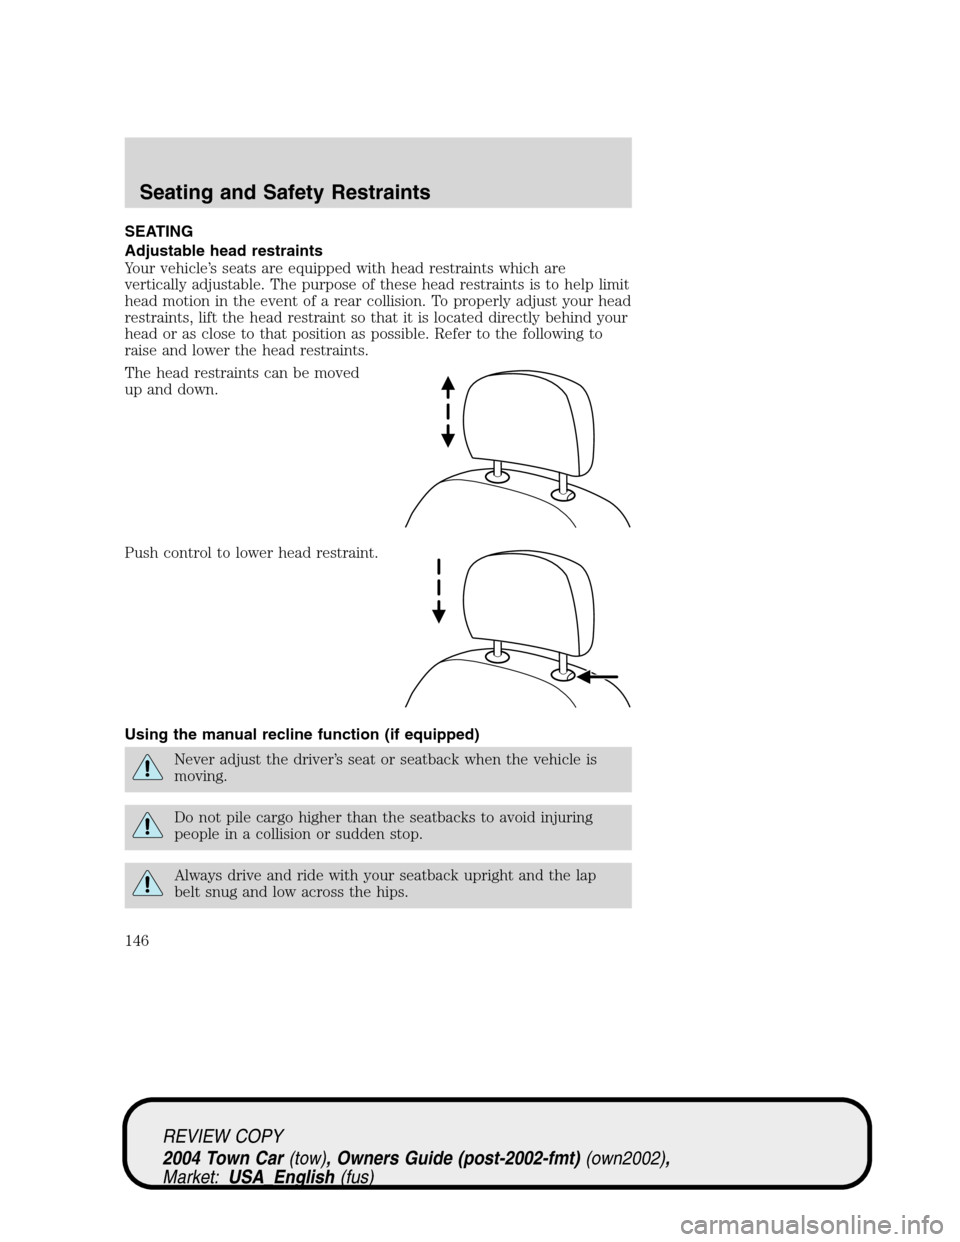
Your vehicle’s seats are equipped with head restraints which are
vertically adjustable. The purpose of these head restraints is to help limit
head motion in the event of a rear collision. To properly adjust your head
restraints, lift the head restraint so that it is located directly behind your
head or as close to that position as possible. Refer to the following to
raise and lower the head restraints.
The head restraints can be moved
up and down.
Push control to lower head restraint.
Using the manual recline function (if equipped)
Never adjust the driver’s seat or seatback when the vehicle is
moving.
Do not pile cargo higher than the seatbacks to avoid injuring
people in a collision or sudden stop.
Always drive and ride with your seatback upright and the lap
belt snug and low across the hips.
REVIEW COPY
2004 Town Car(tow), Owners Guide (post-2002-fmt)(own2002),
Market:USA_English(fus)
Seating and Safety Restraints
Seating and Safety Restraints
146
Page 149 of 304
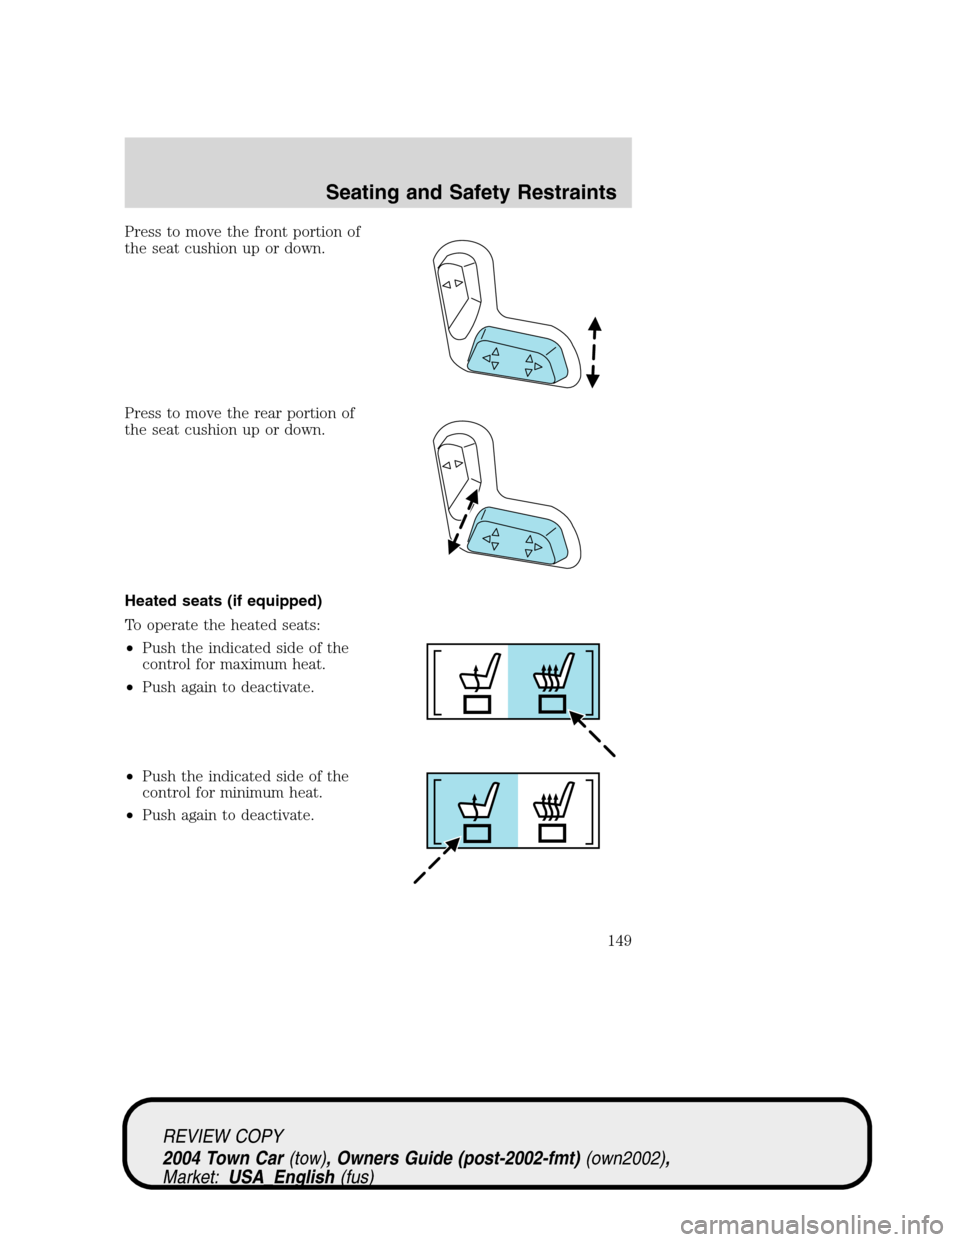
Press to move the front portion of
the seat cushion up or down.
Press to move the rear portion of
the seat cushion up or down.
Heated seats (if equipped)
To operate the heated seats:
•Push the indicated side of the
control for maximum heat.
•Push again to deactivate.
•Push the indicated side of the
control for minimum heat.
•Push again to deactivate.
REVIEW COPY
2004 Town Car(tow), Owners Guide (post-2002-fmt)(own2002),
Market:USA_English(fus)
Seating and Safety Restraints
149
Page 150 of 304
The heated seat module resets at every ignition run cycle. While the
ignition is in the ON position, activating the high or low heated seat
switch enables heating mode. When activated, they will turn off
automatically when the ignition is turned to the OFF position.
The indicator light will illuminate when the heated seats have been
activated.
Rear heated seats (if equipped)
The rear seat heat controls are located on the rear door panels and
operate like the front heated seats. Refer to theHeated Seatssection in
this chapter for instructions on operating the rear heated seats.
Easy-access/easy-out feature (if equipped)
This feature automatically moves the driver’s seat backward when:
•the transmission is in N (Neutral) or P (Park)
•the key is removed from the ignition cylinder
The seat will move 2 inches (5 cm) forward (to the original position)
when:
•the transmission is in N (Neutral) or P (Park)
•the key is placed in the ignition cylinder
Seat mounted cup holders
Your vehicle may be equipped with cupholders in the cushion of the
front center seat and the rear seat . The rear seat cupholder is designed
to over rotate from the seat when subjected to a heavy load. The rear
seat cupholder can be reset by rotating to the closed position.
Use only soft cups in the cupholder. Hard objects can injure you
in a collision.
Memory seats/rearview mirrors/adjustable pedals (if equipped)
This system allows automatic
positioning of the driver seat,
outside rearview mirrors, and
adjustable pedals to three
programmable positions.
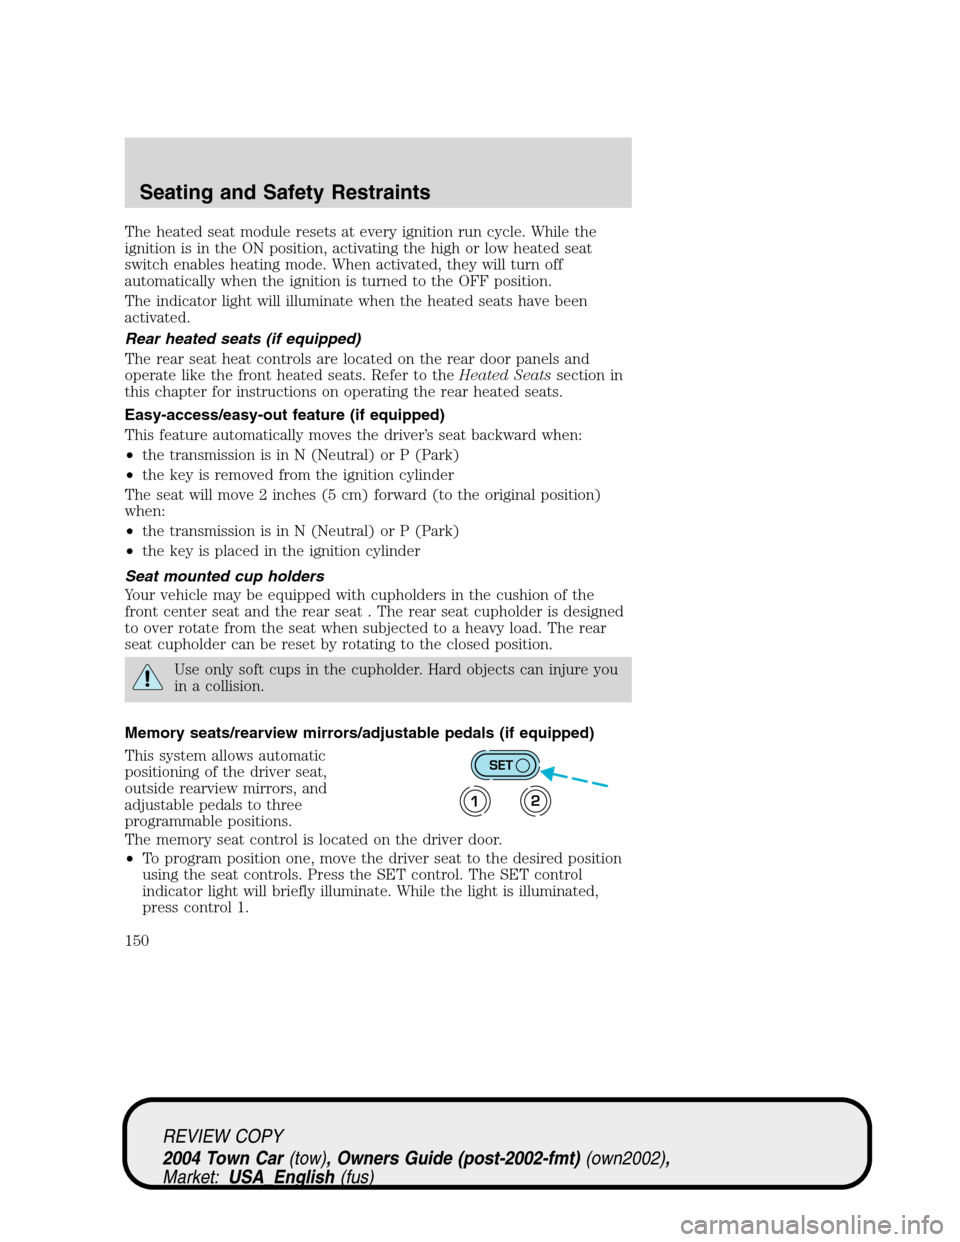
The memory seat control is located on the driver door.
•To program position one, move the driver seat to the desired position
using the seat controls. Press the SET control. The SET control
indicator light will briefly illuminate. While the light is illuminated,
press control 1.
SET
12
REVIEW COPY
2004 Town Car(tow), Owners Guide (post-2002-fmt)(own2002),
Market:USA_English(fus)
Seating and Safety Restraints
150
Page 156 of 304
Webbing extraction sensitive mode
The webbing sensitive locking mode locks the webbing and prevents
more belt from being pulled out if the belt is pulled out too quickly. The
belt will unlock when you stop pulling on it.
Automatic locking mode
In this mode, the shoulder belt is automatically pre-locked. The belt will
still retract to remove any slack in the shoulder belt. The automatic
locking mode is not available on the driver safety belt.
This mode should be usedany timea child safety seat is installed in the
vehicle. Children 12 years old and under should be properly restrained in
the rear seat whenever possible. Refer toSafety restraints for children
orSafety seats for childrenlater in this chapter.
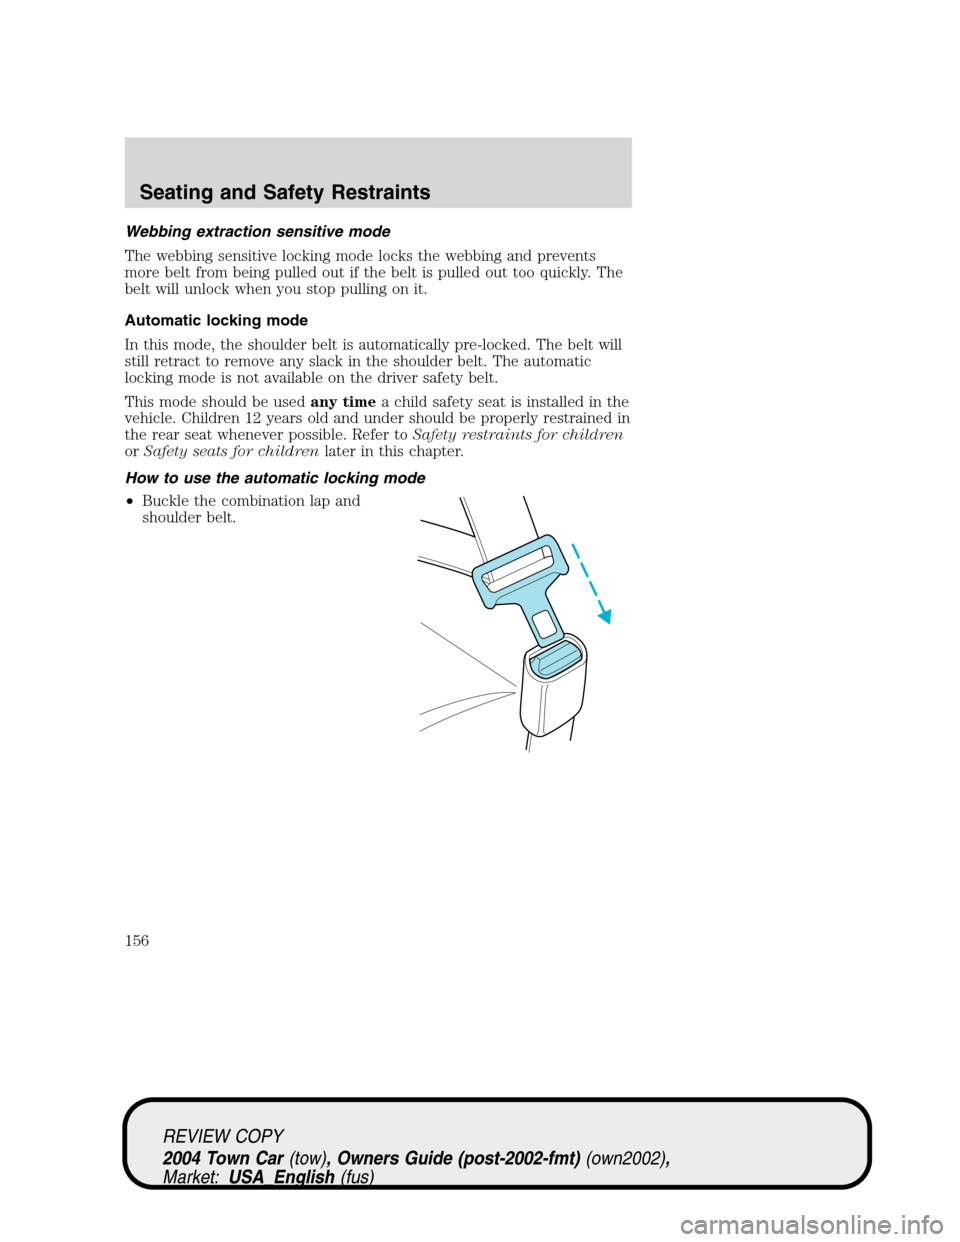
How to use the automatic locking mode
•Buckle the combination lap and
shoulder belt.
REVIEW COPY
2004 Town Car(tow), Owners Guide (post-2002-fmt)(own2002),
Market:USA_English(fus)
Seating and Safety Restraints
156
Page 171 of 304
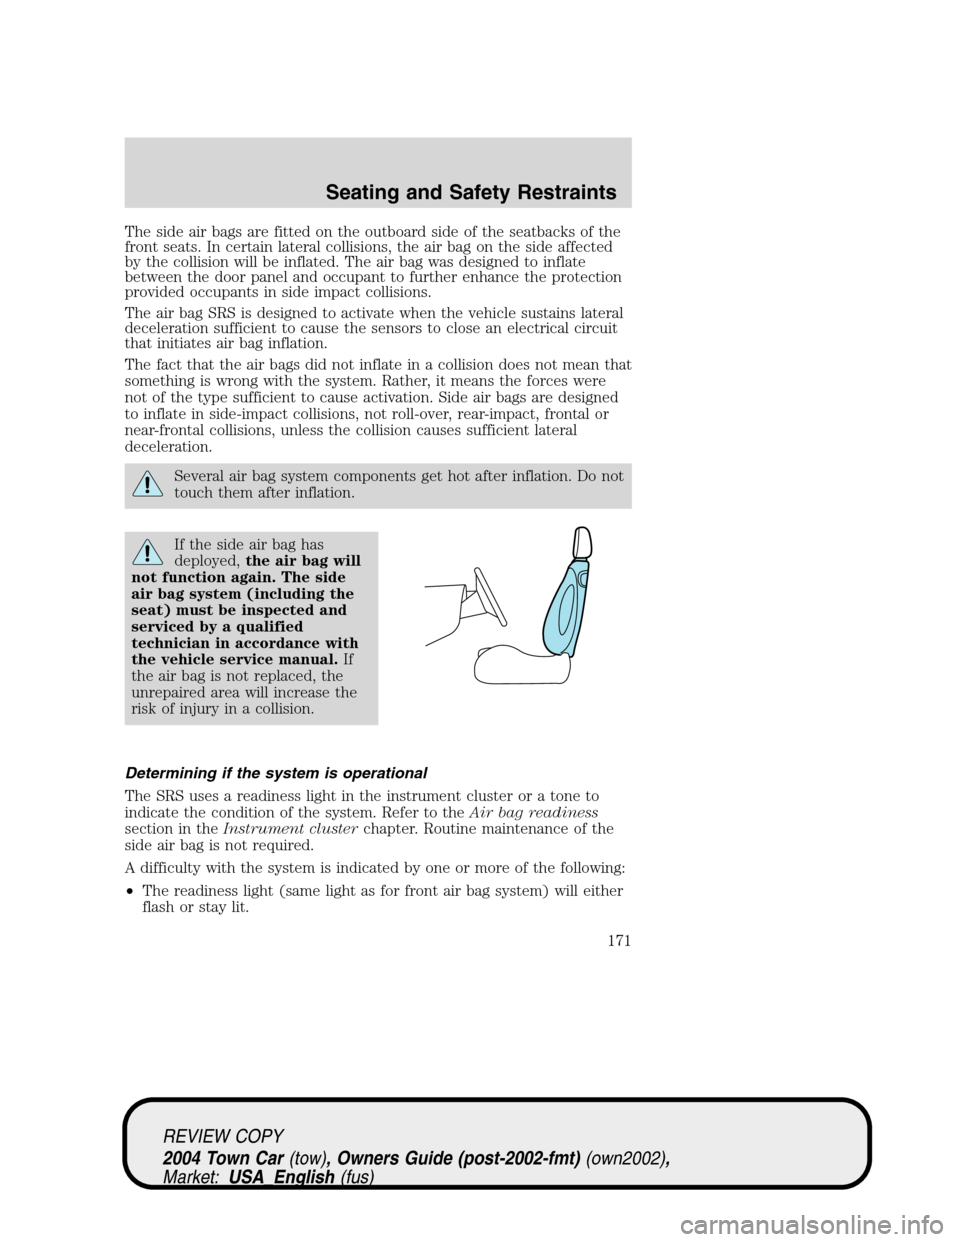
The side air bags are fitted on the outboard side of the seatbacks of the
front seats. In certain lateral collisions, the air bag on the side affected
by the collision will be inflated. The air bag was designed to inflate
between the door panel and occupant to further enhance the protection
provided occupants in side impact collisions.
The air bag SRS is designed to activate when the vehicle sustains lateral
deceleration sufficient to cause the sensors to close an electrical circuit
that initiates air bag inflation.
The fact that the air bags did not inflate in a collision does not mean that
something is wrong with the system. Rather, it means the forces were
not of the type sufficient to cause activation. Side air bags are designed
to inflate in side-impact collisions, not roll-over, rear-impact, frontal or
near-frontal collisions, unless the collision causes sufficient lateral
deceleration.
Several air bag system components get hot after inflation. Do not
touch them after inflation.
If the side air bag has
deployed,the air bag will
not function again. The side
air bag system (including the
seat) must be inspected and
serviced by a qualified
technician in accordance with
the vehicle service manual.If
the air bag is not replaced, the
unrepaired area will increase the
risk of injury in a collision.
Determining if the system is operational
The SRS uses a readiness light in the instrument cluster or a tone to
indicate the condition of the system. Refer to theAir bag readiness
section in theInstrument clusterchapter. Routine maintenance of the
side air bag is not required.
A difficulty with the system is indicated by one or more of the following:
•The readiness light (same light as for front air bag system) will either
flash or stay lit.
REVIEW COPY
2004 Town Car(tow), Owners Guide (post-2002-fmt)(own2002),
Market:USA_English(fus)
Seating and Safety Restraints
171
Page 172 of 304
•The readiness light will not illuminate immediately after ignition is
turned on.
•A series of five beeps will be heard. The tone pattern will repeat
periodically until the problem and/or light are repaired.
If any of these things happen, even intermittently, have the SRS serviced
at your dealership or by a qualified technician immediately. Unless
serviced, the system may not function properly in the event of a
collision.
Disposal of air bags and air bag equipped vehicles (including
pretensioners)
See your local dealership or qualified technician. Air bags MUST BE
disposed of by qualified personnel.
SAFETY RESTRAINTS FOR CHILDREN
See the following sections for directions on how to properly use safety
restraints for children. Also seeAir bag supplemental restraint system
(SRS)in this chapter for special instructions about using air bags.
Important child restraint precautions
You are required by law to use safety restraints for children in the U.S.
and Canada. If small children (generally children who are four years old
or younger and who weigh 40 lbs[18 kg] or less) ride in your vehicle, you
must put them in safety seats made especially for children. Many states
require that children use approved booster seats until they are eight
years old. Check your local and state or provincial laws for specific
requirements regarding the safety of children in your vehicle. When
possible, always place children under age 12 in the rear seat of your
vehicle. Accident statistics suggest that children are safer when properly
restrained in the rear seating positions than in the front seating position.
Never let a passenger hold a child on his or her lap while the
vehicle is moving. The passenger cannot protect the child from
injury in a collision.
Always follow the instructions and warnings that come with any infant or
child restraint you might use.
Children and safety belts
If the child is the proper size, restrain the child in a safety seat.
Children who are too large for child safety seats (as specified by your
child safety seat manufacturer) should always wear safety belts.
REVIEW COPY
2004 Town Car(tow), Owners Guide (post-2002-fmt)(own2002),
Market:USA_English(fus)
Seating and Safety Restraints
172
Page 176 of 304
•Place seat back in upright position.
•Put the safety belt in the automatic locking mode. Refer toAutomatic
locking mode.
•LATCH lower anchors are recommended for use by children up to 48
pounds (22 kg) in a child restraint. Top tether anchors can be used
for children up to 60 pounds (27 kg) in a child restraint, and to
provide upper torso restraint for children up to 80 pounds (36 kg)
using an upper torso harness and a belt-positioning booster.
Ford recommends the use of a child safety seat having a top tether
strap. Install the child safety seat in a seating position with LATCH and
tether anchors. For more information on top tether straps and anchors,
refer toAttaching safety seats with tether strapsin this chapter. For
more information of LATCH anchors refer toAttaching safety seats with
LATCH (Lower Anchors and Tethers for Children) attachmentsin this
chapter.
Carefully follow all of the manufacturer’s instructions included
with the safety seat you put in your vehicle. If you do not install
and use the safety seat properly, the child may be injured in a sudden
stop or collision.
Rear-facing child seats or infant carriers should never be placed
in the front seats.
Installing child safety seats with combination lap and shoulder
belts
Air bags can kill or injure a child in a child seat.NEVERplace a
rear-facing child seat in front of an active air bag. If you must
use a forward-facing child seat in the front seat, move the seat all the
way back.
Children 12 and under should be properly restrained in the rear
seat whenever possible.
REVIEW COPY
2004 Town Car(tow), Owners Guide (post-2002-fmt)(own2002),
Market:USA_English(fus)
Seating and Safety Restraints
176