DOOR LOTUS ELISE 2005 Owners Manual
[x] Cancel search | Manufacturer: LOTUS, Model Year: 2005, Model line: ELISE, Model: LOTUS ELISE 2005Pages: 205, PDF Size: 4.51 MB
Page 3 of 205
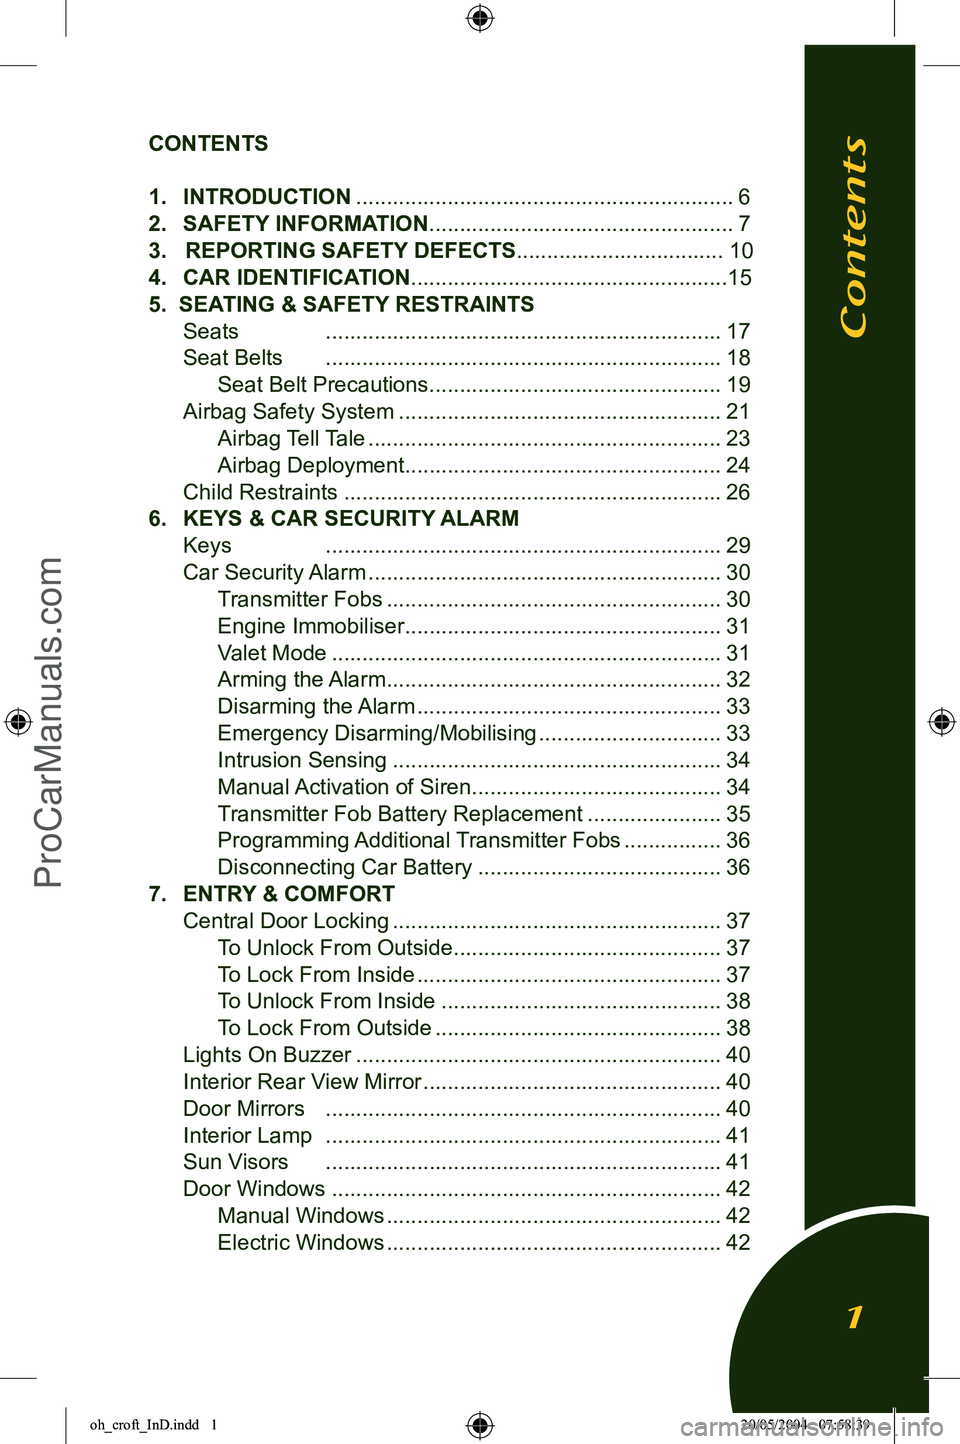
CONTENTS
1. INTRODUCTION ..............................................................
6
2. SAFETY INFORMATION ..................................................7
3. REPORTING SAFETY DEFECTS
.................................. 10
4. CAR IDENTIFICATION
....................................................15
5. SEATING & SAFETY REST
RAINTS
Seats .................................................................
17
Seat Belts .................................................................
18
Seat Belt Precautions ................................................
19
Airbag Safety System .....................................................
21
Airbag Tell Tale ..........................................................
23
Airbag Deployment ....................................................
24
Child Restraints ..............................................................
26
6. KEYS & CAR SECURITY ALARM
Keys .................................................................
29
Car Security Alarm ..........................................................
30
Transmitter Fobs .......................................................
30
Engine Immobiliser ....................................................
31
Valet Mode ................................................................
31
Arming the Alarm .......................................................
32
Disarming the Alarm ..................................................
33
Emergency Disarming/Mobilising ..............................
33
Intrusion Sensing ......................................................
34
Manual Activation of Siren .........................................
34
Transmitter Fob Battery Replacement ......................
35
Programming Additional Transmitter Fobs ................
36
Disconnecting Car Battery ........................................
36
7. ENTRY & COMFORT
Central Door Locking ......................................................
37
To Unlock From Outside ............................................
37
To Lock From Inside ..................................................
37
To Unlock From Inside ..............................................
38
To Lock From Outside ...............................................
38
Lights On Buzzer ............................................................
40
Interior Rear View Mirror .................................................
40
Door Mirrors .................................................................
40
Interior Lamp .................................................................
41
Sun Visors .................................................................
41
Door Windows ................................................................
42
Manual Windows .......................................................
42
Electric Windows .......................................................
42
Contents
1
oh_croft_InD.indd 120/05/2004 07:58:39ProCarManuals.com
Page 10 of 205
properly restrained. Children, and short adults are at the great-
est risk. Be sure to follow all instructions and warnings in the handbook (See page 21 to 27).
Don’t Drink and Drive Alcohol and driving don’t mix. Even one drink can reduce your
ability to respond to changing conditions, and your reaction time
gets worse with every additional drink. So don’t drink and drive,
and don’t let your friends drink and drive, either.
Control Your Speed Excessive speed is a major factor in crash injuries and deaths.
Generally, the higher the speed the greater the risk, but serious accidents can also occur at lower speeds. Never drive faster
than is safe for current conditions, regardless of the maximum speed posted.
Keep Your Car in Safe Condition Having a tire blowout or a mechanical failure can be extremely
hazardous. To reduce the possibility of such problems, check
your tire pressures and condition frequently, and perform all
regularly scheduled maintenance (see separate Maintenance
Record booklet).
Safety Features Your car is equipped with many features that work together
to protect you and your passenger during a crash. The Lotus Elise has been designed to comply with applicable safety regulations. The Elise has passive safety features which include:
• A cockpit tub surrounded by substantial chassis side
frames.
• Energy absorbing front
composite ‘crash structure’.
• Energy absorbing rear steel
‘crash structure’.
• Side sill foam pads.
• A seat belt mounting frame incorporating a roof hoop
• Extruded aluminium door beams.
• A collapsible steering column.
• Airbags for both driver and passenger. Active safety features include:
• Lap and diagonal inertia reel seat belts with impact sensing
pre-tensioners.
Safety Information
8
oh_croft_InD.indd 820/05/2004 07:58:41ProCarManuals.com
Page 17 of 205
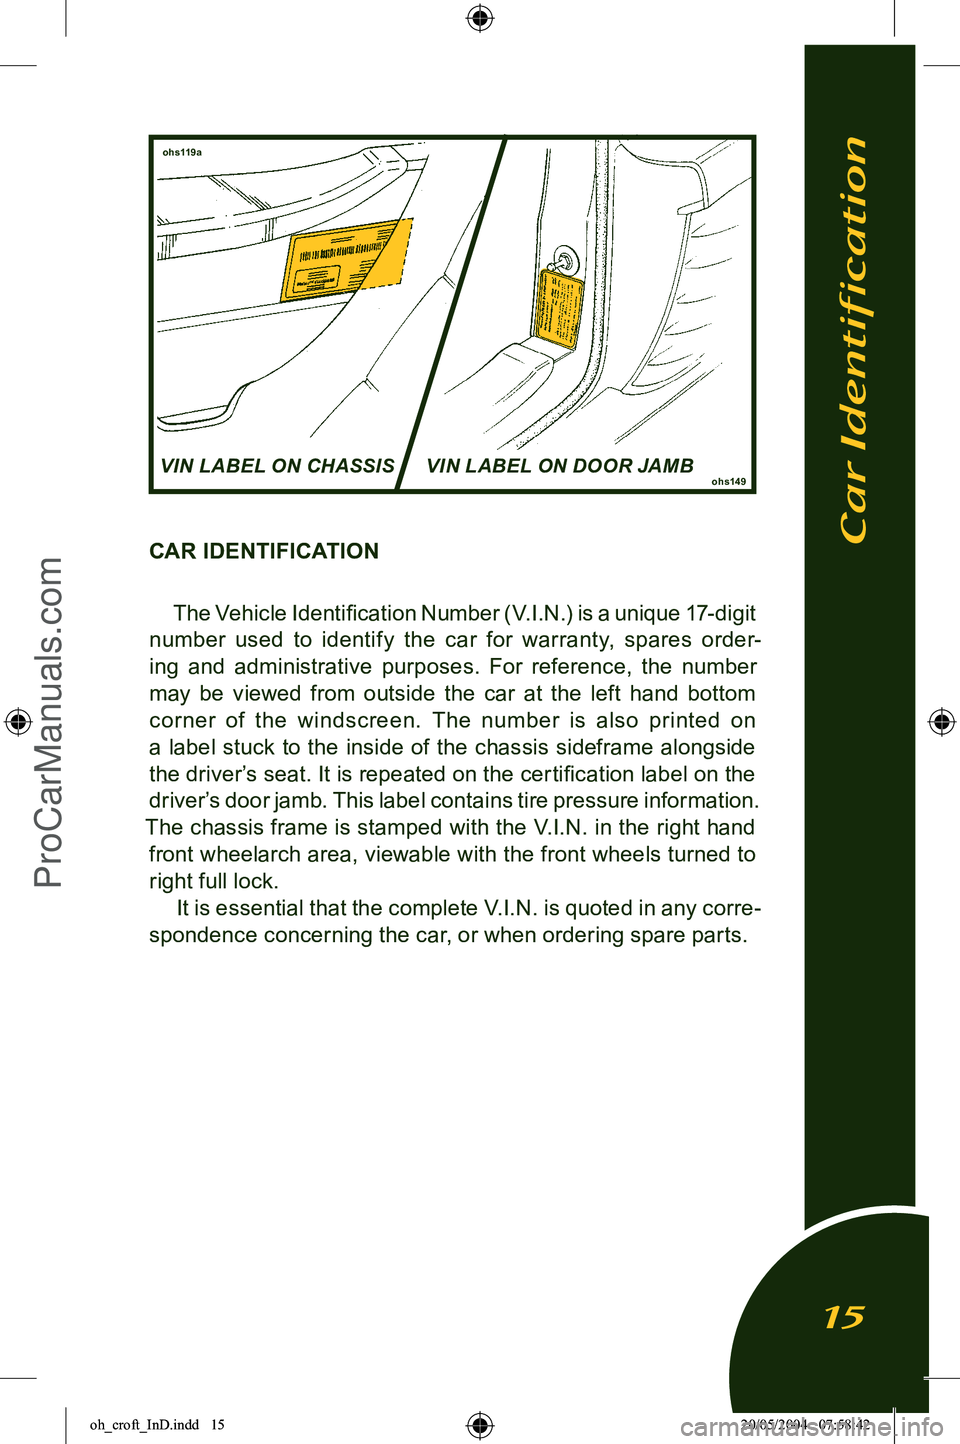
CAR IDENTIFICATIONThe Vehicle Identification Number (V.I.N.) is a unique 17-digit
number used to identify the car for warranty, spares order
-
ing and administrative purposes. For reference, the number may be viewed from outside the car at the left hand bottom
corner of the windscreen. The number is also printed on
a label stuck to the inside of the chassis sideframe alongside
the driver’s seat. It is repeated on the certification label on the
driver’s door jamb. This label contains tire pressure information.
The chassis frame is stamped with the V.I.N. in the right hand front wheelarch area, viewable with the front wheels turned to right full lock.
It is essential that the complete V.I.N. is quoted in any corre
-
spondence concerning the car, or when ordering spare parts.
VIN LABEL ON DOOR JAMB VIN LABEL ON CHASSIS
Car Identification
15
ohs119a
ohs149
oh_croft_InD.indd 1520/05/2004 07:58:42ProCarManuals.com
Page 21 of 205
To use the belt, sit erect and fully back in the seat before
taking the buckle tongue in the outer hand, and drawing the belt through the top slide, pass the belt across the body and
push the tongue into the buckle lock at the inboard side of the
seat, until a positive ‘click’ is heard. Pull on the belt to check for correct latching and ensure that the belt fits snugly against the body with all the slack taken up by the reel. The belt should be
worn low across the front of the pelvis, and across the chest and shoulder. The belts are released by pressing the red button on the
buckle lock, and will retract automatically for tidy storage and
to permit easy access to the passenger compartment.
Seat Belt Precautions
WARNING:
• Be sure you and your passenger always wear seat belts and wear them properly. Not wearing a seat belt
correctly, increases the chance of serious injury or death
in a crash, even with airbags.
• On fastening the seat belt, ensure that no part of the belt is twisted, or is entangled in the door or seat
mechanism.
• Seat belts are designed to bear upon the bone structure
of the body and should be worn low across the front of
the pelvis, and across the chest and shoulder. Wearing
the lap section of the belt across the abdominal area must be avoided.
• Improperly positioning the seat belts can cause serious injury or death in a crash. Ensure the seat belts are
correctly positioned before driving.
• Pregnant women should always wear seat belts to protect
both themselves and the unborn child. The lap belt por
-
tion of the belt should be kept as low as possible across the hips. Consult your doctor regularly to check if you
should drive.
• The shoulder portion of the belt must never be worn beneath the arm, or behind the back.
• Each seat belt assembly is designed for use by one
occupant of adult build, and should not be used by
children unable to meet the requirements set forth
herein.
Seating & Safety Restraints
19
oh_croft_InD.indd 1920/05/2004 07:58:43ProCarManuals.com
Page 25 of 205
belt, even with airbags. Sit as far back from the steering
wheel as is comfortable, whilst ensuring that full control can be maintained.
• Airbags plus lap-shoulder seat belts offer the best protection for adults, but not for young children and
infants. Neither the car ’s seat belt system nor its
airbag system is designed for them. Young children and
infants need the protection that a child restraint system can
provide. See later section on ‘Child Restraints’.
• If an object is between a person and an airbag, the bag
might not inflate properly or it might force the object into
that person causing death or serious injury. The path of an inflating airbag must be kept clear. Don’t put anything between an occupant and an airbag, and don’t attach or
put anything on the steering wheel hub or on or near any
passenger dashboard air bag covering.
• Do not lean against the inside of the doors; always hold the steering wheel by the outer rim; never rest your hands
on the airbag panel.
• Never transport heavy objects on or in front of the pas
-
senger seat.
• Give your passenger all of the information in this sec
-
tion.
• Do not attempt to de-activate the airbags, or make any other changes to the wiring or components of the airbag
system. Do not undertake any wiring for electrical ac
-
cessory equipment in the vicinity of the airbag wiring harnesses. Doing so may disable the airbag system, or
cause its unintended deployment.
• Adjust the driver’s seat to ensure that your chest is at
least 10 inches (250mm) from the steering wheel.
• If the airbag trim cover on the passenger side of the dash
-
board is accidently knocked off, the passenger airbag will
not operate correctly. Improper protection could result
in death or serious injury to a passenger in a crash. Do
not attempt to refit or repair the trim cover, but have the
fault rectified immediately by your dealer.
Airbag Tell Tale There is an airbag warning light (‘tell tale’) on the instrument
panel which shows the airbag symbol. The system checks the
following airbag electrical circuits for malfunction:
Seating & Safety Restraints
23
oh_croft_InD.indd 2320/05/2004 07:58:45ProCarManuals.com
Page 31 of 205
KEYS & CAR SECURITY ALARM
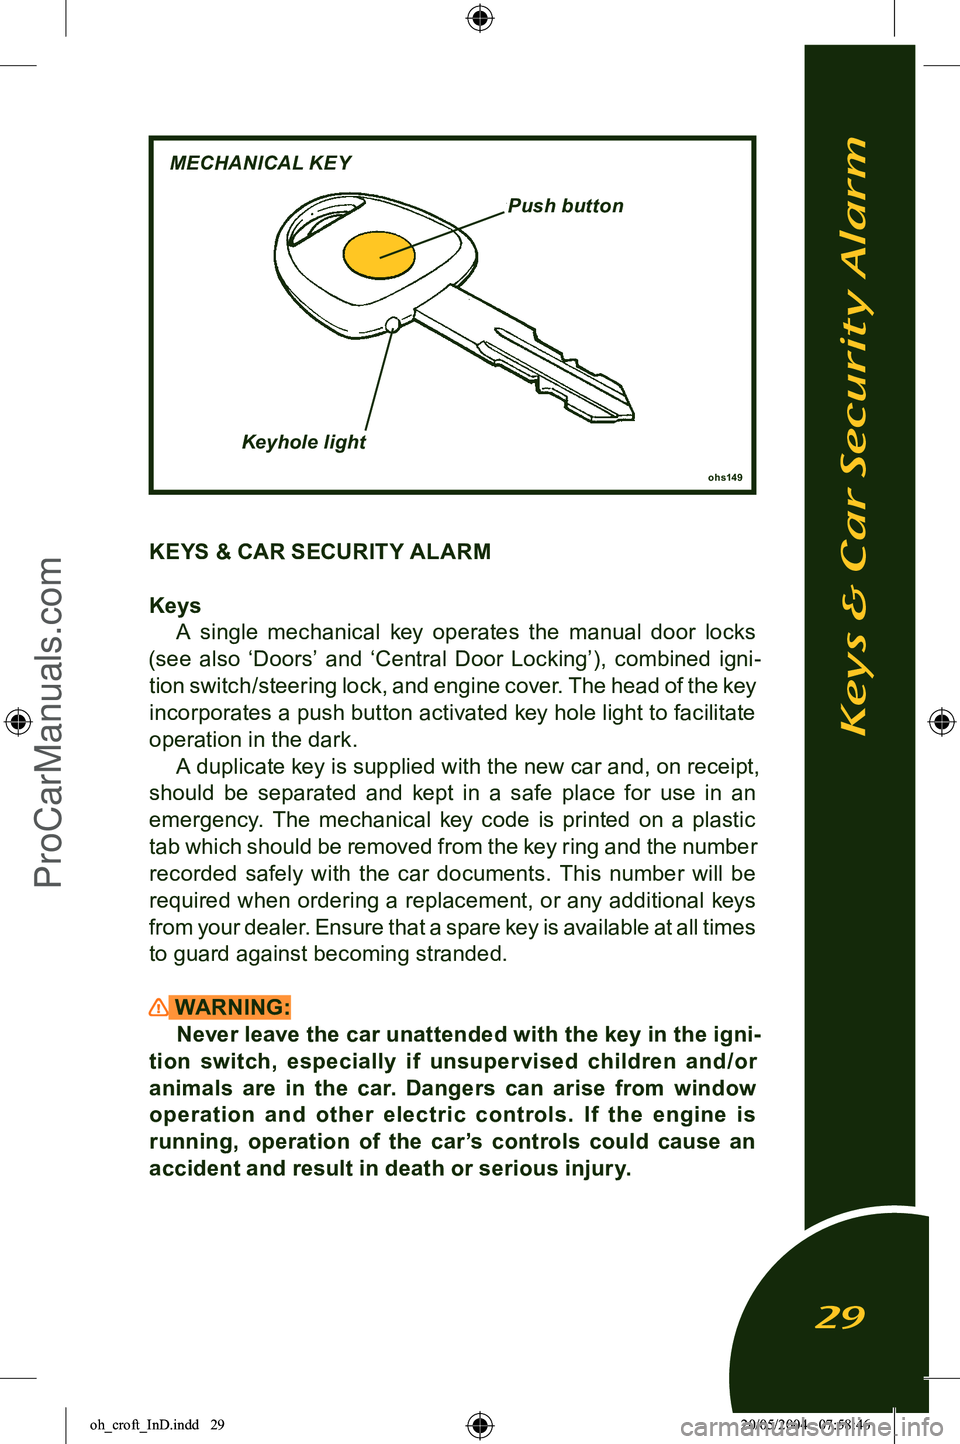
KeysA single mechanical key operates the manual door locks
(see also ‘Doors’ and ‘Central Door Locking’), combined igni
-
tion switch/steering lock, and engine cover. The head of the key incorporates a push button activated key hole light to facilitate
operation in the dark. A duplicate key is supplied with the new car and, on receipt,
should be separated and kept in a safe place for use in an emergency. The mechanical key code is printed on a plastic
tab which should be removed from the key ring and the number recorded safely with the car documents. This number will be
required when ordering a replacement, or any additional keys
from your dealer. Ensure that a spare key is available at all times to guard against becoming stranded.
WARNING: Never leave the car unattended with the key in the igni
-
tion switch, especially if unsuper vised children and /or animals are in the car. Dangers can arise from window
operation and other electric controls. If the engine is running, operation of the car’s controls could cause an
accident and result in death or serious injury.
ohs149
Keys & Car Security Alarm
29
MECHANICAL KEY
Push button
Keyhole light
oh_croft_InD.indd 2920/05/2004 07:58:46ProCarManuals.com
Page 32 of 205
Car Security AlarmThe Lotus Elise is fitted with a Cobra 8186 immobiliser/alarm
which includes the following features:
• ‘Dynamic coding’ of the transmitter fobs; Each time the trans
-
mitters are used, the operating frequency is random changed
to guard against unauthorised code copying.
• Automatic (passive) engine immobilisation to prevent the engine from being started without the transmitter fob.
• Sensing switches on doors, front body access panels and the engine cover, meaning the alarm sounds if someone tries to
force entry.
• Personal protection by ‘on demand’ activation of the siren.
• Selectable cockpit intrusion sensing using a microwave
sensor.
• Self powered siren to maintain protection if the car battery is
disconnected.
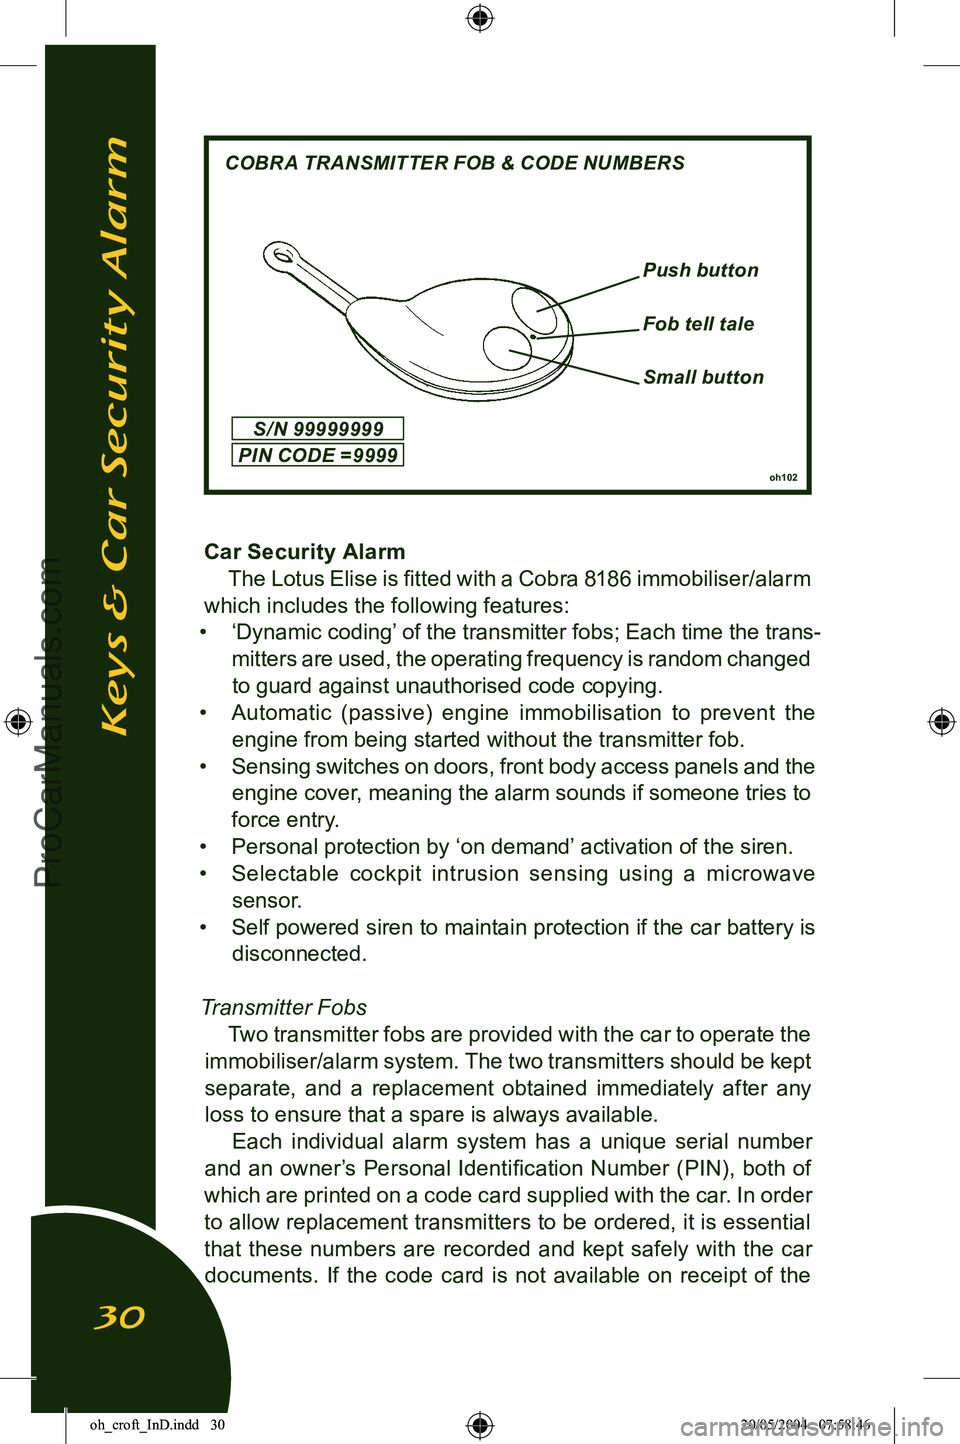
Transmitter Fobs Two transmitter fobs are provided with the car to operate the
immobiliser/alarm system. The two transmitters should be kept
separate, and a replacement obtained immediately after any loss to ensure that a spare is always available.
Each individual alarm system has a unique serial number
and an owner’s Personal Identification Number (PIN), both of
which are printed on a code card supplied with the car. In order to allow replacement transmitters to be ordered, it is essential
that these numbers are recorded and kept safely with the car
documents. If the code card is not available on receipt of the
oh102
Small button
Keys & Car Security Alarm
30
COBRA TRANSMITTER FOB & CODE NUMBERS
Push button
Fob tell tale
S / N 99999999
PIN CODE = 9999
oh_croft_InD.indd 3020/05/2004 07:58:46ProCarManuals.com
Page 33 of 205
car, enquire with the dealer immediately.
Engine Immobiliser In order to provide a measure of car security, independent
of any driver action, the system will ‘passively’ immobilise the
engine’s cranking and running circuits after the first occurring of the following:
i) Four minutes after switching off the ignition;
ii) Two minutes after a mobilising command (see below); or
iii) One minute after switching off the ignition and opening the driver’s door.
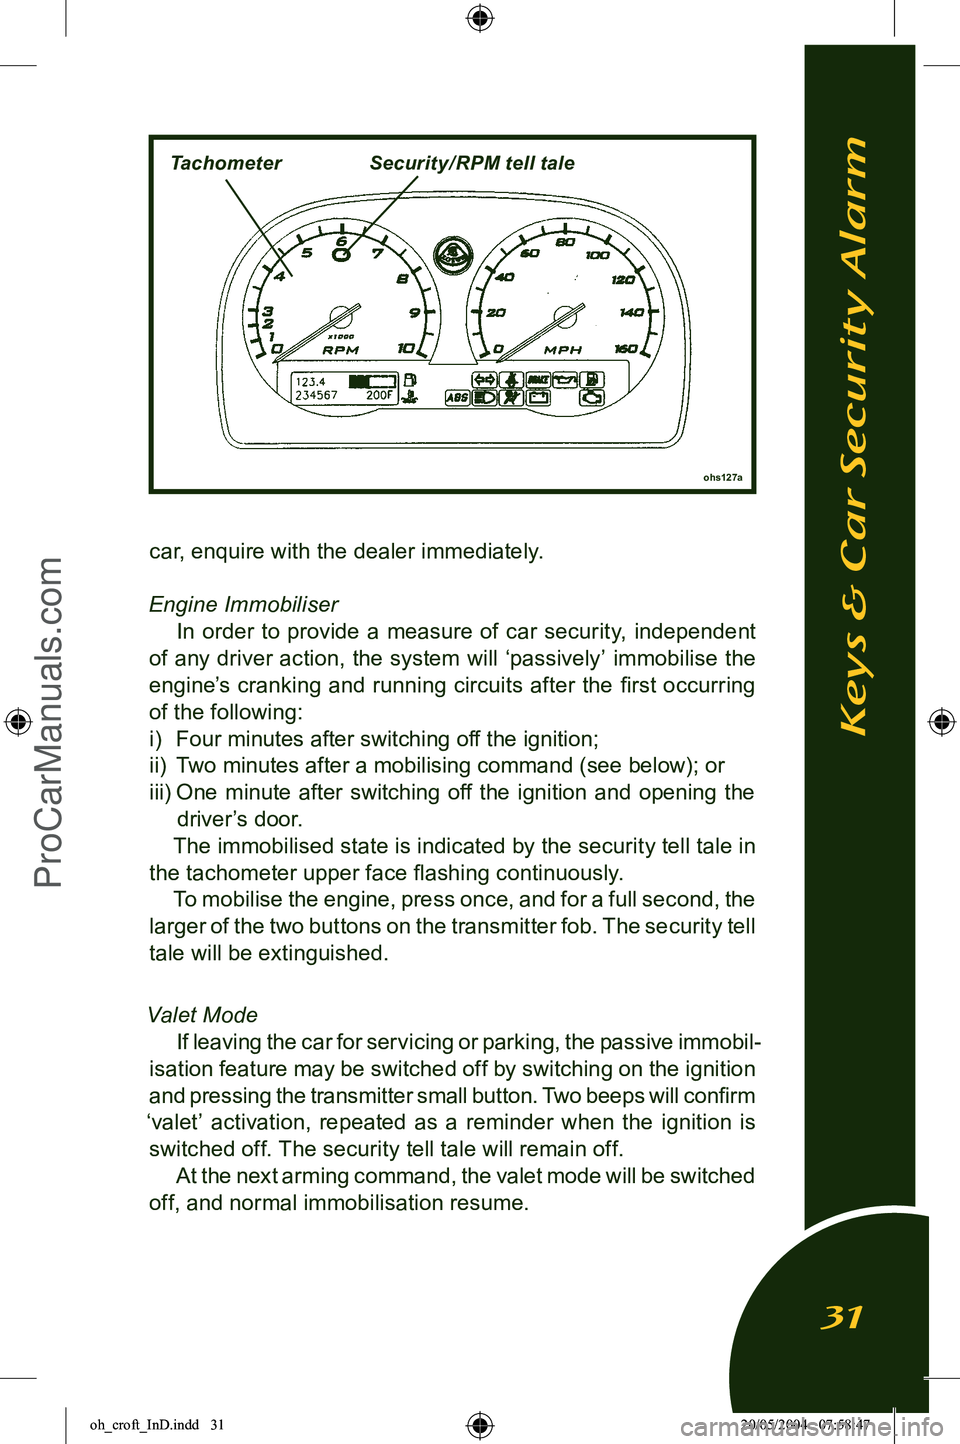
The immobilised state is indicated by the security tell tale in
the tachometer upper face flashing continuously. To mobilise the engine, press once, and for a full second, the
larger of the two buttons on the transmitter fob. The security tell
tale will be extinguished.
Valet Mode
If leaving the car for servicing or parking, the passive immobil
-
isation feature may be switched off by switching on the ignition
and pressing the transmitter small button. Two beeps will confirm
‘valet’ activation, repeated as a reminder when the ignition is switched off. The security tell tale will remain off. At the next arming command, the valet mode will be switched
off, and normal immobilisation resume.
ohs127a
Keys & Car Security Alarm
31
TachometerSecurity/ RPM tell tale
oh_croft_InD.indd 3120/05/2004 07:58:47ProCarManuals.com
Page 34 of 205
Arming the AlarmRemove the ignition key, close (and lock) both doors, and
check that the engine cover and front body access panels are
secure. The roof may be either closed or open. Press once, and for a full second, the larger of the two buttons on the trans
-
mitter fob (on cars with central door locking, this action will automatically lock both doors - see later). This command will
be acknowledged by:
- 2 flashes of the hazard warning lamps;
- Continuous flashing of the security tell tale.
Check that these indications occur. If not, press the button a
second time, as the first press may have only switched off the passive immobilisation (see above). Note that if the system is armed when a door or engine cover/
front access panel is not fully closed or if the interior lamp is in the ‘off’ position, a continuous buzz will be heard as warning. If still open after expiry of the arming period, (see below)
the alarm will be armed with that switch group (both doors, or
front/rear access lids) excluded from the circuit.
After arming the system, the engine is immediately immo
-
bilised, but a period of approximately 45 seconds must elapse
before all functions and sensors become fully active. After
this time, the alarm will be triggered by any of the following actions:
- Interruption of the car battery power supply.
- Energising the ignition circuit (‘hot wiring’).
- Opening a door;
- Opening the engine cover or a front access panel.
- Movement detected within the cabin.
When the alarm is triggered, the hazard warning lamps will
flash and the electronic wailing siren will sound for a period of approximately 30 seconds before closing down and resetting, ready for any further triggering input. If a trigger is continuously
present, the alarm will repeat after a short delay, and continue
in this sequence for about 10 cycles. To silence the siren when triggered, press once, and for a full
second, the larger button on the transmitter fob. This will not affect the status of the alarm which will remain armed.
Keys & Car Security Alarm
32
oh_croft_InD.indd 3220/05/2004 07:58:47ProCarManuals.com
Page 35 of 205
Disarming the AlarmTo disarm the alarm, press once, and for a full second, the
larger button on the transmitter fob. This command will be
acknowledged by:
- 1 flash of the hazard warning lamps;
- Extinguishing of the security tell tale. If the alarm had been triggered during the last armed period,
the disarm command will be acknowledged by the hazard lamps
flashing 4 times, and the buzzer sounding 4 times. The security tell tale will then flash a code to indicate the triggering source:
- 1 pulse flashing: door, engine cover/boot lid or body front access panel.
- 2 pulse flashing: movement detected in cabin by microwave sensor.
- 4 pulse flashing: tampering with ignition circuit.
- 6 pulse flashing: interruption of battery supply.
The coding will be deleted when the ignition is next turned
on.
Emergency disarming /mobilising If the transmitter fobs are lost or damaged, the alarm system
owner’s unique PIN may be used to disarm the alarm and/or
mobilise the engine provided that access is available to the
cabin. Follow the transmitter fob programming instructions (see
page 18) from step 3.
Keys & Car Security Alarm
33
oh_croft_InD.indd 3320/05/2004 07:58:47ProCarManuals.com