ECU LUCID AIR 2023 Owners Manual
[x] Cancel search | Manufacturer: LUCID, Model Year: 2023, Model line: AIR, Model: LUCID AIR 2023Pages: 241, PDF Size: 5.15 MB
Page 4 of 241
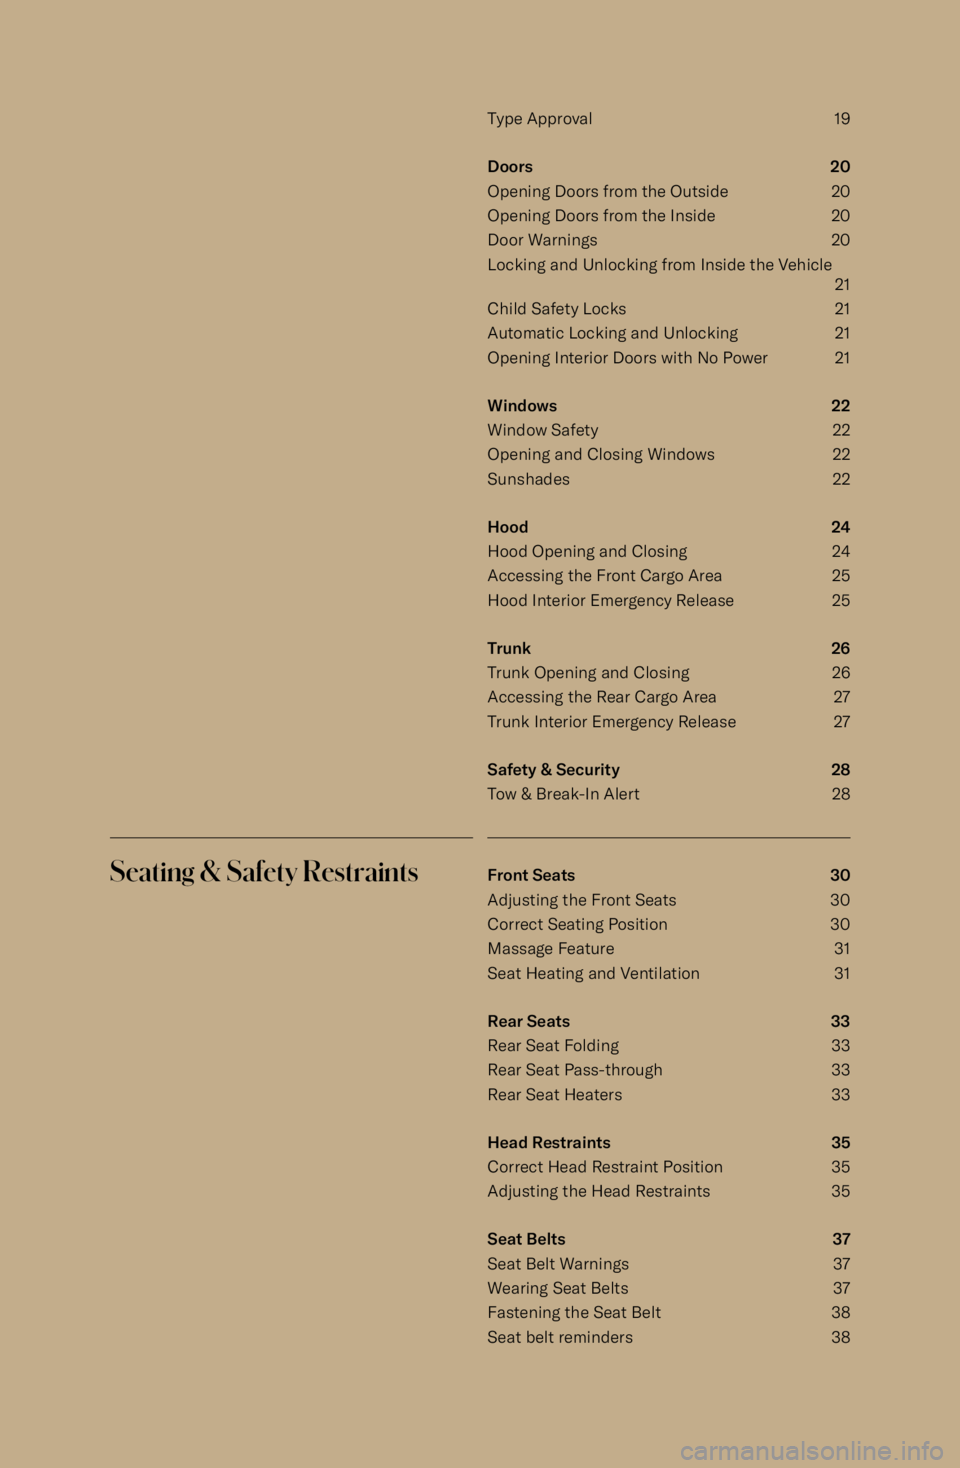
Type Approval 19
Doors 20
Opening Doors from the Outside 20 Opening Doors from the Inside 20Door Warnings 20Locking and Unlocking from Inside the Vehicle 21
Child Safety Locks 21
Automatic Locking and Unlocking 21
Opening Interior Doors with No Power 21
Windows 22
Window Safety 22
Opening and Closing Windows 22
Sunshades 22
Hood 24
Hood Opening and Closing 24
Accessing the Front Cargo Area 25
Hood Interior Emergency Release 25
Trunk 26
Trunk Opening and Closing 26 Accessing the Rear Cargo Area 27Trunk Interior Emergency Release 27
Safety & Security 28
Tow & Break-In Alert 28Seating & Safety RestraintsFront Seats 30 Adjusting the Front Seats 30
Correct Seating Position 30
Massage Feature 31
Seat Heating and Ventilation 31
Rear Seats 33
Rear Seat Folding 33
Rear Seat Pass-through 33 Rear Seat Heaters 33
Head Restraints 35
Correct Head Restraint Position 35
Adjusting the Head Restraints 35
Seat Belts 37
Seat Belt Warnings 37
Wearing Seat Belts 37
Fastening the Seat Belt 38 Seat belt reminders 38
Page 11 of 241
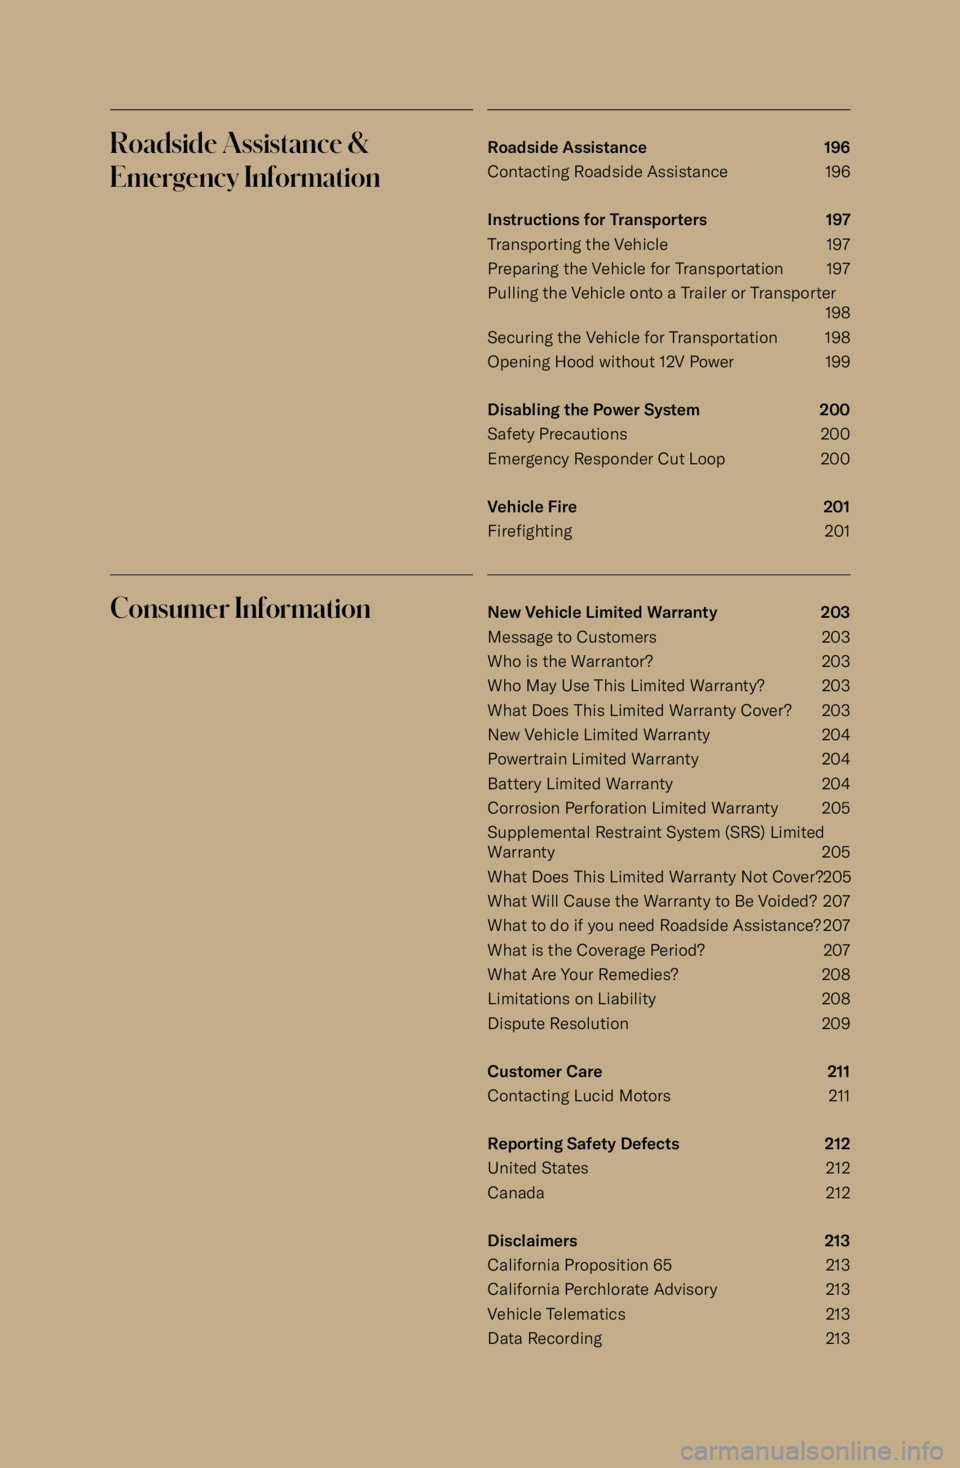
Roadside Assistance &Emergency InformationRoadside Assistance 196
Contacting Roadside Assistance 196
Instructions for Transporters 197
Transporting the Vehicle 197
Preparing the Vehicle for Transportation 197
Pulling the Vehicle onto a Trailer or Transporter 198
Securing the Vehicle for Transportation 198
Opening Hood without 12V Power 199
Disabling the Power System 200
Safety Precautions 200 Emergency Responder Cut Loop 200
Vehicle Fire 201
Firefighting 201Consumer InformationNew Vehicle Limited Warranty 203
Message to Customers 203 Who is the Warrantor? 203Who May Use This Limited Warranty? 203
What Does This Limited Warranty Cover? 203 New Vehicle Limited Warranty 204
Powertrain Limited Warranty 204
Battery Limited Warranty 204
Corrosion Perforation Limited Warranty 205
Supplemental Restraint System (SRS) Limited
Warranty 205
What Does This Limited Warranty Not Cover?205 What Will Cause the Warranty to Be Voided? 207
What to do if you need Roadside Assistance? 207
What is the Coverage Period? 207
What Are Your Remedies? 208 Limitations on Liability 208Dispute Resolution 209
Customer Care 211
Contacting Lucid Motors 211
Reporting Safety Defects 212
United States 212
Canada 212
Disclaimers 213
California Proposition 65 213 California Perchlorate Advisory 213
Vehicle Telematics 213
Data Recording 213
Page 41 of 241
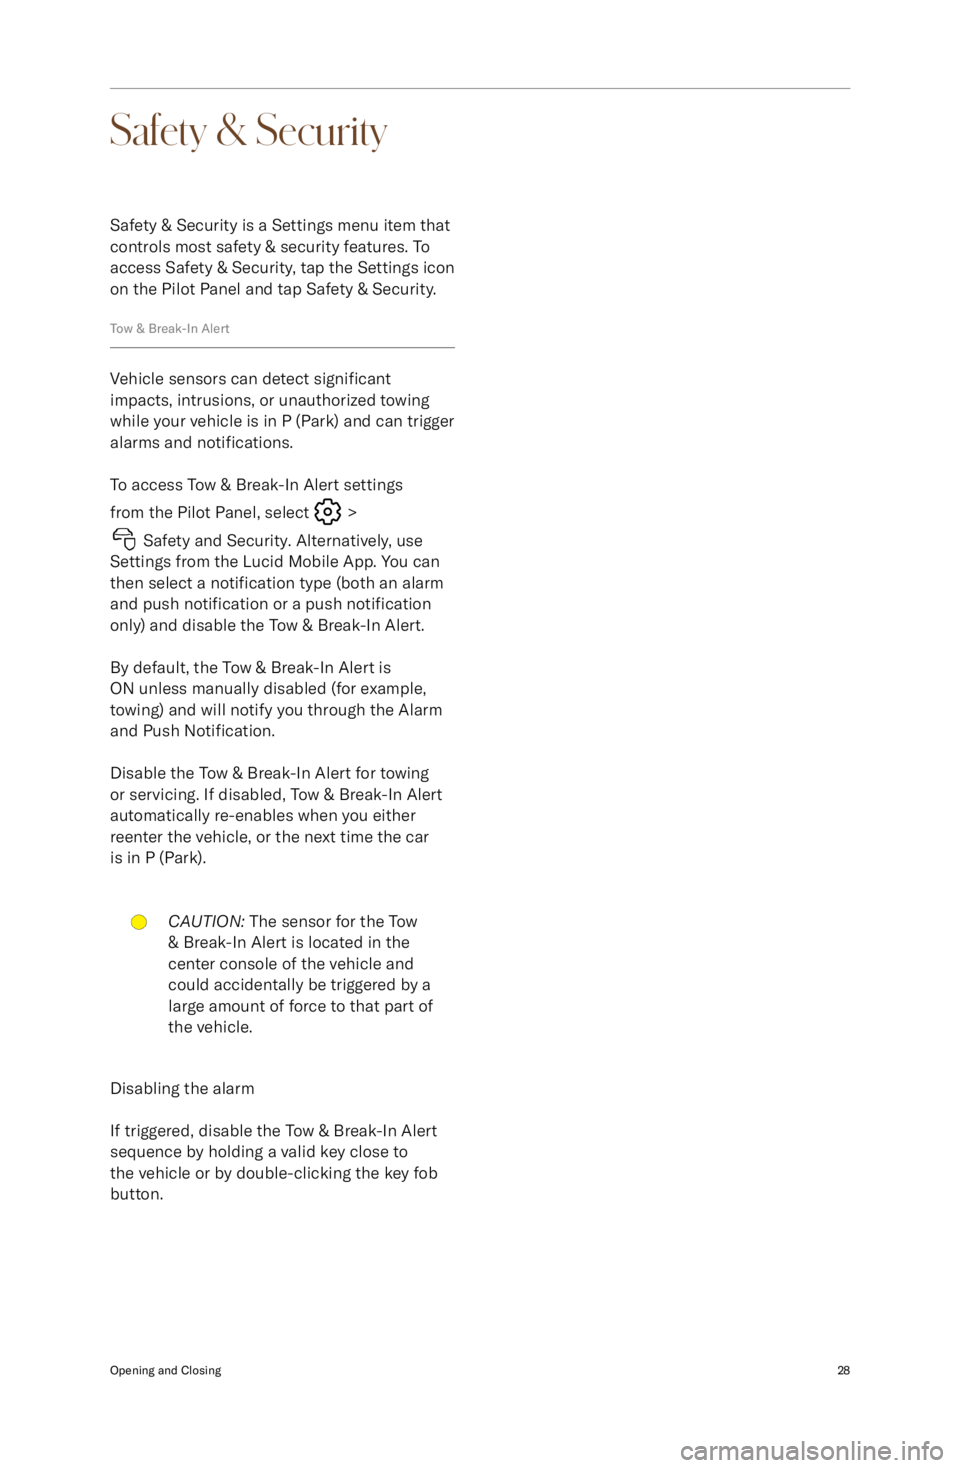
Safety & SecuritySafety & Security is a Settings menu item that
controls most safety & security features. To
access Safety & Security, tap the Settings icon
on the Pilot Panel and tap Safety & Security.
Tow & Break-In Alert
Vehicle sensors can detect significant
impacts, intrusions, or unauthorized towing while your vehicle is in P (Park) and can trigger
alarms and notifications.
To access Tow & Break-In Alert settings from the Pilot Panel, select
>
Safety and Security. Alternatively, use
Settings from the Lucid Mobile App. You can
then select a notification type (both an alarm
and push notification or a push notification
only) and disable the Tow & Break-In Alert.
By default, the Tow & Break-In Alert is
ON unless manually disabled (for example,
towing) and will notify you through the Alarm
and Push Notification.
Disable the Tow & Break-In Alert for towing
or servicing. If disabled, Tow & Break-In Alert
automatically re-enables when you eitherreenter the vehicle, or the next time the car
is in P (Park).
CAUTION: The sensor for the Tow
& Break-In Alert is located in the
center console of the vehicle and
could accidentally be triggered by a
large amount of force to that part of
the vehicle.
Disabling the alarm
If triggered, disable the Tow & Break-In Alert
sequence by holding a valid key close to
the vehicle or by double-clicking the key fob button.
Opening and Closing28
Page 46 of 241
Rear Seats
Rear Seat FoldingWARNING: Secure objects carried
within the vehicle. In an impact or
sudden maneuver, unsecured objects
can cause death or serious injury.
The split rear seat allows you to fold forward
all or part of the seat to increase the load-
carrying area. Before folding down a seat,
remove any items on the seat or in the rear
footwell and adjust the rear head restraints to
the lowest position. See Rear head restraints.
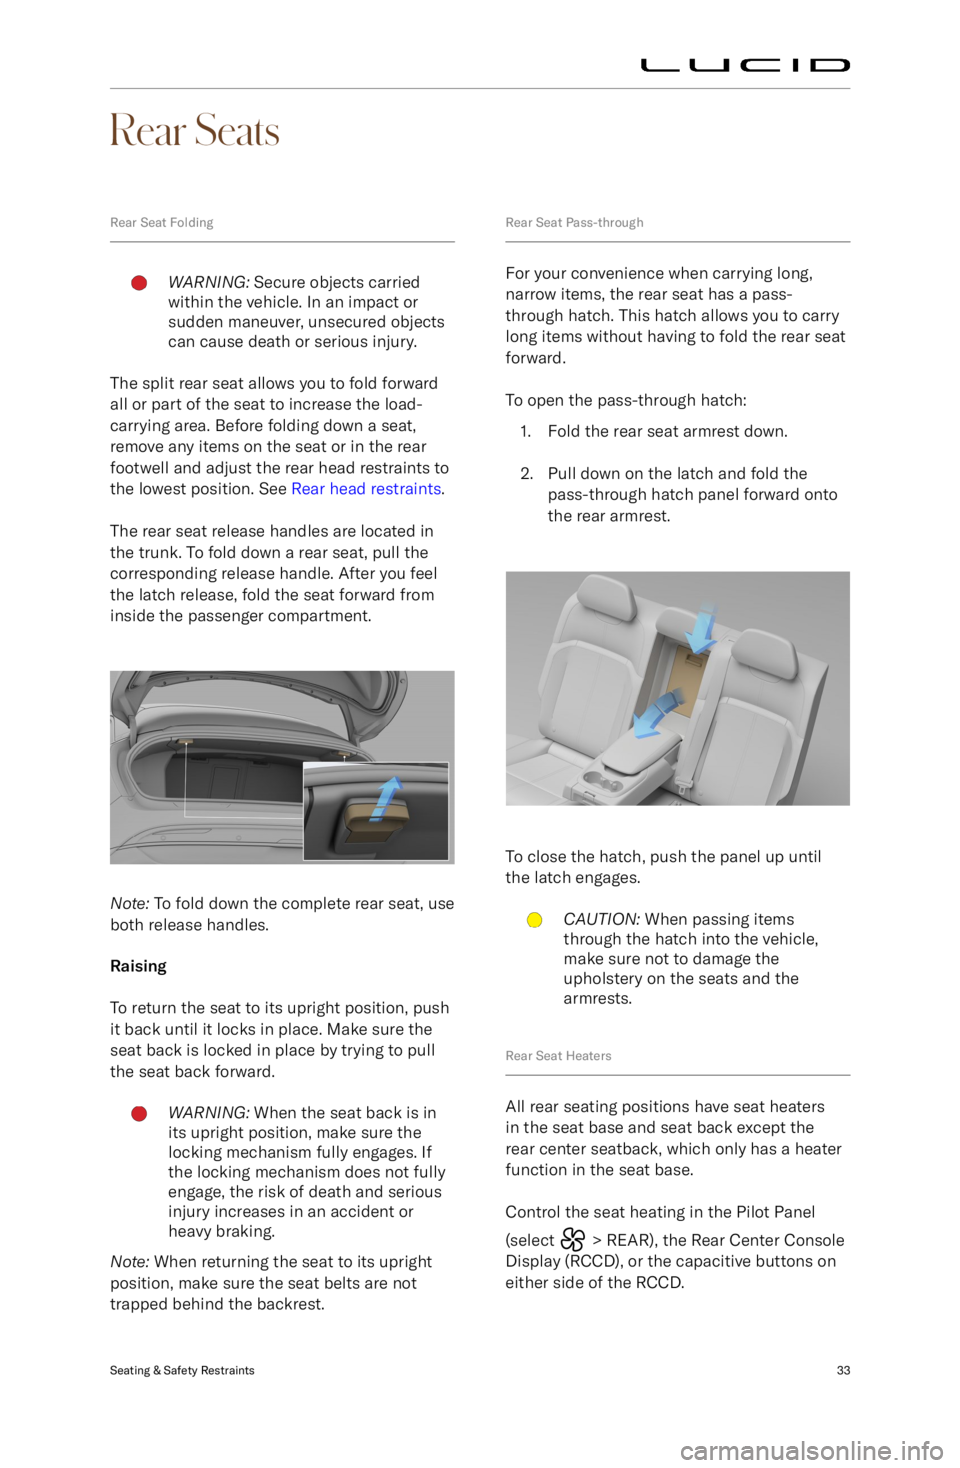
The rear seat release handles are located in the trunk. To fold down a rear seat, pull the
corresponding release handle. After you feel
the latch release, fold the seat forward from
inside the passenger compartment.
Note: To fold down the complete rear seat, use
both release handles.
Raising
To return the seat to its upright position, push
it back until it locks in place. Make sure the seat back is locked in place by trying to pull
the seat back forward.
WARNING: When the seat back is in
its upright position, make sure the
locking mechanism fully engages. If
the locking mechanism does not fully
engage, the risk of death and serious
injury increases in an accident or
heavy braking.
Note: When returning the seat to its upright
position, make sure the seat belts are not
trapped behind the backrest.
Rear Seat Pass-through
For your convenience when carrying long, narrow items, the rear seat has a pass-
through hatch. This hatch allows you to carry
long items without having to fold the rear seat
forward.
To open the pass-through hatch: 1. Fold the rear seat armrest down.
2. Pull down on the latch and fold the pass-through hatch panel forward onto
the rear armrest.
To close the hatch, push the panel up until
the latch engages.
CAUTION: When passing items
through the hatch into the vehicle,
make sure not to damage the
upholstery on the seats and the
armrests.
Rear Seat Heaters
All rear seating positions have seat heaters
in the seat base and seat back except the
rear center seatback, which only has a heater function in the seat base.
Control the seat heating in the Pilot Panel
(select
> REAR), the Rear Center Console
Display (RCCD), or the capacitive buttons on
either side of the RCCD.
Seating & Safety Restraints33
Page 53 of 241

Testing Seat BeltsWARNING: Regularly check the
condition of all seat belts. Replace
seat belts if you notice damage
to the belt straps, fittings, retractor
mechanisms, or buckles. Damaged
seat belts may not operate properly in
the event of an accident.WARNING: When seat belts are not
in use, they should be fully retracted
and not hanging loose. If a seat belt does not fully retract, contact a Lucid
Service Center.
There are three tests you should perform
when checking seat belts:
1. With the seat belt fastened, give the shoulder belt strap at the buckle a quick
upward pull. The buckle should remain
securely locked.
2. With the seat belt unfastened, unreel the belt to its limit. Check that it
unreels smoothly with no snatches or
snags. Visually check the belt for wear.
Allow the belt to retract, checking that
retraction is smooth and complete.
3. With the belt half unreeled, hold the strap and quickly try to pull
more strap out. The mechanism must lock automatically and prevent further
unreeling.
If any issues arise during these tests, contact
a Lucid Service Center immediately to have
the seat belt replaced.
Seating & Safety Restraints40
Page 54 of 241
Child Safety
Guidelines for Seating Children
All child restraint systems are designed to be
secured by lap belts or the lap belt portion of
the lap-shoulder belt.
WARNING: Do not use a child
restraint on a seat with an operational
airbag in front of it. There is a risk
of death or serious injury when the
airbag deploys. Crash statistics show
that children are safest when properly
restrained in a child or infant restraint
system that is secured in a rear seating position.WARNING: Do not use a forward-
facing child seat until the child using
it is above the minimum weight of 20
lb (9 kg) and able to sit up unaided.
Up to the age of two years, a child
Page 57 of 241
different recommended seating location
or ano
ther child safety seat.
5. If the child seat has an upper tether provided, fit and tighten the upper tether
correctly. See Attaching Upper Tether
Straps. WARNING: When the combined
w
eight of the child plus the child
restraint is more than 64 lb (29 kg),
you should not use the lower LATCH/
ISOFIX anchors with the child seats or
booster seats that have an integrated
safety belt. Use the seat belt instead.
Installing Seat Belt Retained Child Seats First, make sure that the child falls into the
corr
ect weight range for the child seat being
used. See Choosing a Child Safety Seat on
page 41.
The following is a general procedure for
installing a seat belt retained child restraint.
You should always read and follow the
instructions provided by the manufacturer of
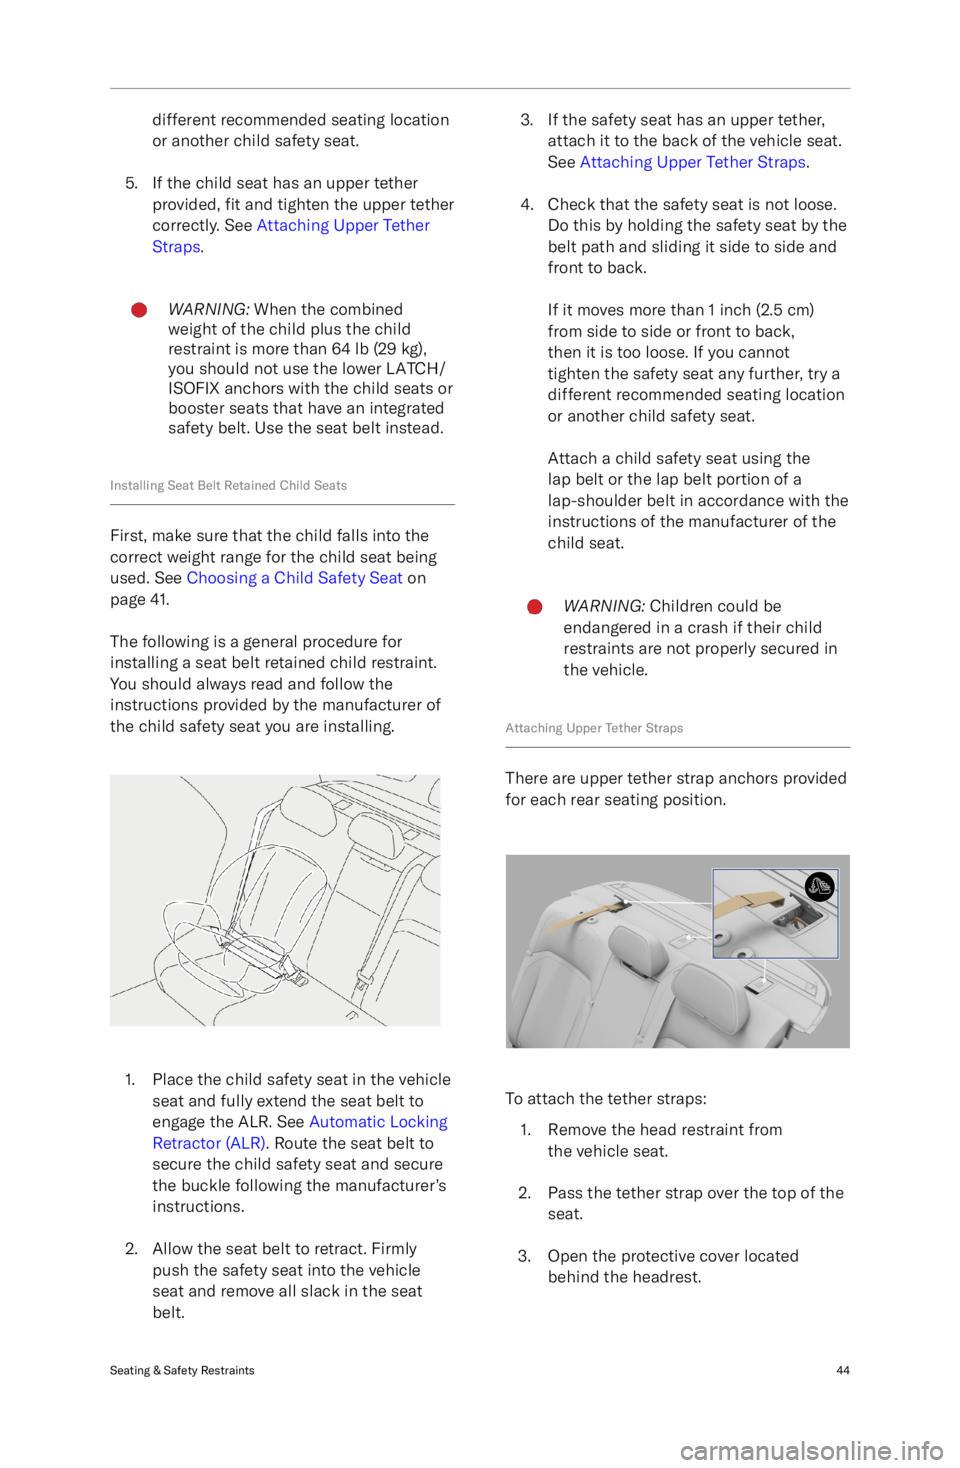
the child safety seat you are installing. 1. Place the child safety seat in the vehicle
seat and fully e
xtend the seat belt to
engage the ALR. See Automatic Locking
Retractor (ALR). Route the seat belt to
secure the child safety seat and secure
the buckle following the manufacturer
Page 93 of 241
Vehicle Hold
Vehicle Hold controls brake settings, and cankeep your vehicle stopped even when your
foot is not on the brake pedal.
When set to HOLD, the vehicle remains
stationary after a stop. The brakes hold until
the driver presses the accelerator pedal again.
If set to ROLL, the car rolls freely after releasing the accelerator.
To configure, use the Pilot Panel and touch
> Vehicle > Drive Settings, then
select the desired mode.
Note: The default setting is HOLD, and can
only be changed when the vehicle is in
P (Park). The setting saves to your User
Profile.
Note: Vehicle Hold disengages if the driver
shifts into N (Neutral) or presses and releases
the brake pedal.
Note: Vehicle Hold will disengage and shift
into P (Park) in any of the following instances:
-Hold has been braking for approximately
10 minutes.
- The system detects that the driver has
exited the vehicle.
Parking Brake
CAUTION: In the unlikely event that
your vehicle loses electrical power,
you will not be able to select another
gear and therefore will be unable to
release the parking brake. Contact a
Lucid Service Center for assistance.
The parking brake operates on the rear wheels
only, and is independently controlled of the
pedal-operated brake system.
The parking brake automatically applies when
P (Park) is selected, and releases when any other gear is selected. It is also engaged by
certain systems when a time limit is reached. See Vehicle Hold on page 80.
The red parking brake indicator
is displayed on the Cockpit Panel
when the parking brake is engaged.
A flashing indicator signals either
operating wiht a fault, or a parking brake
stuck in operation.
If the indicator is amber, a fault
has been detected and the parking
brake may not be applied when the
vehicle is in P (Park). This will be
accompanied by a notification on the Cockpit
Panel. Contact a Lucid Service Center to have
the fault repaired.
Emergency useCAUTION: Driving the vehicle with the
parking brake applied, or repeated
use of the parking brake to slow the
vehicle, may cause serious damage to
the brake system.
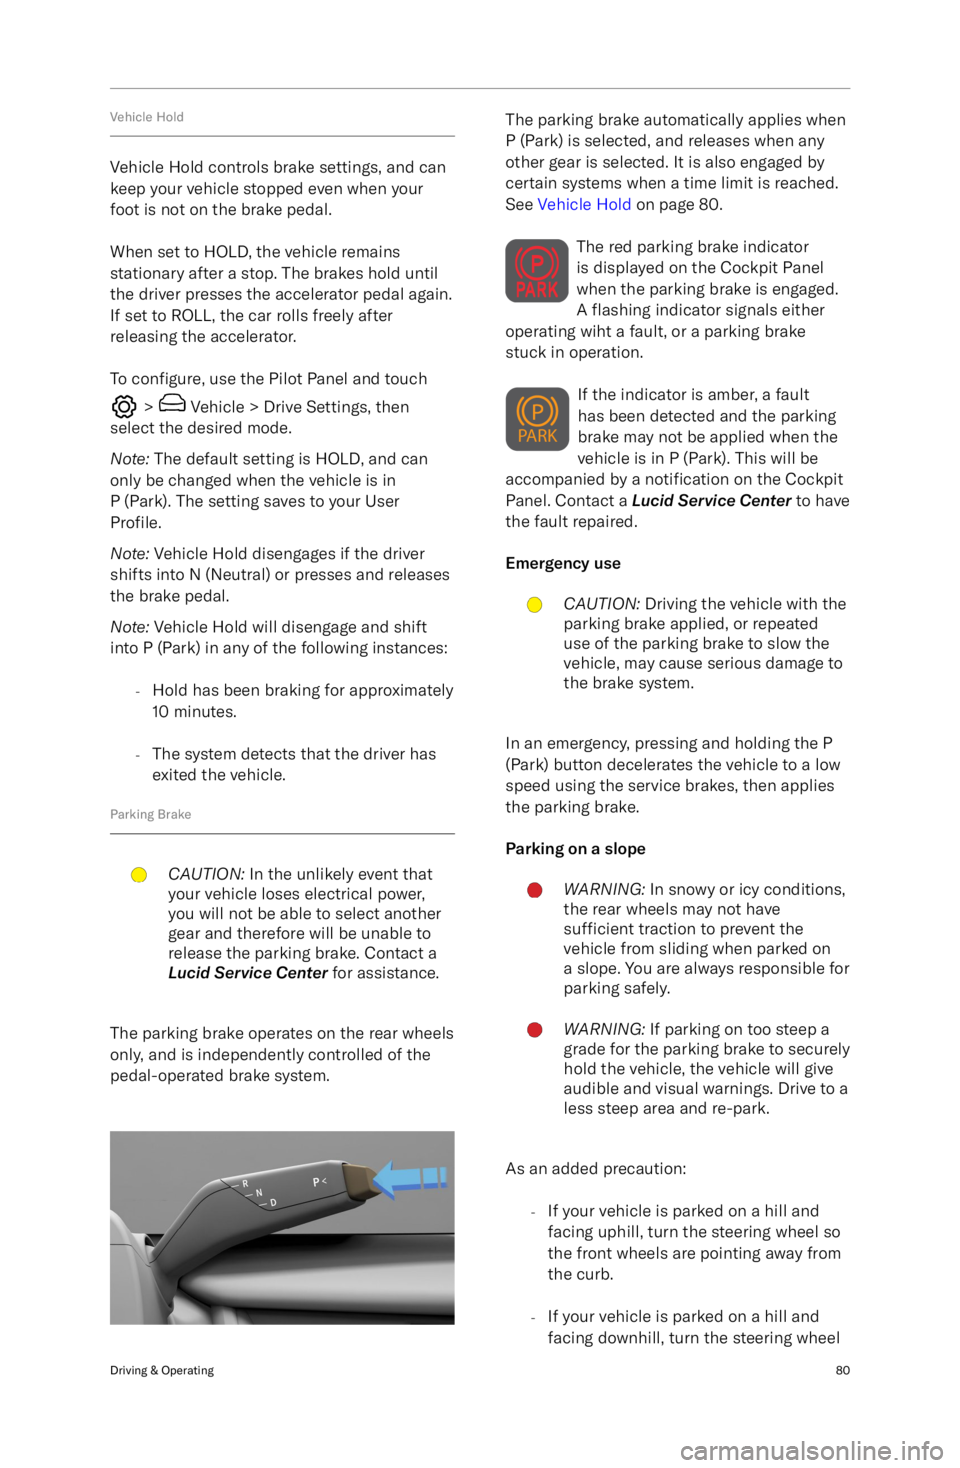
In an emergency, pressing and holding the P
(Park) button decelerates the vehicle to a low
speed using the service brakes, then applies
the parking brake.
Parking on a slope
WARNING: In snowy or icy conditions,
the rear wheels may not have
sufficient traction to prevent the
vehicle from sliding when parked on
a slope. You are always responsible for parking safely.WARNING: If parking on too steep a
grade for the parking brake to securely
hold the vehicle, the vehicle will give
audible and visual warnings. Drive to a
less steep area and re-park.
As an added precaution:
-If your vehicle is parked on a hill and
facing uphill, turn the steering wheel so
the front wheels are pointing away from
the curb.
- If your vehicle is parked on a hill and
facing downhill, turn the steering wheel
Driving & Operating80
Page 99 of 241
Interior Equipment
Sun Visors
To use a sun visor, fold it down from its
stowed position. Sun visors can also pivot
towards the side window by releasing it from
the retaining clip.
Note: Make sure the sun visor is secured
by the retaining clip when returning it to its
stowed position.
Both sun visors have a covered mirror. Raise the cover to use the mirror; an integrated light
automatically turns On. The light turns Off
when the cover is closed.
Sun visor battery replacement
WARNING: Each sun visor contains
three coin/button type batteries.
These batteries contain toxic and
corrosive substances. Batteries are
a chemical burn hazard and should never be ingested. If a battery is
swallowed, it can cause serious
internal burns and may even lead to
death.
- Keep new and used batteries out of
the reach of children.
- If you think batteries may have
been swallowed or placed inside any part of the body, seek
immediate medical attention.
Due to the unique design of your vehicle, the
sun visors use batteries to power the mirror
lights.
Note: The batteries have an estimated life
of approximately two years based on typical
usage.
To replace the batteries:
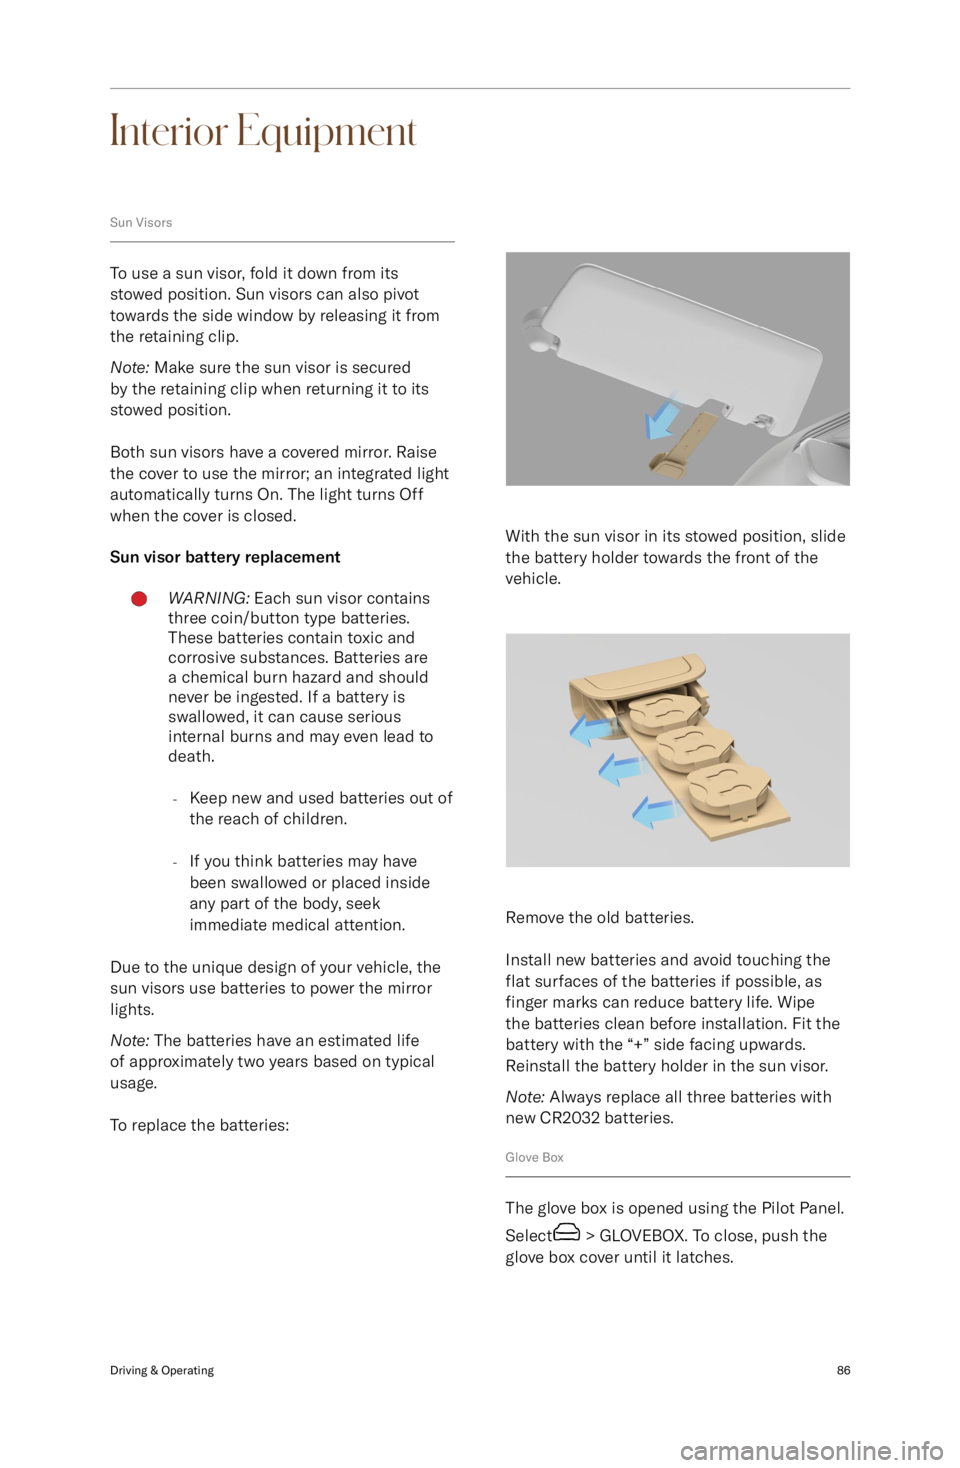
With the sun visor in its stowed position, slide
the battery holder towards the front of the
vehicle.
Remove the old batteries.
Install new batteries and avoid touching the
flat surfaces of the batteries if possible, as
finger marks can reduce battery life. Wipe
the batteries clean before installation. Fit the
battery with the “+” side facing upwards.
Reinstall the battery holder in the sun visor.
Note: Always replace all three batteries with
new CR2032 batteries.
Glove Box
The glove box is opened using the Pilot Panel.
Select
> GLOVEBOX. To close, push the
glove box cover until it latches.
Driving & Operating86
Page 151 of 241
HomeLink
What is HomeLink?
HomeLink is a wireless control system that
enables you to remotely operate up to
15 Radio Frequency (RF) devices, such as
garage doors, gates, lights, and home security systems.
Additional system information can be found
online at www.homelink.com .
HomeLink FCC/ISED Advisory
FCC (USA) and ISED (Canada)
This device complies with FCC rules part
15 and Innovation, Science, and Economic
Development Canada RSS-210. Operation is subject to the following two conditions:
(1) This device may not cause harmful
interference, and (2) This device must
accept any interference that may be
received including interference that may
cause undesired operation. WARNING: The
transmitter has been tested and complies
with FCC and ISED rules. Changes or
modifications not expressly approved by the
party responsible for compliance could void
the user