change wheel MASERATI LEVANTE 2019 Owners Manual
[x] Cancel search | Manufacturer: MASERATI, Model Year: 2019, Model line: LEVANTE, Model: MASERATI LEVANTE 2019Pages: 436, PDF Size: 15.24 MB
Page 41 of 436
Remote Start System On the vehicles that are equipped
with this system, the key fob RKE
transmitter enables to start the engine
conveniently from outside the vehicle
while still maintaining security. The
system has a range of approximately
300 ft (91 m). Obstructions between
the vehicle and the key fob may
reduce this range.
NOTE:
Changes or modifications not
expressly approved by the party
responsible for compliance could void
the user's authority to operate the
equipment.
If your RKE transmitter fails to operate
from a normal distance, check for
these conditions:
• A weak battery in the RKE
transmitter. The expected life of the
battery is a minimum of three years.
• Closeness to a radio transmitter such
as a radio station tower, airport
transmitter, and some mobile or CB
radio.
• Obstructions between the vehicle
and the Key Fob. How to use Remote Start All of the following conditions must
be met before the engine will remote
start:
• System not disabled from previous
remote start event.
• Vehicle theft alarm not active.
• Vehicle Panic mode not active.
• Doors closed.
• Hood closed.
• Power liftgate closed.
• Hazard lights switched off.
• Brake pedal not pressed.
• Battery at an acceptable charge
level.
• The shift lever is in P (Park) position.
• The vehicle transmission is in
automatic mode.
• The remote start has not been
activated yet two consecutive times.
If EPB (Electric Parking Brake) is not
selected, at key-off in some conditions
the remote start system may not allow
engine to start. We suggest to set
“Auto Apply On” function through
the switch on the right-side of the
steering wheel (refer to “Instrument
Cluster” in section “Dashboard
Instrument and Controls”). WARNING!
• Do not start or run an engine in a
closed garage or confined area.
Exhaust gas contains Carbon
Monoxide (CO) which is odorless
and colorless
• Keep key fobs RKE transmitter away
from children. Operation of the
Remote Start System, windows,
door locks or other controls could
cause serious injury or death.
Engine Remote Start Abort
Message on Instrument Cluster The following messages will display on
the instrument cluster if the vehicle
fails to remote start or exits remote
start prematurely:
• “Remote Start Canceled Door
Open”.
• “Remote Start Canceled Liftgate
Open”.
• “Remote Start Canceled Fuel Low”.
• “Remote Start Canceled Time
Expired”.
• “Remote Start Disabled Start Vehicle
to Reset”.Before Starting
2
37
Page 170 of 436
18* Combined telltale of ACC, LKA
and HAS status. They are
displayed in the cluster when
one (or more) of these systems is
enabled and a different menu
from “Drive Assist” is displayed
in the main area.
19* CC, ACC, HDC status function.
20 Ride height indicator.
21 Electric Parking Brake failure
warning light.
22 Speed Warning indicator
(dynamic text).
23* Traffic Sign Assist icons:
conditioned and unconditioned
speed limit and/or
supplementary signs (time
restriction, etc..). See "Traffic
Sign Assist - TSA" in section
"Driving" for further details.
(*) See “TFT Display: Warning/
Indicator Lights of Set Modes/
Functions” in this chapter.
The display background may change
according to the type of message
displayed. • Blue color: normal conditions.
• Yellow color: low-critical warning.
• Red color: high-critical warning.
Main and Submenu
Operate the controls on the right side
of the steering wheel to scroll, modify
and program the Main and Submenu.
Press and release the multifunction
switch in the
and arrow
directions to scroll upwards and
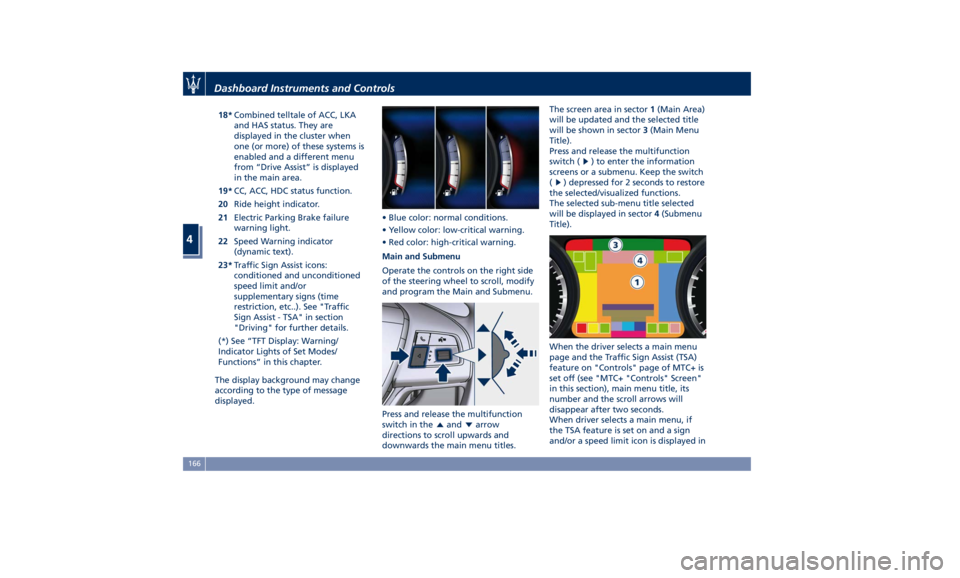
downwards the main menu titles. The screen area in sector 1 (Main Area)
will be updated and the selected title
will be shown in sector 3 (Main Menu
Title).
Press and release the multifunction
switch (
) to enter the information
screens or a submenu. Keep the switch
(
) depressed for 2 seconds to restore
the selected/visualized functions.
The selected sub-menu title selected
will be displayed in sector 4 (Submenu
Title).
When the driver selects a main menu
page and the Traffic Sign Assist (TSA)
feature on "Controls" page of MTC+ is
set off (see "MTC+ "Controls" Screen"
in this section), main menu title, its
number and the scroll arrows will
disappear after two seconds.
When driver selects a main menu, if
the TSA feature is set on and a sign
and/or a speed limit icon is displayed inDashboard Instruments and Controls
4
166
Page 189 of 436
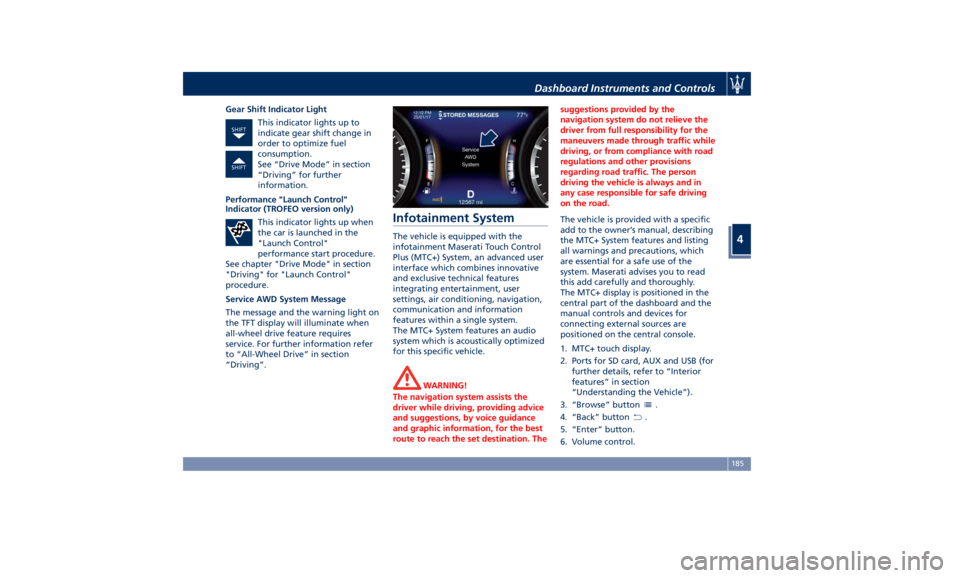
Gear Shift Indicator Light
This indicator lights up to
indicate gear shift change in
order to optimize fuel
consumption.
See “Drive Mode” in section
“Driving” for further
information.
Performance "Launch Control"
Indicator (TROFEO version only)
This indicator lights up when
the car is launched in the
"Launch Control"
performance start procedure.
See chapter "Drive Mode" in section
"Driving" for "Launch Control"
procedure.
Service AWD System Message
The message and the warning light on
the TFT display will illuminate when
all-wheel drive feature requires
service. For further information refer
to “All-Wheel Drive” in section
“Driving”. Infotainment System The vehicle is equipped with the
infotainment Maserati Touch Control
Plus (MTC+) System, an advanced user
interface which combines innovative
and exclusive technical features
integrating entertainment, user
settings, air conditioning, navigation,
communication and information
features within a single system.
The MTC+ System features an audio
system which is acoustically optimized
for this specific vehicle.
WARNING!
The navigation system assists the
driver while driving, providing advice
and suggestions, by voice guidance
and graphic information, for the best
route to reach the set destination. The suggestions provided by the
navigation system do not relieve the
driver from full responsibility for the
maneuvers made through traffic while
driving, or from compliance with road
regulations and other provisions
regarding road traffic. The person
driving the vehicle is always and in
any case responsible for safe driving
on the road.
The vehicle is provided with a specific
add
to the owner’
s manual, describing
the MTC+ System features and listing
all warnings and precautions, which
are essential for a safe use of the
system. Maserati advises you to read
this add carefully and thoroughly.
The MTC+ display is positioned in the
central part of the dashboard and the
manual controls and devices for
connecting external sources are
positioned on the central console.
1. MTC+ touch display.
2. Ports for SD card, AUX and USB (for
further details, refer to “Interior
features” in section
“Understanding the Vehicle”).
3. “Browse” button
.
4. “Back” button
.
5. “Enter” button.
6. Volume control.Dashboard Instruments and Controls
4
185
Page 196 of 436
Audio Controls The vehicle is equipped with audio
controls that allow both driver and
front passenger to operate the audio
system. These controls can be used to
adjust audio volume, change radio
station or mode (FM, AM, USB, etc).
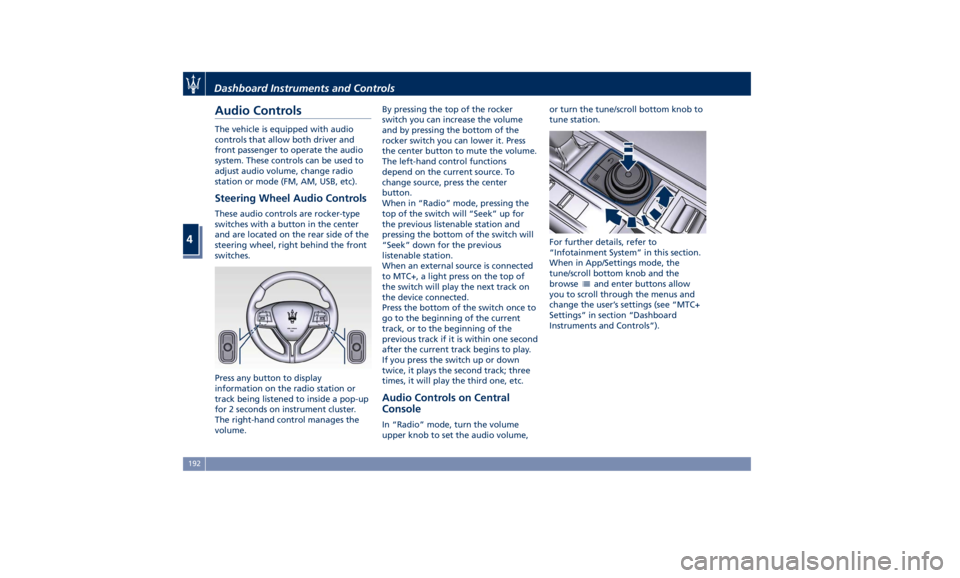
Steering Wheel Audio Controls These audio controls are rocker-type
switches with a button in the center
and are located on the rear side of the
steering wheel, right behind the front
switches.
Press any button to display
information on the radio station or
track being listened to inside a pop-up
for 2 seconds on instrument cluster.
The right-hand control manages the
volume. By pressing the top of the rocker
switch you can increase the volume
and by pressing the bottom of the
rocker switch you can lower it. Press
the center button to mute the volume.
The left-hand control functions
depend on the current source. To
change source, press the center
button.
When in “Radio” mode, pressing the
top of the switch will “Seek” up for
the previous listenable station and
pressing the bottom of the switch will
“Seek” down for the previous
listenable station.
When an external source is connected
to MTC+, a light press on the top of
the switch will play the next track on
the device connected.
Press the bottom of the switch once to
go to the beginning of the current
track, or to the beginning of the
previous track if it is within one second
after the current track begins to play.
If you press the switch up or down
twice, it plays the second track; three
times, it will play the third one, etc.
Audio Controls on Central
Console In “Radio” mode, turn the volume
upper knob to set the audio volume, or turn the tune/scroll bottom knob to
tune station.
For further details, refer to
“Infotainment System” in this section.
When in App/Settings mode, the
tune/scroll bottom knob and the
browse
and enter buttons allow
you to scroll through the menus and
change the user’s settings (see “MTC+
Settings” in section “Dashboard
Instruments and Controls”).Dashboard Instruments and Controls
4
192
Page 208 of 436
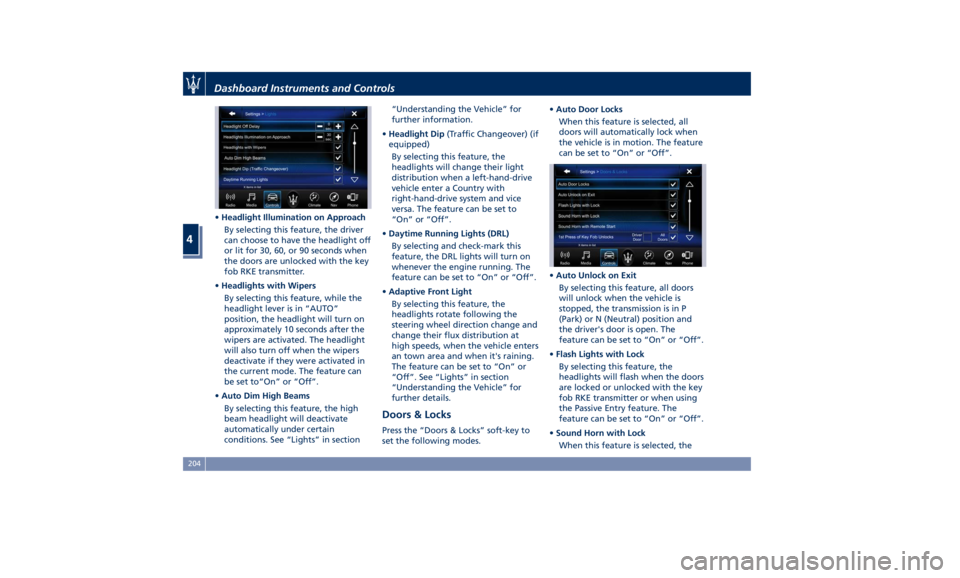
• Headlight Illumination on Approach
By selecting this feature, the driver
can choose to have the headlight off
or lit for 30, 60, or 90 seconds when
the doors are unlocked with the key
fob RKE transmitter.
• Headlights with Wipers
By selecting this feature, while the
headlight lever is in “AUTO”
position, the headlight will turn on
approximately 10 seconds after the
wipers are activated. The headlight
will also turn off when the wipers
deactivate if they were activated in
the current mode. The feature can
be set to“On” or “Off”.
• Auto Dim High Beams
By selecting this feature, the high
beam headlight will deactivate
automatically under certain
conditions. See “Lights” in section “Understanding the Vehicle” for
further information.
• Headlight Dip (Traffic Changeover) (if
equipped)
By selecting this feature, the
headlights will change their light
distribution when a left-hand-drive
vehicle enter a Country with
right-hand-drive system and vice
versa. The feature can be set to
“On” or “Off”.
• Daytime Running Lights (DRL)
By selecting and check-mark this
feature, the DRL lights will turn on
whenever the engine running. The
feature can be set to “On” or “Off”.
• Adaptive Front Light
By selecting this feature, the
headlights rotate following the
steering wheel direction change and
change their flux distribution at
high speeds, when the vehicle enters
an town area and when it's raining.
The feature can be set to “On” or
“Off”. See “Lights” in section
“Understanding the Vehicle” for
further details.
Doors & Locks Press the “Doors & Locks” soft-key to
set the following modes. • Auto Door Locks
When this feature is selected, all
doors will automatically lock when
the vehicle is in motion. The feature
can be set to “On” or “Off”.
• Auto Unlock on Exit
By selecting this feature, all doors
will unlock when the vehicle is
stopped, the transmission is in P
(Park) or N (Neutral) position and
the driver's door is open. The
feature can be set to “On” or “Off”.
• Flash Lights with Lock
By selecting this feature, the
headlights will flash when the doors
are locked or unlocked with the key
fob RKE transmitter or when using
the Passive Entry feature. The
feature can be set to “On” or “Off”.
• Sound Horn with Lock
When this feature is selected, theDashboard Instruments and Controls
4
204
Page 211 of 436
clearance when driver takes
transmission to P (Park) to help
entry into and exit from the vehicle
and unloading of cargo from the
trunk compartment. The feature
can be set to “On” or “Off”.
• Warning/Suspension Warning
Messages Only
Select this mode to choose whether
to display only warnings (option
“On”). The feature can be set to
“On” or “Off”.
• Tire Change Mode/Stationary Auto
Leveling
Select this mode to disable the
pneumatic suspension to avoid
automatic levelling, when vehicle
must be lifted for changing a wheel
or tire. The feature can be set to
“On” or “Off”.
• Transport To Mode
Select this mode to lower the
pneumatic suspension to minimum
ride height and disable system
operation to help vehicle loading
and transport, for instance on the
platform of a tow truck. The feature
can be set to “On” or “Off”.
• Wheel Alignment Mode
Select this mode to prevent
automatic pneumatic suspension alignment when servicing
suspension and/or steering parts.
The feature can be set to “On” or
“Off”.
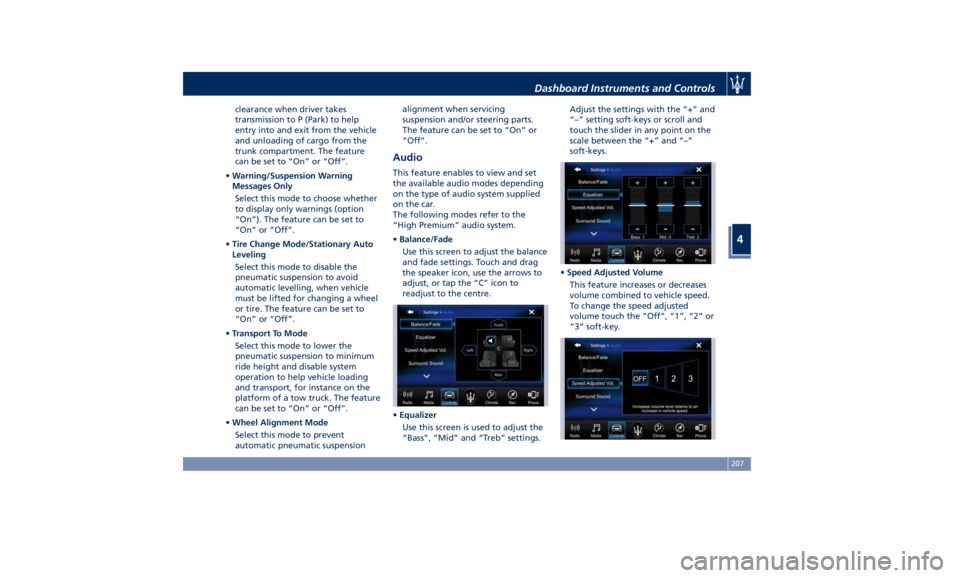
Audio This feature enables to view and set
the available audio modes depending
on the type of audio system supplied
on the car.
The following modes refer to the
“High Premium” audio system.
• Balance/Fade
Use this screen to adjust the balance
and fade settings. Touch and drag
the speaker icon, use the arrows to
adjust, or tap the “C” icon to
readjust to the centre.
• Equalizer
Use this screen is used to adjust the
“Bass”, “Mid” and “Treb” settings. Adjust the settings with the “+” and
“–” setting soft-keys or scroll and
touch the slider in any point on the
scale between the “+” and “–”
soft-keys.
• Speed Adjusted Volume
This feature increases or decreases
volume combined to vehicle speed.
To change the speed adjusted
volume touch the “Off”, “1”, “2” or
“3” soft-key.Dashboard Instruments and Controls
4
207
Page 213 of 436
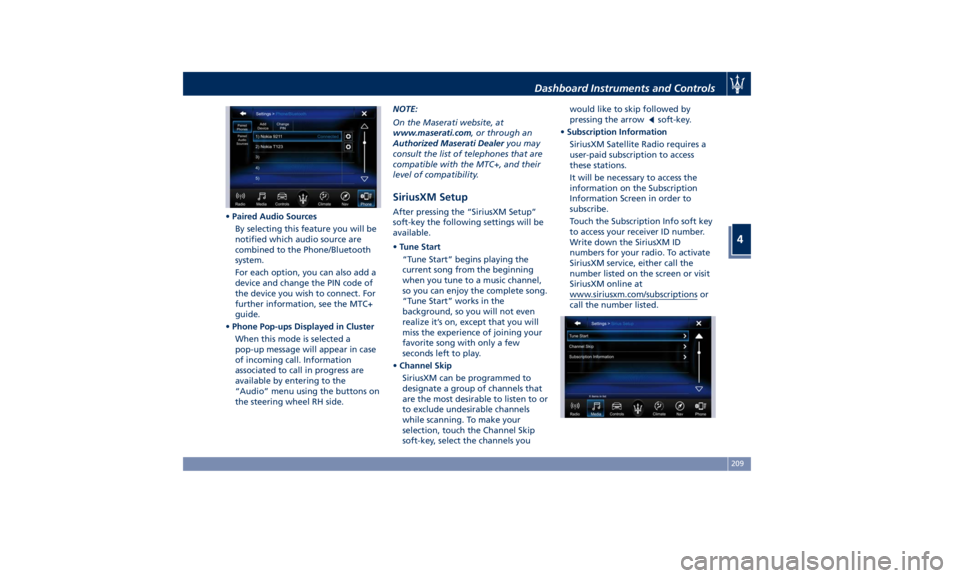
• Paired Audio Sources
By selecting this feature you will be
notified which audio source are
combined to the Phone/Bluetooth
system.
For each option, you can also add a
device and change the PIN code of
the device you wish to connect. For
further information, see the MTC+
guide.
• Phone Pop-ups Displayed in Cluster
When this mode is selected a
pop-up message will appear in case
of incoming call. Information
associated to call in progress are
available by entering to the
“Audio” menu using the buttons on
the steering wheel RH side. NOTE:
On the Maserati website, at
www.maserati.com , or through an
Authorized Maserati Dealer you may
consult the list of telephones that are
compatible with the MTC+, and their
level of compatibility.
SiriusXM Setup After pressing the “SiriusXM Setup”
soft-key the following settings will be
available.
• Tune Start
“Tune Start” begins playing the
current song from the beginning
when you tune to a music channel,
so you can enjoy the complete song.
“Tune Start” works in the
background, so you will not even
realize it’s on, except that you will
miss the experience of joining your
favorite song with only a few
seconds left to play.
• Channel Skip
SiriusXM can be programmed to
designate a group of channels that
are the most desirable to listen to or
to exclude undesirable channels
while scanning. To make your
selection, touch the Channel Skip
soft-key, select the channels you would like to skip followed by
pressing the arrow
soft-key.
• Subscription Information
SiriusXM Satellite Radio requires a
user-paid subscription to access
these stations.
It will be necessary to access the
information on the Subscription
Information Screen in order to
subscribe.
Touch the Subscription Info soft key
to access your receiver ID number.
Write down the SiriusXM ID
numbers for your radio. To activate
SiriusXM service, either call the
number listed on the screen or visit
SiriusXM online at
www.siriusxm.com/subscriptions or
call the number listed.Dashboard Instruments and Controls
4
209
Page 226 of 436
NOTE:
The Bi-Level mode is designed to
provide comfort by sending cooler air
out of the central console vents and
warmer air from the floor vents.
7. “Floor” mode
Air comes from the fixed floor vents
under the front seats and on the
lateral sides of the central console.
8. “Torso” mode
Air comes from the adjustable vents on
the central console. Each of these
vents can be singly adjusted. The air
grids of the vents can be moved
up/down and right/left to adjust the
airflow direction. A setting wheel,
placed near each vent, allows to
regulate the airflow or to close the
vent.
9. AUTO
This function automatically controls
the interior temperature by adjusting
the air flow rate and the air
distribution.
• Press the “AUTO” button: the
automatic rear climate control
switches from manual to automatic
mode and vice-versa. The “AUTO”
symbol on the button illuminates
when this function is activated. • Adjust then the temperature you
wish to maintain by regulating the
left and/or right side temperature
control buttons. Once the desired
temperature is set, the system will
achieve and automatically maintain
that comfort level.
• When the system is set up for your
comfort level, it is not necessary to
change the settings anymore: simply
allow the system to function
automatically.
To provide you with maximum comfort
in the Automatic mode, during cold
start-ups the blower speed will remain
low until the engine warms up.
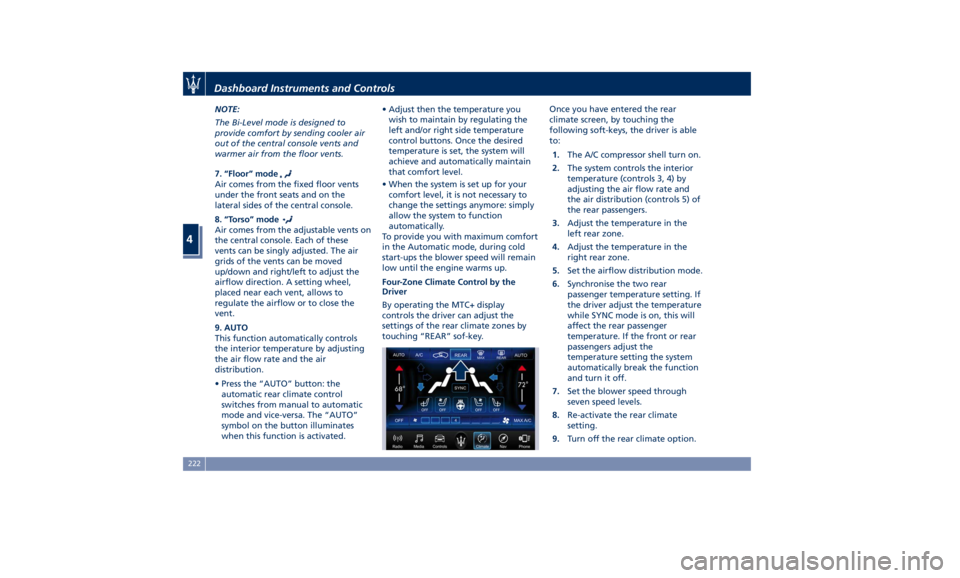
Four-Zone Climate Control by the
Driver
By operating the MTC+ display
controls the driver can adjust the
settings of the rear climate zones by
touching “REAR” sof-key. Once you have entered the rear
climate screen, by touching the
following soft-keys, the driver is able
to:
1. The A/C compressor shell turn on.
2. The system controls the interior
temperature (controls 3, 4) by
adjusting the air flow rate and
the air distribution (controls 5) of
the rear passengers.
3. Adjust the temperature in the
left rear zone.
4. Adjust the temperature in the
right rear zone.
5. Set the airflow distribution mode.
6. Synchronise the two rear
passenger temperature setting. If
the driver adjust the temperature
while SYNC mode is on, this will
affect the rear passenger
temperature. If the front or rear
passengers adjust the
temperature setting the system
automatically break the function
and turn it off.
7. Set the blower speed through
seven speed levels.
8. Re-activate the rear climate
setting.
9. Turn off the rear climate option.Dashboard Instruments and Controls
4
222
Page 229 of 436
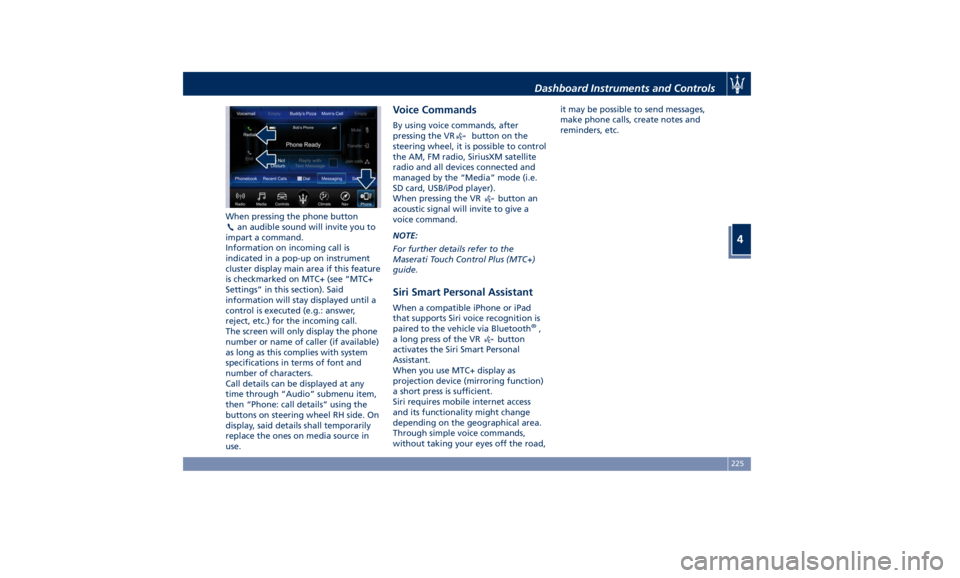
When pressing the phone button
an audible sound will invite you to
impart a command.
Information on incoming call is
indicated in a pop-up on instrument
cluster display main area if this feature
is checkmarked on MTC+ (see “MTC+
Settings” in this section). Said
information will stay displayed until a
control is executed (e.g.: answer,
reject, etc.) for the incoming call.
The screen will only display the phone
number or name of caller (if available)
as long as this complies with system
specifications in terms of font and
number of characters.
Call details can be displayed at any
time through “Audio” submenu item,
then “Phone: call details” using the
buttons on steering wheel RH side. On
display, said details shall temporarily
replace the ones on media source in
use. Voice Commands By using voice commands, after
pressing the VR
button on the
steering wheel, it is possible to control
the AM, FM radio, SiriusXM satellite
radio and all devices connected and
managed by the “Media” mode (i.e.
SD card, USB/iPod player).
When pressing the VR
button an
acoustic signal will invite to give a
voice command.
NOTE:
For further details refer to the
Maserati Touch Control Plus (MTC+)
guide.
Siri Smart Personal Assistant When a compatible iPhone or iPad
that supports Siri voice recognition is
paired to the vehicle via Bluetooth ®
,
a long press of the VR
button
activates the Siri Smart Personal
Assistant.
When you use MTC+ display as
projection device (mirroring function)
a short press is sufficient.
Siri requires mobile internet access
and its functionality might change
depending on the geographical area.
Through simple voice commands,
without taking your eyes off the road, it may be possible to send messages,
make phone calls, create notes and
reminders, etc.
Dashboard Instruments and Controls
4
225
Page 237 of 436
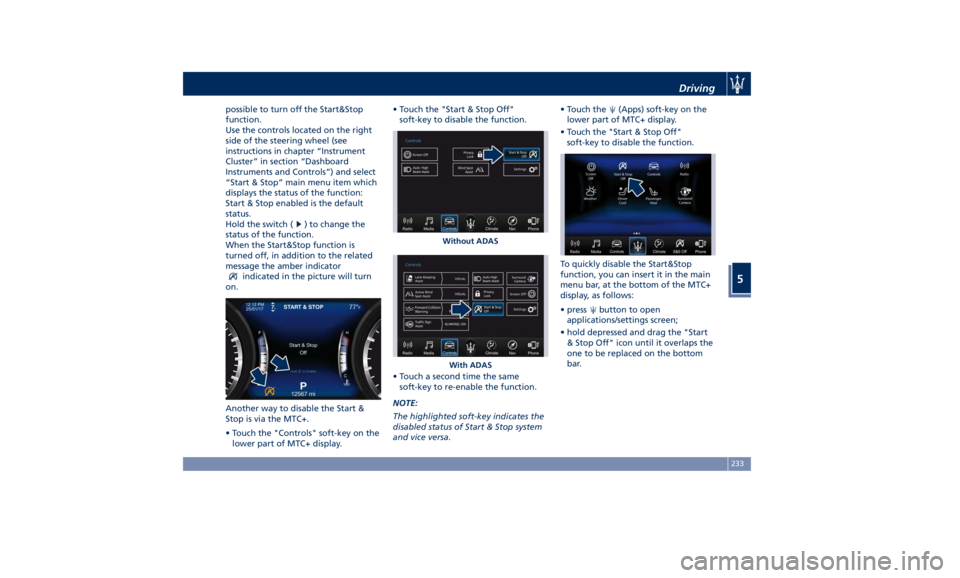
possible to turn off the Start&Stop
function.
Use the controls located on the right
side of the steering wheel (see
instructions in chapter “Instrument
Cluster” in section “Dashboard
Instruments and Controls”) and select
“Start & Stop” main menu item which
displays the status of the function:
Start & Stop enabled is the default
status.
Hold the switch (
) to change the
status of the function.
When the Start&Stop function is
turned off, in addition to the related
message the amber indicator
indicated in the picture will turn
on.
Another way to disable the Start &
Stop is via the MTC+.
• Touch the "Controls" soft-key on the
lower part of MTC+ display. • Touch the "Start & Stop Off"
soft-key to disable the function.
• Touch a second time the same
soft-key to re-enable the function.
NOTE:
The highlighted soft-key indicates the
disabled status of Start & Stop system
and vice versa. • Touch the
(Apps) soft-key on the
lower part of MTC+ display.
• Touch the "Start & Stop Off"
soft-key to disable the function.
To quickly disable the Start&Stop
function, you can insert it in the main
menu bar, at the bottom of the MTC+
display, as follows:
• press
button to open
applications/settings screen;
• hold depressed and drag the "Start
& Stop Off" icon until it overlaps the
one to be replaced on the bottom
bar.Without ADAS
With ADAS Driving
5
233