ECU MAZDA MODEL 6 2008 (in English) User Guide
[x] Cancel search | Manufacturer: MAZDA, Model Year: 2008, Model line: MODEL 6, Model: MAZDA MODEL 6 2008Pages: 440, PDF Size: 6.49 MB
Page 52 of 440

Black plate (52,1)
2. Secure the child-restraint system withthe lap portion of the lap/shoulder belt.
See the manufacturer's instructions on
the child-restraint system for belt
routing instructions.
3. To get the retractor into the automatic locking mode, pull the shoulder belt
portion of the seat belt until the entire
length of the belt is out of the retractor.
4. Push the child-restraint system firmly into the vehicle seat. Be sure the belt
retracts as snugly as possible. Clicking
from the retractor will be heard during
retraction if the system is in automatic
locking mode. If the belt does not lock
the seat down tight, repeat the previous
step and also this one.
NOTE
lInspect this function before each use of the
child-restraint system. You should not be
able to pull the shoulder belt out of the
retractor while the system is in the
automatic locking mode. When you remove
the child-restraint system, be sure the belt
fully retracts to return the system to
emergency locking mode before occupants
use the seat belts.
lFollow the child-restraint system
manufacturer's instructions carefully.
Depending on the type of child-restraint
system, it may not employ seat belts which
are in automatic locking mode.
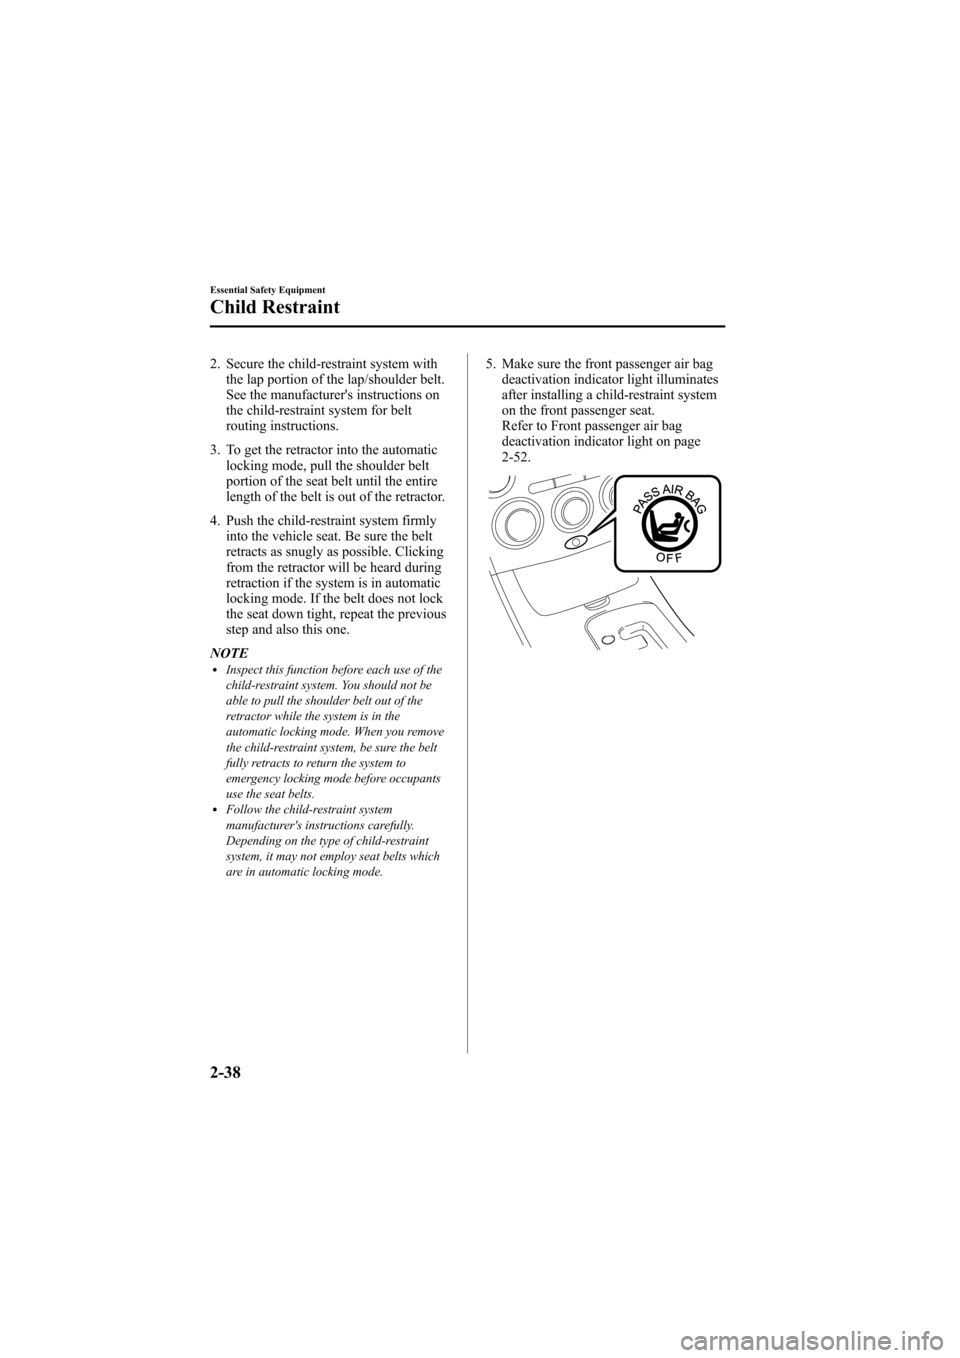
5. Make sure the front passenger air bag deactivation indicator light illuminates
after installing a child-restraint system
on the front passenger seat.
Refer to Front passenger air bag
deactivation indicator light on page
2-52.
2-38
Essential Safety Equipment
Child Restraint
Mazda6_8X47-EA-07G_Edition1 Page52
Tuesday, May 29 2007 3:42 PM
Form No.8X47-EA-07G
Page 54 of 440

Black plate (54,1)
LATCH Child-Restraint Systems
Your Mazda is equipped with LATCH lower anchors for attachment of specially designed
LATCH child-restraint systems in the rear seat. Both anchors must be used, otherwise the
seat will bounce around and put the child in danger. Most LATCH child-restraint systems
must also be used in conjunction with a tether to be effective. If they have a tether you
must use it to better assure your child's safety.
WARNING
Follow the manufacturer's instructions for the use of the child-restraint system:An unsecured child-restraint system is dangerous. In a sudden stop or a collision it
could move causing serious injury or death to the child or other occupants. Make
sure the child-restraint system is properly secured in place according to the child-
restraint system manufacturer's instructions.
Never attach two child-restraint systems to the same LATCH lower anchor: Attaching two child-restraint systems to the same LATCH lower anchor is dangerous.
In a collision, one anchor may not be strong enough to hold two child-restraint
system attachments, and it may break, causing serious injury or death. If you use the
seat position for another child-restraint system when an outboard LATCH position is
occupied, use the center seat belts instead, and the tether if tether-equipped.
Make sure the child-restraint system is properly secured: An unsecured child-restraint system is dangerous. In a sudden stop or a collision it
could move causing serious injury or death to the child or other occupants. Follow
the child-restraint system manufacturer's instructions on belt routing to secure the
seat just as you would with a child in it so that nobody is tempted to put a child in
an improperly secured seat later on. When not in use, remove it from the vehicle or
fasten it with a seat belt, or latch it down to BOTH LATCH lower anchors for LATCH
child-restraint systems.
Make sure there are no seat belts or foreign objects near or around the LATCH child-
restraint system: Not following the child-restraint system manufacturer's instructions when installing
the child-restraint system is dangerous. If seat belts or a foreign object prevent the
child-restraint system from being securely attached to the LATCH lower anchors and
the child-restraint system is installed improperly, the child-restraint system could
move in a sudden stop or collision causing serious injury or death to the child or
other occupants. When installing the child-restraint system, make sure there are no
seat belts or foreign objects near or around the LATCH lower anchors. Always follow
the child-restraint system manufacturer's instructions.
2-40
Essential Safety Equipment
Child Restraint
Mazda6_8X47-EA-07G_Edition1 Page54
Tuesday, May 29 2007 3:42 PM
Form No.8X47-EA-07G
Page 55 of 440

Black plate (55,1)
qLATCH Child-Restraint System
Installation Procedure (Rear
Outboard Seats)
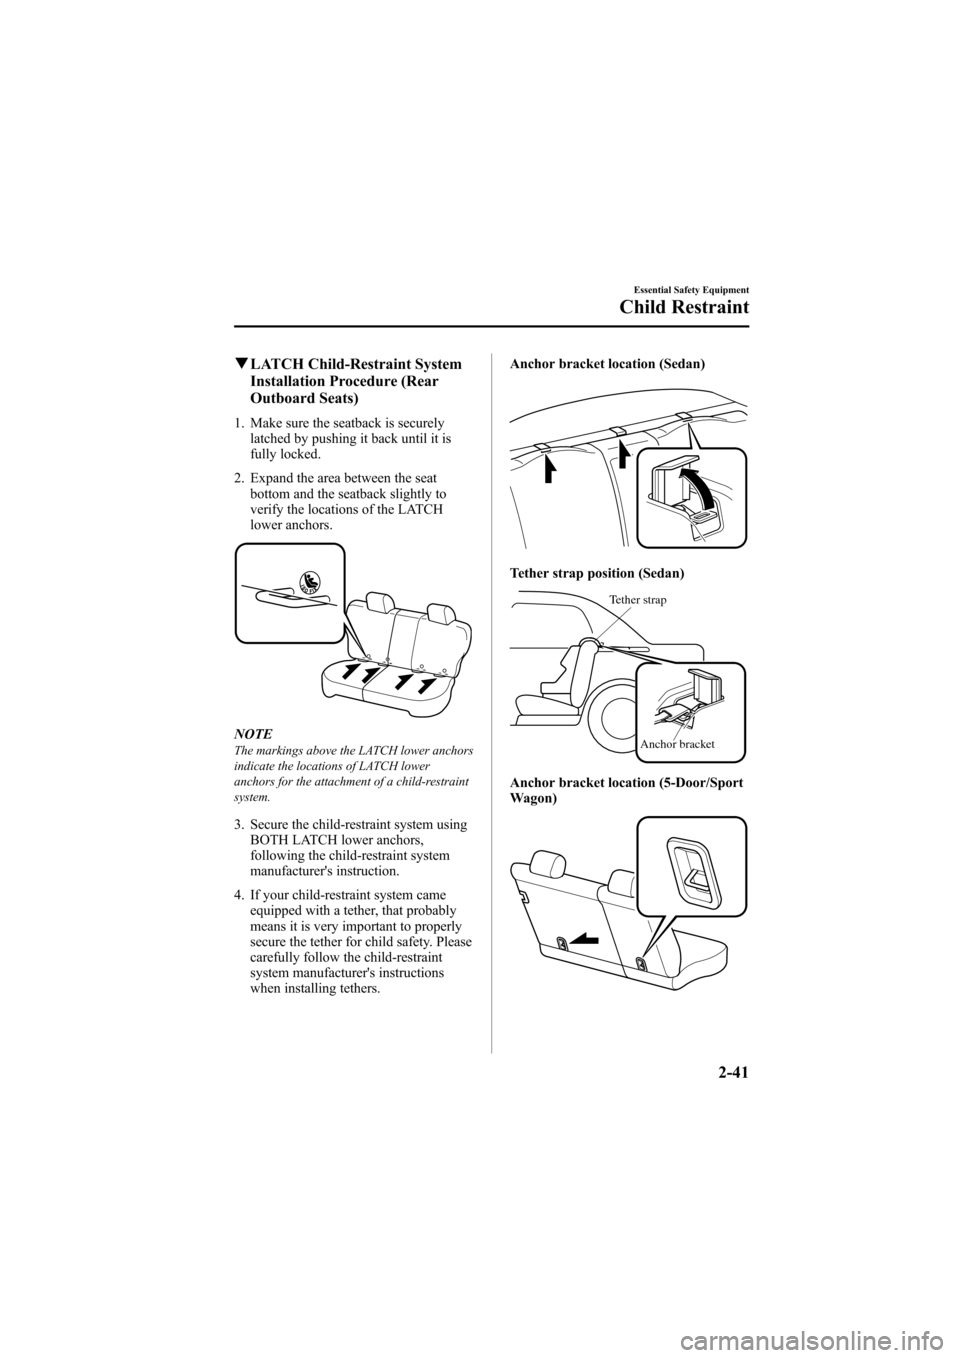
1. Make sure the seatback is securely
latched by pushing it back until it is
fully locked.
2. Expand the area between the seat bottom and the seatback slightly to
verify the locations of the LATCH
lower anchors.
NOTEThe markings above the LATCH lower anchors
indicate the locations of LATCH lower
anchors for the attachment of a child-restraint
system.
3. Secure the child-restraint system usingBOTH LATCH lower anchors,
following the child-restraint system
manufacturer's instruction.
4. If your child-restraint system came equipped with a tether, that probably
means it is very important to properly
secure the tether for child safety. Please
carefully follow the child-restraint
system manufacturer's instructions
when installing tethers. Anchor bracket location (Sedan)
Tether strap position (Sedan)
Tether strap
Anchor bracket
Anchor bracket location (5-Door/Sport
Wagon)
Essential Safety Equipment
Child Restraint
2-41
Mazda6_8X47-EA-07G_Edition1 Page55
Tuesday, May 29 2007 3:43 PM
Form No.8X47-EA-07G
Page 56 of 440

Black plate (56,1)
Tether strap position (5-Door/Sport
Wagon)
Tether strap
Route between head restraint upright.
WARNING
Use the tether and tether anchor only
for a child-restraint system:
Using the tether or tether anchor to
secure anything but a child-restraint
system is dangerous. This could
weaken or damage the tether or
tether anchor and result in injury.
Always route the tether strap between
the head restraint and the seatback (5-
Door/Sport Wagon): Routing the tether strap on top of the
head restraint is dangerous. In a
collision the tether strap could slide
off the head restraint and loosen the
child-restraint system. The child-
restraint system could move which
may result in death or injury to the
child.
Always attach the tether strap to the
correct tether anchor position: Attaching the tether strap to the
incorrect tether anchor position is
dangerous. In a collision, the tether
strap could come off and loosen the
child-restraint system. If the child-
restraint system moves it could result
in death or injury to the child.
qLATCH Child-Restraint System
Installation Procedure (Rear
Center Seat)
The LATCH lower anchors at the center
of the rear seat are much further apart than
the sets of LATCH lower anchors for
child-restraint system installation at other
seating positions. Child-restraint systems
with rigid LATCH attachments cannot be
installed on the center seating position.
Some LATCH equipped child-restraint
systems can be placed in the center
position and will reach the nearest
LATCH lower anchors which are 466 mm
(18.35 in) apart. LATCH compatible
child-restraint systems (with attachments
on belt webbing) can be used at this
seating position only if the child-restraint
system manufacturer's instructions state
that the child-restraint system can be
installed to LATCH lower anchors that are
466 mm (18.35 in) apart. Do not attach
two child-restraint systems to the same
LATCH lower anchor. If your child-
restraint system has a tether, it must also
be used for your child's optimum safety.
2-42
Essential Safety Equipment
Child Restraint
Mazda6_8X47-EA-07G_Edition1 Page56
Tuesday, May 29 2007 3:43 PM
Form No.8X47-EA-07G
Page 57 of 440

Black plate (57,1)
WARNING
Use the tether and tether anchor only
for a child-restraint system:Using the tether or tether anchor to
secure anything but a child-restraint
system is dangerous. This could
weaken or damage the tether or
tether anchor and result in injury.
Always attach the tether strap to the
correct tether anchor position: Attaching the tether strap to the
incorrect tether anchor position is
dangerous. In a collision, the tether
strap could come off and loosen the
child-restraint system. If the child-
restraint system moves it could result
in death or injury to the child.
1. Make sure the seatback is securely latched by pushing it back until it is
fully locked.
2. Expand the area between the seat bottom and the seatback slightly to
verify the locations of the LATCH
lower anchors.
NOTEThe markings above the LATCH lower anchors
indicate the locations of LATCH lower
anchors for the attachment of a child-restraint
system.
3. Secure the child-restraint system usingBOTH LATCH lower anchors,
following the child-restraint system
manufacturer's instructions.
4. If your child-restraint system came equipped with a tether, that probably
means it is very important to properly
secure the tether for child safety. Please
carefully follow the child-restraint
system manufacturer's instructions
when installing tethers.
Anchor bracket location (Sedan)
Tether strap position (Sedan)
Tether strap
Anchor bracket
Essential Safety Equipment
Child Restraint
2-43
Mazda6_8X47-EA-07G_Edition1 Page57
Tuesday, May 29 2007 3:43 PM
Form No.8X47-EA-07G
Page 60 of 440

Black plate (60,1)
WARNING
Seat belts must be worn in air bag equipped vehicles:Depending only on the air bags for protection during an accident is dangerous.
Alone, air bags may not prevent serious injuries. The appropriate air bags can be
expected to inflate only in the first collision with frontal, near frontal or side forces
that are at least moderate. Vehicle occupants should always wear seat belts.
Children should not ride in the front passenger seat: Placing a child, 12 years or under, in the front seat is dangerous. The child could be
hit by a deploying air bag and be seriously injured or even killed. Even if the front
passenger air bag deactivation indicator light illuminates, always move the front
passenger seat as far back as possible. A sleeping child is more likely to lean against
the door and be hit by the side air bag in a moderate, right-side collision. Whenever
possible, always secure a child 12 years and under on the rear seat with an
appropriate child-restraint system for the child's age and size.
Never use a rear-facing child-restraint system in the front seat with an air bag that
could deploy: Rear-facing child-restraint systems on the front seat are particularly dangerous even
though you may feel assured that a front passenger air bag will not deploy based on
the fact that the front passenger air bag deactivation indicator light illuminates.
The child-restraint system can be hit by a deploying air bag and moved violently
backward resulting in serious injury or death to the child.
Do not sit too close to the driver and front passenger air bags:Sitting too close to the driver and front passenger air bag modules or placing hands
or feet on them is extremely dangerous. The driver and front passenger air bags
inflate with great force and speed. Serious injuries could occur if someone is too
close. The driver should always hold onto only the rim of the steering wheel. The
front seat passenger should keep both feet on the floor. Front seat occupants should
adjust their seats as far back as possible and always sit upright against the
seatbacks with seat belts worn properly.
2-46
Essential Safety Equipment
SRS Air Bags
Mazda6_8X47-EA-07G_Edition1 Page60
Tuesday, May 29 2007 3:43 PM
Form No.8X47-EA-07G
Page 69 of 440

Black plate (69,1)
Do not increase the total seated weight on the front passenger seat:When an infant or small child sits on the front passenger seat, increasing the total
seated weight on the front passenger seat from the total seated weight of
approximately 30 kg (66 lb) is dangerous. The front passenger seat weight sensors
will detect the increased total seated weight, which could result in the unexpected
deployment of the front passenger front and side air bags and seat belt pretensioner
system in an accident and may cause serious injury. Increasing the total seated
weight on the front passenger seat beyond the total seated weight of approximately
30 kg (66 lb) could result in the front passenger front and side air bags and seat belt
pretensioner system deployment in an accident under the following conditions, for
example:
ØLuggage or other items are placed on the seat with the child in the child-restraint
system.
Ø A rear passenger or luggage push or pull down on the front passenger seatback.
Ø A rear passenger steps on the front passenger seat rails with the feet.
Ø Luggage or other items are placed on the seatback or hung on the head restraint.
Ø The seat is washed.
Ø Liquids are spilled on the seat.
Ø The front passenger seat is moved backward, pushing into luggage or other items
placed behind it.
Ø The front passenger seatback contacts the rear seat.
Ø Luggage or other items are placed between the front passenger seat and driver
seat.
Ø Any accessories which might increase the total seated weight on the front
passenger seat are attached to the front passenger seat.
The front passenger front and side air bags and seat belt pretensioner systems will
deactivate if the total seated weight on the front passenger seat is less than
approximately 30 kg (66 lb) and they will reactivate when the weight exceeds
approximately 42 kg (93 lb).
CAUTION
Ø To assure proper deployment of the front air bag and to prevent damage to the
sensors in the front seat bottoms:
ØDo not place sharp objects on the front seat bottoms or leave heavy luggage on
them.
ØDo not spill any liquids on the front seats or under the front seats.
Ø To allow the sensors to function properly, always perform the following:
ØAdjust the front seats as far back as possible and always sit upright against the
seatbacks with seat belts worn properly.
ØIf you place your child on the front passenger seat, secure the child-restraint
system properly and slide the front passenger seat as far back as possible (page
2-37).
Essential Safety Equipment
SRS Air Bags
2-55
Mazda6_8X47-EA-07G_Edition1 Page69
Tuesday, May 29 2007 3:43 PM
Form No.8X47-EA-07G
Page 70 of 440

Black plate (70,1)
NOTElThe system requires about 10 seconds to alternate between turning the front passenger front and
side air bags and seat belt pretensioner system on or off.
lThe front passenger air bag deactivation indicator light may illuminate repeatedly if luggage or
other items are put on the front passenger seat, or if the temperature of the vehicle's interior
changes suddenly.
lThe front passenger air bag deactivation indicator light may illuminate for 10 seconds if the total
seated weight on the front passenger seat changes.
lIf the front passenger air bag deactivation indicator light does not illuminate after installing a
child-restraint system on the front passenger seat, install the child-restraint system on the rear
seat and consult an Authorized Mazda Dealer as soon as possible.
Driver and front passenger buckle switches
The buckle switches on the front seat belts detect whether or not the front seat belts are
securely fastened and further control the deployment of the air bags.
qHow the Side and Curtain Air Bags Work
When air bag crash sensors detect a side impact of greater than moderate force, an
electrical current is sent to the inflators.
Gases are produced to inflate the side and curtain air bags and after the inflation, the side
and curtain air bags quickly deflate. However, the side air bag system for the front
passenger is designed to only deploy in accordance with the total seated weight on the front
passenger seat.
The side and curtain air bags will function only once. After that, the side and curtain air
bags will not work again and must be replaced. Only an Authorized Mazda Dealer can
replace the systems.
The side and curtain air bag will deploy only
on the side the vehicle receives the force of
the impact.
2-56
Essential Safety Equipment
SRS Air Bags
Mazda6_8X47-EA-07G_Edition1 Page70
Tuesday, May 29 2007 3:43 PM
Form No.8X47-EA-07G
Page 77 of 440

Black plate (77,1)
3Knowing Your Mazda
Explanation of basic operations and controls; opening/closing and adjustment
of various parts.
Doors and Locks ........................................................................... 3-2Keys .......................................................................................... 3-2
Keyless Entry System ............................................................... 3-3
Door Locks ............................................................................... 3-7
Hatch (5-Door) ........................................................................ 3-10
Liftgate (Sport Wagon) ........................................................... 3-13
Trunk Lid (Sedan) ................................................................... 3-19
Inside Trunk Release Lever (Sedan) ....................................... 3-21
Power Windows ...................................................................... 3-22
Fuel-Filler Lid and Cap ........................................................... 3-29
Hood ....................................................................................... 3-30
Moonroof
í............................................................................. 3-31
Security System ........................................................................... 3-33 Immobilizer System ................................................................ 3-33
Theft-Deterrent System
í........................................................ 3-35
Steering Wheel and Mirrors ...................................................... 3-38 Steering Wheel ........................................................................ 3-38
Mirrors .................................................................................... 3-38
3-1íSome models.
Mazda6_8X47-EA-07G_Edition1 Page77
Tuesday, May 29 2007 3:43 PM
Form No.8X47-EA-07G
Page 87 of 440

Black plate (87,1)
qOpening and Closing the Hatch
To open the hatch, pull up on the handle.
NOTEIf the vehicle battery is dead or there is a
malfunction in the electrical system and the
hatch cannot be unlocked, perform the
following manual procedure as an emergency
measure to unlock it:
1. Remove the cap on the interior surface of
the hatch with a flathead screwdriver.
Cap
2. Turn the lever to the right to unlock thehatch.
Lever
After performing this emergency measure,
have the vehicle inspected at an Authorized
Mazda Dealer as soon as possible.
To close, use both hands to push the hatch
down until the lock snaps shut. Do not
slam it. Pull up on the hatch to make sure
it is secure.
Knowing Your Mazda
Doors and Locks
3-11
Mazda6_8X47-EA-07G_Edition1 Page87
Tuesday, May 29 2007 3:43 PM
Form No.8X47-EA-07G