MAZDA MODEL CX-9 2014 Owners Manual (in English)
Manufacturer: MAZDA, Model Year: 2014, Model line: MODEL CX-9, Model: MAZDA MODEL CX-9 2014Pages: 600
Page 351 of 600
Black plate (351,1)
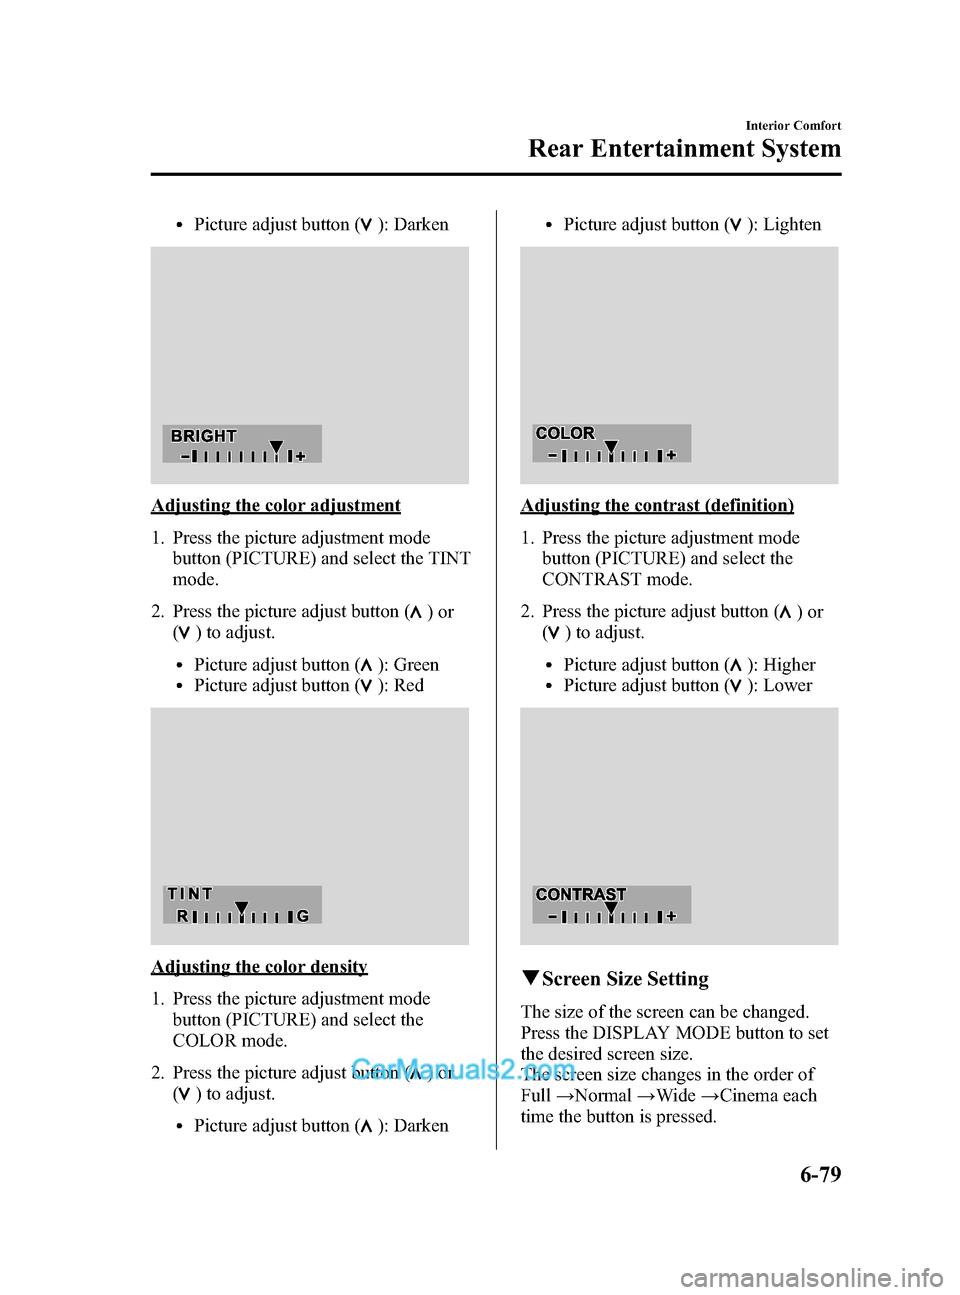
lPicture adjust button (): Darken
Adjusting the color adjustment
1. Press the picture adjustment modebutton (PICTURE) and select the TINT
mode.
2. Press the picture adjust button (
)or
(
) to adjust.
lPicture adjust button (): GreenlPicture adjust button (): Red
Adjusting the color density
1. Press the picture adjustment mode
button (PICTURE) and select the
COLOR mode.
2. Press the picture adjust button (
)or
(
) to adjust.
lPicture adjust button (): Darken
lPicture adjust button (): Lighten
Adjusting the contrast (definition)
1. Press the picture adjustment mode button (PICTURE) and select the
CONTRAST mode.
2. Press the picture adjust button (
)or
(
) to adjust.
lPicture adjust button (): HigherlPicture adjust button (): Lower
q Screen Size Setting
The size of the screen can be changed.
Press the DISPLAY MODE button to set
the desired screen size.
The screen size changes in the order of
Full →Normal →Wide →Cinema each
time the button is pressed.
Interior Comfort
Rear Entertainment System
6-79
CX-9_8DA3-EA-13G_Edition2 Page351
Monday, September 9 2013 4:9 PM
Form No.8DA3-EA-13G
Page 352 of 600
Black plate (352,1)
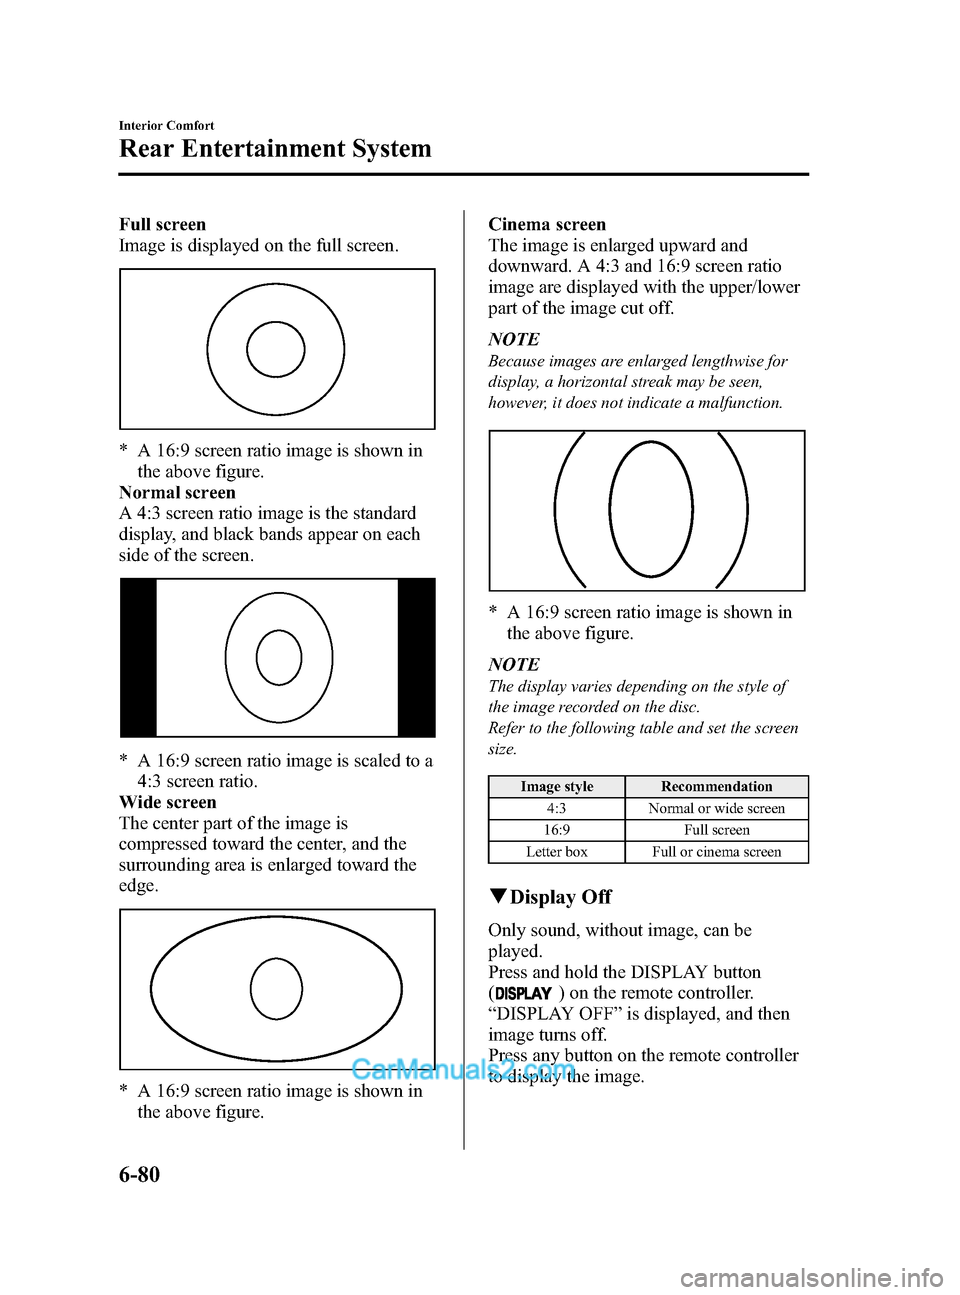
Full screen
Image is displayed on the full screen.
* A 16:9 screen ratio image is shown inthe above figure.
Normal screen
A 4:3 screen ratio image is the standard
display, and black bands appear on each
side of the screen.
* A 16:9 screen ratio image is scaled to a 4:3 screen ratio.
Wide screen
The center part of the image is
compressed toward the center, and the
surrounding area is enlarged toward the
edge.
* A 16:9 screen ratio image is shown in the above figure. Cinema screen
The image is enlarged upward and
downward. A 4:3 and 16:9 screen ratio
image are displayed with the upper/lower
part of the image cut off.
NOTE
Because images are enlarged lengthwise for
display, a horizontal streak may be seen,
however, it does not indicate a malfunction.
* A 16:9 screen ratio image is shown in
the above figure.
NOTE
The display varies depending on the style of
the image recorded on the disc.
Refer to the following table and set the screen
size.
Image style Recommendation 4:3 Normal or wide screen
16:9 Full screen
Letter box Full or cinema screen
q Display Off
Only sound, without image, can be
played.
Press and hold the DISPLAY button
(
) on the remote controller.
“ DISPLAY OFF ”is displayed, and then
image turns off.
Press any button on the remote controller
to display the image.
6-80
Interior Comfort
Rear Entertainment System
CX-9_8DA3-EA-13G_Edition2 Page352
Monday, September 9 2013 4:9 PM
Form No.8DA3-EA-13G
Page 353 of 600
Black plate (353,1)
qRemote Controller
Operate the Rear Entertainment System
with the remote controller except for disc
insertion/ejection.
CAUTION
Do not apply excessive force to the
remote controller or get it wet. Also,
do not leave the remote controller in
a place exposed to direct sunlight or
high temperature. It could cause a
malfunction.
NOTE
Operate the remote controller with it pointed
to the disc slot of the unit. Signals may not be
received depending of the angle.
Maintenance
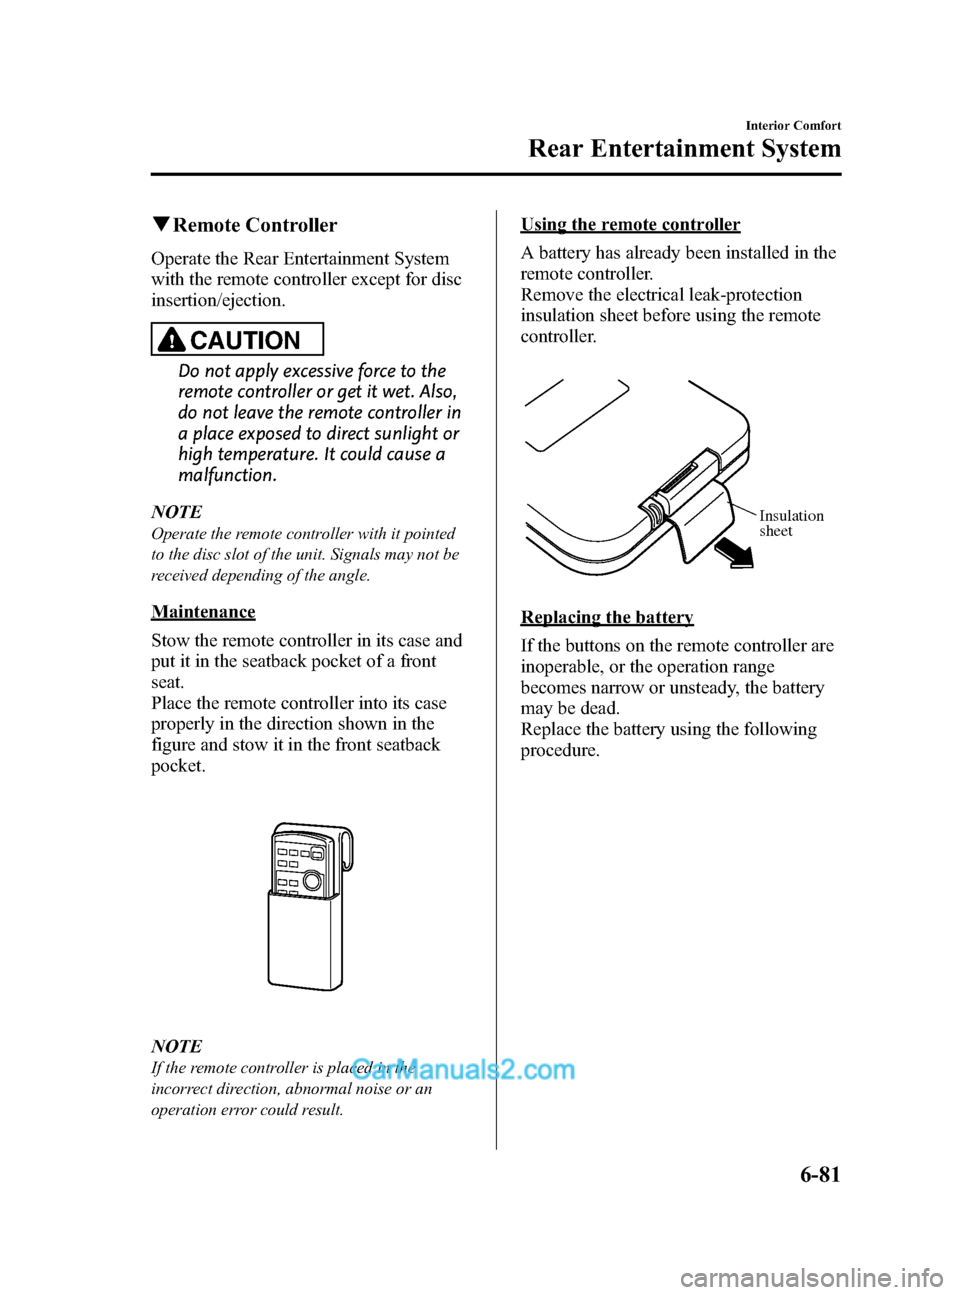
Stow the remote controller in its case and
put it in the seatback pocket of a front
seat.
Place the remote controller into its case
properly in the direction shown in the
figure and stow it in the front seatback
pocket.
NOTE
If the remote controller is placed in the
incorrect direction, abnormal noise or an
operation error could result.
Using the remote controller
A battery has already been installed in the
remote controller.
Remove the electrical leak-protection
insulation sheet before using the remote
controller.
Insulation
sheet
Replacing the battery
If the buttons on the remote controller are
inoperable, or the operation range
becomes narrow or unsteady, the battery
may be dead.
Replace the battery using the following
procedure.
Interior Comfort
Rear Entertainment System
6-81
CX-9_8DA3-EA-13G_Edition2 Page353
Monday, September 9 2013 4:9 PM
Form No.8DA3-EA-13G
Page 354 of 600

Black plate (354,1)
Battery: CR2025 LITHIUM or
equivalent (1)
1. Press the battery case tab in thedirection indicated by the arrow using
your thumbnail, and pull out the
battery case.
Ta b Battery
case
2. Remove the old battery and install a
new one with the plus pole pointed up.
Battery (CR2025 LITHIUM or equivalent)
3. Press the battery case tab in the
direction of the arrow until a click
sound is heard.
NOTE
If the remote controller is inoperable even
after the batteries are replaced, consult an
Authorized Mazda Dealer.
CAUTION
Ø Install the battery with the correct
pole pointing in the correct
direction. Battery leakage could
occur if they are not installed
correctly.
Ø When replacing the batteries, be
careful not to bend the electrical
terminals or get oil on them. Also,
be careful not to get dirt in the
remote controller as it could be
damaged.
6-82
Interior Comfort
Rear Entertainment System
CX-9_8DA3-EA-13G_Edition2 Page354
Monday, September 9 2013 4:9 PM
Form No.8DA3-EA-13G
Page 355 of 600
Black plate (355,1)
Sound Output
qSound Output from Vehicle Speakers
Press the audio button () andon-screen tab. “AUX ”is displayed on the audio
display and it changes to the Rear Entertainment System sound.
Sound/Music being played by the Rear Entertainment System can be heard from the
vehicle speakers.
Adjust the volume with the dial on the audio unit.
q Using the Headphone Speakers
CAUTION
Ø For safety reasons, the driver should never wear the headphones while driving.
Not being able to hear sound outside of the vehicle could result in a serious
accident.
Ø Use the headphones with the volume set at moderate level. Listening at an
excessive volume level for extended periods of time will have an adverse effect on
your hearing ability.
Ø If the headphone arms are spread excessively is could result in damage.
Ø Do not apply excessive force to the headphones or get them wet. Also, do not
leave the headphones in a place exposed to direct sunlight or high temperature. It
could cause a malfunction.
NOTE
lTo listen to audio other than from the speakers of the rear entertainment system, it is necessary to
use the wireless headphones that are included. For headphone specification, refer to
“ Operation Tips for Headphones ”(page 6-73).
lWhen the headphones are not in use, turn them off.lIf there is no sound produced from a signal for 3 minutes or longer after the headphone power is
turned on, or there is no signal reception, the headphone power turns off automatically.
lIf the headphones are continuously used for 4 hours or more after the sound signal is received, the
headphone power turns off automatically.
Interior Comfort
Rear Entertainment System
6-83
CX-9_8DA3-EA-13G_Edition2 Page355
Monday, September 9 2013 4:9 PM
Form No.8DA3-EA-13G
Page 356 of 600

Black plate (356,1)
The acceptable range for signals (infrared rays) from the Rear Entertainment System is as
follows:
Rear Entertainment System
Wireless headphone signal
(infrared rays) transmitter
The signals (infrared rays) can be received in
any location on the rear seats. However, the
rear of the transmitter is out of the acceptable
range.
A wireless headphone can be used in any position on the rear seats, however, the sound
may skip under the following conditions because the acceptable range varies or the signals
are blocked.
lWhen affected by intense light such as direct sunshine.lWhen the wireless headphone receiver does not point to the Rear Entertainment System
transmitter.
lWhen the signal is blocked by an obstruction such as the seat.
6-84
Interior Comfort
Rear Entertainment System
CX-9_8DA3-EA-13G_Edition2 Page356
Monday, September 9 2013 4:9 PM
Form No.8DA3-EA-13G
Page 357 of 600

Black plate (357,1)
Replacing the battery
1. Remove the screw using a coin or equivalent, and remove the cover. Remove thebatteries.
Cover
Screw
2. Insert two AAA-size batteries. Match thepolarity of the batteries with theand
marks in the battery case.
3. Install the cover.
4. Install the screw.
NOTE
Battery life (reference)
Manganese batteries: About 20 hours
Alkaline batteries: About 40 hours
The battery life is indicated as a reference and does not provide any guarantees. The battery life
varies depending on usage conditions (volume, surrounding environment).
Interior Comfort
Rear Entertainment System
6-85
CX-9_8DA3-EA-13G_Edition2 Page357
Monday, September 9 2013 4:9 PM
Form No.8DA3-EA-13G
Page 358 of 600

Black plate (358,1)
CAUTION
ØIf the battery power is depleted the headphones will not operate properly. If any of
the following occurs, replace the batteries.
ØThe power indicator does not illuminate even when the power is turned on.
ØNoise is mixed with the sound.
ØThe reception range narrows.
Ø Periodically inspect the batteries for leakage.
Ø If the headphones are not to be used for an extended period, remove the batteries.
Ø Be careful not to allow the battery case screw to become loose.
Ø Install the batteries with the (
)/() poles correctly positioned. Battery leakage
could occur if they are not installed correctly.
Ø When replacing the batteries, be careful not to bend the electrical terminals or get
oil on them.
Ø Be careful not to allow dirt to get into the headphones as it could damage them.
The following points regarding the battery must be observed.
If the batteries are not handled properly, it could result in a headphone malfunction.
Ø Do not use rechargeable batteries.
Ø When replacing the batteries, replace both batteries at the same time. Do not use
a new battery and an old battery, or the different types of battery.
6-86
Interior Comfort
Rear Entertainment System
CX-9_8DA3-EA-13G_Edition2 Page358
Monday, September 9 2013 4:9 PM
Form No.8DA3-EA-13G
Page 359 of 600
Black plate (359,1)
Rear Entertainment System Functions
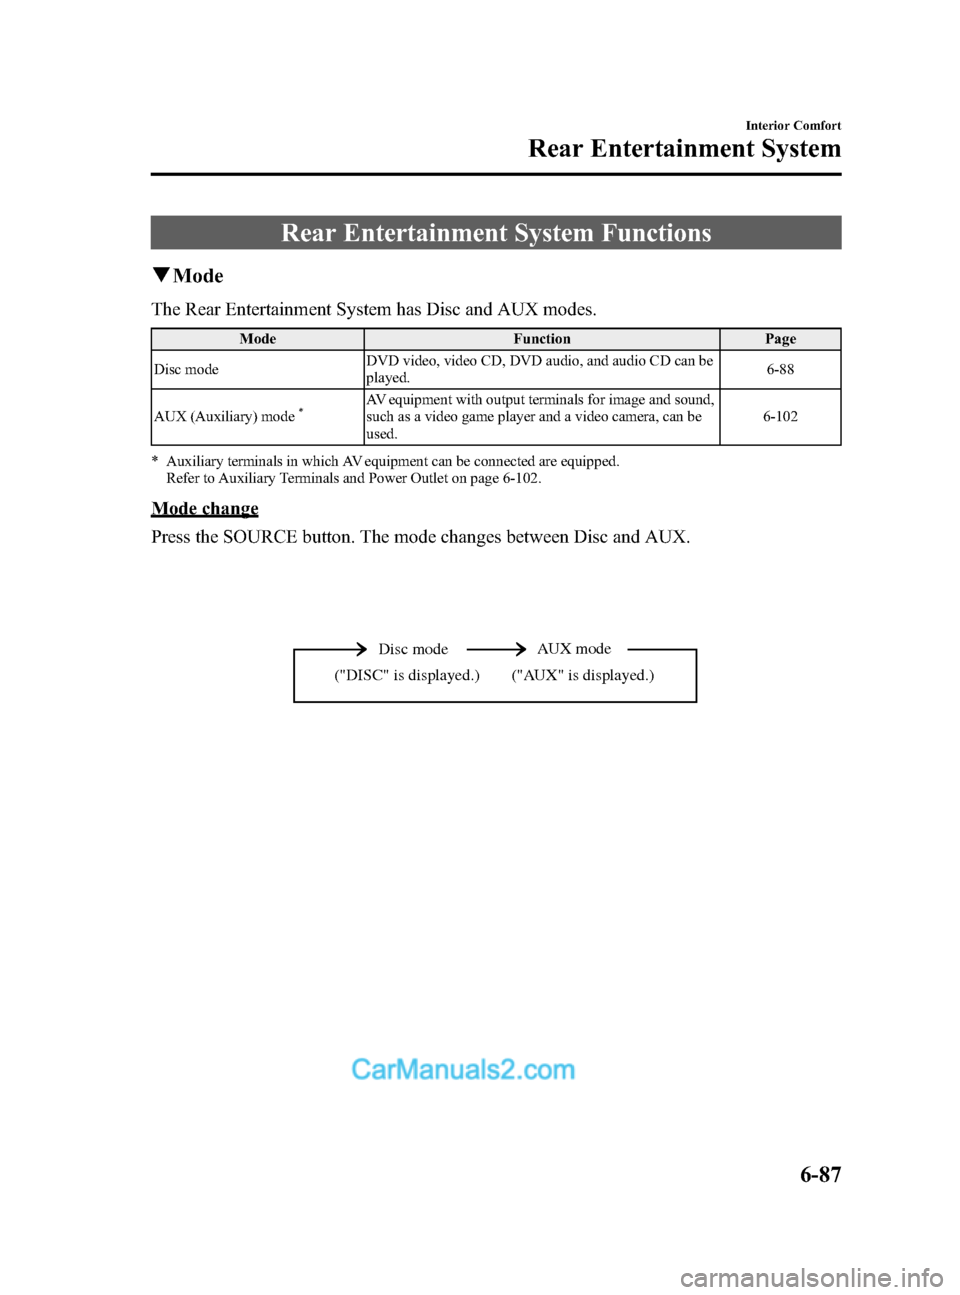
qMode
The Rear Entertainment System has Disc and AUX modes.
Mode FunctionPage
Disc mode DVD video, video CD, DVD audio, and audio CD can be
played. 6-88
AUX (Auxiliary) mode
*AV equipment with output terminals for image and sound,
such as a video game player and a video camera, can be
used. 6-102
* Auxiliary terminals in which AV equipment can be connected are equipped. Refer to Auxiliary Terminals and Power Outlet on page 6-102.
Mode change
Press the SOURCE button. The mode changes between Disc and AUX.
Disc mode AUX mode
("AUX" is displayed.)
("DISC" is displayed.)
Interior Comfort
Rear Entertainment System
6-87
CX-9_8DA3-EA-13G_Edition2 Page359
Monday, September 9 2013 4:9 PM
Form No.8DA3-EA-13G
Page 360 of 600
Black plate (360,1)
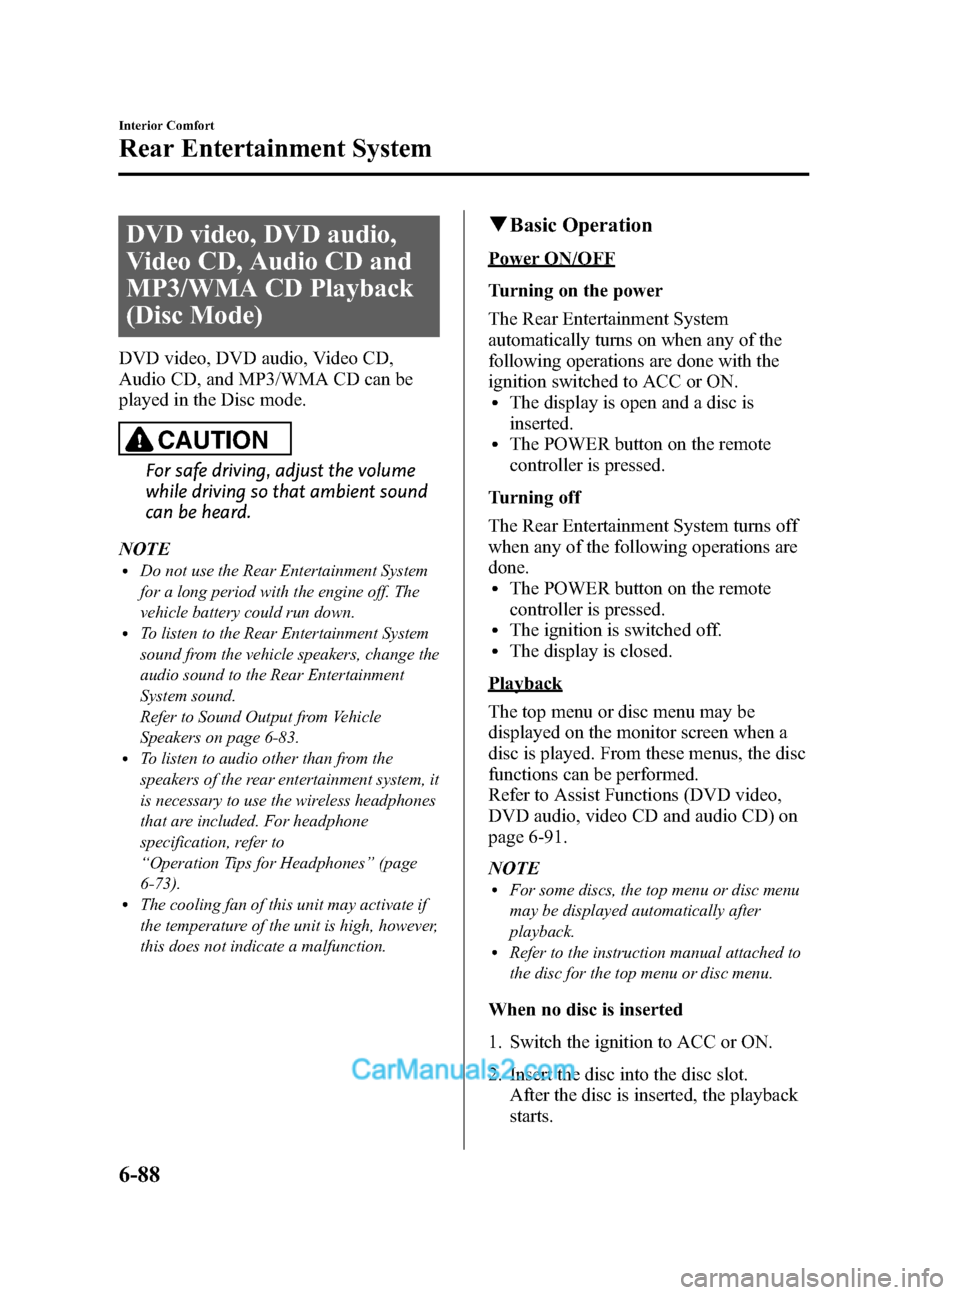
DVD video, DVD audio,
Video CD, Audio CD and
MP3/WMA CD Playback
(Disc Mode)
DVD video, DVD audio, Video CD,
Audio CD, and MP3/WMA CD can be
played in the Disc mode.
CAUTION
For safe driving, adjust the volume
while driving so that ambient sound
can be heard.
NOTE
lDo not use the Rear Entertainment System
for a long period with the engine off. The
vehicle battery could run down.
lTo listen to the Rear Entertainment System
sound from the vehicle speakers, change the
audio sound to the Rear Entertainment
System sound.
Refer to Sound Output from Vehicle
Speakers on page 6-83.
lTo listen to audio other than from the
speakers of the rear entertainment system, it
is necessary to use the wireless headphones
that are included. For headphone
specification, refer to
“ Operation Tips for Headphones ”(page
6-73).
lThe cooling fan of this unit may activate if
the temperature of the unit is high, however,
this does not indicate a malfunction.
q Basic Operation
Power ON/OFF
Turning on the power
The Rear Entertainment System
automatically turns on when any of the
following operations are done with the
ignition switched to ACC or ON.
lThe display is open and a disc is
inserted.
lThe POWER button on the remote
controller is pressed.
Turning off
The Rear Entertainment System turns off
when any of the following operations are
done.
lThe POWER button on the remote
controller is pressed.
lThe ignition is switched off.lThe display is closed.
Playback
The top menu or disc menu may be
displayed on the monitor screen when a
disc is played. From these menus, the disc
functions can be performed.
Refer to Assist Functions (DVD video,
DVD audio, video CD and audio CD) on
page 6-91.
NOTE
lFor some discs, the top menu or disc menu
may be displayed automatically after
playback.
lRefer to the instruction manual attached to
the disc for the top menu or disc menu.
When no disc is inserted
1. Switch the ignition to ACC or ON.
2. Insert the disc into the disc slot. After the disc is inserted, the playback
starts.
6-88
Interior Comfort
Rear Entertainment System
CX-9_8DA3-EA-13G_Edition2 Page360
Monday, September 9 2013 4:9 PM
Form No.8DA3-EA-13G