ECO mode MAZDA MODEL CX-9 2019 (in English) User Guide
[x] Cancel search | Manufacturer: MAZDA, Model Year: 2019, Model line: MODEL CX-9, Model: MAZDA MODEL CX-9 2019Pages: 692
Page 61 of 692

Always follow the instruction manual
accompanying the child-restraint system.
Anchor bracket location
Use the indicated anchor bracket locations
when installing a child-restraint system
equipped with a tether.
For right
For center
For left
Second-row seat
* *
Except Mexico
Third-row seat
Some models.
WA R N I N G
Always attach the tether strap to the
correct tether anchor position:
Attaching the tether strap to the incorrect
tether anchor position is dangerous. In a
collision, the tether strap could come off
and loosen the child-restraint system. If the
child-restraint system moves it could result
in death or injury to the child.
Always remove the head restraint and
install child-restraint system (Second-row
seat):
Installing a child-restraint system without
removing the head restraint is dangerous.
The child-restraint system cannot be
installed correctly which may result in
death or injury to the child in a collision.
Tether strap
Forward
Second-row
outboard seat
Tether strap
Forward
Second-row
center seat
Always install the head restraint and adjust
it to the appropriate position after
removing the child-restraint system
(Second-row seat):
Driving with the head restraint removed is
dangerous as impact to the occupant's
head cannot be prevented during
emergency braking or in a collision, which
could result in a serious accident, injury or
death.
Refer to Head Restraints on page 2-21.
Essential Safety Equipment
Child Restraint
2-49
CX-9_8HB2-EA-18G_Edition1
2018-5-11 13:09:27
Page 62 of 692

Only use a tether anchor designed for the
second-row seats:
Using a third-row seat tether anchor on the
second-row seat is dangerous. The
child-restraint system cannot be installed
correctly which may result in death or
injury to the child in a collision.
Tether strap
Third-row seatSecond-row
outboard/center
Always route the tether straps to the sides
of the head restraint (Third-row seat):
Routing the tether straps on top of the
head restraint is dangerous. In a collision
the tether straps could slide
off the head
restraint and loosen the child-restraint
system. The child-restraint system could
move which may result in death or injury to
the child.
Tether strap
ForwardThird-row seat
▼Using Automatic Locking Mode
(Except Mexico)
Follow these instructions when using a
child-restraint system, unless you are
attaching a LATCH-equipped
child-restraint syst
em to the rear LATCH
lower anchors. Refer to “Using LATCH
Lower Anchor” (page 2-57).
NOTE
Follow the child- restraint system
manufacturer's instructions carefully. If
you are not sure whether you have a
LATCH system or tether, check in the
child-restraint system manufacturer's
instructions and follow them accordingly.
Depending on the type of child-restraint
system, it may use LATCH system instead
of seat belts or if the belt goes across the
child's chest, may recommend against
using automatic locking mode.
1. (Second-row seat)
Adjust the second-row seat position
using the following procedure.
Fold the second-row seatback
forward.
Raise the second-row seatback until
a click sound is heard and it is locked
in place.
2. If the second-row seat is reclined, return it to the upright position.
Essential Safety Equipment
Child Restraint
2-50
CX-9_8HB2-EA-18G_Edition1 2018-5-11 13:09:27
Page 63 of 692

3. Make sure the seatback is securelylatched by pushing it back until it is
fully locked.
4. (Second-row seat)
Remove the head restraint. However,
when installing a backless booster seat,
always install the vehicle head restraint
to the seat where the backless booster
seat is installed.
Refer to Head Restraints on page 2-21.
5. Secure the child-restraint system with
the lap portion of the lap/shoulder belt.
See the manufacturer's instructions on
the child-restraint system for belt
routing instructions.
6. To get the retractor into the automatic
locking mode, pull the shoulder belt
portion of the seat belt until the entire
length of the belt is out of the retractor.7. Push the child-restraint system firmlyinto the vehicle seat. Be sure the belt
retracts as snugly as possible. A
clicking noise from the retractor will
be heard during retraction if the system
is in the automatic locking mode. If the
belt does not lock the seat down tight,
repeat this step.
NOTE
Inspect this function before each use
of the child-restraint system. You
should not be able to pull the
shoulder belt out of the retractor
while the system is in the automatic
locking mode. When you remove the
child-restraint system, be sure the
belt fully retracts to return the
system to emergency locking mode
before occupants use the seat belts.
8. If your child-restraint system requires the use of a tether strap, refer to the
manufacturer's instructions to hook
and tighten the tether strap.
Essential Safety Equipment
Child Restraint
2-51
CX-9_8HB2-EA-18G_Edition1 2018-5-11 13:09:27
Page 103 of 692

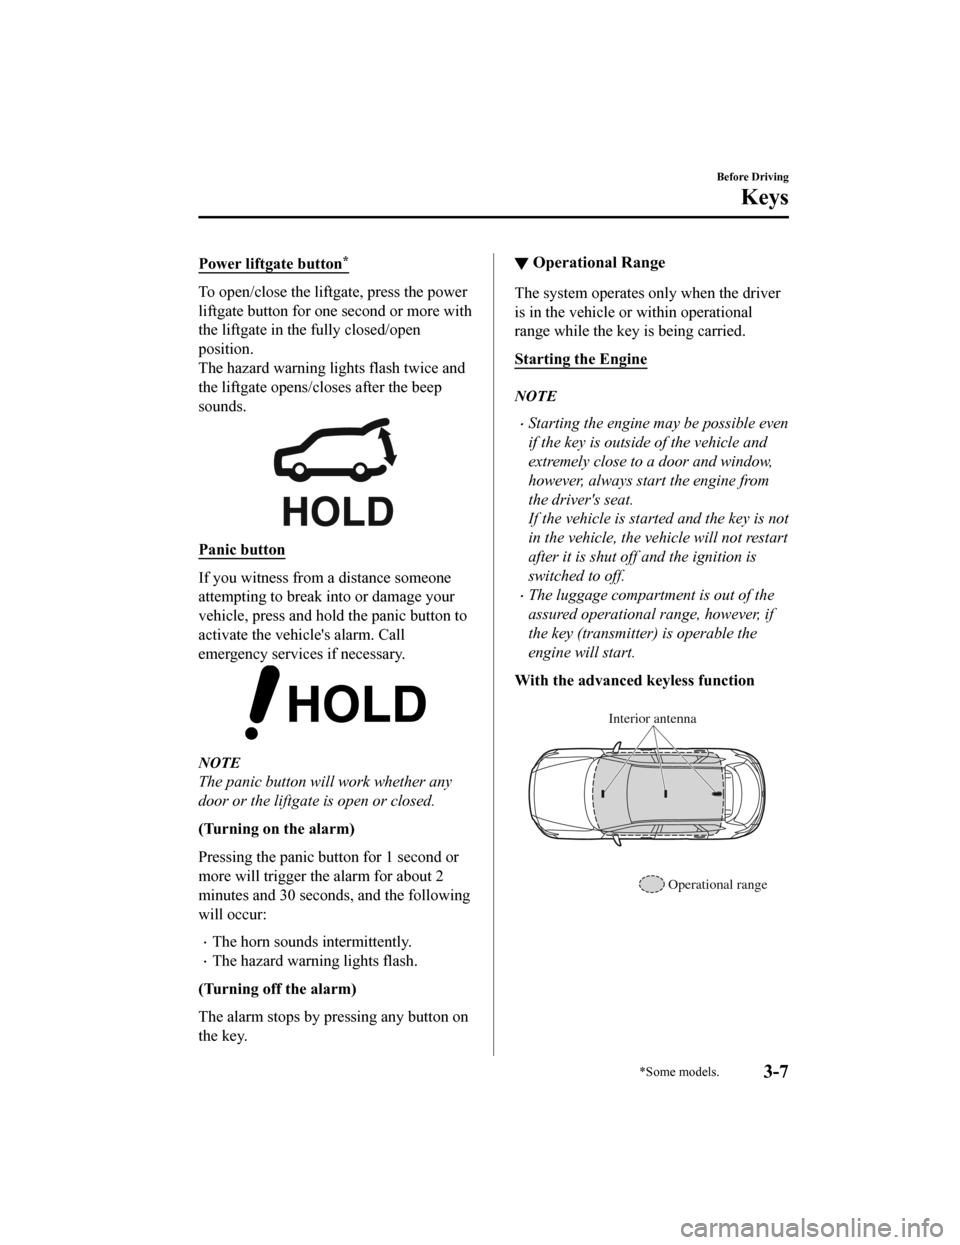
Power liftgate button*
To open/close the liftgate, press the power
liftgate button for one second or more with
the liftgate in the fully closed/open
position.
The hazard warning lights flash twice and
the liftgate opens/closes after the beep
sounds.
Panic button
If you witness from a distance someone
attempting to break into or damage your
vehicle, press and hold the panic button to
activate the vehicle's alarm. Call
emergency services if necessary.
NOTE
The panic button will work whether any
door or the liftgate is open or closed.
(Turning on the alarm)
Pressing the panic button for 1 second or
more will trigger the alarm for about 2
minutes and 30 seconds, and the following
will occur:
The horn sounds intermittently.
The hazard warning lights flash.
(Turning off the alarm)
The alarm stops by pressing any button on
the key.
▼ Operational Range
The system operates only when the driver
is in the vehicle or
within operational
range while the key is being carried.
Starting the Engine
NOTE
Starting the engine may be possible even
if the key is outside of the vehicle and
extremely close to a door and window,
however, always start the engine from
the driver's seat.
If the vehicle is started and the key is not
in the vehicle, the vehicle will not restart
after it is shut off and the ignition is
switched to off.
The luggage compartment is out of the
assured operational range, however, if
the key (transmitter) is operable the
engine will start.
With the advanced keyless function
Interior antenna
Operational range
Before Driving
Keys
*Some models.3-7
CX-9_8HB2-EA-18G_Edition1 2018-5-11 13:09:27
Page 117 of 692

When the liftgate latch is released by
pressing the electric liftgate opener, the
liftgate raises slightly. If the liftgate is
not operated for a certain period of
time, the liftgate cannot be raised.
To o p e n
Press the electric liftgate opener again.
To c l o s e
To close the liftgate from its slightly
raised position, open it first by pressing
the electric liftgate opener, then close it
after waiting at least 1 second.
If the liftgate is not fully closed, the
driver is notified by a warning indicated
in the instrument cluster.
If the vehicle battery is dead or there is
a malfunction in the electrical system
and the liftgate cannot be unlocked, the
liftgate can be opened by performing the
emergency procedure.
Refer to When Liftgate Cannot be
Opened on page 7-51.
Closing the liftgate
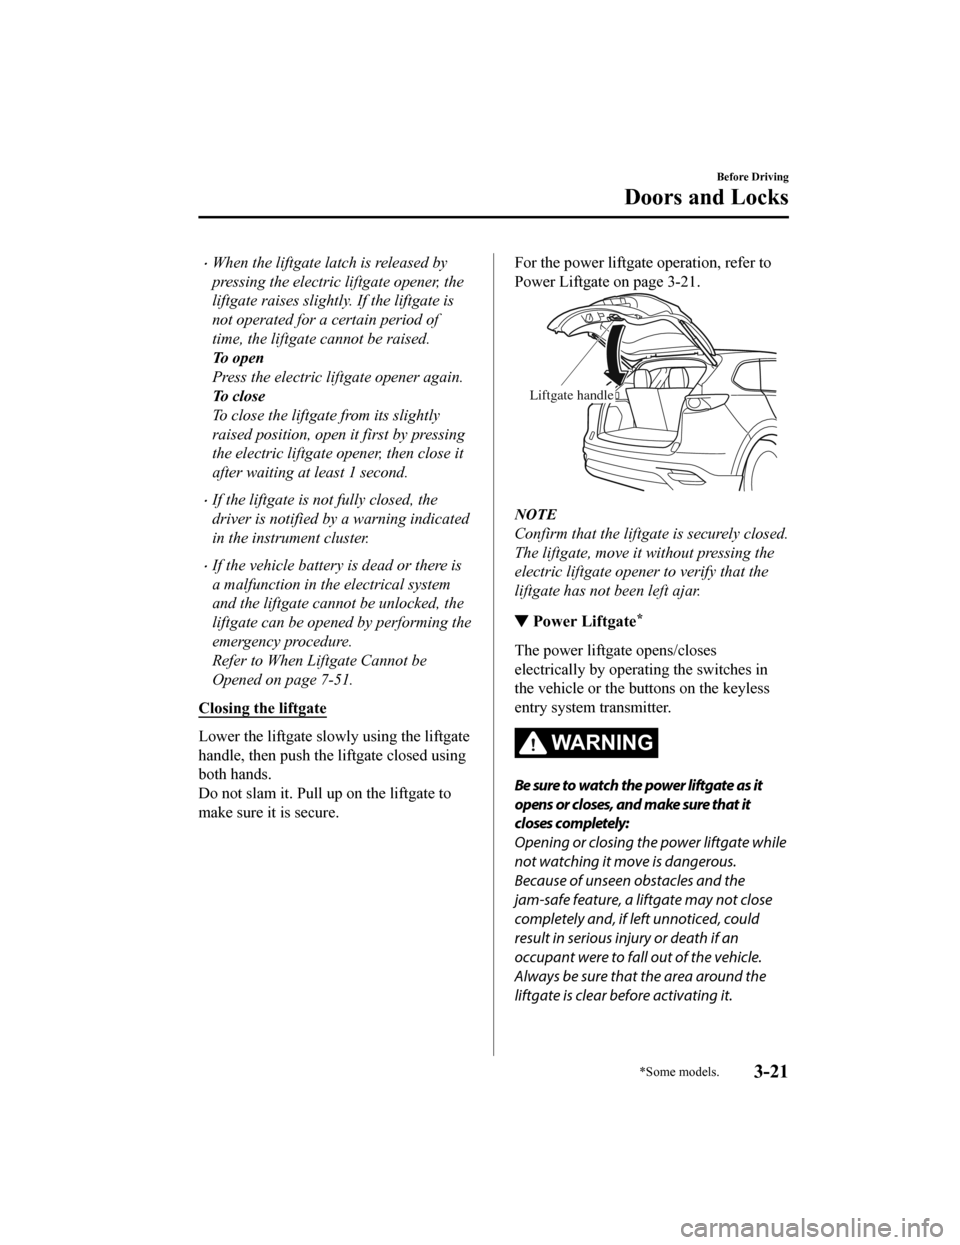
Lower the liftgate slowly using the liftgate
handle, then push the liftgate closed using
both hands.
Do not slam it. Pull up on the liftgate to
make sure it is secure.
For the power liftgate operation, refer to
Power Liftgate on page 3-21.
Liftgate handle
NOTE
Confirm that the liftgate is securely closed.
The liftgate, move it without pressing the
electric liftgate opener to verify that the
liftgate has not been left ajar.
▼ Power Liftgate*
The power liftgate opens/closes
electrically by operating the switches in
the vehicle or the but
tons on the keyless
entry system transmitter.
WA R N I N G
Be sure to watch the power liftgate as it
opens or closes, and make sure that it
closes completely:
Opening or closing the power liftgate while
not watching it move is dangerous.
Because of unseen obstacles and the
jam-safe feature, a liftgate may not close
completely and, if left unnoticed, could
result in serious injury or death if an
occupant were to fall out of the vehicle.
Always be sure that the area around the
liftgate is clear be fore activating it.
Before Driving
Doors and Locks
*Some models.3-21
CX-9_8HB2-EA-18G_Edition1 2018-5-11 13:09:27
Page 130 of 692

NOTE
The automatic folding function cannot
be canceled if the procedure is not
completed within the specified times, or
the procedure is changed along the way.
To redo the procedure, first switch the
ignition off and proceed from the
beginning.
If you are unable to cancel the function
despite doing the cancellation
procedure, consult an Authorized Mazda
Dealer.
Restoring the au tomatic folding
function
With the automatic folding function in the
canceled state, repeat the previous
procedure for canceling the function and it
will be restored.
NOTE
If you are unable to restore the function
despite carrying out the restore procedure,
consult an Authorized Mazda Dealer.
Engine-off outside mirror operation
*
The outside mirrors can be operated for
about 40 seconds after the ignition is
switched from ON to off.
▼ Rearview Mirror
WA R N I N G
Do not stack cargo or objects higher than
the seatbacks:
Cargo stacked higher than the seatbacks is
dangerous. It can block your view in the
rearview mirror, which might cause you to
hit another car when changing lanes.
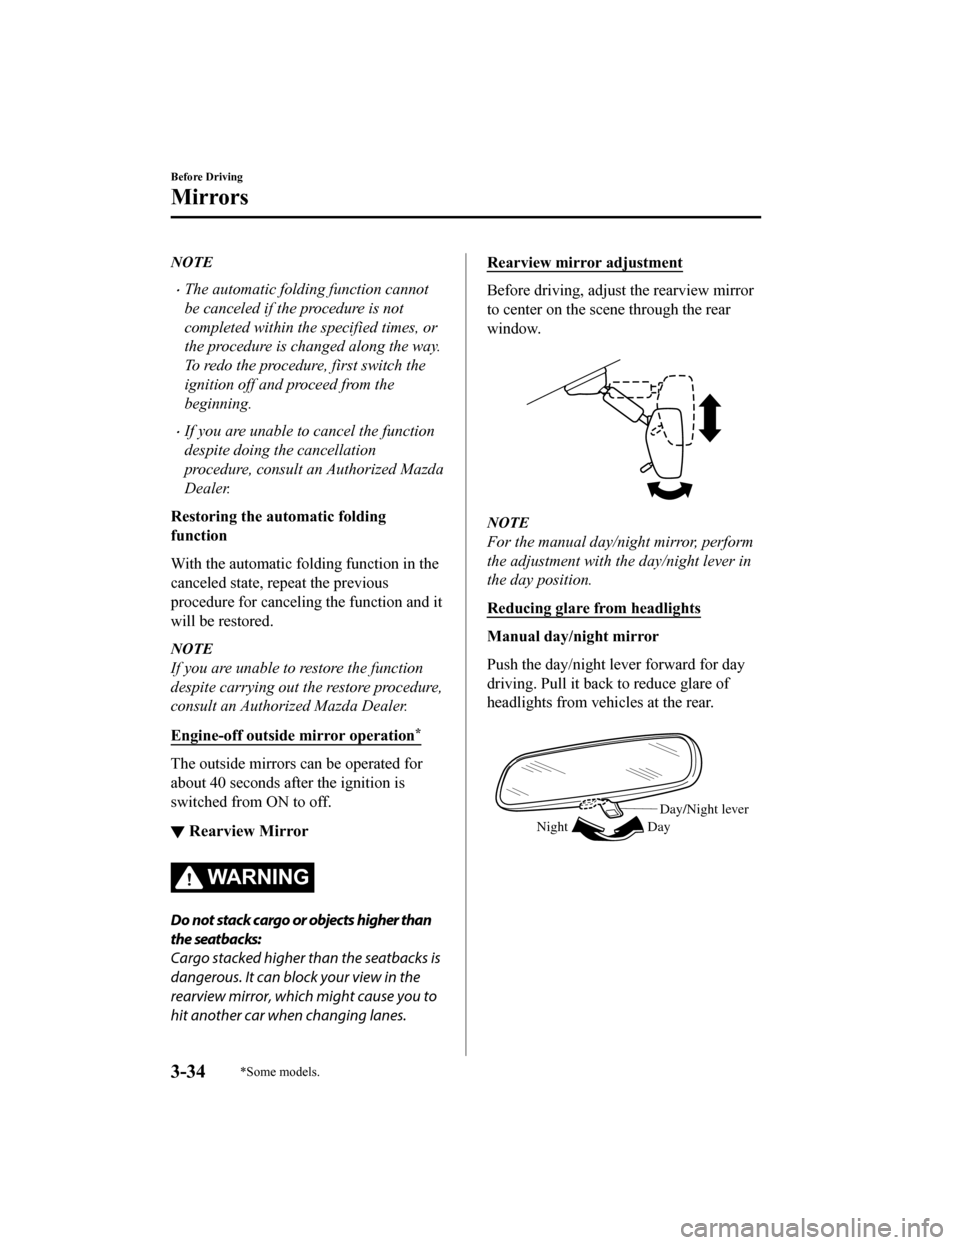
Rearview mirror adjustment
Before driving, adjust the rearview mirror
to center on the scene through the rear
window.
NOTE
For the manual day/night mirror, perform
the adjustment with the day/night lever in
the day position.
Reducing glare from headlights
Manual day/night mirror
Push the day/night lever forward for day
driving. Pull it back to reduce glare of
headlights from vehicles at the rear.
Day/Night lever
Day
Night
Before Driving
Mirrors
3-34*Some models.
CX-9_8HB2-EA-18G_Edition1 2018-5-11 13:09:27
Page 136 of 692

Moonroof*
The moonroof can be opened or closed
when operating the overhead tilt/slide
switch at the front seats.
WA R N I N G
Do not let passengers stand up or extend
part of the body through the open
moonroof while the vehicle is moving:
Extending the head, arms, or other parts of
the body through the moonroof is
dangerous. The head or arms could hit
something while the vehicle is moving. This
could cause serious injury or death.
Never allow children to play with the tilt/
slide switch:
The tilt/slide switch would allow children to
operate the moonroof unintentionally,
which could result in serious injury if a
child's hands, head or neck becomes
caught by the moonroof.
Make sure the opening is clear before
closing the moonroof:
A closing moonroof is dangerous. The
hands, head, or even neck of a person,
especially a child, could be caught in it as it
closes, causing serious injury or even death.
Make sure nothing blocks the moonroof
just before it reaches the fully closed
position:
Blocking the moonroof just before it
reaches the closed position is dangerous.
In this case, the jam-safe function cannot
prevent the moonroof from closing. If
fingers are caught, serious injuries could
occur.
CAUTION
Do not sit on or put heavy items on the
area where the moonroof opens and
closes. Otherwise, the moonroof could be
damaged.
Do not open or close the moonroof
forcefully during freezing temperatures
or snowfall. Otherwise, the moonroof
could be damaged.
The sunshade does not tilt. To avoid
damaging the sunshade, do not push it
up.
Do not close the sunshade while the
moonroof is opening. Trying to force the
sunshade closed could damage it.
▼ Tilt/Slide Operation
The moonroof can be opened or closed
electrically only when the ignition is
switched ON.
Before leaving the vehicle or washing
your Mazda, make sure the moonroof is
completely closed so that water does not
get inside the cabin area.
After washing your Mazda or after it
rains, wipe the water off the moonroof
before operating it to avoid water
penetration which could cause rust and
water damage to your headliner.
Tilt/Slide switch
Before Driving
Windows
3-40*Some models.
CX-9_8HB2-EA-18G_Edition1
2018-5-11 13:09:27
Page 141 of 692

Theft-Deterrent System*
If the theft-deterrent system detects an
inappropriate entry in to the vehicle, which
could result in the veh icle or its contents
being stolen, the alarm alerts the
surrounding area of an abnormality by
sounding the horn and flashing the hazard
warning lights.
The system will not function unless it's
properly armed. So when you leave the
vehicle, follow the arming procedure
correctly.
▼ Operation
System triggering conditions
The horn sounds intermittently and the
hazard warning lights flash for about 30
seconds when the system is triggered by
any one of the following:
Unlocking a door with the auxiliary key,
door lock switch, or an inside door-lock
knob.
Forcing open a door, the hood or the
liftgate.
Opening the hood by operating the hood
release handle.
Switching the ignition ON without using
the push button start.
If the system is triggered again, the lights
and horn will activat e until the driver's
door or the liftgate is unlocked with the
transmitter.
(With the advanced keyless function)
The lights and horn can also be
deactivated by pressing the request switch
on a door.
NOTE
The liftgate does not open while the
theft-deterrent system is operating.
For vehicles equipped with the power
liftgate, the liftgate can be opened even
while the theft-deterrent system is
operating by pressing the power liftgate
button on the transmitter or the electric
liftgate opener switch while carrying the
key.
If the battery goes dead while the
theft-deterrent system is armed, the horn
will activate and the hazard warning
lights will flash when the battery is
charged or replaced.
▼ How to Arm the System
1. Close the windows and the moonroof*
securely.
2. Switch the ignition OFF.
3. Make sure the hood, the doors, and the
liftgate are closed.
4. Press the lock button on the transmitter
or lock the driver's door from the
outside with the auxiliary key.
The hazard warning lights will flash
once.
The following method will also arm
the theft-deterrent system:
Press the door-lock switch “
” while
any door is open and then close all of
the doors.
(With the advanced keyless function)
Press a request switch.
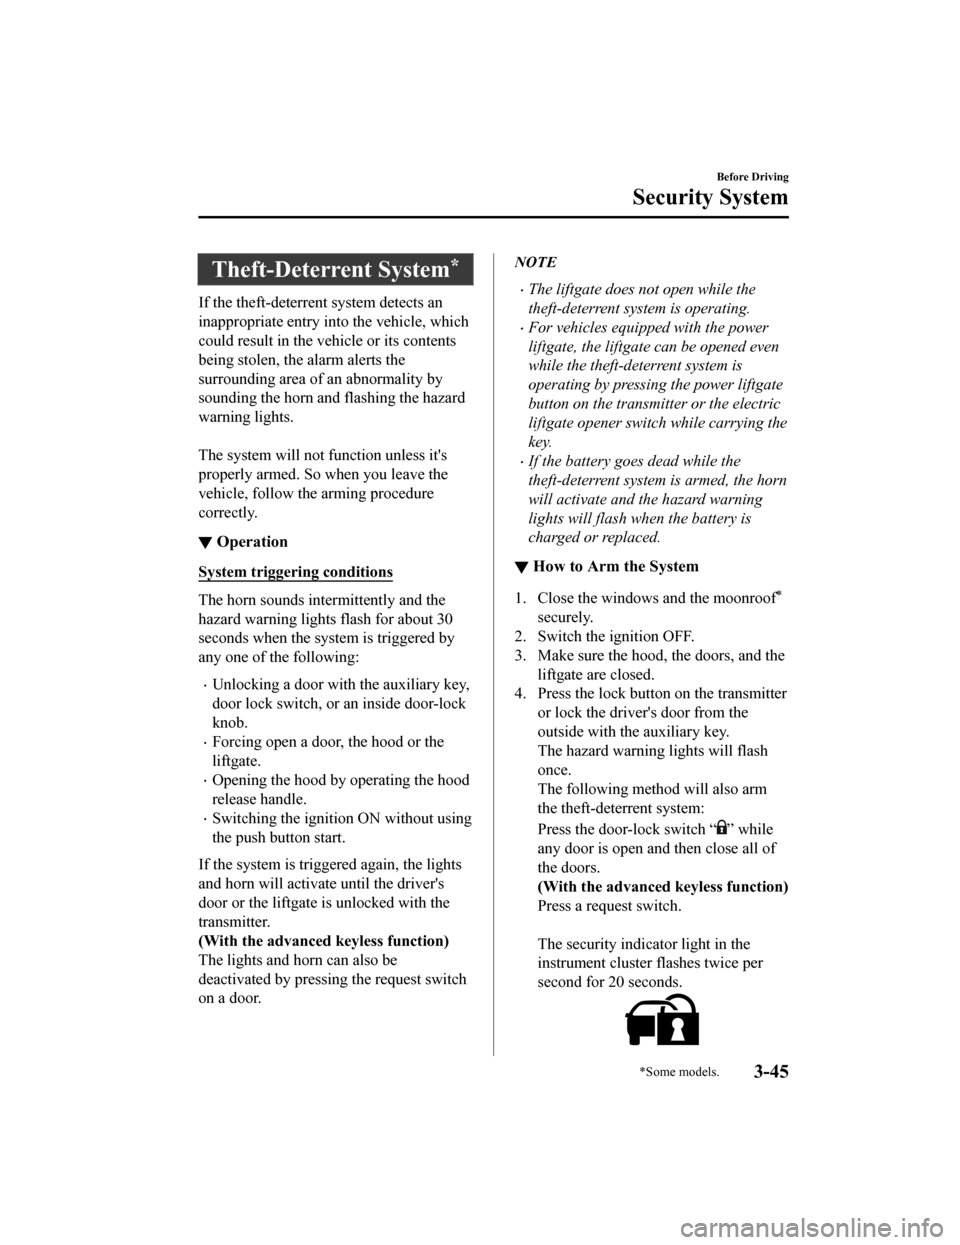
The security indicator light in the
instrument cluster flashes twice per
second for 20 seconds.
Before Driving
Security System
*Some models.3-45
CX-9_8HB2-EA-18G_Edition1 2018-5-11 13:09:27
Page 161 of 692

4When Driving
Information concerning safe driving and stopping.
Start/Stop Engine.............................. 4-4 Ignition Switch........ ..................... 4-4
Starting the Engine....................... 4-5
Turning the Engine Off...............4-10
Instrument Cluster and Display ............
........................................................... 4-11 Instrument Cluster and
Display........................................ 4-11
Instrument Cluster (Type A)....... 4-12
Instrument Cluster (Type B)....... 4-29
Instrument Cluster (Type C)....... 4-45
Active Driving Display
*............. 4-56
Automatic Transaxle....................... 4-59 Automatic Transaxle
Controls...................................... 4-59
Shift-Lock System...................... 4-60
Transaxle Ranges........................4-60
Manual Shift Mode..................... 4-62
Driving Tips................................4-67
Switches and Controls..................... 4-68
Lighting Control......................... 4-68
Fog Lights
*................................. 4-73
Turn and Lane-Change
Signals........................................ 4-73
Windshield Wipers and
Washer........................................ 4-74
Rear Window Wiper and
Washer........................................ 4-78
Rear Window Defogg er.............. 4-78
Horn............................................ 4-80
Hazard Warning Flasher............. 4-80
HomeLink Wireless Control System
(Type A)
*.................................... 4-81
HomeLink Wireless Control System
(Type B)...................................... 4-84
Brake................................................ 4-89 Brake System.............................. 4-89
Hill Launch Assist (HLA).......... 4-93
ABS/TCS/DSC/Trailer Stability
Control (TSC).................................. 4-94 Antilock Brake System
(ABS)..........................................4-94
Traction Control System
(TCS).......................................... 4-95
Dynamic Stability Control
(DSC)..........................................4-97
Trailer Stability Control
(TSC).......................................... 4-98
Fuel Economy Monitor................... 4-99 Fuel Economy Monito r...............4-99
*Some models.4-1
CX-9_8HB2-EA-18G_Edition1 2018-5-11 13:09:27
Page 162 of 692

Drive Selection............................... 4-102Drive Selection......................... 4-102
i-ACTIV AWD............................... 4-104 i-ACTIV AWD Operation
*...... 4-104
Power Steering...............................4-106 Power Steering......................... 4-106
i-ACTIVSENSE............................. 4-107
i-ACTIVSENSE
*......................4-107
Adaptive Front Lighting System
(AFS)
*.......................................4-110
High Beam Control System
(HBC)
*...................................... 4-111
Blind Spot Monitoring (BSM)
*.........
.................................................. 4-114
Traffic Sign Recognition System
(TSR)
*...................................... 4-120
Distance Recognition Support
System (DRSS)
*....................... 4-126
Rear Cross Traffic Alert (RCTA)
*.....
.................................................. 4-130
Mazda Radar Cruise Control with
Stop & Go function (MRCC with
Stop & Go function)
*............... 4-134
Lane-keep Assist System (LAS) &
Lane Departure Warning System
(LDWS)
*.................................. 4-147
Advanced Smart City Brake Support
(Advanced SCBS)
*...................4-158
Smart City Brake Support
(SCBS)
*.................................... 4-161
Smart Brake Support (SBS)
*.... 4-164
360° View Monitor
*................. 4-166
Forward Sensing Camera (FSC)
*......
.................................................. 4-192
Radar Sensor (Front)
*.............. 4-197
Radar Sensors (Rear)
*.............. 4-200
Front Camera/Side Cameras/Rear
Camera
*.................................... 4-202
Cruise Control............................... 4-203 Cruise Control
*.........................4-203
4-2*Some models.
CX-9_8HB2-EA-18G_Edition1 2018-5-11 13:09:27