ECO mode MAZDA MODEL TRIBUTE 2002 (in English) User Guide
[x] Cancel search | Manufacturer: MAZDA, Model Year: 2002, Model line: MODEL TRIBUTE, Model: MAZDA MODEL TRIBUTE 2002Pages: 256, PDF Size: 2.66 MB
Page 42 of 256

Press the DISC up control to skip
forward to the beginning of the next
CD.
Press the DISC down control to skip
back to the beginning of the
previous CD.
DolbyTnoise reduction
Dolbytnoise reduction operates
only in tape mode. Dolbytnoise
reduction reduces the amount of
hiss and static during tape playback.
When using a tape with Dolby NR*,
press the
control to activate (and deactivate) Dolbytnoise
reduction. When engaged,
will appear in the display.
The Dolbytnoise reduction system is manufactured under license from
Dolby Laboratories Licensing Corporation. Dolbytand the double-D
symbol are trademarks of DolbytLabratories Licensing Corporation.
Auto program control (APC)
Auto program control (APC) works in tape mode and is used to find the
beginning of either the next program or the one being played.
APC in tape mode
Press theAPC control to
advance to the beginning of the
next selection.
Press the
APC control to
reverse to the beginning of the
current selection.
To disengage APC, press the APC
control again.
If APC detects 15 seconds of blank space, it will automatically advance
the tape to the next selection.
Entertainment Systems
42
Page 44 of 256

Eject feature
The eject feature works in both tape and CD mode.
Ejecting a tape
Press the control to stop and eject a
tape.
NOTE:The cassette tape can be
ejected when the ignition switch is
in the OFF position.
Ejecting a CD
1. Press the control to stop and
eject a CD. The disc number
and OUT will appear in the
display.
2. Remove the CD.
NOTE:When a CD is ejected during play, the next CD will be played
automatically.
Ejecting CDs from a desired tray
1. Press and hold the CD eject
control for approximately 2
seconds until a beep is heard.
2. Press the memory preset
control of the desired CD within
5 seconds of the beep.
3. Remove the CD.
Multiple ejection
1. Press and hold the CD eject
control for approximately 2
seconds until a beep is heard.
2. Wait approximately 5 seconds or
press the CD eject control again
within 5 seconds after the beep is heard.
3. Remove the CD. The next CD will then be ejected.
NOTE:
²Cds will be ejected in numerical order, lowest number first.
²All CDs in the tray will be ejected continuously.
Entertainment Systems
44
Page 45 of 256

²Cds can be ejected when the ignition switch is OFF. Press and hold
the CD eject control for approximately 2 seconds and all CDs will
eject.
Random play
The random play feature works in CD mode and plays the selections on
the current CD in random order.
Random play in CD mode
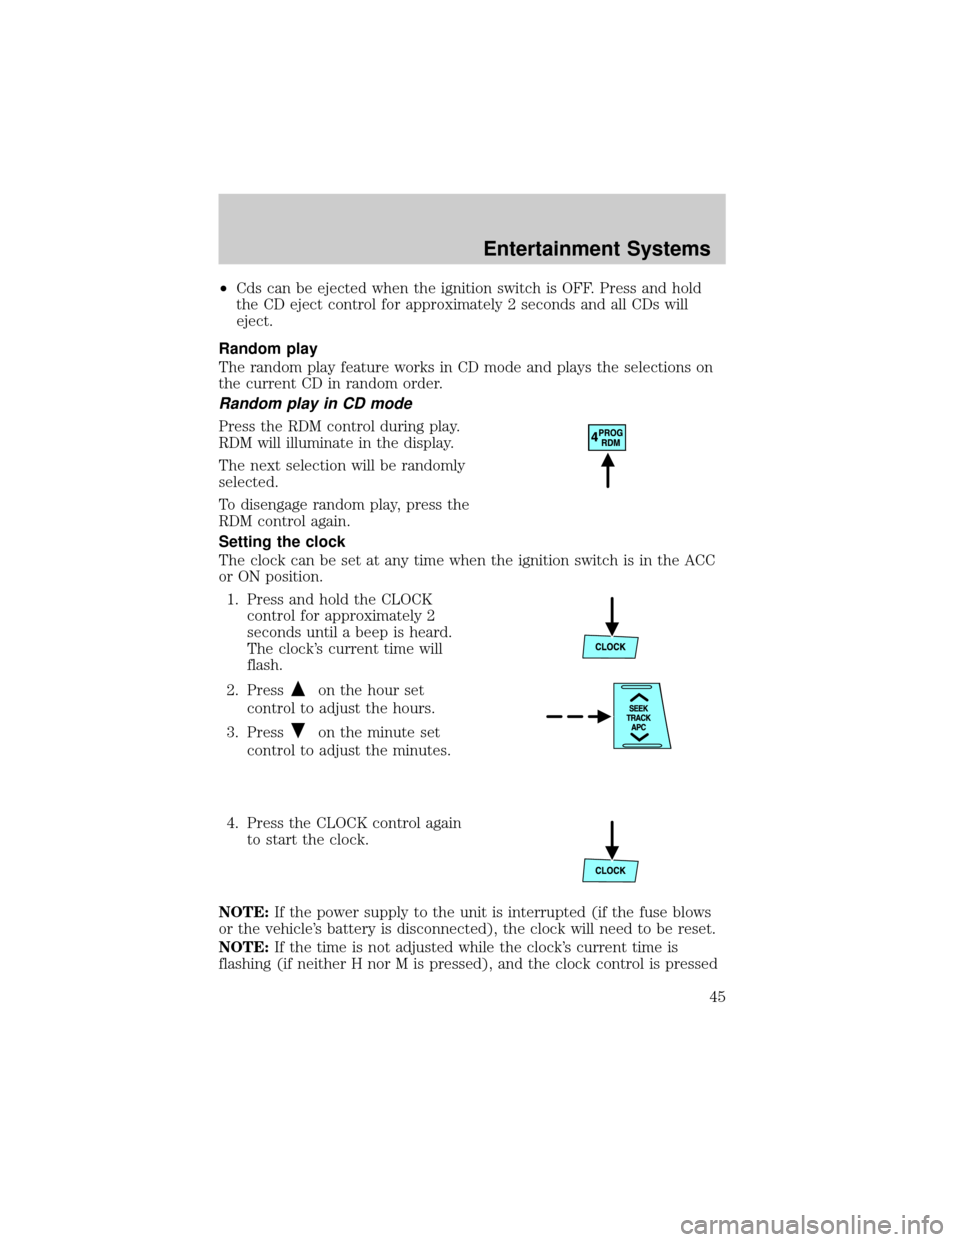
Press the RDM control during play.
RDM will illuminate in the display.
The next selection will be randomly
selected.
To disengage random play, press the
RDM control again.
Setting the clock
The clock can be set at any time when the ignition switch is in the ACC
or ON position.
1. Press and hold the CLOCK
control for approximately 2
seconds until a beep is heard.
The clock's current time will
flash.
2. Press
on the hour set
control to adjust the hours.
3. Press
on the minute set
control to adjust the minutes.
4. Press the CLOCK control again
to start the clock.
NOTE:If the power supply to the unit is interrupted (if the fuse blows
or the vehicle's battery is disconnected), the clock will need to be reset.
NOTE:If the time is not adjusted while the clock's current time is
flashing (if neither H nor M is pressed), and the clock control is pressed
Entertainment Systems
45
Page 46 of 256

a second time, the minutes will be set to 00. If the clock's current time
setting is within the latter part of the hour (from 30 to 59 min), the hour
setting will automatically advance one hour.
Changing the display mode
The display can be changed to alternate between the clock and the
audio. When the clock mode is selected, the time is displayed.
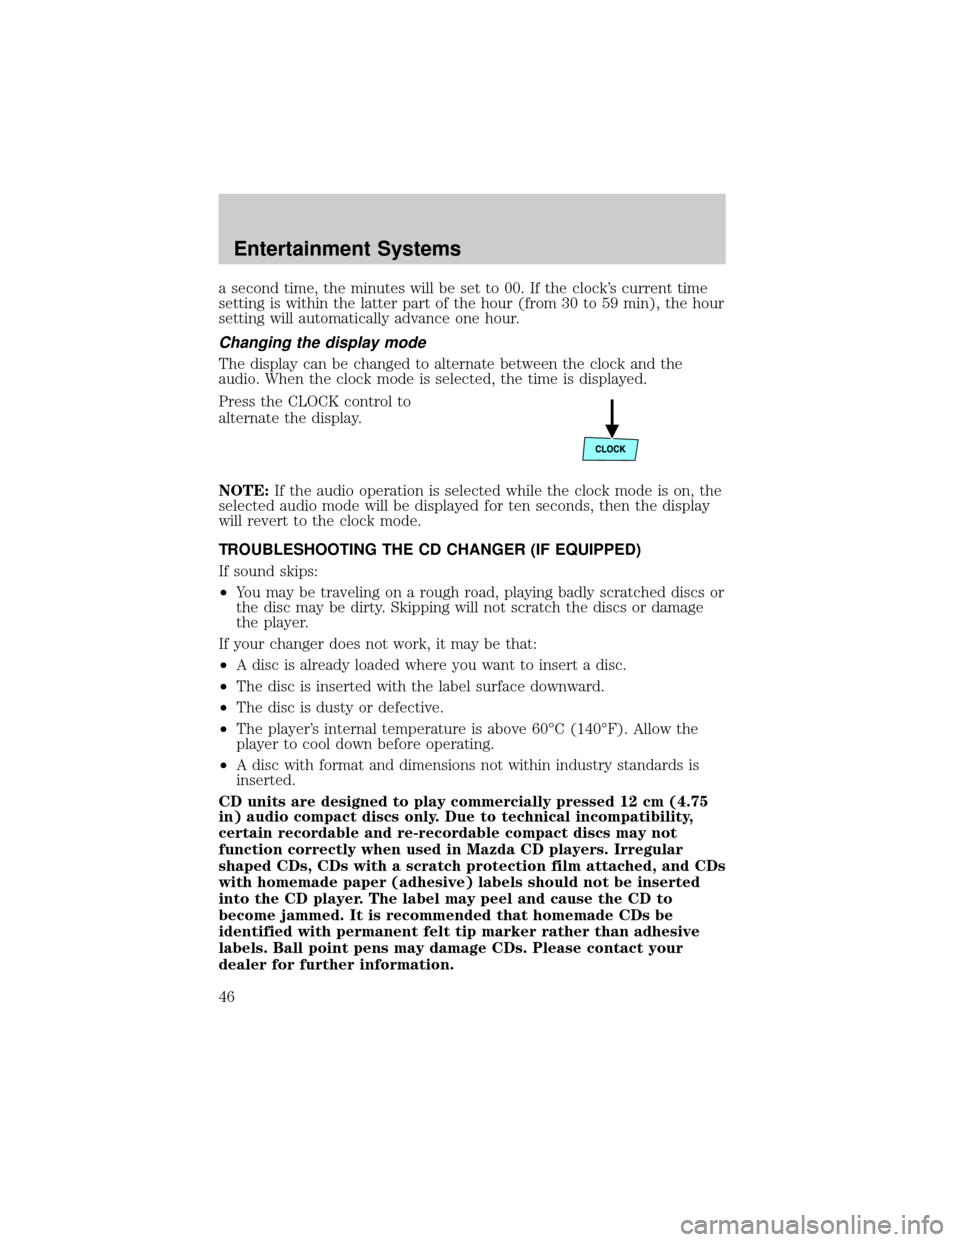
Press the CLOCK control to
alternate the display.
NOTE:If the audio operation is selected while the clock mode is on, the
selected audio mode will be displayed for ten seconds, then the display
will revert to the clock mode.
TROUBLESHOOTING THE CD CHANGER (IF EQUIPPED)
If sound skips:
²You may be traveling on a rough road, playing badly scratched discs or
the disc may be dirty. Skipping will not scratch the discs or damage
the player.
If your changer does not work, it may be that:
²A disc is already loaded where you want to insert a disc.
²The disc is inserted with the label surface downward.
²The disc is dusty or defective.
²The player's internal temperature is above 60ÉC (140ÉF). Allow the
player to cool down before operating.
²A disc with format and dimensions not within industry standards is
inserted.
CD units are designed to play commercially pressed 12 cm (4.75
in) audio compact discs only. Due to technical incompatibility,
certain recordable and re-recordable compact discs may not
function correctly when used in Mazda CD players. Irregular
shaped CDs, CDs with a scratch protection film attached, and CDs
with homemade paper (adhesive) labels should not be inserted
into the CD player. The label may peel and cause the CD to
become jammed. It is recommended that homemade CDs be
identified with permanent felt tip marker rather than adhesive
labels. Ball point pens may damage CDs. Please contact your
dealer for further information.
Entertainment Systems
46
Page 51 of 256

NOTE:In snowy or dirty conditions, leave the mode selector in the OFF
position.
²MAX A/C- Uses recirculated air to cool the vehicle. MAX A/C is noisier
than A/C but more economical and will cool the inside of the vehicle
faster. Airflow will be from the instrument panel registers. This mode
can also be used to prevent undesirable odors from entering the
vehicle.
²A/C-Uses outside air to cool the vehicle. It is quieter than MAX A/C
but not as economical. Airflow will be from the instrument panel
registers.
²
(Panel)-Distributes outside air through the instrument panel
registers. However, the air will not be cooled below the outside
temperature because the air conditioning does not operate in this
mode.
²OFF-Outside air is shut out and the fan will not operate. For short
periods of time only, use this mode to prevent undesirable odors from
entering the vehicle.
²
(Panel and floor)-Distributes outside air through the instrument
panel registers and the floor ducts. Heating capabilities are provided in
this mode. For added customer comfort, when the temperature
control knob is anywhere in between the full hot and full cold
positions, the air distributed through the floor ducts will be slightly
warmer than the air sent to the instrument panel registers. However,
the air will not be cooled below the outside temperature because the
air conditioning does not operate in this mode.
²
(Floor)-Allows for maximum heating by distributing outside air
through the floor ducts. However, the air will not be cooled below the
outside temperature because the air conditioning does not operate in
this mode.
²
(Floor and defrost)-Distributes outside air through the windshield
defroster ducts and the floor ducts. Heating and air conditioning
capabilities are provided in this mode. For added customer comfort,
when the temperature control knob is anywhere in between the full
hot and full cold positions, the air distributed through the floor ducts
will be slightly warmer than the air sent to the windshield defrost
ducts. If the temperature is about 6ÉC (43ÉF) or higher, the air
conditioner will automatically dehumidify the air to reduce fogging.
Climate Controls
51
Page 81 of 256

Programming remote transmitters
It is necessary to haveall(maximum of four Ð original and/or new) of
your remote transmitters available prior to beginning this procedure.
NOTE:This procedure must be completed within the specified times. If
not completed within the specified time period, reprograming procedures
must be restarted from the beginning.
To program the transmitters yourself:
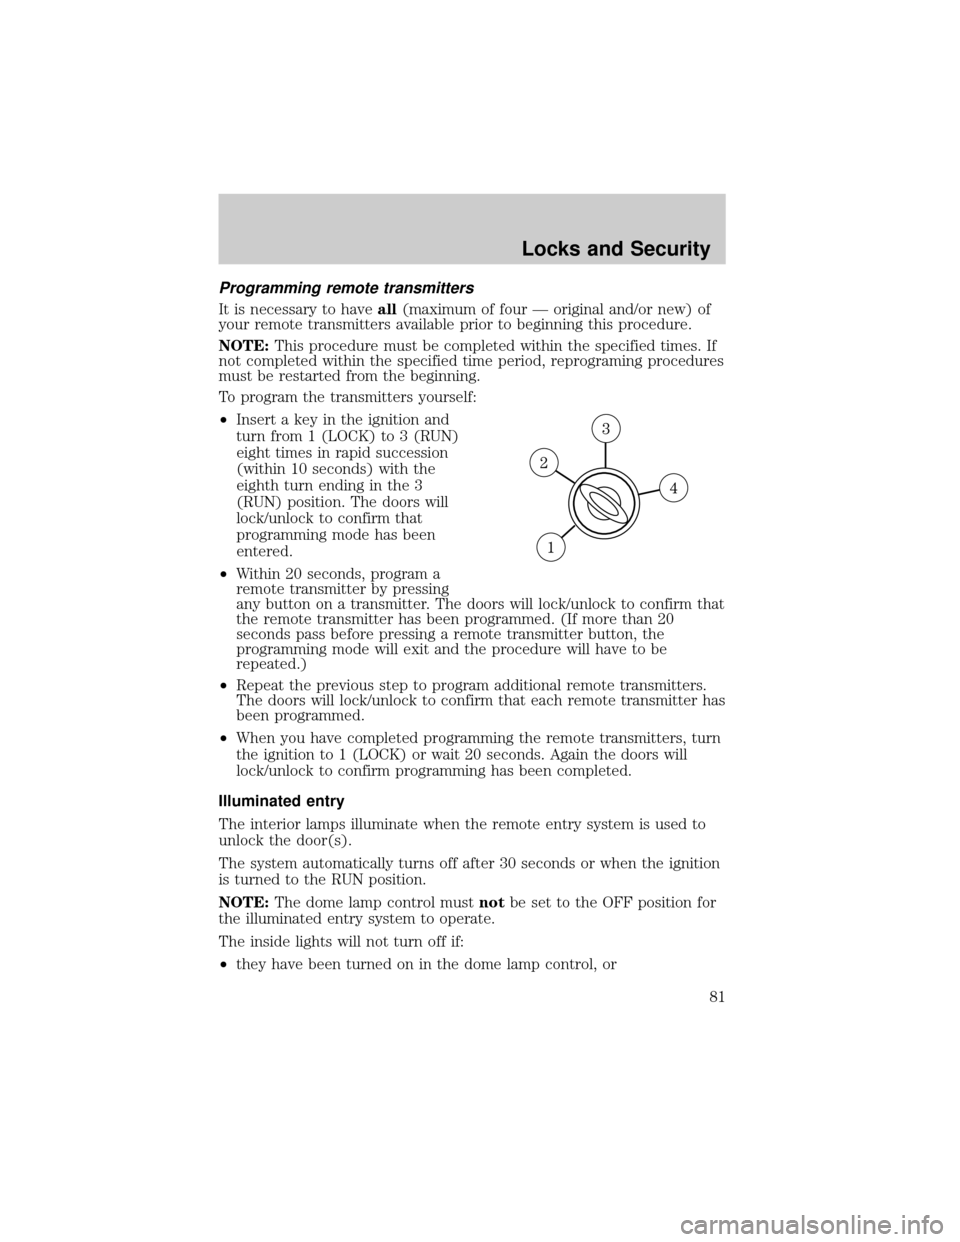
²Insert a key in the ignition and
turn from 1 (LOCK) to 3 (RUN)
eight times in rapid succession
(within 10 seconds) with the
eighth turn ending in the 3
(RUN) position. The doors will
lock/unlock to confirm that
programming mode has been
entered.
²Within 20 seconds, program a
remote transmitter by pressing
any button on a transmitter. The doors will lock/unlock to confirm that
the remote transmitter has been programmed. (If more than 20
seconds pass before pressing a remote transmitter button, the
programming mode will exit and the procedure will have to be
repeated.)
²Repeat the previous step to program additional remote transmitters.
The doors will lock/unlock to confirm that each remote transmitter has
been programmed.
²When you have completed programming the remote transmitters, turn
the ignition to 1 (LOCK) or wait 20 seconds. Again the doors will
lock/unlock to confirm programming has been completed.
Illuminated entry
The interior lamps illuminate when the remote entry system is used to
unlock the door(s).
The system automatically turns off after 30 seconds or when the ignition
is turned to the RUN position.
NOTE:The dome lamp control mustnotbe set to the OFF position for
the illuminated entry system to operate.
The inside lights will not turn off if:
²they have been turned on in the dome lamp control, or
Locks and Security
81
Page 119 of 256

WARNING: Do not leave children, unreliable adults, or pets
unattended in your vehicle.
WARNING: Placing a child, 12 years or younger, in the front
seat is dangerous. The child could be hit by a deploying air bag
and be seriously injured or even killed. A sleeping child is more
likely to lean against the door and be hit by the side air bag in a
moderate collision. Whenever possible, always secure a child, 12
years or younger, in the rear seat, with an appropriate child
restraint system for the child's age and size. Never use a
rear-facing child restraint system in the front seat with an air
bag that could deploy.
Child booster seats
Children outgrow a typical convertible or toddler seat when they weigh
40 pounds and are around 4 years of age. Although the lap/shoulder belt
will provide some protection, these children are still too small for
lap/shoulder belts to fit properly, which could increase the risk of serious
injury.
To improve the fit of both the lap and shoulder belt on children who
have outgrown child safety seats, Mazda recommends use of a
belt-positioning booster.
Booster seats position a child so that safety belts fit better. They lift the
child up so that the lap belt rests low across the hips and the knees
bend comfortably. Booster seats also make the shoulder belt fit better
and more comfortably for growing children.
When children should use booster seats
Children need to use booster seats from the time they outgrow the
toddler seat until they are big enough for the vehicle seat and
lap/shoulder belt to fit properly. Generally this is when they weigh about
80 lbs (about 8 to 12 years old).
Seating and Safety Restraints
119
Page 123 of 256

²Place seat back in upright position.
²Put the safety belt in the automatic locking mode. Refer toAutomatic
locking mode(passenger side front seat).
Mazda recommends the use of a child safety seat having a top tether
strap. Install the child safety seat in a seating position which is capable
of providing a tether anchorage. For more information on top tether
straps, refer toAttaching child safety seats with tether straps.
WARNING: Carefully follow all of the manufacturer's
instructions included with the safety seat you put in your
vehicle. If you do not install and use the safety seat properly,
the child may be injured in a sudden stop or collision.
Installing child safety seats in combination lap and shoulder belt
seating positions
The rear seat head restraints must be removed when using a child
seat.
WARNING: Air bags can kill or injure a child in a child seat.
NEVER place a rear-facing child seat in front of an active air
bag. If you must use a forward-facing child seat in the front
seat, move the seat all the way back.
1. Position the child safety seat in
a seat with a combination lap
and shoulder belt.
WARNING: Children 12 and under should be properly
restrained in the rear seat whenever possible, the back seat
environment is generally safer.
Seating and Safety Restraints
123
Page 142 of 256

R (Reverse)
With the gearshift lever in R
(Reverse), the vehicle will move
backward. You should always come
to a complete stop before shifting
into and out of R (Reverse).
WARNING: Make sure the
rearward path of the vehicle is
unobstructed before moving
the vehicle in reverse.
N (Neutral)
With the gearshift lever in the N
(Neutral) position, the vehicle can
be started and is free to roll. Hold
the brake pedal down while in this
position.
Overdrive Ð column mounted gearshift with O/D off switch
The Overdrive position with the O/D
OFF switchnotdepressed is the
normal driving position for this
automatic overdrive transaxle. When
your vehicle cruises at a constant
speed for any length of time, this
fourth gear will increase your fuel
economy.
Overdrive may not be appropriate
for certain terrains. If the transaxle
shifts back and forth between third
and fourth gears while you are
driving hilly roads or if your vehicle
requires additional power for climbing hills, press the O/D OFF switch.
Each time the vehicle is started, the transaxle will automatically return
to normal overdrive mode.
R D 2 1ODO
R D 2 1ODO
R D 2 1ODO
OFF/ON
Driving
142
Page 165 of 256

CUSTOMER ASSISTANCE (EXCEPT PUERTO RICO)
Your complete and permanent satisfaction is our business. We are here to
serve you. All Authorized Mazda Dealers have the knowledge and the
tools to keep your Mazda vehicle in top condition.
If you have any questions or recommendations for improvement
regarding the service of your Mazda vehicle or servicing by Mazda Dealer
personnel, we recommend that you take the following steps:
STEP 1: Contact Your Mazda Dealer
Discuss the matter with an Authorized Mazda Dealer. This is the quickest
and best way to address the issue. If your concern has not been resolved
by the CUSTOMER RELATIONS, SALES, SERVICE, or PARTS
MANAGER, then please contact the GENERAL MANAGER of the
dealership or the OWNER.
STEP 2: Call the Mazda National Customer Assistance Center
If for any reason you feel the need for further assistance after contacting
your dealership management, call Mazda North American Operations'
Customer Assistance Center toll-free at:1 (800) 222±5500
In order to serve you efficiently and effectively, please help us by
providing the following information:
1. Your name, address, and telephone number
2. Year and model of vehicle
3. Vehicle Identification Number (17 digits, noted on your registration
or title or located on the upper driver's side corner of the dash)
4. Purchase date and current mileage
5. Your dealer's name and location
6. Your question(s)
If you would like to write a letter, please address it to the following,
Attn: Customer Assistance.
Mazda North American Operations
7755 Irvine Center Drive
Irvine, CA 92618±2922
P.O. Box 19734
Irvine, CA 92623±9734
This way, we can be sure to respond to you as efficiently as possible.
That is our goal.
If you live outside the U.S.A., please contact your nearest Mazda
Distributor.
Roadside Emergencies
165