clock MAZDA MODEL TRIBUTE 2002 Owners Manual (in English)
[x] Cancel search | Manufacturer: MAZDA, Model Year: 2002, Model line: MODEL TRIBUTE, Model: MAZDA MODEL TRIBUTE 2002Pages: 256, PDF Size: 2.66 MB
Page 30 of 256
NOTE:When a CD is ejected during play, the next CD will be played
automatically.
Random play
The random play feature works in CD mode and plays the selections on
the current CD in random order.
Random play in CD mode
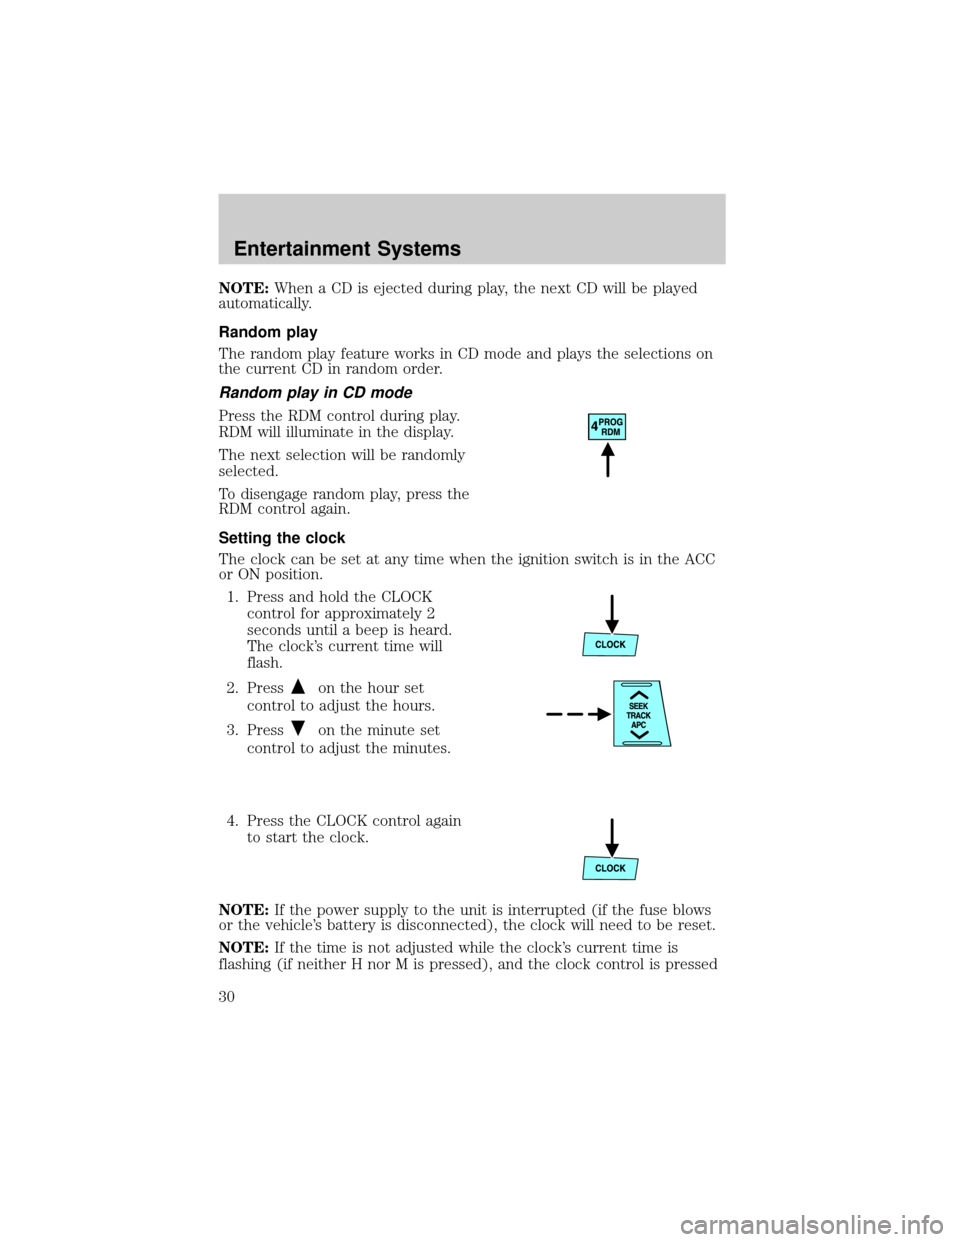
Press the RDM control during play.
RDM will illuminate in the display.
The next selection will be randomly
selected.
To disengage random play, press the
RDM control again.
Setting the clock
The clock can be set at any time when the ignition switch is in the ACC
or ON position.
1. Press and hold the CLOCK
control for approximately 2
seconds until a beep is heard.
The clock's current time will
flash.
2. Press
on the hour set
control to adjust the hours.
3. Press
on the minute set
control to adjust the minutes.
4. Press the CLOCK control again
to start the clock.
NOTE:If the power supply to the unit is interrupted (if the fuse blows
or the vehicle's battery is disconnected), the clock will need to be reset.
NOTE:If the time is not adjusted while the clock's current time is
flashing (if neither H nor M is pressed), and the clock control is pressed
Entertainment Systems
30
Page 31 of 256
a second time, the minutes will be set to 00. If the clock's current time
setting is within the latter part of the hour (from 30 to 59 min), the hour
setting will automatically advance one hour.
Changing the display mode
The display can be changed to alternate between the clock and the
audio. When the clock mode is selected, the time is displayed.
Press the CLOCK control to
alternate the display.
NOTE:If the audio operation is selected while the clock mode is on, the
selected audio mode will be displayed for ten seconds, then the display
will revert to the clock mode.
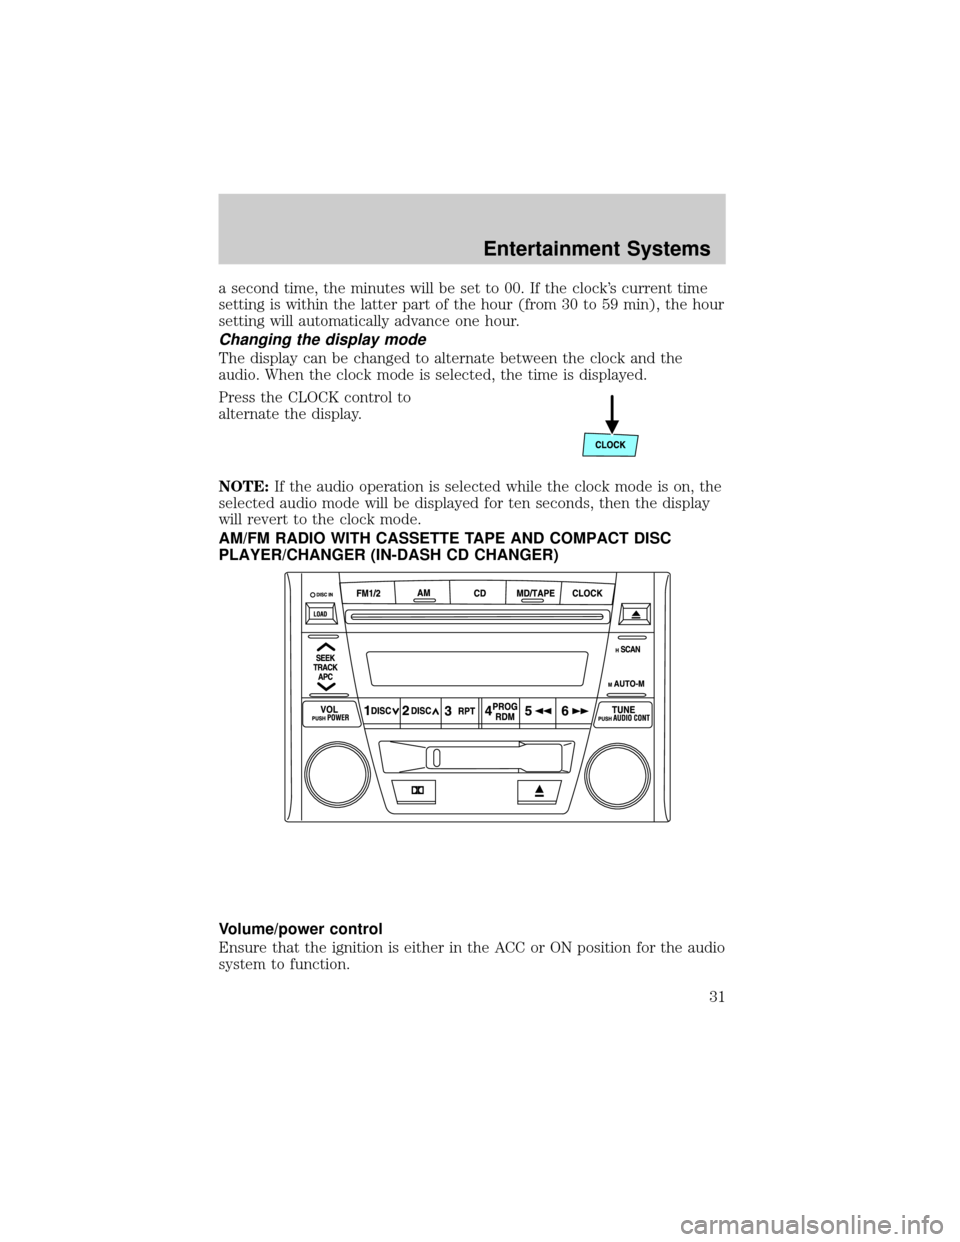
AM/FM RADIO WITH CASSETTE TAPE AND COMPACT DISC
PLAYER/CHANGER (IN-DASH CD CHANGER)
Volume/power control
Ensure that the ignition is either in the ACC or ON position for the audio
system to function.
Entertainment Systems
31
Page 45 of 256
²Cds can be ejected when the ignition switch is OFF. Press and hold
the CD eject control for approximately 2 seconds and all CDs will
eject.
Random play
The random play feature works in CD mode and plays the selections on
the current CD in random order.
Random play in CD mode
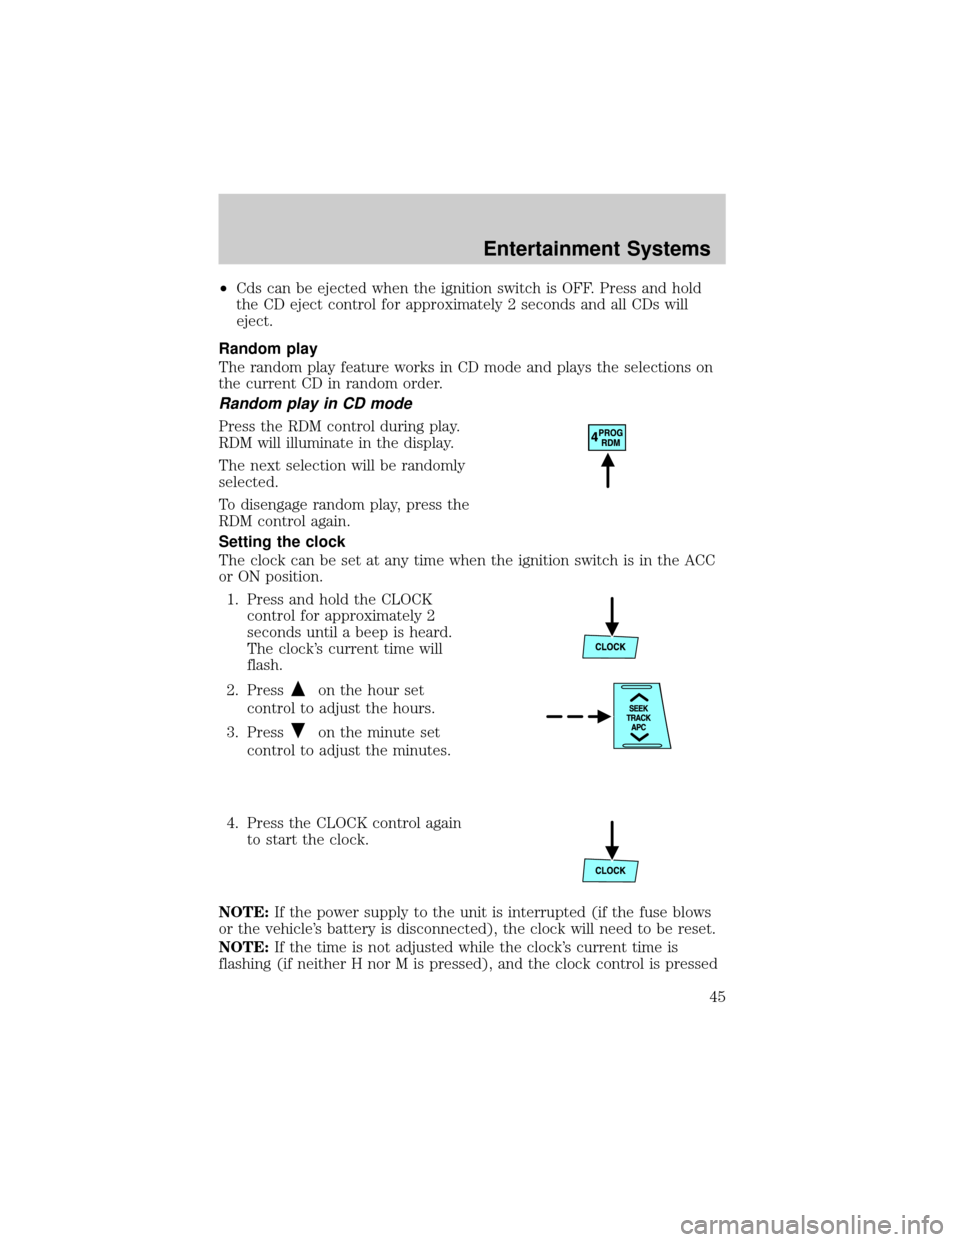
Press the RDM control during play.
RDM will illuminate in the display.
The next selection will be randomly
selected.
To disengage random play, press the
RDM control again.
Setting the clock
The clock can be set at any time when the ignition switch is in the ACC
or ON position.
1. Press and hold the CLOCK
control for approximately 2
seconds until a beep is heard.
The clock's current time will
flash.
2. Press
on the hour set
control to adjust the hours.
3. Press
on the minute set
control to adjust the minutes.
4. Press the CLOCK control again
to start the clock.
NOTE:If the power supply to the unit is interrupted (if the fuse blows
or the vehicle's battery is disconnected), the clock will need to be reset.
NOTE:If the time is not adjusted while the clock's current time is
flashing (if neither H nor M is pressed), and the clock control is pressed
Entertainment Systems
45
Page 46 of 256
a second time, the minutes will be set to 00. If the clock's current time
setting is within the latter part of the hour (from 30 to 59 min), the hour
setting will automatically advance one hour.
Changing the display mode
The display can be changed to alternate between the clock and the
audio. When the clock mode is selected, the time is displayed.
Press the CLOCK control to
alternate the display.
NOTE:If the audio operation is selected while the clock mode is on, the
selected audio mode will be displayed for ten seconds, then the display
will revert to the clock mode.
TROUBLESHOOTING THE CD CHANGER (IF EQUIPPED)
If sound skips:
²You may be traveling on a rough road, playing badly scratched discs or
the disc may be dirty. Skipping will not scratch the discs or damage
the player.
If your changer does not work, it may be that:
²A disc is already loaded where you want to insert a disc.
²The disc is inserted with the label surface downward.
²The disc is dusty or defective.
²The player's internal temperature is above 60ÉC (140ÉF). Allow the
player to cool down before operating.
²A disc with format and dimensions not within industry standards is
inserted.
CD units are designed to play commercially pressed 12 cm (4.75
in) audio compact discs only. Due to technical incompatibility,
certain recordable and re-recordable compact discs may not
function correctly when used in Mazda CD players. Irregular
shaped CDs, CDs with a scratch protection film attached, and CDs
with homemade paper (adhesive) labels should not be inserted
into the CD player. The label may peel and cause the CD to
become jammed. It is recommended that homemade CDs be
identified with permanent felt tip marker rather than adhesive
labels. Ball point pens may damage CDs. Please contact your
dealer for further information.
Entertainment Systems
46
Page 56 of 256

AIMING THE HEADLAMPS
The headlamps on your vehicle are properly aimed at the assembly plant.
If your vehicle has been in an accident the alignment of your headlamps
should be checked by your authorized Mazda dealer.
TURN SIGNAL CONTROL
²Push down to activate the left
turn signal.
²Push up to activate the right turn
signal.
INTERIOR LAMPS
Cargo and dome lamp
Rear cargo lamp equipped with an
ON/OFF/DOOR control will light
when:
²the doors are closed and the
control is in the ON position.
²the control is in the DOOR
position and any door is open.
²the headlamp control is rotated
fully counterclockwise.
When the control is in the OFF
position, it will not illuminate when you open the doors or fully rotate
the headlamp control.
Dome lamps and map lamps
The front dome lamp is located overhead between the driver and
passenger seats.
OFF
Lights
56
Page 60 of 256

Replacing brake/tail/turn/backup lamps bulbs
The brake/tail/turn/backup lamp bulbs are located in the tail lamp
assembly, one just below the other. Follow the same steps to replace
either bulb:
1. Open the liftgate to expose the
lamp assemblies.
2. Remove the two screws from
the lamp assembly.
3. Carefully remove the lamp
assembly by pulling it rearward.
4. Twist the bulb socket
counterclockwise and remove
from lamp assembly.
5. Pull the bulb straight out of the
socket and push in the new
bulb.
6. To complete installation, follow
the removal procedure in
reverse order.
Replacing front parking/turn lamp bulbs
1. Make sure that the headlamp control is in the OFF position.
2. Open the hood. The position lamps are located on the bottom half of
each headlamp.
3. Disconnect the electrical connector from the bulb by pulling
rearward.
4. Remove the bulb socket from the lamp assembly by turning
counterclockwise.
Lights
60
Page 61 of 256

5. Pull the bulb straight out of the
socket and push in the new
bulb.
6. To complete installation, follow
the removal procedure in
reverse order.
Replacing fog lamp bulbs (if equipped)
1. Remove the bulb socket from
the fog lamp by turning
counterclockwise.
2. Disconnect the electrical
connector from the fog lamp
bulb.
3. Connect the electrical connector to the new fog lamp bulb.
4. Install the bulb socket in the fog lamp turning clockwise.
Replacing license plate lamp bulbs
1. Remove two screws and the
license plate lamp assembly
(located above the license
plate) from the liftgate.
2. Remove bulb socket from lamp
assembly by turning
counterclockwise.
3. Pull the bulb out from the
socket and push in the new
bulb.
4. Install the bulb socket in lamp assembly turning it clockwise,
5. Install the lamp assembly on liftgate with two screws.
Replacing front parking lamp/turn signal bulbs
For bulb replacement, see an authorized Mazda dealer.
Replacing high-mount brake lamp bulbs
For bulb replacement, see an authorized Mazda dealer.
Lights
61
Page 69 of 256

1. Rotate the control clockwise to
the right position to adjust the
right mirror and rotate the
control counterclockwise to the
left position to adjust the left
mirror.
2. Move the control in the
direction you wish to move the
mirror.
3. Return to the center position to lock mirrors in place.
Fold-away mirrors
Pull the side mirrors in carefully
when driving through a narrow
space, like an automatic car wash.
SPEED CONTROLS (IF EQUIPPED)
To turn speed control on
²Press ON.
NOTE:Vehicle speed cannot be
controlled until the vehicle is
traveling at or above 48 km/h (30
mph).
ON
OFF
Driver Controls
69
Page 89 of 256

Using the manual lumbar support (if equipped)
The lumbar support control is
located on the inboard side of the
driver's seat.
Turn the lumbar support control
clockwise to increase firmness.
Turn the lumbar support control
counterclockwise to increase
softness.
Adjusting the front power seat (if equipped)
WARNING: Never adjust the driver's seat or seatback when the
vehicle is moving. This can cause you to lose control of the
vehicle and cause an accident.
WARNING: Do not pile cargo higher than the seatbacks to
avoid injuring people in a collision or sudden stop.
WARNING: Always drive and ride with your seatback upright
and the lap belt snug and low across the hips.
WARNING: Reclining the seatback can cause an occupant to
slide under the seat's safety belt, resulting in severe personal
injuries in the event of a collision.
The control is located on the outboard side of the seat cushion.
Move the front of the control up or
down to raise or lower the front
portion of the seat cushion.
Seating and Safety Restraints
89
Page 109 of 256
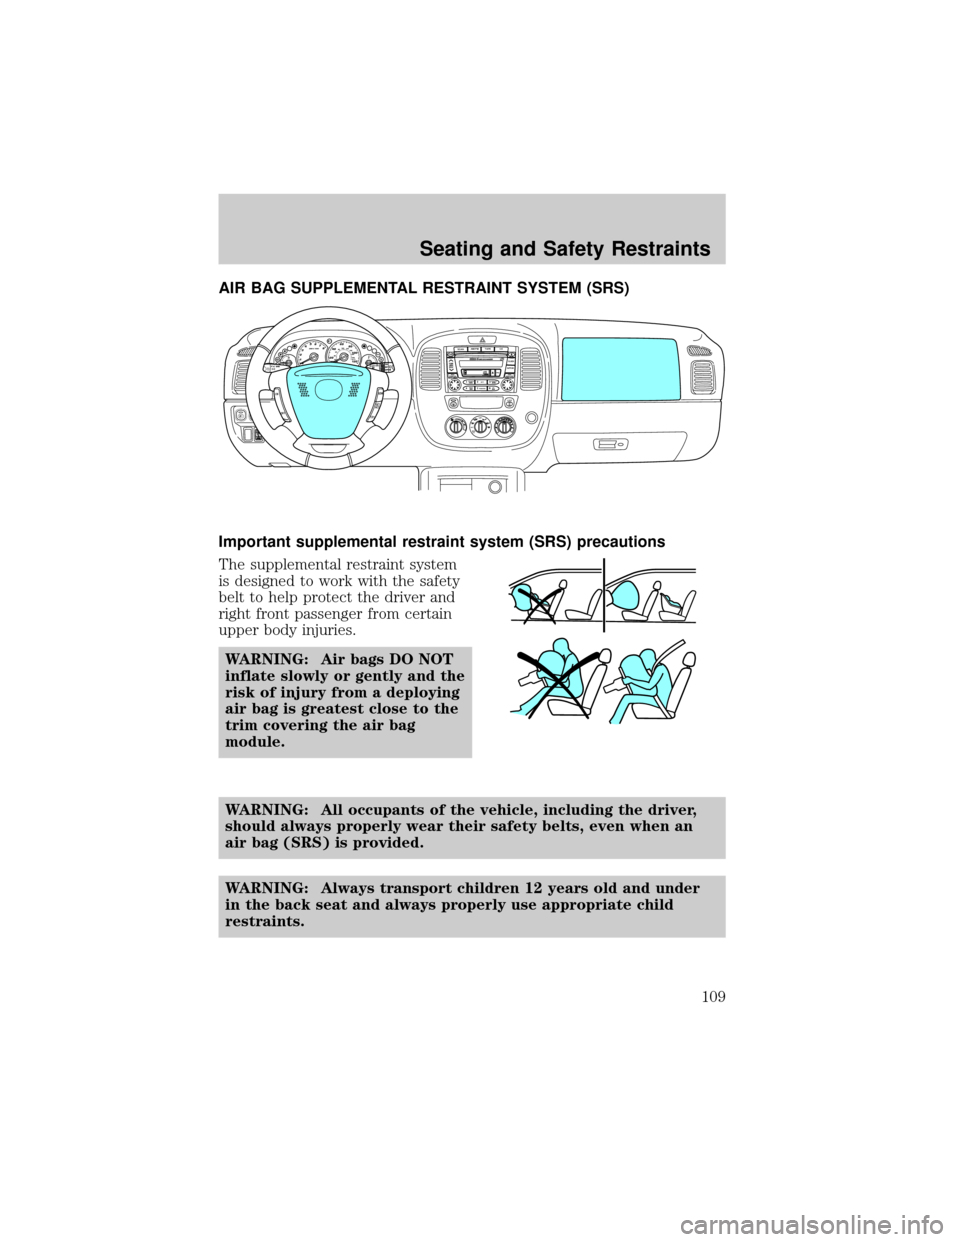
AIR BAG SUPPLEMENTAL RESTRAINT SYSTEM (SRS)
Important supplemental restraint system (SRS) precautions
The supplemental restraint system
is designed to work with the safety
belt to help protect the driver and
right front passenger from certain
upper body injuries.
WARNING: Air bags DO NOT
inflate slowly or gently and the
risk of injury from a deploying
air bag is greatest close to the
trim covering the air bag
module.
WARNING: All occupants of the vehicle, including the driver,
should always properly wear their safety belts, even when an
air bag (SRS) is provided.
WARNING: Always transport children 12 years old and under
in the back seat and always properly use appropriate child
restraints.
E CMPH4x4H
F60
408 7 6
5
4
3
2
12020 406080100
120
140
160
18080100
120km/hRPM X 1000
RSM
CST SET
ACCOFF ON
AM/FMTAPE
CD
SCAN
12 3
45 6
LOADCLOCK
AUTO-MPRORPT
RDM/BS TR/APC TR/APC
FF REW
TUNE
SEEKDISCPUSH
POWER VOLP
U
S
H
A
U
D
IO
C
O
N
T
LOCK
A/COFFMAX
A/C
Seating and Safety Restraints
109