MAZDA MODEL TRIBUTE 2004 (in English) Owner's Guide
Manufacturer: MAZDA, Model Year: 2004, Model line: MODEL TRIBUTE, Model: MAZDA MODEL TRIBUTE 2004Pages: 256, PDF Size: 2.64 MB
Page 31 of 256
Bass adjust
The bass adjust control allows you to increase or decrease the audio
system's bass output.
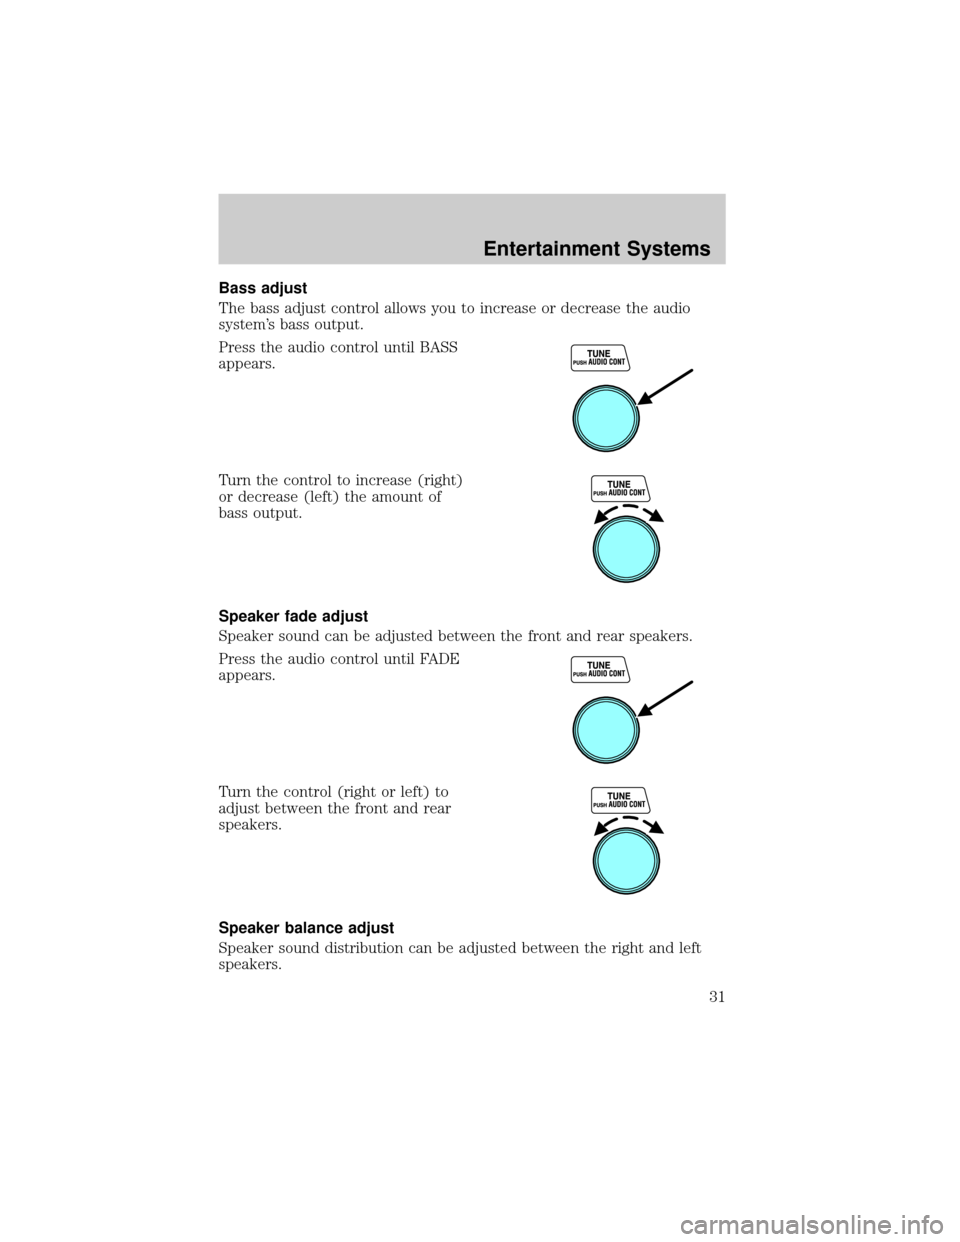
Press the audio control until BASS
appears.
Turn the control to increase (right)
or decrease (left) the amount of
bass output.
Speaker fade adjust
Speaker sound can be adjusted between the front and rear speakers.
Press the audio control until FADE
appears.
Turn the control (right or left) to
adjust between the front and rear
speakers.
Speaker balance adjust
Speaker sound distribution can be adjusted between the right and left
speakers.
Entertainment Systems
31
Page 32 of 256
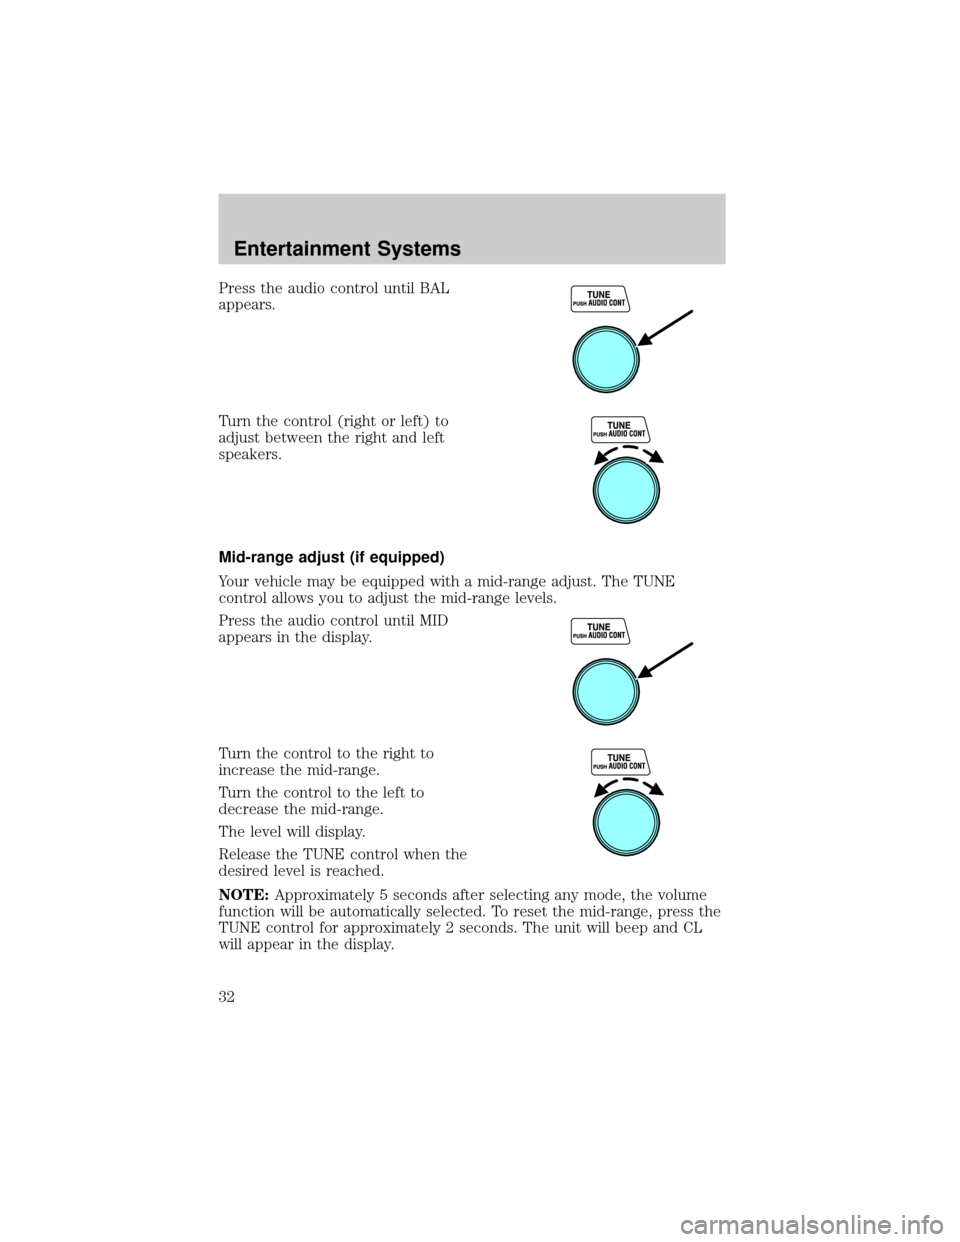
Press the audio control until BAL
appears.
Turn the control (right or left) to
adjust between the right and left
speakers.
Mid-range adjust (if equipped)
Your vehicle may be equipped with a mid-range adjust. The TUNE
control allows you to adjust the mid-range levels.
Press the audio control until MID
appears in the display.
Turn the control to the right to
increase the mid-range.
Turn the control to the left to
decrease the mid-range.
The level will display.
Release the TUNE control when the
desired level is reached.
NOTE:Approximately 5 seconds after selecting any mode, the volume
function will be automatically selected. To reset the mid-range, press the
TUNE control for approximately 2 seconds. The unit will beep and CL
will appear in the display.
Entertainment Systems
32
Page 33 of 256
Radio station memory preset
The radio is equipped with six station memory preset controls. These
controls can be used to select up to six preset AM stations and 12 FM
stations (six in FM1 and six in FM2).
Setting memory preset stations
1. Select the frequency band with the AM/FM control.
2. Select a station.
3. Press and momentarily hold the desired preset control until a beep
sound is heard.
The preset control number will illuminate in the display. This indicates
the station is held in memory on the control you selected. Repeat this
procedure to store other stations in memory.
To tune one in the memory, select AM, FM1 or FM2 and then press its
channel preset button. The station frequency and the channel number
will be displayed.
Auto memory tuning
Auto memory tuning allows you to set strong radio stations without
losing your original manually set preset stations. This feature is helpful
on trips when you travel between cities with different radio stations.
Starting autoset memory preset
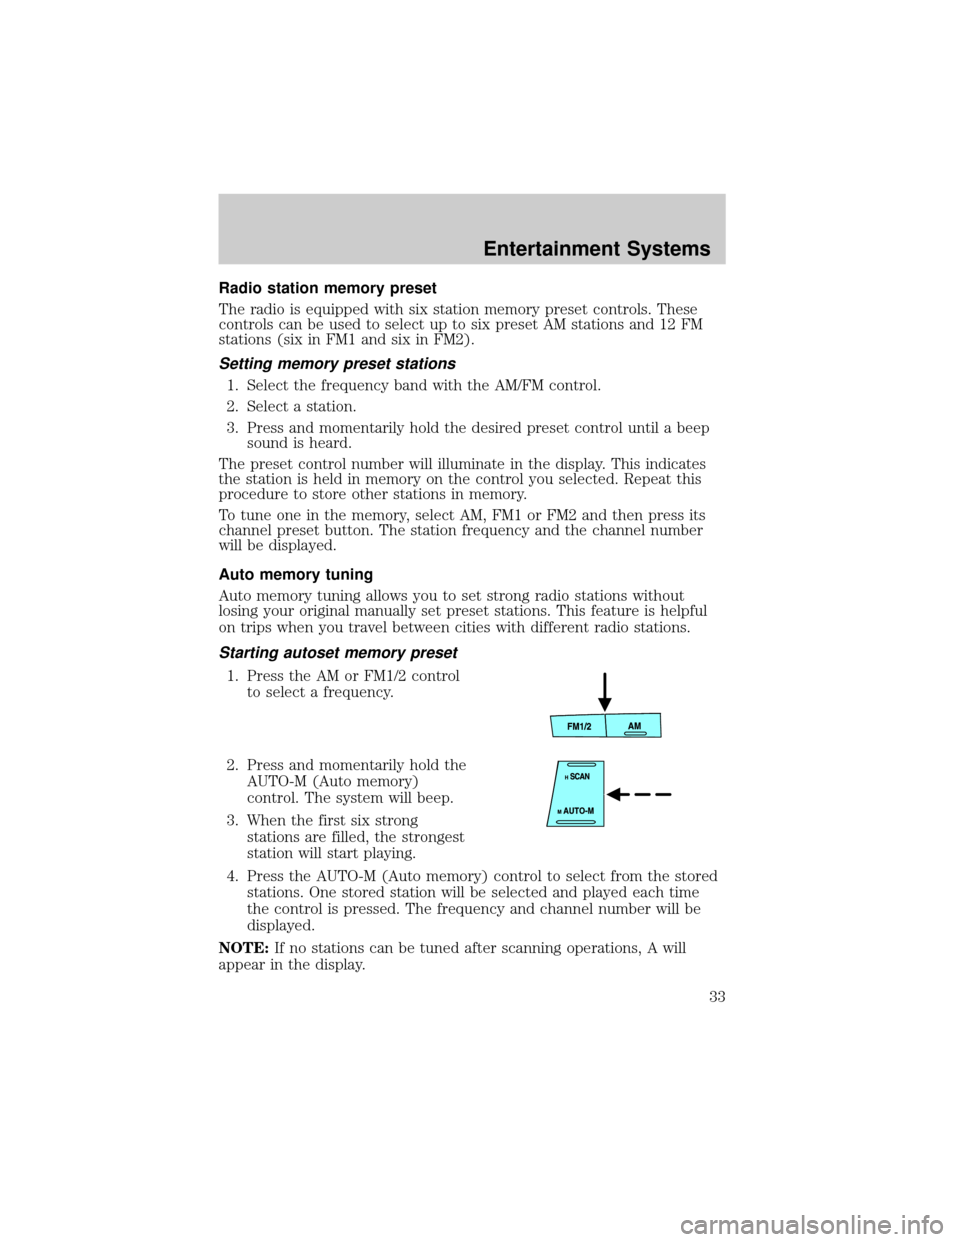
1. Press the AM or FM1/2 control
to select a frequency.
2. Press and momentarily hold the
AUTO-M (Auto memory)
control. The system will beep.
3. When the first six strong
stations are filled, the strongest
station will start playing.
4. Press the AUTO-M (Auto memory) control to select from the stored
stations. One stored station will be selected and played each time
the control is pressed. The frequency and channel number will be
displayed.
NOTE:If no stations can be tuned after scanning operations, A will
appear in the display.
Entertainment Systems
33
Page 34 of 256
NOTE:If the power supply is interrupted, (fuse blows or the battery is
disconnected), the preset channels will be canceled.
Tape select (if equipped)
To begin tape play, insert a cassette tape into the cassette slot, with the
open edge facing the right. Once inserted, the cassette tape will
automatically begin play and TAPE will appear in the display. At the end
of the cassette tape, the unit will automatically reverse the cassette tape
play.
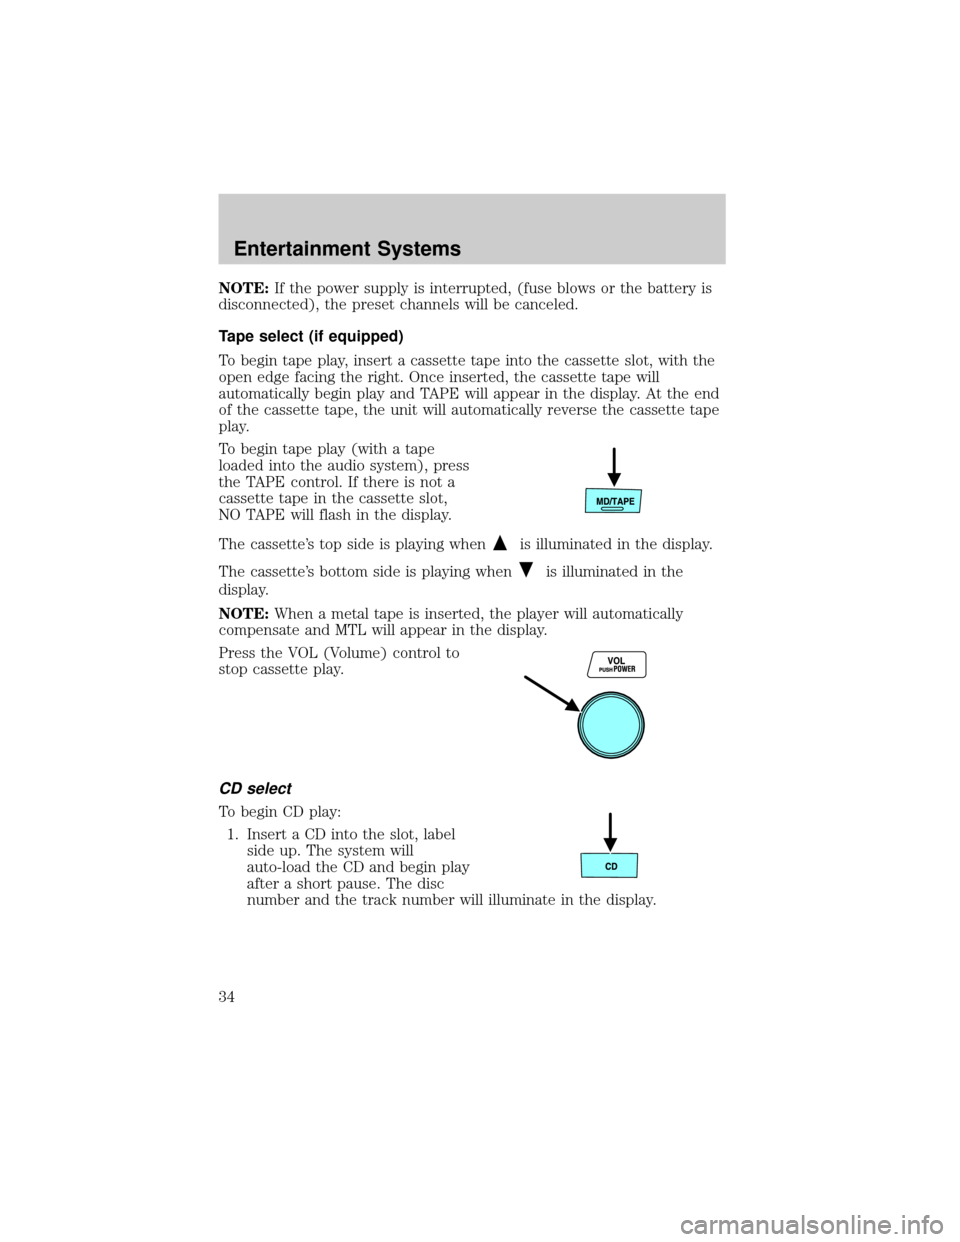
To begin tape play (with a tape
loaded into the audio system), press
the TAPE control. If there is not a
cassette tape in the cassette slot,
NO TAPE will flash in the display.
The cassette's top side is playing when
is illuminated in the display.
The cassette's bottom side is playing when
is illuminated in the
display.
NOTE:When a metal tape is inserted, the player will automatically
compensate and MTL will appear in the display.
Press the VOL (Volume) control to
stop cassette play.
CD select
To begin CD play:
1. Insert a CD into the slot, label
side up. The system will
auto-load the CD and begin play
after a short pause. The disc
number and the track number will illuminate in the display.
Entertainment Systems
34
Page 35 of 256
Tape direction select
Press the PROG RDM control to
play the alternate side of a tape.
NOTE:When the end of the
cassette is reached, the audio
system will automatically reverse
play.
Repeat play
The repeat play feature works in tape and CD modes and allows you to
listen to a selection repeatedly.
Repeat play in tape mode
Press the RPT control during play.
RPT will illuminate in the display.
The current selection will be
repeated.
To disengage repeat play, press the
RPT control again.
NOTE:RPT may not operate properly if:
²A tape was recorded at a low level.
²A tape has long, silent intervals.
²A tape is a live recording.
²A tape has very short intervals of less than 3 seconds.
Repeat play in CD mode
Press the RPT control during play.
RPT will illuminate in the display.
The current selection will be
repeated.
To disengage repeat play, press the
RPT control again.
Entertainment Systems
35
Page 36 of 256
Track search
Track search works in CD mode.
Press the
on the TRACK control
to skip forward to the beginning of
the next track.
Press the
on the TRACK control
to skip back to the beginning of the
current track.
Disc search
Disc search works in CD mode.
Press the DISC up control to skip
forward to the beginning of the next
CD.
Press the DISC down control to skip
back to the beginning of the
previous CD.
DolbyTnoise reduction
Dolbytnoise reduction operates
only in tape mode. Dolbytnoise
reduction reduces the amount of
hiss and static during tape playback.
When using a tape with Dolby NR*,
press the
control to activate (and deactivate) Dolbytnoise
reduction. When engaged,
will appear in the display.
The Dolbytnoise reduction system is manufactured under license from
Dolby Laboratories Licensing Corporation. Dolbytand the double-D
symbol are trademarks of DolbytLaboratories Licensing Corporation.
Auto program control (APC)
Auto program control (APC) works in tape mode and is used to find the
beginning of either the next program or the one being played.
Entertainment Systems
36
Page 37 of 256
APC in tape mode
Press theAPC control to
advance to the beginning of the
next selection.
Press the
APC control to
reverse to the beginning of the current selection.
To disengage APC, press the APC control again.
If APC detects 15 seconds of blank space, it will automatically advance
the tape to the next selection.
NOTE:APC may not operate properly if:
²A tape was recorded at a low level.
²A tape has long, silent intervals.
²A tape is a live recording.
²A tape has very short intervals of less than 3 seconds.
CD loading
The load feature allows you to load up to six single CDs into the audio
system.
1. Press the LOAD control.
2. IN will appear in the display
when the system is ready to
receive a CD.
3. Load the CD into the player.
Multiple CD loading
This feature allows you to autoload
up to 6 discs into the internal multi
disc CD player.
1. Press and hold the LOAD control until a beep sound is heard.
2. When IN is displayed, insert the CD.
3. When IN is displayed again, insert the next CD.
NOTE:The first CD will automatically play when:
²there is not a CD inserted for 15 seconds after IN is displayed
²the CD tray is full
Entertainment Systems
37
Page 38 of 256
Inserting CDs into desired tray number
1. Press and hold the LOAD
control until a beep sound is
heard.
2. Press the memory preset
control for the desired CD tray
within 5 seconds after the beep is heard.
3. When IN is displayed, insert the CD.
NOTE:The CD cannot be inserted to the desired tray number if the
number is already occupied.
Eject feature
The eject feature works in both tape and CD mode.
Ejecting a tape
Press the control to stop and eject a
tape.
NOTE:The cassette tape can be
ejected when the ignition switch is
in the OFF position.
Ejecting a CD
1. Press the control to stop and
eject a CD. The disc number
and OUT will appear in the
display.
2. Remove the CD.
NOTE:When a CD is ejected during play, the next CD will be played
automatically.
Ejecting CDs from a desired tray
1. Press and hold the CD eject
control for approximately 2
seconds until a beep sound is
heard.
2. Press the memory preset
control of the desired CD within 5 seconds of the beep.
3. Remove the CD.
Entertainment Systems
38
Page 39 of 256
Multiple ejection
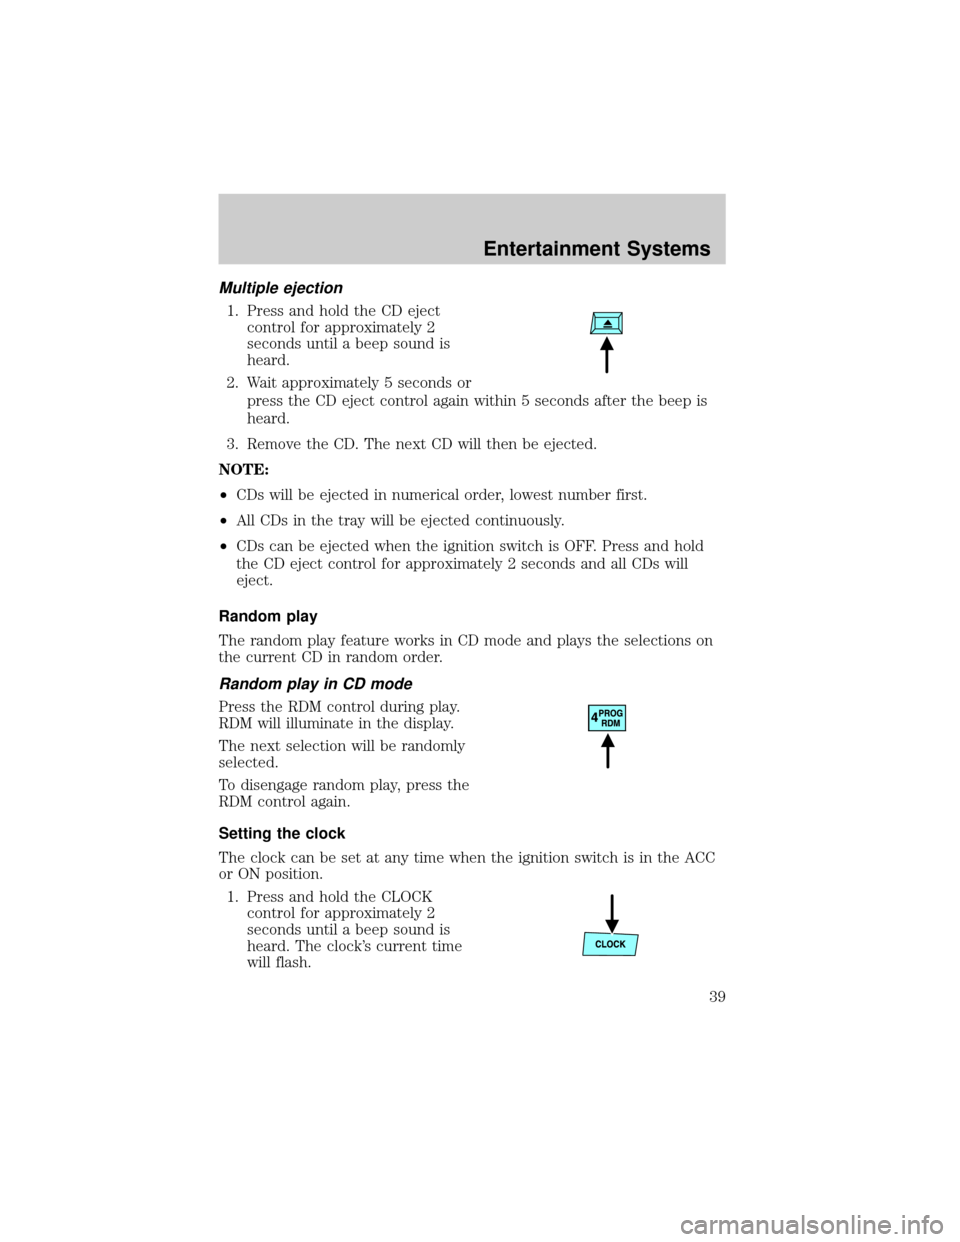
1. Press and hold the CD eject
control for approximately 2
seconds until a beep sound is
heard.
2. Wait approximately 5 seconds or
press the CD eject control again within 5 seconds after the beep is
heard.
3. Remove the CD. The next CD will then be ejected.
NOTE:
²CDs will be ejected in numerical order, lowest number first.
²All CDs in the tray will be ejected continuously.
²CDs can be ejected when the ignition switch is OFF. Press and hold
the CD eject control for approximately 2 seconds and all CDs will
eject.
Random play
The random play feature works in CD mode and plays the selections on
the current CD in random order.
Random play in CD mode
Press the RDM control during play.
RDM will illuminate in the display.
The next selection will be randomly
selected.
To disengage random play, press the
RDM control again.
Setting the clock
The clock can be set at any time when the ignition switch is in the ACC
or ON position.
1. Press and hold the CLOCK
control for approximately 2
seconds until a beep sound is
heard. The clock's current time
will flash.
Entertainment Systems
39
Page 40 of 256
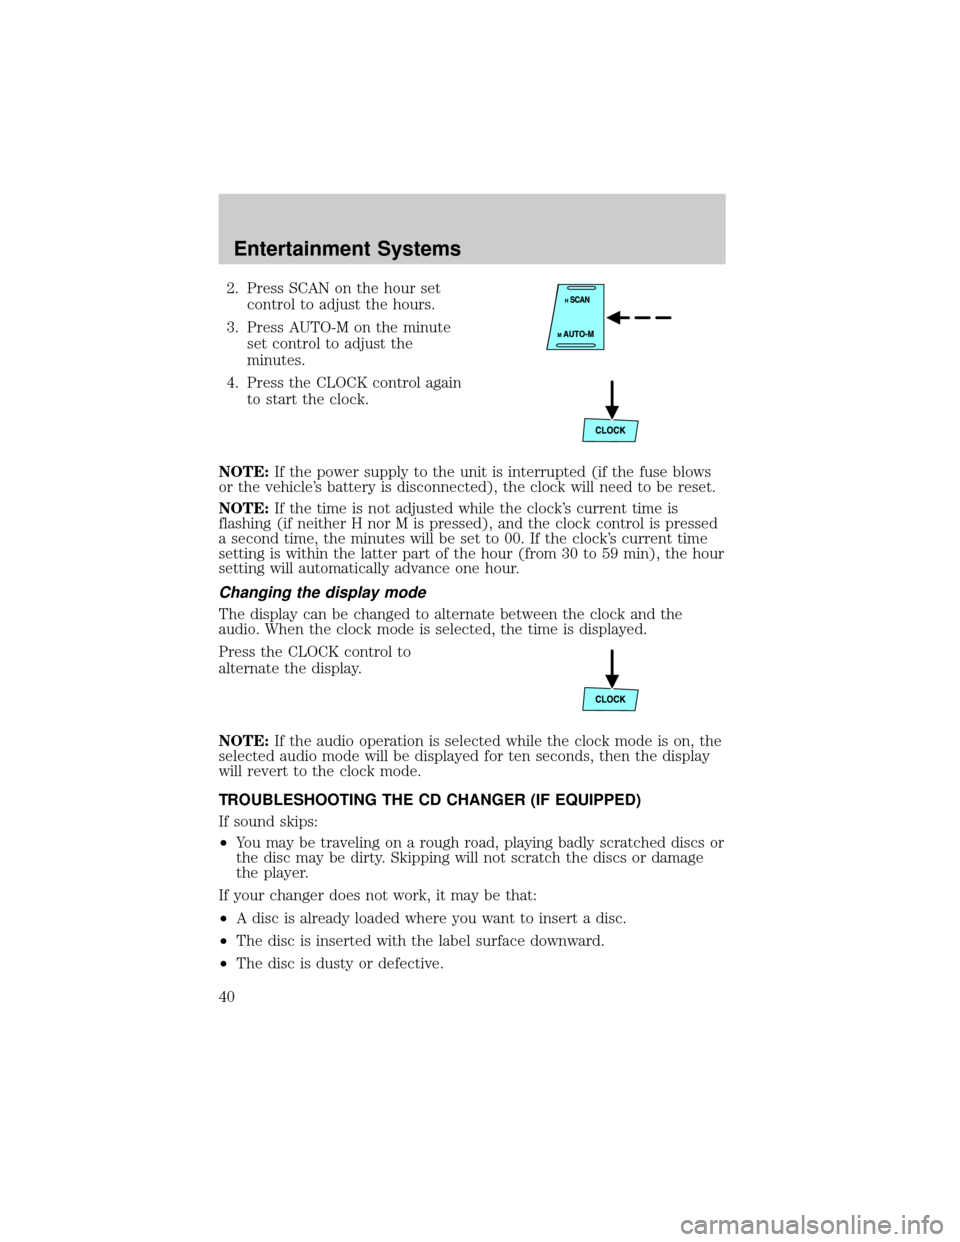
2. Press SCAN on the hour set
control to adjust the hours.
3. Press AUTO-M on the minute
set control to adjust the
minutes.
4. Press the CLOCK control again
to start the clock.
NOTE:If the power supply to the unit is interrupted (if the fuse blows
or the vehicle's battery is disconnected), the clock will need to be reset.
NOTE:If the time is not adjusted while the clock's current time is
flashing (if neither H nor M is pressed), and the clock control is pressed
a second time, the minutes will be set to 00. If the clock's current time
setting is within the latter part of the hour (from 30 to 59 min), the hour
setting will automatically advance one hour.
Changing the display mode
The display can be changed to alternate between the clock and the
audio. When the clock mode is selected, the time is displayed.
Press the CLOCK control to
alternate the display.
NOTE:If the audio operation is selected while the clock mode is on, the
selected audio mode will be displayed for ten seconds, then the display
will revert to the clock mode.
TROUBLESHOOTING THE CD CHANGER (IF EQUIPPED)
If sound skips:
²You may be traveling on a rough road, playing badly scratched discs or
the disc may be dirty. Skipping will not scratch the discs or damage
the player.
If your changer does not work, it may be that:
²A disc is already loaded where you want to insert a disc.
²The disc is inserted with the label surface downward.
²The disc is dusty or defective.
Entertainment Systems
40