window MERCEDES-BENZ C-CLASS CABRIOLET 2018 Owner's Guide
[x] Cancel search | Manufacturer: MERCEDES-BENZ, Model Year: 2018, Model line: C-CLASS CABRIOLET, Model: MERCEDES-BENZ C-CLASS CABRIOLET 2018Pages: 350, PDF Size: 5.73 MB
Page 92 of 350

moving parts. Release the switch if somebodybecomes trapped.
Opening and closing
The SmartKey must be in close proximity to the
vehicle.
XClose the trunk partition (Ypage 90).
Otherwise only the side windows open.
XTo open: press and hold the %button in
the SmartKey until the soft top is completely
open.
The multifunction display shows the opening
process of the soft top. The seat ventilation is
switched on.
XTo close: press and hold the &button in
the SmartKey until the soft top is completely
closed.
The multifunction display shows the closing
process of the soft top.
Relocking the soft top
Important safety notes
GWARNING
If you do not fully open/close the soft top, the
soft-top hydraulics depressurize after a short
time. This causes the soft top to lower unex-
pectedly and may cause you or others to be
trapped. There is a risk of injury.
Always open or close the soft top completely.
The soft top is not locked if:
Rthe Open/Close Convertible Top Com‐pletelymessage is shown in the multifunc-
tion display
Ryou hear a warning tone for up to ten seconds
when pulling away or while driving
Locking
You can lock the soft top again if it is not locked
fully.
XPull over and stop the vehicle safely as soon
as possible, paying attention to road and traf-
fic conditions.
XTurn the SmartKey to position 2in the igni-
tion lock.
XPress the soft-top switch (Ypage 89).
Trunk partition
General notes
The trunk partition can be used to cover luggage
and loads in the trunk.
The soft top can be opened only when the man-
ual trunk partition is closed. In vehicles with a
partially electrical trunk partition, this automat-
ically closes when the soft top is opened.
!In order to avoid damaging the soft top or
stowed loads, please adhere to the following
while the soft top is open:
Rwhen the trunk partition is open, do not
place any objects in or behind the net on
the side that are too long. These objects
could obstruct the trunk partition or cause
damage to the open soft top.
Rmake sure that the cargo does not push the
trunk partition upwards.
Opening and closing
Depending on the vehicle equipment, your vehi-
cle is installed with a partially electrical or a
manual trunk partition.
90Soft top
Opening and closing
Page 94 of 350

GWARNING
If the wind screen is incorrectly installed, it
could detach itself during a journey and
endanger other road users. There is a risk of
an accident and injury.
Install the wind screen as described.
!Install or remove the wind screen only when
the soft top is open. You could otherwise
damage the wind screen or the vehicle inte-
rior.
!Observe the backrest position of the front
seats if the wind screen is installed, since the
backrest could collide with the wind screen
here.
!Mercedes-Benz recommends that you only
use wind screens which have been tested and
approved for Mercedes-Benz vehicles. This
helps to prevent damage to the vehicle.
The folding wind screen protects against wind
when driving with the soft top open. It is secured
above the rear bench seats. For this reason, only
the driver and the front passenger can travel in
the vehicle when the folding wind screen is
installed.
The folding wind screen can be installed or
removed from the driver's side or passenger
side.
For operations involving the folding wind screen, it is preferable to be positioned on the side of the
vehicle facing away from the traffic, after stop-
ping the vehicle in accordance with the traffic
conditions.
Installing/removing the folding wind
screen
Installing
The folding wind screen is stowed in a bag. The
bag is attached with a lashing strap to the
through-loading facility behind the rear seats.
If you wish to use the through-loading facility,
loosen the lashing strap attached to the
through-loading facility and stow the folding
wind screen in the trunk. Use the lashing strap
to fasten the bag to one of the luggage hooks in
the trunk.
XOpen all side windows and the soft top.
XFold the rear seats forward (Ypage 265) and
remove the bag containing the folding wind
screen.
XRemove the folding wind screen from the bag.
XFold out folding wind screen :as shown.
XFold out the two brackets ;to the left and
right.
XAlign brackets ;of folding wind screen :
with both rear fixtures =on the vehicle.
92Soft top
Opening and closing
Page 101 of 350

Switching the seat heating on/off
Switching on/off
GWARNING
Repeatedly switching on the seat heating can
cause the seat cushion and backrest pads to
become very hot. The health of persons with
limited temperature sensitivity or a limited
ability to react to high temperatures may be
affected or they may even suffer burn-like
injuries. There is a risk of injury.
Therefore, do not switch the seat heating on
repeatedly.
The three red indicator lamps in the button indi-
cate the heating level you have selected.
The system automatically switches down from
level 3to level 2after approximately eight
minutes.
The system automatically switches down from
level 2to level 1after approximately ten
minutes.
The system automatically switches off approx-
imately 20 minutes after it is set to level 1.
XTurn the SmartKey to position1or2 in the
ignition lock (Ypage 123).
XTo switch on: press button:repeatedly
until the desired heating level is set.
XTo switch off: press button:repeatedly
until all the indicator lamps go out.
iIf the battery voltage is too low, the seat
heating may switch off.
iIf drive program Eis selected, the power of
the seat heating is reduced.
Switching the seat ventilation on/off
Switching on/off
The blue indicator lamps in the button indicate
the ventilation level you have selected.
XTurn the SmartKey to position 1or2 in the
ignition lock (Ypage 123).
XTo switch on: press button:repeatedly
until the desired ventilation level is set.
XTo switch off: press button:repeatedly
until all the indicator lamps go out.
iIf the battery voltage is too low, the seat
ventilation may switch off.
iYou can open the side windows and the soft
top with the SmartKey (Ypage 90). The seat
ventilation of the driver's seat automatically
switches to the highest level.
iWhen the vehicle is stationary, the fan
speed can be reduced automatically. This
reduces the noises of the seat ventilation.
Seats99
Seats, steering wheel and mirrors
Z
Page 102 of 350

Problems with the seat heating / seat ventilation
ProblemPossible causes/consequences andMSolutions
The seat heating or seat
ventilation has switched
off prematurely or can-
not be switched on.The on-board voltage is too low because too many electrical consum-
ers are switched on.
XSwitch off electrical consumers that you do not need, such as the
rear window defroster or interior lighting.
Once the battery is sufficiently charged, the seat heating or seat
ventilation can be switched back on manually.
AIRSCARF
Switching on/off
GWARNING
When AIRSCARF is switched on, very hot air
can flow from the vents in the head restraints. This could result in burns in the immediate
vicinity of the air vents. There is a risk of injury.
Reduce the heater output before it becomes
too hot.
The AIRSCARF function warms the head and
neck area of vehicle occupants with warm air.
The warm air flows out of the holes in the head
restraints.
The three red indicator lamps in the button indi-
cate the heating level you have selected.
XMake sure that the SmartKey is in position 1
or 2 in the ignition lock.
XTo switch on: press button:.
Three red indicator lamps in the button light
up. The blower starts up after a preheating
phase of seven seconds.
XPress button :repeatedly until the desired
heating level is set.
XTo switch off: press button:repeatedly
until all the indicator lamps go out.
Adjust the height of the current of air blown out according to your height while adjusting the
height of the head restraint.
Make sure that there are no objects covering the
intake grille on the back of the driver's seat head
restraint.
iThe blower continues running for seven sec-
onds to cool down the heating elements.
iIf the battery voltage is too low, AIRSCARF
may switch off.
Steering wheel
Important safety notes
GWARNING
You could lose control of your vehicle if you do the following while driving:
Radjust the driver's seat, head restraint,
steering wheel or mirrors
Rfasten the seat belt
There is a risk of an accident.
Adjust the driver's seat, head restraint, steer-
ing wheel and mirror and fasten your seat belt before starting the engine.
GWARNING
Children could injure themselves if they
adjust the steering wheel. There is a risk of
injury.
100Steering wheel
Seats, steering wheel and mirrors
Page 103 of 350

When leaving the vehicle, always take the
SmartKey with you and lock the vehicle. Never
leave children unsupervised in the vehicle.
The electrically adjustable steering wheel can
still be adjusted when there is no key in the igni-
tion lock.
Adjusts the steering wheel electri-
cally
:Adjusts the steering wheel height
;Adjusts the steering wheel position (fore-
and-aft adjustment)
iFurther related subjects:
REASY-ENTRY/EXIT feature (Ypage 101)
RStoring settings (Ypage 106)
Steering wheel heating
Switching on/off
XTurn the SmartKey to position 2in the igni-
tion lock (Ypage 123).
XTo switch on/off: turn the lever in the direc-
tion of arrow :or;.
Indicator lamp =lights up or goes out.
If you switch off the ignition, the steering wheel
heating is deactivated.
Problems with the steering wheel heating
ProblemPossible causes/consequences and MSolutions
The steering wheel heat-
ing has switched off pre-
maturely or cannot be
switched on.The on-board voltage is too low because too many electrical consum-
ers are switched on.
XSwitch off electrical consumers that you do not need, such as the
rear window defroster or interior lighting.
EASY-ENTRY/EXIT feature
Important safety notes
GWARNING
When the EASY-ENTRY/EXIT feature adjusts
the steering wheel, you and other vehicle
occupants – particularly children – could
become trapped. There is a risk of injury.
While the EASY-ENTRY/EXIT feature is mak-
ing adjustments, make sure that no one has
any body parts in the sweep of the steering
wheel.
Move the steering wheel adjustment lever if
there is a risk of entrapment by the steering
wheel. The adjustment process is stopped.
Steering wheel101
Seats, steering wheel and mirrors
Z
Page 117 of 350

Overview of climate control systems
General notes
Observe the settings recommended on the fol-
lowing pages. The windows could otherwise fog
up.
To prevent the windows from fogging up:
Rswitch off climate control only briefly
Rswitch on air-recirculation mode only briefly
Rswitch on the cooling with air dehumidifica-
tion function
Ractivate the "Windshield defrosting" function
briefly, if required
Climate control regulates the temperature and
air humidity in the vehicle interior. The interior
filter cleans the air, thus improving the interior
climate.
The "Cooling with air dehumidification" function
is only available when the engine is running.
Optimum climate control is only achieved with
the side windows and roof closed.
If you start the engine using your smartphone,
the last selected climate control setting is reac-
tivated (
Ypage 126). The integrated filter filters out most particles of
dust and soot and completely filters out pollen.
It also reduces gaseous pollutants and odors. A
clogged filter reduces the amount of air suppliedto the vehicle interior. For this reason, you
should always observe the interval for replacing
the filter, which is specified in the Maintenance
Booklet. As it depends on environmental condi-
tions, e.g. heavy air pollution, the interval may
be shorter than stated in the Maintenance Book-
let.
iVentilate the vehicle for a brief period during
warm weather, e.g. using the convenience
opening feature (
Ypage 90). This will speed
up the cooling process and the desired inte-
rior temperature will be reached more
quickly.
iIt is possible that the blower may be activa-
ted automatically 60 minutes after the Smart-
Key has been removed depending on various
factors, e.g. the outside temperature. The
vehicle is then ventilated for 30 minutes to dry
the automatic climate control.
Control panel for dual-zone automatic climate control
Example: control panel for dual-zone automatic climate control
:
Sets the temperature, left (Ypage 118)
;Sets the air distribution (Ypage 118)
=Sets the airflow (Ypage 118)
Switches off climate control (
Ypage 116)
Overview of climate control systems115
Climate control
Page 118 of 350
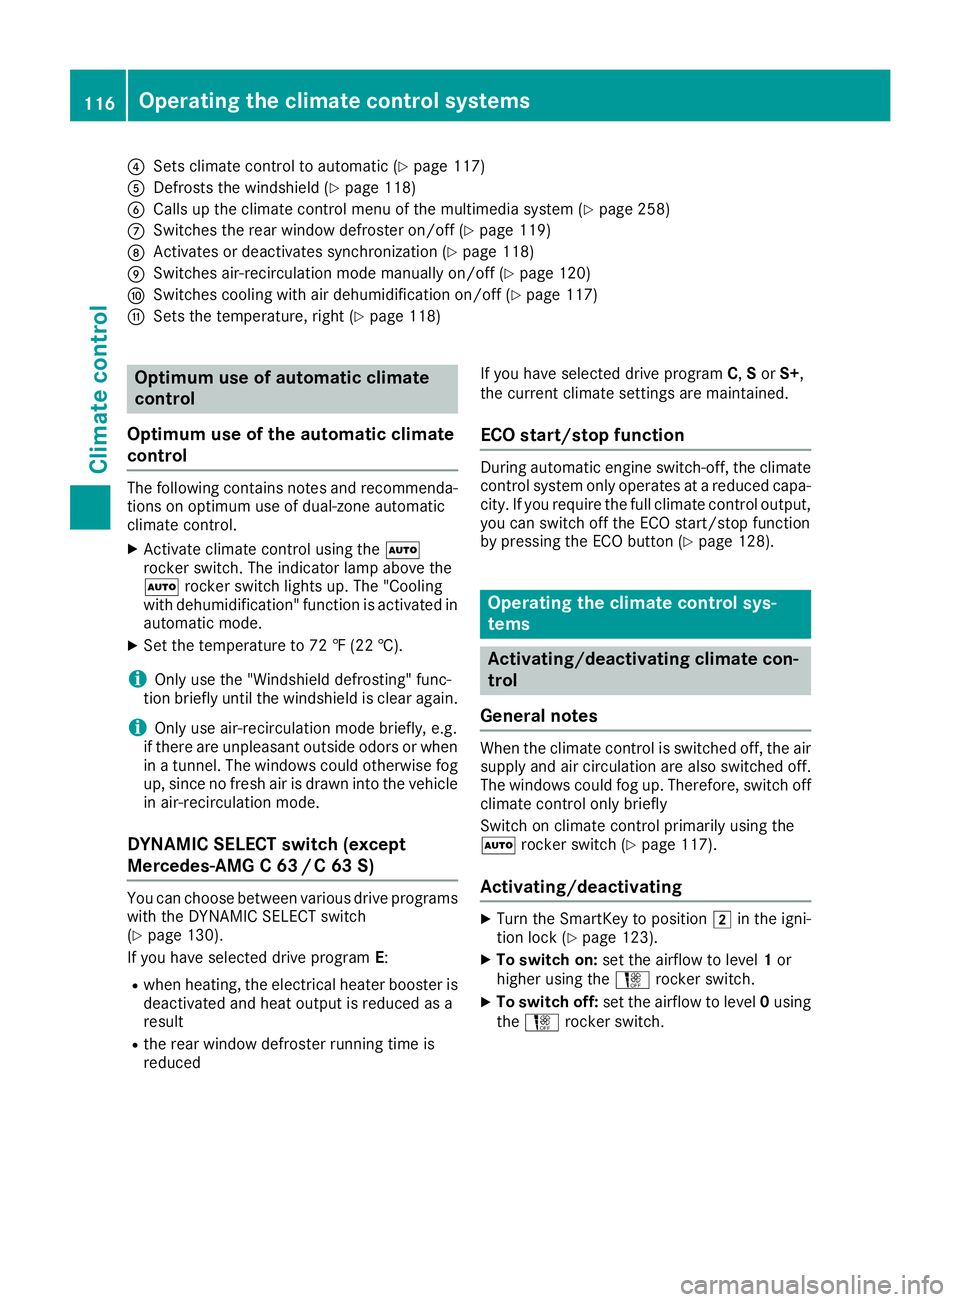
?Sets climate control to automatic (Ypage 117)
ADefrosts the windshield (Ypage 118)
BCalls up the climate control menu of the multimedia system (Ypage 258)
CSwitches the rear window defroster on/off (Ypage 119)
DActivates or deactivates synchronization (Ypage 118)
ESwitches air-recirculation mode manually on/off (Ypage 120)
FSwitches cooling with air dehumidification on/off (Ypage 117)
GSets the temperature, right (Ypage 118)
Optimum use of automatic climate
control
Optimum use of the automatic climate
control
The following contains notes and recommenda-
tions on optimum use of dual-zone automatic
climate control.
XActivate climate control using the Ã
rocker switch. The indicator lamp above the
à rocker switch lights up. The "Cooling
with dehumidification" function is activated in
automatic mode.
XSet the temperature to 72 ‡ (22 †).
iOnly use the "Windshield defrosting" func-
tion briefly until the windshield is clear again.
iOnly use air-recirculation mode briefly, e.g.
if there are unpleasant outside odors or when
in a tunnel. The windows could otherwise fog
up, since no fresh air is drawn into the vehicle in air-recirculation mode.
DYNAMIC SELECT switch (except
Mercedes-AMG C 63 /C63S)
You can choose between various drive programs
with the DYNAMIC SELECT switch
(
Ypage 130).
If you have selected drive program E:
Rwhen heating, the electrical heater booster is
deactivated and heat output is reduced as a
result
Rthe rear window defroster running time is
reduced If you have selected drive program
C,Sor S+,
the current climate settings are maintained.
ECO start/stop function
During automatic engine switch-off, the climate
control system only operates at a reduced capa-
city. If you require the full climate control output,
you can switch off the ECO start/stop function
by pressing the ECO button (
Ypage 128).
Operating the climate control sys-
tems
Activating/deactivating climate con-
trol
General notes
When the climate control is switched off, the air
supply and air circulation are also switched off.
The windows could fog up. Therefore, switch off
climate control only briefly
Switch on climate control primarily using the
à rocker switch (
Ypage 117).
Activating/deactivating
XTurn the SmartKey to position 2in the igni-
tion lock (Ypage 123).
XTo switch on: set the airflow to level 1or
higher using the Hrocker switch.
XTo switch off: set the airflow to level 0using
the H rocker switch.
116Operating the climate control systems
Climate control
Page 119 of 350
Switching cooling with air dehumidification on/off
General notes
If you deactivate the "Cooling with air-dehumidification" function, the air inside the vehicle will not
be cooled. The air inside the vehicle will also not be dehumidified. The windows can fog up more
quickly. Therefore, only deactivate the "Cooling with air-dehumidification" function briefly.
The "Cooling with air dehumidification" function is only available when the engine is running. The air
inside the vehicle is cooled and dehumidified according to the temperature selected.
Condensation may drip from the underside of the vehicle when it is in cooling mode. This is normal
and not a sign that there is a malfunction.
Activating/deactivating
XPress the ¿rocker switch up or down.
The indicator lamp above the rocker switch lights up or goes out.
Problems with the "Cooling with air dehumidification" function
ProblemPossible causes/consequences and MSolutions
The indicator lamp above
the¿ rocker switch
remains off. The cooling
with air dehumidification
function cannot be acti-
vated via the multimedia
system any longer
(
Ypage 258).
Cooling with air dehumidification has been deactivated due to a mal-
function.
XVisit a qualified specialist workshop.
Setting climate control to automatic
General notes
In automatic mode, the set temperature is main-
tained automatically at a constant level. The
system automatically regulates the temperature
of the dispensed air, the airflow and the air dis-
tribution.
During automatic controlling, the "Cooling with
air dehumidification" function is activated.
The system automatically detects whether the
soft top is open or closed and automatically
adjusts the air settings depending on the soft
top status.
Automatic control
XTurn the SmartKey to position 2in the igni-
tion lock (Ypage 123).
XTo activate: press theÃrocker switch up
or down.
The indicator lamp above the Ãrocker
switch lights up.
XSet the desired temperature using the w
rocker switch on the front control unit.
XTo switch to manual operation: press the
H rocker switch up or down.
or
XPress the _rocker switch up or down.
The indicator lamp above the Ãrocker
switch goes out.
In automatic mode, if you adjust the airflow or
air distribution manually, the indicator lamp
above the Ãrocker switch goes out. The
function which has not been changed manually,
however, continues to be controlled automati-
cally. When the manually set function switches
Operating the climate control systems117
Climate control
Page 120 of 350
back to automatic mode, the indicator lamp
above theÃrocker switch lights up again.
Setting the temperature
Dual-zone automatic climate control: different
temperatures can be set for the driver's and
front-passenger sides.
XTurn the SmartKey to position 2in the igni-
tion lock (Ypage 123).
XTo increase or reduce: press thew
rocker switch up or down.
Only change the temperature setting in small
increments. Start at 72 ‡ (22 †).
Setting the air distribution
Air distribution settings
¯ Directs air through the defroster vents
P Directs air through the center and side air
vents
O Directs air through the footwell air vents
S Directs air through the center, side and
footwell vents
a Directs air through the defroster and
footwell vents
_ Directs air through the defroster, center,
side and footwell vents
b Directs air through the defroster, center
and side air vents
W Sets the air distribution to automatic
Setting
XTurn the SmartKey to position 2
(Ypage 123).
XPress the _rocker switch up or down.
The various air distribution settings appear in
the multimedia system.
Setting the airflow
XTurn the SmartKey to position 2in the igni-
tion lock (Ypage 123).
XTo increase or reduce: press theH
rocker switch up or down.
Activating or deactivating the syn-
chronization function
General notes
Climate control can be set centrally using the
synchronization function. The temperature set-
ting is adopted for the front-passenger side.
Activating/deactivating
XPress the 0rocker switch up or down.
The indicator lamp above the 0rocker
switch lights up or goes out.
or
XActivate or deactivate the "Synchronization"
function using the multimedia system
(
Ypage 118).
The synchronization function deactivates if the
settings for the front-passenger side are
changed.
Defrosting the windshield
General notes
You can use this function to defrost the wind-
shield or to clear a fogged up windshield or front
side windows on the inside.
Switch off the "Windshield defrosting" function
as soon as the windshield is clear again.
Switching the "Windshield defrosting"
function on or off
XTurn the SmartKey to position 2in the igni-
tion lock (Ypage 123).
XTo switch on: press rocker switch ¬on
the front control unit up or down.
The indicator lamp above the ¬rocker
switch lights up. The current climate control
settings are deactivated.
The climate control system switches to the
following functions:
Rhigh airflow
Rhigh temperature
Rair distribution to the windshield and front
side windows
Rair-recirculation mode off
iIf necessary, the "Cooling with air dehumid-
ification" function is activated. In this case,
118Operating the climate control systems
Climate control
Page 121 of 350
the indicator lamp above the¿rocker
switch remains switched off.
XTo switch off: press rocker switch ¬up or
down.
The indicator lamp above the ¬rocker
switch goes out. The previously selected set-
tings are restored. Air-recirculation mode
remains deactivated.
Defrosting the windows
Windows fogged up on the inside
XActivate the "Cooling with air dehumidifica-
tion" function with the ¿rocker switch.
XSwitch on automatic mode using the Ã
rocker switch.
XIf the windows continue to fog up, activate the "Windshield defrosting" function using the
¬ rocker switch.
iYou should only select this setting until the
windshield is clear again.
Windows fogged up on the outside
XActivate the windshield wipers.
XSwitch on automatic mode using the Ã
rocker switch.
iIf you clean the windows regularly, they do
not fog up so quickly.
Rear window defroster
General notes
The rear window defroster has a high current
draw. You should therefore switch it off as soon
as the rear window is clear. Otherwise, the rear
window defroster switches off automatically
after several minutes.
If the battery voltage is too low, the rear window defroster may switch off.
Activating/deactivating
XTurn the SmartKey to position 2in the igni-
tion lock (Ypage 123).
XPress rocker switch ¤up or down.
The indicator lamp above rocker switch ¤
lights up or goes out.
Problems with the rear window defroster
ProblemPossible causes/consequences and MSolutions
The rear window
defroster has deactiva-
ted prematurely or can-
not be activated.The battery has not been sufficiently charged.
XSwitch off any consumers that are not required, e.g. reading lamps,
interior lighting or the seat heating.
When the battery is sufficiently charged, the rear window defroster
can be activated again.
Switching air-recirculation mode
on/off
General notes
You can also temporarily deactivate the flow of
fresh air manually if unpleasant odors are enter-
ing the vehicle from outside. The air already
inside the vehicle will then be recirculated.
If you switch on air-recirculation mode, the win-
dows can fog up more quickly, in particular at low temperatures. Only use air-recirculation
mode briefly to prevent the windows from fog-
ging up.
Operating the climate control systems119
Climate control