MERCEDES-BENZ C CLASS COUPE 2002 Owners Manual
Manufacturer: MERCEDES-BENZ, Model Year: 2002, Model line: C CLASS COUPE, Model: MERCEDES-BENZ C CLASS COUPE 2002Pages: 399, PDF Size: 16.59 MB
Page 181 of 399
178
Audio system
Te ch n i c a l
data
Instruments
and controls Operation
DrivingInstrument
cluster display Practical hints Car care Index
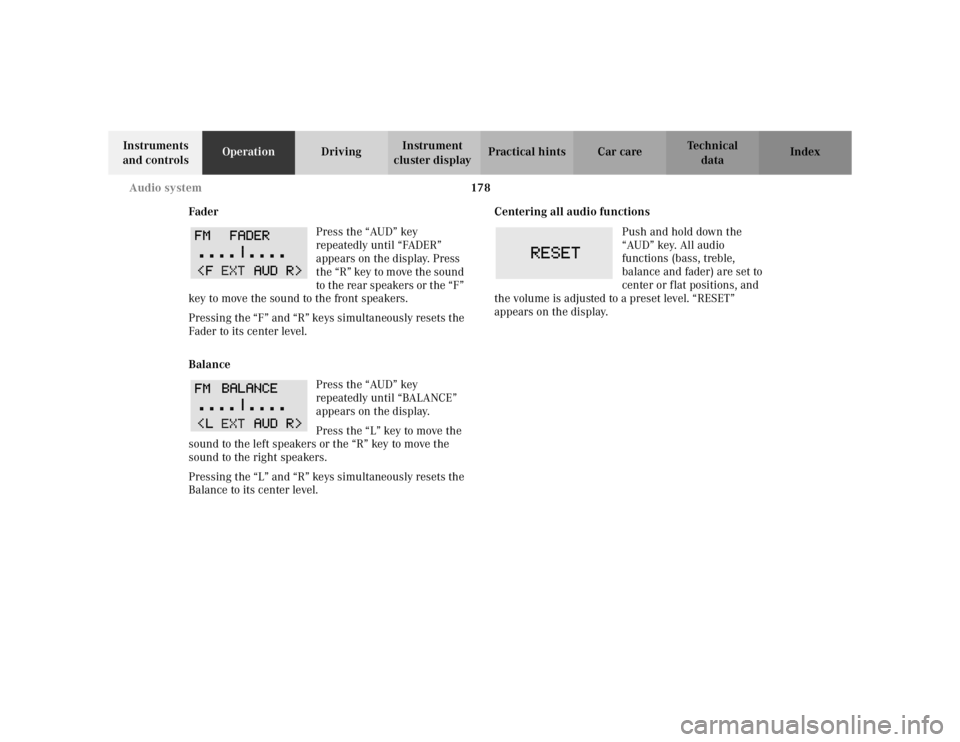
Fader Press the “AUD” key
repeatedly until “FADER”
appears on the display. Press
the “R” key to move the sound
to the rear speakers or the “F”
key to move the sound to the front speakers.
Pressing the “F” and “R” keys simultaneously resets the
Fader to its center level.
Balance
Press the “AUD” key
repeatedly until “BALANCE”
appears on the display.
Press the “L” key to move the
sound to the left speakers or the “R” key to move the
sound to the right speakers.
Pressing the “L” and “R” keys simultaneously resets the
Balance to its center level. Centering all audio functions
Push and hold down the
“AUD” key. All audio
functions (bass, treble,
balance and fader) are set to
center or flat positions, and
the volume is adjusted to a preset level. “RESET”
appears on the display.
Page 182 of 399
179
Audio system
Te ch n i c a l
data
Instruments
and controls Operation
DrivingInstrument
cluster display Practical hints Car care Index
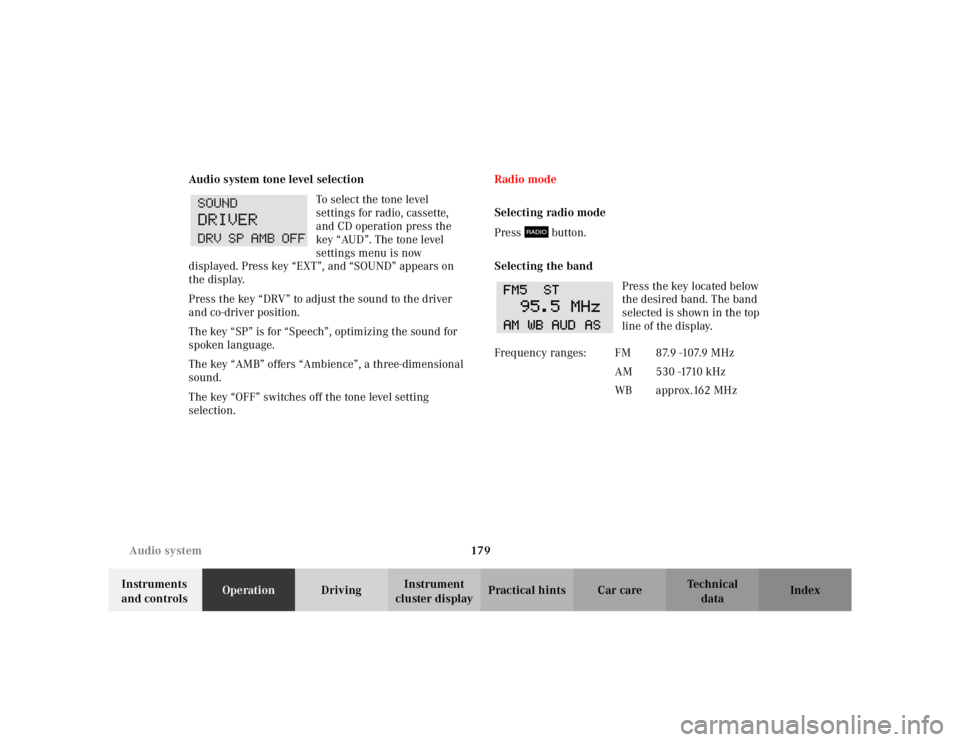
Audio system tone level selection
To select the tone level
settings for radio, cassette,
and CD operation press the
key “AUD”. The tone level
settings menu is now
displayed. Press key “EXT”, and “SOUND” appears on
the display.
Press the key “DRV” to adjust the sound to the driver
and co-driver position.
The key “SP” is for “Speech”, optimizing the sound for
spoken language.
The key “AMB” offers “Ambience”, a three-dimensional
sound.
The key “OFF” switches off the tone level setting
selection. Radio mode
Selecting radio mode
Press button.
Selecting the band
Press the key located below
the desired band. The band
selected is shown in the top
line of the display.
Frequency ranges: FM 87.9 -107.9 MHzAM 530 -1710 kHz
WB approx.162 MHz
Page 183 of 399
180
Audio system
Te ch n i c a l
data
Instruments
and controls Operation
DrivingInstrument
cluster display Practical hints Car care Index
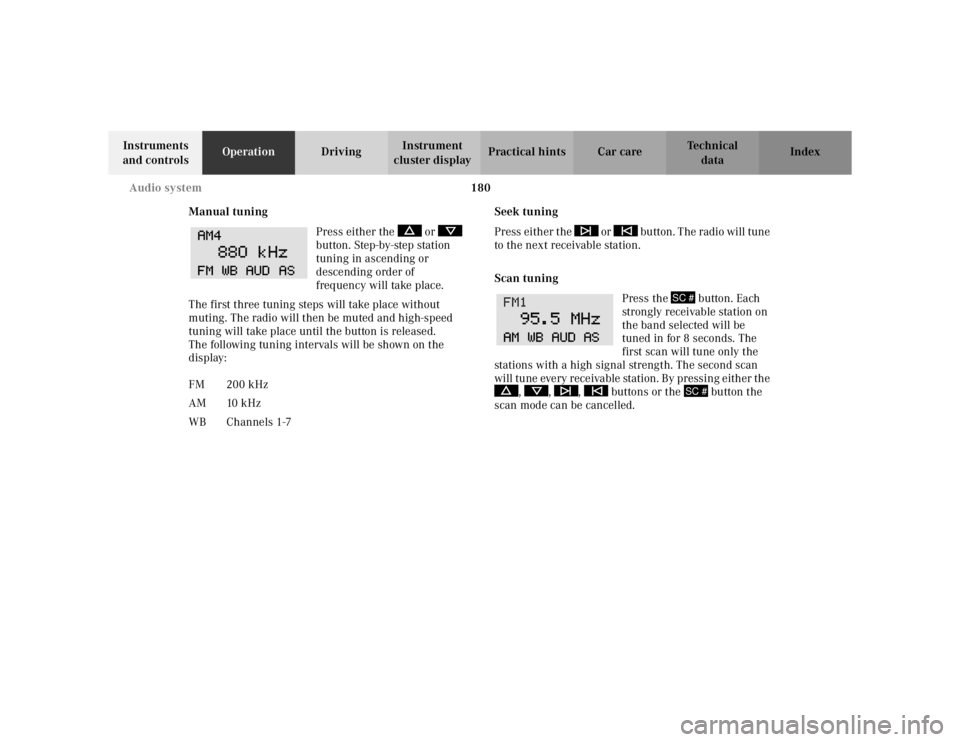
Manual tuning Press either the or
button. Step-by-step station
tuning in ascending or
descending order of
frequency will take place.
The first three tuning steps will take place without
muting. The radio will then be muted and high-speed
tuning will take place until the button is released.
The following tuning intervals will be shown on the
display: Seek tuning
Press either the or button. The radio will tune
to the next receivable station.
Scan tuning
Press the button. Each
strongly receivable station on
the band selected will be
tuned in for 8 seconds. The
first scan will tune only the
stations with a high signal strength. The second scan
wi ll tune eve ry r ece ivable station . By pr ess in g e it her t he , , , buttons or the button the
scan mode can be cancelled.
FM 200 kHz
AM 10 kHz
WB Channels 1-7
SC #
SC #
Page 184 of 399
181
Audio system
Te ch n i c a l
data
Instruments
and controls Operation
DrivingInstrument
cluster display Practical hints Car care Index
We a t h e r B a n d
Press the “WB” key. The last weather band station is
tuned in.
Use buttons - to select a different station. If
the station cannot be received, the next available station
is selected automatically.
Press button or . The next available station is
tuned in. The message “WB NONE” appears if no station
can be received.
Station memory
Ten stations each in the AM and FM bands can be stored
via the alpha-numeric keypad. The button
corresponds to location 10. Weatherband (WB)
channels 1 to 7 are preset at the factory and can be
retrieved via the alpha-numeric keypad, but cannot be
changed.
Storing stations automatically (Autostore)
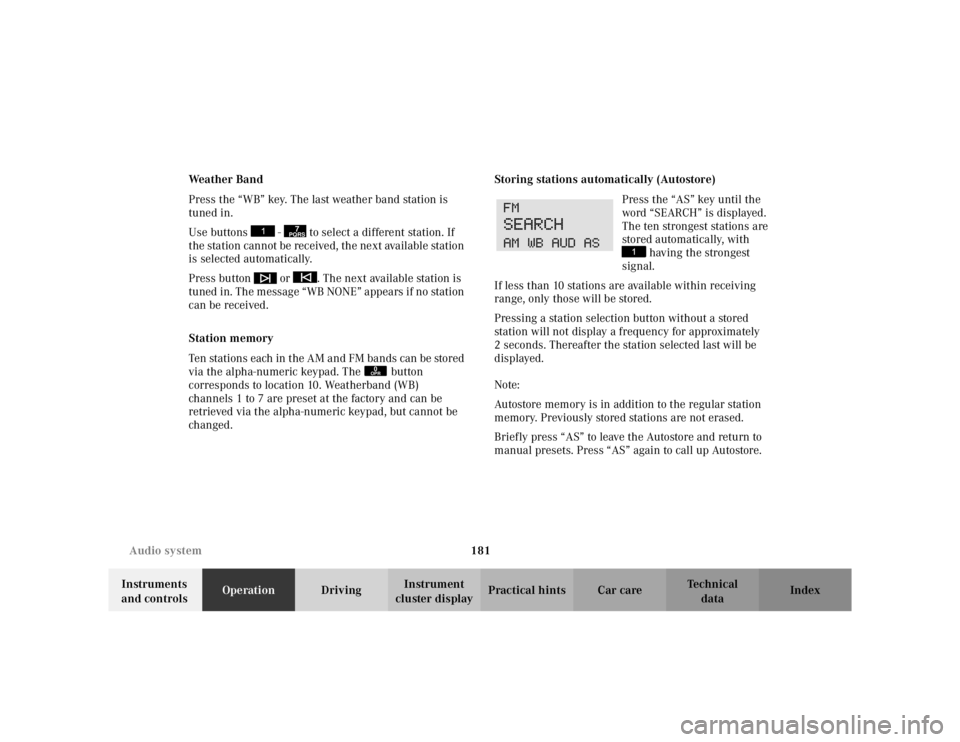
Press the “AS” key until the
word “SEARCH” is displayed.
The ten strongest stations are
stored automatically, with having the strongest
signal.
If less than 10 stations are available within receiving
range, only those will be stored.
Pressing a station selection button without a stored
station will not display a frequency for approximately
2 seconds. Thereafter the station selected last will be
displayed.
Note:
Autostore memory is in addition to the regular station
memory. Previously stored stations are not erased.
Briefly press “AS” to leave the Autostore and return to
manual presets. Press “AS” again to call up Autostore.
7PQRS
0OPR
Page 185 of 399
182
Audio system
Te ch n i c a l
data
Instruments
and controls Operation
DrivingInstrument
cluster display Practical hints Car care Index
Storing stations
Hold the desired number button - down for
approximately 2 seconds. The currently displayed
frequency is stored on the selected station button. The
storage procedure is confirmed by a short signal tone.
Retrieving a station from memory
Press the desired station button - .
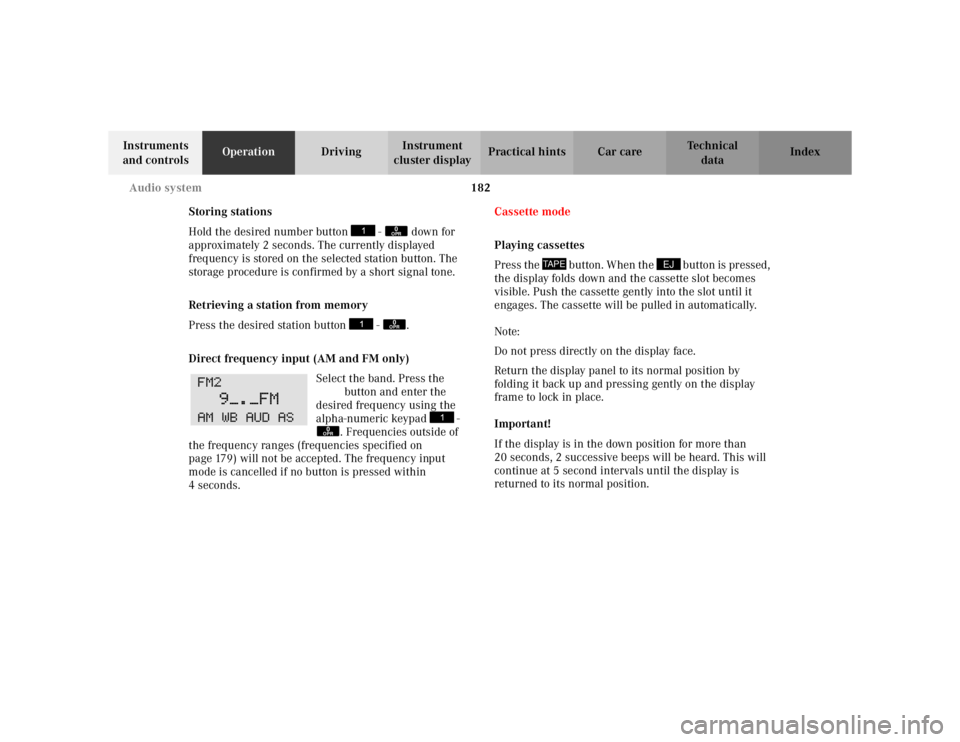
Direct frequency input (AM and FM only) Select the band. Press the
“ button and enter the
desired frequency using the
alpha-numeric keypad - . Frequencies outside of
the frequency ranges (frequencies specified on
page 179) will not be accepted. The frequency input
mode is cancelled if no button is pressed within
4seconds. Cassette mode
Playing cassettes
Press the button. When the button is pressed,
the display folds down and the cassette slot becomes
visible. Push the cassette gently into the slot until it
engages. The cassette will be pulled in automatically.
Note:
Do not press directly on the display face.
Return the display panel to its normal position by
folding it back up and pressing gently on the display
frame to lock in place.
Important!
If the display is in the down position for more than
20 seconds, 2 successive beeps will be heard. This will
continue at 5 second intervals until the display is
returned to its normal position.
0OPR0OPR
0OPR
TAPE
EJ
Page 186 of 399
183
Audio system
Te ch n i c a l
data
Instruments
and controls Operation
DrivingInstrument
cluster display Practical hints Car care Index
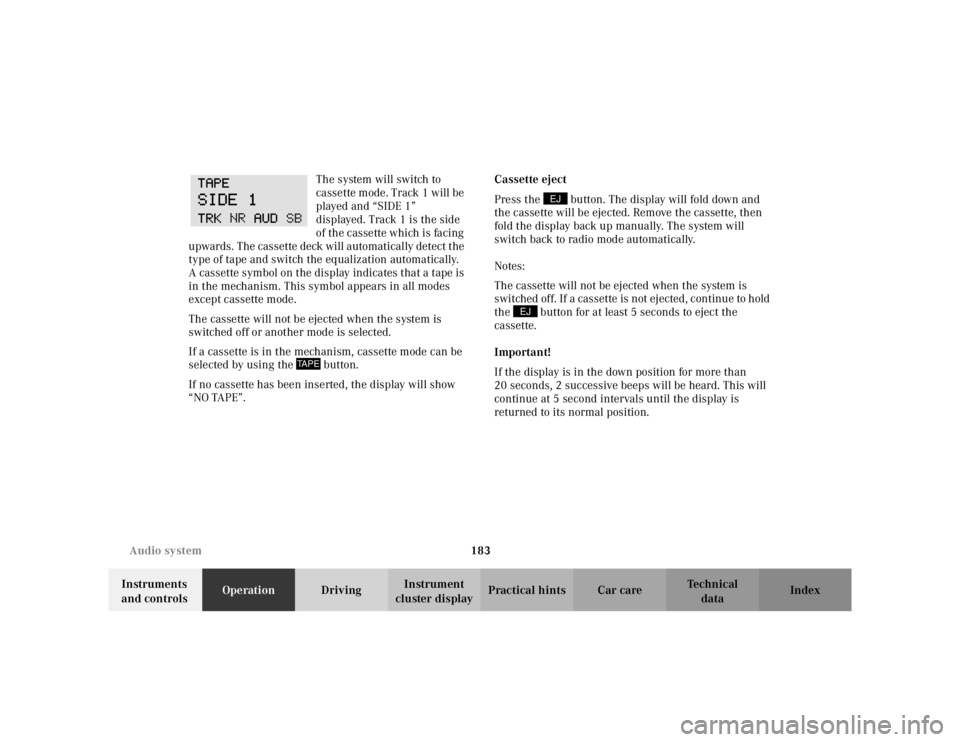
The system will switch to
cassette mode. Track 1 will be
played and “SIDE 1”
displayed. Track 1 is the side
of the cassette which is facing
upwards. The cassette deck will automatically detect the
type of tape and switch the equalization automatically.
A cassette symbol on the display indicates that a tape is
in the mechanism. This symbol appears in all modes
except cassette mode.
The cassette will not be ejected when the system is
switched off or another mode is selected.
If a cassette is in the mechanism, cassette mode can be
selected by using the button.
If no cassette has been inserted, the display will show
“NO TAPE”. Cassette eject
Press the button. The display will fold down and
the cassette will be ejected. Remove the cassette, then
fold the display back up manually. The system will
switch back to radio mode automatically.
Notes:
The cassette will not be ejected when the system is
switched off. If a cassette is not ejected, continue to hold
the button for at least 5 seconds to eject the
cassette.
Important!
If the display is in the down position for more than
20 seconds, 2 successive beeps will be heard. This will
continue at 5 second intervals until the display is
returned to its normal position.
TAPE
EJ
EJ
Page 187 of 399
184
Audio system
Te ch n i c a l
data
Instruments
and controls Operation
DrivingInstrument
cluster display Practical hints Car care Index
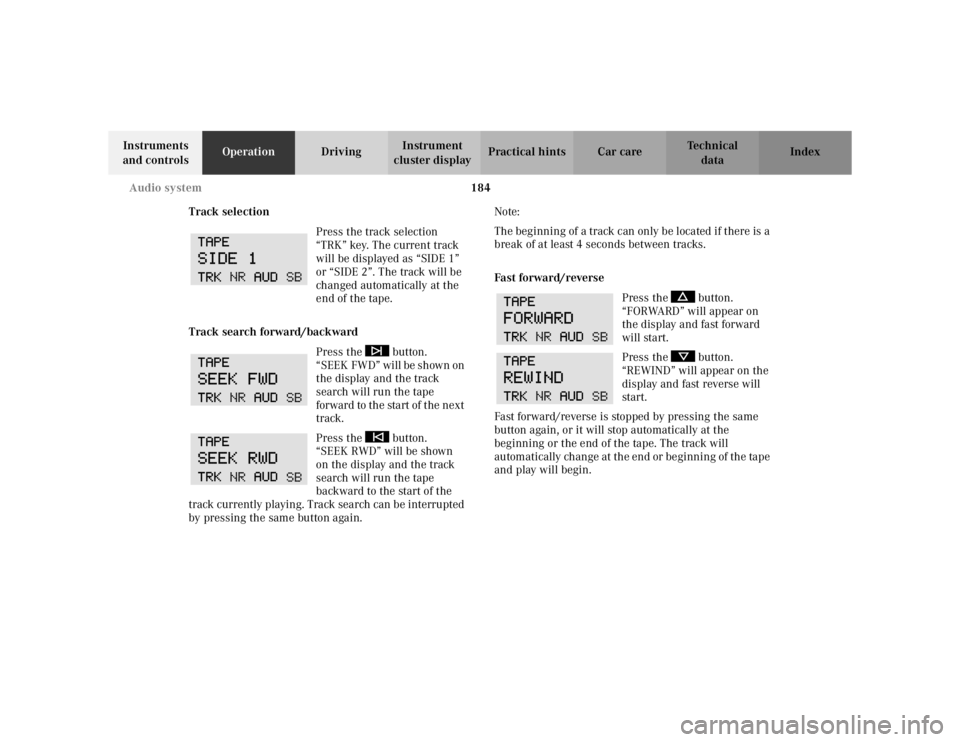
Track selection Press the track selection
“TRK” key. The current track
will be displayed as “SIDE 1”
or “SIDE 2”. The track will be
changed automatically at the
end of the tape.
Track search forward/backward Press the button.
“SEEK FWD” will be shown on
the display and the track
search will run the tape
forward to the start of the next
track.
Press the button.
“SEEK RWD” will be shown
on the display and the track
search will run the tape
backward to the start of the
track currently playing. Track search can be interrupted
by pressing the same button again. Note:
The beginning of a track can only be located if there is a
break of at least 4 seconds between tracks.
Fast forward/reverse
Press the button.
“FORWARD” will appear on
the display and fast forward
will start.
Press the button.
“REWIND” will appear on the
display and fast reverse will
start.
Fast forward/reverse is stopped by pressing the same
button again, or it will stop automatically at the
beginning or the end of the tape. The track will
automatically change at the end or beginning of the tape
and play will begin.
Page 188 of 399
185
Audio system
Te ch n i c a l
data
Instruments
and controls Operation
DrivingInstrument
cluster display Practical hints Car care Index
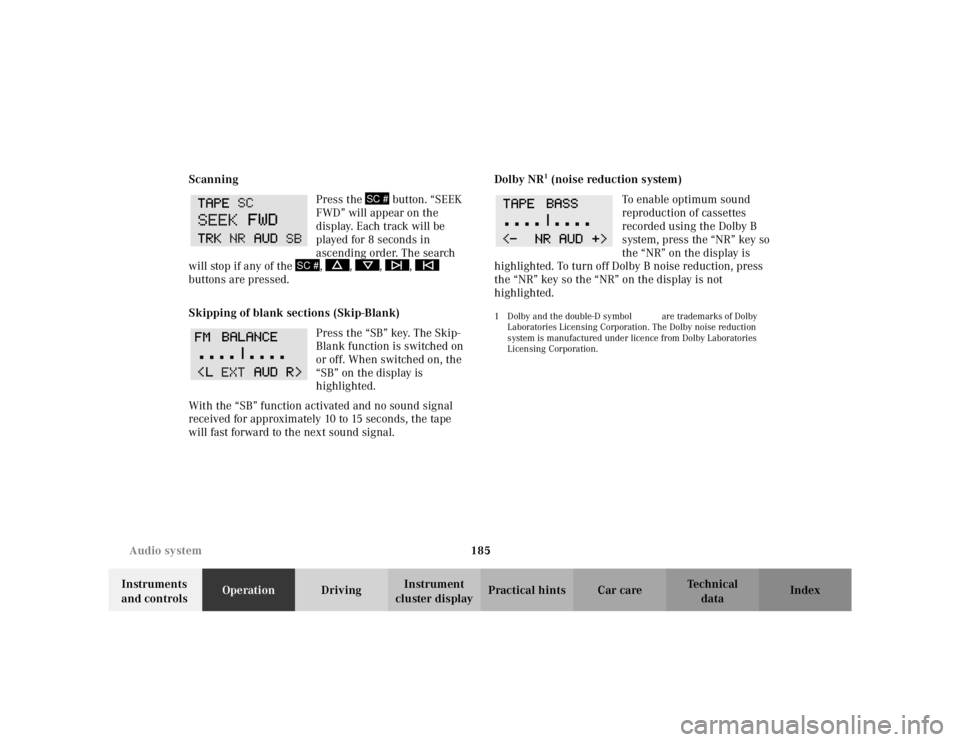
Scanning
Press the button. “SEEK
FWD” will appear on the
display. Each track will be
played for 8 seconds in
ascending order. The search
will stop if any of the , , , ,
buttons are pressed.
Skipping of blank sections (Skip-Blank)
Press the “SB” key. The Skip-
Blank function is switched on
or off. When switched on, the
“SB” on the display is
highlighted.
With the “SB” function activated and no sound signal
received for approximately 10 to 15 seconds, the tape
will fast forward to the next sound signal. Dolby NR
1 (noise reduction system)
To enable optimum sound
reproduction of cassettes
recorded using the Dolby B
system, press the “NR” key so
the “NR” on the display is
highlighted. To turn off Dolby B noise reduction, press
the “NR” key so the “NR” on the display is not
highlighted.
1 Dolby and the double-D symbol
Ù
are trademarks of Dolby
Laboratories Licensing Corporation. The Dolby noise reduction
system is manufactured under licence from Dolby Laboratories
Licensing Corporation.
SC #
SC #
Page 189 of 399
186
Audio system
Te ch n i c a l
data
Instruments
and controls Operation
DrivingInstrument
cluster display Practical hints Car care Index
CD mode
General notes on CD mode
Should excessive temperatures occur while in CD mode,
“CD TEMP HIGH” will appear on the display and muting
will take place. The unit will then switch back to radio
mode until the temperature has decreased to a safe
operating level.
Should temperatures occur while in CD mode which are
too low, “CD TEMP LOW” will be displayed, but the CD
will play. It will be sensitive to skipping if you are
driving over rough roads.
Handle CDs carefully to prevent interference during
playback.
Avoid fingerprints and dust on CDs. Do not write on the
CDs or apply any label or other material or devices to
the CDs.
Clean CDs from time to time with a commercially
available cleaning cloth. No solvents, anti-static sprays,
etc. should be used.
Replace the CD in its container after use. Protect CDs
from heat and direct sunlight. Only use CDs, which bear the
label shown and that conform to
the compact disc digital audio
standard (IEC 60908).
Use of CDs which do not meet this
standard may cause damage to the
CD changer. Do not play single-CDs (80 mm) with an
adapter.
1Optional equipmentWa r n i n g !
The CD changer
1 is a Class1 laser product. There is
a danger of invisible laser radiation if the cover is
opened or damaged.
Do not remove the cover. The CD changer
1 does not
contain any parts which can be serviced by the
user. For safety reasons, have any service work
which may be necessary performed only by
qualified personnel.
Page 190 of 399
187
Audio system
Te ch n i c a l
data
Instruments
and controls Operation
DrivingInstrument
cluster display Practical hints Car care Index
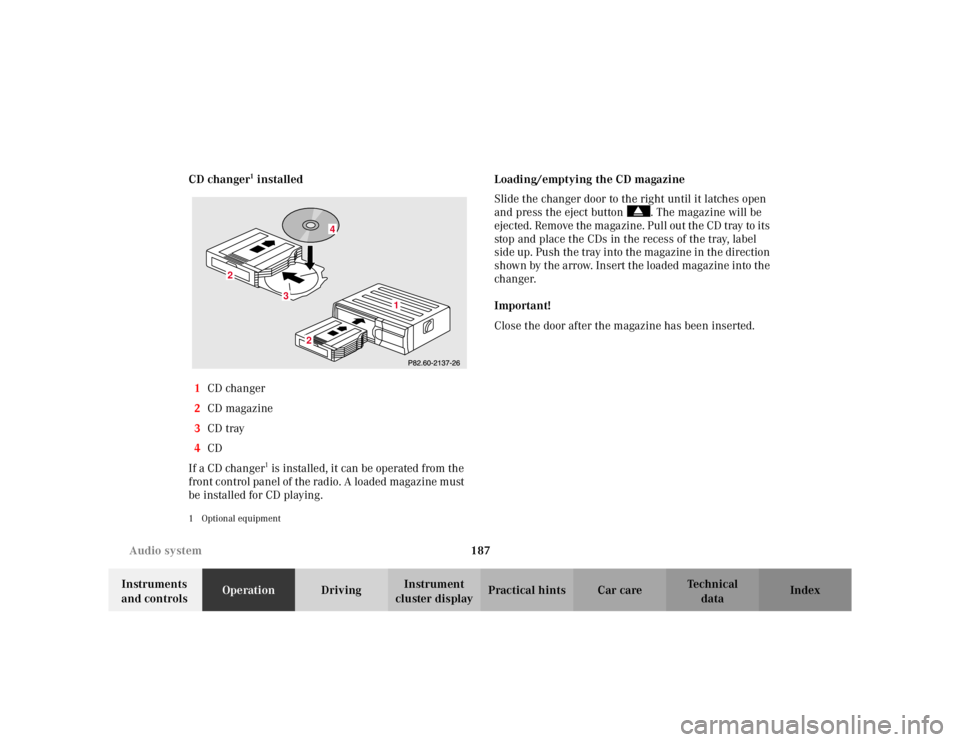
CD changer
1 installed
1 CD changer
2 CD magazine
3 CD tray
4 CD
If a CD changer1 is installed, it can be operated from the
front control panel of the radio. A loaded magazine must
be installed for CD playing.
1 Optional equipment
Loading/emptying the CD magazine
Slide the changer door to the right until it latches open
and press the eject button . The magazine will be
ejected. Remove the magazine. Pull out the CD tray to its
stop and place the CDs in the recess of the tray, label
side up. Push the tray into the magazine in the direction
shown by the arrow. Insert the loaded magazine into the
changer.
Important!
Close the door after the magazine has been inserted.
3
2
2
1
4