lock MERCEDES-BENZ C-CLASS SALOON 2014 Owners Manual
[x] Cancel search | Manufacturer: MERCEDES-BENZ, Model Year: 2014, Model line: C-CLASS SALOON, Model: MERCEDES-BENZ C-CLASS SALOON 2014Pages: 489, PDF Size: 14.88 MB
Page 446 of 489
approved for Mercedes-Benz vehicles and the
respective wheel. X
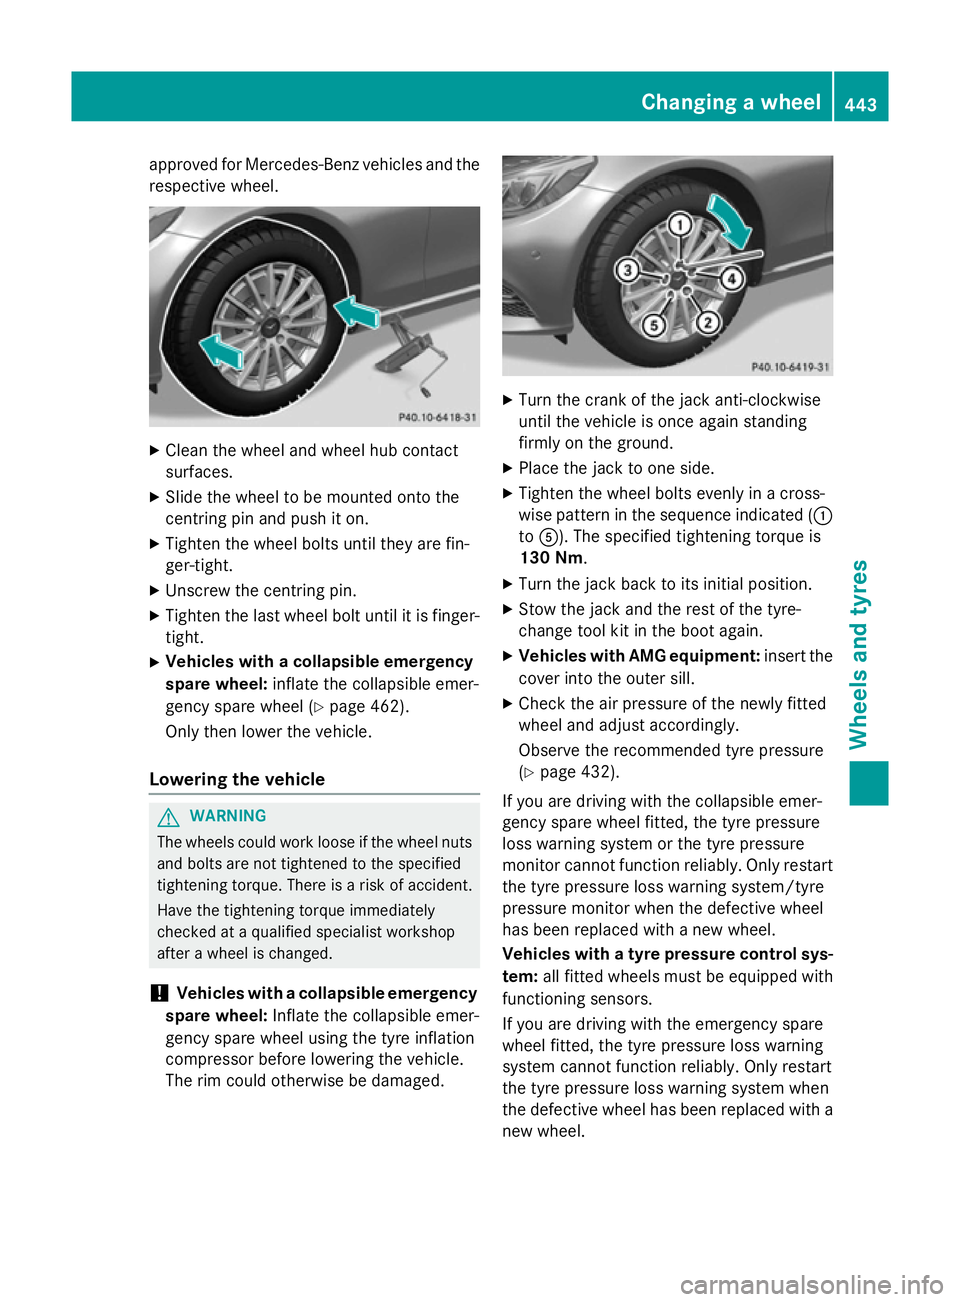
Clean the wheel and wheel hub contact
surfaces.
X Slide the wheel to be mounted onto the
centring pin and push it on.
X Tighten the wheel bolts until they are fin-
ger-tight.
X Unscrew the centring pin.
X Tighten the last wheel bolt until it is finger-
tight.
X Vehicles with a collapsible emergency
spare wheel: inflate the collapsible emer-
gency spare wheel (Y page 462).
Only then lower the vehicle.
Lowering the vehicle G
WARNING
The wheels could work loose if the wheel nuts and bolts are not tightened to the specified
tightening torque. There is a risk of accident.
Have the tightening torque immediately
checked at a qualified specialist workshop
after a wheel is changed.
! Vehicles with a collapsible emergency
spare wheel: Inflate the collapsible emer-
gency spare wheel using the tyre inflation
compressor before lowering the vehicle.
The rim could otherwise be damaged. X
Turn the crank of the jack anti-clockwise
until the vehicle is once again standing
firmly on the ground.
X Place the jack to one side.
X Tighten the wheel bolts evenly in a cross-
wise pattern in the sequence indicated ( :
to A). The specified tightening torque is
130 Nm.
X Turn the jack back to its initial position.
X Stow the jack and the rest of the tyre-
change tool kit in the boot again.
X Vehicles with AMG equipment: insert the
cover into the outer sill.
X Check the air pressure of the newly fitted
wheel and adjust accordingly.
Observe the recommended tyre pressure
(Y page 432).
If you are driving with the collapsible emer-
gency spare wheel fitted, the tyre pressure
loss warning system or the tyre pressure
monitor cannot function reliably. Only restart
the tyre pressure loss warning system/tyre
pressure monitor when the defective wheel
has been replaced with a new wheel.
Vehicles with a tyre pressure control sys-
tem: all fitted wheels must be equipped with
functioning sensors.
If you are driving with the emergency spare
wheel fitted, the tyre pressure loss warning
system cannot function reliably. Only restart
the tyre pressure loss warning system when
the defective wheel has been replaced with a
new wheel. Changing a wheel
443Wheels and tyres Z
Page 465 of 489
An emergency spare wheel may also be fitted
against the direction of rotation. Observe the
time restriction on use as well as the speed
limitation specified on the emergency spare
wheel.
Replace the tyres after six years at the latest,
regardless of wear. This also applies to the
emergency spare wheel.
If you are driving with the collapsible emer-
gency spare wheel fitted, the tyre pressure
loss warning system or the tyre pressure
monitor cannot function reliably. Only restart the tyre pressure loss warning system/tyre
pressure monitor when the defective wheel
has been replaced with a new wheel.
Vehicles with tyre pressure monitor: after
mounting an emergency spare wheel, the sys- tem may still display the tyre pressure of the
removed wheel for a few minutes. The value
displayed for the mounted emergency spare
wheel is not the same as the current tyre
pressure of the emergency spare wheel.
If you are driving with the emergency spare
wheel fitted, the tyre pressure loss warning
system cannot function reliably. Only restart
the tyre pressure loss warning system when
the defective wheel has been replaced with a
new wheel. Removing the emergency spare wheel
The emergency spare wheel is secured in the
emergency spare wheel bag in the boot.
X Open the boot.
X Detach the fastening straps.
X Unhook retaining spring hooks of fastening
straps from the retainers.
X Remove the emergency spare wheel bag
with the emergency spare wheel.
X Open the bag and remove the emergency
spare wheel.
Observe the instructions and safety notes in
the "Fitting a wheel" section (Y page 438). Inflating the collapsible emergency
spare wheel
! Inflate the collapsible emergency spare
wheel using the tyre inflation compressor
before lowering the vehicle. The wheel rim
could otherwise be damaged.
! Do not operate the tyre inflation com-
pressor for longer than eight minutes at a
time without a break. It may otherwise
overheat.
The tyre inflation compressor can be oper-
ated again once it has cooled down. X
Mount the collapsible emergency spare
wheel as described (Y page 437).
The collapsible emergency spare wheel
must be mounted before it is inflated.
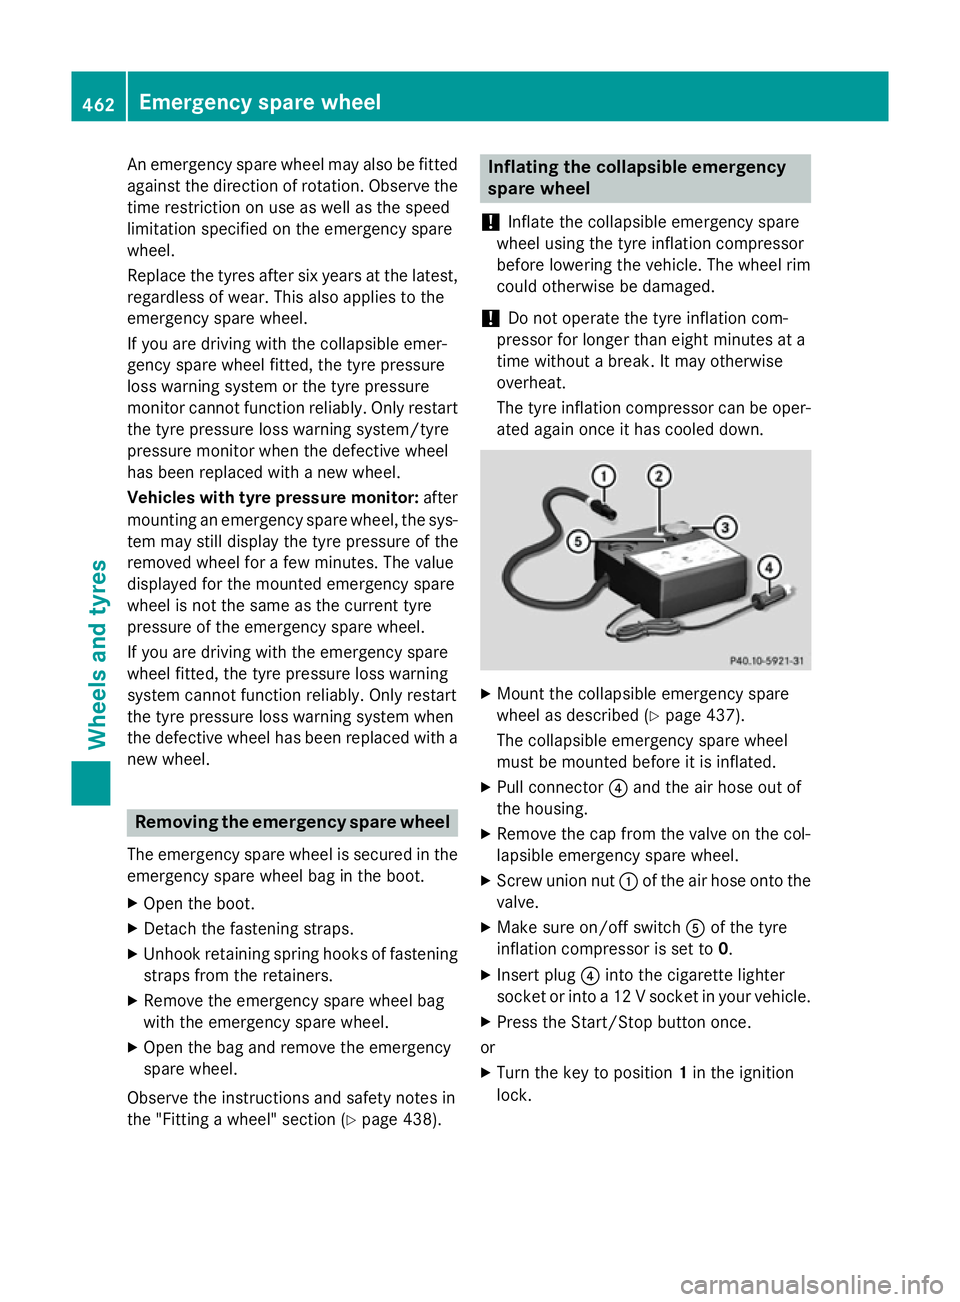
X Pull connector ?and the air hose out of
the housing.
X Remove the cap from the valve on the col-
lapsible emergency spare wheel.
X Screw union nut :of the air hose onto the
valve.
X Make sure on/off switch Aof the tyre
inflation compressor is set to 0.
X Insert plug ?into the cigarette lighter
socket or into a 12 V socket in your vehicle.
X Press the Start/Stop button once.
or X Turn the key to position 1in the ignition
lock. 462
Emergency spare wheelWheels and tyres
Page 466 of 489

X
Press on/off switch Aon the tyre inflation
compressor to I.
The tyre inflation compressor is switched
on. The tyre is inflated. The tyre pressure is shown on pressure gauge =.
X Pump the tyre to the specified tyre pres-
sure.
The specified tyre pressure is printed on
the yellow label of the emergency spare
wheel.
X When the specified tyre pressure has been
reached, press on/off switch Aon the
electric air pump to 0.
The tyre inflation compressor is switched
off.
X Turn the key to position 0in the ignition
lock.
X If the tyre pressure is higher than the speci-
fied pressure, press pressure release valve
button ;until the correct tyre pressure
has been reached.
X Unscrew union nut :on the air hose from
the valve.
X Screw the valve cap onto the collapsible
emergency spare wheel valve again.
X Stow plug ?and the air hose in the lower
section of the blower housing.
X Stow the tyre inflation compressor in the
vehicle. Emergency spare wheel
463Wheels and tyres Z
Page 479 of 489
adequate antifreeze and corrosion protec-
tion.
i The coolant is checked at every mainte-
nance interval at a qualified specialist
workshop. Windscreen and headlamp cleaning
system
Important safety notes G
WARNING
If windscreen washer concentrate comes into contact with hot components of the engine or
the exhaust system, it can ignite. There is a
risk of fire and injury.
Make sure the windscreen washer concen-
trate does not come into contact with the filler neck.
! Only use washer fluid that is suitable for
plastic lamp lenses, e.g. MB SummerFit or
MB WinterFit. Unsuitable washer fluid
could damage the plastic lenses of the
headlamps.
! Do not use distilled or de-ionised water in
the washer fluid reservoir. Otherwise, the
level sensor may be damaged.
! Only the washer fluids SummerFit and
WinterFit can be mixed. Otherwise, the
spraying nozzles could become blocked.
At temperatures above freezing: X Fill the washer fluid reservoir with a mixture
of water and washer fluid, e.g. MB Sum-
merFit.
Mix 1 part MB SummerFit to 100 parts water.
At temperatures below freezing:
X Fill the washer fluid reservoir with a mixture
of water and washer fluid, e.g. MB Winter-
Fit.
For the correct mixing ratio refer to the
information on the antifreeze reservoir. i
Add washer fluid concentrate, e.g. MB
SummerFit or MB WinterFit, to the washer
fluid all year round. Vehicle data
General notes
Please note that for the specified vehicle
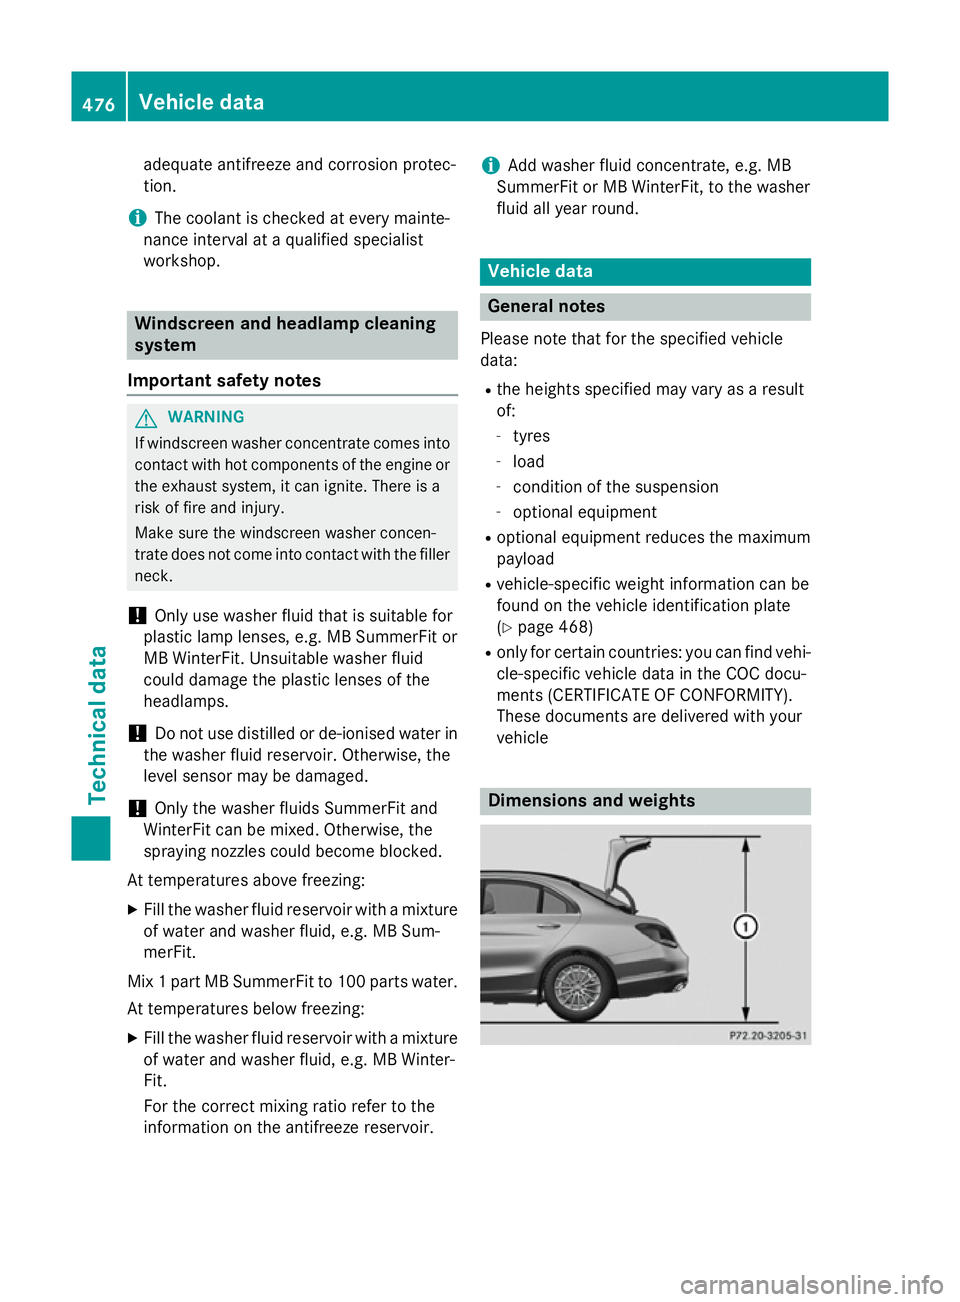
data: R the heights specified may vary as a result
of:
- tyres
- load
- condition of the suspension
- optional equipment
R optional equipment reduces the maximum
payload
R vehicle-specific weight information can be
found on the vehicle identification plate
(Y page 468)
R only for certain countries: you can find vehi-
cle-specific vehicle data in the COC docu-
ments (CERTIFICATE OF CONFORMITY).
These documents are delivered with your
vehicle Dimensions and weights476
Vehicle dataTechnical data