MERCEDES-BENZ C320 2002 W203 Owner's Manual
Manufacturer: MERCEDES-BENZ, Model Year: 2002, Model line: C320, Model: MERCEDES-BENZ C320 2002 W203Pages: 406
Page 311 of 406
308 Malfunction and warning messages
Te ch n i c a l
data Instruments
and controlsOperation DrivingInstrument
cluster displayPractical hints Car care Index
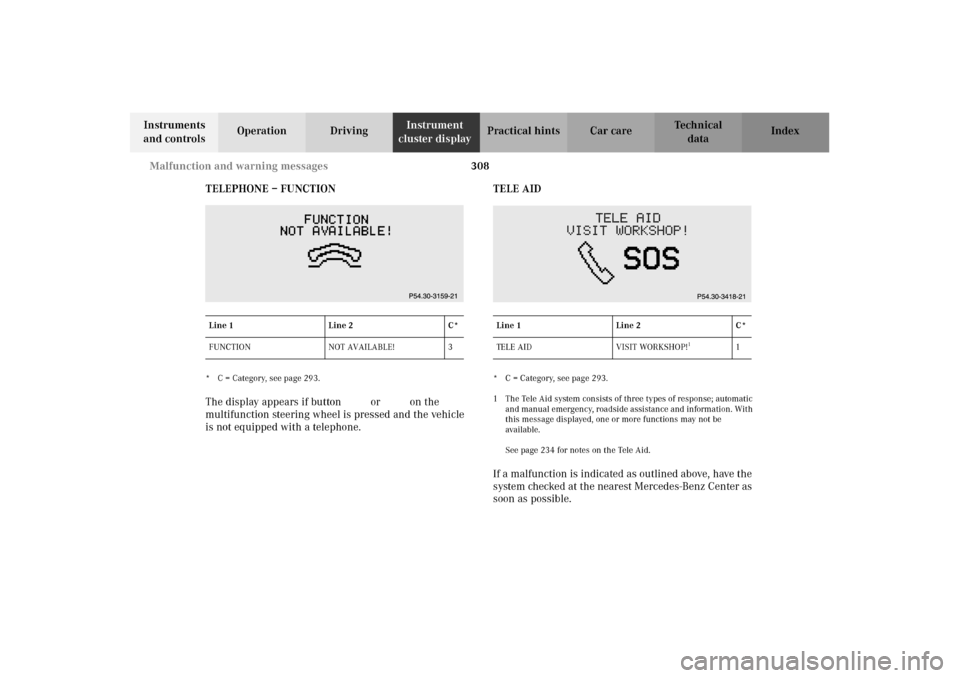
TELEPHONE – FUNCTION
* C = Category, see page 293.The display appears if button í or ì on the
multifunction steering wheel is pressed and the vehicle
is not equipped with a telephone.TELE AID
* C = Category, see page 293.
1 The Tele Aid system consists of three types of response; automatic
and manual emergency, roadside assistance and information. With
this message displayed, one or more functions may not be
avai lable.
See page 234 for notes on the Tele Aid.If a malfunction is indicated as outlined above, have the
system checked at the nearest Mercedes-Benz Center as
soon as possible.
Line 1 Line 2 C*
FUNCTION NOT AVAILABLE! 3
Line 1 Line 2 C*
TE L E A I D V I S I T WO R KS H O P !
1
1
OM_203.book Seite 308 Donnerstag, 31. Mai 2001 11:57 11
Page 312 of 406
309 Malfunction and warning messages
Te ch n i c a l
data Instruments
and controlsOperation DrivingInstrument
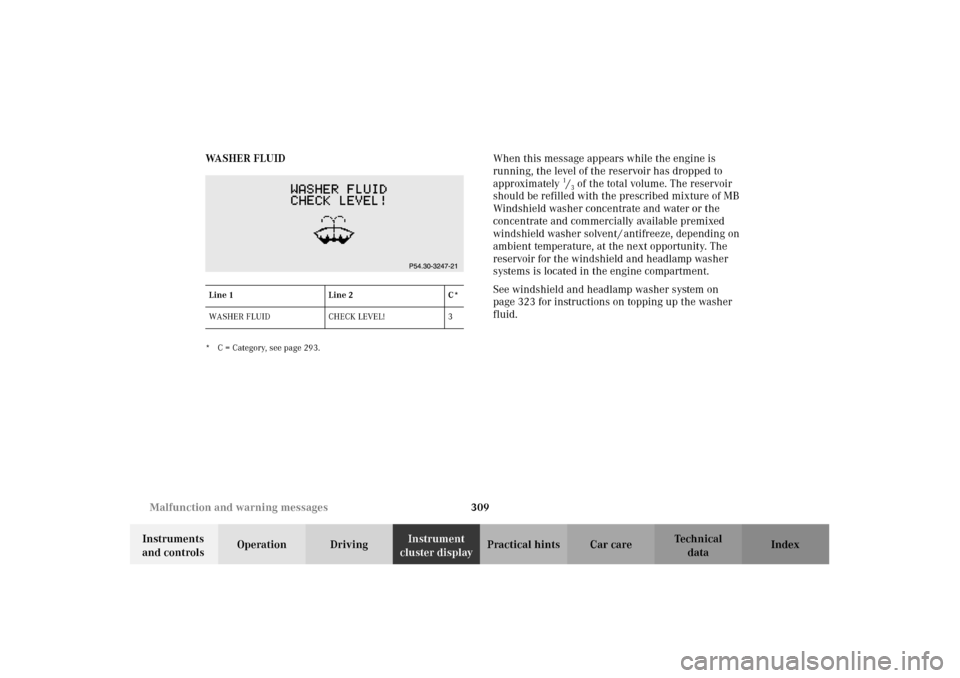
cluster displayPractical hints Car care Index WA S H E R F L U I D
* C = Category, see page 293.
When this message appears while the engine is
running, the level of the reservoir has dropped to
approximately
1/3 of the total volume. The reservoir
should be refilled with the prescribed mixture of MB
Windshield washer concentrate and water or the
concentrate and commercially available premixed
windshield washer solvent / antifreeze, depending on
ambient temperature, at the next opportunity. The
reservoir for the windshield and headlamp washer
systems is located in the engine compartment.
See windshield and headlamp washer system on
page 323 for instructions on topping up the washer
fluid.
Line 1 Line 2 C*
WASHER FLUID CHECK LEVEL! 3
OM_203.book Seite 309 Donnerstag, 31. Mai 2001 11:57 11
Page 313 of 406
310 Malfunction and warning messages
Te ch n i c a l
data Instruments
and controlsOperation DrivingInstrument
cluster displayPractical hints Car care Index
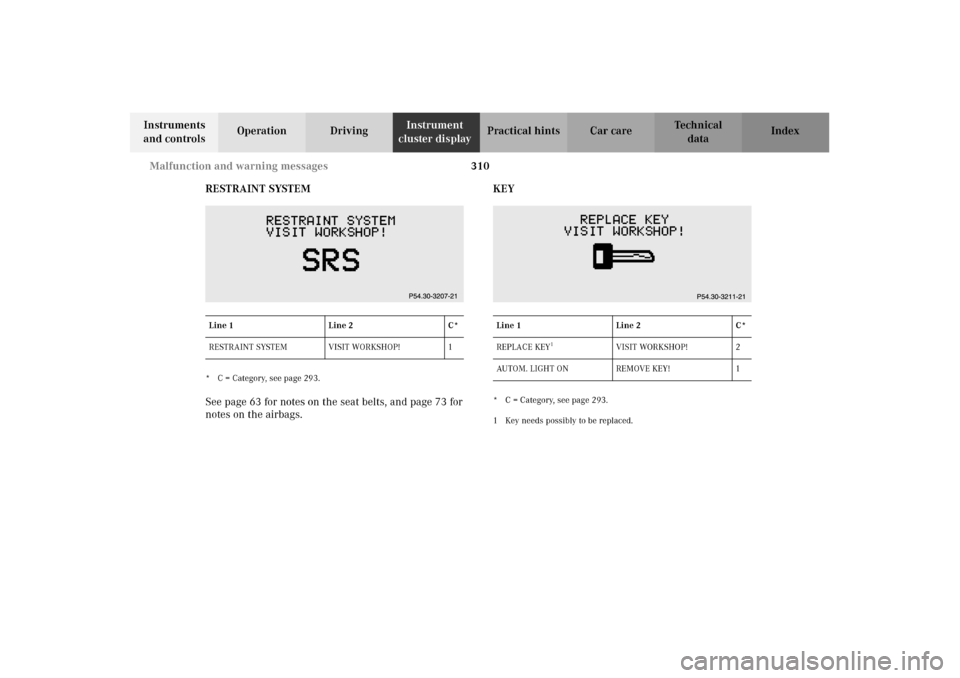
RESTRAINT SYSTEM
* C = Category, see page 293.See page 63 for notes on the seat belts, and page 73 for
notes on the airbags.KEY
* C = Category, see page 293.
1 Key needs possibly to be replaced. Line 1 Line 2 C*
RESTRAINT SYSTEM VISIT WORKSHOP! 1Line 1 Line 2 C*
REPLACE KEY
1
VISIT WORKSHOP! 2
AUTOM. LIGHT ON REMOVE KEY! 1
OM_203.book Seite 310 Donnerstag, 31. Mai 2001 11:57 11
Page 314 of 406
311 Malfunction and warning messages
Te ch n i c a l
data Instruments
and controlsOperation DrivingInstrument
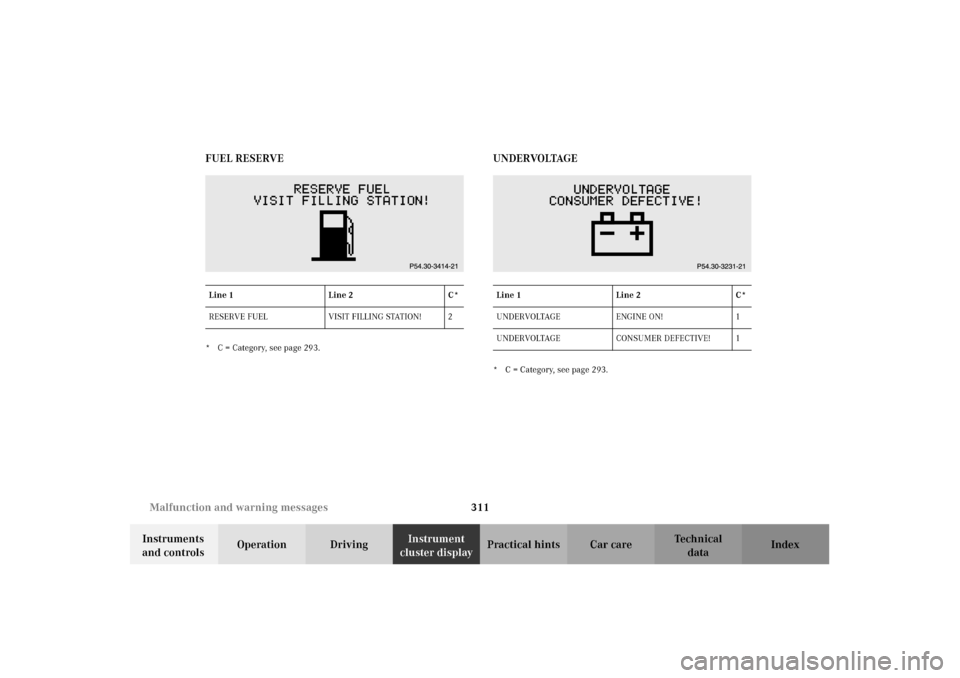
cluster displayPractical hints Car care Index FUEL RESERVE
* C = Category, see page 293.
UNDERVOLTAGE* C = Category, see page 293. Line 1 Line 2 C*
RESERVE FUEL VISIT FILLING STATION! 2Line 1 Line 2 C*
UNDERVOLTAGE ENGINE ON! 1
UNDERVOLTAGE CONSUMER DEFECTIVE! 1
OM_203.book Seite 311 Donnerstag, 31. Mai 2001 11:57 11
Page 315 of 406
312 Malfunction and warning messages
Te ch n i c a l
data Instruments
and controlsOperation DrivingInstrument
cluster displayPractical hints Car care Index
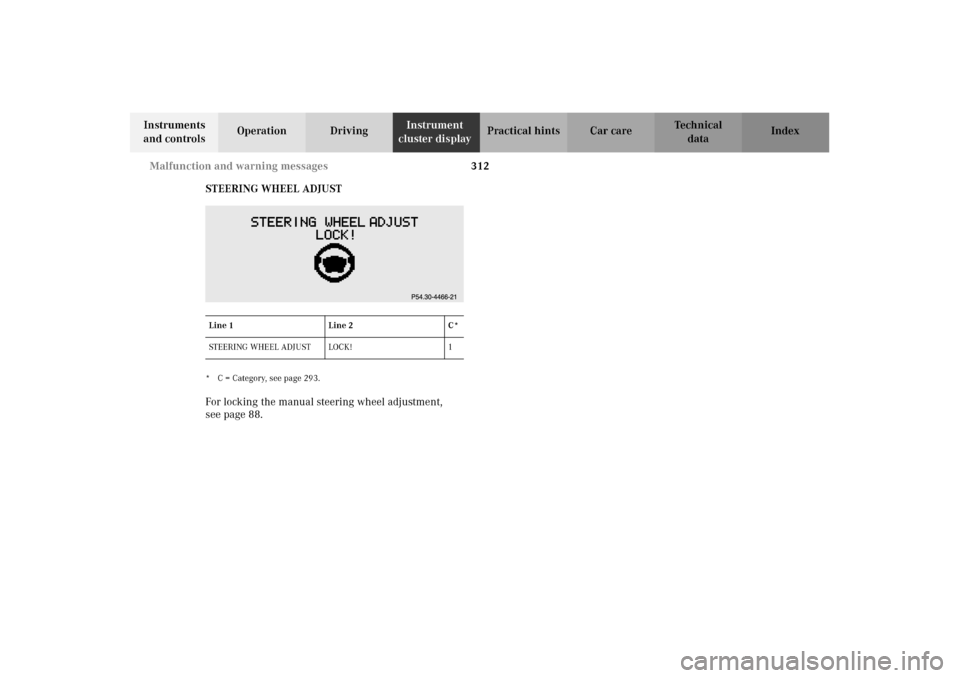
STEERING WHEEL ADJUST
* C = Category, see page 293.For locking the manual steering wheel adjustment,
seepage88.Line 1 Line 2 C*
STEERING WHEEL ADJUST LOCK! 1
OM_203.book Seite 312 Donnerstag, 31. Mai 2001 11:57 11
Page 316 of 406
313 Contents - Practical hints
Te ch n i c a l
data Instruments
and controlsOperation DrivingInstrument
cluster displayPractical hintsCar care Index
Practical hintsFirst aid kit ..................................... 314
Stowing things in the vehicle ...... 314
Fuses ................................................ 315
Hood ................................................. 318
Adding engine oil .......................... 321
Automatic transmission
fluid level ...................................322
Coolant level ...................................322
Adding coolant ...........................323
Windshield and
headlamp washer system ........323
Spare wheel, vehicle tools,
storage compartment ................325TIREFIT, vehicle tools,
storage compartment
(C 32 AMG only) ....................... 326
Vehicle jack .................................... 327
Wheels ............................................ 328
Tire replacement ....................... 328
Rotating wheels ......................... 329
Spare wheel .................................... 330
Spare wheel bolts ...................... 330
Changing wheels ........................... 331
TIREFIT ........................................... 337
Tire inflation pressure ................. 341
Battery ............................................. 342
Jump starting ................................. 344Towing the vehicle .........................347
Transmission selector lever,
manually unlocking ...................350
Exterior lamps ................................ 351
Replacing bulbs .......................... 351
Standby bulb function ...................356
Changing batteries in the
electronic main key ..................357
Synchronizing
remote control ............................359
Emergency engine shut-down .....359
Fuel filler flap, manual release ...360
Replacing wiper blade insert .......362
Roof rack .........................................363
OM_203.book Seite 313 Donnerstag, 31. Mai 2001 11:57 11
Page 317 of 406
314 First aid kit
Te ch n i c a l
data Instruments
and controlsOperation DrivingInstrument
cluster displayPractical hintsCar care Index
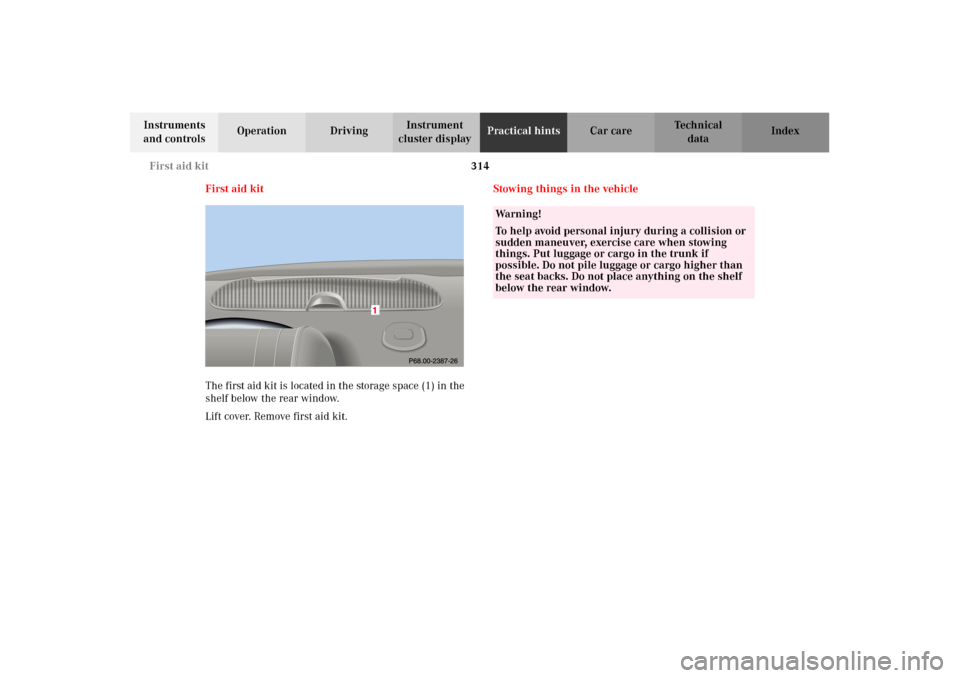
First aid kit
The first aid kit is located in the storage space (1) in the
shelf below the rear window.
Lift cover. Remove first aid kit.Stowing things in the vehicle
Wa r n i n g !
To help avoid personal injury during a collision or
sudden maneuver, exercise care when stowing
things. Put luggage or cargo in the trunk if
possible. Do not pile luggage or cargo higher than
the seat backs. Do not place anything on the shelf
below the rear window.
OM_203.book Seite 314 Donnerstag, 31. Mai 2001 11:57 11
Page 318 of 406
315 Fuses
Te ch n i c a l
data Instruments
and controlsOperation DrivingInstrument
cluster displayPractical hintsCar care Index Fuses
Most of your vehicle’s electrical components are fused
with safety fuses. With the exception of the brake lights,
all individual lighting system components are
electronically fused. Before replacing a blown safety
fuse, determine the cause of the short circuit. Always
observe amperage and color of fuse.
The circuit for components is protected by a cycled
circuit breaker interrupted if too much current is being
drawn. The circuit closes automatically after a short
time; the circuit is broken again if the malfunction
reoccurs.
A lways us e a new fus e for re placeme nt. Never atte mp t to
repair or bridge a blown fuse.
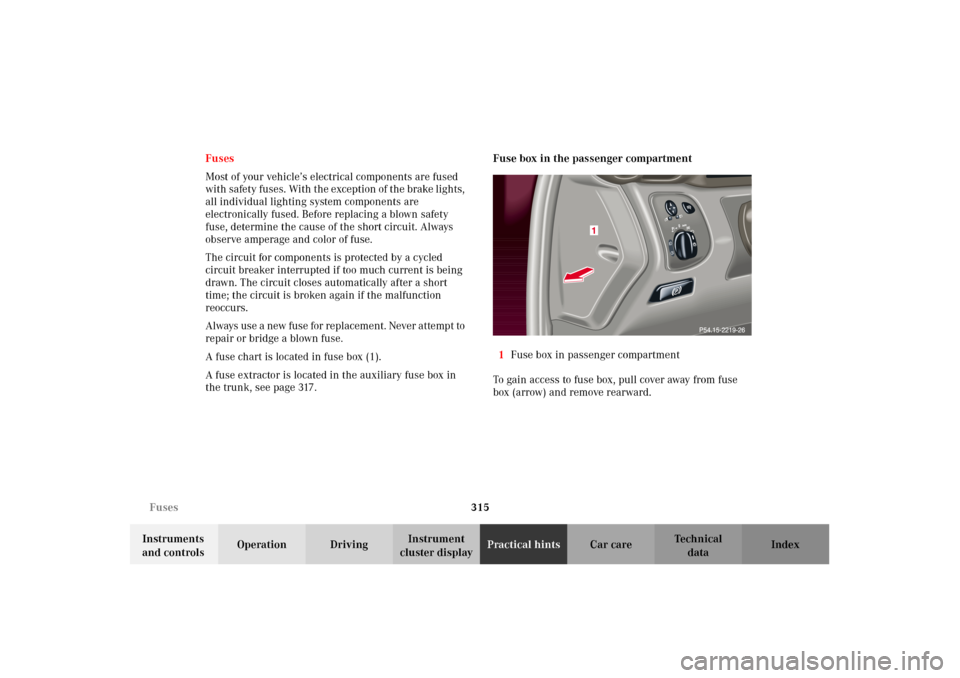
A fuse chart is located in fuse box (1).
A fuse extractor is located in the auxiliary fuse box in
the trunk, see page 317.Fuse box in the passenger compartment
1Fuse box in passenger compartment
To gain access to fuse box, pull cover away from fuse
box (arrow) and remove rearward.
OM_203.book Seite 315 Donnerstag, 31. Mai 2001 11:57 11
Page 319 of 406
316 Fuses
Te ch n i c a l
data Instruments
and controlsOperation DrivingInstrument
cluster displayPractical hintsCar care Index
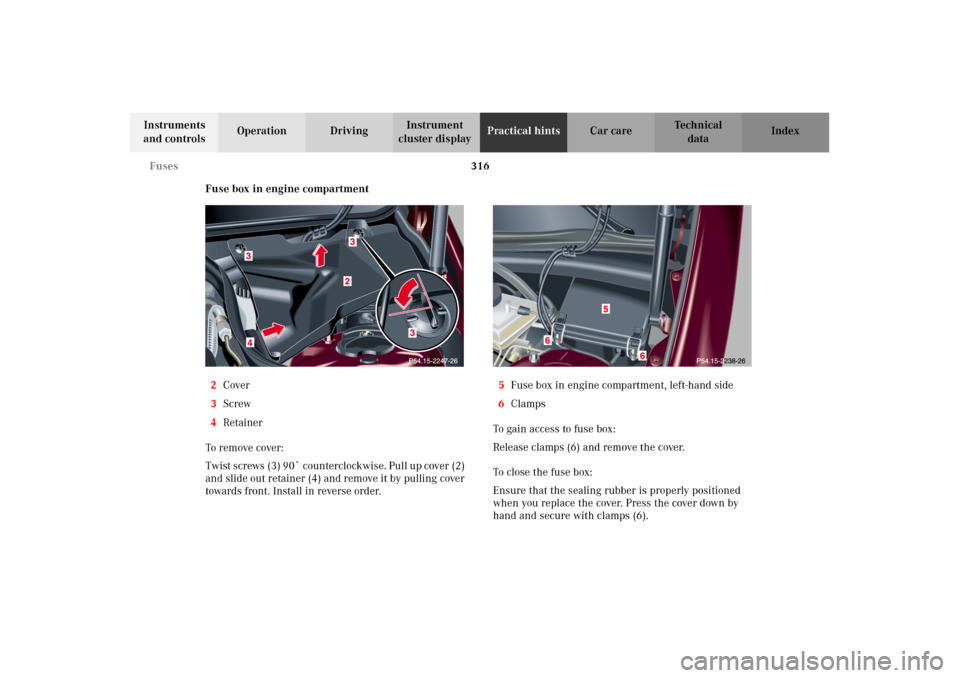
Fuse box in engine compartment
2Cover
3Screw
4Retainer
To remove cover:
Twist screws (3) 90˚ counterclockwise. Pull up cover (2)
and slide out retainer (4) and remove it by pulling cover
towards front. Install in reverse order.5Fuse box in engine compartment, left-hand side
6Clamps
To gain access to fuse box:
Release clamps (6) and remove the cover.
To close the fuse box:
Ensure that the sealing rubber is properly positioned
when you replace the cover. Press the cover down by
hand and secure with clamps (6).
OM_203.book Seite 316 Donnerstag, 31. Mai 2001 11:57 11
Page 320 of 406
317 Fuses
Te ch n i c a l
data Instruments
and controlsOperation DrivingInstrument
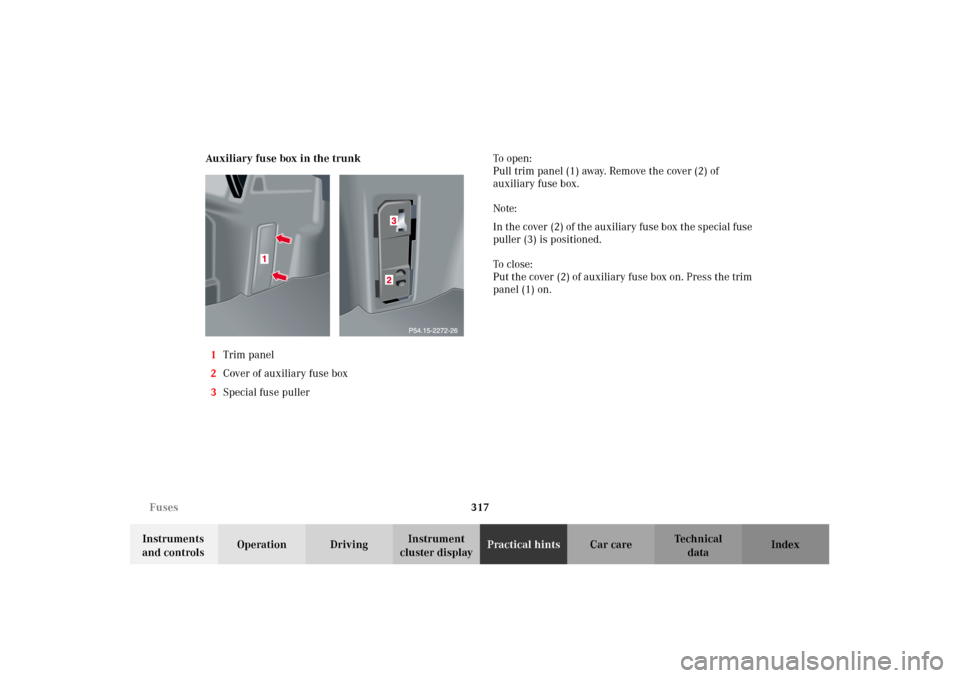
cluster displayPractical hintsCar care Index Auxiliary fuse box in the trunk
1Trim panel
2Cover of auxiliary fuse box
3Special fuse pullerTo o p e n :
Pull trim panel (1) away. Remove the cover (2) of
auxiliary fuse box.
Note:
In the cover (2) of the auxiliary fuse box the special fuse
puller (3) is positioned.
To c l o s e :
Put the cover (2) of auxiliary fuse box on. Press the trim
panel (1) on.
OM_203.book Seite 317 Donnerstag, 31. Mai 2001 11:57 11