audio MERCEDES-BENZ CL-Class 2001 C215 Comand Manual
[x] Cancel search | Manufacturer: MERCEDES-BENZ, Model Year: 2001, Model line: CL-Class, Model: MERCEDES-BENZ CL-Class 2001 C215Pages: 243, PDF Size: 2.33 MB
Page 230 of 243

228 System settings
Audio Introduction
Telephone Navigation IndexInfo Services and
system settings
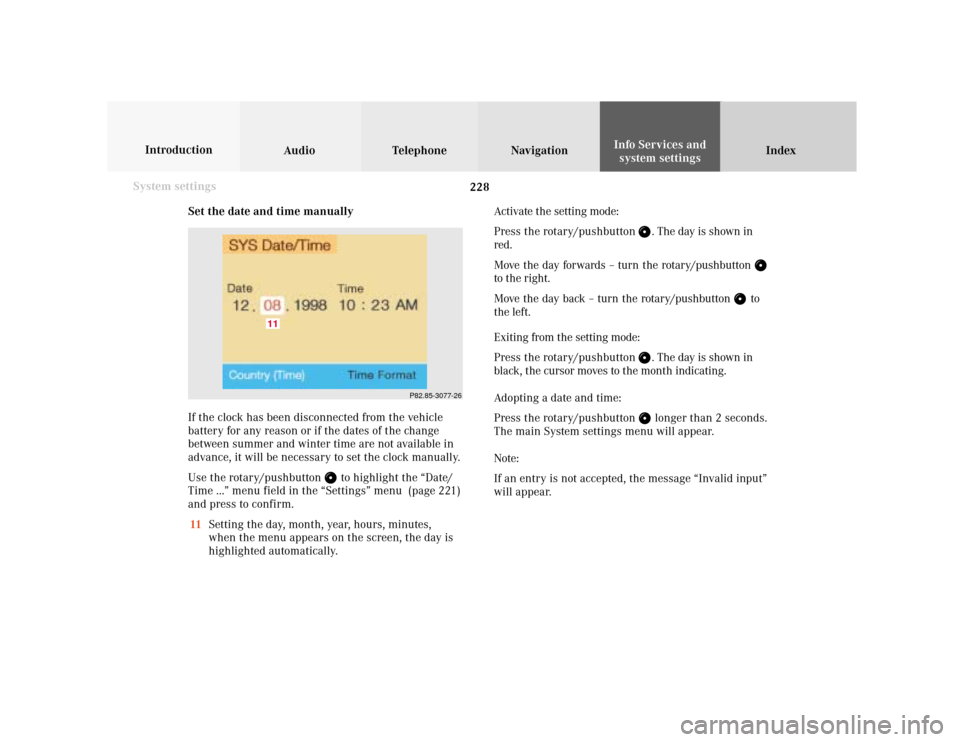
Set the date and time manually
If the clock has been disconnected from the vehicle
battery for any reason or if the dates of the change
between summer and winter time are not available in
advance, it will be necessary to set the clock manually.
Use the rotary/pushbutton
to highlight the “Date/
Time ...” menu field in the “Settings” menu (page 221)
and press to confirm.
11Setting the day, month, year, hours, minutes,
when the menu appears on the screen, the day is
highlighted automatically.Activate the setting mode:
Press the rotary/pushbutton
. The day is shown in
red.
Move the day forwards – turn the rotary/pushbutton
to the right.
Move the day back – turn the rotary/pushbutton
to
the left.
Exiting from the setting mode:
Press the rotary/pushbutton
. The day is shown in
black, the cursor moves to the month indicating.
Adopting a date and time:
Press the rotary/pushbutton longer than 2 seconds.
The main System settings menu will appear.
Note:
If an entry is not accepted, the message “Invalid input”
will appear.
P82.85-3077-26
11
Page 231 of 243

System settings
Introduction Audio
Telephone NavigationIndex Info Services and
system settings 229 Selecting the time format
In the “Date/Time” menu use the rotary/pushbutton
to highlight the “Time Format” menu field and press to
confirm.
The time format menu will appear.
Setting is activeSetting is not active12Date displayed in day, month format
13Date displayed in month, day format
14Time displayed in 24 hour format
15Time displayed in 12 hour format (AM and PM),
in the main menu for system settings and in the
“Date/Time” menu the abbreviations AM or PM are
shown after the time.
To alter the setting:
Use the rotary/pushbutton
to highlight an entry and
press to confirm (a checkmark will appear).
You can confirm your selection in one of the following
ways:
• Hold the rotary/pushbutton
longer than
2 seconds – this activates the main menu for
system settings
• Press
– this activates the “Date/Time” menu.
P82.85-3078-2615141312
Page 232 of 243

230 System settings
Audio Introduction
Telephone Navigation IndexInfo Services and
system settings
Switching beep tones on and off
Use the rotary/pushbutton
to highlight the
“Beeps...” menu field in the settings menu and press to
confirm.
The beeps menu will appear.
Tone is switched onTone is switched off1Acknowledgement beep – acknowledges a function
or the selection of an entry
Factory setting is off.
2Info beep – is heard where information is provided to
the user, e.g. navigation turn is approaching.
To alter the setting:
Turn the rotary/pushbutton
to highlight the desired
beep and press to confirm. The beep selected will be
switched off or on accordingly.
You can confirm your selection in one of the following
ways:
• Hold the rotary/pushbutton
longer than
2 seconds - this activates the main menu for system
settings
• Press
– this activates the “Date/Time” menu.
P82.85-3079-26
21
Page 233 of 243

System settings
Introduction Audio
Telephone NavigationIndex Info Services and
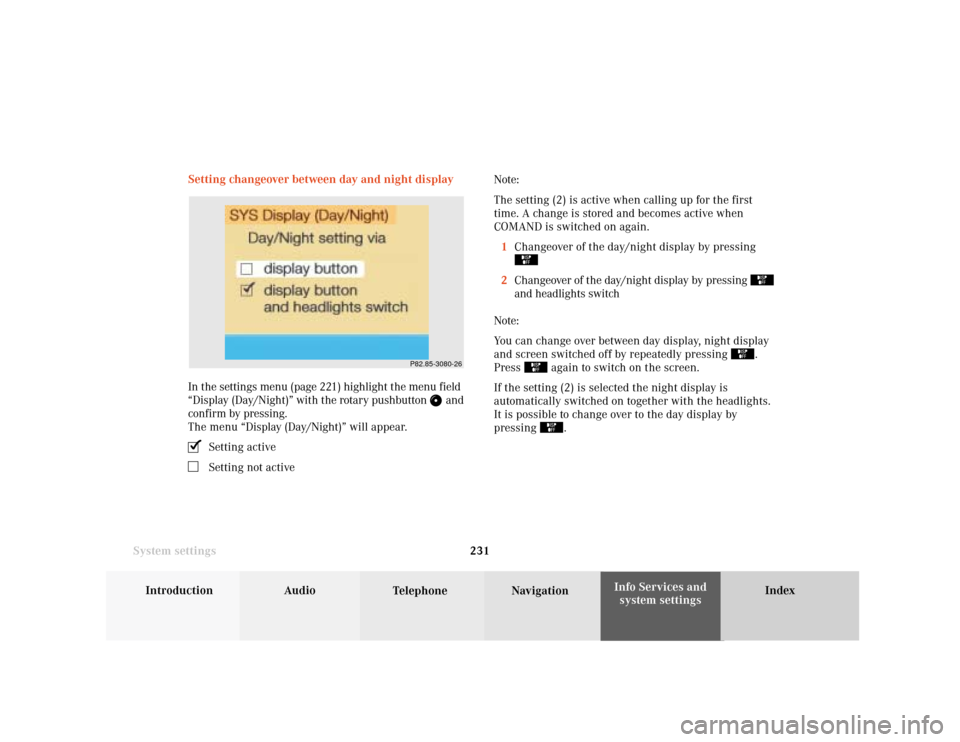
system settings 231 Setting changeover between day and night display
In the settings menu (page 221) highlight the menu field
“Display (Day/Night)” with the rotary pushbutton
and
confirm by pressing.
The menu “Display (Day/Night)” will appear.
Setting activeSetting not activeNote:
The setting (2) is active when calling up for the first
time. A change is stored and becomes active when
COMAND is switched on again.
1Changeover of the day/night display by pressing
2Changeover of the day/night display by pressing
and headlights switch
Note:
You can change over between day display, night display
and screen switched off by repeatedly pressing
.
Press
again to switch on the screen.
If the setting (2) is selected the night display is
automatically switched on together with the headlights.
It is possible to change over to the day display by
pressing
.
P82.85-3080-26
Page 234 of 243

232 System settings
Audio Introduction
Telephone Navigation IndexInfo Services and
system settings
Reset all settings to the factory settings
Use the rotary/pushbutton
to highlight the “Factory
settings” menu field in the settings menu and press to
confirm.
An inquiry menu will appear.To accept the factory settings:
Press the rotary/pushbutton
confirm the “Yes” menu
field). A screen with the factory settings is shown for a
few seconds. The main menu for system settings is
reactivated.
The factory settigs are:
• Acknowledgement beep - off
• Info beep – off
• Language – English (imp.)
• Time display – AM/PM
• Date display – MM.DD (MM – month, DD – day)
If you do not wish to reset settings:
Use the rotary/pushbutton to highlight “No” and press
to confirm. This activates the main menu for system
settings.
P82.85-3081-26
Page 235 of 243

System settings
Introduction Audio
Telephone NavigationIndex Info Services and
system settings 233
P82.85-3287-26
1
Auxiliary audio source
Connecting an auxiliary audio source
We recommend that any auxiliary audio unit be
installed and connected by a Mercedes-Benz Center.
The auxiliary audio source (e.g. CD changer) will be
installed in the glove compartment of your vehicle and
connected to the socket available for this purpose. You
will require a separate connecting cable for this.
Refer to the separate operating instructions for infor-
mation on how to operate the auxiliary audio source
(e.g. CD changer).
Notes:
Traffic radio announcements and voice output during
route guidance can also be heard while the auxiliary
audio source is switched on.
The telephone can be used while the auxiliary audio
source is in operation.Switching on auxiliary audio source on/off
Turn the rotary/pushbutton
to highlight the “Aux”
menu field in the main System settings menu and press
to confirm.
1Adjusting sound settings, page 83
Note:
The values selected for the auxiliary audio source
sound are independent of those selected for the
COMAND audio sources.
Page 236 of 243

234 System settings
Audio Introduction
Telephone Navigation IndexInfo Services and
system settings
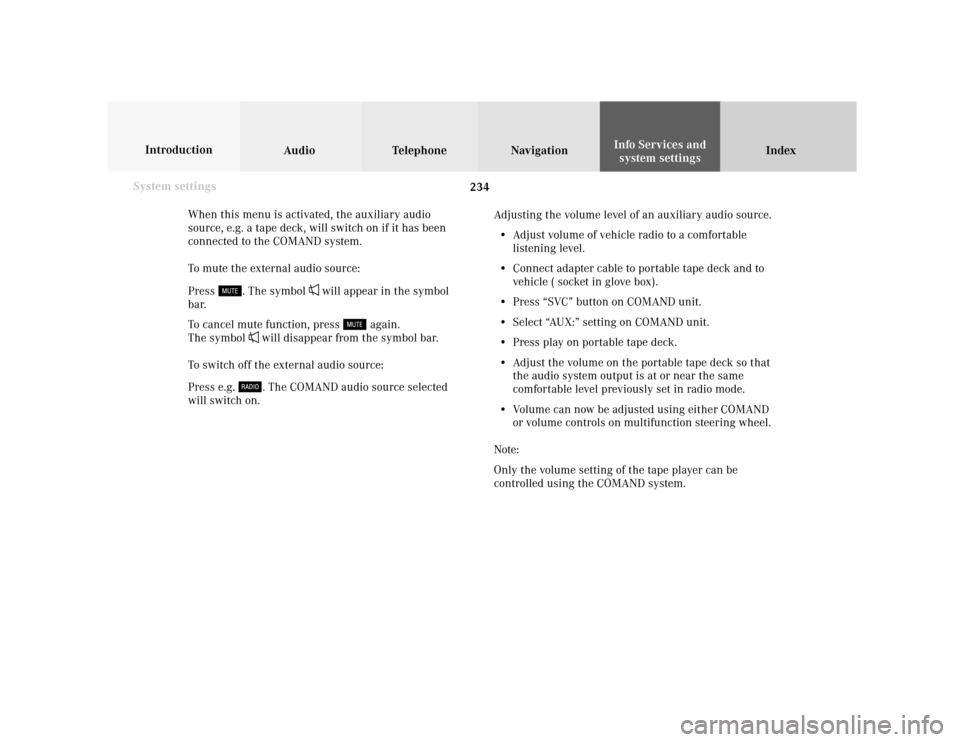
When this menu is activated, the auxiliary audio
source, e.g. a tape deck, will switch on if it has been
connected to the COMAND system.
To mute the external audio source:
Press
. The symbol
will appear in the symbol
bar.
To cancel mute function, press
again.
The symbol
will disappear from the symbol bar.
To switch off the external audio source:
Press e.g. . The COMAND audio source selected
will switch on.Adjusting the volume level of an auxiliary audio source.
• Adjust volume of vehicle radio to a comfortable
listening level.
• Connect adapter cable to portable tape deck and to
vehicle ( socket in glove box).
• Press “SVC” button on COMAND unit.
• Select “AUX:” setting on COMAND unit.
• Press play on portable tape deck.
• Adjust the volume on the portable tape deck so that
the audio system output is at or near the same
comfortable level previously set in radio mode.
• Volume can now be adjusted using either COMAND
or volume controls on multifunction steering wheel.
Note:
Only the volume setting of the tape player can be
controlled using the COMAND system.
Page 237 of 243

Index235
AAccepting a call (using the multifunction
steering wheel) ................................................................ 102
Accepting calls using COMAND ................................... 103
Activating the location map .......................................... 179
Activating the route map ............................................... 178
Acknowledgement beep .................................................... 15
Adjusting the brightness ............................................... 220
Adjusting the volume ........................................................ 14
Alarm beep ......................................................................... 14
Altering the map scale ........................................... 164, 191
Altering the voice output volume ................................ 185
AM (Ante Meridiem) ...................................................... 229
Audio sources .................................................................... 83
Automatic Station Scan ................................................... 28
Auxiliary audio source, Switching on/off ................... 233BBeep tones, Switching on/off ........................................ 230
BOSE amplifier .................................................................. 83
CCalibration ........................................................................ 213
Canceling route guidance .............................................. 204
CDs scan .............................................................................. 76
CD track scan .................................................................... 70
Changing to map display during route guidance ...... 189
City list ............................................................................. 155
COMAND (Cockpit Management and Data System) ...... 2
Compass needle .............................................................. 192
Cross hairs ....................................................................... 162
Current map scale .................................................. 164, 178
Current vehicle position ........................................ 179, 182DDate and Time, Setting ................................................... 223
Day/Night display ........................................................... 231
Delete CD name ................................................................. 73
Destination address, Entering ...................................... 153
Destination memory, Sorting ........................................ 220
Destination, Selecting via the map ............................... 161
Destination, Reaching your ........................................... 201
Destination, Saving in the memory .............................. 217
Deviating from the calculated route ............................ 201
Page 242 of 243

Index240 Introduction Audio Telephone Navigation
Index Info Services and
system settings
Speed-dialing (only at COMAND) ................................. 121
Station selection via direct frequency entry ................ 27
Switching beep tones on and off .................................. 230
Switch the COMAND operating unit on and off ........... 13
Switch off screen ............................................................... 14
Switch the microphone off ............................................ 104
Switching the voice output on/off ............................... 185
Symbol display ................................................................ 178
System ................................................................................. 12TTime zones ....................................................................... 226
Track repeat ....................................................................... 75UUnlock code ..................................................................... 100VVoice output, Switching on/off ..................................... 185
Voice output “Bear left after one quarter mile” ......... 188Voice output during route guidance ............................ 184
Voice output “Please bear left” ..................................... 188
Voice output “Please turn right” .......................... 184, 186
Voice output “Prepare to bear left” .............................. 188
Voice output “Prepare to turn right” ........................... 186
Voice ouput “The route is being calculated” .............. 172
Voice output “The route to your intermediate
destination is being calculated” .................................... 194
Voice output “Turn right after one quarter mile” ..... 186
Voice output “You have reached
your destination” ............................................................ 201
Voice recognition system ........................................... 14, 83
Volume difference ............................................................. 85
WWeather band (WB) .......................................................... 23
Way point ................................................................. 181, 193