navigation system MERCEDES-BENZ CL-Class 2002 C215 Comand Manual
[x] Cancel search | Manufacturer: MERCEDES-BENZ, Model Year: 2002, Model line: CL-Class, Model: MERCEDES-BENZ CL-Class 2002 C215Pages: 251
Page 43 of 251
41
AudioTelephone
Navigation
Index
IntroductionInfo Services and
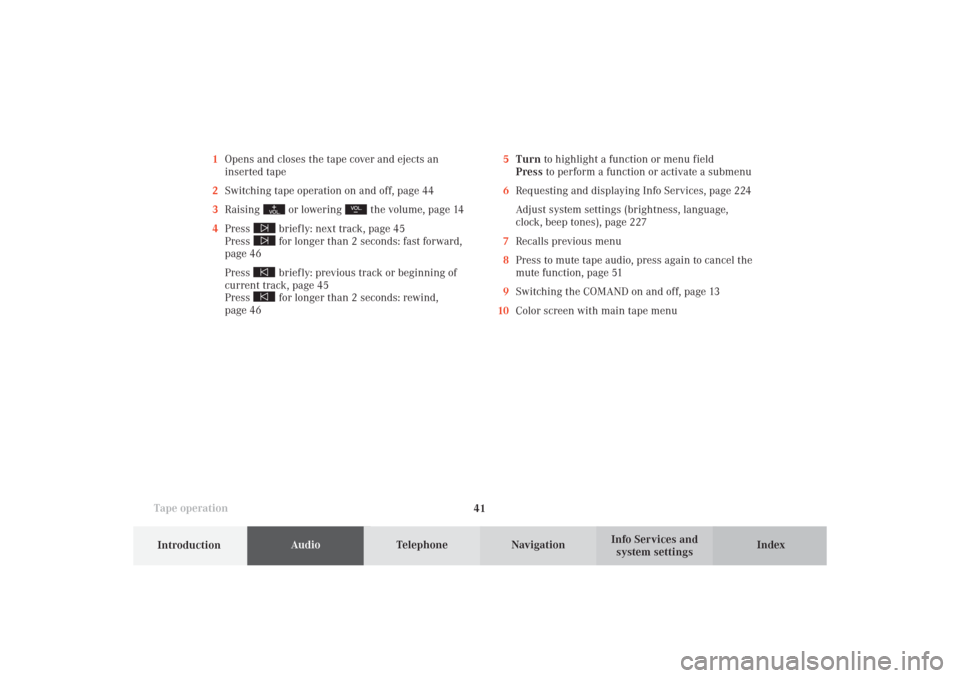
system settings Tape operation1Opens and closes the tape cover and ejects an
inserted tape
2Switching tape operation on and off, page 44
3Raising
or lowering
the volume, page 14
4Press
briefly: next track, page 45
Press for longer than 2 seconds: fast forward,
page 46
Press briefly: previous track or beginning of
current track, page 45
Press for longer than 2 seconds: rewind,
page 465Turn to highlight a function or menu field
Press to perform a function or activate a submenu
6Requesting and displaying Info Services, page 224
Adjust system settings (brightness, language,
clock, beep tones), page 227
7Recalls previous menu
8Press to mute tape audio, press again to cancel the
mute function, page 51
9Switching the COMAND on and off, page 13
10Color screen with main tape menu
05-TAPE-25-US.pm509.07.2004, 14:04 Uhr 41
Page 44 of 251
42
AudioTelephone
Navigation
Index Info Services and
system settings Introduction
Tape operation
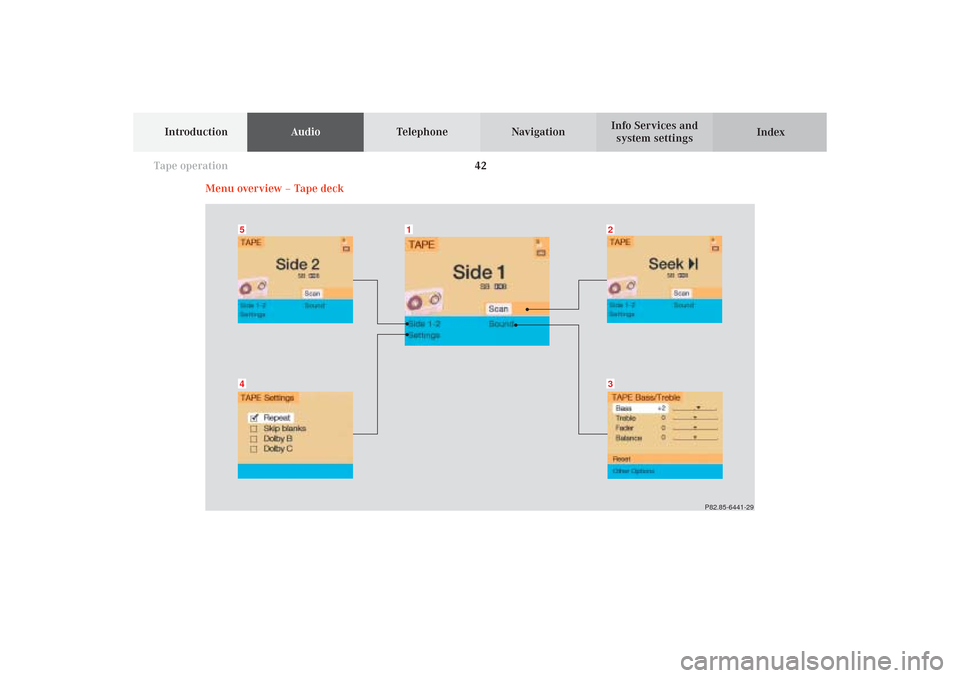
Menu overview – Tape deck
P82.85-6441-29
54
32
1
05-TAPE-25-US.pm509.07.2004, 14:04 Uhr 42
Page 45 of 251
43
AudioTelephone
Navigation
Index
IntroductionInfo Services and
system settings Tape operation1Main tape menu
2Scan function, scanning tracks, page 47
3Main sound settings menu
Adjust sound settings, page 834Tape settings
Repeating tracks, page 48
Skip blanks (fast forwards ignoring blanks),
page 49
Dolby B, Dolby C (noise reduction), page 50
5Main tape menu after changing sides, page 45
05-TAPE-25-US.pm509.07.2004, 14:04 Uhr 43
Page 46 of 251
44
AudioTelephone
Navigation
Index Info Services and
system settings Introduction
Tape operation
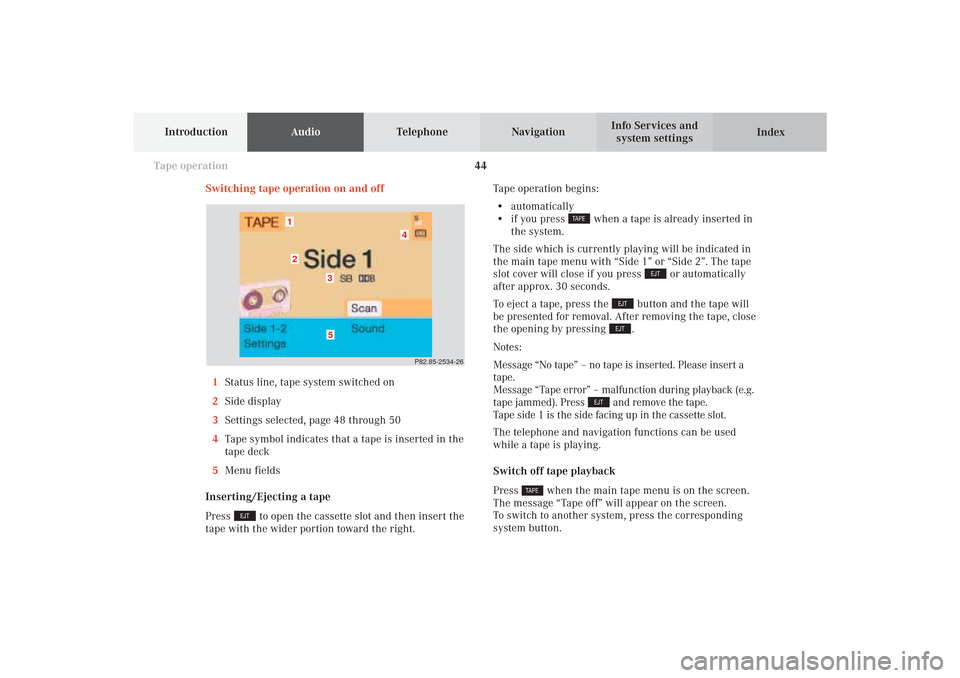
Switching tape operation on and off
1Status line, tape system switched on
2Side display
3Settings selected, page 48 through 50
4Tape symbol indicates that a tape is inserted in the
tape deck
5Menu fields
Inserting/Ejecting a tape
Press
to open the cassette slot and then insert the
tape with the wider portion toward the right.Tape operation begins:
• automatically
• if you press
when a tape is already inserted in
the system.
The side which is currently playing will be indicated in
the main tape menu with “Side 1” or “Side 2”. The tape
slot cover will close if you press
or automatically
after approx. 30 seconds.
To eject a tape, press the
button and the tape will
be presented for removal. After removing the tape, close
the opening by pressing .
Notes:
Message “No tape” – no tape is inserted. Please insert a
tape.
Message “Tape error” – malfunction during playback (e.g.
tape jammed). Press
and remove the tape.
Tape side 1 is the side facing up in the cassette slot.
The telephone and navigation functions can be used
while a tape is playing.
Switch off tape playback
Press
when the main tape menu is on the screen.
The message “Tape off” will appear on the screen.
To switch to another system, press the corresponding
system button.
P82.85-2534-26
5
4
3
21
05-TAPE-25-US.pm509.07.2004, 14:04 Uhr 44
Page 47 of 251
45
AudioTelephone
Navigation
Index
IntroductionInfo Services and
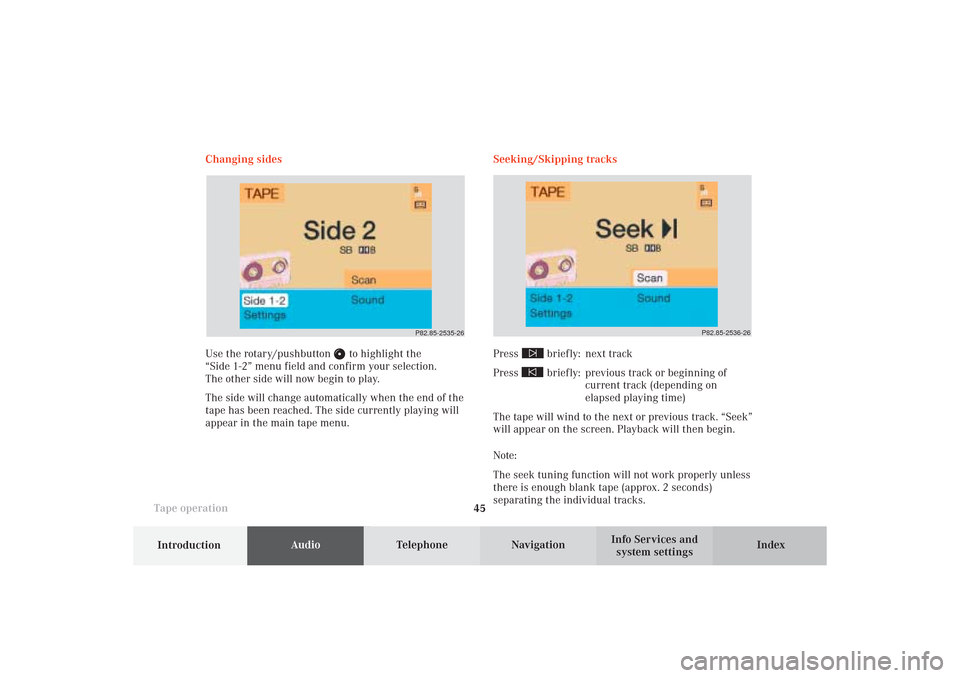
system settings Tape operationChanging sides
Use the rotary/pushbutton
to highlight the
“Side 1-2” menu field and confirm your selection.
The other side will now begin to play.
The side will change automatically when the end of the
tape has been reached. The side currently playing will
appear in the main tape menu.Seeking/Skipping tracks
Press
briefly: next track
Press briefly: previous track or beginning of
current track (depending on
elapsed playing time)
The tape will wind to the next or previous track. “Seek”
will appear on the screen. Playback will then begin.
Note:
The seek tuning function will not work properly unless
there is enough blank tape (approx. 2 seconds)
separating the individual tracks.
P82.85-2536-26
P82.85-2535-26
05-TAPE-25-US.pm509.07.2004, 14:04 Uhr 45
Page 48 of 251
46
AudioTelephone
Navigation
Index Info Services and
system settings Introduction
Tape operation
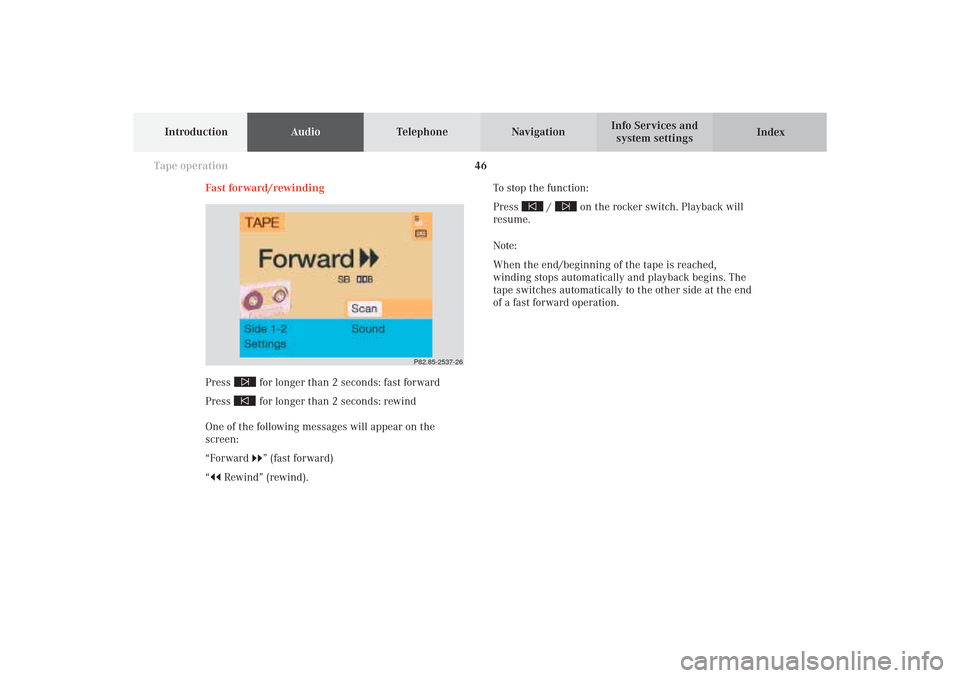
Fast forward/rewinding
Press
for longer than 2 seconds: fast forward
Press for longer than 2 seconds: rewind
One of the following messages will appear on the
screen:
“Forward ” (fast forward)
“
Rewind” (rewind).To stop the function:
Press
/
on the rocker switch. Playback will
resume.
Note:
When the end/beginning of the tape is reached,
winding stops automatically and playback begins. The
tape switches automatically to the other side at the end
of a fast forward operation.
P82.85-2537-26
05-TAPE-25-US.pm509.07.2004, 14:04 Uhr 46
Page 49 of 251
47
AudioTelephone
Navigation
Index
IntroductionInfo Services and
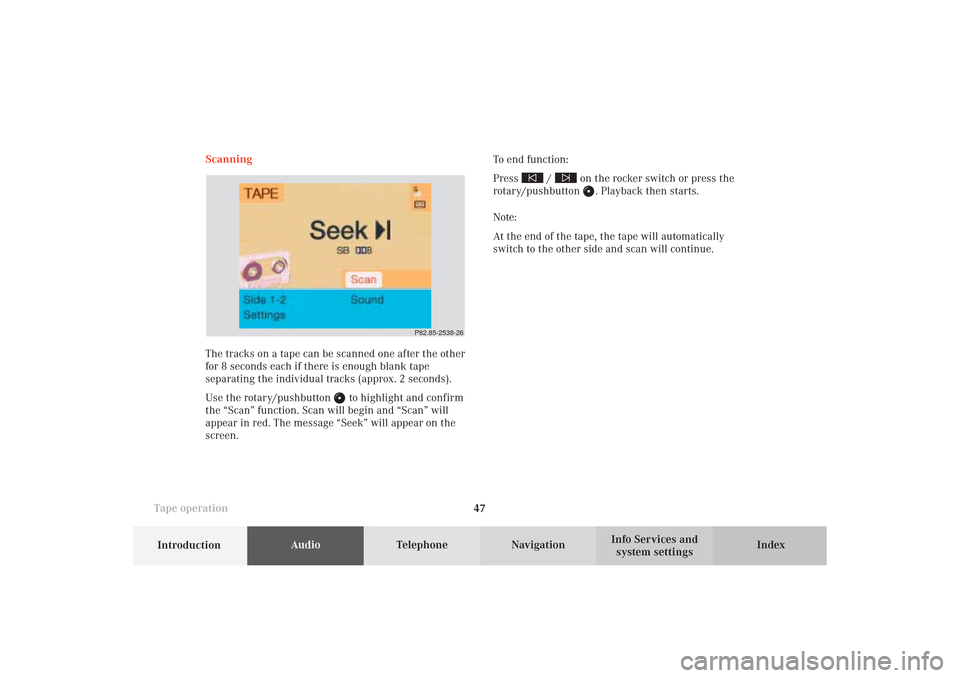
system settings Tape operationScanning
The tracks on a tape can be scanned one after the other
for 8 seconds each if there is enough blank tape
separating the individual tracks (approx. 2 seconds).
Use the rotary/pushbutton
to highlight and confirm
the “Scan” function. Scan will begin and “Scan” will
appear in red. The message “Seek” will appear on the
screen.To end function:
Press
/
on the rocker switch or press the
rotary/pushbutton
. Playback then starts.
Note:
At the end of the tape, the tape will automatically
switch to the other side and scan will continue.
P82.85-2538-26
05-TAPE-25-US.pm509.07.2004, 14:04 Uhr 47
Page 50 of 251
48
AudioTelephone
Navigation
Index Info Services and
system settings Introduction
Tape operation
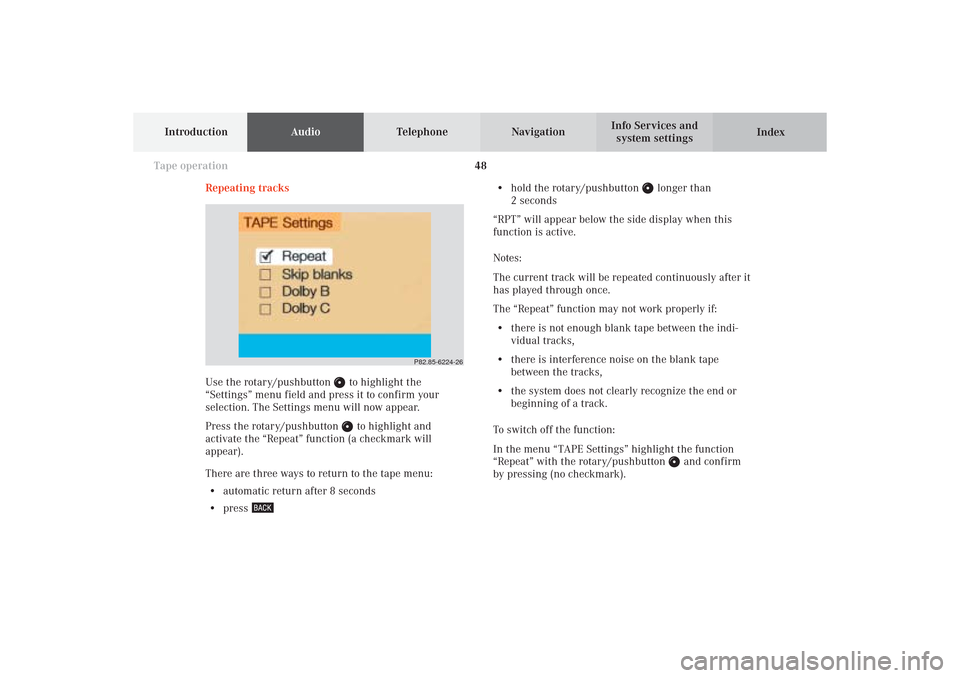
Repeating tracks
Use the rotary/pushbutton
to highlight the
“Settings” menu field and press it to confirm your
selection. The Settings menu will now appear.
Press the rotary/pushbutton to highlight and
activate the “Repeat” function (a checkmark will
appear).
There are three ways to return to the tape menu:
• automatic return after 8 seconds
• press
• hold the rotary/pushbutton
longer than
2 seconds
“RPT” will appear below the side display when this
function is active.
Notes:
The current track will be repeated continuously after it
has played through once.
The “Repeat” function may not work properly if:
• there is not enough blank tape between the indi-
vidual tracks,
• there is interference noise on the blank tape
between the tracks,
• the system does not clearly recognize the end or
beginning of a track.
To switch off the function:
In the menu “TAPE Settings” highlight the function
“Repeat” with the rotary/pushbutton
and confirm
by pressing (no checkmark).
P82.85-6224-26
05-TAPE-25-US.pm509.07.2004, 14:05 Uhr 48
Page 51 of 251
49
AudioTelephone
Navigation
Index
IntroductionInfo Services and
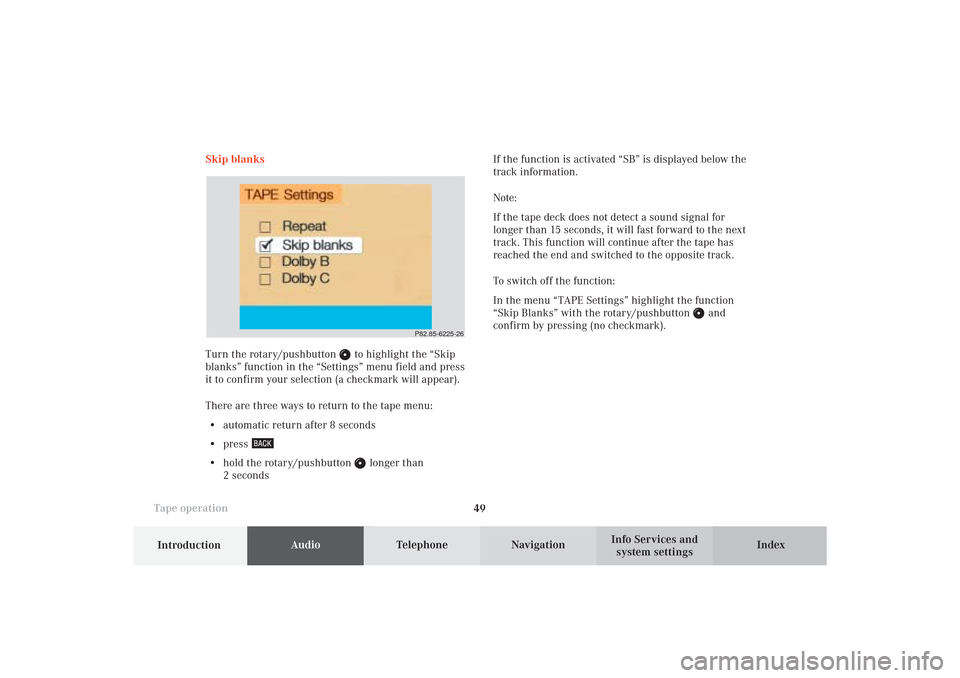
system settings Tape operationSkip blanks
Turn the rotary/pushbutton
to highlight the “Skip
blanks” function in the “Settings” menu field and press
it to confirm your selection (a checkmark will appear).
There are three ways to return to the tape menu:
• automatic return after 8 seconds
• press
• hold the rotary/pushbutton
longer than
2 secondsIf the function is activated “SB” is displayed below the
track information.
Note:
If the tape deck does not detect a sound signal for
longer than 15 seconds, it will fast forward to the next
track. This function will continue after the tape has
reached the end and switched to the opposite track.
To switch off the function:
In the menu “TAPE Settings” highlight the function
“Skip Blanks” with the rotary/pushbutton
and
confirm by pressing (no checkmark).
P82.85-6225-26
05-TAPE-25-US.pm509.07.2004, 14:05 Uhr 49
Page 52 of 251
50
AudioTelephone
Navigation
Index Info Services and
system settings Introduction
Tape operation
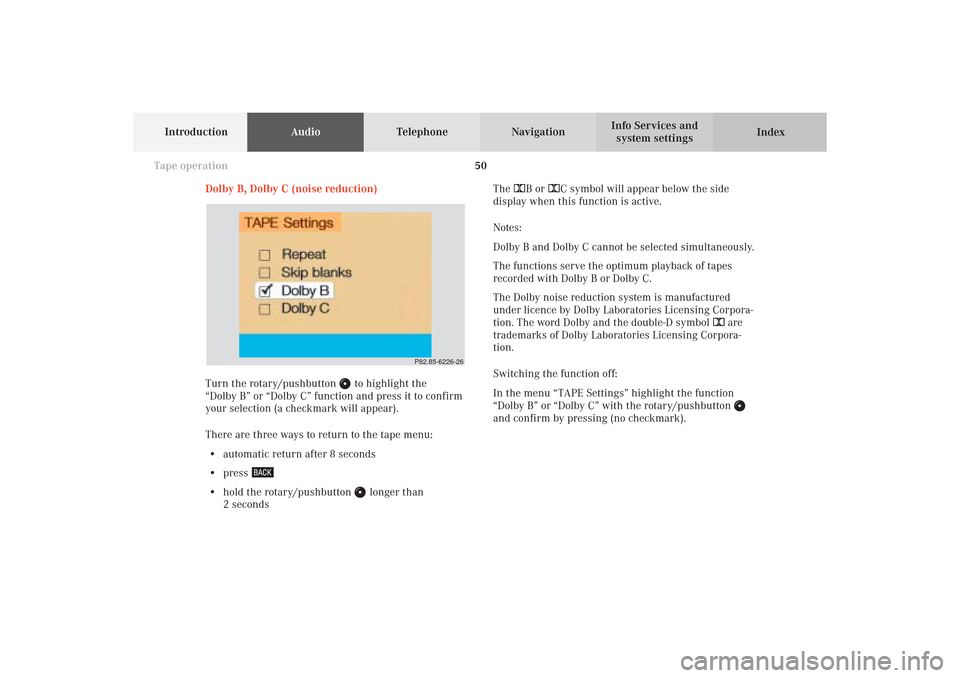
Dolby B, Dolby C (noise reduction)
Turn the rotary/pushbutton
to highlight the
“Dolby B” or “Dolby C” function and press it to confirm
your selection (a checkmark will appear).
There are three ways to return to the tape menu:
• automatic return after 8 seconds
• press
• hold the rotary/pushbutton
longer than
2 secondsThe DB or DC symbol will appear below the side
display when this function is active.
Notes:
Dolby B and Dolby C cannot be selected simultaneously.
The functions serve the optimum playback of tapes
recorded with Dolby B or Dolby C.
The Dolby noise reduction system is manufactured
under licence by Dolby Laboratories Licensing Corpora-
tion. The word Dolby and the double-D symbol D are
trademarks of Dolby Laboratories Licensing Corpora-
tion.
Switching the function off:
In the menu “TAPE Settings” highlight the function
“Dolby B” or “Dolby C” with the rotary/pushbutton
and confirm by pressing (no checkmark).
P82.85-6226-26
05-TAPE-25-US.pm509.07.2004, 14:05 Uhr 50