MERCEDES-BENZ CL-Class 2002 C215 Comand Manual
CL-Class 2002 C215
MERCEDES-BENZ
MERCEDES-BENZ
https://www.carmanualsonline.info/img/4/3377/w960_3377-0.png
MERCEDES-BENZ CL-Class 2002 C215 Comand Manual
Page 53 of 251
51
AudioTelephone
Navigation
Index
IntroductionInfo Services and
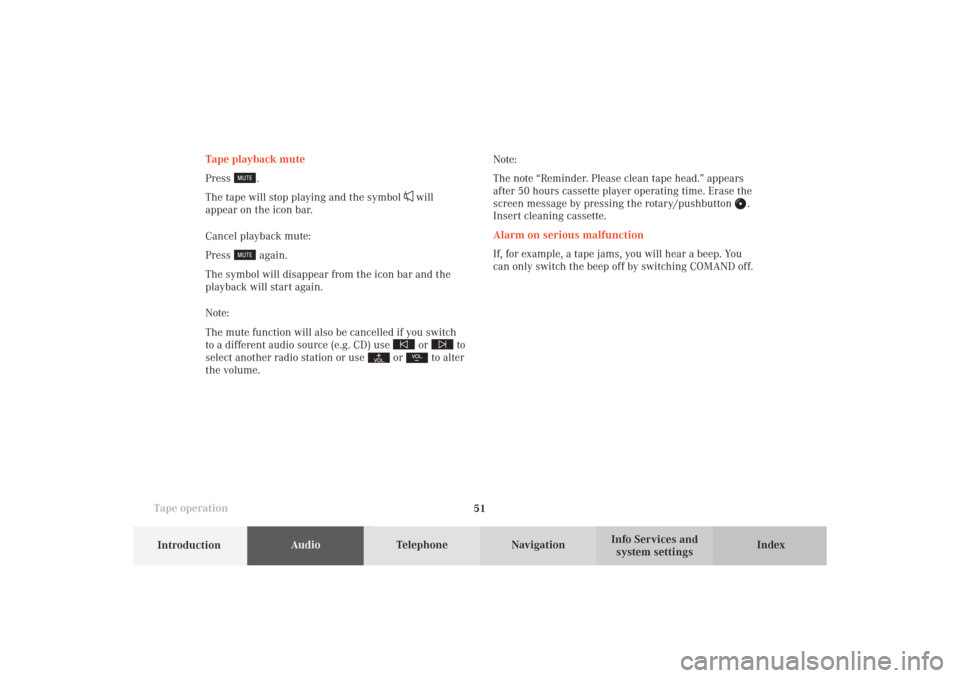
system settings Tape operationNote:
The note “Reminder. Please clean tape head.” appears
after 50 hours cassette player operating time. Erase the
screen message by pressing the rotary/pushbutton .
Insert cleaning cassette.
Alarm on serious malfunction
If, for example, a tape jams, you will hear a beep. You
can only switch the beep off by switching COMAND off. Tape playback mute
Press
.
The tape will stop playing and the symbol
will
appear on the icon bar.
Cancel playback mute:
Press
again.
The symbol will disappear from the icon bar and the
playback will start again.
Note:
The mute function will also be cancelled if you switch
to a different audio source (e.g. CD) use
or
to
select another radio station or use
or
to alter
the volume.
05-TAPE-25-US.pm509.07.2004, 14:05 Uhr 51
Page 54 of 251
52
AudioTelephone
Navigation
Index Info Services and
system settings Introduction
Tape operation
P82.85-2078-26
P82.85-2079-26
Notes on tape care
Do not expose the tapes to direct sunlight or high
temperatures.Do not leave tapes near magnetic fields or magnets.
05-TAPE-25-US.pm509.07.2004, 14:05 Uhr 52
Page 55 of 251
53
AudioTelephone
Navigation
Index
IntroductionInfo Services and
system settings Tape operation
P82.85-2081-26
P82.85-2080-26
Ensure that the tape is adequately tightened before you
insert it into the tape slot.Do not insert a tape if its label is not stuck on properly.
05-TAPE-25-US.pm509.07.2004, 14:05 Uhr 53
Page 56 of 251
54
AudioTelephone
Navigation
Index Info Services and
system settings Introduction
Tape operation
P82.85-2082-26
The message “Caution. Please clean sound head.” is
displayed after 50 hours of playback.
Clear the screen message by pressing the rotary/
pushbutton
. Insert a high quality cleaning tape.
Note:
For questions concerning the type of tape cleaner to
use, contact your Mercedes-Benz Center.
Do not touch the tape.
Note:
It is not possible to use tapes with a playing time of
longer than 120 minutes.
05-TAPE-25-US.pm509.07.2004, 14:05 Uhr 54
Page 57 of 251
55
AudioTelephone
Navigation
Index
IntroductionInfo Services and
system settings Tape operationMultifunction steering wheel, Multifunction
display1No audio function has been switched on
2The tape deck is switched on
3Side currently playing
Press
on COMAND and switch the tape deck on.
Press repeatedly necessary until display (2)
appears.
Press to fast forward to the next track.
Press to rewind to the beginning of the same
track, or to go back to the previous track.
Press to display the next system.
05-TAPE-25-US.pm509.07.2004, 14:05 Uhr 55
Page 58 of 251
56
AudioTelephone Navigation
Index Info Services and
system settings Introduction
CD operation
Quick reference - CD changer operation (optional)
10
9
8
7
53
1
6
P82.85-6118-29
3
4
4
2
06-CD-US.pm509.07.2004, 14:07 Uhr 56
Page 59 of 251
57
Introduction
AudioTelephone
Navigation
Index Info Services and
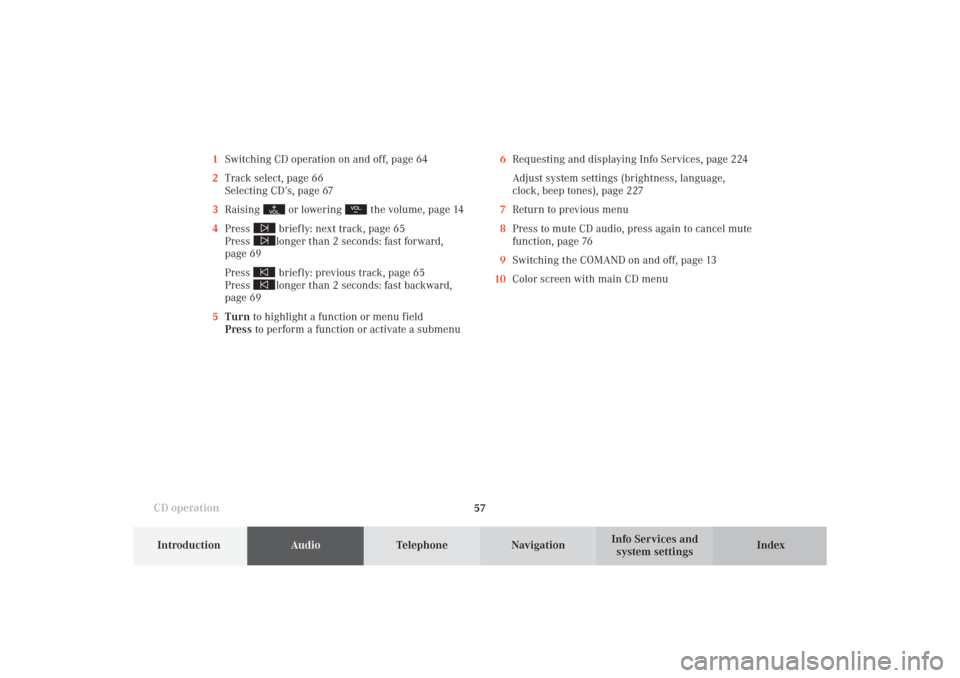
system settings CD operation6Requesting and displaying Info Services, page 224
Adjust system settings (brightness, language,
clock, beep tones), page 227
7Return to previous menu
8Press to mute CD audio, press again to cancel mute
function, page 76
9Switching the COMAND on and off, page 13
10Color screen with main CD menu 1Switching CD operation on and off, page 64
2Track select, page 66
Selecting CD’s, page 67
3Raising
or lowering
the volume, page 14
4Press
briefly: next track, page 65
Press longer than 2 seconds: fast forward,
page 69
Press briefly: previous track, page 65
Press longer than 2 seconds: fast backward,
page 69
5Turn to highlight a function or menu field
Press to perform a function or activate a submenu
06-CD-US.pm509.07.2004, 14:07 Uhr 57
Page 60 of 251
58
AudioTelephone Navigation
Index Info Services and
system settings Introduction
CD operation
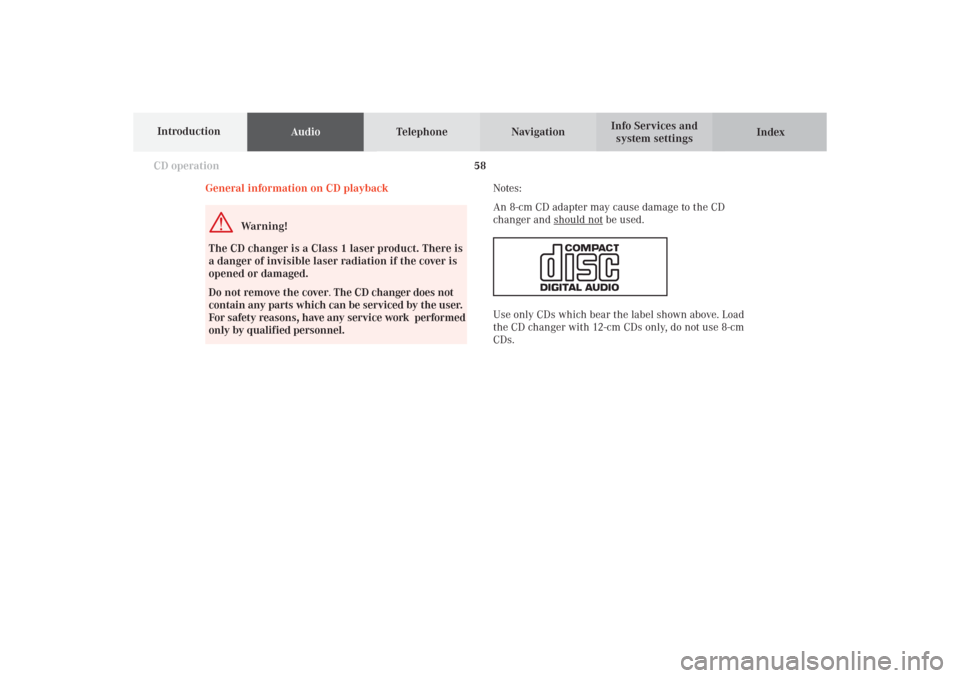
Notes:
An 8-cm CD adapter may cause damage to the CD
changer and
should no
t be used.
Use only CDs which bear the label shown above. Load
the CD changer with 12-cm CDs only, do not use 8-cm
CDs. General information on CD playback
Warning!
The CD changer is a Class 1 laser product. There is
a danger of invisible laser radiation if the cover is
opened or damaged.
Do not remove the cover. The CD changer does not
contain any parts which can be serviced by the user.
For safety reasons, have any service work performed
only by qualified personnel.
06-CD-US.pm509.07.2004, 14:07 Uhr 58
Page 61 of 251
59
Introduction
AudioTelephone
Navigation
Index Info Services and
system settings CD operationLoading CDs in the CD changer
P82.85-2086-26
P82.85-2087-26
The CD changer is in the trunk. It can accommodate up
to 6 CDs.
Open the sliding door by pushing in the direction of the
arrow indicated above. Push the door completely open
until it locks in the open position.Press the green eject button. The magazine will slide
upwards.
Note:
The magazine can be ejected even if COMAND is
switched off. However, the eject button will not function
if the battery is not connected or drained.
06-CD-US.pm509.07.2004, 14:08 Uhr 59
Page 62 of 251
60
AudioTelephone Navigation
Index Info Services and
system settings Introduction
CD operation
P82.85-2088-26
Pull the disk tray forward until it stops.
Note:
Do not attempt to remove the tray from the magazine.Place a CD in the tray. The CD should be inserted with
the label side up.
P82.85-2890-26
06-CD-US.pm509.07.2004, 14:08 Uhr 60


