maintenance reset MERCEDES-BENZ CLA-Class 2015 C117 Owner's Manual
[x] Cancel search | Manufacturer: MERCEDES-BENZ, Model Year: 2015, Model line: CLA-Class, Model: MERCEDES-BENZ CLA-Class 2015 C117Pages: 362, PDF Size: 6.93 MB
Page 20 of 362

Tire tread (definition) ..................... 340
Total load limit (definition )............. 341
Traction ......................................... 334
Traction (definition) ....................... 340
Tread wear ..................................... 334
Uniform Tire Quality Grading
Standards ...................................... 333
Uniform Tire Quality Grading
Standards (definition) .................... 339
Wear indicator (definition) ............. 340
Wheel and tire combination ........... 347
Wheel rim (definition) .................... 339
see Flat tire
Top Tether ............................................ 59
Tow-starting
Emergency engine starting ............ 314
Important safety notes .................. 311
Installing the towing eye ................ 312
Removing the towing eye ............... 313
Towing a trailer
ESP ®
(Electronic Stability Pro-
gram) ............................................... 70
Towing away
Important safety guidelines ........... 311
Installing the towing eye ................ 312
Notes for 4MATIC vehicles ............ 314
Removing the towing eye ............... 313
Transporting the vehicle ................ 314
With both axles on the ground ....... 313
With front axle raised ..................... 313
Towing eye ......................................... 300
Transmission
see Automatic transmission
Transmission position display
(DIRECT SELECT lever) ...................... 149
Transporting the vehicle .................. 314
Trim pieces (cleaning instruc-
tions) .................................................. 297
Trip computer (on-board com-
puter) .................................................. 204
Trip odometer
Calling up ....................................... 203
Resetting (on-board computer) ...... 205
Trunk
Emergency release .......................... 85
Emergency release button ............... 86
Important safety notes .................... 83 Opening (automatically from out-
side) ................................................. 84
Opening automatically from
inside ............................................... 85
Opening/closing (manually from
outside) ............................................ 84
Trunk emergency release button ....... 86
Trunk lid
Display message ............................ 244
Opening dimensions ...................... 359
Trunk load (maximum) ...................... 359
Turn signals
Changing bulbs (front) ................... 119
Changing bulbs (rear) .................... 119
Display message ............................ 230
Switching on/of f........................... 112
Type identification plate
see Vehicle identification plate U
Unlocking Emergency unlocking ....................... 83
From inside the vehicle (central
unlocking button) ............................. 82
Upshift indicator (on-board com-
puter, AMG vehicles) ......................... 214 V
Vanity mirror (in the sun visor) ........ 269
Vehicle
Correct use ...................................... 25
Data acquisition ............................... 26
Display message ............................ 242
Equipment ....................................... 21
Individual settings .......................... 211
Limited Warranty ............................. 25
Loading .......................................... 329
Locking (in an emergency) ............... 83
Locking (SmartKey ).......................... 74
Lowering ........................................ 345
Maintenance .................................... 22
Parking for a long period ................ 163
Pulling away ................................... 144
Raising ........................................... 342
Reporting problems ......................... 25
Securing from rolling away ............ 342 18
Index
Page 293 of 362

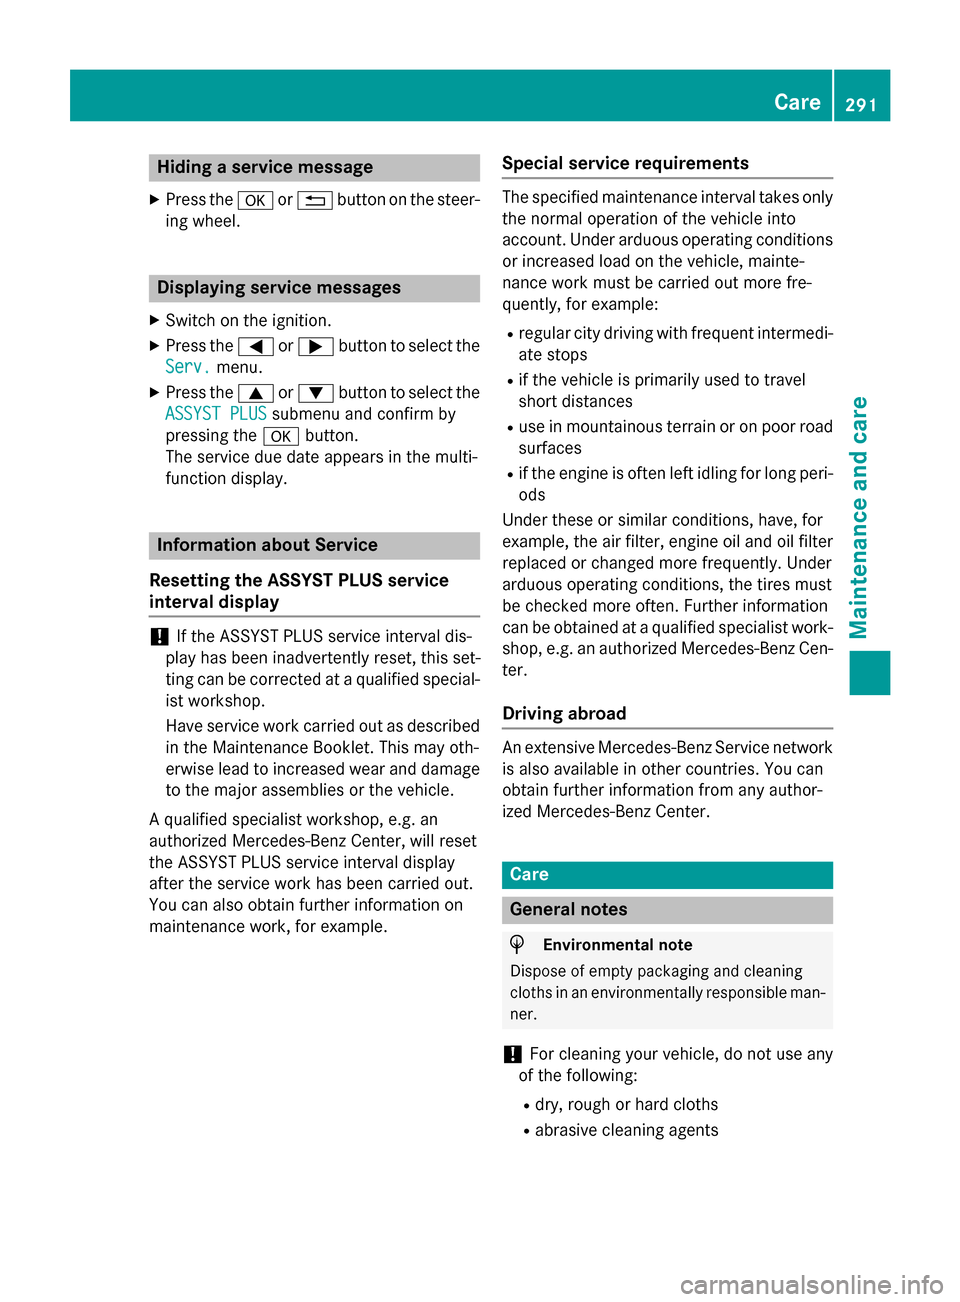
Hiding a service message
X Press the aor% button on the steer-
ing wheel. Displaying service messages
X Switch on the ignition.
X Press the =or; button to select the
Serv.
Serv. menu.
X Press the 9or: button to select the
ASSYST PLUS
ASSYST PLUS submenu and confirm by
pressing the abutton.
The service due date appears in the multi-
function display. Information about Service
Resetting the ASSYST PLUS service
interval display !
If the ASSYST PLUS service interval dis-
play has been inadvertently reset, this set-
ting can be corrected at a qualified special-
ist workshop.
Have service work carried out as described in the Maintenance Booklet. This may oth-
erwise lead to increased wear and damage
to the major assemblies or the vehicle.
A qualified specialist workshop, e.g. an
authorized Mercedes-Benz Center, will reset
the ASSYST PLUS service interval display
after the service work has been carried out.
You can also obtain further information on
maintenance work, for example. Special service requirements The specified maintenance interval takes only
the normal operation of the vehicle into
account. Under arduous operating conditions
or increased load on the vehicle, mainte-
nance work must be carried out more fre-
quently, for example:
R regular city driving with frequent intermedi-
ate stops
R if the vehicle is primarily used to travel
short distances
R use in mountainous terrain or on poor road
surfaces
R if the engine is often left idling for long peri-
ods
Under these or similar conditions, have, for
example, the air filter, engine oil and oil filter
replaced or changed more frequently. Under
arduous operating conditions, the tires must
be checked more often. Further information
can be obtained at a qualified specialist work- shop, e.g. an authorized Mercedes-Benz Cen-
ter.
Driving abroad An extensive Mercedes-Benz Service network
is also available in other countries. You can
obtain further information from any author-
ized Mercedes-Benz Center. Care
General notes
H
Environmental note
Dispose of empty packaging and cleaning
cloths in an environmentally responsible man-
ner.
! For cleaning your vehicle, do not use any
of the following:
R dry, rough or hard cloths
R abrasive cleaning agents Care
291Maintenance and care Z