air condition MERCEDES-BENZ CLA COUPE 2016 User Guide
[x] Cancel search | Manufacturer: MERCEDES-BENZ, Model Year: 2016, Model line: CLA COUPE, Model: MERCEDES-BENZ CLA COUPE 2016Pages: 345, PDF Size: 12.41 MB
Page 54 of 345
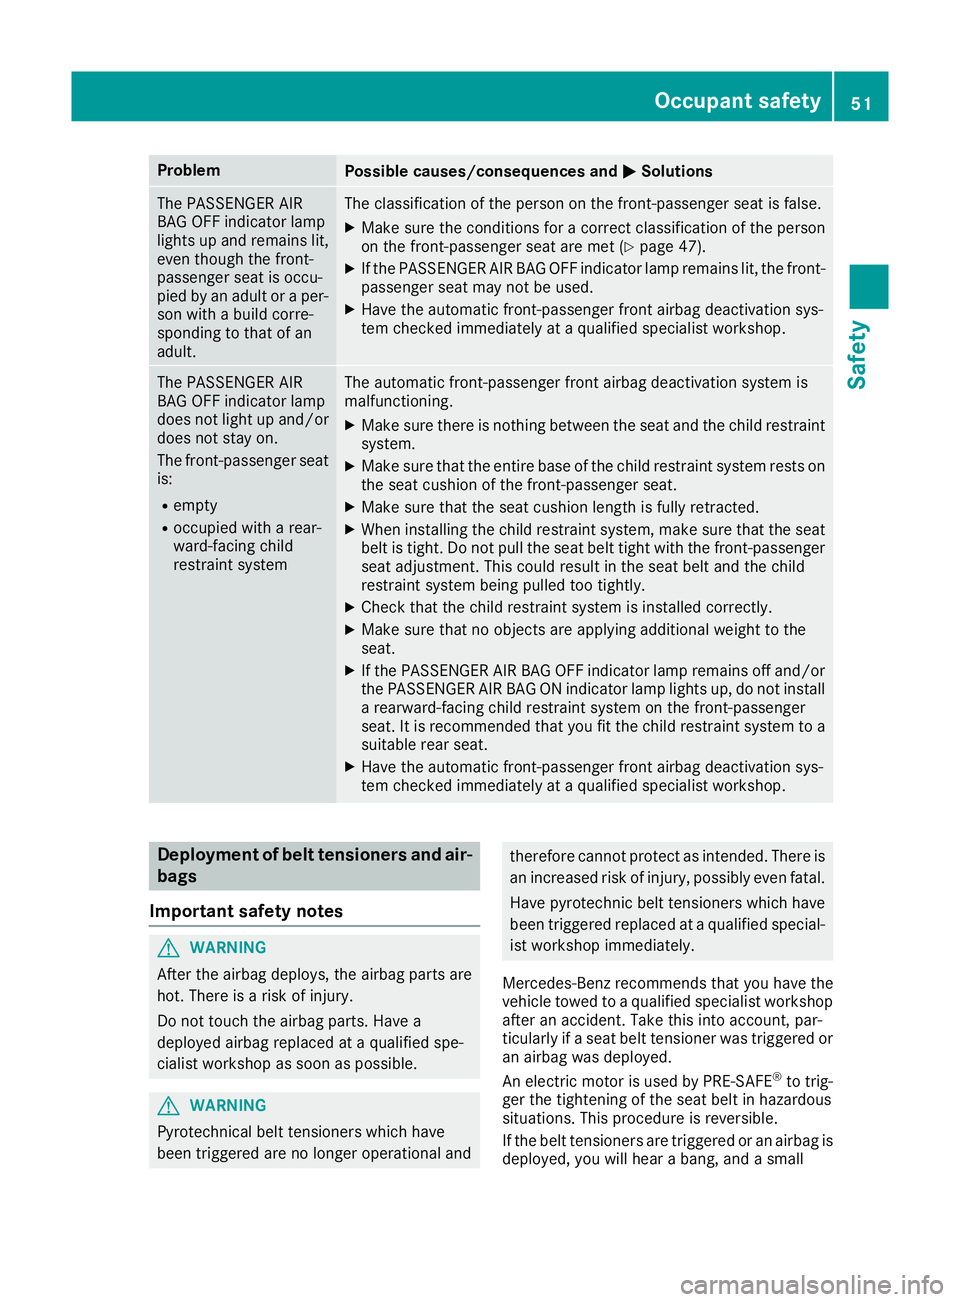
Problem
Possible causes/consequences and
M
MSolutions The PASSENGER AIR
BAG OFF indicator lamp
lights up and remains lit,
even though the front-
passenger seat is occu-
pied by an adult or a per-
son with a build corre-
sponding to that of an
adult. The classification of the person on the front-passenger seat is false.
X Make sure the conditions for a correct classification of the person
on the front-passenger seat are met (Y page 47).
X If the PASSENGER AIR BAG OFF indicator lamp remains lit, the front-
passenger seat may not be used.
X Have the automatic front-passenger front airbag deactivation sys-
tem checked immediately at a qualified specialist workshop. The PASSENGER AIR
BAG OFF indicator lamp
does not light up and/or
does not stay on.
The front-passenger seatis:
R empty
R occupied with a rear-
ward-facing child
restraint system The automatic front-passenger front airbag deactivation system is
malfunctioning.
X Make sure there is nothing between the seat and the child restraint
system.
X Make sure that the entire base of the child restraint system rests on
the seat cushion of the front-passenger seat.
X Make sure that the seat cushion length is fully retracted.
X When installing the child restraint system, make sure that the seat
belt is tight. Do not pull the seat belt tight with the front-passenger
seat adjustment. This could result in the seat belt and the child
restraint system being pulled too tightly.
X Check that the child restraint system is installed correctly.
X Make sure that no objects are applying additional weight to the
seat.
X If the PASSENGER AIR BAG OFF indicator lamp remains off and/or
the PASSENGER AIR BAG ON indicator lamp lights up, do not install
a rearward-facing child restraint system on the front-passenger
seat. It is recommended that you fit the child restraint system to a suitable rear seat.
X Have the automatic front-passenger front airbag deactivation sys-
tem checked immediately at a qualified specialist workshop. Deployment of belt tensioners and air-
bags
Important safety notes G
WARNING
After the airbag deploys, the airbag parts are
hot. There is a risk of injury.
Do not touch the airbag parts. Have a
deployed airbag replaced at a qualified spe-
cialist workshop as soon as possible. G
WARNING
Pyrotechnical belt tensioners which have
been triggered are no longer operational and therefore cannot protect as intended. There is
an increased risk of injury, possibly even fatal.
Have pyrotechnic belt tensioners which have
been triggered replaced at a qualified special-
ist workshop immediately.
Mercedes-Benz recommends that you have the
vehicle towed to a qualified specialist workshop
after an accident. Take this into account, par-
ticularly if a seat belt tensioner was triggered or
an airbag was deployed.
An electric motor is used by PRE-SAFE ®
to trig-
ger the tightening of the seat belt in hazardous
situations. This procedure is reversible.
If the belt tensioners are triggered or an airbag is
deployed, you will hear a bang, and a small Occupant safety
51Safety Z
Page 55 of 345
amount of powder may also be released. The
6 restraint system warning lamp lights up.
Only in rare cases will the bang affect your hear-
ing. In general, the powder released is not haz-
ardous to health but may cause short-term
breathing difficulties to persons suffering from
asthma or other pulmonary conditions. Provided
it is safe to do so, you should leave the vehicle
immediately or open the window in order to pre- vent breathing difficulties.
Operation During the first stage of a collision, the restraint
system control unit evaluates important physi-
cal data relating to vehicle deceleration or accel-
eration, such as:
R duration
R direction
R intensity
Based on the evaluation of this data, the
restraint system control unit triggers the seat
belt tensioners in the event of a head-on or rear collision.
A seat belt tensioner can be triggered only if:
R the ignition is switched on
R the components of the restraint system are
operational. You can find further information
under: "Restraint system warning lamp"
(Y page 40)
R the seat belt buckle tongue has engaged in
the belt buckle of the respective front seat
The seat belt tensioners in the rear compart-
ment are triggered independently of the lock
status of the seat belts.
If the restraint system control unit detects a
high-severity accident, in certain head-on colli-
sions, additional components of the restraint
system are deployed independently of each
other:
R Front airbags and driver's kneebag
R Windowbag, if the system determines that
deployment can offer additional protection to
that provided by the seat belt
On vehicles with the automatic front-passenger
front airbag deactivation system: depending on the person in the front-passenger seat, the
front-passenger front airbag is either disabled or
enabled. The front-passenger front airbag can
be deployed in an accident only if the
PASSENGER AIR BAG OFF indicator lamp is off. Observe the information on the PASSENGER AIR
BAG indicator lamps (Y page 40).
Your vehicle has two-stage front airbags. In the
first deployment stage, the front airbag is filled
with propellant gas to reduce the risk of injuries. The front airbag is fully deployed if the second
deployment stage is activated within a few mil-
liseconds.
The activation threshold for the seat belt ten-
sioners and airbags is determined based on the
evaluation of the vehicle's rate of deceleration
or acceleration at various points in the vehicle.
This process is pre-emptive in nature. The trig-
gering/deployment process should take place
in good time at the start of the collision.
The rate of vehicle deceleration or acceleration
and the direction of the force are essentially
determined by:
R the distribution of forces during the collision
R the collision angle
R the deformation characteristics of the vehicle
R the characteristics of the object with which
the vehicle has collided
Factors that can be seen and measured only
after a collision has occurred do not play a deci-
sive role in the deployment of an airbag, nor do
they provide an indication of airbag deployment.
The vehicle may be deformed significantly with-
out an airbag being deployed. This is the case if only parts that are relatively easily deformed are
affected and the rate of deceleration is not high. Conversely, an airbag may be deployed even
though the vehicle suffers only minor deforma-
tion. This is the case if, for example, very rigid
vehicle parts such as longitudinal body mem-
bers are hit, and sufficient deceleration occurs
as a result.
If the restraint system control unit detects a side
impact, the applicable components of the
restraint system are activated independently of each other.
R Sidebags on the side on which an impact
occurs, independently of the seat belt ten-
sioner and seat belt usage
Vehicles with the automatic front-passenger
front airbag deactivation system: the sidebag 52
Occupant safetySafety
Page 56 of 345
on the front-passenger side deploys under the
following conditions:
- an occupant is detected in the front-
passenger seat or
- the seat belt buckle tongue is engaged in
the belt buckle of the front-passenger seat
R Windowbag on the side on which an impact
occurs, independently of seat belt usage and
regardless of whether the front-passenger
seat is occupied
R Seat belt tensioners, if the system determines
that deployment can offer additional protec-
tion for the vehicle occupants in this situation
i Not all airbags are deployed in an accident.
The different airbag systems work independ-
ently of each other.
How the airbag system works is determined
by the severity of the accident detected,
especially the vehicle deceleration or accel-
eration, and the apparent type of accident:
R frontal collision
R side impact PRE-SAFE
®
(anticipatory occupant
protection)
Introduction In certain hazardous situations, PRE-SAFE
®
takes pre-emptive measures to protect the vehi-
cle occupants.
Important safety notes !
Make sure that there are no objects in the
footwell or behind the seats. There is a risk
that the seats and/or the objects could be
damaged when PRE-SAFE ®
is activated.
Although your vehicle is equipped with PRE-
SAFE ®
, the possibility of injury in the event of an
accident cannot be ruled out. Always adapt your
driving style to suit the prevailing road and
weather conditions and maintain a safe distance from the vehicle in front. Drive carefully. Function PRE-SAFE
®
intervenes:
R in emergency braking situations, e.g. when
BAS is activated
R in critical driving situations, e.g. when physi-
cal limits are exceeded and the vehicle under- steers or oversteers severely
R when active Brake Assist intervenes power-
fully
PRE-SAFE ®
takes the following measures
depending on the hazardous situation detected:
R the front seat belts are pre-tensioned.
R if the vehicle skids, the side windows and the
panorama sliding sunroof are closed.
R vehicles with the memory function: the front-
passenger seat is adjusted if it is in an unfav-
ourable position.
If the hazardous situation passes without result- ing in an accident, PRE-SAFE ®
slackens the belt
pre-tensioning. All settings made by PRE-SAFE ®
can then be reversed.
If the seat belt pre-tensioning is not reduced:
X Move the seat backrest or seat back slightly
when the vehicle is stationary.
Seat belt pre-tensioning is reduced and the
locking mechanism is released.
The seat-belt adjustment is an integral part of
the PRE-SAFE ®
convenience function. Informa-
tion about the convenience function can be
found under "Belt adjustment" (Y page 43). Automatic measures after an acci-
dent
Immediately after an accident, the following
measures may be implemented, depending on
the type and severity of the impact: R the hazard warning lamps are activated
R the emergency lighting is activated
R the vehicle doors are unlocked
R the front side windows are lowered
R the engine is switched off and the fuel supply
is cut off
R vehicles with the Mercedes-Benz emergency
call system: automatic emergency call Occupant safety
53Safety Z
Page 69 of 345
Important safety notes
If you fail to adapt your driving style or if you are
inattentive, the driving safety systems can nei-
ther reduce the risk of an accident nor override the laws of physics. Driving safety systems are
merely aids designed to assist driving. You are
responsible for maintaining the distance to the
vehicle in front, for vehicle speed, for braking in
good time and for staying in lane. Always adapt your driving style to suit the prevailing road and
weather conditions and maintain a safe distance from the vehicle in front. Drive carefully.
The driving safety systems described work as
effectively as possible only when there is ade-
quate contact between the tyres and the road
surface. Please pay special attention to the
notes on tyres, recommended minimum tyre
tread depths etc. (Y page 310).
In wintry driving conditions, always use winter
tyres (M+S tyres) and, if necessary, snow
chains. Only in this way will the driving safety
systems described in this section work as effec-
tively as possible. ABS (Anti-lock Braking System)
General notes ABS regulates brake pressure in such a way that
the wheels do not lock when you brake. This
allows you to continue steering the vehicle when braking.
The ! ABS warning lamp in the instrument
cluster lights up when the ignition is switched
on. It goes out when the engine is running.
ABS works from a speed of about 8 km/h,
regardless of road-surface conditions. ABS
works on slippery surfaces, even when you only
brake gently.
Important safety notes i
Observe the "Important safety notes" sec-
tion (Y page 66). G
WARNING
If ABS is faulty, the wheels could lock when
braking. The steerability and braking charac-
teristics may be severely impaired. Addition-
ally, further driving safety systems are deac- tivated. There is an increased danger of skid-
ding and accidents.
Drive on carefully. Have ABS checked imme-
diately at a qualified specialist workshop.
If ABS is malfunctioning, other systems, includ-
ing driving safety systems, will also become
inoperative. Observe the information on the ABS warning lamp (Y page 250) and display mes-
sages which may be shown in the instrument
cluster (Y page 217).
Braking X
If ABS intervenes: continue to depress the
brake pedal with force until the braking sit-
uation is over.
X To make a full brake application: depress
the brake pedal with full force.
If ABS intervenes when braking, you will feel a
pulsing in the brake pedal.
The pulsating brake pedal can be an indication
of hazardous road conditions; this serves as a
reminder to take extra care while driving. BAS (Brake Assist)
General notes BAS operates in emergency braking situations.
If you depress the brake pedal quickly, BAS
automatically boosts the braking force, thus
shortening the stopping distance.
Important safety notes i
Read the "Important safety notes" section
(Y page 66). G
WARNING
If BAS is malfunctioning, the braking distance
in an emergency braking situation is
increased. There is a risk of accident.
In an emergency braking situation, depress
the brake pedal with full force. ABS prevents
the wheels from locking. 66
Driving safety systemsSafety
Page 100 of 345
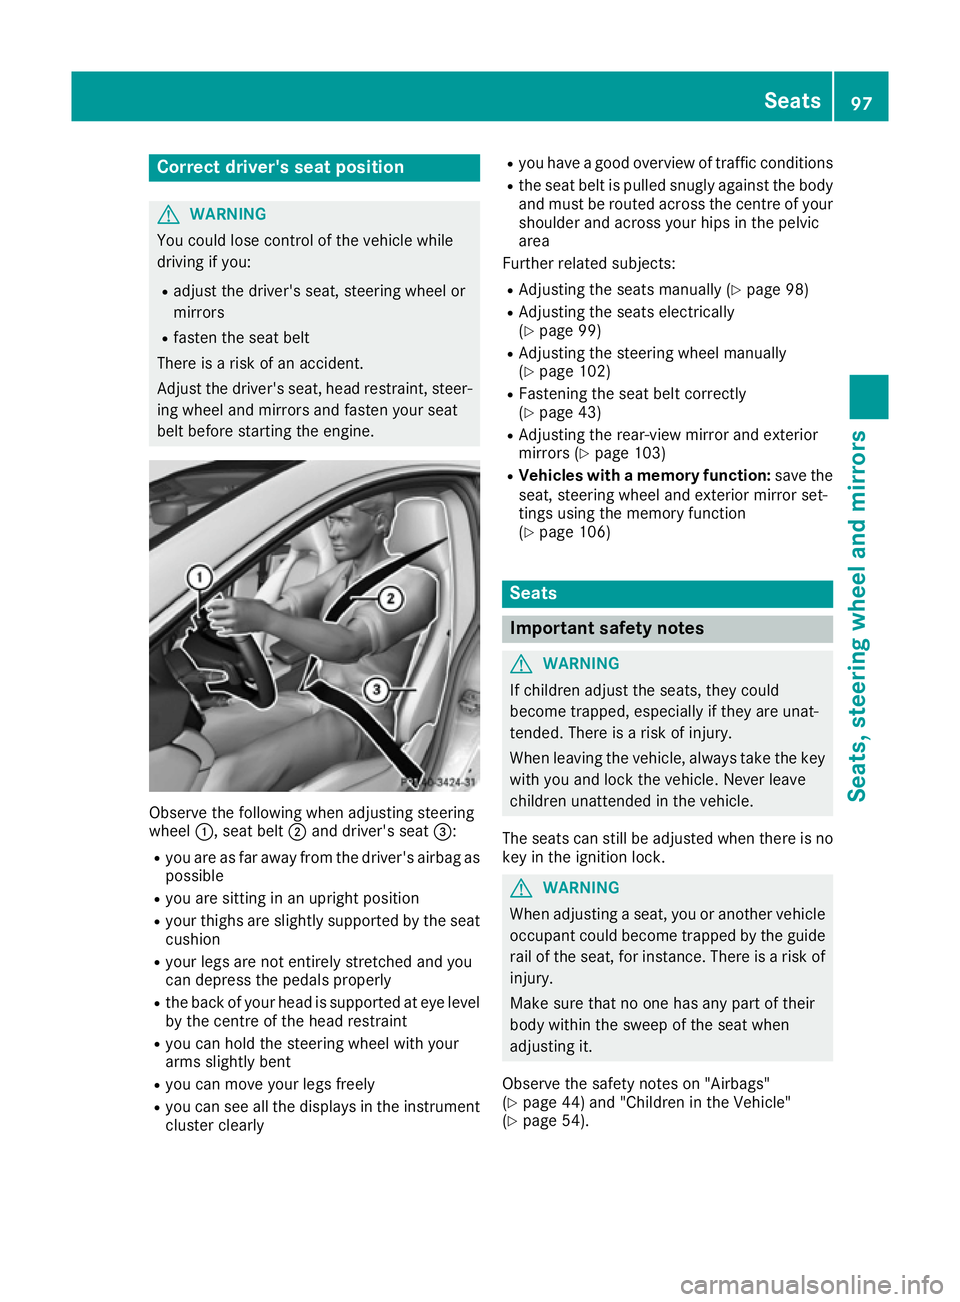
Correct driver's seat position
G
WARNING
You could lose control of the vehicle while
driving if you:
R adjust the driver's seat, steering wheel or
mirrors
R fasten the seat belt
There is a risk of an accident.
Adjust the driver's seat, head restraint, steer-
ing wheel and mirrors and fasten your seat
belt before starting the engine. Observe the following when adjusting steering
wheel
:, seat belt ;and driver's seat =:
R you are as far away from the driver's airbag as
possible
R you are sitting in an upright position
R your thighs are slightly supported by the seat
cushion
R your legs are not entirely stretched and you
can depress the pedals properly
R the back of your head is supported at eye level
by the centre of the head restraint
R you can hold the steering wheel with your
arms slightly bent
R you can move your legs freely
R you can see all the displays in the instrument
cluster clearly R
you have a good overview of traffic conditions
R the seat belt is pulled snugly against the body
and must be routed across the centre of your
shoulder and across your hips in the pelvic
area
Further related subjects:
R Adjusting the seats manually (Y page 98)
R Adjusting the seats electrically
(Y page 99)
R Adjusting the steering wheel manually
(Y page 102)
R Fastening the seat belt correctly
(Y page 43)
R Adjusting the rear-view mirror and exterior
mirrors (Y page 103)
R Vehicles with a memory function: save the
seat, steering wheel and exterior mirror set-
tings using the memory function
(Y page 106) Seats
Important safety notes
G
WARNING
If children adjust the seats, they could
become trapped, especially if they are unat-
tended. There is a risk of injury.
When leaving the vehicle, always take the key with you and lock the vehicle. Never leave
children unattended in the vehicle.
The seats can still be adjusted when there is no
key in the ignition lock. G
WARNING
When adjusting a seat, you or another vehicle occupant could become trapped by the guiderail of the seat, for instance. There is a risk of
injury.
Make sure that no one has any part of their
body within the sweep of the seat when
adjusting it.
Observe the safety notes on "Airbags"
(Y page 44) and "Children in the Vehicle"
(Y page 54). Seats
97Seats, steering wheel and mirrors Z
Page 120 of 345
Overview of climate control systems
General notes
Observe the settings recommended on the fol-
lowing pages. Otherwise, the windows could
mist up.
To prevent the windows from misting up:
R switch off climate control only briefly
R activate air-recirculation mode only briefly
R switch on "Cooling with air dehumidification"
R activate the "Windscreen demisting" function
briefly, if required
The air-conditioning system or THERMOTRONIC
automatic climate control regulates the temper- ature and the humidity of the vehicle interior andfilters undesirable substances from the air.
The air-conditioning system or THERMOTRONIC automatic climate control can only be operatedwhen the engine is running. Optimum operationis only achieved with the side windows and pan-
orama sliding sunroof closed.
The residual heat function can only be activated or deactivated with the ignition switched off
(Y page 126).
Always keep the ventilation flaps behind the
side panelling clear (Y page 113). Otherwise the
vehicle will not be ventilated correctly.
i Ventilate the vehicle for a brief period during
warm weather, e.g. using the convenience
opening feature (Y page 90). This will speed up the cooling process and the desired inte-
rior temperature will be reached more
quickly.
i The integrated filter filters out most parti-
cles of dust and soot and completely filters
out pollen. With THERMOTRONIC automatic
climate control, gaseous pollutants and
odours will also be reduced. A clogged filter
reduces the amount of air supplied to the
vehicle interior. For this reason, you should
always observe the interval for replacing the
filter, which is specified in the Service Book-
let. As this depends on environmental condi-
tions, e.g. heavy air pollution, the interval may be shorter than stated in the Service Booklet.
i Vehicles with auxiliary heating:
Under
certain environmental conditions, the resid-
ual heat function may be activated automati-
cally an hour after the ignition key has been
removed in order to dry the automatic climate
control. The blue LED on the rocker switch in the centre console lights up when the active
function to dry the automatic climate control is on. The vehicle is then ventilated for
30 minutes.
Vehicles without auxiliary heating: Under
certain environmental conditions, the resid-
ual heat function may be activated automati-
cally an hour after the ignition key has been
removed in order to dry the automatic climate control. The vehicle is then ventilated for
30 minutes. Overview of climate control systems
117Climate control
Page 121 of 345
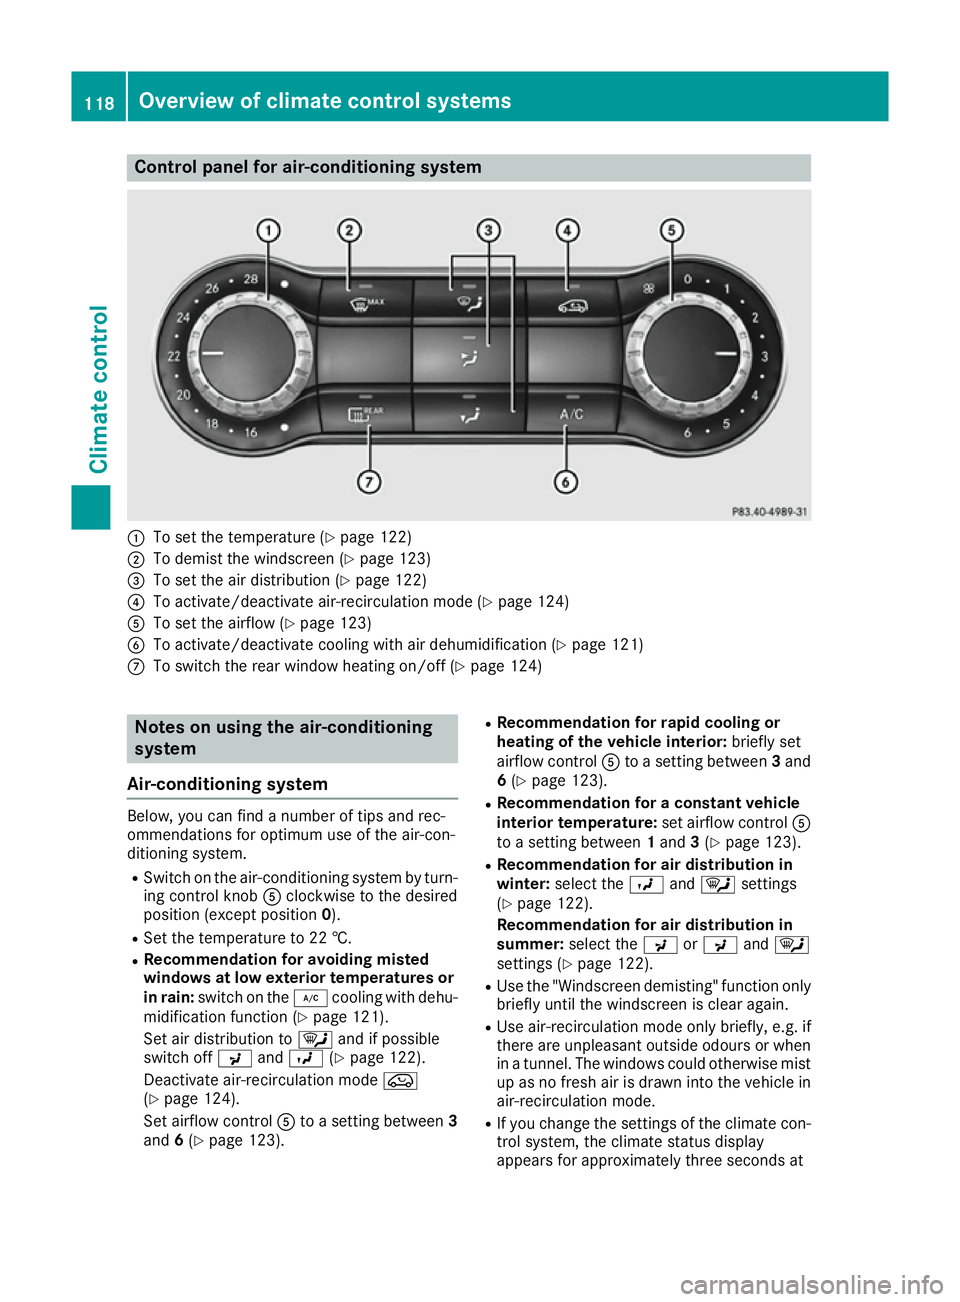
Control panel for air-conditioning system
:
To set the temperature (Y page 122)
; To demist the windscreen (Y page 123)
= To set the air distribution (Y page 122)
? To activate/deactivate air-recirculation mode (Y page 124)
A To set the airflow (Y page 123)
B To activate/deactivate cooling with air dehumidification (Y page 121)
C To switch the rear window heating on/off (Y page 124)Notes on using the air-conditioning
system
Air-conditioning system Below, you can find a number of tips and rec-
ommendations for optimum use of the air-con-
ditioning system.
R Switch on the air-conditioning system by turn-
ing control knob Aclockwise to the desired
position (except position 0).
R Set the temperature to 22 †.
R Recommendation for avoiding misted
windows at low exterior temperatures or
in rain: switch on the ¿cooling with dehu-
midification function (Y page 121).
Set air distribution to ¯and if possible
switch off PandO (Ypage 122).
Deactivate air-recirculation mode e
(Y page 124).
Set airflow control Ato a setting between 3
and 6(Y page 123). R
Recommendation for rapid cooling or
heating of the vehicle interior: briefly set
airflow control Ato a setting between 3and
6 (Y page 123).
R Recommendation for a constant vehicle
interior temperature: set airflow controlA
to a setting between 1and 3(Y page 123).
R Recommendation for air distribution in
winter: select the Oand¯ settings
(Y page 122).
Recommendation for air distribution in
summer: select the PorP and¯
settings (Y page 122).
R Use the "Windscreen demisting" function only
briefly until the windscreen is clear again.
R Use air-recirculation mode only briefly, e.g. if
there are unpleasant outside odours or when
in a tunnel. The windows could otherwise mist up as no fresh air is drawn into the vehicle inair-recirculation mode.
R If you change the settings of the climate con-
trol system, the climate status display
appears for approximately three seconds at 118
Overview of climate control systemsClimate control
Page 123 of 345
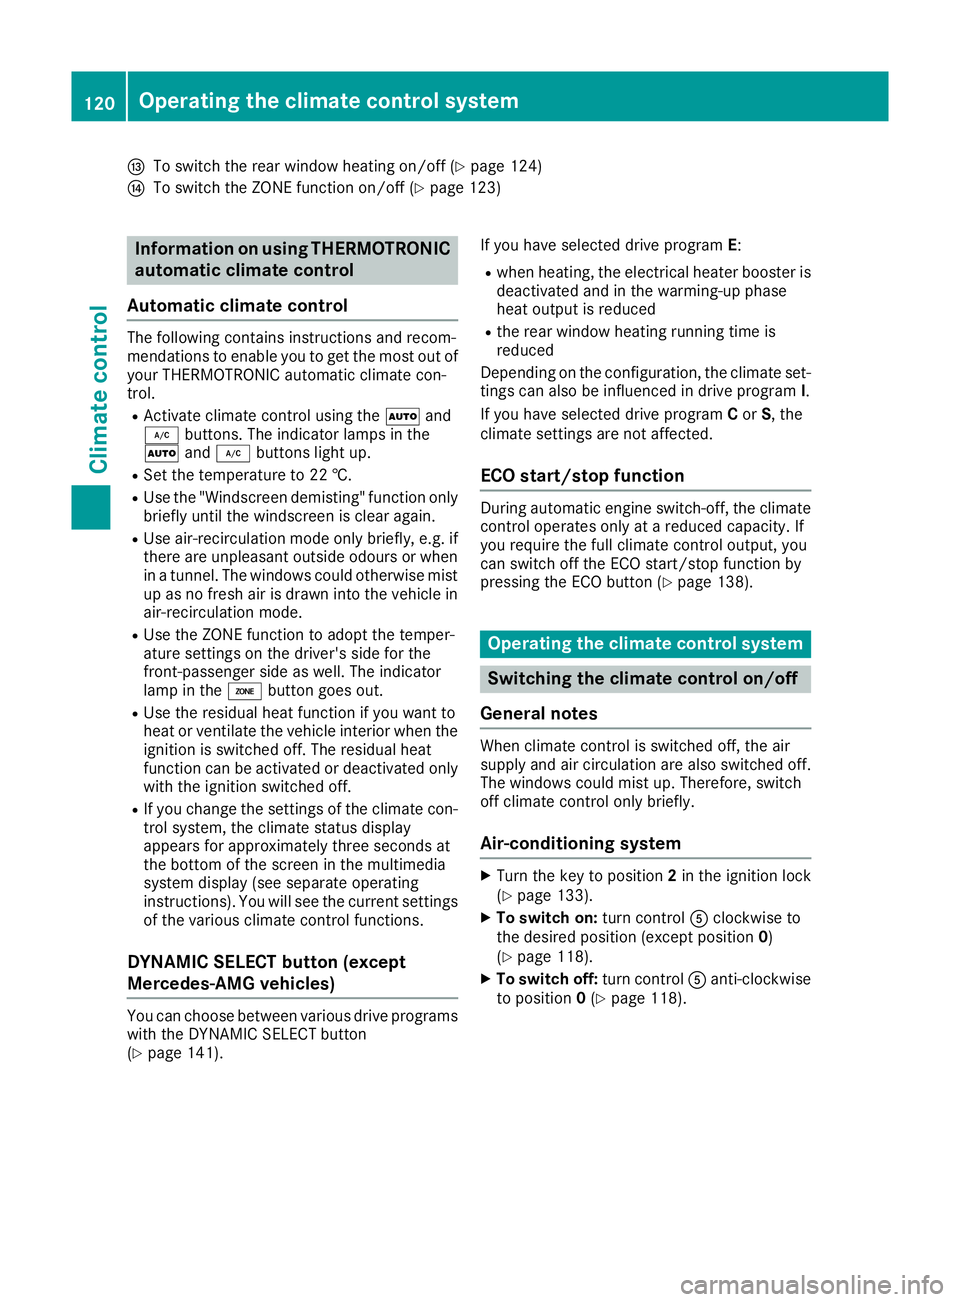
I
To switch the rear window heating on/off (Y page 124)
J To switch the ZONE function on/off (Y page 123)Information on using THERMOTRONIC
automatic climate control
Automatic climate control The following contains instructions and recom-
mendations to enable you to get the most out of
your THERMOTRONIC automatic climate con-
trol.
R Activate climate control using the Ãand
¿ buttons. The indicator lamps in the
à and¿ buttons light up.
R Set the temperature to 22 †.
R Use the "Windscreen demisting" function only
briefly until the windscreen is clear again.
R Use air-recirculation mode only briefly, e.g. if
there are unpleasant outside odours or when
in a tunnel. The windows could otherwise mist up as no fresh air is drawn into the vehicle in
air-recirculation mode.
R Use the ZONE function to adopt the temper-
ature settings on the driver's side for the
front-passenger side as well. The indicator
lamp in the ábutton goes out.
R Use the residual heat function if you want to
heat or ventilate the vehicle interior when the
ignition is switched off. The residual heat
function can be activated or deactivated only
with the ignition switched off.
R If you change the settings of the climate con-
trol system, the climate status display
appears for approximately three seconds at
the bottom of the screen in the multimedia
system display (see separate operating
instructions). You will see the current settings
of the various climate control functions.
DYNAMIC SELECT button (except
Mercedes-AMG vehicles) You can choose between various drive programs
with the DYNAMIC SELECT button
(Y page 141). If you have selected drive program
E:
R when heating, the electrical heater booster is
deactivated and in the warming-up phase
heat output is reduced
R the rear window heating running time is
reduced
Depending on the configuration, the climate set-
tings can also be influenced in drive program I.
If you have selected drive program Cor S, the
climate settings are not affected.
ECO start/stop function During automatic engine switch-off, the climate
control operates only at a reduced capacity. If
you require the full climate control output, you
can switch off the ECO start/stop function by
pressing the ECO button (Y page 138). Operating the climate control system
Switching the climate control on/off
General notes When climate control is switched off, the air
supply and air circulation are also switched off.
The windows could mist up. Therefore, switch
off climate control only briefly.
Air-conditioning system X
Turn the key to position 2in the ignition lock
(Y page 133).
X To switch on: turn controlAclockwise to
the desired position (except position 0)
(Y page 118).
X To switch off: turn controlAanti-clockwise
to position 0(Y page 118). 120
Operating the climate control systemClimate control
Page 125 of 345
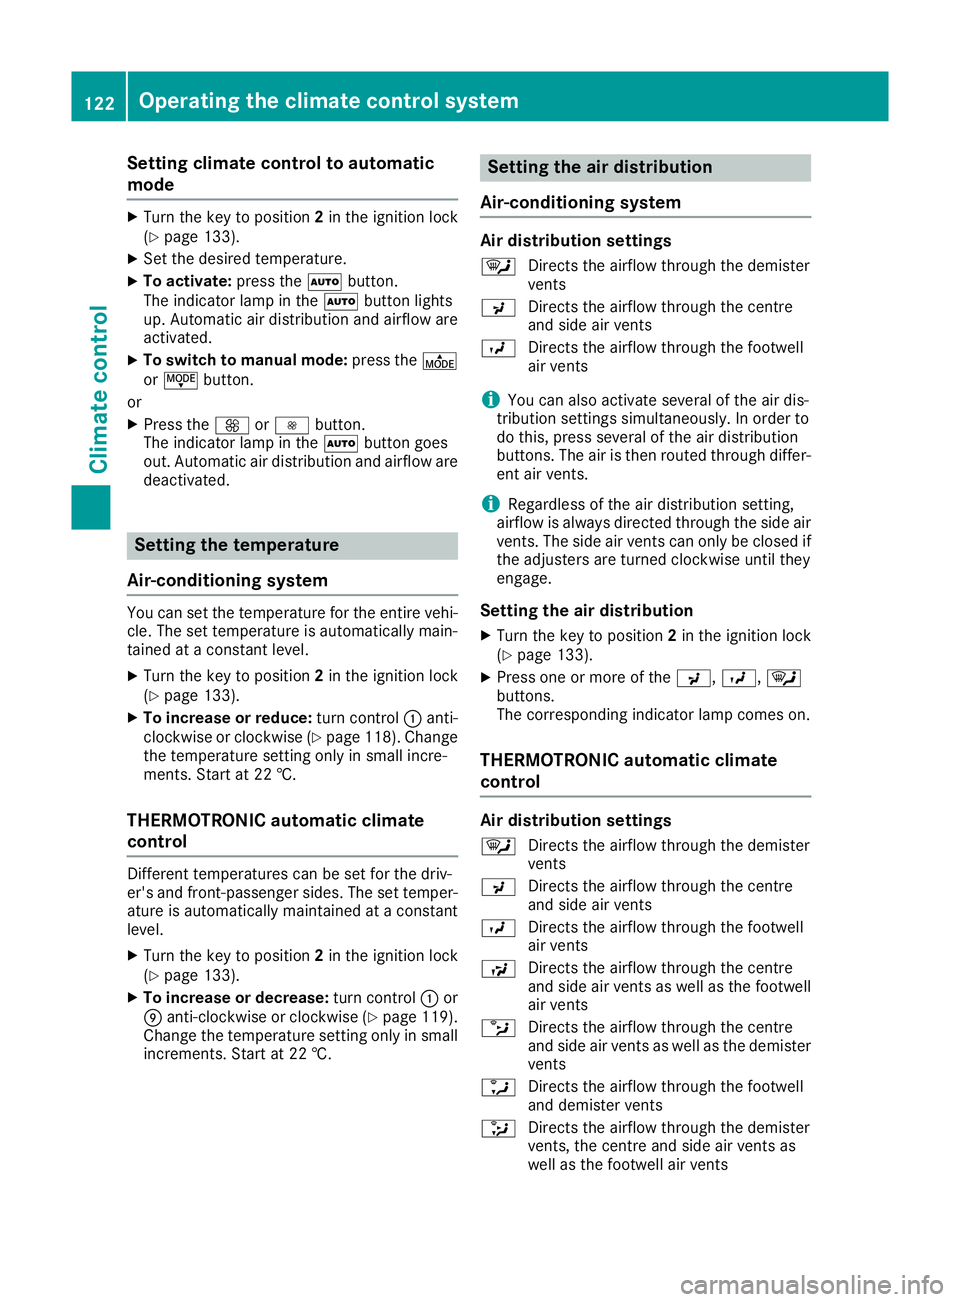
Setting climate control to automatic
mode X
Turn the key to position 2in the ignition lock
(Y page 133).
X Set the desired temperature.
X To activate: press theÃbutton.
The indicator lamp in the Ãbutton lights
up. Automatic air distribution and airflow are
activated.
X To switch to manual mode: press theÉ
or Ë button.
or
X Press the KorI button.
The indicator lamp in the Ãbutton goes
out. Automatic air distribution and airflow are deactivated. Setting the temperature
Air-conditioning system You can set the temperature for the entire vehi-
cle. The set temperature is automatically main-
tained at a constant level.
X Turn the key to position 2in the ignition lock
(Y page 133).
X To increase or reduce: turn control:anti-
clockwise or clockwise (Y page 118). Change
the temperature setting only in small incre-
ments. Start at 22 †.
THERMOTRONIC automatic climate
control Different temperatures can be set for the driv-
er's and front-passenger sides. The set temper- ature is automatically maintained at a constant
level.
X Turn the key to position 2in the ignition lock
(Y page 133).
X To increase or decrease: turn control:or
E anti-clockwise or clockwise (Y page 119).
Change the temperature setting only in small
increments. Start at 22 †. Setting the air distribution
Air-conditioning system Air distribution settings
¯ Directs the airflow through the demister
vents
P Directs the airflow through the centre
and side air vents
O Directs the airflow through the footwell
air vents
i You can also activate several of the air dis-
tribution settings simultaneously. In order to
do this, press several of the air distribution
buttons. The air is then routed through differ-
ent air vents.
i Regardless of the air distribution setting,
airflow is always directed through the side air vents. The side air vents can only be closed if
the adjusters are turned clockwise until they
engage.
Setting the air distribution X Turn the key to position 2in the ignition lock
(Y page 133).
X Press one or more of the P,O,¯
buttons.
The corresponding indicator lamp comes on.
THERMOTRONIC automatic climate
control Air distribution settings
¯ Directs the airflow through the demister
vents
P Directs the airflow through the centre
and side air vents
O Directs the airflow through the footwell
air vents
S Directs the airflow through the centre
and side air vents as well as the footwell
air vents
b Directs the airflow through the centre
and side air vents as well as the demister
vents
a Directs the airflow through the footwell
and demister vents
_ Directs the airflow through the demister
vents, the centre and side air vents as
well as the footwell air vents 122
Operating the climate control systemClimate control
Page 126 of 345
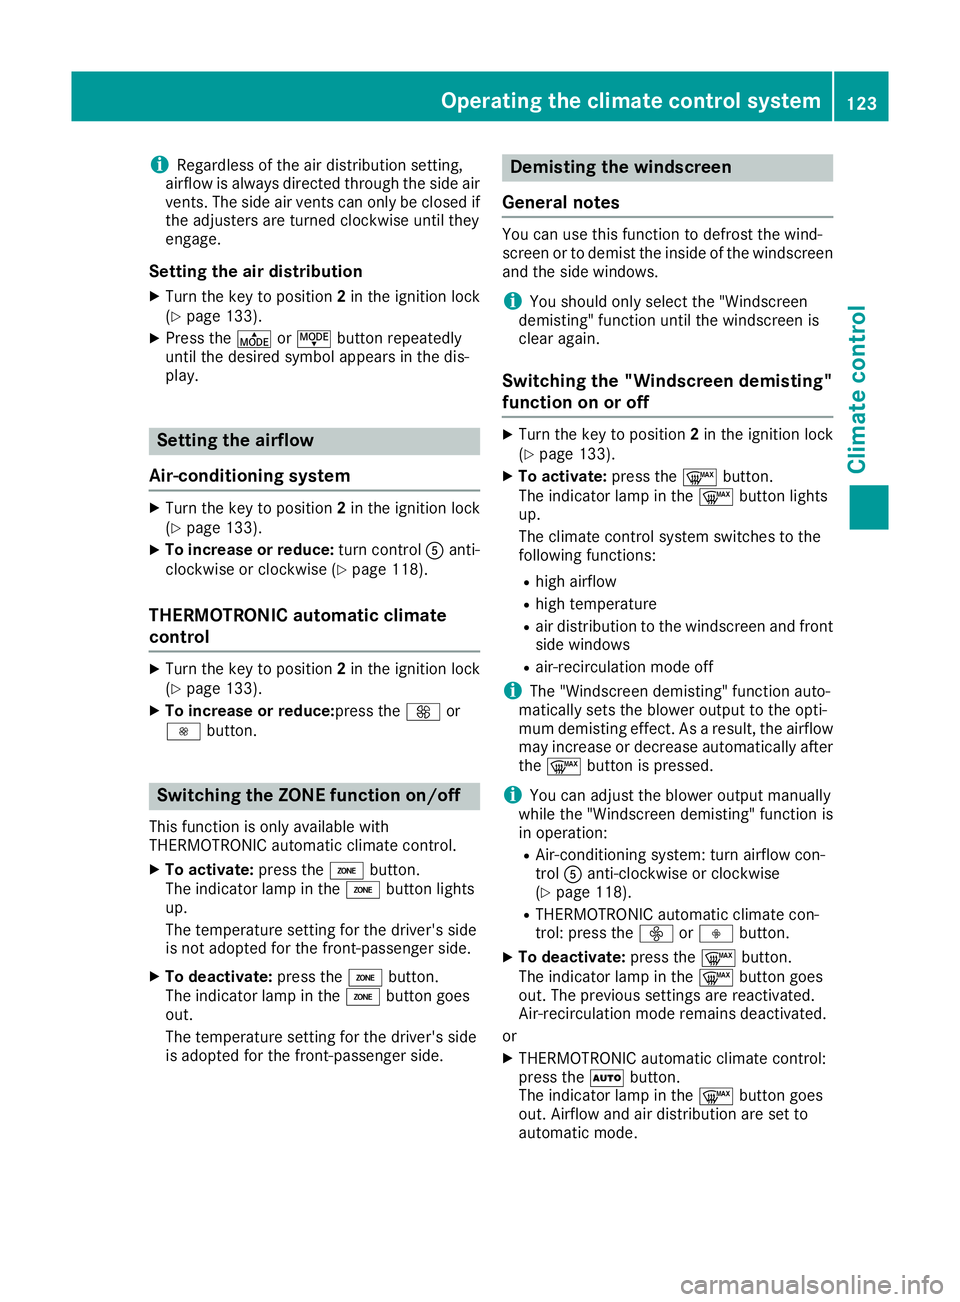
i
Regardless of the air distribution setting,
airflow is always directed through the side air
vents. The side air vents can only be closed if the adjusters are turned clockwise until they
engage.
Setting the air distribution X Turn the key to position 2in the ignition lock
(Y page 133).
X Press the ÉorË button repeatedly
until the desired symbol appears in the dis-
play. Setting the airflow
Air-conditioning system X
Turn the key to position 2in the ignition lock
(Y page 133).
X To increase or reduce: turn controlAanti-
clockwise or clockwise (Y page 118).
THERMOTRONIC automatic climate
control X
Turn the key to position 2in the ignition lock
(Y page 133).
X To increase or reduce: press theKor
I button. Switching the ZONE function on/off
This function is only available with
THERMOTRONIC automatic climate control.
X To activate: press theábutton.
The indicator lamp in the ábutton lights
up.
The temperature setting for the driver's side
is not adopted for the front-passenger side.
X To deactivate: press theábutton.
The indicator lamp in the ábutton goes
out.
The temperature setting for the driver's side
is adopted for the front-passenger side. Demisting the windscreen
General notes You can use this function to defrost the wind-
screen or to demist the inside of the windscreen
and the side windows.
i You should only select the "Windscreen
demisting" function until the windscreen is
clear again.
Switching the "Windscreen demisting"
function on or off X
Turn the key to position 2in the ignition lock
(Y page 133).
X To activate: press the¬button.
The indicator lamp in the ¬button lights
up.
The climate control system switches to the
following functions:
R high airflow
R high temperature
R air distribution to the windscreen and front
side windows
R air-recirculation mode off
i The "Windscreen demisting" function auto-
matically sets the blower output to the opti-
mum demisting effect. As a result, the airflow may increase or decrease automatically after
the ¬ button is pressed.
i You can adjust the blower output manually
while the "Windscreen demisting" function is
in operation:
R Air-conditioning system: turn airflow con-
trol Aanti-clockwise or clockwise
(Y page 118).
R THERMOTRONIC automatic climate con-
trol: press the óorô button.
X To deactivate: press the¬button.
The indicator lamp in the ¬button goes
out. The previous settings are reactivated.
Air-recirculation mode remains deactivated.
or
X THERMOTRONIC automatic climate control:
press the Ãbutton.
The indicator lamp in the ¬button goes
out. Airflow and air distribution are set to
automatic mode. Operating the climate control system
123Climate control