radio MERCEDES-BENZ CLS-Class 2017 W218 Comand Manual
[x] Cancel search | Manufacturer: MERCEDES-BENZ, Model Year: 2017, Model line: CLS-Class, Model: MERCEDES-BENZ CLS-Class 2017 W218Pages: 202, PDF Size: 6.35 MB
Page 55 of 202
Your multimediasyste mequipment
These operatin ginstruction sdescribe all th e
standar dan doptional equipment of your multi-
media system, as available at th etime of going
to press. Country-specifi cdifference sare pos -
sible. Bear in min dthat your vehicle may no t
feature all function sdescribed here. Thi salso
applies to safety-relevan tsystems an dfunc-
tions.
Read th einformation on qualifie dspecialis t
workshop sin th evehicle Operator's Manual.
Introduction
Important safet ynotes
GWARNING
If you operat einformation systems an dcom-
munication equipment integrated in th evehi-
cl e whil edriving, you will be distracted from
traffic conditions. You could also los econtro l
of th evehicle. There is aris kof an accident.
Only operat eth eequipment when th etraffic
situation permits. If you are no tsur ethat this
is possible, par kth evehicle payin gattention
to traffic condition san doperat eth eequip-
men twhen th evehicle is stationary.
You mus tobserv eth elegal requirements fo rth e
country in whic hyou are currentl ydrivin gwhen
operatin gth emultimedia system.
The multimedia syste mcalculates th erout eto
th edestination without taking accoun tof th e
following, fo rexample:
Rtraffic lights
Rstop an dyield signs
Rmergin glanes
Rparking or stoppin gin ano parking/n ostop-
pin gzone
Rother road an dtraffic rule san dregulation s
Rnarrow bridge s
The multimedia syste mmay provid eincorrec t
navigation recommendation sif th eactual
street/traffic situation doe sno tcorrespon d
wit hth edigita lmap's data.
Examples of suc hdeviation sincl ude:
Ra
diverted rout e
Rachange in th edirection of aone-way stree tDigital map
sdo no tcover all areas no rall routes
in an area.
Fo rthis reason ,you mus talways observ eroad
an dtraffic rule san dregulation sdurin gyour
journey. Road an dtraffic rule san dregulation s
always hav epriorit yover th esystem' sdrivin g
recommendations.
Navigation announcement sare intended to
direc tyou whil edrivin gwithout divertin gyour
attention from th eroad an ddriving.
Please always use this feature instead of con-
sultin gth emap display fo rdirections. Lookin g
at th eicon sor map display can distract you from
traffic condition san ddriving, an dincrease th e
ris kof an accident.
General notes
Operationa lreadines sof th enavigation
syste m
The navigation syste mmus tdetermin eth eposi-
tion of th evehicle befor efirst use or wheneve r
operational status is restored .Therefore, you
may hav eto drive fo r awhil ebefor eprecise
rout eguidance is possible.
GP Sreception
Amon gother things, correc tfunctionin gof th e
navigation syste mdepends on GPS reception .In
certain situations, GPS reception may be
impaired, there may be interferenc eor there
may be no reception at all, e.g. in tunnels or
parking garages .
iUsing roof carriers may impair th ecorrec t
functionin gof aroof antenn a(phone, satellite
radio, GPS).
Entry restriction
Fo rvehicles in certain countries, there is adat a
entr yrestriction .
Entries can be mad ewhen th eselecto rlever is in
position Por th evehicle is stationary.
Whe nth erestriction is active ,certain entries
canno tbe made. Thi swill be indicated by th e
fac tthat certain men uitems are grayed out an d
canno tbe selected.
Introduction53
Navigation
Z
Page 56 of 202
The following entries are not possible, for exam-
ple:
Rentering the destination city and street
RPOI entry via a name search
Rediting and saving of entries
Other entries are however possible, such as a
keyword search and entering POIs in the vicinity of the destination or current position.
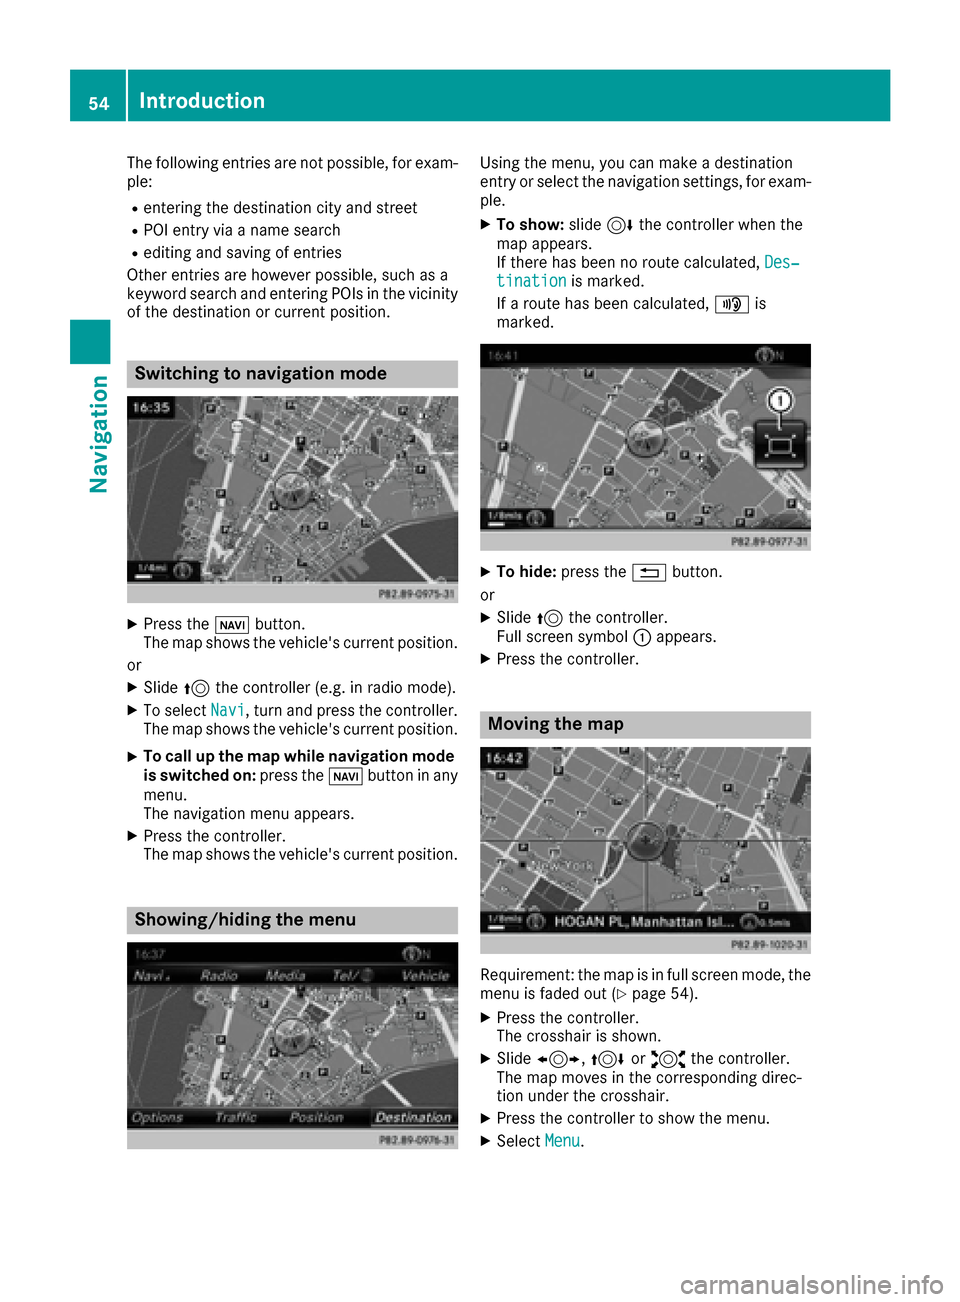
Switching to navigation mode
XPress the ßbutton.
The map shows the vehicle's current position.
or
XSlide 5the controller (e.g. in radio mode).
XTo select Navi, turn and press the controller.
The map shows the vehicle's current position.
XTo call up the map while navigation mode
is switched on: press theßbutton in any
menu.
The navigation menu appears.
XPress the controller.
The map shows the vehicle's current position.
Showing/hiding the menu
Using the menu, you can make a destination
entry or select the navigation settings, for exam-
ple.
XTo show: slide6the controller when the
map appears.
If there has been no route calculated, Des‐
tinationis marked.
If a route has been calculated, yis
marked.
XTo hide: press the %button.
or
XSlide 5the controller.
Full screen symbol :appears.
XPress the controller.
Moving the map
Requirement: the map is in full screen mode, the
menu is faded out (Ypage 54).
XPress the controller.
The crosshair is shown.
XSlide 1, 4or2 the controller.
The map moves in the corresponding direc-
tion under the crosshair.
XPress the controller to show the menu.
XSelect Menu.
54Introduction
Navigation
Page 57 of 202
Basic settings
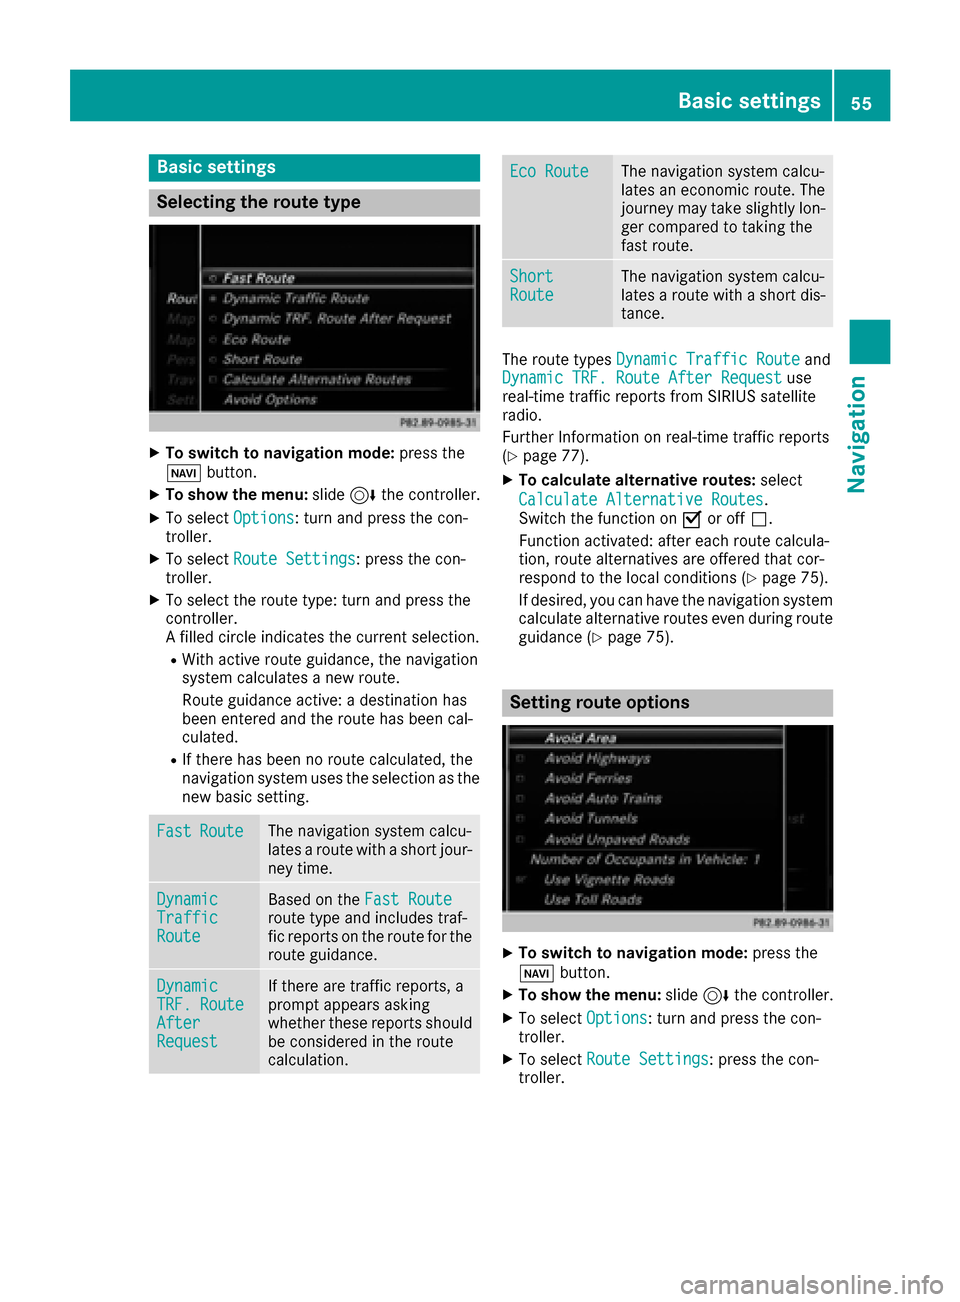
Selecting the route type
XTo switch to navigation mode:press the
Ø button.
XTo show the menu: slide6the controller.
XTo select Options: turn and press the con-
troller.
XTo select Route Settings: press the con-
troller.
XTo select the route type: turn and press the
controller.
A filled circle indicates the current selection.
RWith active route guidance, the navigation
system calculates a new route.
Route guidance active: a destination has
been entered and the route has been cal-
culated.
RIf there has been no route calculated, the
navigation system uses the selection as the
new basic setting.
FastRouteThe navigation system calcu-
lates a route with a short jour-
ney time.
DynamicTrafficRoute
Based on the Fast Routeroute type and includes traf-
fic reports on the route for the
route guidance.
DynamicTRF.RouteAfterRequest
If there are traffic reports, a
prompt appears asking
whether these reports should
be considered in the route
calculation.
Eco RouteThe navigation system calcu-
lates an economic route. The
journey may take slightly lon-
ger compared to taking the
fast route.
ShortRouteThe navigation system calcu-
lates a route with a short dis-
tance.
The route types Dynamic Traffic Routeand
Dynamic TRF. Route After Requestuse
real-time traffic reports from SIRIUS satellite
radio.
Further Information on real-time traffic reports
(
Ypage 77).
XTo calculate alternative routes: select
Calculate Alternative Routes
.
Switch the function on Oor off ª.
Function activated: after each route calcula-
tion, route alternatives are offered that cor-
respond to the local conditions (
Ypage 75).
If desired, you can have the navigation system
calculate alternative routes even during route
guidance (
Ypage 75).
Setting route options
XTo switch to navigation mode: press the
Ø button.
XTo show the menu: slide6the controller.
XTo select Options: turn and press the con-
troller.
XTo select Route Settings: press the con-
troller.
Basic settings55
Navigation
Z
Page 79 of 202
XTo specify the end of a traffic jam section:
selectEnd
.
The next possible traffic jam section end point
is marked.
XTurn the controller.
The marking moves along the route to the
next end position.
XPress the controller.
The end of the traffic jam is determined.
XTo calculate the detour: selectStart.
Off-road
General notes
The multimedia system may guide you to off-
road routes that your vehicle cannot drive on
without causing damage to the tires and wheels,
or the vehicle itself. It is the driver’s sole respon-
sibility to determine the suitability of the route.
The state and navigability of off-road routes may
be influenced, for example, by factors such as
time of day, time of year and current weather
conditions. The multimedia system cannot
judge these factors or take them into account
for route guidance.
Route guidance to an off-road destina-
tion
The multimedia system can guide you to desti-
nations which are within the area of the digital
map, but which are not themselves on the map.
These destinations are known as off-road des-
tinations, which you can enter using the map, for
example. In these cases, the multimedia system
guides you for as long as possible with naviga-
tion announcements and displays on roads
known to the system.
If the vehicle reaches an area which is not part of the digital map, the display appears as a split-
screen view. On the right, an arrow appears that
points to the off-road destination. You hear the
announcement: "Please follow the arrow on the
display". As the vehicle approaches the desti-
nation, you will see a display to this effect.
Route guidance from an off-road loca-
tion to a destination
Off-road location: the vehicle's position is on the
digital map, but the map does not contain any
information about that location. The multimedia system is able to guide you to a destination even
from an off-road location.
At the start of route guidance, you will see the
Road Not Mapped
message, an arrow and the
distance to the destination. The arrow shows
the compass heading to the actual destination.
As soon as the vehicle is back on a road known
to the system, route guidance continues in the
usual way.
Off-road during route guidance
Due to road construction, for example, there
may be differences between the data on the
digital map and the actual course of the road.
In such cases, the system will temporarily be
unable to locate the vehicle position on the dig-
ital map. The vehicle is therefore in an off-road
position.
In the display, you will then see the Road Not
Mappedmessage, an arrow and the distance to
the destination. The direction arrow shows the
compass heading to the destination.
As soon as the system can assign the vehicle
position to the map again, route guidance con-
tinues in the usual way.
Real-time traffic reports
Requirements
In order to receive real-time traffic reports via
satellite radio, you need to subscribe to SIRIUS
XM Satellite Radio Traffic Message Service.
Further information on satellite radio
(
Ypage 138).
The multimedia system can receive traffic
reports via satellite radio and take account of
these for route guidance in the navigation sys-
tem. Received traffic reports are displayed on
the map either as text or as symbols.
Real-time traffic reports77
Navigation
Z
Page 90 of 202
SIRIUS XM service
Displaying SIRIUS XM service informa-
tion
You can display the SIRIUS XM service informa-
tion.
XTo switch to navigation mode: press the
Ø button.
XTo show the menu: slide6the controller.
XTo select Traffic: turn and press the con-
troller.
XSelect SIRIUS Service.
The provider's phone number (SIRIUS XM)
and the serial number of your service module
are displayed.
Registering the SIRIUS XM service
XCall the provider telephone number shown on
the multimedia system display.
iYou can also have the satellite service acti-
vated online. To do so, visit the SIRIUS XM
Radio website at http://www.sirius.com
(USA).
Once the connection has been established:
XFollow the service employee's instructions.
The activation process may take up to ten
minutes.
If registration is not included when purchasing
the system, your credit card details will be
required to activate your account.
Updating the digital map
Introduction
The digital maps generated by the map software
become outdated in the same way as conven-
tional road maps. Optimal route guidance can
only be provided by the navigation system in
conjunction with the most up-to-date map soft-
ware.
Information about new versions of the digital
map can be obtained from an authorized
Mercedes-Benz Center. You can have the digital
map updated there using a data medium, or you
can update it yourself.
For USA and Mexico, it is possible to update the
map data for the multimedia system free of
charge for a period of three years. Information on the availability of this service for your vehicle
can be obtained from an authorized Mercedes-
Benz Center.
Entitlement to the free update
For the first three years after your vehicle is reg-
istered, you are entitled to all available updates
to the map software for the multimedia system.
They are usually installed during a regular vehi-
cle service. After this period, you can purchase
further updates from an authorized Mercedes-
Benz Center.
The free updates relate to the vehicle and not to
an individual. If there is a change of ownership
within the three years after first registration, the
new owner is entitled to the map software
updates.
Updating at an authorized Mercedes-
Benz Center
If an update for your map software is available,
you will receive it free of charge at an authorized
Mercedes-Benz Center during your vehicle's
annual service. You can arrange a separate
appointment for this at an authorized Mercedes-
Benz Center on request.
The update can only be performed:
Rat an authorized Mercedes-Benz Center
Rfor navigation data for North America
The map software is not provided on DVD.
Carrying out a manual update
After the free update of the map data has
expired or when buying map data, you can
update the data yourself.
The update process may take some time (up to
45 minutes), depending on the size of the digital
map. The update will be completed more quickly if the vehicle is stationary. If you begin the
update while the vehicle is stationary and the
starter battery has insufficient power, the mul-
timedia system may switch off automatically.
This protects the battery. In order to prevent
this, a suitable power supply to the vehicle must
be maintained.
88Map functions
Navigation
Page 125 of 202
briefly terminate the mobile phone's USB con-
nection to the vehicle.
Android Auto™
Introduction
Functions on mobile phones with the Android™
operating system can be used with Android
Auto™:
RAndroid Auto™-capable apps from the mobile
phone are shown in the multimedia system.
RAudio content from the mobile phone is
played back in the multimedia system.
Only one mobile phone at a time can be con-
nected to the multimedia system via Android
Auto™.
Various multimedia system functions such as
the navigation system are not available while
using Android Auto™.
The availability of Android Auto™ and Android
Auto™ apps may vary by country.
The provider is responsible for its application
and related services and content.
Connecting a mobile phone via
Android Auto™
Requirements:
RFor safety reasons, the first time Android
Auto™ is activated on the multimedia system,
the vehicle must be stationary.
RThe mobile phone supports Android Auto™
from Android™ 5.0.
RThe Android Auto™ app is installed on the
mobile phone.
RIn order to use the telephone functions, a
mobile phone needs to be connected with the
multimedia system via Bluetooth
®.
RThe full range of functions for Android Auto™
is only possible with an Internet connection.
RThe mobile phone is connected to the USB
port ç on the multimedia system via a USB
cable.
The multimedia system automatically estab-
lishes a connection to the mobile phone via
Bluetooth
®. If this is unsuccessful, an error mes-
sage will appear. In this case, you should con-
nect the mobile phone manually via Bluetooth
®
(Ypage 93). Starting Android Auto™
Multimedia system
XTo call up the telephone menu: press the
%
button.
XTo show the main function bar: slide 5the
controller.
XTo select Tel/®: turn and press the control-
ler.
XTo select Android Auto: turn and press the
controller.
You see a message informing you that no
Android Auto™ device is connected.
Mobile phone
XConnect the mobile phone to the USB port
ç in the center console.
When activated manually a message appears
on the display of the multimedia system when
Android Auto™ is started.
XTo confirm the message: press the controller.
The Android Auto™ app is shown in the mul-
timedia system display.
Setting up automatic connection
XTo call up the telephone menu: press the
% button.
XTo display the main function bar: slide 5the
controller.
XTo select Tel/®: turn and press the control-
ler.
XTo select Android Auto: turn and press the
controller.
XTo switch to the menu bar: slide 6the con-
troller.
XTo select Options: turn and press the con-
troller.
XTo select Start Android Auto Automati‐cally: turn and press the controller.
XAllow automatic connection O.
Android Auto™ starts automatically as soon
as the mobile phone is connected to the USB
port ç of the multimedia system.
Calling up the sound settings for
Android Auto™
If Android Auto™ is active, you can change the
sound settings in the radio menu.
Android Auto™123
Telephone
Z
Page 126 of 202
XTo call up the radio menu: press the$
button.
XTo show the main function bar: slide 5the
controller.
XTo select Radio: turn and press the controller.
XTo switch to the menu bar: slide 6the con-
troller.
XTo select à: turn and press the controller.
Change the sound settings.
Activating the voice control system
for Android Auto™
If Android Auto™ is active, you can start the
mobile phone's voice control system.
XPress and hold the ?button on the multi-
function steering wheel.
Depending on the mobile phone a tone
sounds.
Ending Android Auto™
XTerminate the USB connection between the
mobile phone and the multimedia system.
The No
AndroidAutoDeviceConnectedPlease ensure that your device isconnected to the correct USB port.message appears in the multifunction display
Transmitted vehicle data
When using Android Auto™, specific vehicle
data are transmitted to the mobile phone. This
makes it possible to use selected mobile phone
services efficiently. The mobile phone does not
have active access to vehicle data.
System information
RVehicle model
RVehicle year of manufacture
RMultimedia system software version
These data are transmitted in order to optimize
communication between the vehicle and mobile
phone.
A random vehicle code is generated for this pur-
pose and in order to assign multiple vehicles to
the mobile phone.
This code is not related to the vehicle identifi-
cation number (VIN) and is deleted if the multi-
media system is reset (
Ypage 43). Driving status data
RGear position engaged
RDifference between parked, stationary,
coasting and driving
RInstrument cluster day/night mode
These data are transmitted in order to adapt the
content displayed to the driving situation.
Position data
RGPS coordinates
RSpeed
RCompass direction
RAcceleration direction
RGyroscopic effects
These data are transmitted only when naviga-
tion is active in order to improve navigation (e.g.
when driving through a tunnel).
If you do not wish to have your vehicle data
transmitted, you can deactivate automatic start-
ing of Android Auto™ (
Ypage 123) and briefly
terminate the mobile phone's USB connection
to the vehicle.
124Android Auto™
Telephone
Page 132 of 202
XTo selectTel/®: press the controller.
XTo selectInternet: turn and press the con-
troller.
XTo select Mercedes-Benz Apps: turn and
press the controller.
XTo call up the app: turn and press the con-
troller.
You can find further Mercedes-Benz Apps and
information under:
http://apps.mercedes-benz.com/apps/
iThe available features are country-depend-
ent.
License fees may be applicable.
Operating Mercedes-Benz apps via
the voice-operated control system
The following apps can be operated using the
voice-operated control system:
RWeather
RGoogle™ local search
RTuneIn Radio
XCall up a Mercedes-Benz app (Ypage 129).
XTo use the voice-operated control system:
select o.
XSay the question or prompt.
iThe voice-operated control system is not
available in all countries.
Web browser
Calling up a website
Function restrictions
Internet pages cannot be shown while the vehi-
cle is in motion.
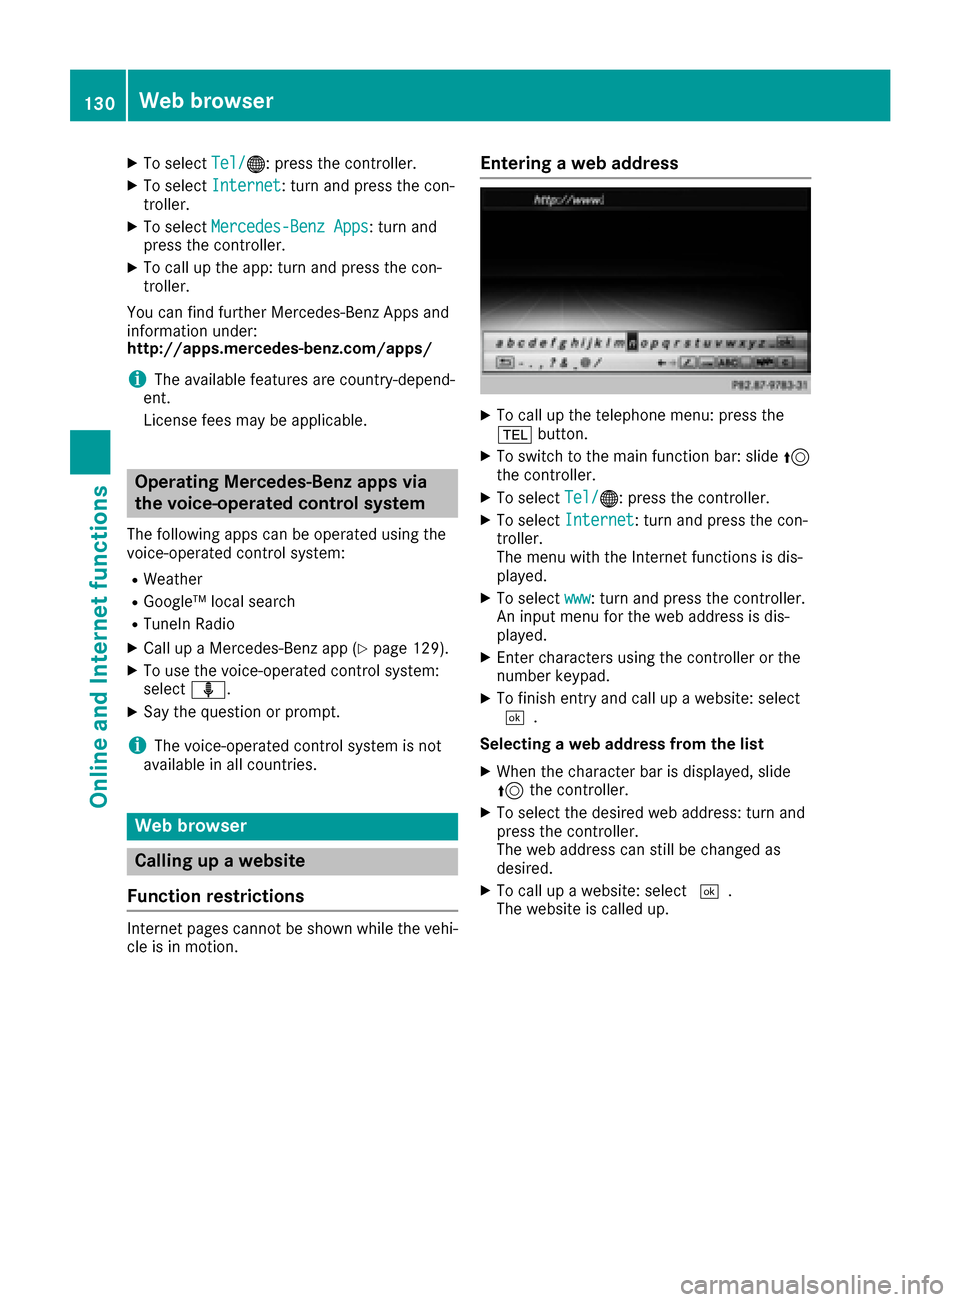
Entering a web address
XTo call up the telephone menu: press the
% button.
XTo switch to the main function bar: slide 5
the controller.
XTo select Tel/®: press the controller.
XTo selectInternet: turn and press the con-
troller.
The menu with the Internet functions is dis-
played.
XTo select www: turn and press the controller.
An input menu for the web address is dis-
played.
XEnter characters using the controller or the
number keypad.
XTo finish entry and call up a website: select
¬.
Selecting a web address from the list
XWhen the character bar is displayed, slide
5 the controller.
XTo select the desired web address: turn and
press the controller.
The web address can still be changed as
desired.
XTo call up a website: select ¬.
The website is called up.
130Web browser
Online and Internet functions
Page 137 of 202

Your multimediasyste mequipment
These operatin ginstruction sdescribe all th e
standar dan doptional equipment of your multi-
media system, as available at th etime of going
to press. Country-specifi cdifference sare pos -
sible. Bear in min dthat your vehicle may no t
feature all function sdescribed here. Thi salso
applies to safety-relevan tsystems an dfunc-
tions.
Read th einformation on qualifie dspecialis t
workshop sin th evehicle Operator's Manual.
Switchin gon th eradi o
XPress th e$ button.
The radio display appears .You will hear th e
last station playe don th elast waveban d
selected.
Switching HD Radi oon/of f
XIn radio mode: slid e6 thecontroller .
XSelectOption s.
XBy selecting Oorª in fron tof HD Radi o,
you determin ewhether HD radio is switched
on or off.
If HD Radio is switched off, th esyste mdoe sno t
switch to digita lradio an dit is no tpossible to
selec tan ysub-channels.
iHD Radio ™Technology Manufactured
Under License From iBiquit yDigital Corp. U.S.
an dForeign Patents .The HD an dHD Radio
logos are proprietary trademark sof iBiquit y
Digital Corp.
Overview
:Main function bar
;Status bar wit hcompass display
=Main display field wit havailable station san d
relevant information
?Display of radio station selecte d
ARadio menubar
The followin gfunction sare available usin gth e
radio main function bar :
RHD RadioFM:HD FM radio mode
RHD Radi oAM:HD MW radio mode
RSa tRadi o:satellite radio
RInfo on Radi o:information on radio in th e
Digital Operator's Manual
RRadi oStatio nPreset s:10 0preset posi-
tion sfo rradio station s
The followin gfunction sare available usin gth e
radio men ubar :
ROption s:radio option s
Rè:searches fo rstation sby name
RPreset:station preset smen u
RBand:selects wavebands
RInformatio n:displays additional informa-
tion about th ecurren tstation (radio text or
Artist Experience
®)
Rà :sound settings, harman/kardon®Logic
7®Surround ,Ban g &Olufsen BeoSoun dAM G
sound syste m
Overview135
Radio
Page 138 of 202
Setting the waveband
XIn radio mode: press the$button.
A menu appears with a selection of HD
Radio FM,HD Radio AM,Sat Radio,Infoon Radioand Radio Station Presets.
XTurn the controller until the required wave-
band is in the center. Press the controller.
Station
Selecting a station
From the main display field
All currently available stations are displayed.
XIn radio mode, turn the controller until the
desired station is in the center.
Using the current station list
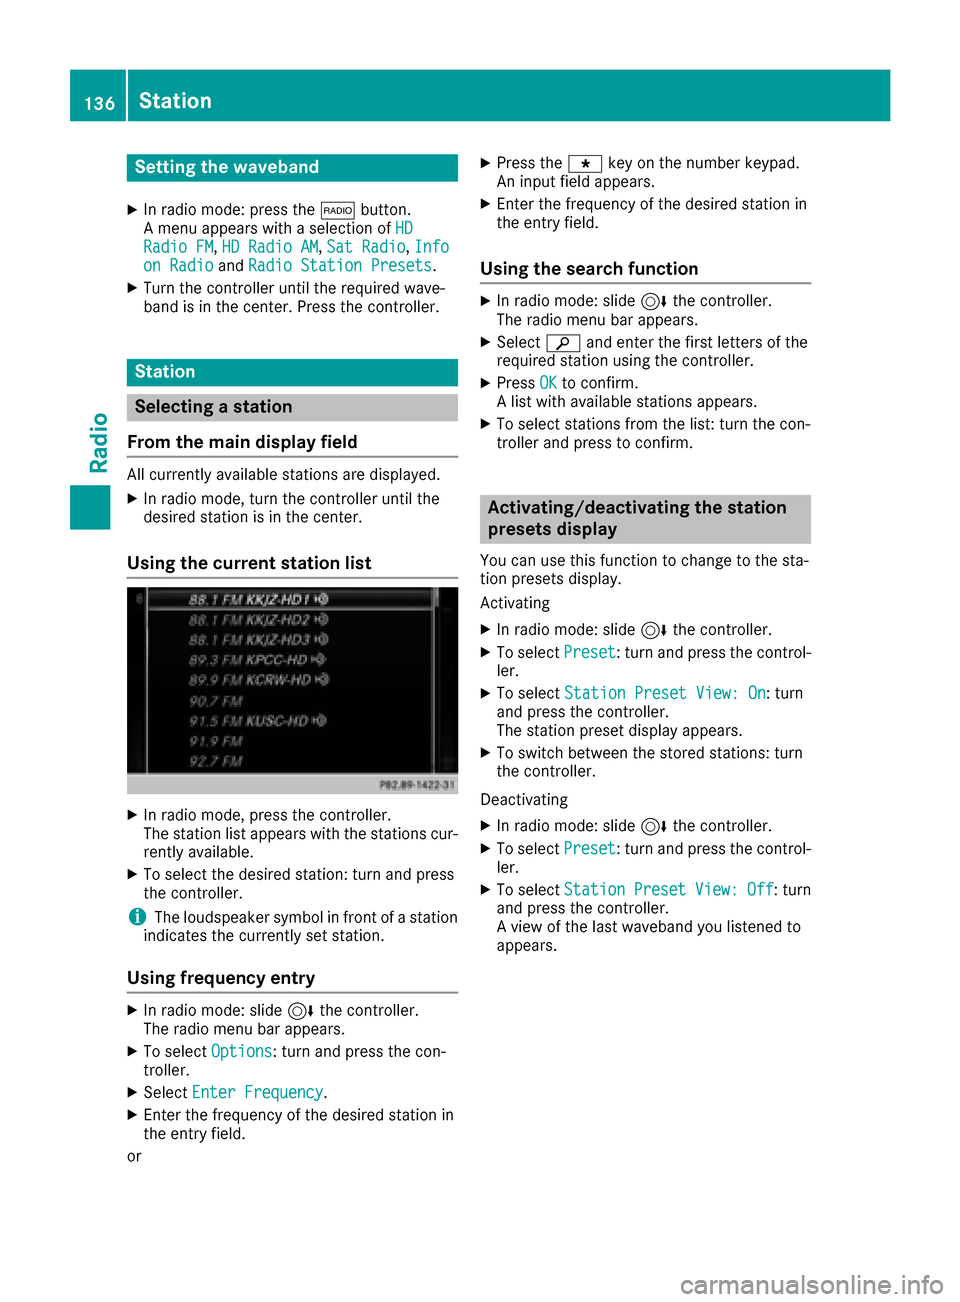
XIn radio mode, press the controller.
The station list appears with the stations cur- rently available.
XTo select the desired station: turn and press
the controller.
iThe loudspeaker symbol in front of a station
indicates the currently set station.
Using frequency entry
XIn radio mode: slide 6the controller.
The radio menu bar appears.
XTo select Options: turn and press the con-
troller.
XSelect Enter Frequency.
XEnter the frequency of the desired station in
the entry field.
or
XPress the gkey on the number keypad.
An input field appears.
XEnter the frequency of the desired station in
the entry field.
Using the search function
XIn radio mode: slide 6the controller.
The radio menu bar appears.
XSelect èand enter the first letters of the
required station using the controller.
XPress OKto confirm.
A list with available stations appears.
XTo select stations from the list: turn the con-
troller and press to confirm.
Activating/deactivating the station
presets display
You can use this function to change to the sta-
tion presets display.
Activating
XIn radio mode: slide 6the controller.
XTo select Preset: turn and press the control-
ler.
XTo select Station Preset View: On: turn
and press the controller.
The station preset display appears.
XTo switch between the stored stations: turn
the controller.
Deactivating
XIn radio mode: slide 6the controller.
XTo select Preset: turn and press the control-
ler.
XTo select StationPresetView:Off: turn
and press the controller.
A view of the last waveband you listened to
appears.
136Station
Radio