ECO mode MERCEDES-BENZ CLS-Class 2017 W218 Comand Manual
[x] Cancel search | Manufacturer: MERCEDES-BENZ, Model Year: 2017, Model line: CLS-Class, Model: MERCEDES-BENZ CLS-Class 2017 W218Pages: 206, PDF Size: 6.66 MB
Page 78 of 206

RUSA: download data from the Internet if an
Internet address is available and mbrace is
activated for Internet access (
Ypage 94).
RCanada: download data from the Internet if
an Internet address is available and a
mobile phone is connected to the multime-
dia system via Bluetooth
®(Ypage 94) or
USB (Ypage 164)
Taking an alternative route
If the CalculateAlternativeRoutessetting
is activated O, different routes will be offered
each time a route is calculated (
Ypage 54).
You can call up alternative routes to the current
route.
Route 1 is calculated with the current settings
for the route type and route options and shown
with a dark blue line.
Routes 2 and 3 are alternatives to route 1 and
also displayed with a dark blue line.
Route 4 is the most economic route and is dis-
played with a green line.
XTo switch to navigation mode: press the
Ø button.
XTo show the menu: slide6the controller.
XTo select Route, turn and press the controller.
XSelectAlternative Route.
Route 1 is shown.
XTo display additional routes: select Nextor
Previous.
XTo start a new route guidance: select
Start
.
Route list
XTo switch to navigation mode: press the
Ø button.
XTo show the menu: slide6the controller.
XTo select Route, turn and press the controller.
XSelectRoute List.
The route list shows the next change of direc-
tion and the immediate distances from the
current vehicle position.
XTo display additional route sections: turn
the controller.
The position of the change of direction that
belongs to the respective route section is
indicated on the map with a cross.
Where am I?
XTo switch to navigation mode: press the
Ø button.
XTo show the menu: slide6the controller.
XTo select Position, turn and press the con-
troller.
XSelect Where am I?.
The street you are currently on and the pre-
vious and next intersections are displayed.
76Route guidance
Navigation
Page 82 of 206
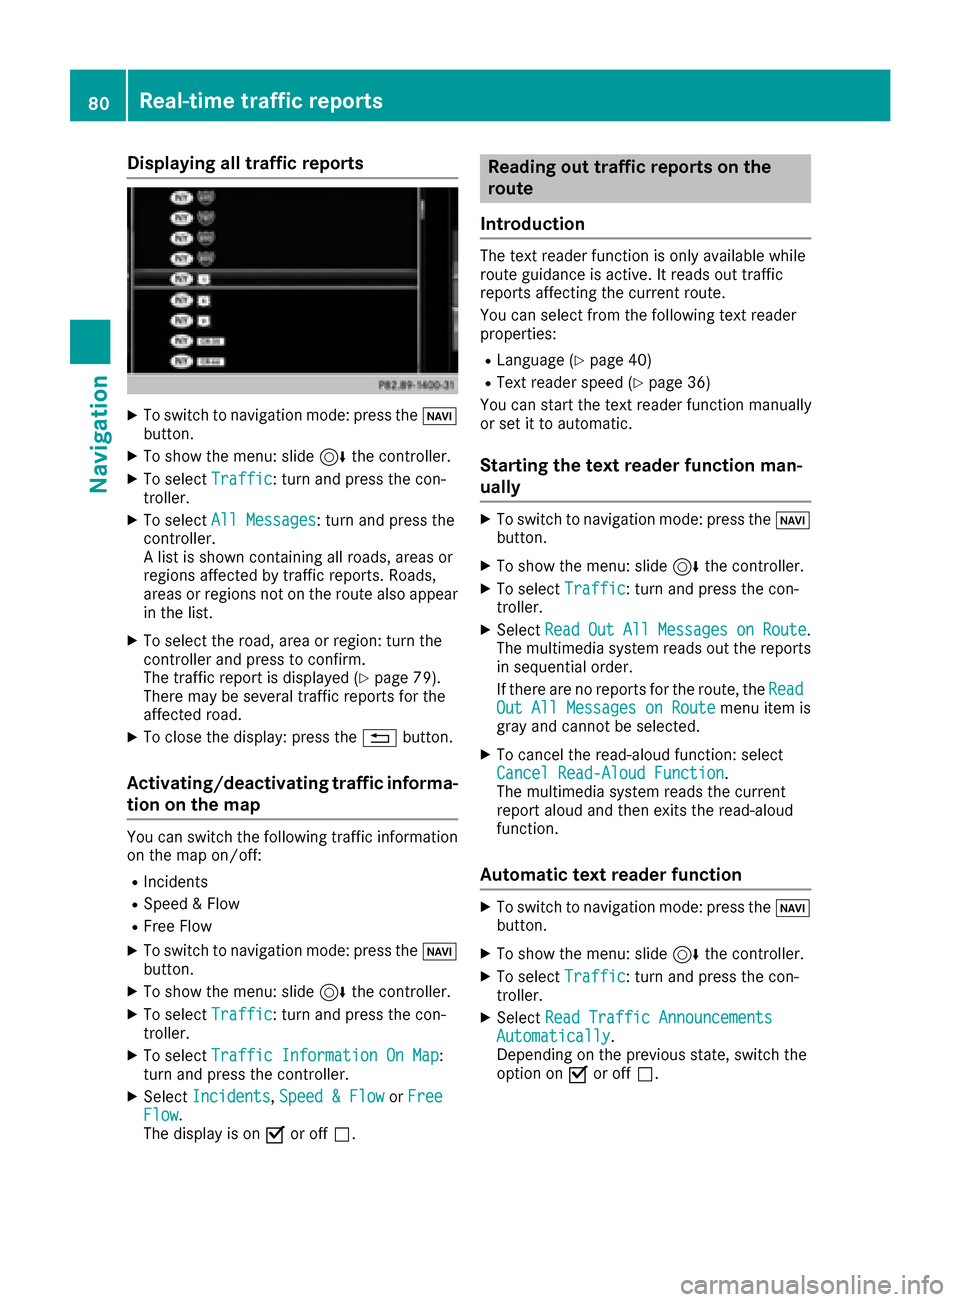
Displaying all traffic reports
XTo switch to navigation mode: press theØ
button.
XTo sho wthemenu: slid e6 thecontroller .
XTo selectTraffi c:turn and press th econ-
troller.
XTo selec tAll Messages:turn and press th e
controller .
A list is shown containin gall roads, areas or
region saffecte dby traffic reports .Roads ,
areas or region sno ton th erout ealso appear
in th elist .
XTo selec tth eroad, are aor region :turn th e
controller and press to confirm .
The traffic repor tis displaye d (
Ypage 79).
There may be severa ltraffic reports fo rth e
affecte droad.
XTo close th edisplay: press th e% button.
Activating/deactivating traffic informa -
tion on th ema p
You can switch th efollowin gtraffic information
on th emap on/off :
RIncidents
RSpeed&Flo w
RFree Flo w
XTo switch to navigation mode: press th eØ
button.
XTo sho wthemenu: slid e6 thecontroller .
XTo selectTraffi c:turn and press th econ-
troller.
XTo selec tTraffi cInformation On Map:
turn and press th econtroller .
XSelectIncidents,Speed &Flo worFre eFlow.
The display is on Oor of fª .
Reading out traffic reports on th e
rout e
Introduction
The text reader function is only available whil e
rout eguidanc eis active .It reads out traffic
reports affecting th ecurren troute.
You can selec tfrom th efollowin gtext reader
properties:
RLanguag e (Ypage 40)
RTextreader speed (Ypage 36)
You can start th etext reader function manually
or set it to automatic .
Starting thetext reader function man-
ually
XTo switch to navigation mode: press th eØ
button.
XTo sho wthemenu: slid e6 thecontroller .
XTo selectTraffi c:turn and press th econ-
troller.
XSelec tRea dOutAllMessagesonRoute.
The multimedia system reads out th ereports
in sequential order .
If there are no reports fo rth eroute, th eRea d
Out All Messages on Routemen uitem is
gray and canno tbe selected.
XTo cance lth eread-aloud function :selec t
Cancel Read-Alou dFunction.
The multimedia system reads th ecurren t
repor taloud and then exit sth eread-aloud
function .
Automatic text reader function
XTo switch to navigation mode: press th eØ
button.
XTo sho wthemenu: slid e6 thecontroller .
XTo selectTraffi c:turn and press th econ-
troller.
XSelec tRea dTraffi cAnnouncement sAutomatically.
Dependin gon th eprevious state, switch th e
option on Oor of fª.
80Real-time traffic reports
Navigation
Page 89 of 206

Avoiding a new area
XTo switch to navigation mode:press the
Ø button.
XTo sho wthemenu: slide6 thecontroller .
XTo select Options:tur nand press th econ-
troller .
XSelectRoute Settings.
XSelec tAvoid Option s.
XSelectAvoid Are a.
XSelectAvoid New Are a.
A men uappears.
XSelec tUsing Mapor Addres sEntry.
If you select Using Map,th emap wit hcross -
hair appears.
If you select AddressEntry
,th eaddress
entr ymen uappear swher eyou can ente rth e
address (
Ypage 56) .The map appear swit h
th ecrosshair after th eaddress is entered .
XTo select an area: when themap wit hcross -
hair appears, press th econtroller .
A red squar eappear son th emap, symbolizing
th earea to be blocked.
XTo chang eth esiz eof th earea, tur nth econ-
troller .
The map scale is shown at th ebotto mof th e
display. The needle points to th emap scale
currentl yselected.
XWhen th edesired siz eis set ,press th econ-
troller .
The area is entered int oth elist .
Turning Area on/off and displaying/
changing the area
XTo switch to navigation mode: press the
ß button.
XTo sho wthemenu: slide6 thecontroller .
XTo select Options:tur nand press th econ-
troller .
XSelectRoute Settings.
XSelec tAvoid Option s.
XSelectAvoid Are a.
A list appears.
XTo switch an area to avoid on/off: select an
area to mar kby turnin gand pressing th econ-
troller .
The area will be avoided Oor no tª.
XTo display/chang ean area: markan area by
turnin gth econtroller .
XSlide9thecontroller .
XTo select Display/Change:press th econ-
troller .
The map wit hth ecrosshair appears.
The area currentl yblocke dis displayed as a
red square.
XTo mov eth earea to ane wlocation :slid e
1, 4,2thecontroller .
Map functions87
Navigation
Z
Page 90 of 206

XTo change the size of the area, press the con-
troller.
XTurn the controller.
XTo apply the changes, press the controller.
A message appears stating that the area has
been set.
Deleting one/all areas
XTo switch to navigation mode:press the
ß button.
XTo show the menu: slide6the controller.
XTo select Options: turn and press the con-
troller.
XSelect Route Settings.
XSelectAvoid Options.
XSelectAvoid Area.
A list appears.
XTo delete an area: mark an area by turning
the controller.
XSlide 9the controller.
XSelect DeleteorDelete All.
A prompt appears asking whether you wish to
delete the area.
XSelect YesorNo.
After selecting Yes, the area is deleted.
XTo delete all areas: when the list appears,
slide 9 the controller.
XSelect Delete All.
A prompt appears asking whether you wish to
delete all areas.
XSelect YesorNo.
After selecting Yes, all areas are deleted.
SIRIUS XM service
Displaying SIRIUS XM service informa-
tion
You can display the SIRIUS XM service informa-
tion.
XTo switch to navigation mode: press the
Ø button.
XTo show the menu: slide6the controller.
XTo select Traffic: turn and press the con-
troller.
XSelect SIRIUS Service.
The provider's phone number (SIRIUS XM)
and the serial number of your service module
are displayed.
Registering the SIRIUS XM service
XCall the provider telephone number shown on
the multimedia system display.
iYou can also have the satellite service acti-
vated online. To do so, visit the SIRIUS XM
Radio website at http://www.sirius.com
(USA).
Once the connection has been established:
XFollow the service employee's instructions.
The activation process may take up to
10 minutes.
If registration is not included when purchasing
the system, your credit card details will be
required to activate your account.
Updating the digital map
Introduction
The digital maps generated by the map software
become outdated in the same way as conven-
tional road maps. Optimal route guidance can
only be provided by the navigation system in
conjunction with the most up-to-date map soft-
ware.
Information about new versions of the digital
map can be obtained from an authorized
Mercedes-Benz Center. You can have the digital
map updated there using a data medium, or you
can update it yourself.
For North American countries, it is possible to
update the map data for the multimedia system
free of charge for a period of three years. Infor-
mation on the availability of this service for your
vehicle can be obtained from an authorized
Mercedes-Benz Center.
Entitlement to the free update
For the first three years after your vehicle is reg-
istered, you are entitled to all available updates
to the map software for the multimedia system.
They are usually installed during a regular vehi-
cle service. After this period, you can purchase
88Map functions
Navigation
Page 95 of 206
Your multimediasyste mequipment
These operatin ginstruction sdescribe all th e
standar dan doptional equipment of your multi-
media system, as available at th etime of going
to press. Country-specifi cdifference sare pos -
sible. Bear in min dthat your vehicle may no t
feature all function sdescribed here. Thi salso
applies to safety-relevan tsystems an dfunc-
tions.
Read th einformation on qualifie dspecialis t
workshop sin th evehicle Operator's Manual.
Important safet ynotes
GWARNING
If you operat emobile communication equip-
men twhil edriving, you will be distracted from
traffic conditions. You could also los econtro l
of th evehicle. There is aris kof an accident.
Only operat ethis equipment when th evehicle
is stationary.
If you mak e acallon your mobile phone whil e
driving, always use hands-free mode. Only use
th emobile phone when road, weather an dtraffic
condition spermit .Some jurisdiction sprohibit
th edriver from usin g amobile phone whil edriv-
in g a vehicle.
Bear in min dthat at aspeed of 30 mph (approx-
imately 50 km/h), th evehicle cover s adistanc e
of 44 feet (approximately 14 m) per second.
Excessive levels of electromagnetic radiation
may cause damage to your health an dth ehealth
of others.
There is scientific discussio nsurroundin gth e
possible health risks posed by electromagnetic
fields .You can reduce this ris kby usin gan exte -
rio rantenna.
Therefore, connec tyour mobile communica-
tion sequipment to th evehicle' sexterio r
antenn awhereve rpossible.
General notes
Telephon y
The Bluetoot h®interface on th emultimedia sys -
te m is available fo rtelephony. If your mobile phone supports th
eBluetoot h
®
profilePBAP (Phone Book Access Profile),th e
contact sare automatically displaye din th emul-
timedia system.
You can use th etext messag ean de-mail func-
tion sif your mobile phone supports th eMA P
Bluetoot h
®profile (Message Access Profile) .
Observ eth eother requirements fo rth ee-mail
an dtext messag efunction s (
Ypage 115).
Wit h a suitable mobile phone ,you can use th e
hands-free syste mandreceiv evCards via th e
Bluetoot h
®interface .
You can obtain more information about suitable
mobile phone son th eInternet at
http://www.mercedes-benz-mobile.com .
You can also obtain more information by calling.
In th eUSA, you can get in touch wit hth e
Mercedes-Ben zCustomer Assistanc eCente ron
1-800-FOR-MERCede s(1-800-367-6372 ).
In Canada, you can get in touch with the Cus-
tomer Relations Center on 1-800-387-0100.
Call disconnection while the vehicle is in motion
A call may be disconnected if:
Rthere is insufficient network coverage in cer-
tain areas.
Ryou move from one transmitter/receiver area
(cell) into another and no channels are free.
Ryou use a SIM card that is not compatible with
the network available.
Operating options
You can operate the telephone by:
Rusing the controller:
turning
sliding 1 or4
pressing
Rusing the 6or~ button on the multi-
function steering wheel
Rusing the Voice Control System (see the sep-
arate operating instructions)
General notes93
Telephone
Z
Page 127 of 206
Changing the activation mode
When the telephone is disconnected from the
multimedia system, the activation mode can be
changed.
XTo call up the telephone menu:press the
% button.
XTo select Tel/®: turn and press the control-
ler.
XSelect Apple CarPlay.
XTo show the menu bar: slide 6the control-
ler.
XSelect Options.
XStart Apple CarPlay Automaticallydeactivate ªor activate O.
Ending Apple CarPlay®mode
XRemove the USB cable from the USB port.
TheNo Apple CarPlay Device Connec‐
ted Please ensure that your deviceisconnectedtothecorrectUSBport.message appears.
Apple CarPlay®125
Telephone
Z
Page 142 of 206
Your multimediasyste mequipment
These operatin ginstruction sdescribe all th e
standar dan doptional equipment of your multi-
media system, as available at th etime of going
to press. Country-specifi cdifference sare pos -
sible. Bear in min dthat your vehicle may no t
feature all function sdescribed here. Thi salso
applies to safety-relevan tsystems an dfunc-
tions.
Read th einformation on qualifie dspecialis t
workshop sin th evehicle Operator's Manual.
Switchin gon th eradi o
XPress th e$ button.
The radio display appears .You will hear th e
last station playe don th elast waveban d
selected.
Switching HD Radi oon/of f
XIn radio mode: slid e6 thecontroller .
XSelectOption s.
XBy selecting Oorª in fron tof HD Radi o,
you determin ewhether HD radio is switched
on or off.
If HD Radio is switched off, th esyste mdoe sno t
switch to digita lradio an dit is no tpossible to
selec tan ysub-channels.
iHD Radio ™Technology Manufactured
Under License From iBiquit yDigital Corp. U.S.
an dForeign Patents .The HD an dHD Radio
logos are proprietary trademark sof iBiquit y
Digital Corp.
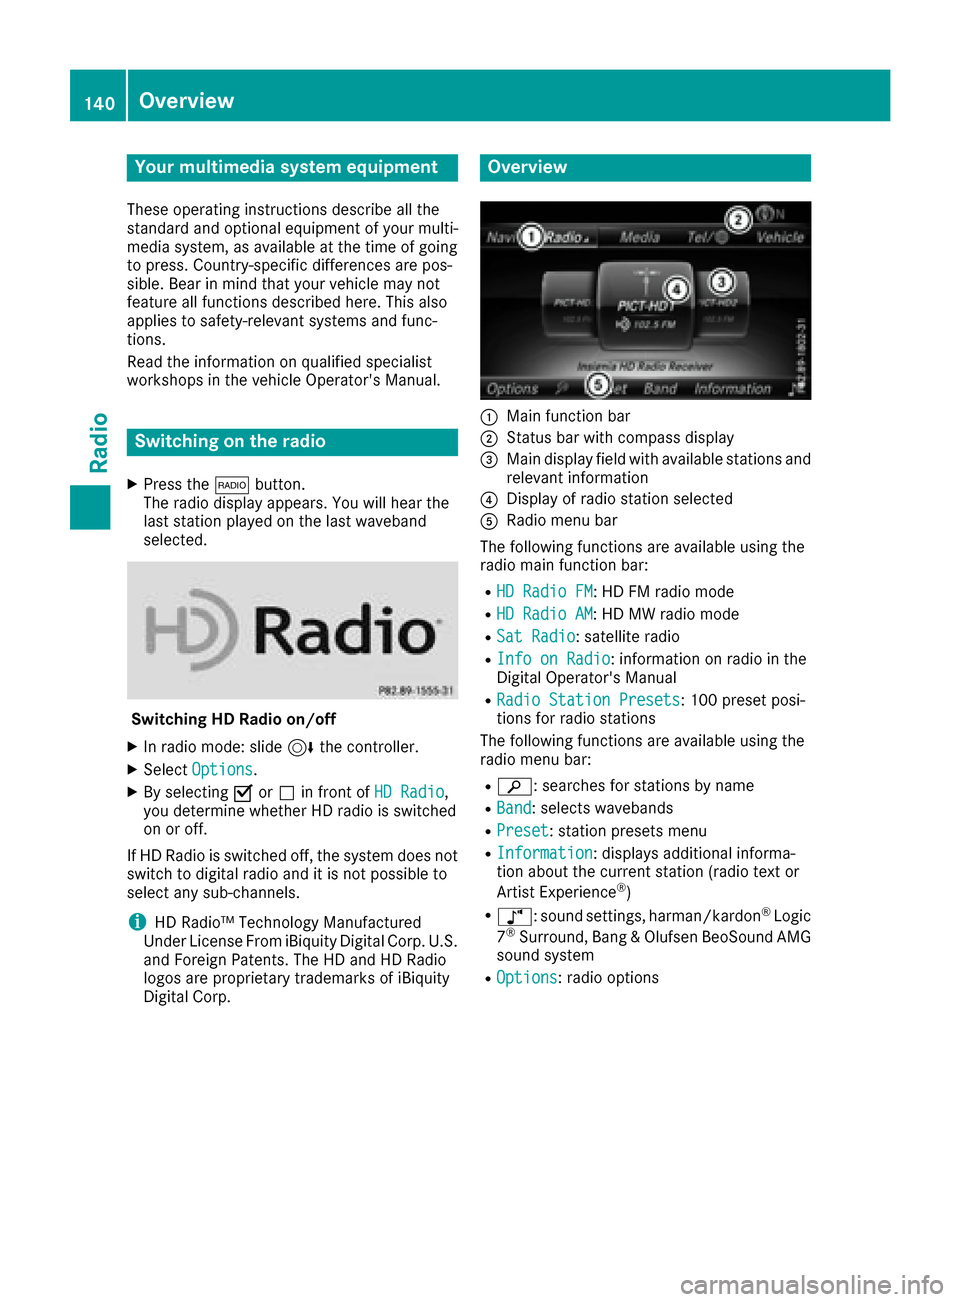
Overview
:Main function bar
;Status bar wit hcompass display
=Main display field wit havailable station san d
relevant information
?Display of radio station selecte d
ARadio menubar
The followin gfunction sare available usin gth e
radio main function bar :
RHD RadioFM:HD FM radio mode
RHD Radi oAM:HD MW radio mode
RSa tRadi o:satellite radio
RInfo on Radi o:information on radio in th e
Digital Operator's Manual
RRadi oStatio nPreset s:10 0preset posi-
tion sfo rradio station s
The followin gfunction sare available usin gth e
radio men ubar :
Rè :searches fo rstation sby name
RBand:selects wavebands
RPreset:station preset smen u
RInformatio n:displays additional informa-
tion about th ecurren tstation (radio text or
Artist Experience
®)
Rà: sound settings, harman/kardon®Logic
7®Surround, Bang & Olufsen BeoSound AMG
sound system
ROptions: radio options
140Overview
Radio
Page 144 of 206
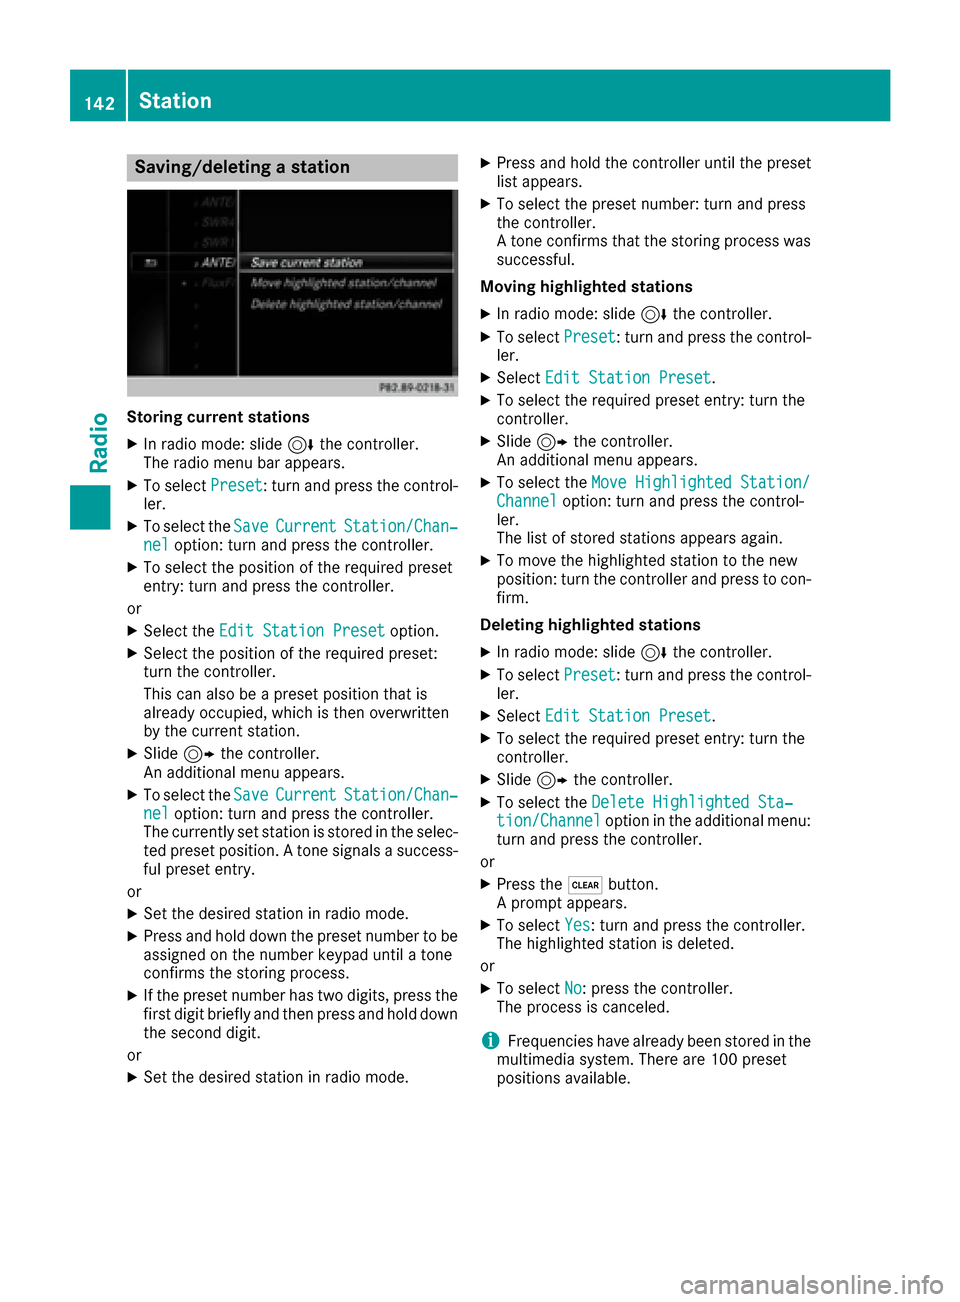
Saving/deleting a station
Storing current stations
XIn radio mode: slide6the controller.
The radio menu bar appears.
XTo select Preset: turn and press the control-
ler.
XTo select the SaveCurrentStation/Chan‐neloption: turn and press the controller.
XTo select the position of the required preset
entry: turn and press the controller.
or
XSelect the Edit Station Presetoption.
XSelect the position of the required preset:
turn the controller.
This can also be a preset position that is
already occupied, which is then overwritten
by the current station.
XSlide9the controller.
An additional menu appears.
XTo select the SaveCurrentStation/Chan‐neloption: turn and press the controller.
The currently set station is stored in the selec-
ted preset position. A tone signals a success-
ful preset entry.
or
XSet the desired station in radio mode.
XPress and hold down the preset number to be assigned on the number keypad until a tone
confirms the storing process.
XIf the preset number has two digits, press the
first digit briefly and then press and hold down the second digit.
or
XSet the desired station in radio mode.
XPress and hold the controller until the preset
list appears.
XTo select the preset number: turn and press
the controller.
A tone confirms that the storing process was
successful.
Moving highlighted stations
XIn radio mode: slide 6the controller.
XTo select Preset: turn and press the control-
ler.
XSelect Edit Station Preset.
XTo select the required preset entry: turn the
controller.
XSlide9the controller.
An additional menu appears.
XTo select the Move Highlighted Station/Channeloption: turn and press the control-
ler.
The list of stored stations appears again.
XTo move the highlighted station to the new
position: turn the controller and press to con-
firm.
Deleting highlighted stations
XIn radio mode: slide 6the controller.
XTo select Preset: turn and press the control-
ler.
XSelect Edit Station Preset.
XTo select the required preset entry: turn the
controller.
XSlide9the controller.
XTo select the Delete Highlighted Sta‐tion/Channeloption in the additional menu:
turn and press the controller.
or
XPress the $button.
A prompt appears.
XTo select Yes: turn and press the controller.
The highlighted station is deleted.
or
XTo select No: press the controller.
The process is canceled.
iFrequencies have already been stored in the
multimedia system. There are 100 preset
positions available.
142Station
Radio
Page 148 of 206
XTo selectOptionsin the radio menu bar: turn
and press the controller.
XTo select Current Station List withArtist&Title: turn and press the control-
ler.
The channel list appears.
or
XPress the controller in the main display field.
XSelect the desired channel
Keyword search
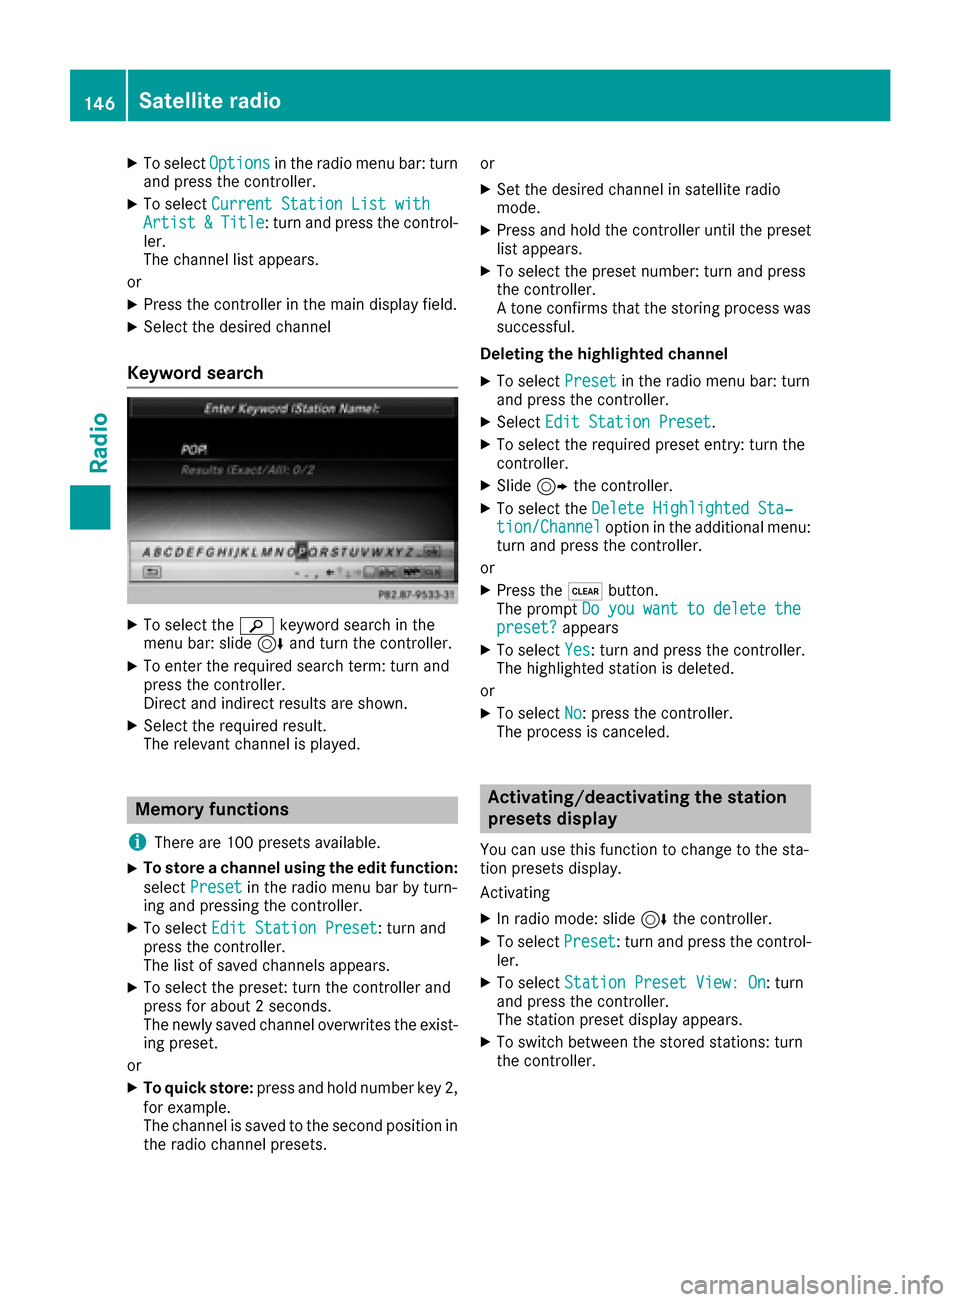
XTo select the èkeyword search in the
menu bar: slide 6and turn the controller.
XTo enter the required search term: turn and
press the controller.
Direct and indirect results are shown.
XSelect the required result.
The relevant channel is played.
Memory functions
i
There are 100 presets available.
XTo store a channel using the edit function:
select Preset
in the radio menu bar by turn-
ing and pressing the controller.
XTo select Edit Station Preset: turn and
press the controller.
The list of saved channels appears.
XTo select the preset: turn the controller and
press for about 2 seconds.
The newly saved channel overwrites the exist-
ing preset.
or
XTo quick store: press and hold number key 2,
for example.
The channel is saved to the second position in
the radio channel presets. or
XSet the desired channel in satellite radio
mode.
XPress and hold the controller until the preset
list appears.
XTo select the preset number: turn and press
the controller.
A tone confirms that the storing process was
successful.
Deleting the highlighted channel
XTo select Presetin the radio menu bar: turn
and press the controller.
XSelect Edit Station Preset.
XTo select the required preset entry: turn the
controller.
XSlide9the controller.
XTo select the Delete Highlighted Sta‐tion/Channeloption in the additional menu:
turn and press the controller.
or
XPress the $button.
The prompt Do you want to delete the
preset?appears
XTo selectYes: turn and press the controller.
The highlighted station is deleted.
or
XTo select No: press the controller.
The process is canceled.
Activating/deactivating the station
presets display
You can use this function to change to the sta-
tion presets display.
Activating
XIn radio mode: slide 6the controller.
XTo select Preset: turn and press the control-
ler.
XTo select Station Preset View: On: turn
and press the controller.
The station preset display appears.
XTo switch between the stored stations: turn
the controller.
146Satellite radio
Radio
Page 150 of 206
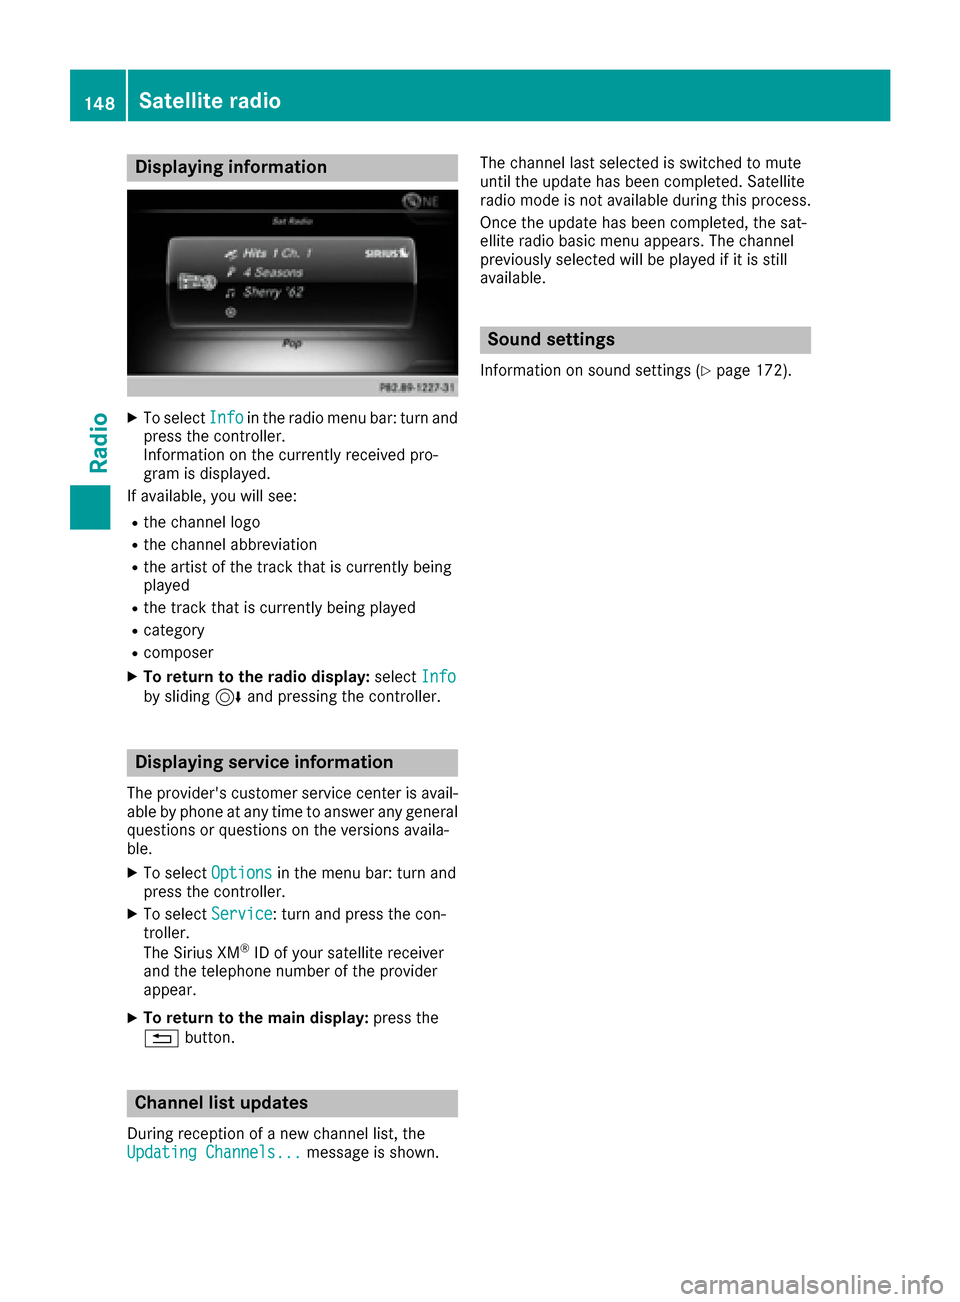
Displaying information
XTo selectInf oin th eradio men ubar :turn and
press th econtroller .
Information on th ecurrentl yreceived pro -
gram is displayed.
If available ,you will see :
Rthechannel log o
Rthechannel abbreviation
Rth eartist of th etrack that is currentl ybein g
playe d
Rthetrack that is currentl ybein gplaye d
Rcategory
Rcomposer
XTo return to th eradi odisplay :selec tInf oby slidin g6 and pressing th econtroller .
Displaying service information
The provider' scustomer servic ecenter is avail-
able by phone at any time to answer any genera l
question sor question son th eversions availa-
ble.
XTo selec tOption sin themen ubar :turn and
press th econtroller .
XTo selectServic e:turn and press th econ-
troller.
The Sirius XM
®ID of your satellite receiver
and th etelephon enumber of th eprovider
appear.
XTo return to th emain display :press th e
% button.
Channel list update s
Duringreception of ane wchannel list ,th e
Updating Channels...messag eis shown .The channel last selecte
dis switched to mut e
until th eupdat ehas bee ncompleted. Satellite
radio mode is no tavailable durin gthis process.
Once th eupdat ehas bee ncompleted, th esat -
ellite radio basi cmen uappears .The channel
previously selecte dwill be playe dif it is still
available .
Sound settings
Information on soun dsetting s (Ypage 172).
148Satellite radio
Radio