MERCEDES-BENZ E-Class 2016 W213 Comand Manual
Manufacturer: MERCEDES-BENZ, Model Year: 2016, Model line: E-Class, Model: MERCEDES-BENZ E-Class 2016 W213Pages: 246, PDF Size: 6.7 MB
Page 131 of 246
Using the touchpad
You determine the first letter of the contact
you are looking for with the first character you
enter.
XDraw the letter on the touchpad surface.
The first contact with the selected first
character is highlighted in the address
book.
Further information on handwriting recog-
nition on the touchpad (
Ypage 27).
XDraw additional letters on the touchpad
surface one after another.
XTo complete the search and return to the
address book: press the touchpad.
XTo select and call the contact: glide up or
down and press.
Adding a new contact
You can enter address data directly into the
address book. If you store telephone num-
bers in the COMAND phone book, these are
also saved in the address book. If you store a
navigation destination, COMAND creates an
address book entry which includes the com-
plete navigable address data.
XCall up the address book (Ypage 128).
XTo switch to the menu bar: slide 6the
controller.
XTo select New: turn and press the controller.
The surname and first name input lines are
displayed.
XEnter characters using the controller
(
Ypage 32) or the number keypad or the
touchpad (
Ypage 27) depending on the
vehicle's equipment.
XEnter characters using the controller
(
Ypage 32) or the number keypad.
XTo save the surname and first name: select
¬.
The details for the contact are displayed.
XTo add a desired entry (e.g. Add E-Mail
Address): turn and press the controller.
Depending on the type of entry, the corre-
sponding input menu appears.
XEnter characters using the controller
(
Ypage 32) or the number keypad or the
touchpad (
Ypage 27) depending on the
vehicle's equipment.
XEnter characters using the controller
(
Ypage 32) or the number keypad.
XTo finish and save an entry: select ¬.
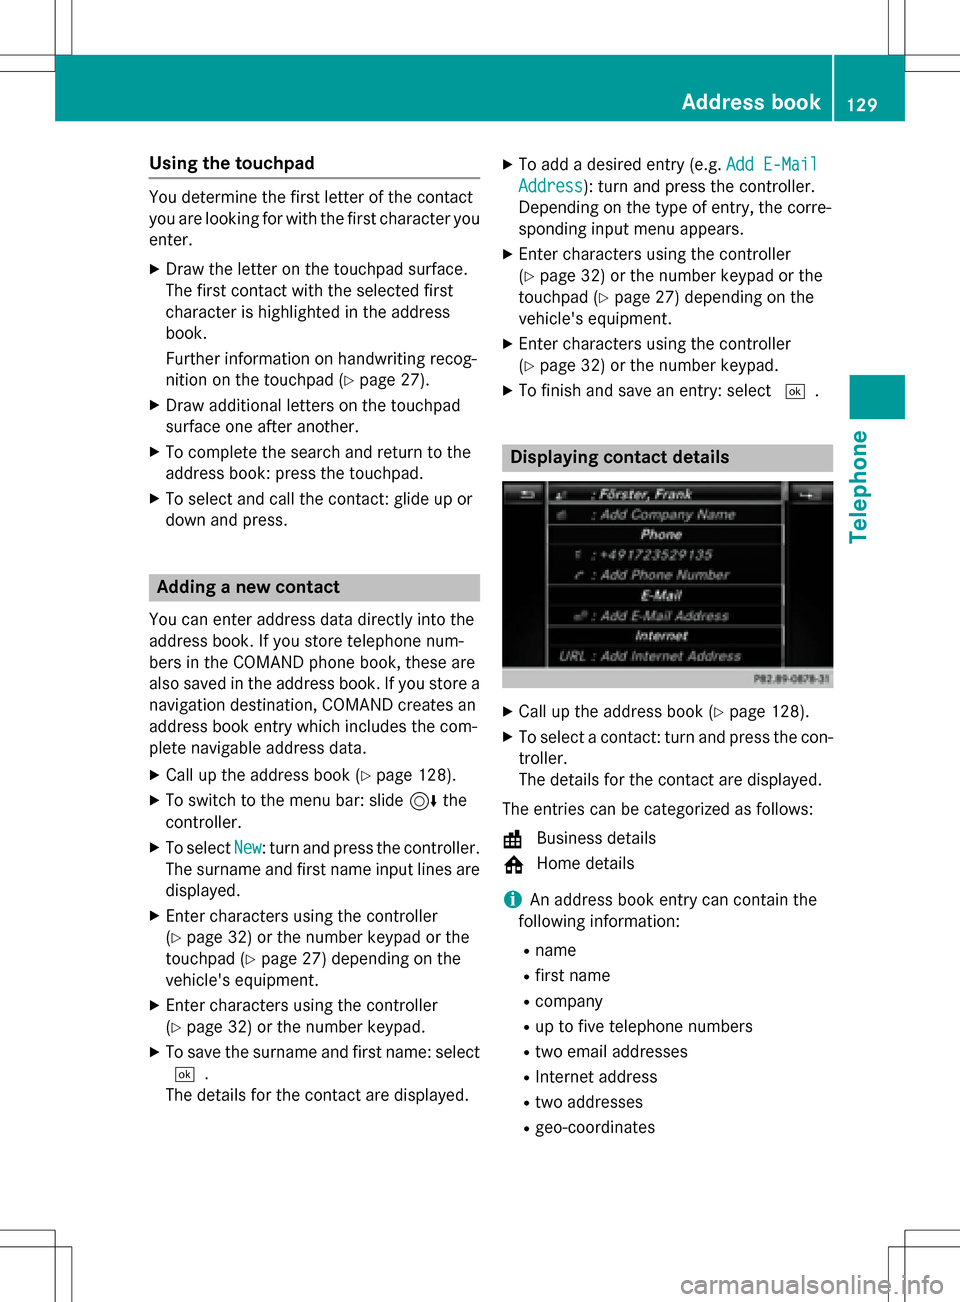
Displaying contact details
XCall up the address book (Ypage 128).
XTo select a contact: turn and press the con-
troller.
The details for the contact are displayed.
The entries can be categorized as follows:
\ Business details
6 Home details
iAn address book entry can contain the
following information:
Rname
Rfirst name
Rcompany
Rup to five telephone numbers
Rtwo email addresses
RInternet address
Rtwo addresses
Rgeo-coordinates
Address book129
Telephone
Z
Page 132 of 246
Adding information to a contact
Amaximum of fiv etelephon enumber scan be
saved for on econtact .
XCall up th eaddress book (Ypage 128).
XTo selectacontact :tur nand press th econ-
troller .
The details for th econtact are displayed.
XTo add th edesired entr y(e.g. AddE-Mail
Addres s): turnand press th econtroller .
Dependin gon th etyp eof entry, th ecorre-
sponding input men uappears.
XEnte rcharacters usin gth econtroller
(
Ypage 32 )or th enumber keypad or th e
touchpad (
Ypage 27)depending on th e
vehicle's equipment.
XEnte rcharacters usin gth econtroller
(
Ypage 32) or th enumber keypad.
XTo finish and sav ean entry: select ¬.
Startingroute guidance to an address
or geo-coor dinates
If an address wit h a ZIPcode is saved, th e
address can be used for rout eguidance .If th e
ZIP code canno tbe assigned to an exact
address ,you can adjust th edestination sub-
sequently usin gth econtroller .
XCall up theaddress book (Ypage 128).
XTo selectacontact :tur nand press th econ-
troller .
The details for th econtact are displayed.
XTo select th eaddress or geo-coordinates:
tur nand press th econtroller .
The navigation men uis displayed.
XTo select Start:slide 6and press th e
controller .
The rout eto th edestination address is cal-
culated and rout eguidance starts.
Making a call
XCall up th eaddr essbook (Ypage 128).
XTo select acontact :tur nand pre ssthecon-
troller .
The details for th econtact are displayed.
XTo select atelephon enumber :tur nand
pre ssthecontroller .
The number is dialed .Further information
about th efunction sduring acall
(
Ypage 120).
Sending text messages
XCall up th eaddress book (Ypage 128).
XTo selectacontact :tur nand pre ssthecon-
troller .
The details for th econtact are displayed.
XTo highligh tth etelephon enumber :tur nth e
controller .
XTo select G:slide9 thecontroller .
XTo select SendTex tMessag e:tur nand
press th econtroller .
The entr yfields for ate xt message are dis-
played (
Ypage 142).
Observ eth erequirements for th emessage
function (
Ypage 138).
Sending e-mail
XCall up th eaddr essbook (Ypage 128).
XSelectan entry: tur nand pre ssthecontrol -
ler .
The details for th econtact are displayed.
XTo select an e-mail address :tur nand pre ss
th econtroller .
The entr yfields for an e-mail are displayed
(
Ypage 142).
Observ eth erequirements for th emessage
function (
Ypage 138).
130Address book
Telephone
Page 133 of 246
Displaying sub-entry information
XCall up theaddress boo k (Ypage 128).
XSelectan entry: turn and press th econtrol-
ler .
The details fo rth econtact are displayed .
XTo highlight thedesire dentry: turn th econ-
troller.
XTo selec tG: slide9 thecontroller .
XTo selectDetail s:turn and press th econ-
troller.
The display is shown in full .
XTo close thedetailed display :press th e
% button.
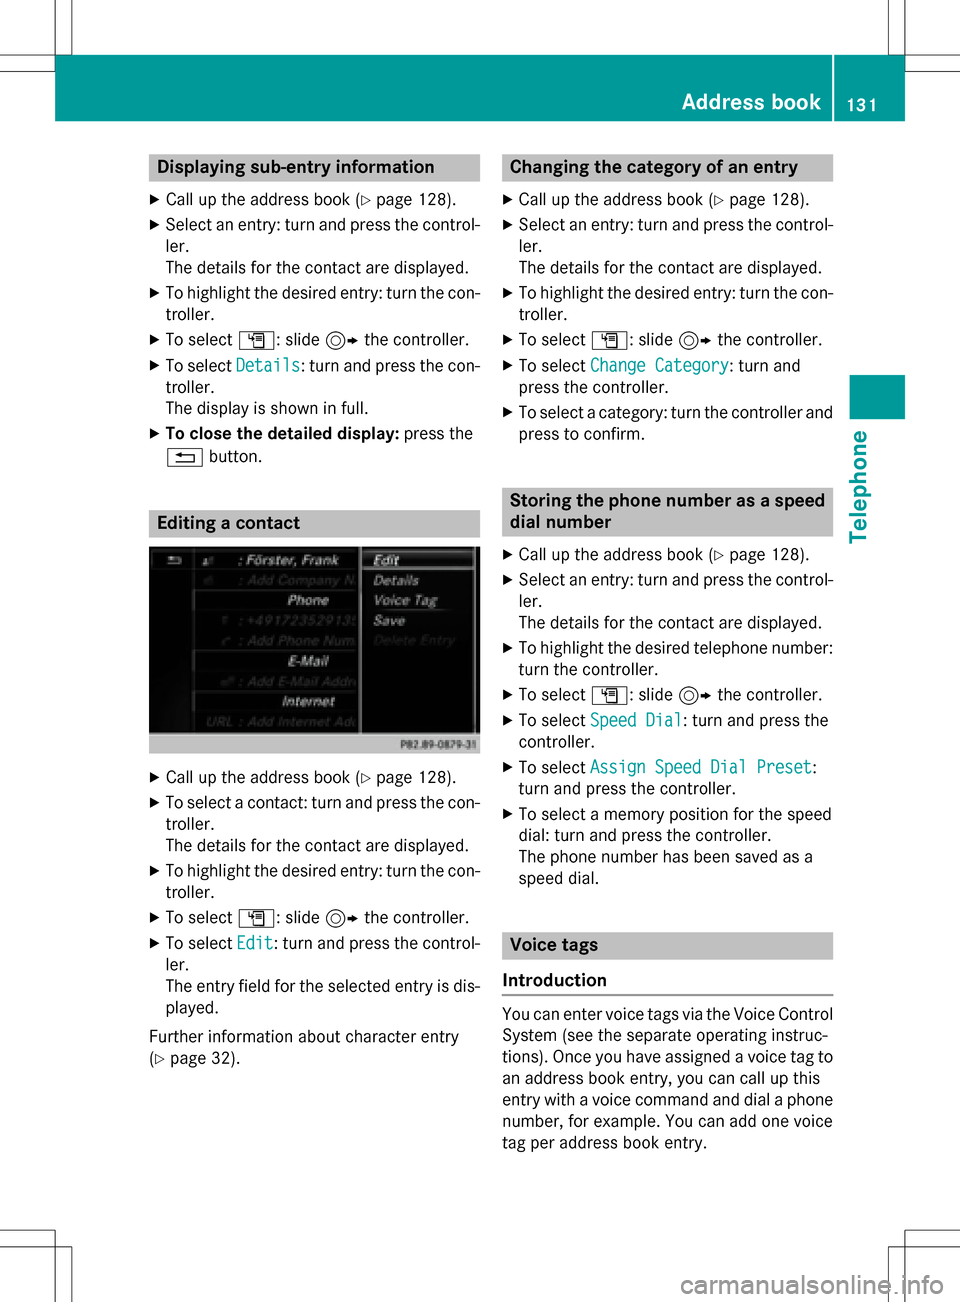
Editing acontact
XCall up th eaddress boo k (Ypage 128).
XTo select acontact :turn and press th econ-
troller.
The details fo rth econtact are displayed .
XTo highlight thedesire dentry: turn th econ-
troller.
XTo selec tG: slide9 thecontroller .
XTo selectEdi t:turn and press th econtrol-
ler .
The entr yfield fo rth eselecte dentr yis dis -
played .
Further information about characte rentr y
(
Ypage 32).
Changin gth ecategor yof an entry
XCall up th eaddress boo k (Ypage 128).
XSelectan entry: turn and press th econtrol-
ler .
The details fo rth econtact are displayed .
XTo highlight thedesire dentry: turn th econ-
troller.
XTo selec tG: slide9 thecontroller .
XTo selectChange Category:turn and
press th econtroller .
XTo select acategory: turn th econtroller and
press to confirm .
Storing thephone number as aspeed
dial number
XCall up th eaddress boo k (Ypage 128).
XSelectan entry: turn and press th econtrol-
ler .
The details fo rth econtact are displayed .
XTo highlight thedesire dtelephon enumber :
turn th econtroller .
XTo selectG: slide9 thecontroller .
XTo selectSpeed Dia l:turn and press th e
controller .
XTo selectAssign Speed Dia lPreset:
turn and press th econtroller .
XTo select amemor yposition fo rth espeed
dial: turn and press th econtroller .
The phone number has been saved as a
speed dial.
Voice tags
Introduction
You can ente rvoic etags via th eVoice Control
Syste m(se eth eseparat eoperatin ginstruc -
tions). Once you hav eassigned avoic eta gto
an address boo kentry, you can cal lup this
entr ywit h a voic ecommand and dial aphone
number ,fo rexample. You can add on evoic e
ta gper address boo kentry.
Address book13 1
Telephone
Z
Page 134 of 246
Adding a voice tag
XCall up theaddress book (Ypage 128).
XSearchfor an address book entr ywit hor
without avoice tag ¦(
Ypage 128).
XTo select G:slide9 thecontroller .
XTo select Voice Tag:tur nand press th e
controller .
XTo selectAdd:tur nand press th econtroller .
Subsequent operation is voice-controlled .
The Voic eControl Syste mguide syou
throug hth edialogs.
Deleting a voice tag
XCall up th eaddress book (Ypage 128).
XSearchfor an address book entr ywit h a
voice tag (
Ypage 128).
XTo selectG:slide9 thecontroller .
XTo select Voice Tag:tur nand press th e
controller .
XTo select Delete:tur nand press th econ-
troller .
XTo select Yes:tur nand press th econtroller .
The voice tag is deleted.
or
XTo select No:tur nand press th econtroller .
The process is canceled.
Listening to a voice tag
XSearc hfor an address book entr ywit h a
voice tag (
Ypage 128).
XTo selectG:slide9 thecontroller .
XTo select Voice Tag:tur nand press th e
controller .
XTo select Listen:tur nand press th econ-
troller .
You hear th evoice tag .
Changing the display and sorting cri-
teria for contacts
XCall up th eaddress book (Ypage 128).
XTo switch to th emen ubar: slide 6the
controller .
XTo selectOptions:tur nand press th econ-
troller .
XTo select DisplayandSorting:tur nand
pre ssthecontroller .
You hav eth efollowin goptions:
RLas tName,FirstName(default setting )
The contact sare sorte dby surnam eand
displayed wit h acomma.
RLas tNam eFirst Nam e
The contact sare sorte dby surnam eand
displayed without acomma.
RFirst Nam eLas tNam e
The contact sare sorte dby fir stnam eand
displayed without acomma.
XTo select th erequire doption :tur nand
pre ssthecontroller .
The contact sare sorte dand displayed
according to th eselection .
Automa tically importing contacts
fr om the phone
Dependin gon th emobile phone used, you
can setwhether th econtact s should be called
up automatically after th emobile phone is
connecte dto COMAND .
XConnectamobile phone (Ypage 114).
XCall up theaddr essbook (Ypage 128).
XTo switch to th emen ubar: slide 6the
controller .
XTo selectOptions:tur nand press th econ-
troller .
XTo select Automaticall yImport Con ‐
tacts fromPhone:tur nand pre ssthe
controller .
You can allow Oor suppr essªtheauto -
matic download. If th efunction is deacti -
132Address book
Telephone
Page 135 of 246
vated, contacts which have already been
called up will continue to be displayed.
Saving a contact
Saved contacts are indicated in the phone
book by different symbols (
Ypage 124).
XCall up the address book (Ypage 128).
XTo select a contact: turn and press the con-
troller.
The details for the contact are displayed.
XTo selectG: slide 9the controller.
XTo select Save: turn and press the control-
ler.
The contact has now been saved.
iIf the saved address book entry contains a
phone number, the entry is also displayed
in the phone book.
Saving or editing the contact data on
COMAND does not change the contacts on
the mobile phone. If automatic download-
ing of phone contacts is activated,
COMAND displays the copy ¥with the
changed data. To add additional data, such
as additional phone numbers or e-mail
addresses, select this contact. In this way,
you avoid creating additional copies of the
mobile phone entry.
Deleting a contact
XCall up the address book (Ypage 128).
XSearch for a contact (Ypage 128).
XTo select G: slide 9the controller.
XTo select Delete Entry: turn and press
the controller.
XTo select Yes: turn and press the controller.
The contact is deleted.
or
XTo select No: turn and press the controller.
The process is canceled.
Closing the address book
XPress the %button.
Importing contacts
Information and requirements
Contacts can be imported as vCards (vcf
files). A vCard is an electronic business card.
A memory card, USB device or a Bluetooth
®
connection can be used for importing.
iUp to 2000 entries can be imported into
the address book. A message notifies you
when the maximum number is reached. In
order to be able to then import new con-
tacts, you have to delete existing contacts
(
Ypage 133).
SourcePrerequisites
Memory cardThe SD memory card is
inserted. It contains
importable contact details.
USB deviceThe USB device is inserted
into the USB port. It con-
tains importable contact
details.
Bluetooth®
connection
If the sending of vCards is
supported via Bluetooth®,
vCards can be received on
mobile phones or net-
books, for example.
Bluetooth
®must be activa-
ted in COMAND and on the
respective device (see the
manufacturer's operating
instructions).
Importing from the memory card or
USB device
Contacts imported from the memory card or
from a USB device are identified by the ¯
symbol.
Importing contacts133
Telephone
Z
Page 136 of 246
The following conditions must be fulfilled in
order to import vCards:
RvCards (vcf files) may be located in the main
directory or in folders. COMAND allows you
to select the relevant folders directly.
RvCards must have the file extension ".vcf".
iCOMAND supports vCards in versions 2.1
and 3.0.
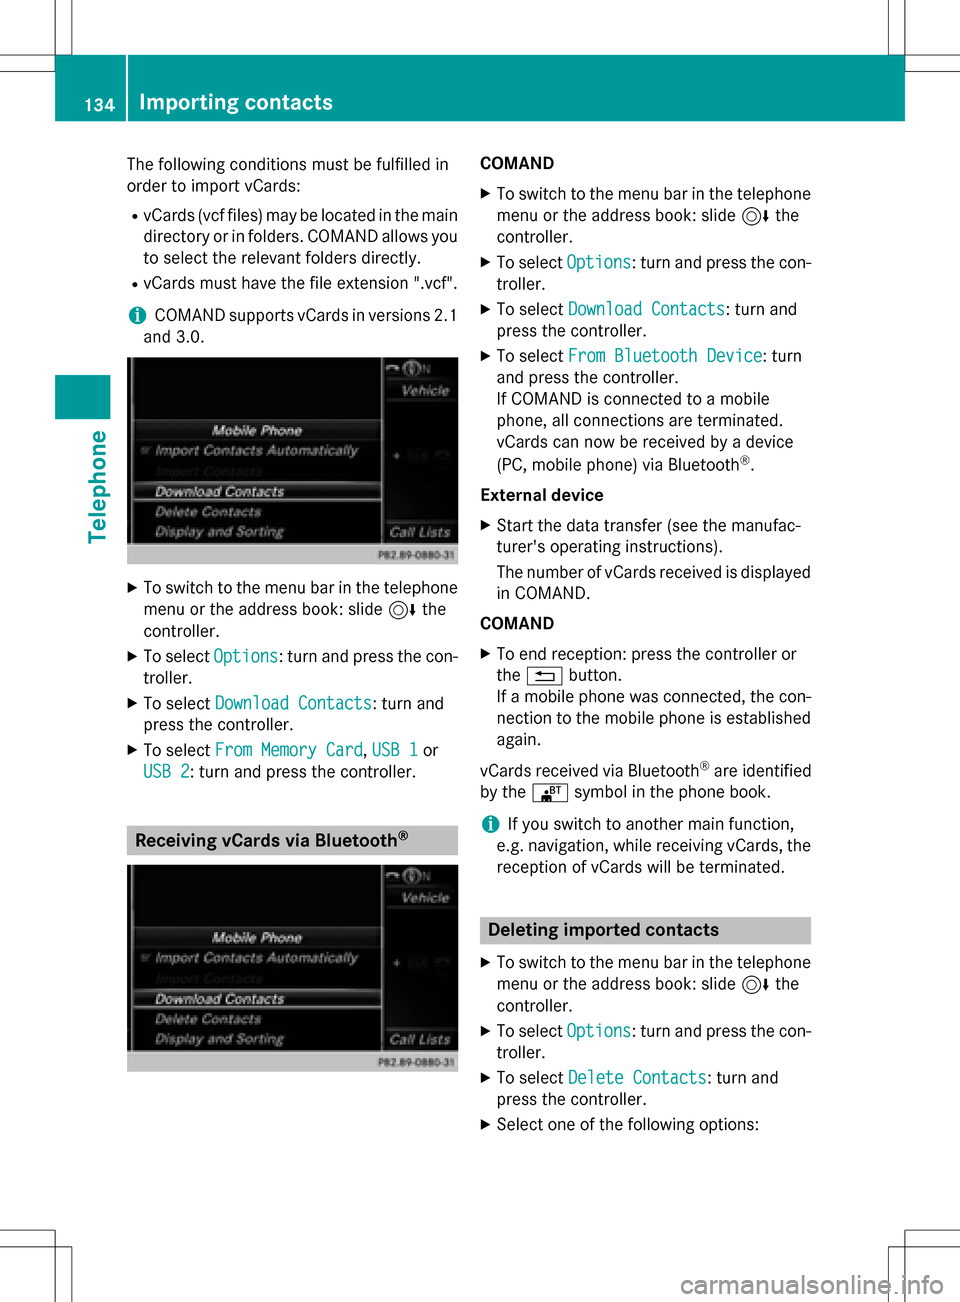
XTo switch to the menu bar in the telephone menu or the address book: slide 6the
controller.
XTo select Options: turn and press the con-
troller.
XTo select Download Contacts: turn and
press the controller.
XTo select From Memory Card,USB 1or
USB 2
: turn and press the controller.
Receiving vCards via Bluetooth®
COMAND
XTo switch to the menu bar in the telephone menu or the address book: slide 6the
controller.
XTo select Options: turn and press the con-
troller.
XTo select Download Contacts: turn and
press the controller.
XTo select From Bluetooth Device: turn
and press the controller.
If COMAND is connected to a mobile
phone, all connections are terminated.
vCards can now be received by a device
(PC, mobile phone) via Bluetooth
®.
External device
XStart the data transfer (see the manufac-
turer's operating instructions).
The number of vCards received is displayed in COMAND.
COMAND
XTo end reception: press the controller or
the % button.
If a mobile phone was connected, the con-
nection to the mobile phone is established again.
vCards received via Bluetooth
®are identified
by the ®symbol in the phone book.
iIf you switch to another main function,
e.g. navigation, while receiving vCards, the reception of vCards will be terminated.
Deleting imported contacts
XTo switch to the menu bar in the telephone
menu or the address book: slide 6the
controller.
XTo select Options: turn and press the con-
troller.
XTo select Delete Contacts: turn and
press the controller.
XSelect one of the following options:
134Importing contacts
Telephone
Page 137 of 246
RInternal Contacts
RDownloaded from Phone
RImported from Storage Device
RImported from BT Devices
Turn and press the controller.
XTo selectYes: turn and press the controller.
The contacts are deleted.
or
XTo select No: turn and press the controller.
The process is canceled.
iIf automatic calling up of the contacts is
deactivated (
Ypage 132), the Downloa‐
ded from Phoneoption is available.
Call lists
Introduction
If your mobile phone supports the PBAP Blue-
tooth®profile, the call lists from the mobile
phone are displayed in COMAND.
If the mobile phone call lists cannot be dis-
played, COMAND generates its own call lists. These are not the same as the call lists in your
mobile phone.
The Call list option is not available unless a
mobile phone is connected to COMAND.
If the contact for an incoming call is not saved
in the address book, you can use the call list
to save the telephone number. You can save
this telephone number as a new contact in the
address book or add it to an existing contact
(
Ypage 136).
iIf you connect a different mobile phone to
COMAND, the call lists from the new mobile
phone are displayed.
Opening the call list and selecting an
entry
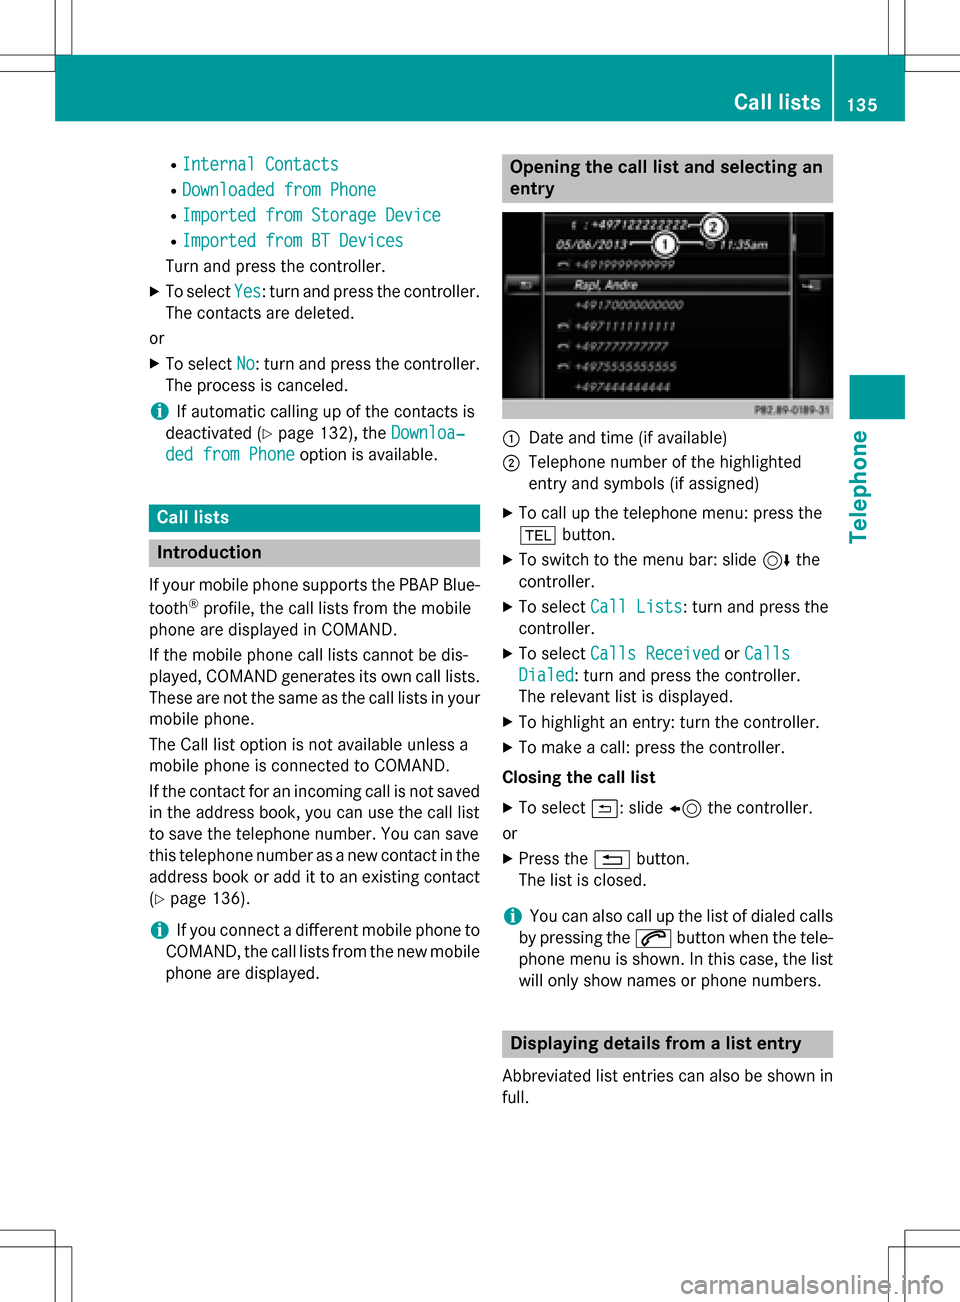
:Date and time (if available)
;Telephone number of the highlighted
entry and symbols (if assigned)
XTo call up the telephone menu: press the
% button.
XTo switch to the menu bar: slide 6the
controller.
XTo select Call Lists: turn and press the
controller.
XTo select Calls ReceivedorCalls
Dialed: turn and press the controller.
The relevant list is displayed.
XTo highlight an entry: turn the controller.
XTo make a call: press the controller.
Closing the call list
XTo select &: slide 8the controller.
or
XPress the %button.
The list is closed.
iYou can also call up the list of dialed calls
by pressing the 6button when the tele-
phone menu is shown. In this case, the list
will only show names or phone numbers.
Displaying details from a list entry
Abbreviated list entries can also be shown in
full.
Call lists135
Telephone
Z
Page 138 of 246
XTo call up the telephone menu: press the
%button.
XTo switch to the menu bar: slide 6the
controller.
XTo select Call Lists: turn and press the
controller.
XTo select Calls ReceivedorCalls
Dialed: turn and press the controller.
The relevant list is displayed.
XTo highlight the desired entry: turn the con-
troller.
XTo select G: slide 9the controller.
XTo select Details: turn and press the con-
troller.
The details are displayed.
XTo go back to the list: slide 8the con-
troller repeatedly until the list is highligh-
ted.
Saving telephone numbers
Adding new entries to the address book
XTo call up the telephone menu: press the
% button.
XTo switch to the menu bar: slide 6the
controller.
XTo select Call Lists: turn and press the
controller.
XTo select Calls ReceivedorCalls
Dialed: turn and press the controller.
The relevant list is displayed.
XTo highlight the desired telephone number:
turn the controller.
XTo select G: slide 9the controller.
XTo select Save: turn and press the control-
ler.
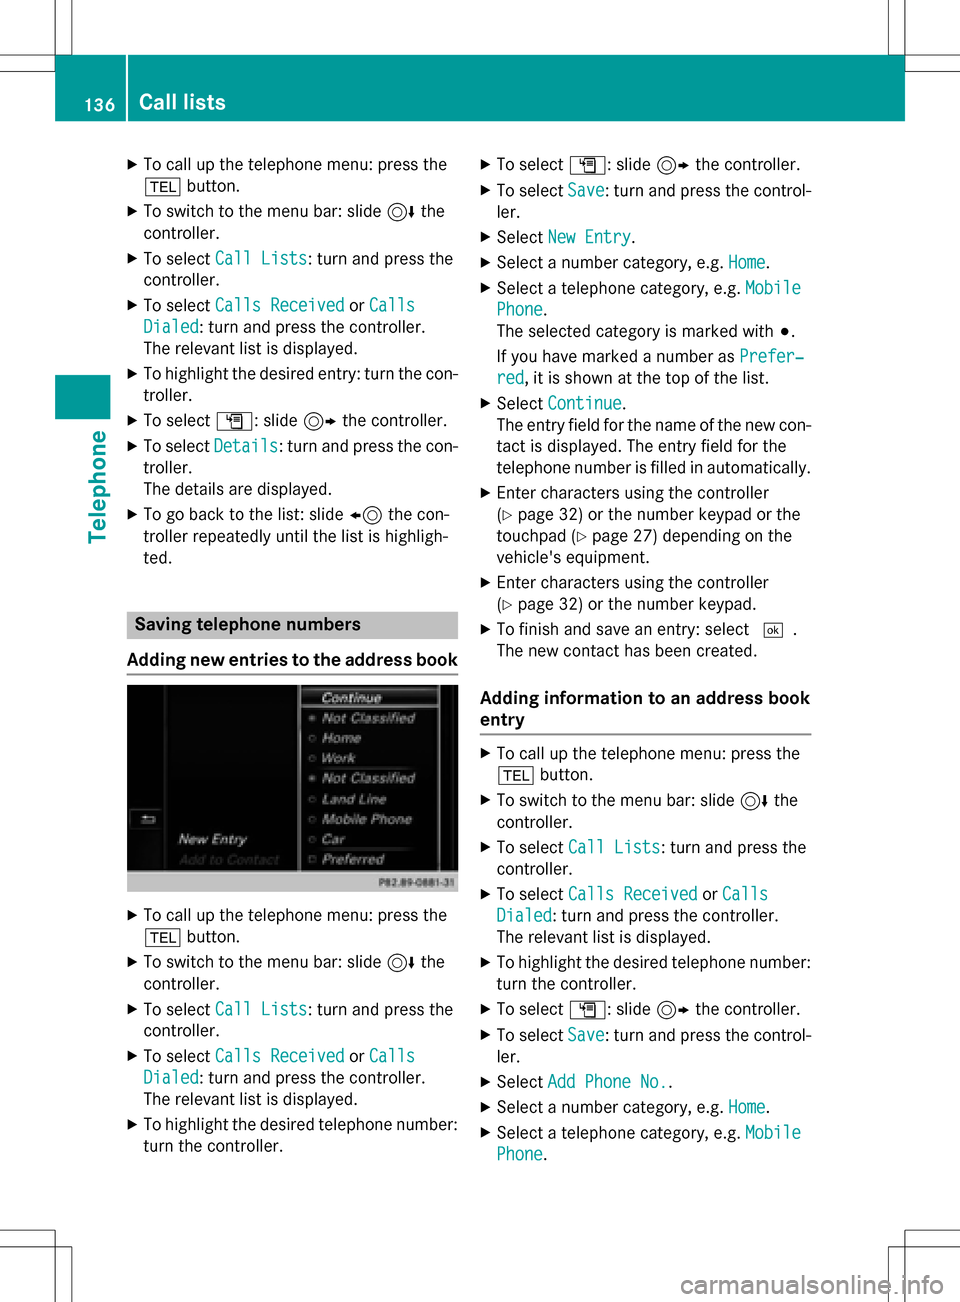
XSelect New Entry.
XSelect a number category, e.g. Home.
XSelect a telephone category, e.g. Mobile
Phone.
The selected category is marked with #.
If you have marked a number as Prefer‐
red, it is shown at the top of the list.
XSelectContinue.
The entry field for the name of the new con-
tact is displayed. The entry field for the
telephone number is filled in automatically.
XEnter characters using the controller
(
Ypage 32) or the number keypad or the
touchpad (
Ypage 27) depending on the
vehicle's equipment.
XEnter characters using the controller
(
Ypage 32) or the number keypad.
XTo finish and save an entry: select ¬.
The new contact has been created.
Adding information to an address book
entry
XTo call up the telephone menu: press the
% button.
XTo switch to the menu bar: slide 6the
controller.
XTo select Call Lists: turn and press the
controller.
XTo select Calls ReceivedorCalls
Dialed: turn and press the controller.
The relevant list is displayed.
XTo highlight the desired telephone number:
turn the controller.
XTo select G: slide 9the controller.
XTo select Save: turn and press the control-
ler.
XSelect Add Phone No..
XSelect a number category, e.g. Home.
XSelect a telephone category, e.g. Mobile
Phone.
136Call lists
Telephone
Page 139 of 246
XSelectContinue.
The address book is displayed.
XSearch for the desired contact and high-
light (
Ypage 128).
XTo save a telephone number: press the con-
troller.
A maximum of five telephone numbers can
be saved for one contact.
If five numbers are already stored for the con-
tact you are searching for, a prompt will
appear asking whether you wish to overwrite
one of the existing numbers.
If you wish to overwrite one of the phone
numbers:
XTo select Yes: turn and press the controller.
A list of the existing five phone numbers is
displayed.
XTo select the phone number to be overwrit-
ten from the list: turn the controller and
press to confirm.
The entry is overwritten with the new tele-
phone number.
If you do not wish to overwrite any of the
phone numbers:
XTo select No: turn and press the controller.
The process is canceled.
Speed dial lists
Setting up
XTo call up the telephone menu: press the
% button.
XTo call up the menu bar: slide 6the con-
troller.
XTo select Call Lists: turn and press the
controller.
XSelect Speed Dial Preset List.
The speed dial list is displayed.
XTo highlight a memory position for the
speed dial: turn the controller.
If you highlight an entry that already exists
in the speed dial list, this is overwritten with
the new entry.
XTo select G: slide 9the controller.
XSelect Assign Speed Dial Preset.
The phone book is displayed.
XSearch for a contact (Ypage 124).
XTo select a contact: turn and press the con-
troller.
The phone number has been saved as a
speed dial.
Deleting
Deleting a speed dial preset
XTo call up the telephone menu: press the
% button.
XTo call up the menu bar: slide 6the con-
troller.
XTo select Call Lists: turn and press the
controller.
XSelect Speed Dial Preset List.
The speed dial list is displayed.
XTo highlight the memory position you want
to delete: turn the controller.
XTo select G: slide 9the controller.
XTo select Delete Speed Dial Preset:
turn and press the controller.
XTo select Yes: turn and press the controller.
The speed dial preset has been deleted.
or
XTo select No: turn and press the controller.
The process is canceled.
Deleting all speed dial presets
XTo call up the telephone menu: press the
% button.
XTo call up the menu bar: slide 6the con-
troller.
XTo select Call Lists: turn and press the
controller.
XSelect Speed Dial Preset List.
The speed dial list is displayed.
Speed dial lists137
Telephone
Z
Page 140 of 246
XTo selectG: slide 9the controller.
XTo select Delete All Speed Dial Pre‐
sets: turn and press the controller.
XTo selectYes: turn and press the controller.
All speed dials are deleted.
or
XTo select No: turn and press the controller.
The process is canceled.
Messages (text messages and e-
mails)
General notes
New messages are identified by an audible
signal and the /symbol in the COMAND
display. Once you have read all the messages,
the symbol is no longer displayed.
COMAND displays the 100 newest text mes-
sages and e-mails.
The ú symbol is displayed when the
mobile phone's message memory is full. The
symbol is no longer displayed if you delete
messages.
Function restrictions
Text messages cannot be written while the
vehicle is in motion.
Prerequisites
To use the message functions, the connected
mobile phone must support the MAP Blue-
tooth
®profile. When connecting the mobile
phone, you may have to accept the prompt for
the MAP Bluetooth
®profile.
With some mobile phones, some settings still
have to be made after connecting to
COMAND (see the manufacturer's operating
instructions). The messages are displayed the
next time you connect to COMAND.
An e-mail account must be set up on the
mobile phone for the e-mail function (see the
manufacturer’s operating instructions). To read and write e-mails in COMAND, the e-
mail account first needs to be configured
(
Ypage 139).
Some mobile phones with the MAP Blue-
tooth
®profile:
Ronly show new text messages.
Rdo not support the deleting or editing of
text messages.
Rdo not support the drafts folder for text
messages.
Rdo not support the sending of text mes-
sages.
Rdo not support the e-mail function.
Rdo not send messages in a locked status.
Not all mobile phones available on the market are equally suitable. You can obtain further
information about settings and supported
functions of Bluetooth
®-capable mobile
phones on the Internet at
www.mercedes-benz-mobile.com .
You can also obtain more information by call-
ing.
In the USA, you can get in touch with the
Mercedes-Benz Customer Assistance Center
on 1-800-FOR-MERCedes (1-800-367-6372).
In Canada, you can get in touch with the Cus-
tomer Relations Center on 1-800-387-0100.
Settings
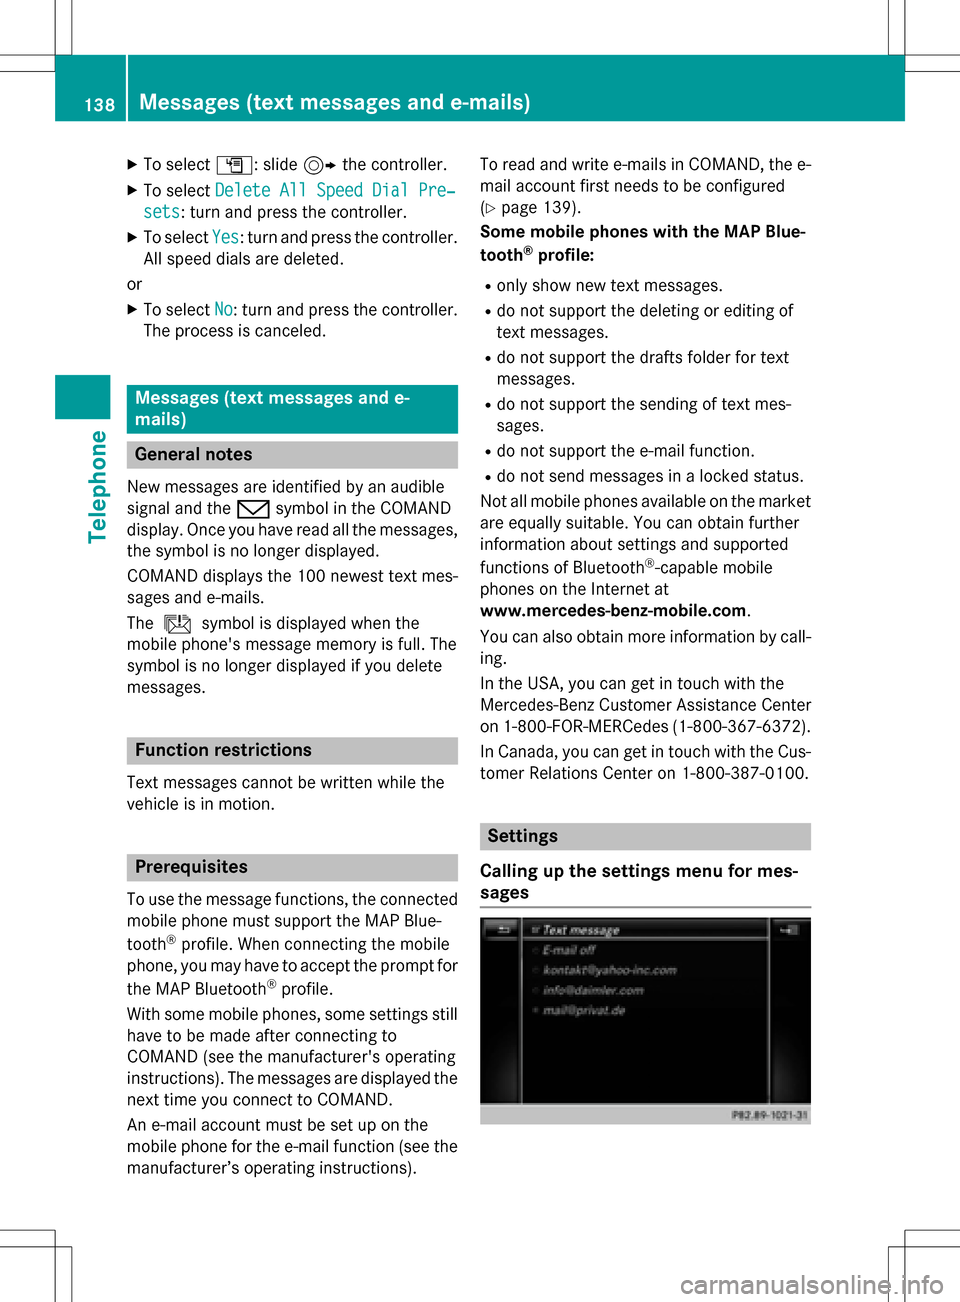
Calling up the settings menu for mes-
sages
138Messages (text messages and e-mails)
Telephone