reset MERCEDES-BENZ E-CLASS CABRIOLET 2017 User Guide
[x] Cancel search | Manufacturer: MERCEDES-BENZ, Model Year: 2017, Model line: E-CLASS CABRIOLET, Model: MERCEDES-BENZ E-CLASS CABRIOLET 2017Pages: 521, PDF Size: 10.64 MB
Page 267 of 521
Ac
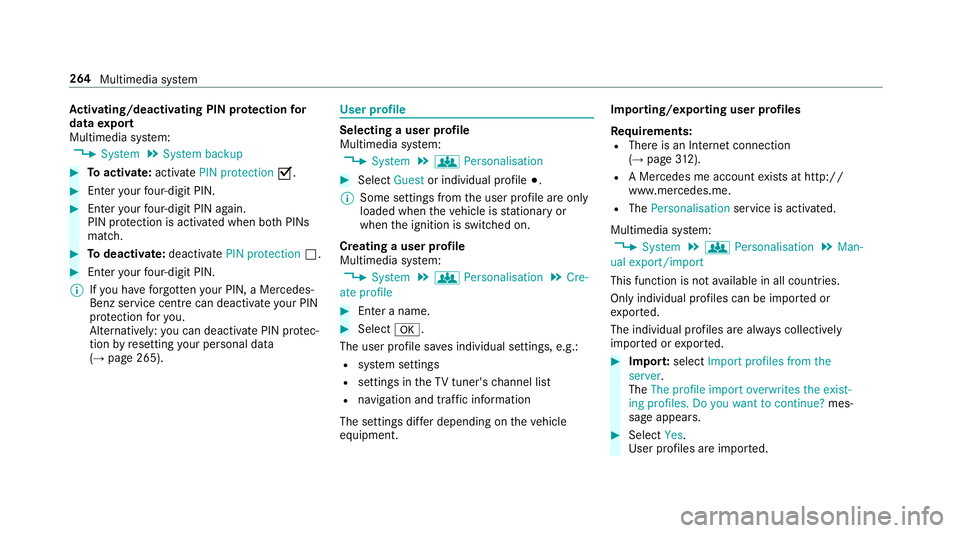
tivating/deactivating PIN pr otection for
data export
Multimedia sy stem:
, System .
System backup #
Toactivate: activatePIN protection O.#
Enter your four-digit PIN. #
Enteryo ur four-digit PIN again.
PIN pr otection is activated when bo thPINs
match. #
Todeactivate: deactivatePIN protection ª.#
Enter your four-digit PIN.
% Ifyo u ha veforg ottenyo ur PIN, a Mercedes-
Benz service centre can deactivate your PIN
pr otection foryo u.
Alternatively: you can deactivate PIN pr otec‐
tion byresetting your personal data
(→ page 265). User profile
Selecting a user profile
Multimedia sy stem:
, System .
g Personalisation #
Select Guestor individual profile #.
% Some settings from the user profile are only
loaded when theve hicle is stationary or
when the ignition is switched on.
Creating a user profile
Multimedia sy stem:
, System .
g Personalisation .
Cre-
ate profile #
Ente r a name. #
Select a.
The user profile sa ves individual settings, e.g.:
R system settings
R settings in theTV tuner's channel list
R navigation and traf fic information
The settings di ffer depending on theve hicle
equipment. Importing/exporting user profiles
Re quirements:
R There is an Internet connection
(→ page 312).
R A Mercedes me account exists at http://
www.me rcedes.me.
R The Personalisation service is activated.
Multimedia sy stem:
, System .
g Personalisation .
Man-
ual export/import
This function is not available in all countries.
On lyindividual profiles can be impor ted or
ex por ted.
The individual profiles are alw ays collectively
impor ted or expor ted. #
Impor t:select Import profiles from the
server.
The The profile import overwrites the exist-
ing profiles. Do you want to continue? mes‐
sage appears. #
Select Yes.
User profiles are impor ted. 264
Multimedia sy stem
Page 268 of 521
#
Expor t:select Export profiles to the server.
User profiles are expor ted.
% Certain settings such as address book
ent ries or pr evious destinations from the
navigation sy stem are not expor ted.
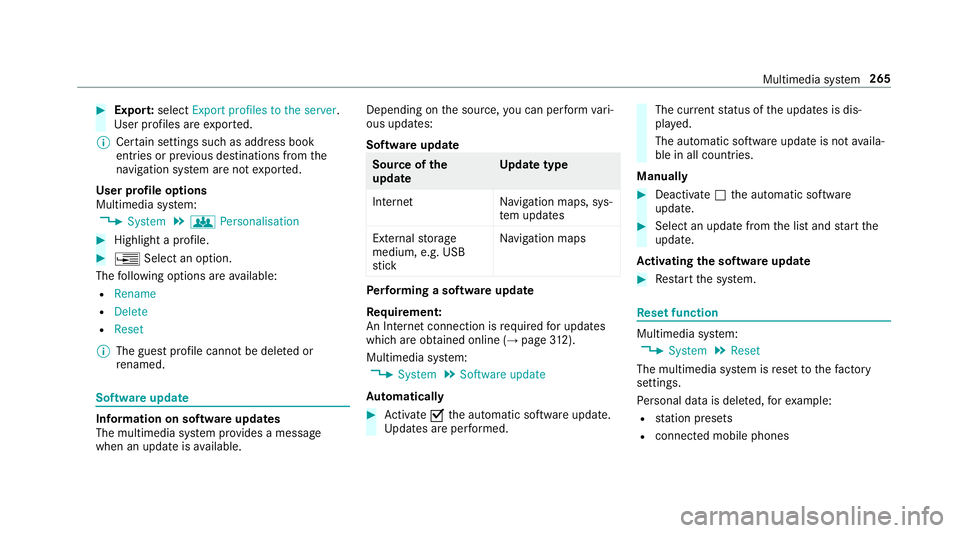
User profile options
Multimedia sy stem:
, System .
g Personalisation #
Highlight a profile. #
¥ Select an option.
The following options are available:
R Rename
R Delete
R Reset
% The guest profile cannot be dele ted or
re named. So
ftwa reupdate Information on software updates
The multimedia sy
stem pr ovides a message
when an update is available. Depending on
the source, you can per form vari‐
ous updates:
Software update Source of
the
update Up
date type
Interne tN avigation maps, sys‐
te m updates
External storage
medium, e.g. USB
st ick Na
vigation maps Pe
rforming a software upda te
Re quirement:
An Internet connection is requ ired for updates
which are obtained online (→ page312).
Multimedia sy stem:
, System .
Software update
Au tomatically #
Activate Othe automatic software update.
Up dates are per form ed. The cur
rent status of the updates is dis‐
pla yed.
The automatic software update is not availa‐
ble in all countries.
Manually #
Deactivate ªthe automatic software
update. #
Select an update from the list and start the
update.
Ac tivating the so ftwa reupdate #
Restart the sy stem. Re
set function Multimedia sy
stem:
, System .
Reset
The multimedia sy stem is reset tothefa ctory
settings.
Pe rsonal data is dele ted, forex ample:
R station presets
R connec ted mobile phones Multimedia sy
stem 265
Page 269 of 521
#
Select Yes.
A prom ptappears asking whe ther you wish
to reset.
No selected: the process is cancelled. #
Select Yes.
The multimedia sy stem is reset tofactory
settings and restar ted. Na
vigation Switching navigation on
Multimedia sy
stem:
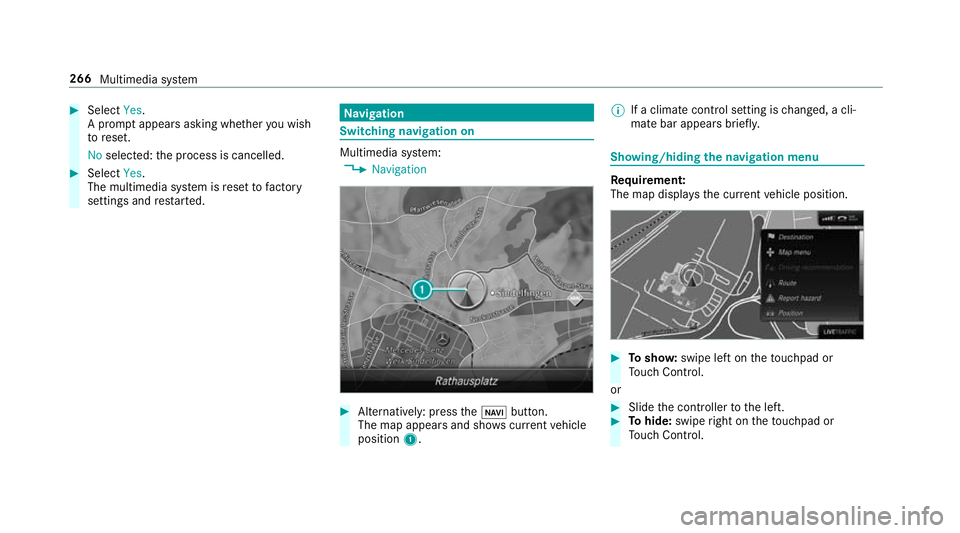
, Navigation #
Alternatively: press theß button.
The map appears and sho wscurrent vehicle
position 1. %
If a climate contro l setting ischanged, a cli‐
mate bar appears brief ly. Showing/hiding
the navigation menu Re
quirement:
The map displa ys the cur rent vehicle position. #
Tosho w:swipe left on theto uchpad or
To uch Control.
or #
Slide the controller tothe left. #
Tohide: swipe right on theto uchpad or
To uch Control. 266
Multimedia sy stem
Page 291 of 521
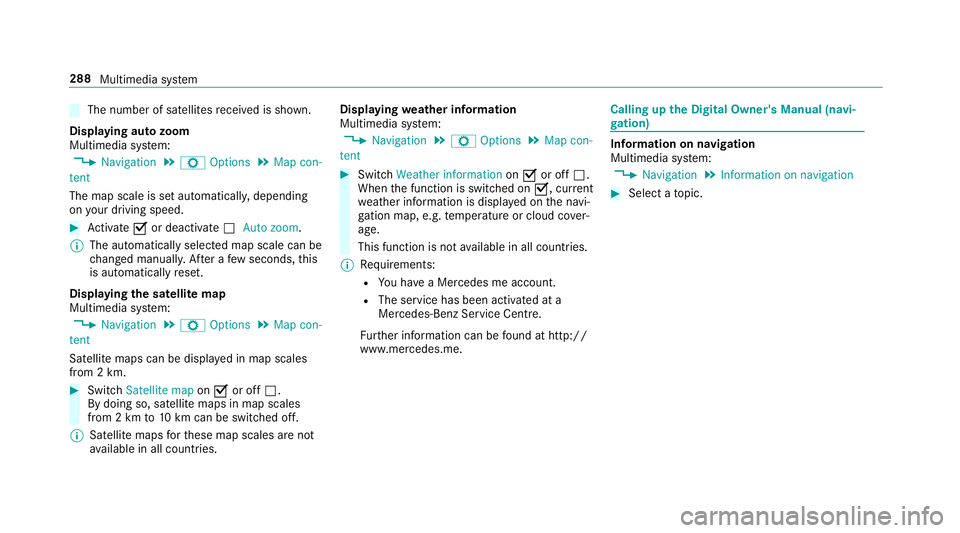
The number of satellites
recei ved is shown.
Displaying auto zoom
Multimedia sy stem:
, Navigation .
Z Options .
Map con-
tent
The map scale is set automaticall y,depending
on your driving speed. #
Activate Oor deacti vate ª Auto zoom .
% The au tomatical lyselected map scale can be
ch anged manuall y.After a few seconds, this
is automatically reset.
Displaying the satellite map
Multimedia sy stem:
, Navigation .
Z Options .
Map con-
tent
Satellite maps can be displa yed in map scales
from 2 km. #
Switch Satellite map onO or off ª.
By doing so, satellite maps in map scales
from 2 km to10 km can be switched off.
% Satelli temaps forth ese map scales are not
av ailable in all countries. Displ
aying weather information
Multimedia sy stem:
, Navigation .
Z Options .
Map con-
tent #
Switch Weather information onO or off ª.
When the function is switched on O, current
we ather information is displa yed on the navi‐
ga tion map, e.g. temp erature or cloud co ver‐
age.
This function is not available in all countries.
% Requirements:
R You ha vea Mercedes me account.
R The service has been activated at a
Mercedes-Benz Service Cent re.
Fu rther information can be found at http://
www.mercedes.me. Calling up
the Digital Owner's Manual (navi‐
ga tion) In
fo rm ation on navigation
Multimedia sy stem:
, Navigation .
Information on navigation #
Select a topic. 288
Multimedia sy stem
Page 308 of 521
R
The full range of functions for Android Autois
only possible with an Internet connection.
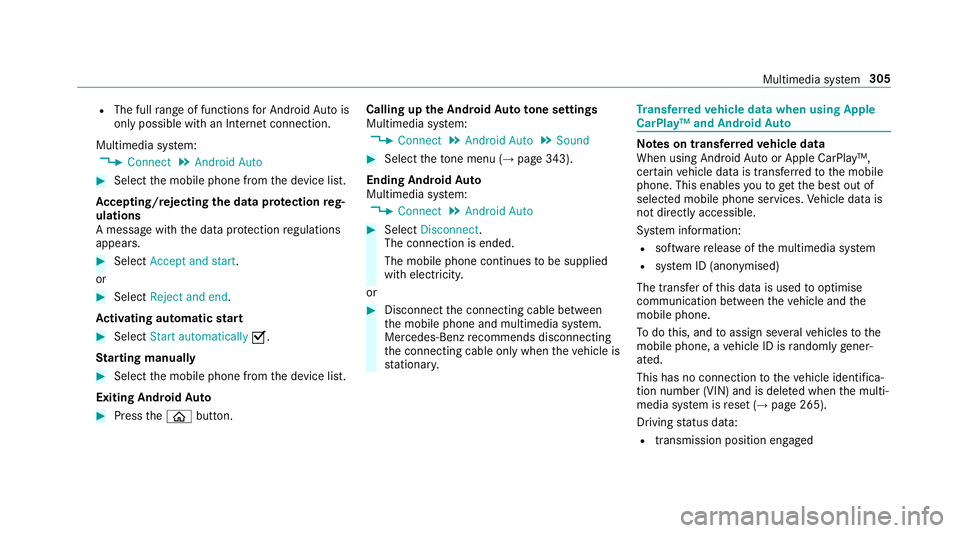
Multimedia sy stem:
, Connect .
Android Auto #
Select the mobile phone from the device list.
Ac cepting/rejecting the data pr otection reg‐
ulations
A message with the data pr otection regulations
appears. #
Select Accept and start.
or #
Select Reject and end.
Ac tivating automatic start #
Select Start automatically O.
St arting manually #
Select the mobile phone from the device list.
Exiting Android Auto #
Press theò button. Calling up
the Android Auto to ne settings
Multimedia sy stem:
, Connect .
Android Auto .
Sound #
Select theto ne menu (→ page 343).
Ending Android Auto
Multimedia sy stem:
, Connect .
Android Auto #
Select Disconnect.
The connection is ended.
The mobile phone continues tobe supplied
with elect ricity.
or #
Disconnect the connecting cable between
th e mobile phone and multimedia sy stem.
Mercedes-Benz recommends disconnecting
th e connecting cable only when theve hicle is
st ationar y. Tr
ansfer redve hicle data when using Apple
CarPlay™ and Android Auto Note
s on transfer redve hicle data
When using Android Autoor Apple CarPlay™,
cer tain vehicle data is transfer redto the mobile
phone. This enables youto getth e best out of
selected mobile phone services. Vehicle data is
not directly accessible.
Sy stem information:
R software release of the multimedia sy stem
R system ID (anonymised)
The transfer of this data is used tooptimise
communication between theve hicle and the
mobile phone.
To do this, and toassign se veralve hicles tothe
mobile phone, a vehicle ID is randomly gener‐
ated.
This has no connection totheve hicle identifica‐
tion number (VIN) and is dele ted when the multi‐
media sy stem is reset (→ page 265).
Driving status data:
R transmission position engaged Multimedia sy
stem 305
Page 335 of 521
Ra
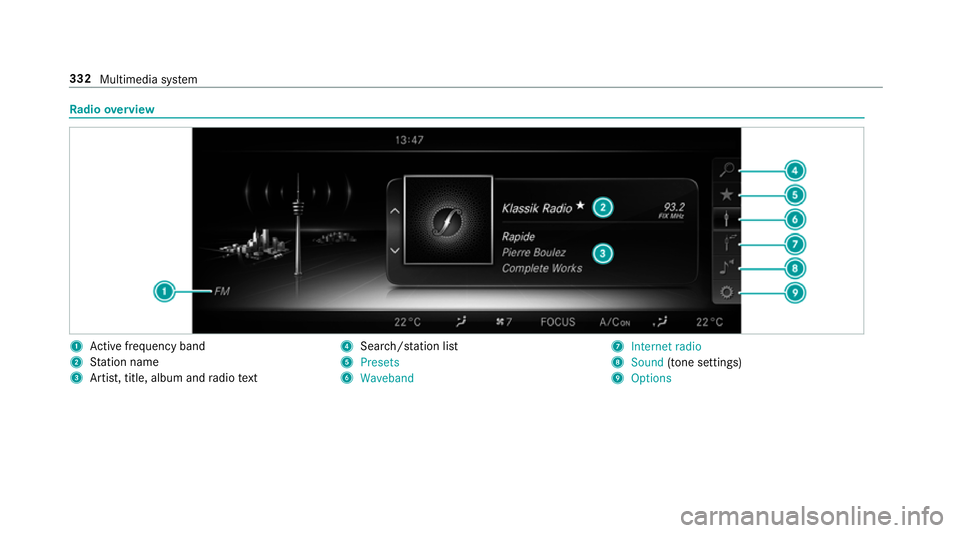
dio overview 1
Active frequency band
2 Station name
3 Artist, title, album and radio text 4
Search/s tation li st
5 Presets
6 Waveband 7
Internet radio
8 Sound (tone settings)
9 Options 332
Multimedia sy stem
Page 336 of 521
Setting
the frequency band Multimedia sy
stem:
, Radio .
Þ Waveband #
Select a frequency band. Selecting a
radio station Multimedia sy
stem:
, Radio #
Navigate up or down. Calling up
thera dio station list Multimedia sy
stem:
, Radio .
è #
Select a station. Sear
ching forra dio stations using station
names or direct frequency entry Multimedia sy
stem:
, Radio .
è .
è #
Ente r astation name or frequenc y. #
Select ¬.
Re sults are displa yed. #
Select a station. St
oring radio stations Multimedia sy
stem:
, Radio .
ß Presets #
Select Save current station . Editing
radio station presets Multimedia sy
stem:
, Radio .
ß Presets
Deleting stations: #
Highlight the preset entry and navigatetothe
left. #
Select Delete highlighted station. #
Select Yes.
Moving stations: #
Highlight the preset entry and navigatetothe
left. #
Select Move highlighted station. #
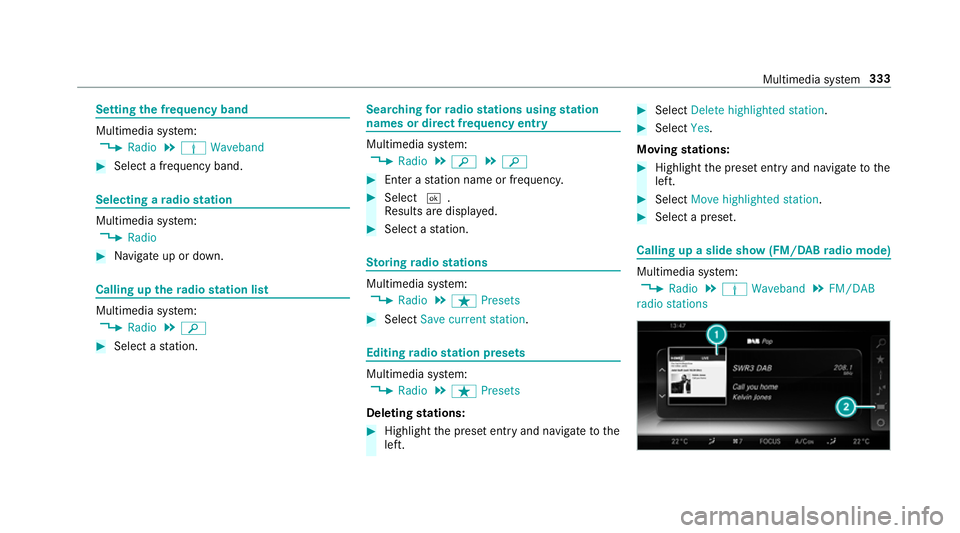
Select a preset. Calling up a slide show (FM/DAB
radio mode) Multimedia sy
stem:
, Radio .
Þ Waveband .
FM/DAB
radio stations Multimedia sy
stem 333
Page 340 of 521
TV
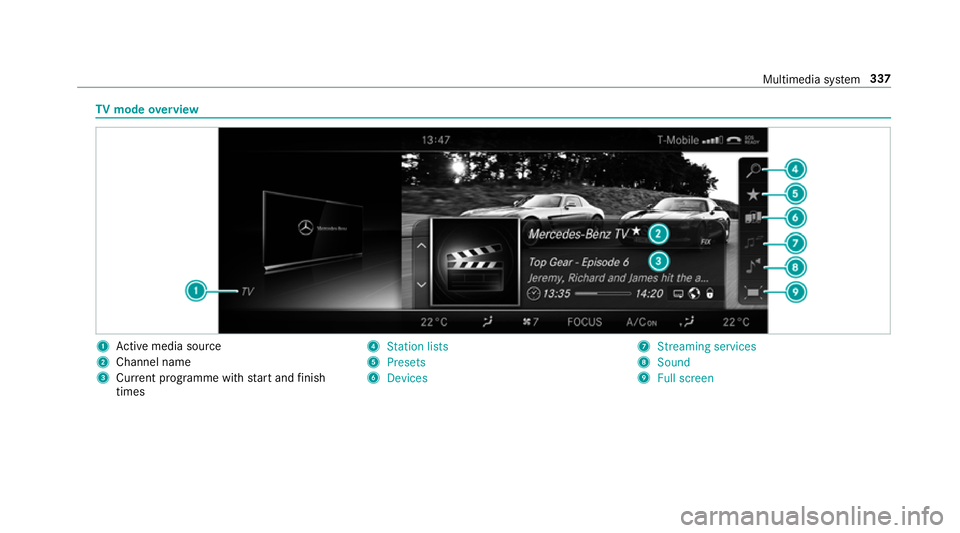
mode overview 1
Active media sou rce
2 Channel name
3 Current programme wi thstart and finish
times 4
Station lists
5 Presets
6 Devices 7
Streaming services
8 Sound
9 Full screen Multimedia sy
stem 337
Page 345 of 521
MHEG-5 digital
telete xt #
Ifth ete lete xt is displ ayed, press and hold on
th eto uchpad.
A colour selection bar appears. #
Select Red,Green, YelloworBlue .
The data content is displ ayed. #
Toenter numbers: select123. #
Enterth e numbers in quick succession. #
Toreturn totheTV prog ramme: selectTV. Pictu
resettings Picture settings
overview
The following picture form at settings are availa‐
ble:
R Automatic
R 16:9
R 4:3
R Zoom
The brightness is automatically set. Selecting picture settings
Multimedia sy
stem:
, Media .
à Devi-
ces .
TV .
Z Options #
Select Picture format. #
Select the picture form at. HD prog
rammes Inse
rting theCA module
* NO
TEDama getotheCA module and
Smart Card The
CAmodule is designed for use in the
home. When used on the mo ve,th eCA mod‐
ule may overheat in consis tently high outside
te mp eratures and may be damaged. #
Make sure that theCA module is not
subject tohigh temp eratures forex ten‐
ded pe riods of time.
If th eCA module is dama ged, no
enc rypte dch annels can be recei ved. The
TVtuner is Under the boot floor. #
Ifre qu ired (countr y-dependent): insert the
Smart Ca rdinto theCA module slot. #
Remo vethe pr otective cap from theTV tune r. #
Insert theCA module into theTV tuner sl ot. #
Replace the pr otective cap on theTV tune r.
When theCA module is inser ted cor rectly,
encryp ted HD programmes can be recei ved
according toCI+ standard.
If th eCA module is not compatible, a fault
message appears.
Calling up theCA module menu
Multimedia sy stem:
, Media .
à Devi-
ces .
TV .
Z Options #
Select CA module. #
Select a menu option. 342
Multimedia sy stem
Page 349 of 521
Battery disconnection periods
The AS
SYST PLUS service inter val display
can only calculate the service due da tewhen
th e bat tery is connected. #
Notedown the service due date displa yed in
th e instrument display before disconnecting
th e battery (→ page 345). Engine compartment
Ac
tive bonn et(pedestrian pr otection) Operation of
the active bonnet (pedestrian
pr otection)
In cer tain accident situations, therisk of injury
to pedestrians can be reduced bythe actuation
of the active bonn et. The rear area of the engine
bonn etisraised byappr oximately 85 mm.
Fo rth e drive tothewo rkshop, reset the trig‐
ge red active bonn etyourself. If the active bonn et
has been triggered, pedestrian pr otection may
be limited.
A qu alified specialist workshop must re-ins tate
th e full functionality of the active bonn et. The active bonnet is not
available in all coun‐
tries.
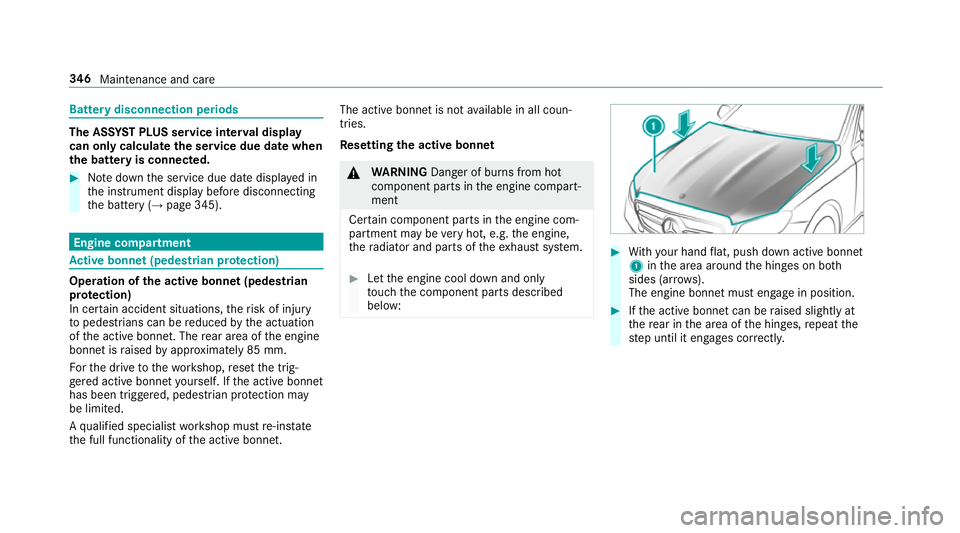
Re setting the active bonnet &
WARNING Danger of bu rns from hot
component parts in the engine compart‐
ment
Cer tain component parts in the engine com‐
partment may be very hot, e.g. the engine,
th era diator and parts of theex haust sy stem. #
Let the engine cool down and only
to uch the component parts described
below: #
With your hand flat, push down active bonnet
1 inthe area around the hinges on bo th
sides (ar rows).
The engine bonnet must engage in position. #
Ifth e active bonn etcan be raised slight lyat
th ere ar in the area of the hinges, repeat the
st ep until it engages cor rectl y. 346
Maintenance and care