MERCEDES-BENZ E-CLASS COUPE 2011 Owners Manual
Manufacturer: MERCEDES-BENZ, Model Year: 2011, Model line: E-CLASS COUPE, Model: MERCEDES-BENZ E-CLASS COUPE 2011Pages: 353, PDF Size: 8.42 MB
Page 221 of 353
i
If the gearshift recommendation is shown
in the multifunction display,itisn ot shown
in the status bar.
For further information on gearshift recom-
mendations, see (Y page 154).
Resetting values You can reset the values of the following func-
tions:
R
trip meter
R trip computer "From start"
R trip computer "From reset"
X Press the =or; button on the steer-
ing wheeltos elect theTrip menu.
X Press the 9or: button to select the
function that you wish to reset.
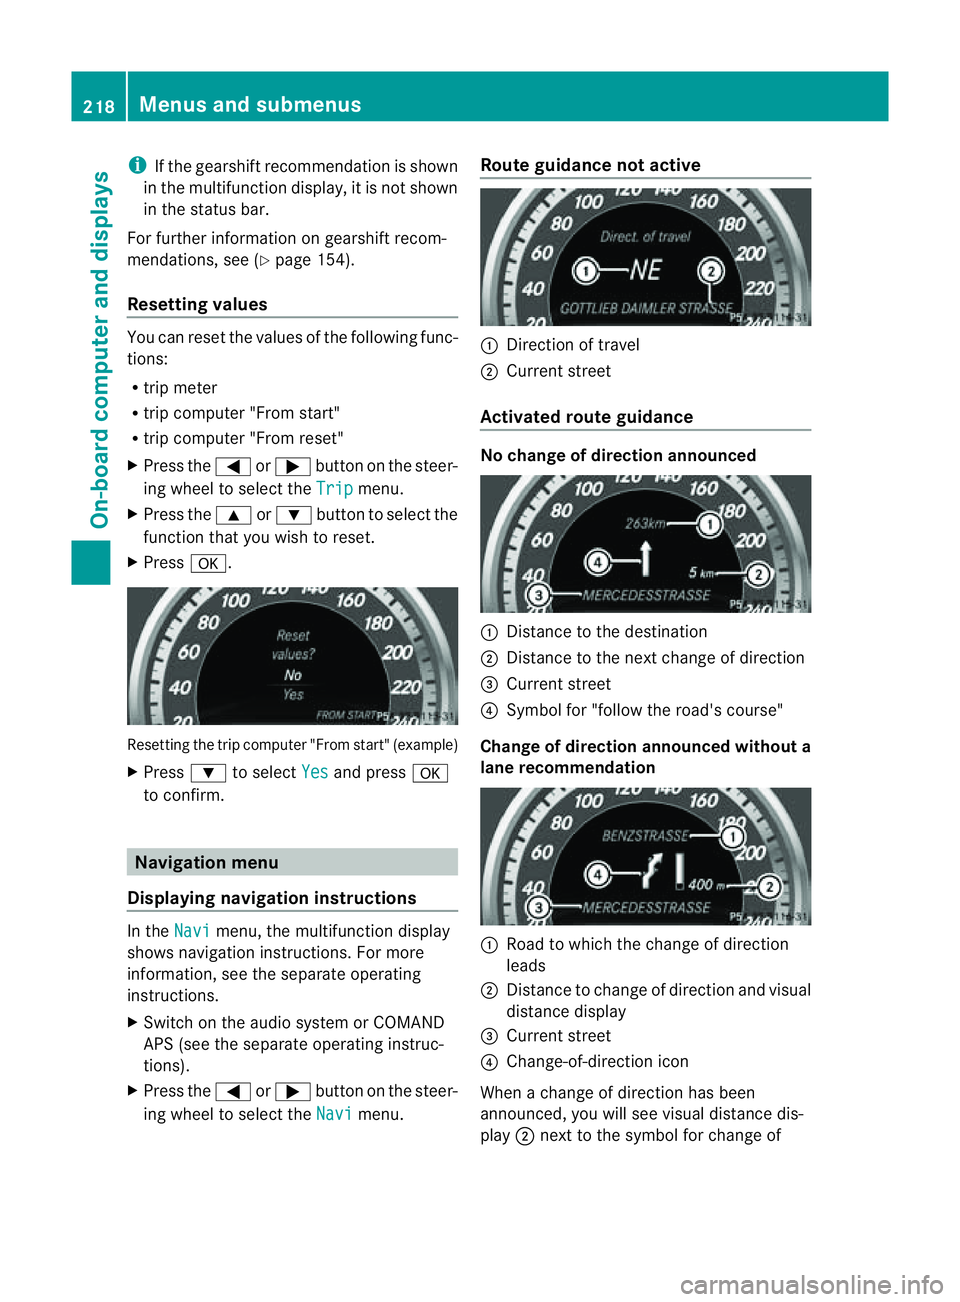
X Press a. Resetting the trip computer "From start" (example)
X Press :to select Yes and press
a
to confirm. Navigation menu
Displaying navigatio ninstructions In the
Navi menu, the multifunction display
shows navigation instructions. For more
information, see the separate operating
instructions.
X Switch on the audio system or COMAND
APS (see the separate operating instruc-
tions).
X Press the =or; button on the steer-
ing wheeltos elect theNavi menu.Route guidance not active :
Direction of travel
; Current street
Activated route guidance No change of directio
nannounced :
Distance to the destination
; Distance to the next change of direction
= Current street
? Symbol for "follow the road's course"
Change of directio nannounced without a
lane recommendation :
Roadtow hich the change of direction
leads
; Distance to change of direction and visual
distance display
= Current street
? Change-of-direction icon
When achange of direction has been
announced, you wills ee visualdistancedis-
play ;nex ttot he symbol for change of 218
Menus and submenusOn-board computer and displays
Page 222 of 353
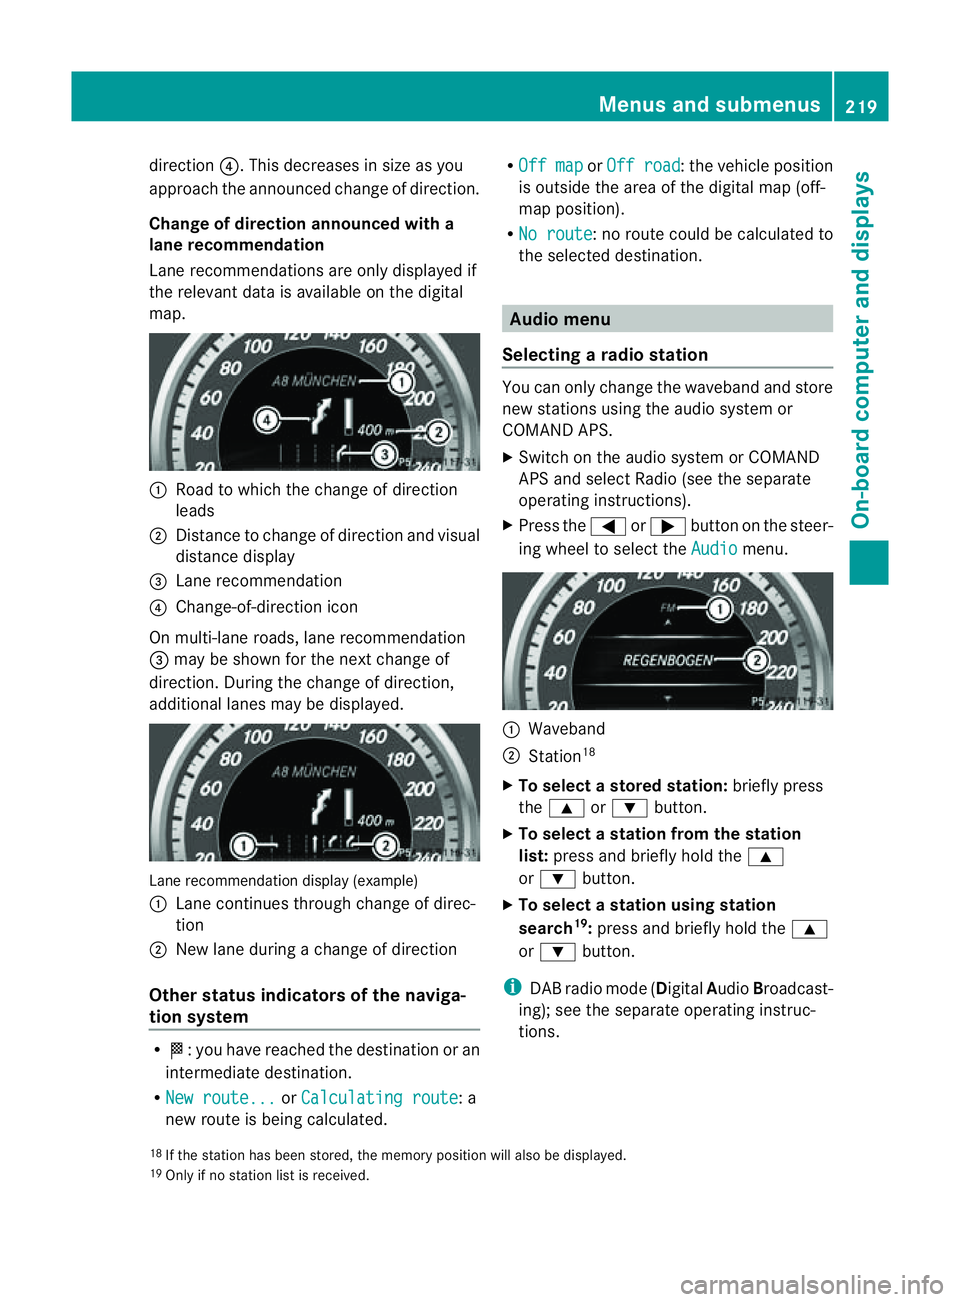
direction
?.This decreases in size as you
approach the announced change of direction.
Change of direction announced with a
lane recommendation
Lane recommendations are only displayed if
the relevant data is available on the digital
map. :
Road to which the change of direction
leads
; Distancetoc hange of direction and visual
distance display
= Lane recommendation
? Change-of-direction icon
On multi-lane roads, lane recommendation
= may be shown for the next change of
direction. During the change of direction,
additional lanes may be displayed. Lane recommendation display (example)
:
Lane continues through change of direc-
tion
; New lane during achange of direction
Other status indicators of the naviga-
tion system R
O:y ou have reached the destination or an
intermediate destination.
R New route... or
Calculating route :a
new route is being calculated. R
Off map or
Off road :t
he vehicle position
is outside the area of the digital map (off-
map position).
R No route :nor
oute could be calculated to
the selected destination. Audio menu
Selecting aradio station You can only change the waveband and store
new stations using the audio system or
COMAND APS.
X Switch on the audio system or COMAND
APS and select Radio (see the separate
operating instructions).
X Press the =or; button on the steer-
ing wheel to select the Audio menu.
:
Waveband
; Station 18
X To selectas toredstation: brieflypress
the 9 or: button.
X To select astation from the station
list: press and briefl yholdt he 9
or : button.
X To select astatio nusing station
search 19
:press and briefl yholdt he 9
or : button.
i DAB radi omode(Digit alAudio Broadcast-
ing); see the separate operating instruc-
tions.
18 If the statio nhas been stored ,the memory position will also be displayed.
19 Onl yifnos tatio nlist is received. Menus and submenus
219On-boardcomputer and displays Z
Page 223 of 353
Audio player or audio media operation
Audio dat
afromv arious audio device sor
media can be played, depending on th eequip-
men tfitte dint hevehicle.
X Switc hont heaudio system or COMAND
AP Sa nd select the audi odeviceorm edium
(see the separate operating instructions).
X Press the =or; button on the steer-
ing whee ltoselect the Audio menu.
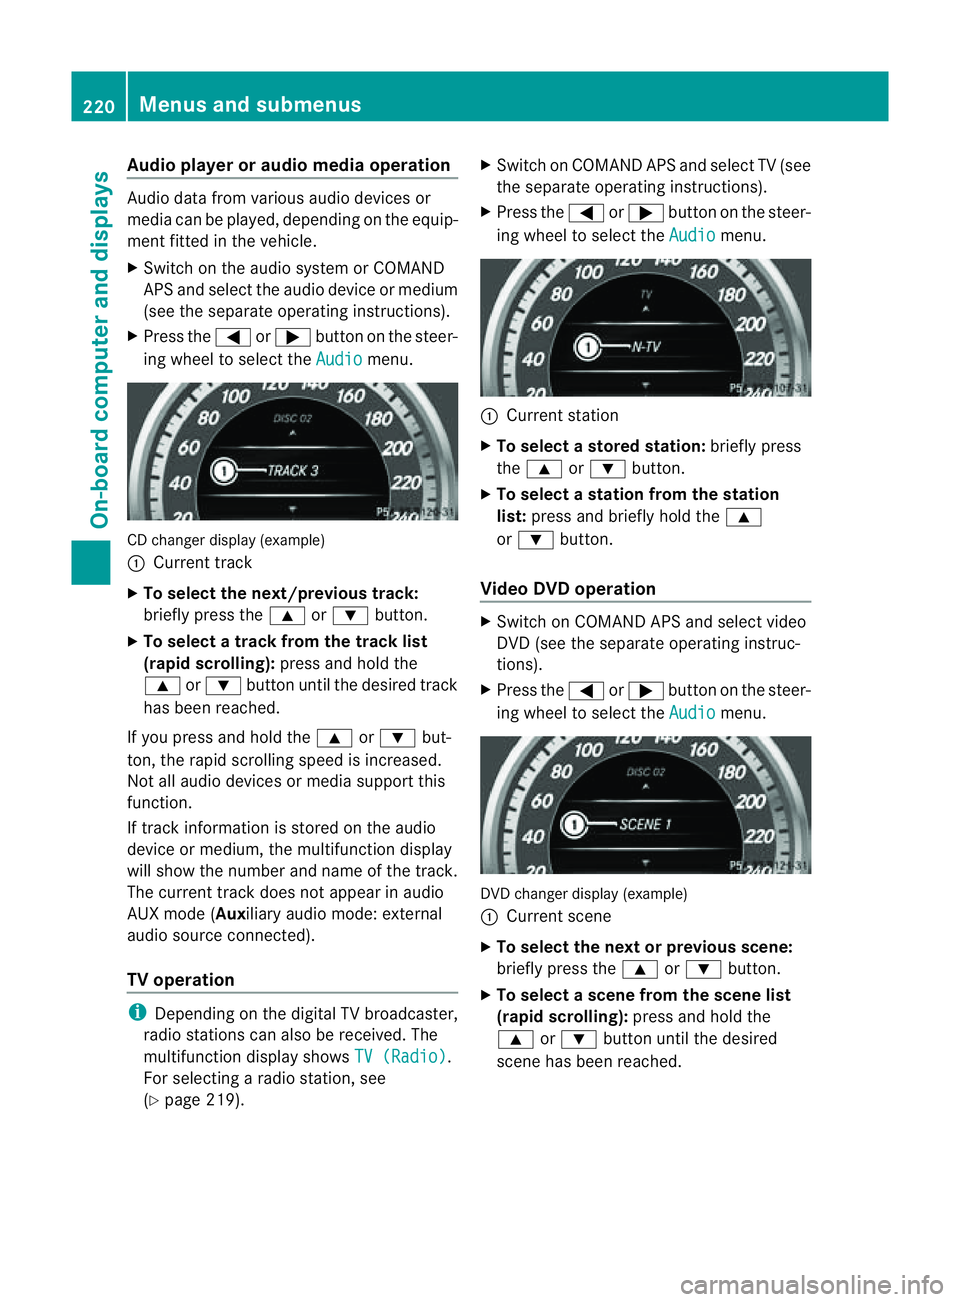
CD change
rdisplay (example)
: Curren ttrack
X To select th enext/previou strack:
briefl ypress the 9or: button.
X To select atrac kfromt he trac klist
(rapid scrolling): press and hold the
9 or: button unti lthe desired track
ha sb eenr eached.
If yo upress and hold the 9or: but-
ton, the rapi dscrolling spee disincreased.
Not al laudio devices or media support this
function.
If track information is stored on the audio
device or medium, the multifunctio ndisplay
will show the number and name of the track.
The current track does not appear in audio
AUX mode (Aux iliary audio mode: external
audio sourc econnected).
TV operation i
Dependin gonthe digital TV broadcaster,
radio station scan also be received. The
multifunction display shows TV (Radio) .
For selectin garadio station ,see
(Y page 219). X
Switch on COMAND APS and selec tTV(see
the separate operating instructions).
X Press the =or; button on the steer-
ing wheel to select the Audio menu.
:
Current station
X To select astore dstation: brieflypress
the 9 or: button.
X To select astation from the station
list: press and briefl yholdt he 9
or : button.
Vide oDVD operation X
Switch on COMAND APS and select video
DVD (see the separate operating instruc-
tions).
X Press the =or; button on the steer-
ing whee ltoselect the Audio menu.
DVD change
rdisplay (example)
: Curren tscene
X To select th enext or previous scene:
briefly press the 9or: button.
X To select ascene from th escene list
(rapid scrolling): press and hold the
9 or: buttonuntil the desired
scene ha sbeenr eached. 220
Menus and submenusOn-board computer and displays
Page 224 of 353
Telephon
emenu
Introduction Functions and displays ar
edependen tonthe
optional equipment installed in your vehicle.
You can place your mobile phone in the
mobile phone bracket (Y page 273), or set
up aB luetooth ®
connection to the audios ys-
tem or COMAND APS (see the separate oper-
ating instructions).
i You can obtain further information about
suitable mobile phones and connecting
mobile phones via Bluetooth ®
:
R in any Mercedes Benz Service Centre
R on the Internet at http://
www.mercedes-benz.com/connect G
WARNING
Observe the legal requirements of the country
in which you are currently driving regarding
the use of mobile phones in the vehicle.
If it is permitted to use mobile phones while
the vehicle is in motion, you should only use
them when the road and traffic conditions
allow.O therwise, yo umaybe distracted from
the traffi cconditions ,cause an accident and
injure yourself and others.
X Switch on the mobil ephone and audi osys-
tem or COMAND APS (see the separate
operating instructions).
X Press the =or; button on the steer-
ing whee ltoselect theTel menu.
Yo uw ills ee one of the following displa ymes-
sage sint he multifunctio ndisplay:
R Please enter PIN :t
he mobile phone has
been placed in the mobile phone bracket
and the PIN has not been entered.
X Enter the PIN using the mobile phone, LIN-
GUATRONIC, the audios ystem or
COMAND APS.
The mobile phone will search for anetwork. R
Telephone ready or the name of the net-
work provider: the mobile phone has found
an etwork and is ready to receive.
R Telephone No Service :non
etwork is
available, or the mobile phone is searching
for anetwork.
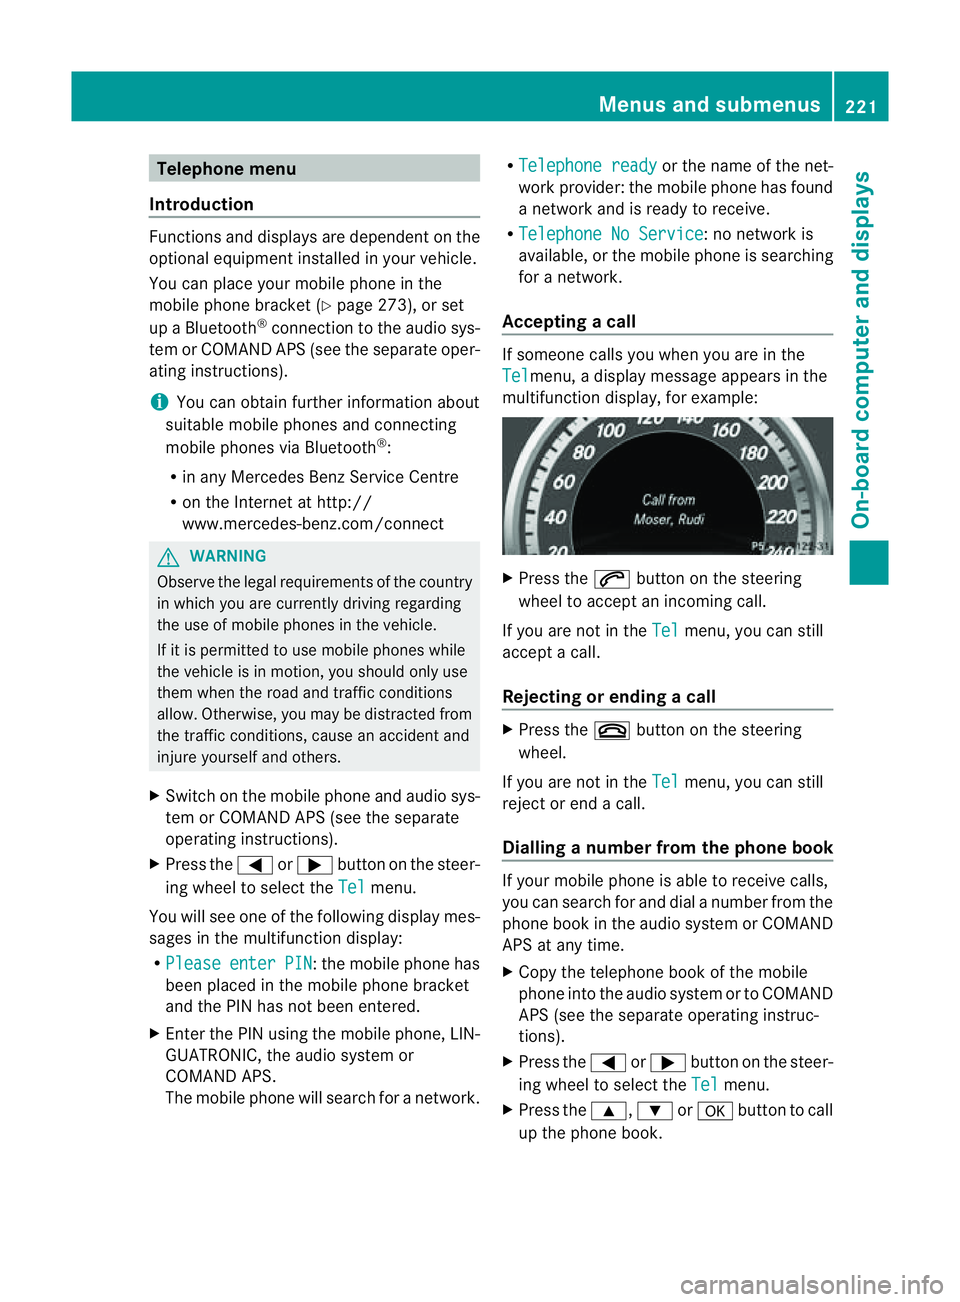
Accepting acall If someone call
syou whe nyou are in the
Tel menu,
adisplay message appears in the
multifunction display ,for example: X
Press the 6button on the steering
wheel to accept an incomin gcall.
If you are not in the Tel menu, you can still
accept acall.
Rejecting or ending acall X
Press the ~button on the steering
wheel.
If you are not in the Tel menu, you can still
reject or end acall.
Dialling anumber from the phone book If you
rmobile phone is able to receive calls,
you can search for and dial anumber from the
phone book in the audio system or COMAND
APS at any time.
X Copy the telephone book of the mobile
phone into the audio system or to COMAND
APS (see the separate operating instruc-
tions).
X Press the =or; button on the steer-
ing wheel to select the Tel menu.
X Press the 9,:ora button to call
up the phone book. Menus and submenus
221On-board computer and displays Z
Page 225 of 353
X
Press the 9or: button to select the
desired name.
To start scrolling rapidly, press and hold the
9 or: button for longer than one
second. After ashort time, the rapid scroll
speeds up.
Rapid scrolling stops when you release the
button or reach the end of the list.
X If only one telephone number is stored
for aname: press the 6ora button
to start dialling.
or
X If thereism ore thanone number for a
particular name: press the6ora
button to display the numbers.
X Press the 9or: button to select the
number you want to dial.
X Press the 6ora button to start dial-
ling.
or
X If you do not want to makeac all:press
the ~ or% button.
Redialling The on-board computer saves the last names
or numbers dialled in the redial memory.
X Press the =or; button on the steer-
ing wheel to select the Tel menu.
X Press the 6button to switch to the
redial memory.
X Press the 9or: button to select the
desired name or number.
X Press the 6ora button to start dial-
ling.
or
X If you do not want to makeac all:press
the ~ or% button. Assistance menu
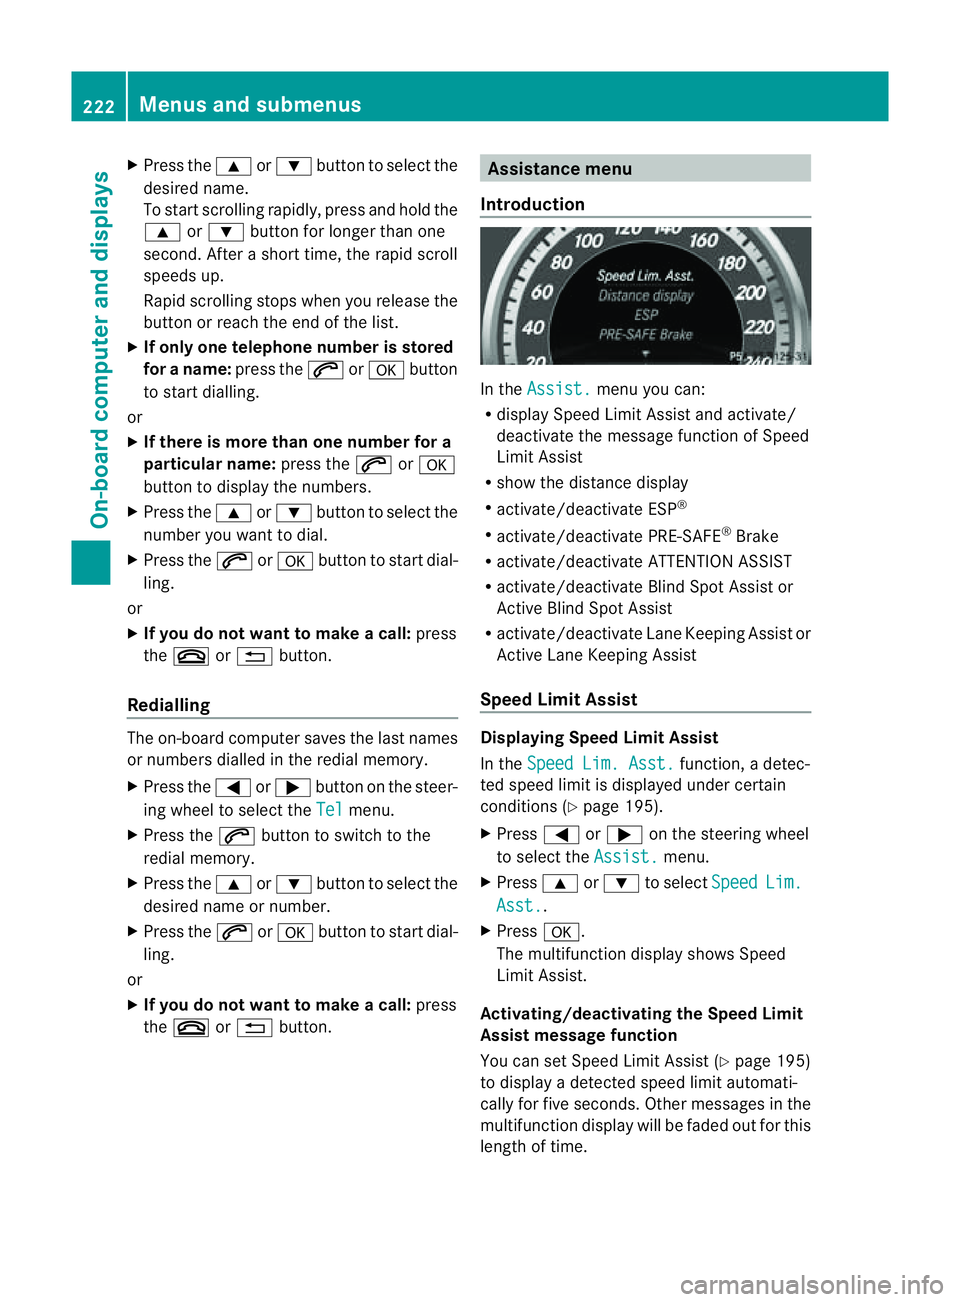
Introduction In the
Assist. menu you can:
R display Speed Limit Assist and activate/
deactivat ethe message function of Speed
Limit Assist
R show the distanc edisplay
R activate/deactivate ESP ®
R activate/deactivate PRE-SAFE ®
Brake
R activate/deactivate ATTENTION ASSIST
R activate/deactivate Blind Spot Assist or
Active Blind Spot Assist
R activate/deactivate Lane Keeping Assist or
Active Lane Keeping Assist
Speed Limit Assist Displaying Speed Limit Assist
In the
Speed Lim. Asst. function,
adetec-
ted speed limit is displaye dunder certain
conditions (Y page 195).
X Press =or; on the steerin gwheel
to select the Assist. menu.
X Press 9or: to select Speed Lim.
Asst. .
X Press a.
The multifunction display shows Speed
Limit Assist.
Activating/deactivating the Speed Limit
Assist message function
You can set Speed Limit Assist (Y page 195)
to display adetected speed limit automati-
cally for five seconds. Other messages in the
multifunction display will be faded out for this
length of time. 222
Menus and submenusOn-board computer and displays
Page 226 of 353
X
Press =or; on the steerin gwheel
to select the Assist. menu.
X Press 9or: to select Speed Lim.
Asst. .
X Press a.
The multifunction display shows Speed
Limit Assist.
X Press :.
The curren tselection is displayed.
X To activate or deactivate: pressa.
If Speed Limit Assist is operational and the
message function is activated, the multifunc-
tion display shows the Äsymbol when the
ignition is switched on.
Showing the distance display This function is only available with DIS-
TRONIC PLUS.
X Press =or; on the steering wheel
to select the Assist. menu.
X Press the 9or: button to select
Distanc edisplay .
X Press a.
The DISTRONIC PLUS distanc edisplay
(Y page 178)a ppears in the multifunction
display.
Deactivating/activating ESP ®G
WARNING
If the ä warning lamp in the instrument
cluster flashes, proceed as follows:
R do not deactivat eESP®
under any circum-
stances.
R only depress the accelerator pedal as far as
necessary when pulling away.
R adapt your driving style to suit the prevail-
ing road and weather conditions.
Otherwise, the vehicle could skid.
ESP ®
cannot reduce the risk of an acciden tif
you drive to ofast. ESP ®
canno toverride the
laws of physics. Fo
rfurther information about ESP ®
,s ee
(Y page 64).
X Start th eengine.
X Press =or; on thesteerin gwheel
to select the Assist. menu.
X Press the 9or: buttontos elect
ESP .
X Press the abutton.
X To deactivate: pressaagain.
The å warning lamp in the instrument
cluster comes on. G
WARNING
If the å warning lamp in the instrument
cluster lights up when the engine is running,
ESP ®
is deactivated or is unavailabl edue to a
malfunction. The risk that your vehicle may
start to skid then increases in certain situa-
tions.
Always adapt your driving style to the prevail-
ing road and weather conditions.
X To activate: pressaagain.
The å warning lamp in the instrument
cluster goes out.
Activating/deactivating the PRE-SAFE ®
Brake PRE-SAFE
®
Brake is only available in vehicles
with DISTRONIC PLUS.
X Press =or; on the steerin gwheel
to select the Assist. menu.
X Press 9or: to select PreSafe Brake .
X Press the abutton.
The current selection is displayed.
X To activate/deactivate: pressa
again.
When PRE-SAFE ®
Brake (Y page 66) is acti-
vated, the multifunction display shows the
Ä symbol as long as the HOLD function is
not activated (Y page 184). Menus and submenus
223On-board computer and displays Z
Page 227 of 353
Vehicles with Parking Guidance:
if PARK-
TRONIC is activate dand yo uare driving at a
spee dunder 35 km/h, the jParking Guid-
ance symbol is show ninstea doftheÄ
symbol.
Activating/deactivating Attention
Assist X
Press =or; on the steering wheel
to select the Assist. menu.
X Press the 9or: button to select
Attention Asst. .
X Press a.
The current selection is displayed.
X To activate/deactivate: pressa
again.
When ATTENTION ASSIST (Y page 194) is
activated, the Àsymbol appears in the
multifunction displayw hen the ignition is on.
Activating/deactivating Blind Spot
Assist You can use the
Blind Spot Asst. function
to activate or deactivate Blind Spot Assist
(Y page 196) or Active Blind Spot Assist
(Y page 199).
X Press =or; on the steering wheel
to select the Assist. menu.
X Press 9or: to select Blind Spot
Asst. .
X Press a.
If the function is activated, the monitored
areas in the multifunction displayl ight up
red.
X To activate/deactivate: pressa
again.
Activating/deactivating Lane Keeping
Assist You can use the
Lane Keep. Asst. function
to activate/deactivate Lane Keeping Assist
(Y page 198) or Active Lane Keeping Assist
(Y page 202). X
Press =or; on the steering wheel
to select the Assist. menu.
X Press 9or: to select Lane Keep.
Asst. .
X Press a.
If the function is activated, the lane marking
symbol in the multifunction displayl ights
up red.
X To activate/deactivate: pressa
again.
When Lane Keeping Assist or Active Lane
Keeping Assist is activated, the Ãsymbol
appears in the multifunction displayw hen the
ignition is on. Service menu
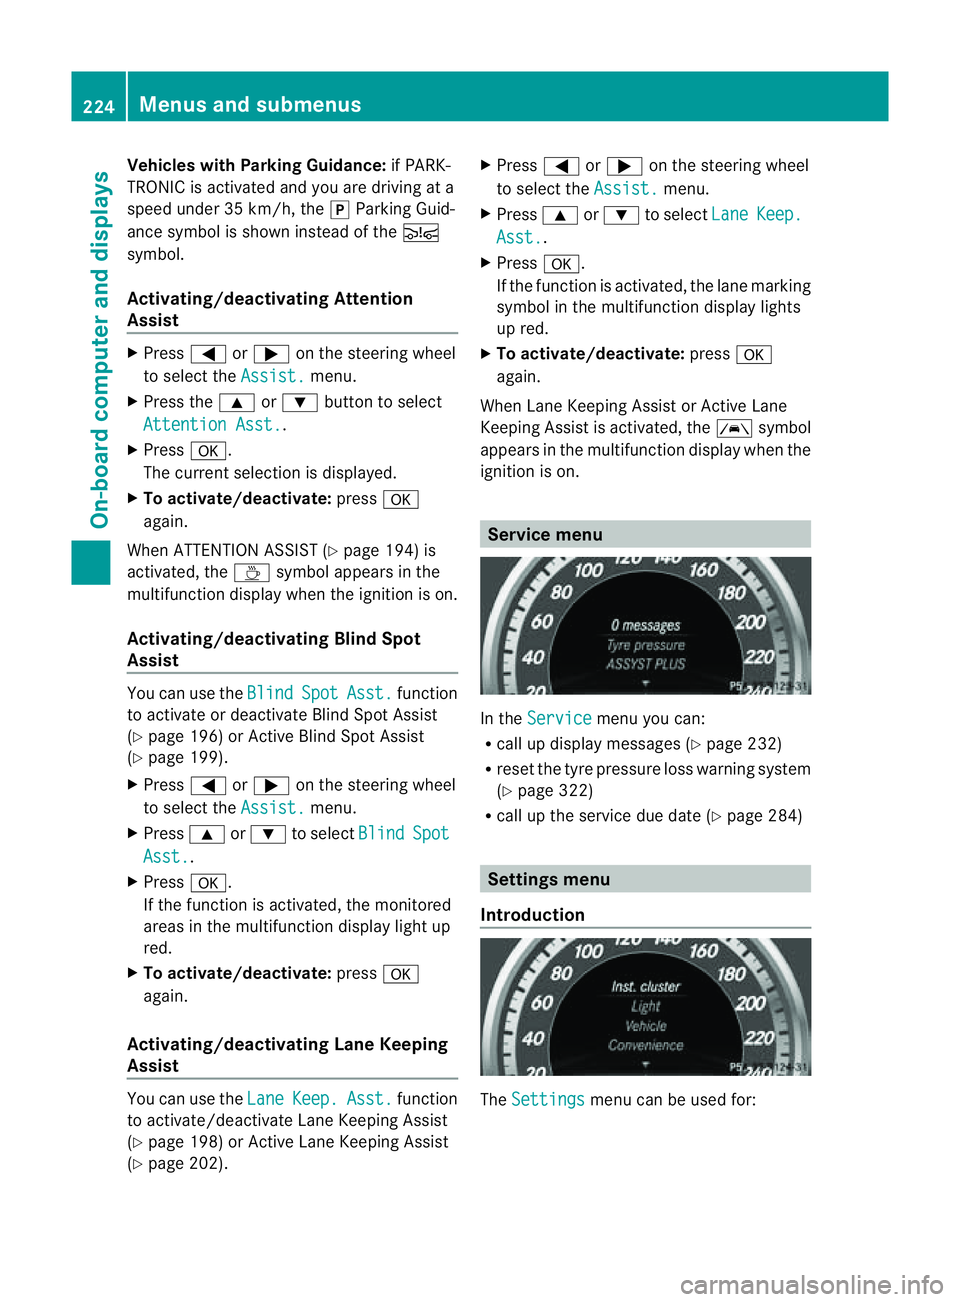
In the
Service menu you can:
R call up displaym essages (Ypage 232)
R reset the tyre pressure loss warning system
(Y page 322)
R call up the service due date (Y page 284) Settings menu
Introduction The
Settings menu can be used for:224
Menus and submenusOn-board computer and displays
Page 228 of 353
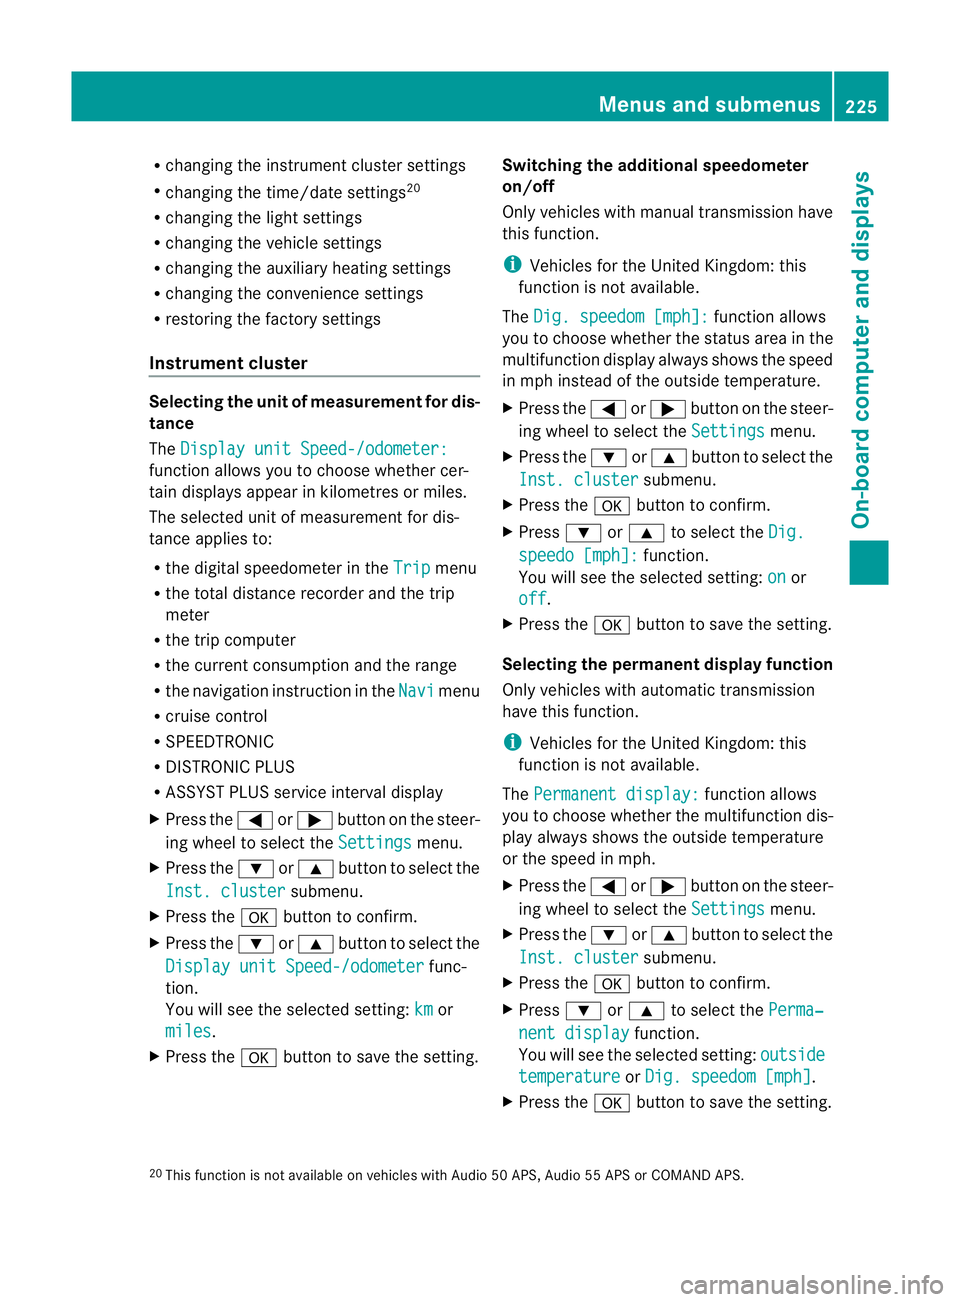
R
changing the instrument cluster settings
R changing the time/date settings 20
R changing the light settings
R changing the vehicle settings
R changing the auxiliary heating settings
R changing the convenience settings
R restoring the factory settings
Instrumen tcluster Selecting th
eunit of measurement for dis-
tance
The Display unit Speed-/odometer: function allows you to choose whether cer-
tain displays appear in kilometres or miles.
The selected unit of measurement for dis-
tance applies to:
R the digital speedometer in the Trip menu
R the total distanc erecorder and the trip
meter
R the trip computer
R the current consumption and the range
R the navigation instruction in the Navi menu
R cruis econtrol
R SPEEDTRONIC
R DISTRONIC PLUS
R ASSYS TPLUS service interval display
X Press the =or; button on the steer-
ing wheel to selec tthe Settings menu.
X Press the :or9 button to select the
Inst. cluster submenu.
X Press the abutton to confirm.
X Press the :or9 button to select the
Display unit Speed-/odometer func-
tion.
You will see the selected setting: km or
miles .
X Press the abutton to save the setting. Switching the additional speedometer
on/off
Only vehicles with manual transmission have
this function.
i
Vehicles for the United Kingdom: this
function is not available.
The Dig. speedom [mph]: function allows
you to choose whether the status area in the
multifunction displaya lways shows the speed
in mph instead of the outside temperature.
X Press the =or; button on the steer-
ing wheel to select the Settings menu.
X Press the :or9 button to select the
Inst. cluster submenu.
X Press the abutton to confirm.
X Press :or9 to select the Dig. speedo [mph]: function.
You will see the selected setting: on or
off .
X Press the abutton to save the setting.
Selecting the permanent display function
Only vehicles with automatic transmission
have this function.
i Vehicles for the United Kingdom: this
function is not available.
The Permanent display: function allows
you to choose whether the multifunction dis-
play always shows the outside temperature
or the speed in mph.
X Press the =or; button on the steer-
ing wheel to select the Settings menu.
X Press the :or9 button to select the
Inst. cluster submenu.
X Press the abutton to confirm.
X Press :or9 to select the Perma‐ nent display function.
You will see the selected setting: outside temperature or
Dig. speedom [mph] .
X Press the abutton to save the setting.
20 This function is not available on vehicles with Audio 50 APS, Audio 55 APS or COMAND APS. Menus and submenus
225On-board computer and displays Z
Page 229 of 353
Time/date
Thi
ssubmenu is onl yavailable on vehicles
with Audio 20.
In the Time/date submenu, yo
ucan se tthe
time and date.
Your vehicle could have the following audio
equipment:
A: Audio 20
B: Audio 50 APS
C: COMAND APS
X Refer to the separate operating instruc-
tions to find out which audios ystem is fit-
ted in your vehicle.
Depending on the audios ystem, the time and
date are received from GPS satellites and
cannot be set using the on-board computer
(see the following table). A B C
Setting using the on-board com-
puter X
Automatic GPS satellite recep-
tion X X
Setting the time zone once; see
the separate operating instruc-
tions X X
X
Press the =or; button on the steer-
ing wheel to select the Settings menu.
X Press the :or9 button to select the
Time/Date submenu.
X Press the abutton to confirm.
X Press the :or9 button to select
Time: or
Date: .
The current time or date set is displayed.
X Press ato change the setting.
X Press the =or; button to select the
displayy ou want to change: hour, minute,
day, month, year.
X Press the :or9 button to set the
selected display.
X Press the abutton to store the entry. Lights Switching the daytime driving lights on/
off
If you have activated the
Day lights func-
tion and the light switch is set to Ã,the
daytime driving lights are automatically
switched on during daylight hours when the
engine is running. When it is dark, the side
lamps and the dipped-beamh eadlamps are
also switched on automatically.
X Switc hoff the engine.
X Press the =or; button on the steer-
ing wheel to select the Settings menu.
X Press the :or9 button to select the
Light submenu.
X Press the abutton to confirm.
X Press the :or9 button to select the
Day lights function.
If the Day lights have been switched on,
the coneofl ight and the Wsymbol in
the multifunction display are shown in red.
X Press the abutton to save the setting.
Activating/deactivating the Intelligent
Light System
If you activat ethe Intell. Light Sys. function
,you activat ethe following functions:
R motorway mode
R activ elight function
R cornering light function
R extended range foglamps
X Press the =or; button on the steer-
ing wheel to select the Settings menu.
X Press the :or9 button to select the
Light submenu.
X Press the abutton to confirm.
X Press :or9 to select the Intell. Light Sys. function.
If the Intell. Light Sys. function has
been switched on, the coneofl ight and the
L symbol in the multifunction display
are shown in red.
X Press the abutton to save the setting. 226
Menus and submenusOn-boar
dcomputer and displays
Page 230 of 353
If you set the dipped-bea
mheadlamps for
driving on the right/left (Y page 227), the
multifunction display shows the Systeminoperative display message under the
image of the vehicle for the Intell. Light
Sys. function in the
Light submenu.
Setting the dipped-beam headlampsf or
driving on the right/left
This function is only available on vehicles with
the Intelligent Light System.
You can use this function to switch between
symmetrical beam and asymmetrical dipped
beam (Y page 114).
If you set the dipped-beam headlamps for
driving on the right/left, then motorway
mode and the extended range foglamps are
not available.
X Press the =or; button on the steer-
ing wheel to select the Settings menu.
X Press the :or9 button to select the
Light submenu.
X Press the abutton to confirm.
X Press :or9 to select the Dipped beams Setting for: function.
You will see the selected setting: Right-side traffic or
Left-side traffic .
X Press the abutton to save the setting.
When you change the setting, conversion
does not take place until the nextt ime the
vehicle is stationary.
You can also have the dipped-beam head-
lamps set for drivin gonthe right/lef tata
qualified specialist workshop, e.g. a
Mercedes-Ben zServic eCentre.
Switching Adaptive Highbeam Assist on/
off
X Press the =or; button on the steer-
ing wheel to selec tthe Settings menu.
X Press the :or9 button to select the
Light submenu.
X Press the abutton to confirm. X
Press :or9 to select the Adapt. main beam function.
If the Adapt. main beam function has
been switched on, the cone of light and the
_ symbol in the multifunction display
are shown in red.
X Press the abutton to save the setting.
Activating/deactivating the surround
lighting and exterior lighting delayed
switch-off
If you have activated the Surround light‐ ing function and the light switch is in the
à position,
R the exterior lighting remains on for another
40 seconds after you unlock the vehicle
using the key.
The exterior lighting switches off when you
open the driver’s door.
R the exterior lighting remains on for another
15 seconds after closing the doors when it
is dark.
If the engine is switched off and then none
of the doors are opened, or if an open door
is not closed, the exterior lighting goes out
after 60 seconds.
If you activate the Surround lighting func-
tion, the following light up depending on the
vehicle's equipment:
R the side lamps
R the foglamps
R the daytime driving lights
R the surround lighting in the exterior mirrors
X Press the =or; button on the steer-
ing wheel to select the Settings menu.
X Press the :or9 button to select the
Light submenu.
X Press the abutton to confirm.
X Press the :or9 button to select the
Surround lighting function.
When the Surround lighting function is
activated, the light cone and the area Menus and submenus
227On-board computer and displays Z