key MERCEDES-BENZ GL-Class 2013 X166 Manual Online
[x] Cancel search | Manufacturer: MERCEDES-BENZ, Model Year: 2013, Model line: GL-Class, Model: MERCEDES-BENZ GL-Class 2013 X166Pages: 454, PDF Size: 6.31 MB
Page 181 of 454
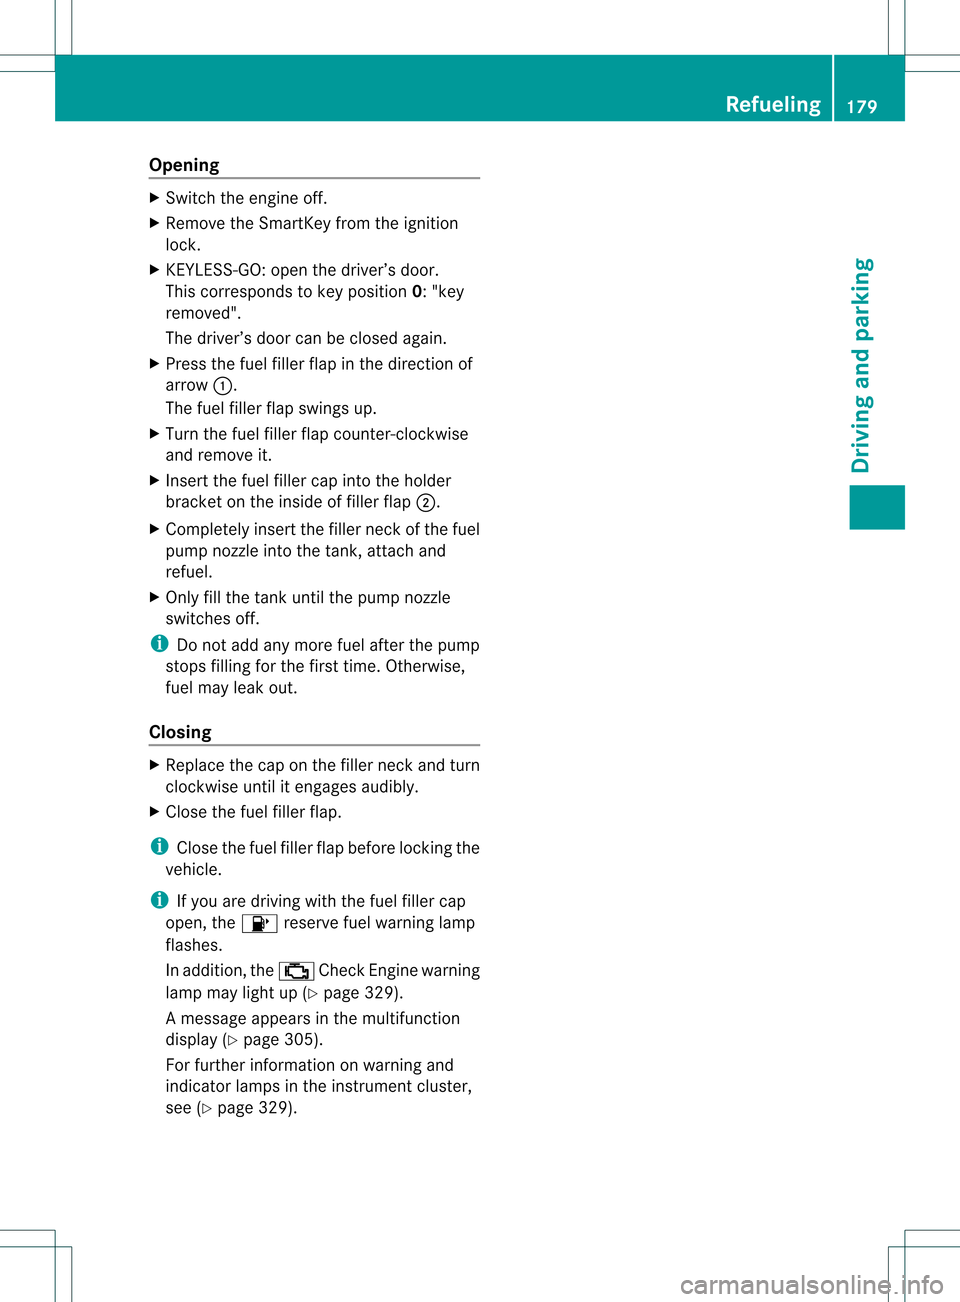
Opening
X
Switch the engine off.
X Remove the SmartKey from the ignition
lock.
X KEYLESS-GO: open the driver’s door.
This corresponds to key position 0: "key
removed".
The driver’s door can be closed again.
X Press the fuel filler flap in the direction of
arrow 0002.
The fuel filler flap swings up.
X Turn the fuel filler flap counter-clockwise
and remove it.
X Inser tthe fuel filler cap into the holder
bracket on the inside of filler flap 0003.
X Completely insert the filler neck of the fuel
pump nozzle into the tank, attach and
refuel.
X Only fill the tank until the pump nozzle
switches off.
i Do not add any more fuel after the pump
stops filling for the first time. Otherwise,
fuel may leak out.
Closing X
Replace the cap on the filler neck and turn
clockwise until it engages audibly.
X Close the fuel filler flap.
i Close the fuel filler flap before locking the
vehicle.
i If you are driving with the fuel filler cap
open, the 0012reserve fuel warning lamp
flashes.
In addition, the 0010Check Engine warning
lamp may light up (Y page 329).
Am essage appears in the multifunction
display ( Ypage 305).
For further information on warning and
indicator lamps in the instrument cluster,
see (Y page 329). Refueling
179Driving and parking Z
Page 182 of 454
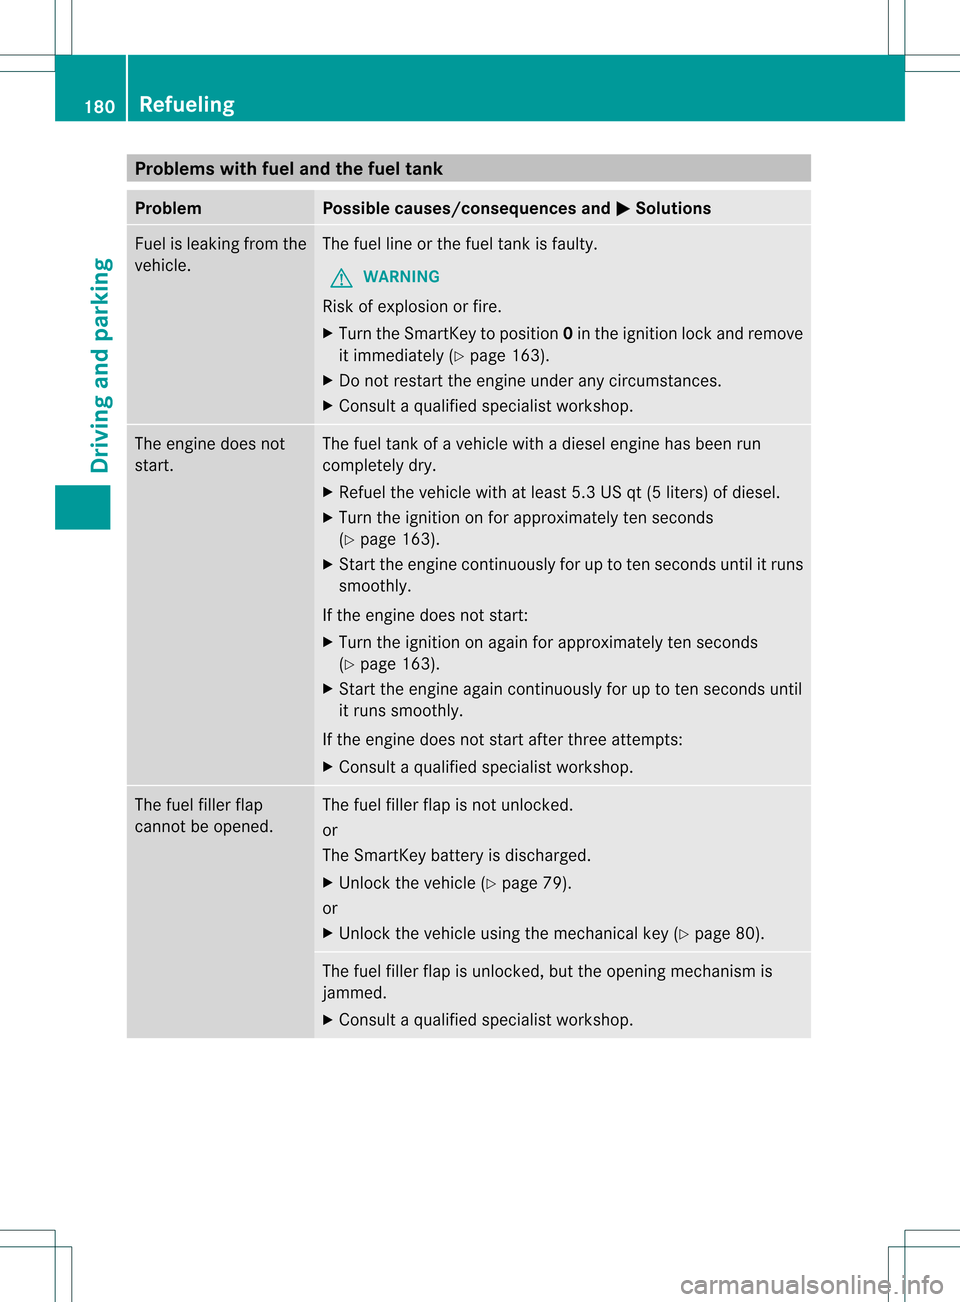
Problems with fuel and the fuel tank
Problem Possible causes/consequences and
0001 Solutions
Fuel is leaking from the
vehicle. The fuel line or the fuel tank is faulty.
G WARNING
Risk of explosion or fire.
X Turn the SmartKey to position 0in the ignition lock and remove
it immediately (Y page 163).
X Do not restart the engine under any circumstances.
X Consult a qualified specialist workshop. The engine does not
start. The fuel tank of a vehicle with a diesel engine has been run
completely dry.
X
Refuel the vehicle with at least 5.3 US qt (5 liters) of diesel.
X Turn the ignition on for approximately ten seconds
(Y page 163).
X Start the engine continuously for up to ten seconds until it runs
smoothly.
If the engine does not start:
X Turn the ignition on again for approximately ten seconds
(Y page 163).
X Start the engine again continuously for up to ten seconds until
it runs smoothly.
If the engine does not start after three attempts:
X Consult a qualified specialist workshop. The fuel filler flap
cannot be opened. The fuel filler flap is not unlocked.
or
The SmartKey battery is discharged.
X
Unlock the vehicle (Y page 79).
or
X Unlock the vehicle using the mechanical key (Y page 80).The fuel filler flap is unlocked, but the opening mechanism is
jammed.
X
Consult a qualified specialist workshop. 180
RefuelingDriving and parking
Page 184 of 454

is not permitted if the vehicle is not parked
on a level surface. There is a danger of
overfilling, which could result in damage to
components of the BlueTE
Cexhaus tgas
aftertreatment.
! Rinse surfaces that have come into
contact with DE Fimmediately with water or
remove DEF using a damp cloth and cold
water. If the DEF has already crystallized,
use a sponge and cold water to clea nit. DEF
residues crystallize after time and
contaminate the affected surfaces.
! DEF is not a fuel additive and must not be
added to the fuel tank. If DEF is added to
the fuel tank, this can lead to engine
damage.
For further information on DEF, see
(Y page 442).
Opening the DEF filler cap The fuel filler flap is unlocked or locked
automatically when you open or close the
vehicle with the SmartKey or with KEYLESS-
GO.
X
Switch the ignition off.
X Press the fuel filler flap in the directio nof
arrow 0002.
The fuel fille rflap swings up.
X Turn blue DE Ffiller cap 0003counter-
clockwise and remove it.
DEF filler cap 0003is secured with a plastic
strip. DEF refill bottle !
Only screw on the DE Frefill bottle hand-
tight .Itcould otherwise be damaged. X
Unscrew the protective cap from DEF refill
bottle 0002.
X Place DEFr efill bottle0002on the filler neck
as shown and screw it on clockwise until
hand-tight.
X Press DEFr efill bottle0002towards the filler
neck.
The DEFt ank is filled. This may take up to
one minute.
i When DE Frefill bottle 0002is no longer
pressed, filling stops and the bottle may be
taken off again after being only partially
emptied.
X Release DEFr efill bottle0002.
X Turn DEFr efill bottle 0002counter-clockwise
and remove it.
X Screw the protective cap onto DEF refill
bottle 0002again.
DEFr efill bottles can be obtained at many gas
stations or at an authorized Mercedes-Benz
Center .Refill bottles without a threaded cap
do not provide overfill protection. DEF may
leak if overfilled. Mercedes Benzo ffers
special refill bottles with a threaded seal.
These are available at any authorized
Mercedes-Benz Center. 182
RefuelingDriving and parking
Page 185 of 454

Closing the DEF filler cap
X
Mount DEF filler cap 0003on the filler neck
and turn it clockwise.
X To close the fuel fille rflap, press it in the
direction of arrow 0002.
X Drive faster than 10 mph (16 km/h).
The Check Additive See Operator's Manual message goes out after
approximately one minute.
i If the Check Additive See Operator's Manual message continues
to be shown in the multifunction display,
you must add more DEF. Parking
Important safety notes
G
WARNING
If flammable materials such as leaves, grass
or twigs are exposed to prolonged contac tto
parts of the exhaust system that heat up, they
could ignite. There is a risk of fire.
Park the vehicle so that no flammable
materials come into contact with parts of the
vehicle which are hot. Take particular care not
to park on dry grassland or harvested grain
fields. G
WARNING
If you switch off the ignition while driving,
safety-relevant function sare only available
with limitations, or not at all.T his could affect,
for example, the power steering and the brake boosting effect.Y
ou will require considerably
more effort to steer and brake. There is a risk
of an accident.
Do not switch off the ignition while driving. G
WARNING
If you leave children unsupervised in the
vehicle, they could set it in motion by, for
example:
R releasing the parking brake
R shifting the automatic transmission out of
the parking position P
R starting the engine.
They could also operate the vehicle's
equipment. There is a risk of an accident and
injury.
When leaving the vehicle, always take the
SmartKey with you and lock the vehicle. Never
leave children unsupervised in the vehicle.
! Always secure the vehicle correctly
against rolling away.O therwise, the vehicle
or its drivetrai ncould be damaged.
To ensure that the vehicle is secured against
rolling away unintentionally:
R the electric parking brake must be applied.
R the transmission must be in position Pand
the SmartKey must be removed from the
ignition lock.
R on steep uphill or downhill gradients, turn
the front wheels towards the curb.
R on steep uphill or downhill gradients, the
front axle of an empty vehicle must be
secured, for example with awheel chock.
R on steep uphill or downhill gradients, the
rear axle of a laden vehicle must be
additionally secured, for example with a
wheel chock. Parking
183Driving and parking Z
Page 186 of 454
Switching off the engine
Important safety notes G
WARNING
The automatic transmission switches to
neutral position Nwhen you switch off the
engine. The vehicle may roll away.T here is a
risk of an accident.
After switching off the engine, always switch
to parking position P. Prevent the parked
vehicle from rolling away by applying the
parking brake.
Using the SmartKey X
Apply the electric parking brake.
X Shift the transmission to position P.
X Turn the SmartKey to position 0in the
ignition lock and remove it.
The immobilizer is activated.
i If you turn off the engine with the
SmartKey and then remove it from the
ignition lock or open a front door, the
automatic transmission shifts to P
automatically.
If you shift the automatic transmission to
N before switching off the engine, the
automatic transmission remains in Neven
if a door is opened.
Using KEYLESS-GO X
Apply the electric parking brake.
X Shift the transmission to position P.
X Press the Start/Stop button (Y page 163).
The engine stops and all the indicator
lamps in the instrumentc luster go out.
i If you use the Start/Stop button to switch
off the engine, the automatic transmission
shifts to Nautomatically. If you the nopen
one of the fron tdoors, the automatic
transmission shifts to P.
i In the event of an emergency, the engine
can be turned off while the vehicle is in motion by pressing and holding the Start/
Stop button for three seconds. Electric parking brake
General notes G
WARNING
If you leave children unsupervised in the
vehicle, they could set it in motion by, for
example:
R releasing the parking brake
R shifting the automatic transmission out of
the parking position P
R starting the engine.
They could also operate the vehicle's
equipment. There is a risk of an accident and
injury.
When leaving the vehicle, always take the
SmartKey with you and lock the vehicle. Never
leave children unsupervised in the vehicle.
i The electric parking brake performs a
function test at regular intervals while the
engine is switched off. The sounds that can
be heard while this is occurring are normal.
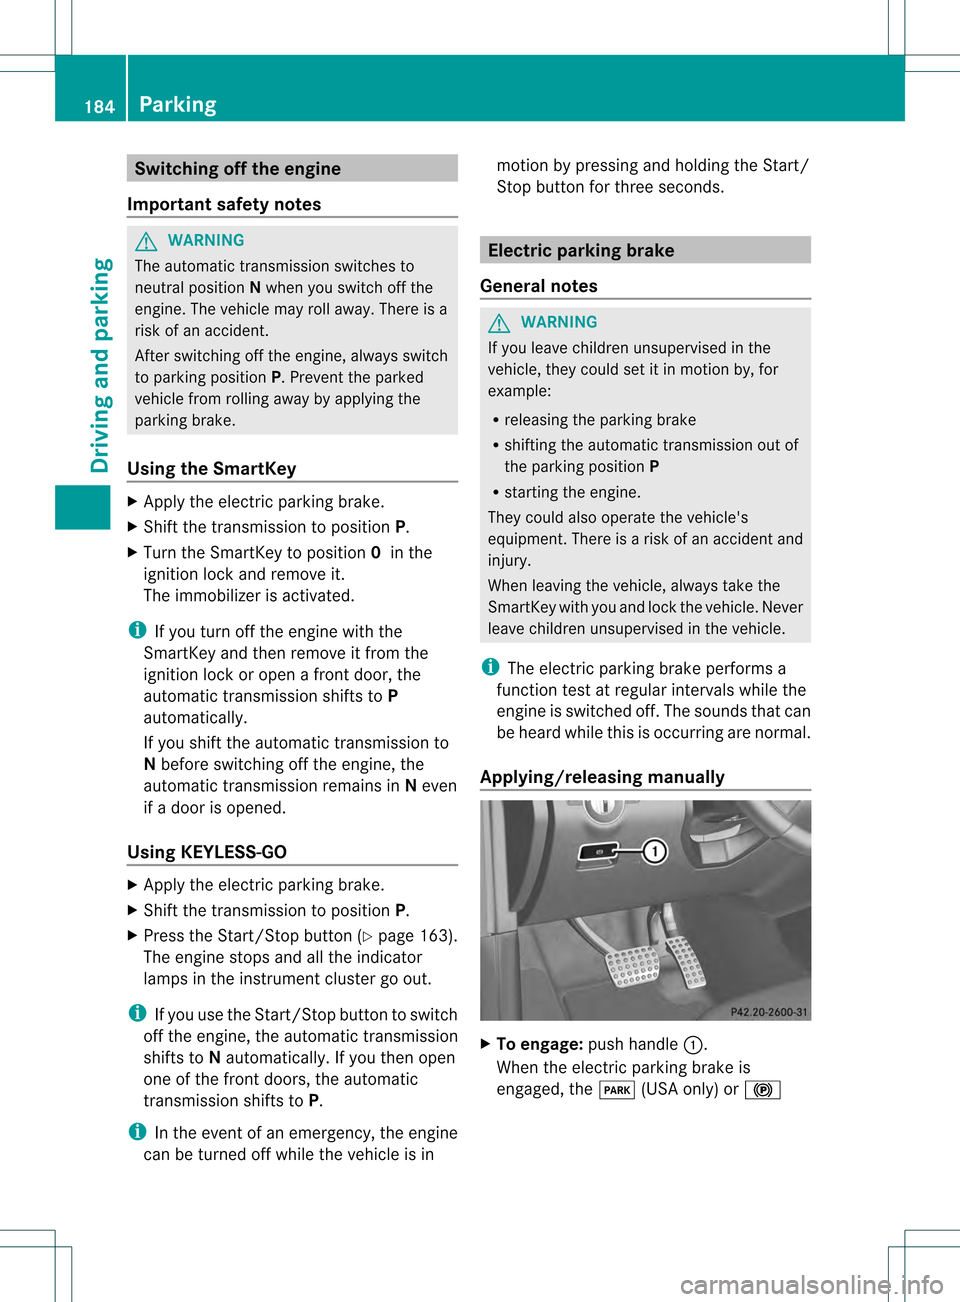
Applying/releasing manually X
To engage: push handle 0002.
When the electric parking brake is
engaged, the 0008(USA only) or 000D184
ParkingDriving and parking
Page 187 of 454
(Canada only) red indicator lamp lights up
in the instrument cluster.
i The electric parking brake can also be
applied when the SmartKey is removed.
X To release: pull handle0002.
The red 0008(USA only) or 000D(Canada
only) indicator lamp in the instrument
cluster goes out.
i The electric parking brake can only be
released:
R if the SmartKey is in position 1in the
ignition lock or
R if the ignition was switched on using the
Start/Stop button.
To ensure that you do not roll backwards
when pulling away on an uphill slope, engage
the electric parking brake (Y page 166).
Applying automatically The electric parking brake is applied
automatically:
R
if DISTRONIC PLUS brings the vehicle to a
standstill or
R if the HOL Dfunction is keeping the vehicle
stationary
In addition, at least on eofthe following
conditions must be fulfilled:
R the engine is switched off.
R the driver's door is open and the seat belt
is not fastened.
R the vehicle is stationary for a lengthy
period.
The red 0008(USA only) or 000D(Canada
only) indicator lamp in the instrumentc luster
lights up.
Releasing automatically The electric parking brake is released
automatically when all of the following
conditions are fulfilled:
R the engine is running.
R the transmission is in position Dor R. R
the seat belt has been fastened.
R you depress the accelerator pedal.
If the transmission is in position R, the trunk
lid must be closed.
If your seat belt is not fastened, the following
conditions must be fulfilled to automatically
release the electric parking brake:
R the driver's door is closed.
R you have shifted out of transmission
position Por you have previously driven
faster than 2 mph (3 km/h)
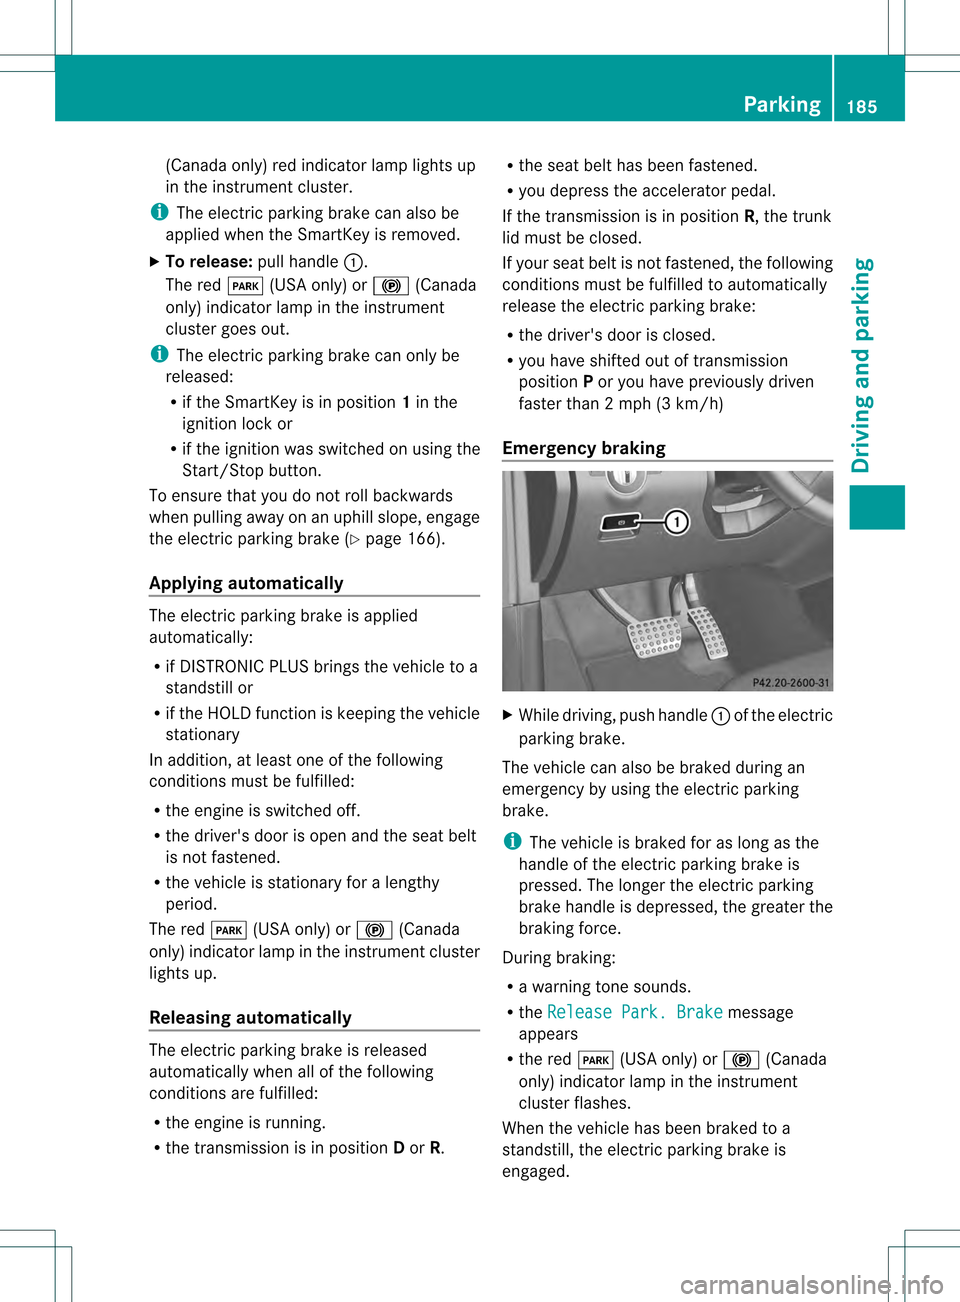
Emergency braking X
While driving, push handle 0002of the electric
parking brake.
The vehicle can also be braked during an
emergency by using the electric parking
brake.
i The vehicle is braked for as long as the
handle of the electric parking brake is
pressed. The longer the electric parking
brake handle is depressed, the greater the
braking force.
During braking:
R a warning tone sounds.
R the Release Park. Brake message
appears
R the red 0008(USA only) or 000D(Canada
only) indicator lamp in the instrument
cluster flashes.
When the vehicle has been braked to a
standstill, the electric parking brake is
engaged. Parking
185Driving and parking Z
Page 190 of 454
Limited braking performance on salt-
treated roads
If you drive on salted roads, a layer of salt
residue may for
monthe brake discs and
brake pads. This can result in a significantly
longer braking distance.
R Brake occasionally to remove any possible
salt residue. Make sure that you do not
endanger other road users when doing so.
R Carefully depress the brake pedal and the
beginning and end of a journey.
R Maintain a greater distance to the vehicle
ahead.
Servicing the brakes !
If the red brake warning lamp lights up in
the instrumentc luster and you hear a
warning tone while the engine is running,
the brake fluid level may be too low.
Observe additional warning messages in
the multifunction display.
The brake fluid level may be too low due to
brake pad wear or leaking brake lines.
Have the brake system checked
immediately. This work should be carried
out at a qualified specialist workshop.
! A function or performance test should
only be carried out on a2-axle
dynamometer. If you are planning to have
the vehicle tested on such a dynamometer,
contact an authorized Mercedes-Benz
Center to obtain further information first.
Otherwise, you could damage the drive
train or the brake system.
! Because ESP ®
is an automatic system,
the engine and ignition must be switched
off (SmartKey in position 0or 1or Start/
Stop button in position 0or 1) when the
electri cparking brake is being tested on a
brake dynamomete r(maximum
10 seconds).
Braking triggered automatically by ESP ®
may seriously damage the brake system. All checks and maintenance work on the
brake system must be carried out at a
qualified specialist workshop
.Consult a
qualified specialist workshop to arrange this.
Have brake pads installed and brake fluid
replaced at a qualified specialist workshop.
If the brake system has only been subject to
moderate loads, you should test the
functionality of your brakes at regular
intervals. To do so, press firmly on the brake
pedal when driving at a high speed. This
improves the grip of the brake pads.
You can find a description of Brake Assist
(BAS) on (Y page 67) or of BAS PLUS on
(Y page 67).
Mercedes-Benz recommends that you only
have brake pads/linings installed on your
vehicle which have been approved for
Mercedes-Benz vehicles or which correspond
to an equivalent quality standard. Brake
pads/linings which have not been approved
for Mercedes-Benz vehicles or which are not
of an equivalent quality could affect your
vehicle's operating safety.
Mercedes-Benz recommends that you only
use brake fluid that has been specially
approved for your vehicle by Mercedes-Benz,
or which corresponds to an equivalent quality
standard. Brake fluid which has not been
approved for Mercedes-Benz vehicles or
which is not of an equivalent quality could
affect your vehicle's operating safety.
High-performance brake system for
AMG vehicles The high-performance brake system is
designed for heavy loads. This may lead to
noise when braking. This will depend on:
R
Speed
R Braking force
R Environmental conditions, such as
temperature and humidity
The wear of individual components of the
brake system, such as the brake pads/linings 188
Driving tipsDriving and parking
Page 214 of 454
Activating the HOLD function
X
Make sure that the activation conditions
are met.
X Depress the brake pedal.
X Quickly depress the brake pedal further
until 0001 appears in the multifunction
display.
The HOLD function is activated. You can
release the brake pedal.
i If depressing the brake pedal the first
time does not activate the HOLD function,
wait briefly and then try again.
Deactivating the HOLD function The HOLD function is deactivated
automatically if:
R you accelerate and the transmission is in
position Dor R
R you shif tthe transmission to position P
R you depress the brake pedal again with a
certain amount of pressure until 0001
disappears from the multifunction display
R you secure the vehicle using the electric
parking brake
R you activate DISTRONIC PLUS
i After a time, the electric parking brake
secures the vehicle and relieves the service
brake.
The electric parking brake automatically
secures the vehicle if the HOLD function is
activated and:
R the driver's door is open and the driver's
seat belt is unfastened.
R the engine is switched off.
R a system malfunction occurs.
R the power supply is not sufficient.
On steep uphill or downhill inclines or if there
is a malfunction, the transmission may also
be automatically shifted into position P. AIRMATIC package
General notes AIRMATIC regulates the level of your vehicle.
As well as level control (Y
page 213), your
vehicle can be equipped with ADS (Adaptive
Damping System) (Y page 212) and ACTIVE
CURVE SYSTEM (Y page 213).
Observe the notes on driving with a trailer
(Y page 257).
ADS (Adaptive Damping System) General notes
ADS adapts the damping characteristics to
the current operating and driving situation.
This depends on:
R
your driving style
R the road surface conditions
R the ADS setting
R the vehicle level setting
Your selection remains stored even if you
remove the SmartKey from the ignition lock.
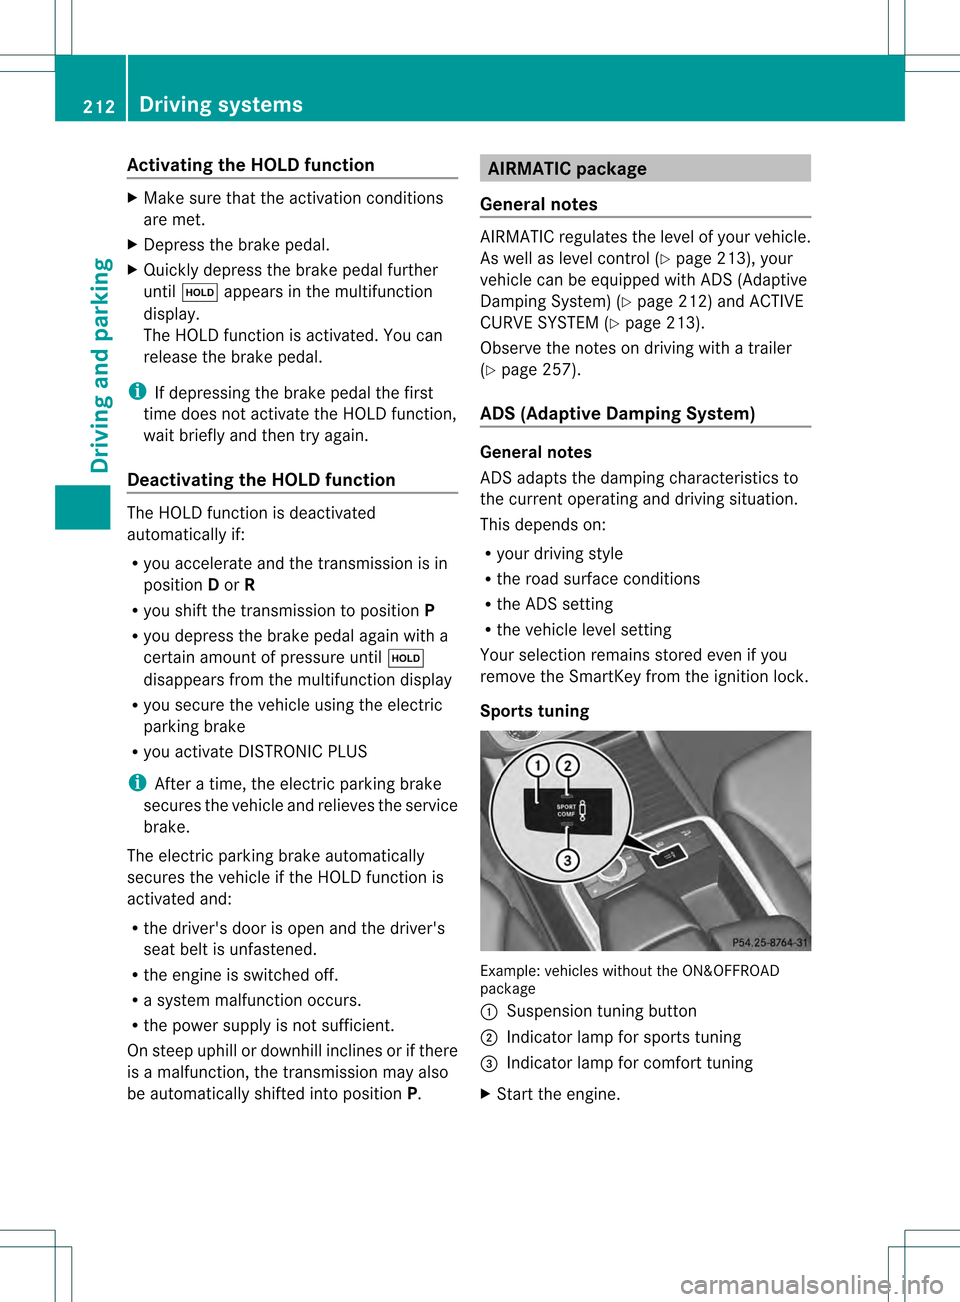
Sports tuning Example: vehicles without the ON&OFFROAD
package
0002
Suspension tuning button
0003 Indicator lamp for sports tuning
0021 Indicator lamp for comfort tuning
X Start the engine. 212
Driving systemsDriving and parking
Page 216 of 454
the vehicle's speed is not adapted to the road
conditions. There is a risk of an accident.
Always adap tyour speed and driving style to
the vehicle's driving characteristics and to the
prevailing road and weather conditions.
! When driving on extremely rough terrain,
select a high vehicle level in good time.
Make sure there is always sufficient ground
clearance. You will otherwise damage the
vehicle.
! When you raise the vehicle in such a way
that not all wheels have contact with the
ground, remove the SmartKey from the
ignition lock.
R Utility vehicles have a significantly higher
rollover rate than other types of vehicles.
Failure to operate this vehicle safely may
result in an accident, rollover of the vehicle,
and severe or fatal injury.
R In a rollover crash, an unbelted person is
significantly more likely to die than a
person wearing a seat belt.
You and all vehicle occupant sshould
always wear your seat belts.
General notes
Further information about "Driving off-road"
(Y page 191).
Level control adapts the vehicle level
automatically to the current operating and
driving situation. This results in reduced fuel
consumption and improved handling.
If you select ADS comfort mode
(Y page 212), the vehicle is lowered to high-
speed level as the speed increases. As the
vehicle speed decreases, the vehicle is raised
back up to highway level.
If you select ADS sport mode (Y page 212),
the vehicle skips highway level and lowers
directly to high-speed level depending on the
basic setting (Y page 214).
Make changes to the vehicle level while the
vehicle is in motion. This enables the vehicle
to adjust to the new level as quickly as
possible. The vehicle level may change visibly if you
park the vehicle and the outside temperature
changes. If the temperature drops, the
vehicle level is lower; with an increase in
temperature, the vehicle level rises.
If you unlock the vehicle or open a door, the
vehicle begins to compensate for load
discrepancies while still parked. However, for
significant level changes, such as after the
vehicle has been stationary for a long period,
the engine must be on. For safety reasons,
the vehicle is only lowered when the doors are
closed. Lowering is interrupted if a door is
opened, and it continues once the door has
been closed.
Basic settings (excluding AMG vehicles)
The extentt
o which the vehicle is raised or
lowered depends on the basic setting
selected. Select raised level for off-road
driving or highway/high-speed level for
normal roads.
The individual vehicle levels differ from
highway level as follows:
R highway level: +/–0 in (+/–0 mm)
R high-speed level: –0.6 in (–15 mm)
R raised level: +2.3 in (+60 mm)
Basic settings for AMG vehicles
The extentt o which the vehicle is raised or
lowered depends on the AMG adaptive sport
suspension setting selected. Select the
raised level for off-road driving or highway/
high-speed level for normal roads.
The raised level corresponds to a vehicle
position raised by 50 mm compared with
highway level in comfor tmode. 214
Driving systemsDriving and parking
Page 219 of 454
Suspension tuning
General notes
The electronically controlled damping system
works continuously
.This improves driving
safety and ride comfort.
The damping is tuned individually to each
wheel and depends on:
R your driving style
R the road surface conditions
R your individual selection of Sport, Sport +
or Comfort
Your selection remains stored even if you
remove the SmartKey from the ignition lock.
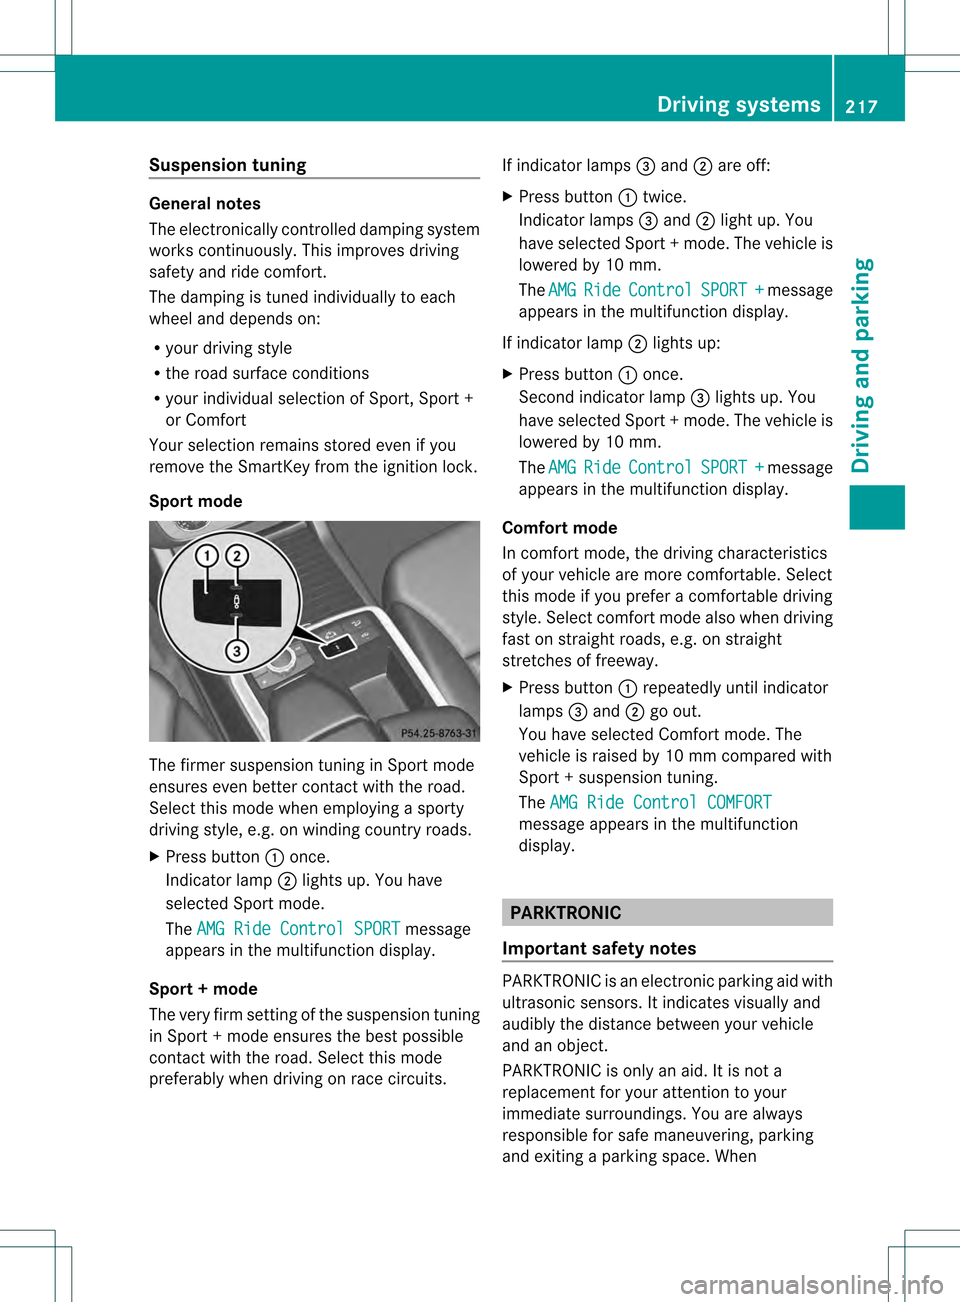
Sport mode The firmer suspension tuning in Sport mode
ensures even better contact with the road.
Select this mode when employing a sporty
driving style, e.g. on winding country roads.
X Press button 0002once.
Indicator lamp 0003lights up. You have
selected Sport mode.
The AMG Ride Control SPORT message
appears in the multifunction display.
Sport + mode
The very firm setting of the suspension tuning
in Sport +mode ensures the best possible
contact with the road. Select this mode
preferably when driving on race circuits. If indicator lamps
0021and 0003are off:
X Press button 0002twice.
Indicator lamps 0021and 0003light up. You
have selected Sport +mode. The vehicle is
lowered by 10 mm.
The AMG Ride Control SPORT + message
appears in the multifunction display.
If indicator lamp 0003lights up:
X Press button 0002once.
Second indicator lamp 0021lights up. You
have selected Sport +mode. The vehicle is
lowered by 10 mm.
The AMG Ride Control SPORT + message
appears in the multifunction display.
Comfort mode
In comfort mode, the driving characteristics
of your vehicle are more comfortable. Select
this mode if you prefer a comfortable driving
style. Select comfor tmode also when driving
fast on straight roads, e.g. on straight
stretches of freeway.
X Press button 0002repeatedly until indicator
lamps 0021and 0003go out.
You have selected Comfort mode. The
vehicle is raised by 10 mm compared with
Sport +suspension tuning.
The AMG Ride Control COMFORT message appears in the multifunction
display.
PARKTRONIC
Important safety notes PARKTRONIC is an electronic parking aid with
ultrasonic sensors. It indicates visually and
audibly the distance between your vehicle
and an object.
PARKTRONIC is only an aid. It is not a
replacement for your attention to your
immediate surroundings. You are always
responsible for safe maneuvering, parking
and exiting a parking space. When Driving systems
217Driving and parking Z