low beam MERCEDES-BENZ GLC COUPE 2016 User Guide
[x] Cancel search | Manufacturer: MERCEDES-BENZ, Model Year: 2016, Model line: GLC COUPE, Model: MERCEDES-BENZ GLC COUPE 2016Pages: 389, PDF Size: 7.34 MB
Page 246 of 389

X
Press :or9 to select the desired dis-
play.
X Press the abutton to confirm the selec-
tion.
You can find more information on the navigation
displays in the multimedia system (see Digital
Owner's Manual).
Information on Traffic Sign Assist displays
(Y page 208).
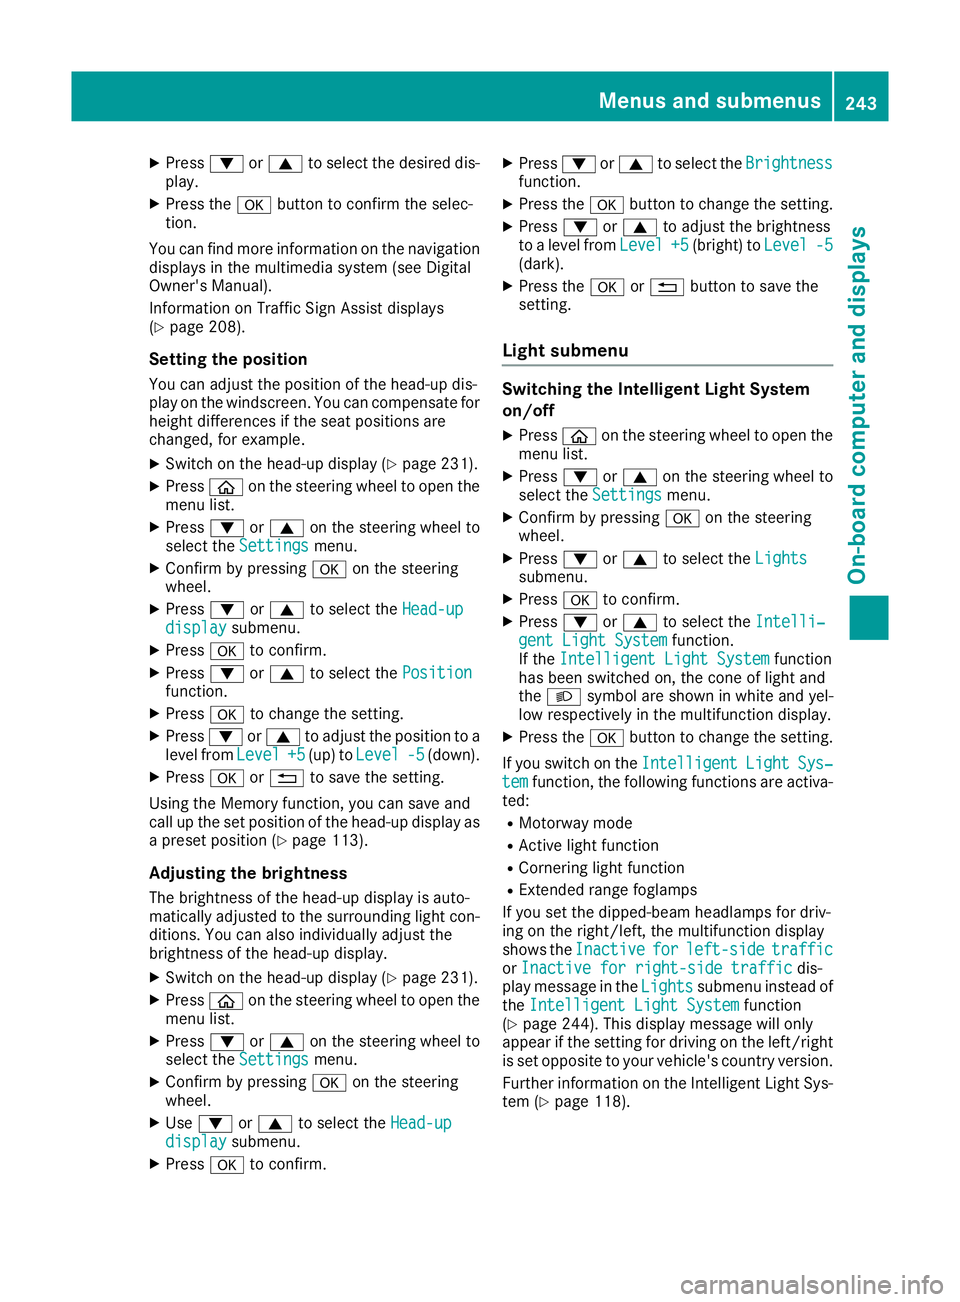
Setting the position
You can adjust the position of the head-up dis-
play on the windscreen. You can compensate for height differences if the seat positions are
changed, for example.
X Switch on the head-up display (Y page 231).
X Press òon the steering wheel to open the
menu list.
X Press :or9 on the steering wheel to
select the Settings
Settings menu.
X Confirm by pressing aon the steering
wheel.
X Press :or9 to select the Head-up Head-up
display
display submenu.
X Press ato confirm.
X Press :or9 to select the Position
Position
function.
X Press ato change the setting.
X Press :or9 to adjust the position to a
level from Level
Level+5
+5(up) to Level
Level -5
-5(down).
X Press aor% to save the setting.
Using the Memory function, you can save and
call up the set position of the head-up display as a preset position (Y page 113).
Adjusting the brightness
The brightness of the head-up display is auto-
matically adjusted to the surrounding light con-
ditions. You can also individually adjust the
brightness of the head-up display.
X Switch on the head-up display (Y page 231).
X Press òon the steering wheel to open the
menu list.
X Press :or9 on the steering wheel to
select the Settings
Settings menu.
X Confirm by pressing aon the steering
wheel.
X Use : or9 to select the Head-up Head-up
display
display submenu.
X Press ato confirm. X
Press :or9 to select the Brightness
Brightness
function.
X Press the abutton to change the setting.
X Press :or9 to adjust the brightness
to a level from Level
Level+5
+5(bright) to Level
Level-5
-5
(dark).
X Press the aor% button to save the
setting.
Light submenu Switching the Intelligent Light System
on/off
X Press òon the steering wheel to open the
menu list.
X Press :or9 on the steering wheel to
select the Settings
Settings menu.
X Confirm by pressing aon the steering
wheel.
X Press :or9 to select the Lights
Lights
submenu.
X Press ato confirm.
X Press :or9 to select the Intelli‐ Intelli‐
gent Light System
gent Light System function.
If the Intelligent Light System
Intelligent Light System function
has been switched on, the cone of light and
the L symbol are shown in white and yel-
low respectively in the multifunction display.
X Press the abutton to change the setting.
If you switch on the Intelligent
IntelligentLight
LightSys‐
Sys‐
tem
tem function, the following functions are activa-
ted:
R Motorway mode
R Active light function
R Cornering light function
R Extended range foglamps
If you set the dipped-beam headlamps for driv-
ing on the right/left, the multifunction display
shows the Inactive Inactive for
forleft-side
left-side traffic
traffic
or Inactive for right-side traffic
Inactive for right-side traffic dis-
play message in the Lights
Lightssubmenu instead of
the Intelligent Light System
Intelligent Light System function
(Y page 244). This display message will only
appear if the setting for driving on the left/right is set opposite to your vehicle's country version.
Further information on the Intelligent Light Sys-
tem (Y page 118). Menus and submenus
243On-board computer and displays Z
Page 247 of 389

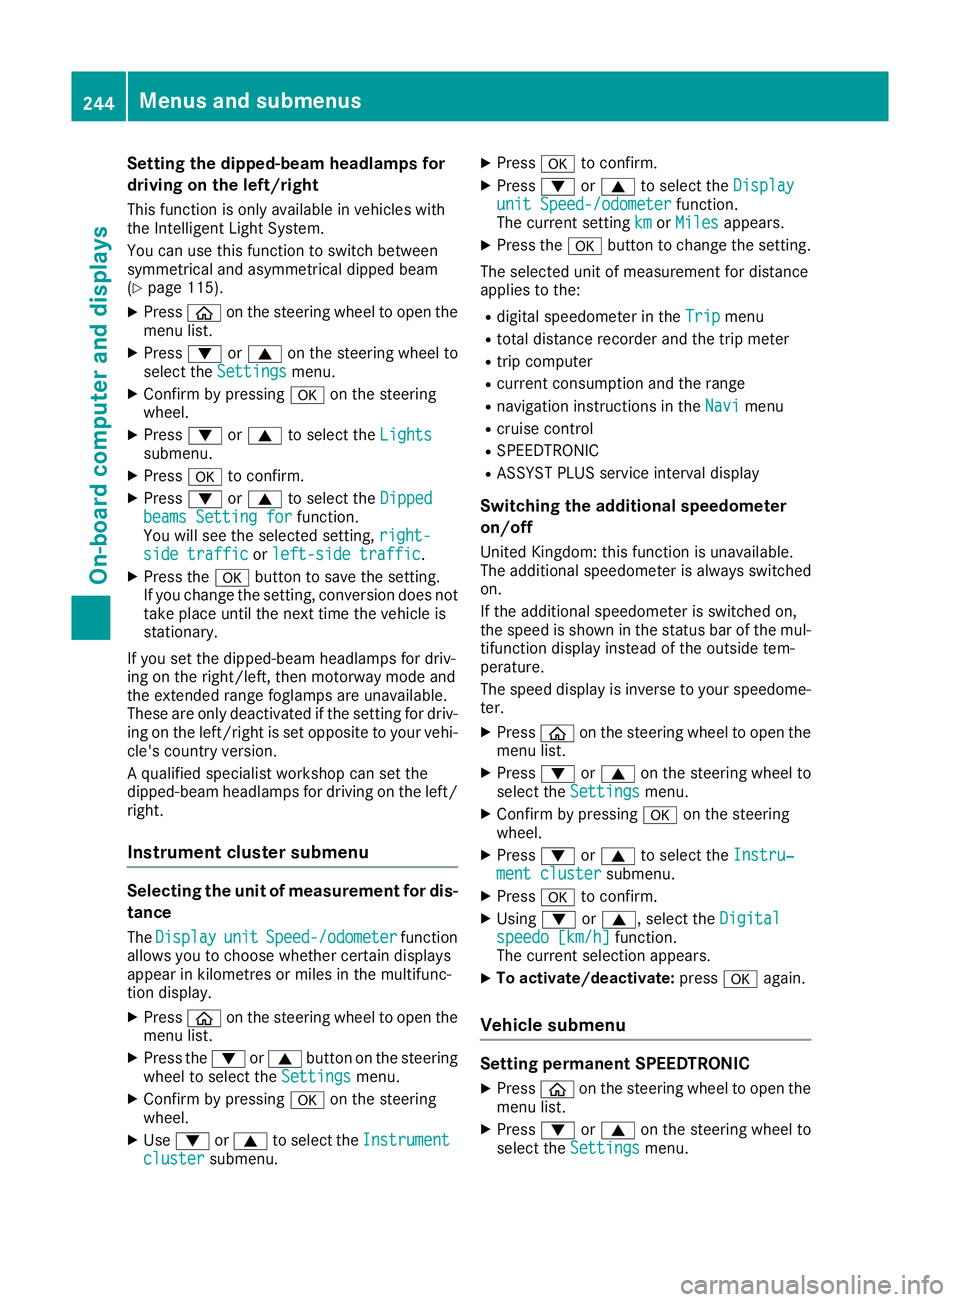
Setting the dipped-beam headlamps for
driving on the left/right
This function is only available in vehicles with
the Intelligent Light System.
You can use this function to switch between
symmetrical and asymmetrical dipped beam
(Y page 115).
X Press òon the steering wheel to open the
menu list.
X Press :or9 on the steering wheel to
select the Settings
Settings menu.
X Confirm by pressing aon the steering
wheel.
X Press :or9 to select the Lights Lights
submenu.
X Press ato confirm.
X Press :or9 to select the Dipped
Dipped
beams Setting for
beams Setting for function.
You will see the selected setting, right-
right-
side traffic
side traffic orleft-side traffic
left-side traffic.
X Press the abutton to save the setting.
If you change the setting, conversion does not
take place until the next time the vehicle is
stationary.
If you set the dipped-beam headlamps for driv-
ing on the right/left, then motorway mode and
the extended range foglamps are unavailable.
These are only deactivated if the setting for driv-
ing on the left/right is set opposite to your vehi- cle's country version.
A qualified specialist workshop can set the
dipped-beam headlamps for driving on the left/
right.
Instrument cluster submenu Selecting the unit of measurement for dis-
tance
The Display
Display unit unitSpeed-/odometer
Speed-/odometer function
allows you to choose whether certain displays
appear in kilometres or miles in the multifunc-
tion display.
X Press òon the steering wheel to open the
menu list.
X Press the :or9 button on the steering
wheel to select the Settings Settingsmenu.
X Confirm by pressing aon the steering
wheel.
X Use : or9 to select the Instrument
Instrument
cluster
cluster submenu. X
Press ato confirm.
X Press :or9 to select the Display Display
unit Speed-/odometer unit Speed-/odometer function.
The current setting km
kmorMiles
Miles appears.
X Press the abutton to change the setting.
The selected unit of measurement for distance
applies to the:
R digital speedometer in the Trip Tripmenu
R total distance recorder and the trip meter
R trip computer
R current consumption and the range
R navigation instructions in the Navi
Navimenu
R cruise control
R SPEEDTRONIC
R ASSYST PLUS service interval display
Switching the additional speedometer
on/off
United Kingdom: this function is unavailable.
The additional speedometer is always switched
on.
If the additional speedometer is switched on,
the speed is shown in the status bar of the mul- tifunction display instead of the outside tem-
perature.
The speed display is inverse to your speedome-
ter.
X Press òon the steering wheel to open the
menu list.
X Press :or9 on the steering wheel to
select the Settings
Settings menu.
X Confirm by pressing aon the steering
wheel.
X Press :or9 to select the Instru‐ Instru‐
ment cluster
ment cluster submenu.
X Press ato confirm.
X Using :or9, select the Digital
Digital
speedo [km/h]
speedo [km/h] function.
The current selection appears.
X To activate/deactivate: pressaagain.
Vehicle submenu Setting permanent SPEEDTRONIC
X Press òon the steering wheel to open the
menu list.
X Press :or9 on the steering wheel to
select the Settings
Settings menu. 244
Menus and submenusOn-board computer and displays
Page 264 of 389

Display messages
Possible causes/consequences and
M
MSolutions X
Consult a qualified specialist workshop immediately.
Further information on the automatic front-passenger front airbag
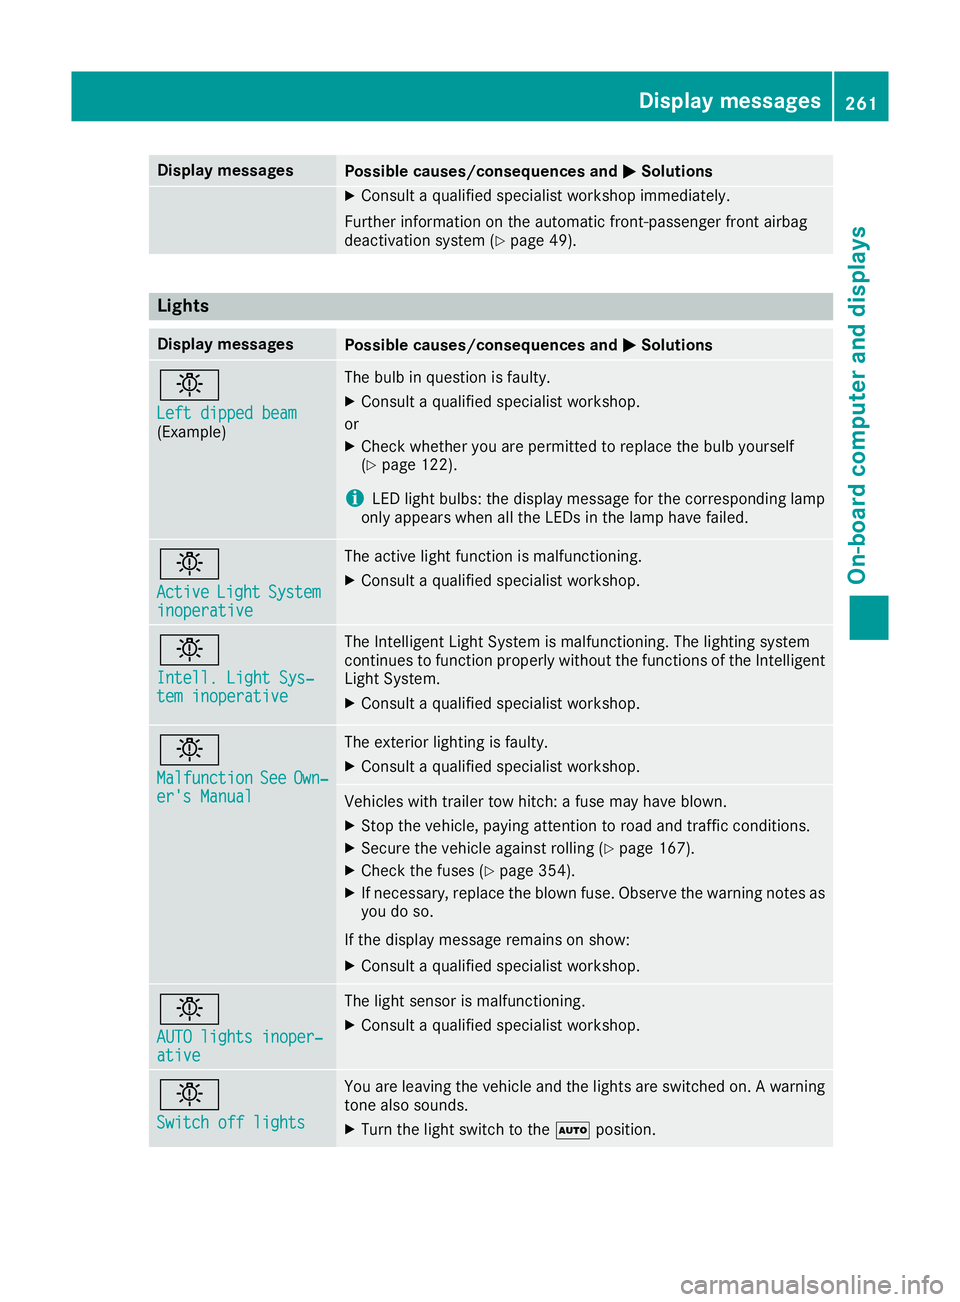
deactivation system (Y page 49).Lights
Display messages
Possible causes/consequences and
M
MSolutions b
Left dipped beam Left dipped beam
(Example) The bulb in question is faulty.
X Consult a qualified specialist workshop.
or X Check whether you are permitted to replace the bulb yourself
(Y page 122).
i LED light bulbs: the display message for the corresponding lamp
only appears when all the LEDs in the lamp have failed. b
Active Active
Light
LightSystem
System
inoperative
inoperative The active light function is malfunctioning.
X Consult a qualified specialist workshop. b
Intell. Light Sys‐ Intell. Light Sys‐
tem inoperative tem inoperative The Intelligent Light System is malfunctioning. The lighting system
continues to function properly without the functions of the Intelligent
Light System.
X Consult a qualified specialist workshop. b
Malfunction Malfunction
See
SeeOwn‐
Own‐
er's Manual
er's Manual The exterior lighting is faulty.
X Consult a qualified specialist workshop. Vehicles with trailer tow hitch: a fuse may have blown.
X Stop the vehicle, paying attention to road and traffic conditions.
X Secure the vehicle against rolling (Y page 167).
X Check the fuses (Y page 354).
X If necessary, replace the blown fuse. Observe the warning notes as
you do so.
If the display message remains on show:
X Consult a qualified specialist workshop. b
AUTO lights inoper‐ AUTO lights inoper‐
ative ative The light sensor is malfunctioning.
X Consult a qualified specialist workshop. b
Switch off lights Switch off lights You are leaving the vehicle and the lights are switched on. A warning
tone also sounds.
X Turn the light switch to the Ãposition. Display
messages
261On-board computer and displays Z