MERCEDES-BENZ GLC COUPE 2019 Owners Manual
Manufacturer: MERCEDES-BENZ, Model Year: 2019, Model line: GLC COUPE, Model: MERCEDES-BENZ GLC COUPE 2019Pages: 657, PDF Size: 11.28 MB
Page 321 of 657
Profile
Note
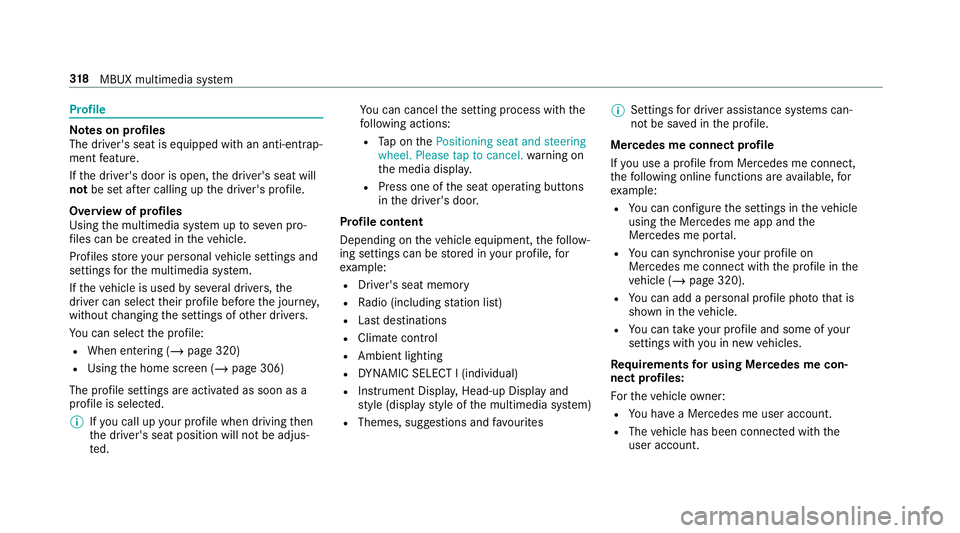
s on profiles
The driver's seat is equipped with an anti-entra p‐
ment feature.
If th e driver's door is open, the driver's seat will
not be set af ter calling up the driver's profile.
Overview of profiles
Using the multimedia sy stem up toseven pro‐
fi les can be created in theve hicle.
Profiles store your personal vehicle settings and
settings forth e multimedia sy stem.
If th eve hicle is used byseveral drivers, the
driver can select their profile before the journe y,
without changing the settings of other drivers.
Yo u can select the profile:
R When entering (/ page 320)
R Using the home screen (/ page 306)
The profile settings are activated as soon as a
profile is selected.
% Ifyo u call up your profile when driving then
th e driver's seat position will not be adjus‐
te d. Yo
u can cancel the setting process with the
fo llowing actions:
R Tap on thePositioning seat and steering
wheel. Please tap to cancel. warning on
th e media displa y.
R Press one of the seat operating buttons
in the driver's door.
Profile content
Depending on theve hicle equipment, thefo llow‐
ing settings can be stored in your profile, for
ex ample:
R Driver's seat memory
R Radio (including station list)
R Last destinations
R Climate control
R Ambient lighting
R DYNA MIC SELECT I (individual)
R Instrument Displa y,Head-up Display and
st yle (display style of the multimedia sy stem)
R Themes, suggestions and favo urites %
Settings for driver assi stance sy stems can‐
not be sa ved in the profile.
Mercedes me connect profile
If yo u use a profile from Mercedes me connect,
th efo llowing online functions are available, for
ex ample:
R You can configure the settings in theve hicle
using the Mercedes me app and the
Mercedes me por tal.
R You can syn chronise your profile on
Mercedes me connect with the profile in the
ve hicle (/ page 320).
R You can add a personal profile pho tothat is
shown in theve hicle.
R You can take your profile and some of your
settings with you in new vehicles.
Requ irements for using Me rcedes me con‐
nect profiles:
Fo rth eve hicle owner:
R You ha vea Mercedes me user account.
R The vehicle has been connected with the
user account. 318
MBUX multimedia sy stem
Page 322 of 657
R
The personalisation service is activated.
Fo r additional users of theve hicle:
R You ha vea Mercedes me user account.
R The vehicle owner has invited youto connect
yo ur user account on Mercedes me with that
of his vehicle.
R You ha veaccep tedth e invitation.
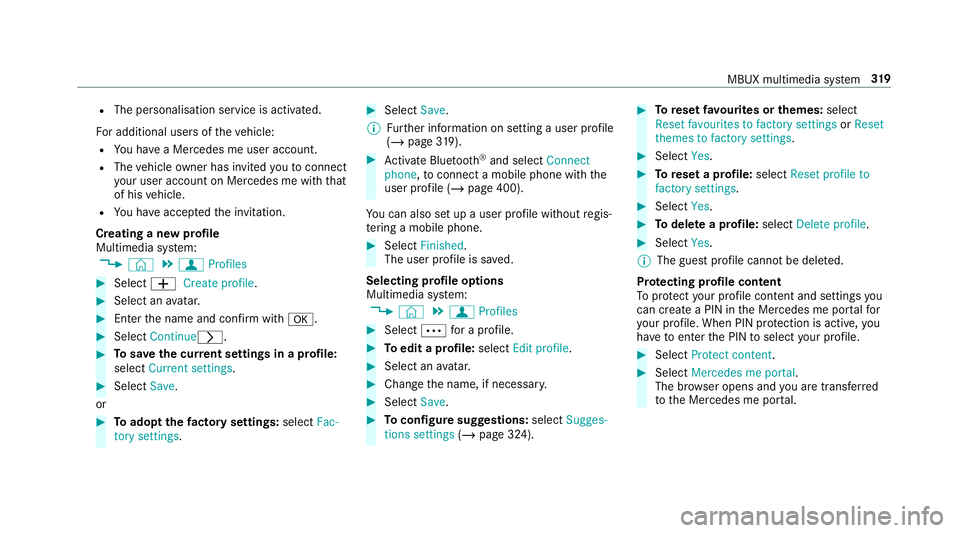
Creating a new profile
Multimedia sy stem:
4 © 5
f Profiles #
Select WCreate profile . #
Select an avatar. #
Enterth e name and confi rmwith a. #
Select Continuer . #
Tosave the cur rent settings in a profile:
select Current settings. #
Select Save.
or #
Toadopt thefa ctory settings: selectFac-
tory settings. #
Select Save.
% Further information on setting a user profile
(/ page 319). #
Activate Blu etoo th®
and select Connect
phone, toconnect a mobile phone wi th the
user profile (/ page 400).
Yo u can also set up a user profile without regis‐
te ring a mobile phone. #
Select Finished.
The user profile is sa ved.
Selecting profile options
Multimedia sy stem:
4 © 5
f Profiles #
Select Äfor a profile. #
Toedit a profile: selectEdit profile . #
Select an avatar. #
Chan gethe name, if necessar y. #
Select Save. #
Toconfigure suggestions: selectSugges-
tions settings (/page 324). #
Toreset favo urites or themes: select
Reset favourites to factory settings orReset
themes to factory settings. #
Select Yes. #
Toreset a profile: selectReset profile to
factory settings. #
Select Yes. #
Todel ete a profile: selectDelete profile . #
Select Yes.
% The guest profile cannot be dele ted.
Pr otecting profile content
To protect your profile content and settings you
can crea tea PIN in the Mercedes me por talfor
yo ur profile. When PIN pr otection is active, you
ha ve toenter the PIN toselect your profile. #
Select Protect content . #
Select Mercedes me portal.
The br owser opens and you are trans ferred
to the Mercedes me por tal. MBUX multimedia sy
stem 319
Page 323 of 657
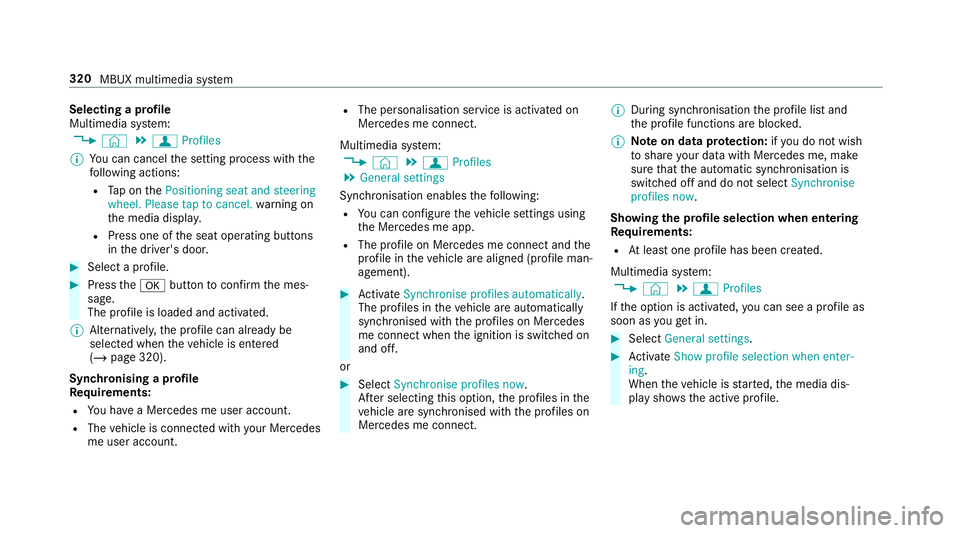
Selecting a profile
Multimedia sy
stem:
4 © 5
f Profiles
% You can cancel the setting process with the
fo llowing actions:
R Tap on thePositioning seat and steering
wheel. Please tap to cancel. warning on
th e media displa y.
R Press one of the seat operating buttons
in the driver's door. #
Select a profile. #
Press thea button toconfirm the mes‐
sage.
The profile is loaded and activated.
% Alternatively, the profile can already be
selected when theve hicle is entered
(/ page 320).
Synchronising a profile
Re quirements:
R You ha vea Mercedes me user account.
R The vehicle is connected with your Mercedes
me user account. R
The personalisation service is activated on
Mercedes me connect.
Multimedia sy stem:
4 © 5
f Profiles
5 General settings
Synchronisation enables thefo llowing:
R You can configure theve hicle settings using
th e Mercedes me app.
R The profile on Mercedes me connect and the
profile in theve hicle are aligned (profile man‐
agement). #
Activate Synchronise profiles automatically.
The profiles in theve hicle are automatically
synchronised with the profiles on Mercedes
me connect when the ignition is switched on
and off.
or #
Select Synchronise profiles now.
Af ter selecting this option, the profiles in the
ve hicle are synchronised with the profiles on
Mercedes me connect. %
During synchronisation the profile lis tand
th e profile functions are bloc ked.
% Note on data pr otection: ifyo u do not wish
to share your data with Mercedes me, make
sure that the automatic synchronisation is
switched off and do not select Synchronise
profiles now .
Showing the profile selection when entering
Re quirements:
R Atleast one profile has been created.
Multimedia sy stem:
4 © 5
f Profiles
If th e option is activated, you can see a profile as
soon as youget in. #
Select General settings. #
Activate Show profile selection when enter-
ing .
When theve hicle is star ted, the media dis‐
play sho wsthe active profile. 320
MBUX multimedia sy stem
Page 324 of 657
Themes
Overvi
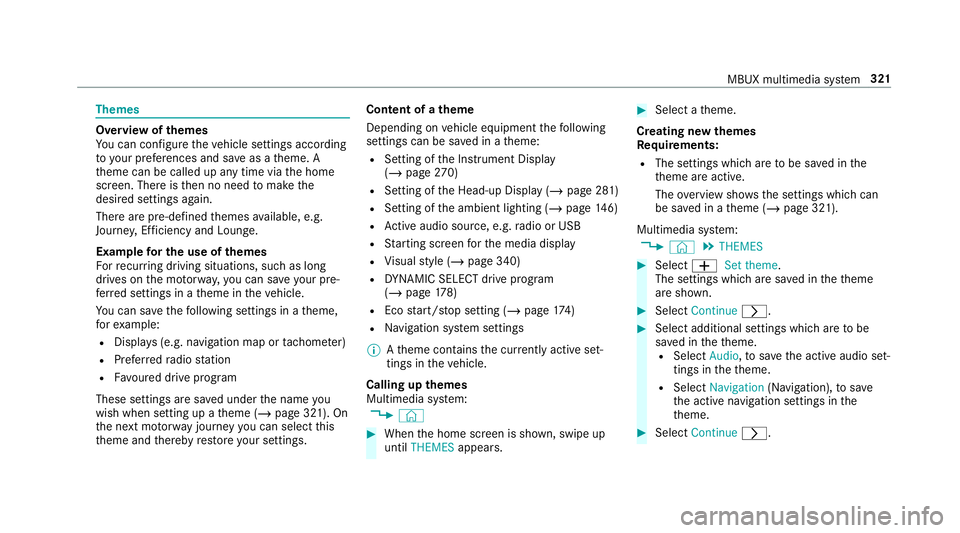
ewofthemes
Yo u can configure theve hicle settings according
to yo ur preferences and sa veas a theme. A
th eme can be called up any time via the home
screen. There is then no need tomake the
desired settings again.
There are pre-defined themes available, e.g.
Journe y,Efficiency and Lounge.
Example for the use of themes
Fo rre cur ring driving situations, su chas long
drives on the mo torw ay,yo u can sa veyour pre‐
fe rred settings in a theme in theve hicle.
Yo u can sa vethefo llowing settings in a theme,
fo rex ample:
R Displa ys(e.g. navigation map or tach ome ter)
R Prefer redra dio station
R Favo ured drive program
These settings are sa ved under the name you
wish when setting up a theme (/ page 321). On
th e next mo torw ay jou rney yo u can select this
th eme and thereby restore your settings. Content of a
theme
Depending on vehicle equipment thefo llowing
settings can be sa ved in a theme:
R Setting of the Instrument Display
(/ page 270)
R Setting of the Head-up Display (/ page 281)
R Setting of the ambient lighting (/ page146)
R Active audio sou rce, e.g. radio or USB
R Starting sc reen forth e media display
R Visual style (/ page 340)
R DYNA MIC SELECT drive program
(/ page 178)
R Eco start/ stop setting (/ page174)
R Navigation sy stem settings
% Atheme conta insthe cur rently acti veset‐
tings in theve hicle.
Calling up themes
Multimedia sy stem:
4 © #
When the home screen is shown, swipe up
until THEMES appears. #
Select a theme.
Creating new themes
Re quirements:
R The settings which are tobe sa ved in the
th eme are active.
The overview sho wsthe settings which can
be sa ved in a theme (/ page 321).
Multimedia sy stem:
4 © 5
THEMES #
Select WSet theme.
The settings which are sa ved in theth eme
are shown. #
Select Continue r. #
Select additional settings which are tobe
sa ve d in theth eme.
R Select Audio, tosave the active audio set‐
tings in theth eme.
R Select Navigation (Navigation), tosave
th e active navigation settings in the
th eme. #
Select Continue r. MBUX multimedia sy
stem 321
Page 325 of 657
#
Select an entry screen. #
Select Continue r. #
Select an ima ge.#
Enter the names into the entry field and con‐
fi rm with a. #
Tosave ath eme: select Save.
When the maximum number that can be
sa ve d is reached: #
Select afromthe prom pt. #
Select a theme that should be overwritten.
The settings which are sa ved in theth eme
are shown. #
Select Continue r. #
Select additional settings which are tobe
sa ve d in theth eme.
R Select Audio, tosave the active audio set‐
tings in theth eme.
R Select Navigation (Navigation), tosave
th e active navigation settings in the
th eme. #
Select Continue r. #
Select an entry screen. #
Select Continue r. #
Select an image. #
Enter the names into the entry field and con‐
fi rm with a. #
Tosave ath eme: select Save.
Creating using theß
ß rocker switch or but‐
ton #
Press and hold the bottom section of the
ß rocker switch on thesteering wheel.
or #
Press and hold theß button next tothe
to uchpad. #
Select WSet theme.
The settings which are sa ved in theth eme
are shown. #
Select Continue r. #
Select additional settings which are tobe
sa ve d in theth eme.
R Select Audio, tosave the active audio set‐
tings in theth eme. R
Select Navigation (Navigation), tosave
th e active navigation settings in the
th eme. #
Select Continue r. #
Select an image. #
Ente rth e names into the entry field and con‐
fi rm with a. #
Tosave ath eme: select Save.
Modifying themes
Multimedia sy stem:
4 © #
When the home screen is shown, swipe up
until THEMES appears. #
Press on a theme until theOPTIONS menu is
shown. #
Select Rename. #
Ente rth e name. #
Select Save✓. 322
MBUX multimedia sy stem
Page 326 of 657
Moving
themes
Multimedia sy stem:
4 © #
When the home screen is shown, swipe up
until THEMES appears. #
Press on a theme until theOPTIONS menu is
shown. #
Select Move. #
Tap on = or;. #
Tap on ø.
Moving theth emes menu in the home screen #
Select ©. #
Swipe upwards and select Set new order.#
Select Themes. #
Tap on 9 or:. #
Tap on ø. Deleting
themes
Multimedia sy stem:
4 © #
When the home screen is shown, swipe up
until THEMES appears. #
Press on a theme until theOPTIONS menu is
shown. #
Select Delete. #
Select Yes.
Showing information about themes
Multimedia sy stem:
4 © #
When the home screen is shown, swipe up
until THEMES appears. #
Press on a theme until theOPTIONS menu is
shown. #
Select Owner's Manual. Suggestions
Suggestions
overview
The vehicle can learn the habits of the driver.
Based on pr eviously used functions, the most
likely navigation destinations, media sources,
ra dio stations or con tacts are of fere d under
SUGGESTIONS.
Suggestions are shown when thefo llowing
re qu irements are fulfilled:
R A profile has been created (/ page319).
R A profile has been selected.
R You ha veaccep ted data recording.
R From the beginning of usage, the multimedia
sy stem must anal yseth e user habits. When
suf ficient da tais collec tedth en the sugges‐
tions are available.
If th ere qu irements mentioned are not fulfilled, a
pr ev iew with a desc ript ion of the function
appears in theSUGGESTIONS menu.
Yo u can configure data recording (/ page 324)
or del eteth e suggestions recorded
(/ page 325). MBUX multimedia sy
stem 323
Page 327 of 657
Calling up suggestions
Re
quirements:
R A profile has been created and is selected
(/ page 320). #
Tap on © inthe media displa y.
The home screen is shown. #
Swipe up until theSUGGESTIONS menu is
shown. #
Select a navigation destination, a media
source, a radio station or a con tact.
If ro ute guidance is already active, you can‐
not start a new route guidance or set an
intermediate destination forth eex isting
ro ute.
Configuring sug gestions
Re quirements:
R Toprotect settings using a PIN: your pro‐
fi le is connec ted with Mercedes me and your
Mercedes me account is PIN pr otected.
Multimedia sy stem:
4 © 5
f Profiles #
Select ufor a profile. #
Select Suggestions settings . #
Toswitch suggestions display on/off:
switch Allow destination suggestions ,Allow
music suggestions andAllow contact sugges-
tions on or off.
If an option is switched on, suggestions for
navigation de stinations, media sources, radio
st ations or con tacts are shown.
If th e option is switched off, no suggestions
are shown. #
Todeactivate the learn function for one
da y:activate Deact. learn. for 24h .
Fo r24 hours no new actions will be trained
and no data recorded forth e active profile.
Suggestions will continue tobe shown. The
re maining time is shown next toDeact.
learn. for 24h .
Before the time runs out, a messa geis
shown that the multimedia sy stem will con‐
tinue the learn function shortl y.
Example: if the option is switched on and a
ro ute toa new destination has been calcula‐
te d, this destination would not be take n into
account forth e learn function. #
Toreset the suggestion his tory:select
Reset suggestion history.
% This process cannot be reve rsed. #
Select Yes. #
Toprotect settings with a PIN: switchon
PIN protection.
If PIN pr otection is switched on, you must
en terth e Mercedes me PIN toset the sug‐
ge stions. This PIN will be set in the Mercedes
me por talfo rth e personalisation service to
pr otect your personal settings.
Re naming suggestions
Only navigation destinations can be renamed. #
Tap on the© symbol in the media displa y.
The home screen is shown. #
Swipe up until theSUGGESTIONS menu is
shown. #
Highlight a navigation destination and press
until theOPTIONS menu is shown. #
Select Rename. #
Ente rth e name. #
Toconfirm the entr y:select Yes. 324
MBUX multimedia sy stem
Page 328 of 657

Deleting a sug
gestion #
Tap on © inthe media displa y.
The home screen is shown. #
Swipe up until theSUGGESTIONS menu is
shown. #
Highlight a suggestion and press until the
OPTIONS menu is shown. #
Select Delete.
The query as towhe ther the suggestion is
dele tedte mp orarily or permanent lyappears. #
Ifth e suggestion should be shown again
at a later time: selectNot now. #
Ifth e suggestion should not be shown
again: selectNever. Favo
urites Overview of
favo urites
Fa vourites of feryo uqu ick access tofrequently
used applications. It is possible tocrea te20
fa vo urites in tota l.
Yo u can select favo urites from categories or you
add favo urites direct lyfrom an application. Calling up
favo urites
In the media display #
Tap on ©.
The home screen is shown. #
Swipe up until FAVOURITESis shown.
On thest eering wheel or theto uchpad #
Press theß rocker switch on thesteering
wheel down.
or #
Press theß button next totheto uchpad.
Ad ding favo urites
Selecting favo urites from catego ries #
Tap on © inthe media displa y.
The home screen is shown. #
Swipe up until FAVOURITESis shown. #
Select WCreate favourite .
The categories are displa yed. #
Select the categor y.
The favo urites are displ ayed. #
Select a favo urite.
The favo urite is stored at the next available
position. #
All positions in thefa vo urites are taken:
confirm the message shown with OK.
A list sho wsallthefa vo urites. #
Select a favo urite which should be overwrit‐
te n.
Ad ding a favo urite from an application
Examples of adding from an application are:
R Saving a contact.
R Storing a radio station.
R Adding a media source.
R Saving a navigation destination.
R Adding an ENE RGIZING comfort program (if
av ailable). #
Tosave a contact as a global favo urite:
select a contact (/ page 405).
The de tails are displa yed. #
Press on a telephone number until the
OPTIONS menu is shown. MBUX multimedia sy
stem 325
Page 329 of 657
#
Select Save as favourite .
The contact is added as a favo urite. #
Tosto reara dio station as a global favo ur‐
ite: set a radio station (/ page447). #
Press on thera dio station until theOPTIONS
menu is shown. #
Select Save as favourite.
The radio station is added as a favo urite.
Re naming favo urites #
Tap on © inthe media displa y.
The home screen is shown. #
Swipe up until FAVOURITESis shown.#
Press on a favo urite until theOPTIONS menu
is shown. #
Select Rename. #
Ente rth e name. #
Select OK.
Moving favo urites
Moving favo urites in thefa vo urites menu #
Tap on © inthe media displa y.
The home screen is shown. #
Swipe up until FAVOURITESis shown. #
Press on a favo urite until theOPTIONS menu
is shown. #
Select Move. #
Movethefa vo urite tothe new position. #
Tap on ø.
Moving thefa vo urites menu in the personali‐
sation #
Tap on © inthe media displa y.
The home screen is shown. #
Swipe up until Set new orderis shown. #
Select Set new order. #
MoveFavourites tothe new position. #
Tap on ø.
Deleting favo urites #
Tap on © inthe media displa y.
The home screen is shown. #
Swipe up until FAVOURITESis shown. #
Press on a favo urite until theOPTIONS menu
is shown. #
Select Delete. #
Select Yes. No
tifications Centre Overvi
ewoftheNo tifications Centre
The following communications are collec ted in
th e Notifications Centre:
R Communications which are generated bythe
ve hicle or from multimedia sy stem.
R Communications which are recei vedth ro ugh
th e use of services.
The following notification types are available for
yo u:
R Navigable destinations and routes
R Messages (t ext messa ges)
R Calendar entries and reminders, e.g. from In-
Car Of fice
This function is not available in all countries.
R System information, e.g. Important software
update available. 326
MBUX multimedia sy stem
Page 330 of 657
R
Other notifications, e.g. from additional
online services that can be subsc ribed to
The j Notifications Centre can be found on
th e home screen, in menus and at theto pright
of the navigation map (/ page 306).
A star in thej symbol informs you of new
notifications.
Notifications are no rmally brief lyshown as they
are recei ved. This occurs for nearly everyappli‐
cation that you are cur rently using. If youta ke
no action, these are stored for future access in
th e Notifications Centre.
The notifications are sor tedchro nological ly. The
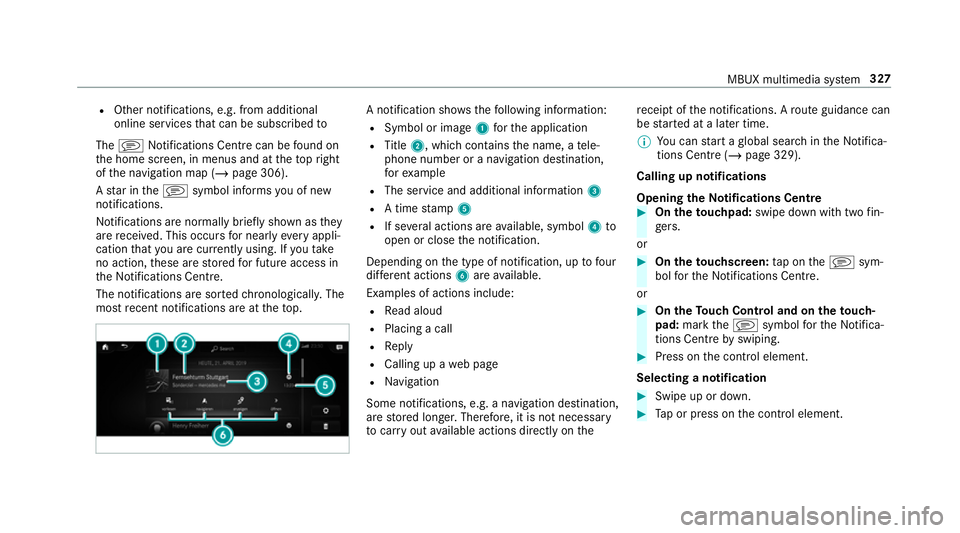
most recent notifications are at theto p. A notification sho
wsthefo llowing information:
R Symbol or image 1forth e application
R Title 2, which contains the name, a tele‐
phone number or a navigation destination,
fo rex ample
R The service and additional information 3
R A time stamp 5
R If se veral actions are available, symbol 4to
open or close the notification.
Depending on the type of notification, up tofour
dif fere nt actions 6are available.
Examples of actions include:
R Read aloud
R Placing a call
R Reply
R Calling up a web page
R Navigation
Some notifications, e.g. a navigation destination,
are stored longer. Therefore, it is not necessary
to car ryout available actions direct ly onthe re
cei ptofthe notifications. A route guidance can
be star ted at a later time.
% You can start a global sear chintheNoti fica‐
tions Centre (/ page 329).
Calling up notifications
Opening theNo tifications Centre #
On the touchpad: swipe down with two fin‐
ge rs.
or #
On theto uchscreen: tap on thej sym‐
bol forth e Notifications Centre.
or #
On theTo uch Control and on theto uch‐
pad: mark thej symbol forth eNoti fica‐
tions Centre byswiping. #
Press on the control element.
Selecting a notification #
Swipe up or down. #
Tap or press on the control element. MBUX multimedia sy
stem 327