MERCEDES-BENZ M-CLASS SUV 2011 Owners Manual
Manufacturer: MERCEDES-BENZ, Model Year: 2011, Model line: M-CLASS SUV, Model: MERCEDES-BENZ M-CLASS SUV 2011Pages: 389, PDF Size: 9.22 MB
Page 251 of 389
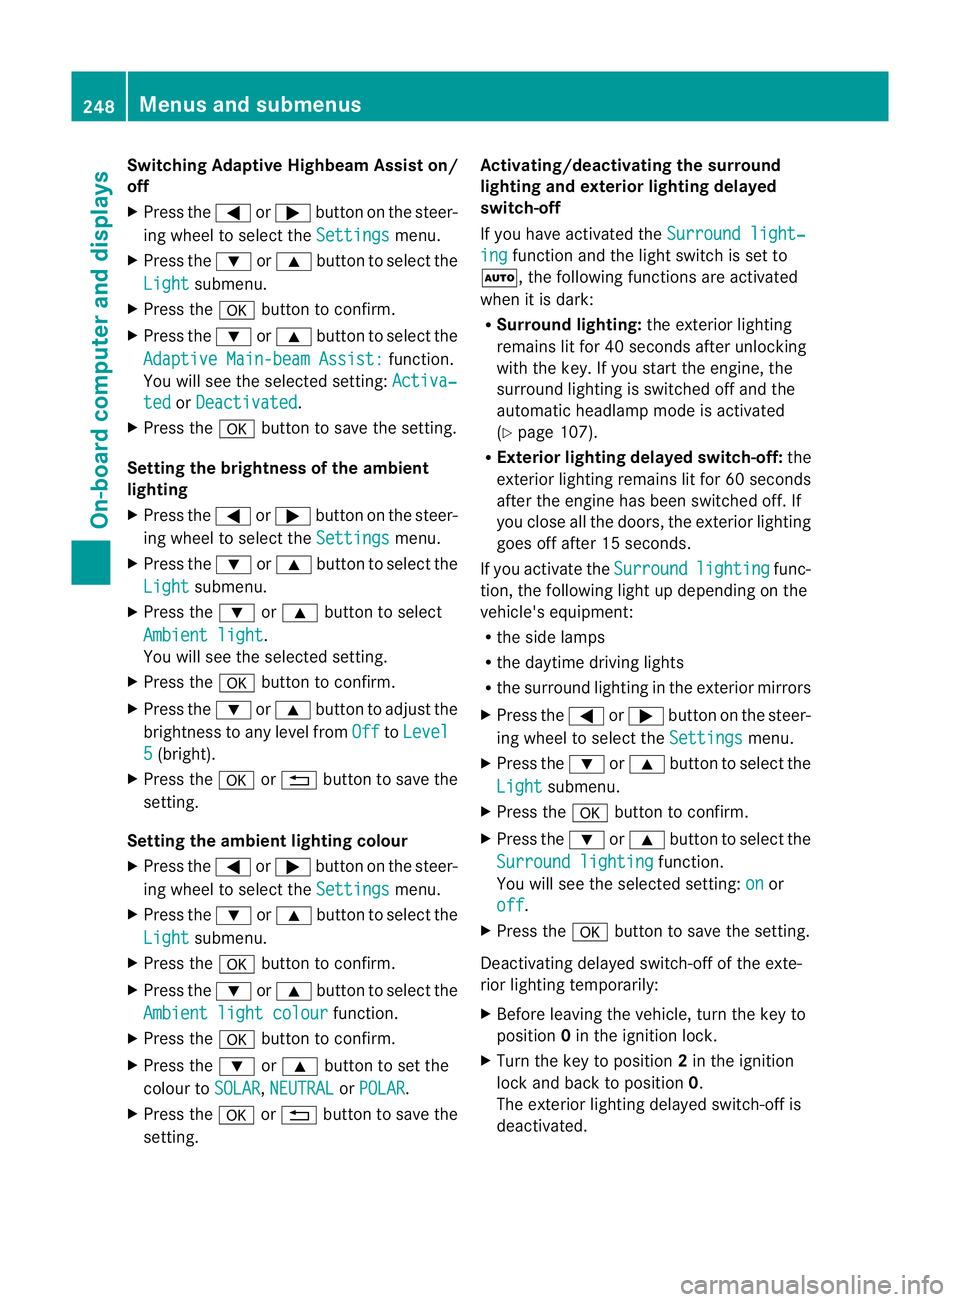
Switching Adaptive Highbeam Assist on/
off
X Press the =or; button on the steer-
ing wheel to select the Settings menu.
X Press the :or9 button to select the
Light submenu.
X Press the abutton to con firm.
X Press the :or9 button to select the
Adaptive Main-bea mAssist: function.
Yo uw ill see the selected setting: Activa‐ted or
Deactivated .
X Press the abutton to save the setting.
Setting the brightness of the ambient
lighting
X Press the =or; button on the steer-
ing wheel to select the Settings menu.
X Press the :or9 button to select the
Light submenu.
X Press the :or9 button to select
Ambien tlight .
Yo uw ill see the selected setting.
X Press the abutton to confirm.
X Press the :or9 button to adjust the
brightness to any level from Off to
Level 5 (bright).
X Press the aor% button to save the
setting.
Setting the ambient lighting colour
X Press the =or; button on the steer-
ing wheel to select the Settings menu.
X Press the :or9 button to select the
Light submenu.
X Press the abutton to confirm.
X Press the :or9 button to select the
Ambien tlight colour function.
X Press the abuttontoc onfirm.
X Press the :or9 button to set the
colou rtoSOLAR ,
NEUTRAL or
POLAR .
X Press the aor% buttontos ave the
setting. Activating/deactivating the surround
lighting and exterior lighting delayed
switch-off
If you have activated the
Surround light‐ ing function and the light switch is set to
Ã,t he followin gfunctions are activated
when it is dark:
R Surround lighting: the exterior lighting
remains lit for 40 seconds after unlocking
with the key. If you start the engine, the
surround lighting is switched off and the
automatic headl ampm ode is activated
(Y page 107).
R Exterior lighting delaye dswitch-off: the
exterior lighting remains lit for 60 seconds
after the engine has been switche doff. If
you close all th edoors, the exterior lighting
goes off after 15 seconds.
If you activate the Surround lighting func-
tion ,the followin glight up depending on the
vehicle' sequipment:
R the side lamps
R the daytim edriving lights
R thes urround lighting in the exterior mirrors
X Press the =or; button on the steer-
ing wheel to select the Settings menu.
X Press the :or9 button to select the
Light submenu.
X Press the abutton to confirm.
X Press the :or9 button to select the
Surround lighting function.
You will see the selected setting: on or
off .
X Press the abutton to save the setting.
Deactivating delayed switch-off of the exte-
rior lighting temporarily:
X Before leaving the vehicle, turn the key to
position 0in the ignition lock.
X Turn the key to position 2in the ignition
lock and back to position 0.
The exterior lighting delayed switch-off is
deactivated. 248
Menus and submenusOn-board computer and displays
Page 252 of 389
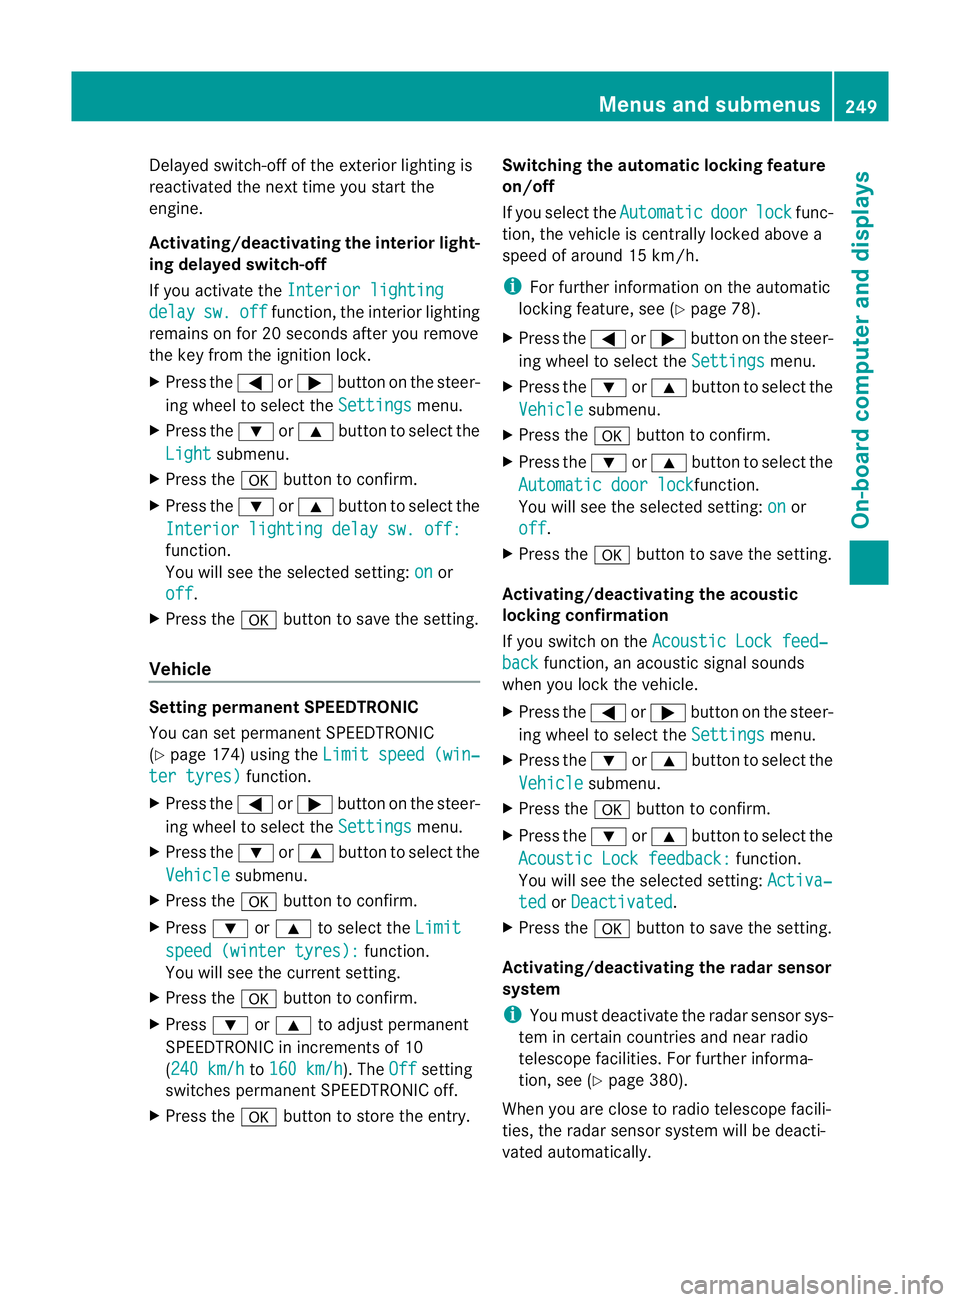
Delayed switch-off of the exterio
rlight ing is
reactivate dthe nex ttime yo ustart the
engine.
Activating/deactivating the interior light-
in gd elay ed switch -off
If yo uactivat ethe Interior lighting delay sw. off function, the
interiorlighting
remain sonfor 20 seconds after you rem ove
th ek ey fr om th eignition lock.
X Press the =or; button on the steer-
ing wheel to selec tthe Settings menu.
X Press the :or9 button to selec tthe
Light submenu.
X Press the abutton to confir m.
X Press the :or9 button to select the
Interior lighting dela ysw. off: function.
Yo
uw ill see the selected setting: on or
off .
X Press the abutton to save the setting.
Vehicle Setting permanent SPEEDTRONIC
You can set permanent SPEEDTRONIC
(Y page 174 )using the Limitspeed (win‐ ter tyres) function.
X Press the =or; buttononthe steer-
ing wheel to selec tthe Settings menu.
X Press the :or9 button to selec tthe
Vehicle submenu.
X Press the abutton to confir m.
X Press :or9 to select the Limit spee
d(winter tyres): function.
Yo uw ill see the current setting.
X Press the abutton to confir m.
X Press :or9 to adjust permanent
SPEEDTRONIC in increments of 10
(24 0k m/h to
160 km/h ). The
Off setting
switches permanen tSPEEDTRONIC off.
X Press the abutton to store the entry. Switching th
eautomatic lockin gfeatu re
on/off
If you select the Automatic door lock func-
tion, the vehicle is centrally locked above a
speed of around 15 km/h.
i For further information on the automatic
locking feature, see (Y page 78).
X Press the =or; button on the steer-
ing wheel to select the Settings menu.
X Press the :or9 button to select the
Vehicle submenu.
X Press the abutton to confir m.
X Press the :or9 button to select the
Automati cdoor lock function.
Yo uw ill see the selected setting: on or
off .
X Press the abutton to save the setting.
Activating/deactivating the acoustic
locking confirmation
If you switch on the Acoustic Lock feed‐ back func
tion, an acoustic signal sounds
when you lock the vehicle.
X Press the =or; button on the steer-
ing wheel to select the Settings menu.
X Press the :or9 button to select the
Vehicle submenu.
X Press the abutton to confir m.
X Press the :or9 button to select the
Acoustic Lock feedback: function.
You will see the selected setting: Activa‐ ted or
Deactivated .
X Press the abutton to save the setting.
Activating/deactivating th eradar sensor
system
i Youm ust deactivate the radar senso rsys-
tem in certain countries and near radio
telescope facilities .For further informa-
tion ,see (Y page 380).
When you are close to radi otelescope facili-
ties, the rada rsensor system will be deacti-
vated automatically. Menu
sand submenus
249On-boardcomput er anddisplay s Z
Page 253 of 389
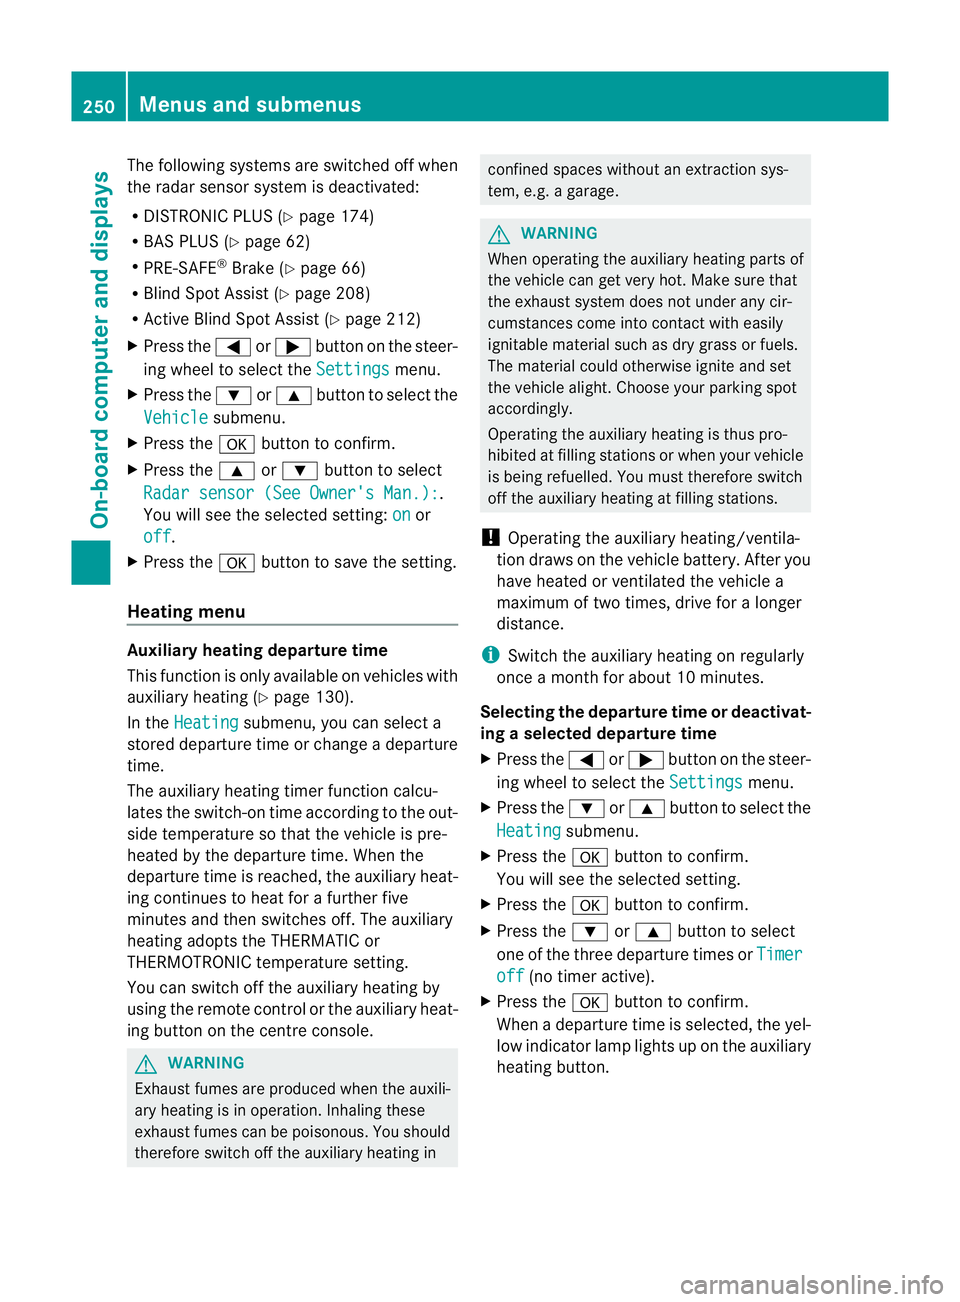
The following system
sare switche doff when
th er adar senso rsystem is deactivated:
R DISTRONIC PLUS (Y page 174)
R BAS PLUS (Y page 62)
R PRE-SAFE ®
Brake (Y page 66)
R Blind Spot Assist (Y page 208)
R Active Blind Spot Assist (Y page 212)
X Press the =or; button on the steer-
ing whee ltoselect the Settings menu.
X Press the :or9 button to select the
Vehicle submenu.
X Press the abutton to confirm.
X Press the 9or: button to select
Rada rsensor (See Owner's Man.): .
Yo uw ill see the selected setting: on or
off .
X Press the abutton to save the setting.
Heating menu Auxiliary heating depa
rtur et ime
This function is only availa bleo nvehicles with
auxiliar yheatin g(Ypage 130).
In the Heating submenu, you can select a
stored departure tim eorchange adeparture
time.
The auxiliar yheatin gtimer func tion calcu-
lates the switch-on tim eaccording to the out-
sid etemperature so that the vehicle is pre-
heated by the departure time. When the
departure tim eisreached, the auxiliar yheat-
ing continues to heat for afurther five
minutes and then switches off. The auxiliary
heating adopts the THERMATI Cor
THERMOTRONI Ctemperature setting.
You can switc hoff th eauxiliary heating by
using the remote control or the auxiliary heat-
ing button on the centre console. G
WARNING
Exhaust fumes are produced when the auxili-
ary heating is in operation. Inhaling these
exhaust fumes can be poisonous. You should
therefore switch off the auxiliary heating in confined spaces without an extraction sys-
tem, e.g.
agarage. G
WARNING
When operating the auxiliary heating parts of
the vehicle can get very hot. Make sure that
the exhaust system does not under any cir-
cumstances come into contact with easily
ignitable material such as dry grass or fuels.
The material could otherwise ignite and set
the vehicle alight. Choos eyour parkin gspot
accordingly.
Operating the auxiliary heating is thus pro-
hibited at fillin gstations or when your vehicle
is being refuelled .You must therefore switch
off the auxiliar yheatin gatf illing stations.
! Operating the auxiliary heating/ventila-
tion draws on the vehicle battery. After you
have heated or ventilated the vehicle a
maximum of two times, drive for alonger
distan ce.
i Switch the auxiliary heating on regularly
once amonthfor about 10 minutes.
Selecting th edepartur etime or deactivat-
ing aselected depa rtur et ime
X Press the =or; button on the steer-
ing wheel to select the Settings menu.
X Press the :or9 button to select the
Heating submenu.
X Press the abutton to confirm.
You will see the selected setting.
X Press the abutton to confirm.
X Press the :or9 button to select
one of the three departur etimes or Timer off (no timer active).
X Press the abutton to confirm.
When adeparture tim eisselected, the yel-
low indicator lam plights up on the auxiliary
heating button. 250
Menus and submenusOn-board computer and displays
Page 254 of 389
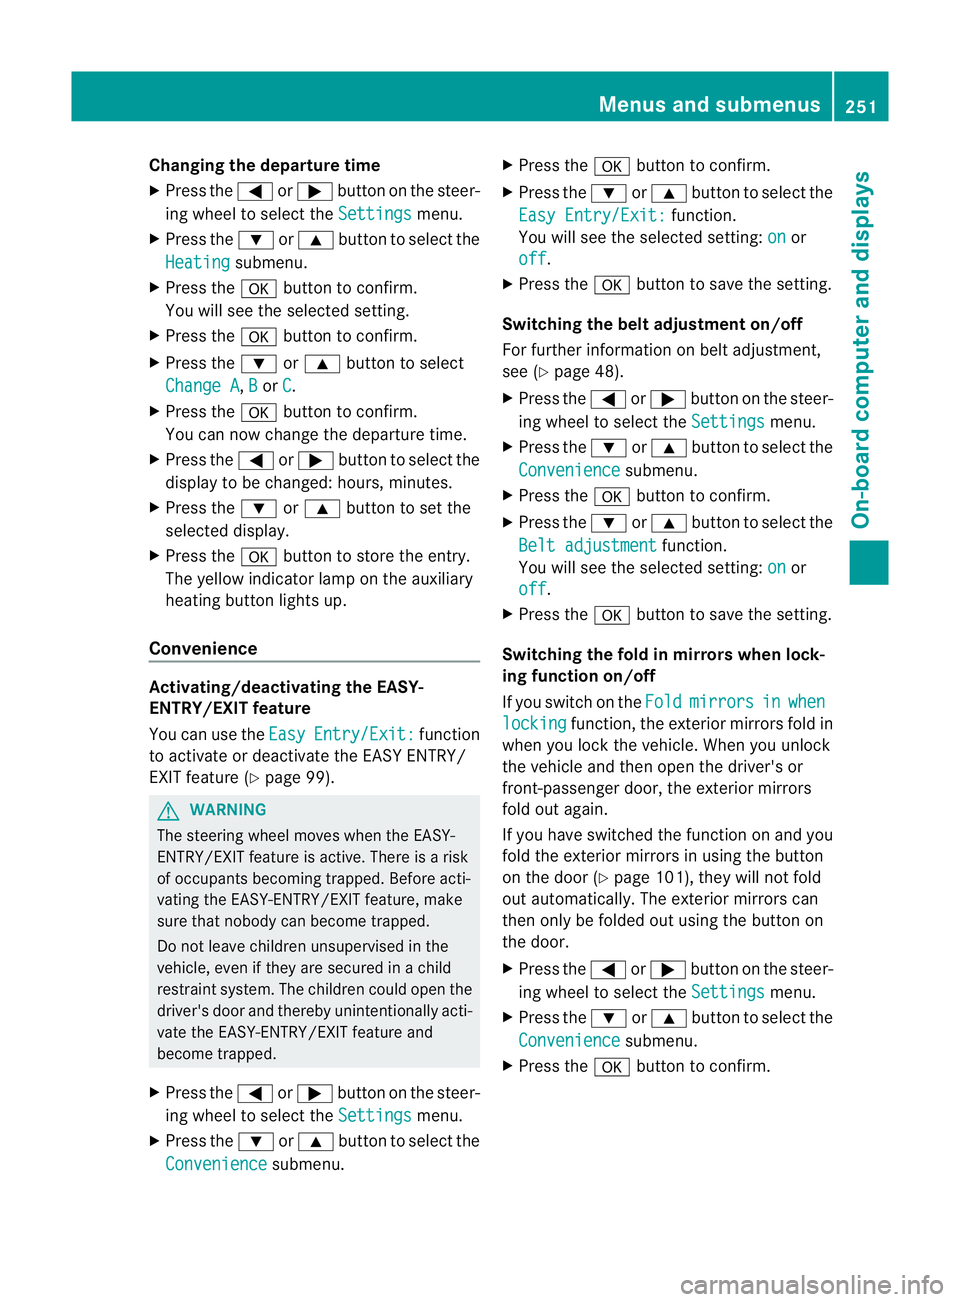
Changing th
edeparture time
X Pres sthe = or; button on th esteer-
ing wheel to selec tthe Settings menu.
X Press the :or9 button to selec tthe
Heating submenu.
X Press the abutton to confir m.
You will see the selected setting.
X Press the abutton to confirm.
X Press the :or9 button to select
Change A ,
B or
C .
X Press the abutton to confirm.
You can now change the departur etime.
X Press the =or; button to select the
displa ytobec hanged: hours, minutes.
X Press the :or9 button to set the
selected display.
X Press the abutton to stor ethe ent ry.
The yellow indicator lam ponthe auxiliary
heating button lights up.
Convenience Activating/deactivating th
eEASY-
ENTRY/EXIT featu re
You can use the Easy Entry/Exit: func
tion
to activate or deactivate the EAS YENTRY/
EXIT feature (Y page 99). G
WARNING
Th es teering whee lmoves when the EASY-
ENTRY/EXI Tfeatur eisa ctive. There is arisk
of occupant sbecoming trapped. Before acti-
vating the EASY-ENTRY/EXI Tfeature, make
sure that nobody can becom etrapped.
Do not leave children unsupervised in the
vehicle, eve nifthey ar esecured in achild
restraint system .The children coul dopen the
driver' sdoor and thereby unintentionally acti-
vat ethe EASY-ENTRY/EXI Tfeatur eand
become trapped.
X Pres sthe = or; button on the steer-
ing wheel to selec tthe Settings menu.
X Press the :or9 button to selec tthe
Convenience submenu.X
Press the abutton to confir m.
X Press the :or9 button to select the
Easy Entry/Exit: function.
You will see the selected setting: on or
off .
X Press the abutton to save the setting.
Switching th ebelt adjustment on/off
For further information on belt adjustment,
see (Y page 48).
X Press the =or; button on the steer-
ing wheel to select the Settings menu.
X Press the :or9 button to select the
Convenience submenu.
X Press the abutton to confir m.
X Press the :or9 button to select the
Belt adjustment function.
You will see the selected setting: on or
off .
X Press the abutton to save the setting.
Switching th efold in mirrors when lock-
ing function on/off
If you switch on the Fold mirrors in when
locking func
tion, the exterior mirror sfold in
when you lock the vehicle. When you unlock
the vehicle and then open the driver's or
front-passenger door, the exterior mirrors
fold out again.
If you have switched the func tion on and you
fold the exterior mirror sinusing the button
on the door (Y page 101), they will not fold
out automatically. The exterior mirrors can
then only be folded out usin gthe button on
the door.
X Press the =or; button on the steer-
ing wheel to selec tthe Settings menu.
X Press the :or9 button to selec tthe
Convenience submenu.
X Press the abutton to confir m. Menus and submenus
251On-boardcomputer and display s Z
Page 255 of 389
X
Press the :or9 to select the Fold mirror
sinwhen locking: function.
Yo uw ill see the selected setting: on or
off .
X Press the abutton to save the setting.
Resetting to factor ysettings For safety reasons
,not al lfunction sare reset:
the Limit speed (winter tyres) function
in permane ntSPEEDTRONI Ccan only be set
in the Vehicle submenu. If you want to reset
the Daytim edriving lights: fun
ction in
the Light submenu, you must tur
nthe key in
the ignition lock to position 1.
X Press the =or; button on the steer-
ing wheel to selec tthe Settings menu.
X Press the :or9 button to selec tthe
Factor ysetting submenu.
X Press the abuttontoc onfirm.
The Rese tall settings? message
appe ars.
X Pres sthe : or9 button to select
No or
Yes .
X Press the abutton to confir mthe selec-
tion.
If you select Yes ,t
he multifunction display
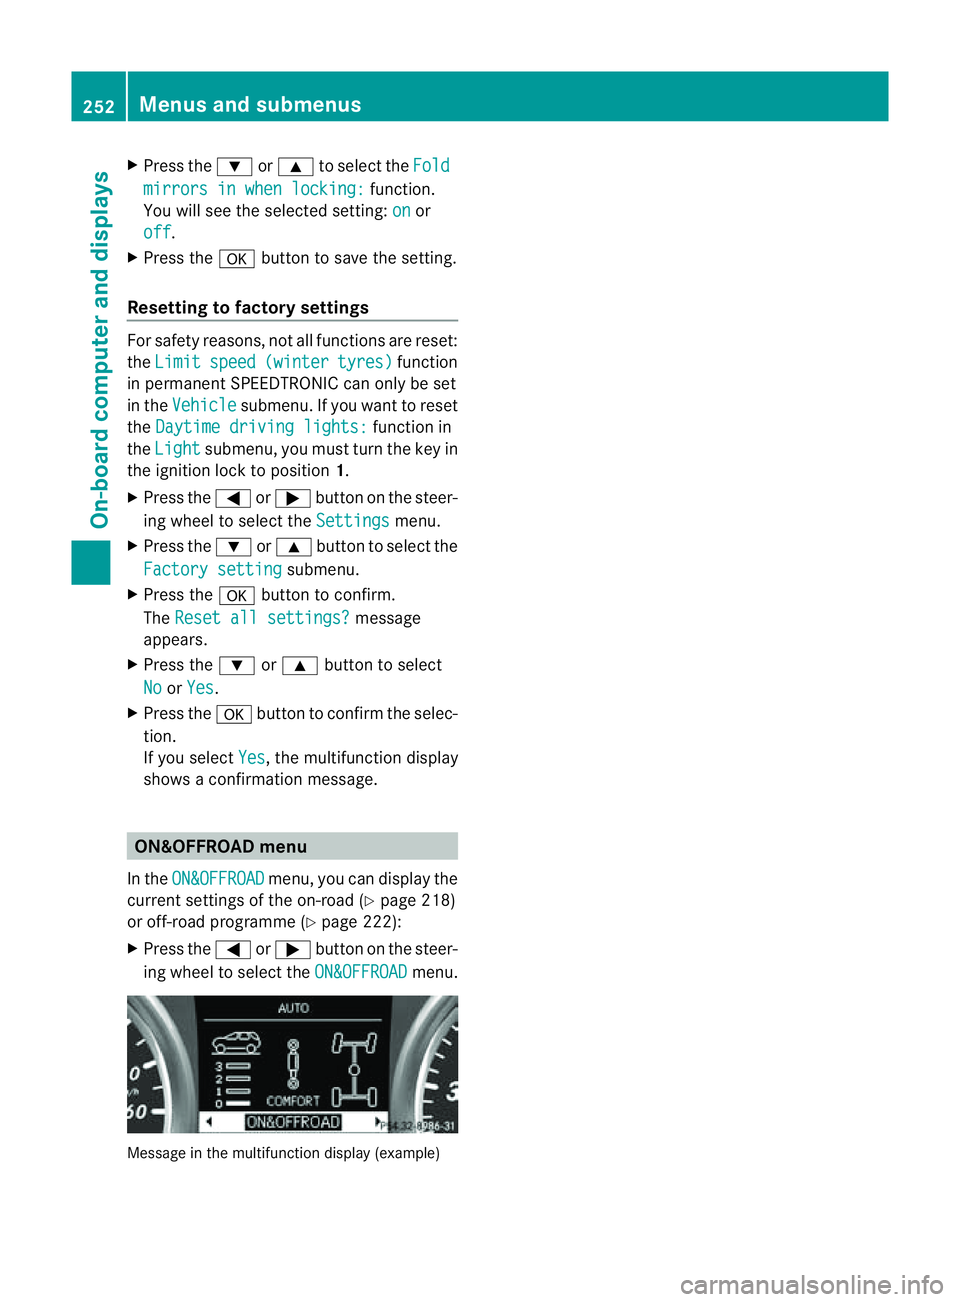
shows aconfirmation message. ON&OFFROAD menu
In the ON&OFFROAD menu, you can display the
curren tsettings of the on-road (Y page 218)
or off-road programm e(Ypage 222):
X Press the =or; button on the steer-
ing wheel to select the ON&OFFROAD menu.
Message in the multifunction display (example)252
Menus and submenusOn-board computer and displays
Page 256 of 389
Displa
ymessages General notes
Display message sappear in th emultifunction display.
Display messages with graphic displays may be shown in simplified for minthe Owner's Manual
and ma ydiffer from the messages shown in the multifunction display.
Please respond in accordance with the displa ymessages and follow the additional notes in
this Owner's Manual.
Certain display messages are accompanied by an audible warning tone or acontinuou stone.
When you stop and par kthe vehicle, please observe the notes on the HOL Dfunction
(Y page 187 )and parking (Y page 160). Hiding display messages
You can hid esome display messages with alow priority.
X Press the aor% button on the steering wheel to hide the display message.
The display message is cleared.
Displa ymessages with ahigh priority are shown in red.
You cannot hide displa ymessages of the highest priority. The multifunction display shows
these messages continuously until the causes for the messages have been remedied. Message memory
The on-boar dcomputer save scertain display messages. You can call up the display messages
in the message memory .
X Press the =or; button on the steering wheel to select the Serv. menu.
If there are display messages, the multifunction display shows, for example, 2messages .
X Press the 9or: buttontos elect the entry, e.g. 2messages .
X Confirm with a.
X Press the 9or: buttontos croll through the displa ymessages.
When the ignition is switched off ,all displa ymessages are deleted apar tfrom some high-
priority displa ymessages. Once the causes of the high-priorit ydispla ymessages have been
rectified, the corresponding display messages are also deleted. Display messages
253On-boardcomputer and displays Z
Page 257 of 389
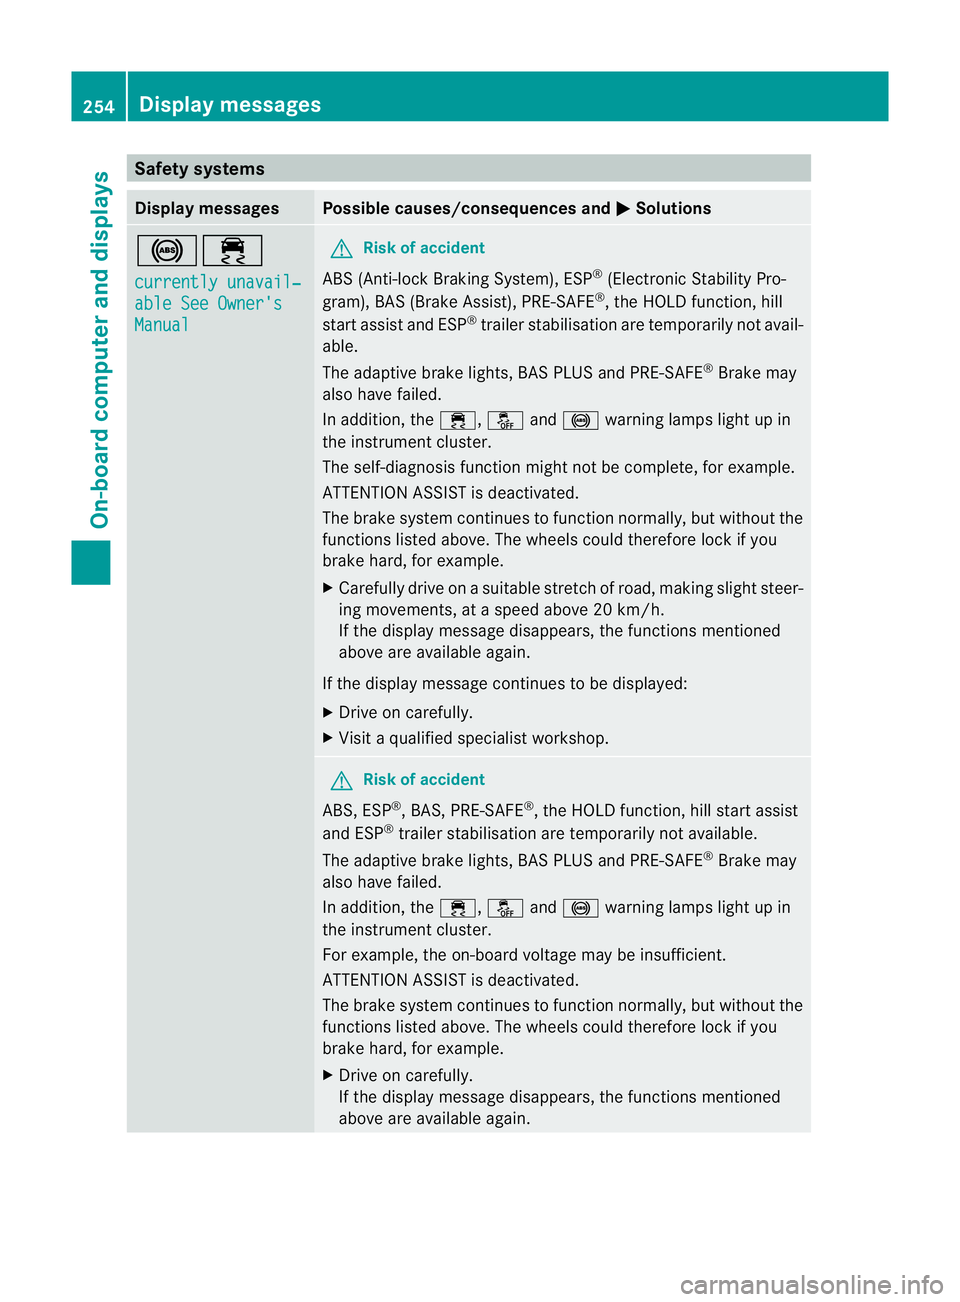
Safety systems
Display messages Possible causes/consequences and
M Solutions
!÷
currentl
yunavail‐ able See Owner's
Manual G
Ris
kofa ccident
ABS (Anti-lock Braking System), ESP ®
(Electronic Stability Pro-
gram), BAS (Brake Assist), PRE-SAFE ®
,t he HOL Dfunction, hill
start assis tand ESP ®
trailer stabilisation are temporarily not avail-
able.
The adaptive brake lights ,BAS PLUS and PRE-SAFE ®
Brake may
also have failed.
In addition, the ÷,åand! warning lamps ligh tupin
the instrument cluster.
The self-diagnosis function might not be complete ,for example.
ATTENTION ASSIS Tisdeactivated.
The brak esystem continues to function normally, but without the
functions liste dabove. The wheels could therefore lock if you
brak ehard, for example.
X Carefully drive on asuitable stretch of road, making slight steer-
ing movements, at aspeed above 20 km/h.
If the display message disappears, the functions mentioned
above are available again.
If the display message continues to be displayed:
X Drive on carefully.
X Visit aqualified specialist workshop. G
Risk of accident
ABS ,ESP ®
,B AS ,PRE-SAFE ®
,t he HOL Dfunction, hill start assist
and ESP ®
trailer stabilisation are temporarily not available.
The adaptive brake lights ,BAS PLUS and PRE-SAFE ®
Brake may
also have failed.
In addition, the ÷,åand! warning lamps ligh tupin
the instrument cluster.
For example, the on-board voltage may be insufficient.
ATTENTION ASSIST is deactivated.
The brake system continues to function normally, but without the
functions liste dabove. The wheels could therefore lock if you
brak ehard, for example.
X Drive on carefully.
If the display message disappears, the functions mentioned
above are available again. 254
Display messagesOn-board computer and displays
Page 258 of 389
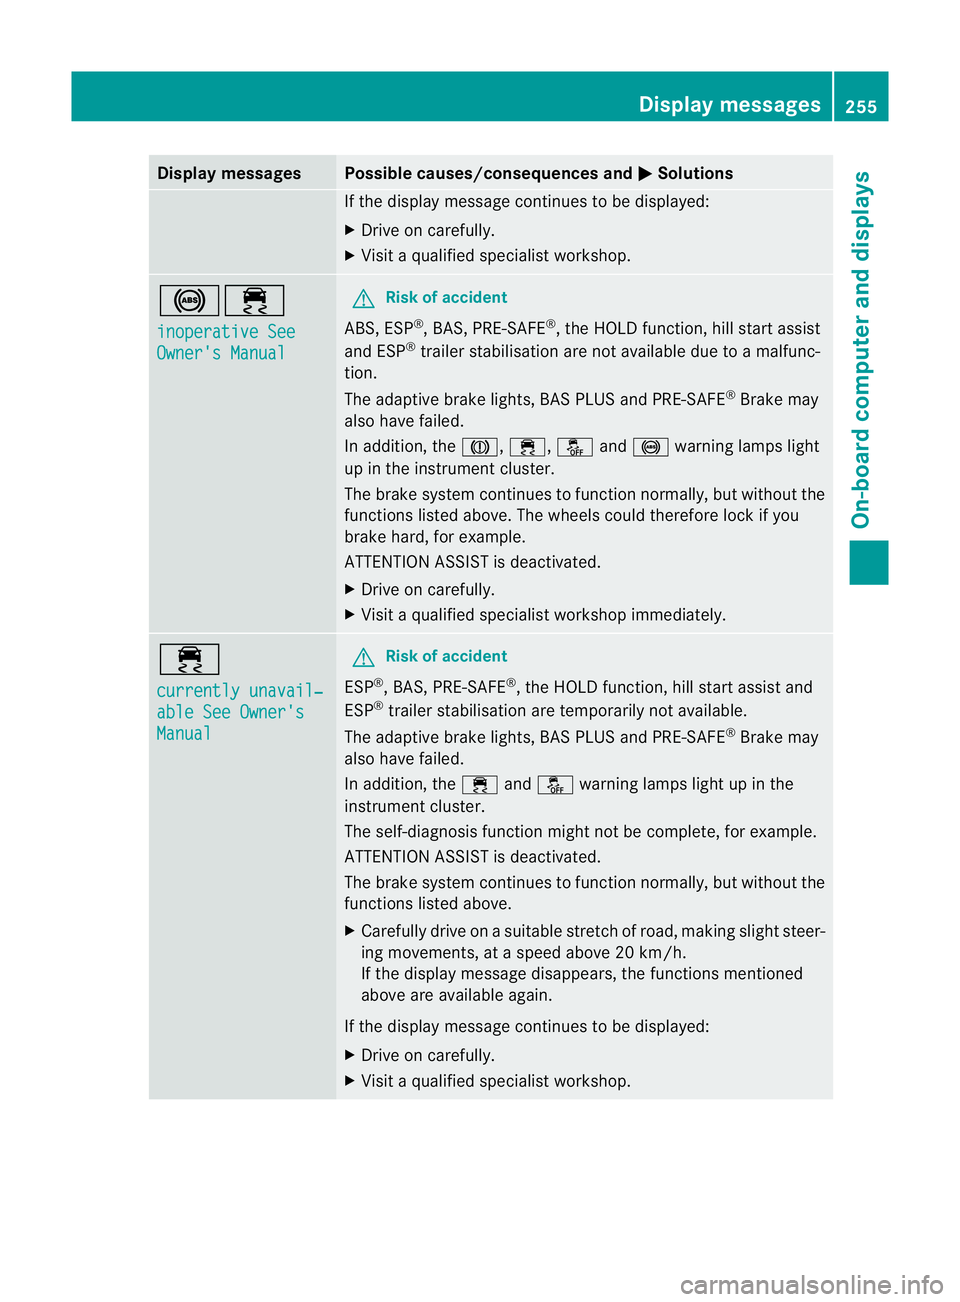
Displa
ymessages Possible causes/consequences and
M Solutions
If th
edisplay message continues to be displayed:
X Drive on carefully.
X Visit aqualified specialist workshop. !÷
in
operative See Owner'
sManual G
Risk of accident
ABS, ESP ®
,B AS ,PRE-SAFE ®
,t he HOL Dfunction ,hill start assist
and ESP ®
trailer stabilisation are no tavailab ledue to amalfunc-
tion.
The adaptive brake lights, BAS PLUS and PRE-SAFE ®
Brake may
als oh ave failed.
In addition, the J,÷,åand! warning lamp slight
up in the instrument cluster.
The brake system continues to function normally, but without the
functions listed above. The wheels could therefor elock if you
brake hard, for example.
ATTENTION ASSIS Tisd eactivated.
X Drive on carefully.
X Visit aquali fieds pecialist workshop immediately. ÷
currentl
yunavail‐ able See Owner's
Manual G
Ris
kofa ccident
ESP ®
,B AS, PRE- SAFE ®
,t he HOL Dfunction, hill start assis tand
ESP ®
trailer stabilisation are temporarily not available.
The adaptive brake lights ,BAS PLU Sand PRE-SAFE ®
Brak emay
also have failed.
In addition, the ÷andå warning lamps light up in the
instrument cluster.
The self-diagnosis function might not be complete, for example.
ATTENTION ASSIS Tisdeactivated.
The brak esystem continues to function normally, but without the
functions liste dabove.
X Carefull ydrive on asuitable stretc hofroad, makin gslight steer-
ing movements, at aspeed above 20 km/h.
If the display message disappears, the fun ction sm entioned
above are available again.
If the display message continues to be displayed:
X Driv eonc arefully.
X Visit aqualified specialist workshop. Display messages
255On-boardcomputer and displays Z
Page 259 of 389
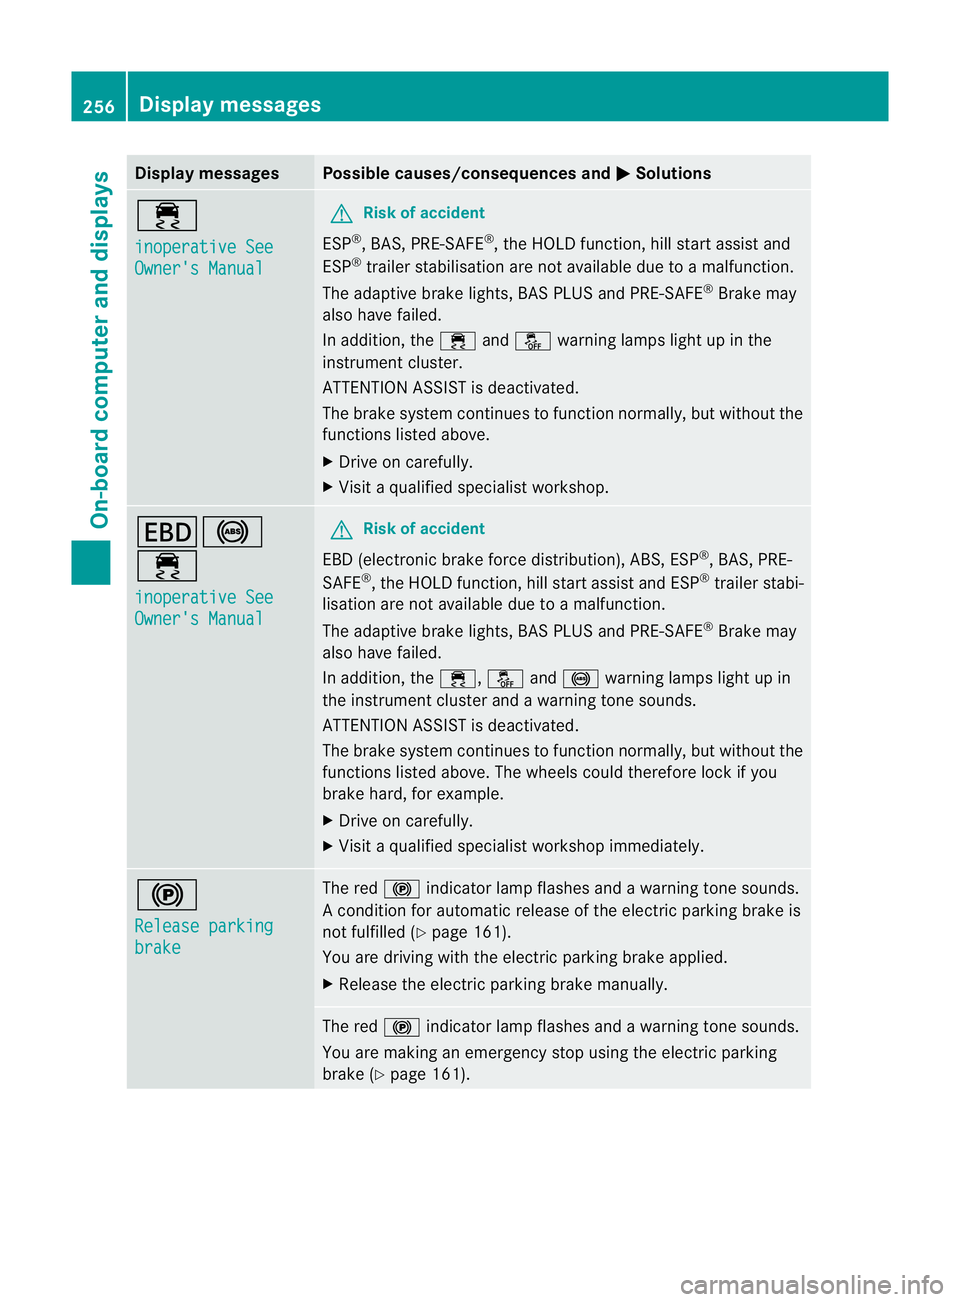
Displa
ymessages Possible causes/consequences and
M Solutions
÷
in
operative See Owner'
sManual G
Risk of accident
ESP ®
,B AS ,PRE-SAFE ®
,t he HOL Dfunction ,hill start assist and
ESP ®
trailer stabilisation are no tavailab ledue to amalfunction.
The adaptive brake lights, BAS PLUS and PRE-SAFE ®
Brake may
als oh ave failed.
In addition, the ÷andå warning lamp slight up in the
instrument cluster.
ATTENTION ASSIST is deactivated.
The brake system continues to function normally, but without the
functions listed above.
X Driv eonc arefully.
X Visi taq ualifieds pecialist workshop. T!
÷
inoperativ
eSee Owner'
sManual G
Ris
kofa ccident
EB D( electroni cbrake force dist ribution) ,ABS ,ESP ®
,B AS, PRE-
SAFE ®
,t he HOL Dfunction, hill start assist and ESP ®
trailer stabi-
lisation are not available due to amalfunction.
The adaptive brake lights, BAS PLUS and PRE-SAFE ®
Brake may
als oh ave failed.
In addition, the ÷,åand! warning lamp slight up in
the instrument cluster and awarning tone sounds.
ATTENTION ASSIST is deactivated.
The brake system continue stofunction normally, but withou tthe
func tions listed above. The wheels coul dtherefore lock if you
brake hard, for example.
X Drive on carefully.
X Visit aqualified specialist worksho pimmediately. !
Release parking
brake Th
er ed ! indicator lam pflashes and awarning tone sounds.
Ac ondition for automatic release of the electric parkin gbrake is
not fulfill ed (Ypag e161).
Yo ua re driving wit hthe electric parkin gbrake appl ied.
X Release the electric parking brake manually. The red
!indicator lamp flashe sand aw arning tone sounds.
You are making an emergency stop using the electric parking
brake (Y page 161). 256
Display messagesOn-board computer and displays
Page 260 of 389
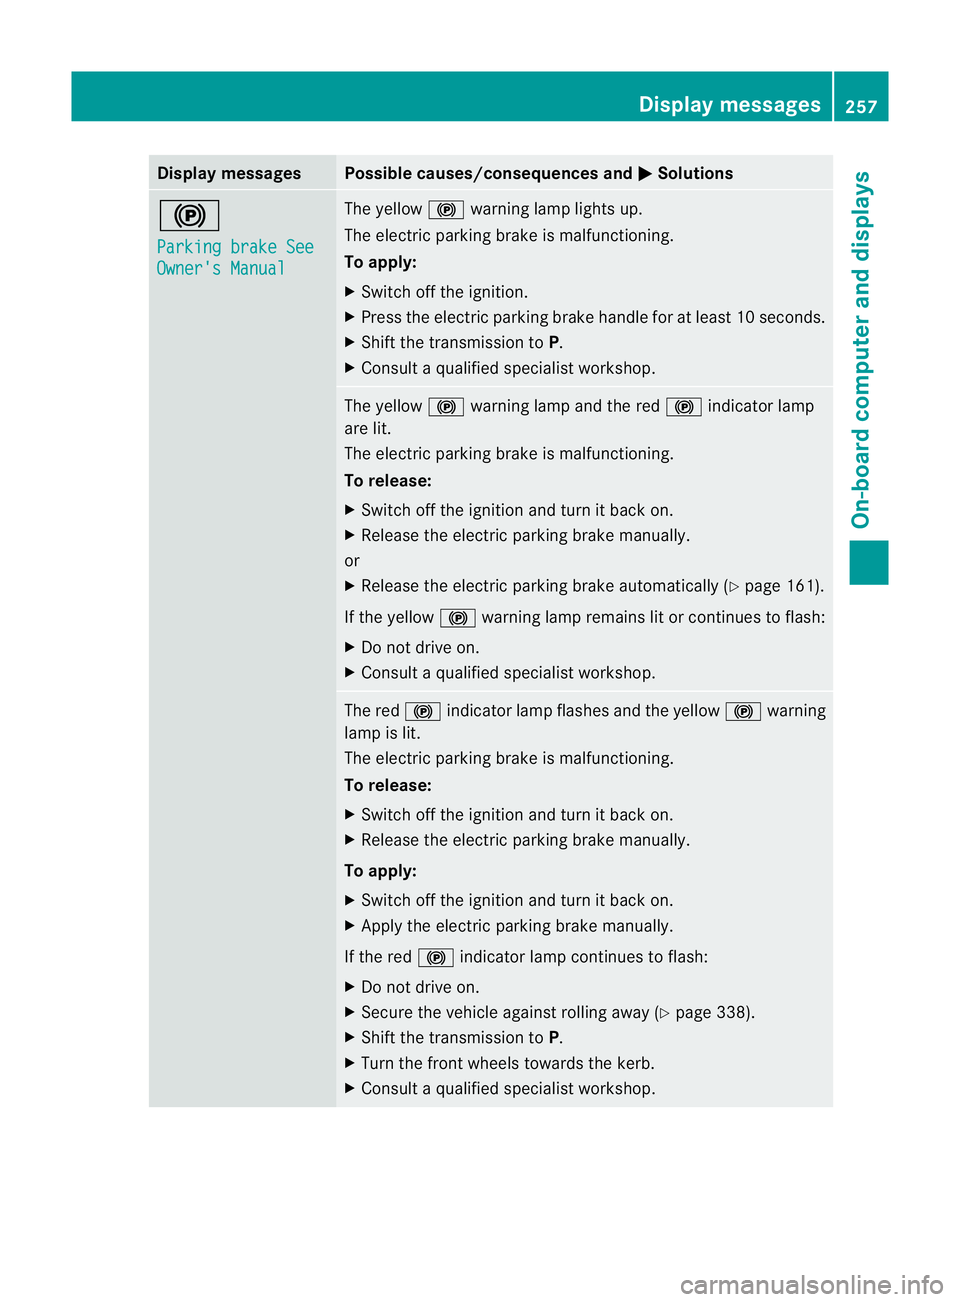
Displa
ymessages Possible causes/consequences and
M Solutions
!
Pa
rkingb rake See Owner'
sManual Th
ey ellow !warning lamp lights up.
The electric parkin gbrak eism alfunctioning.
To apply:
X Switc hoffthe ignition.
X Press the electric parking brake handle fo ratleast 10 seconds.
X Shif tthe transmission to P.
X Consult aqualified specialist worksho p. The yellow
!warnin glamp and the red !indicator lamp
are lit.
The electric parking brake is malfunctioning.
To release:
X Switch off the ignitio nand turn it back on.
X Releas ethe electric parkin gbrake manu ally.
or
X Release the electric parkin gbrake automatically (Y page 161).
If the yellow !warning lamp remains lit or continues to flash:
X Do not drive on.
X Consult aqualified specialist worksho p. The red
!indicator lam pflashes and the yellow !warning
lamp is lit.
The electric parkin gbrake is malfunctioning.
To rel ease:
X Switch off the ignitio nand turn it back on.
X Releas ethe electric parkin gbrake manu ally.
To apply:
X Switch off the ignitio nand turn it back on.
X Appl ythe electric parkin gbrake manu ally.
If the red !indicator lamp continues to flash:
X Do not drive on.
X Secur ethe vehicle against rolling away (Y page 338).
X Shif tthe transmission to P.
X Tur nthe front wheels towards the kerb.
X Consult aqualified specialist worksho p. Display messages
257On-boardcomputer and displays Z