MERCEDES-BENZ ML350 1997 Complete Repair Manual
ML350 1997
MERCEDES-BENZ
MERCEDES-BENZ
https://www.carmanualsonline.info/img/4/57306/w960_57306-0.png
MERCEDES-BENZ ML350 1997 Complete Repair Manual
Trending: keyless, service reset, audio, airbag, odometer, parking brake, jacking
Page 2941 of 4133
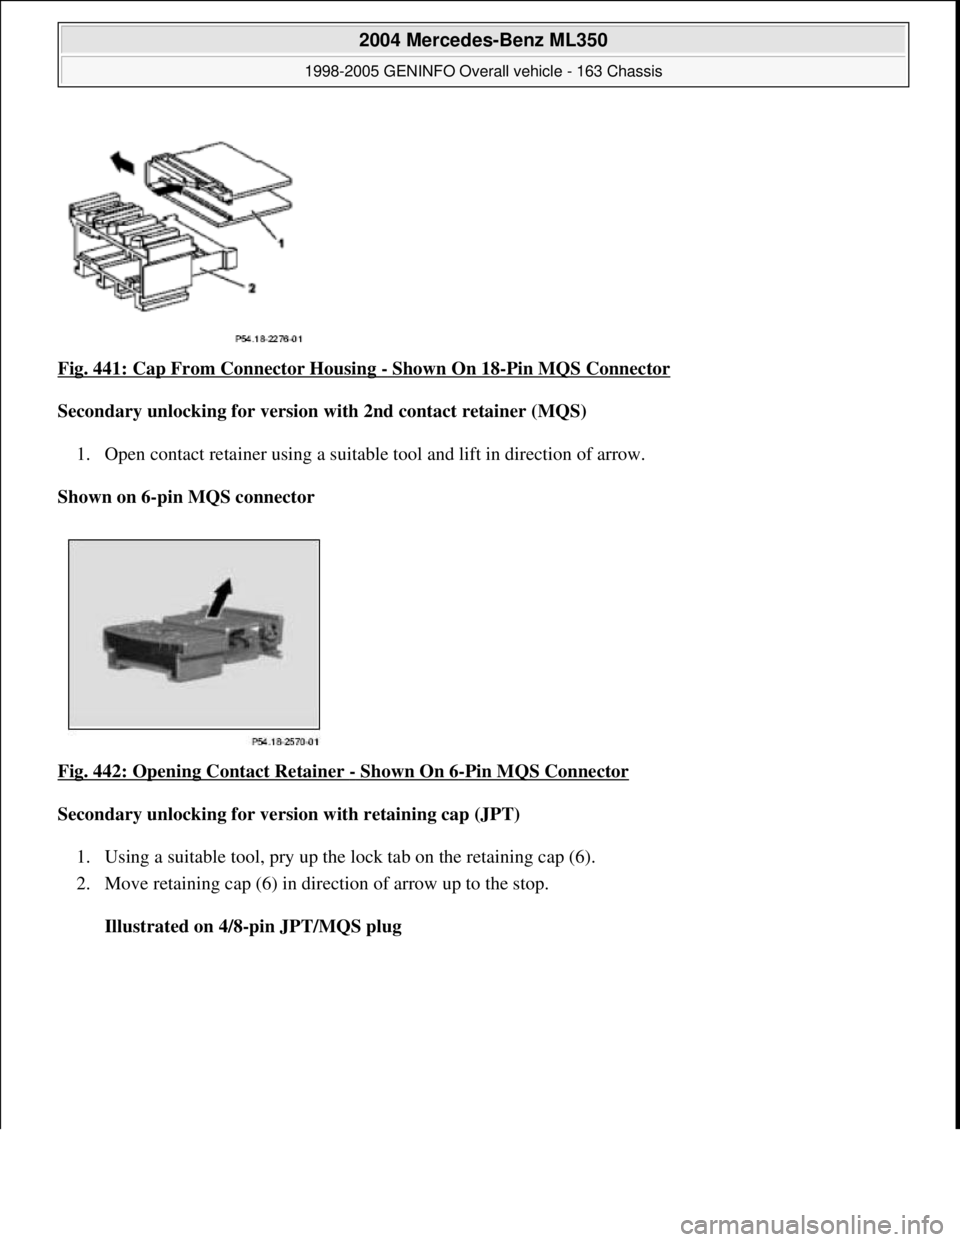
Fig. 441: Cap From Connector Housing - Shown On 18-Pin MQS Connector
Secondary unlocking for version with 2nd contact retainer (MQS)
1. Open contact retainer using a suitable tool and lift in direction of arrow.
Shown on 6-pin MQS connector
Fig. 442: Opening Contact Retainer
- Shown On 6-Pin MQS Connector
Secondary unlocking for version with retaining cap (JPT)
1. Using a suitable tool, pry up the lock tab on the retaining cap (6).
2. Move retaining cap (6) in direction of arrow up to the stop.
Illustrated on 4/8-pin JPT/MQS plug
2004 Mercedes-Benz ML350
1998-2005 GENINFO Overall vehicle - 163 Chassis
me
Saturday, October 02, 2010 3:47:49 PMPage 296 © 2006 Mitchell Repair Information Company, LLC.
Page 2942 of 4133
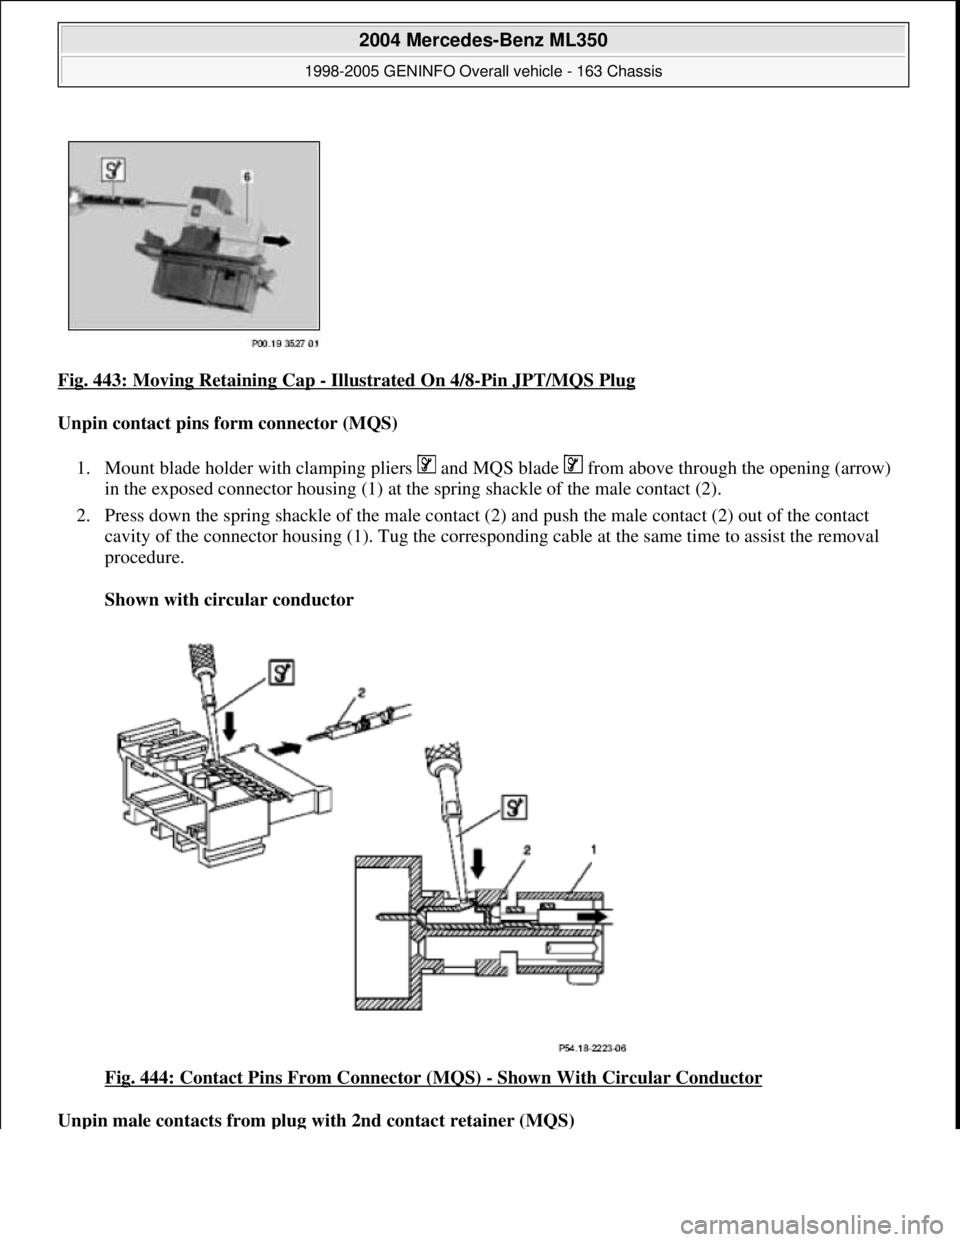
Fig. 443: Moving Retaining Cap - Illustrated On 4/8-Pin JPT/MQS Plug
Unpin contact pins form connector (MQS)
1. Mount blade holder with clamping pliers and MQS blade from above through the opening (arrow)
in the exposed connector housing (1) at the spring shackle of the male contact (2).
2. Press down the spring shackle of the male contact (2) and push the male contact (2) out of the contact
cavity of the connector housing (1). Tug the corresponding cable at the same time to assist the removal
procedure.
Shown with circular conductor
Fig. 444: Contact Pins From Connector (MQS)
- Shown With Circular Conductor
Unpin male contacts from plug with 2nd contact retainer (MQS)
2004 Mercedes-Benz ML350
1998-2005 GENINFO Overall vehicle - 163 Chassis
me
Saturday, October 02, 2010 3:47:49 PMPage 297 © 2006 Mitchell Repair Information Company, LLC.
Page 2943 of 4133
1. Position the blade holder with clamping pliers and MQS blade from above through the opening (3)
of pin housing (1) at the spring shackle of male contact (2).
2. Press down spring shackle and pull male contact (2) all the way out of contact cavity of pin housing (1).
Carry out the same work step in the opening (4). Tug the corresponding cable at the same time to assist
the unpinning procedure.
Shown with circular conductor
2004 Mercedes-Benz ML350
1998-2005 GENINFO Overall vehicle - 163 Chassis
me
Saturday, October 02, 2010 3:47:49 PMPage 298 © 2006 Mitchell Repair Information Company, LLC.
Page 2944 of 4133
2004 Mercedes-Benz ML350
1998-2005 GENINFO Overall vehicle - 163 Chassis
me
Saturday, October 02, 2010 3:47:49 PMPage 299 © 2006 Mitchell Repair Information Company, LLC.
Page 2945 of 4133
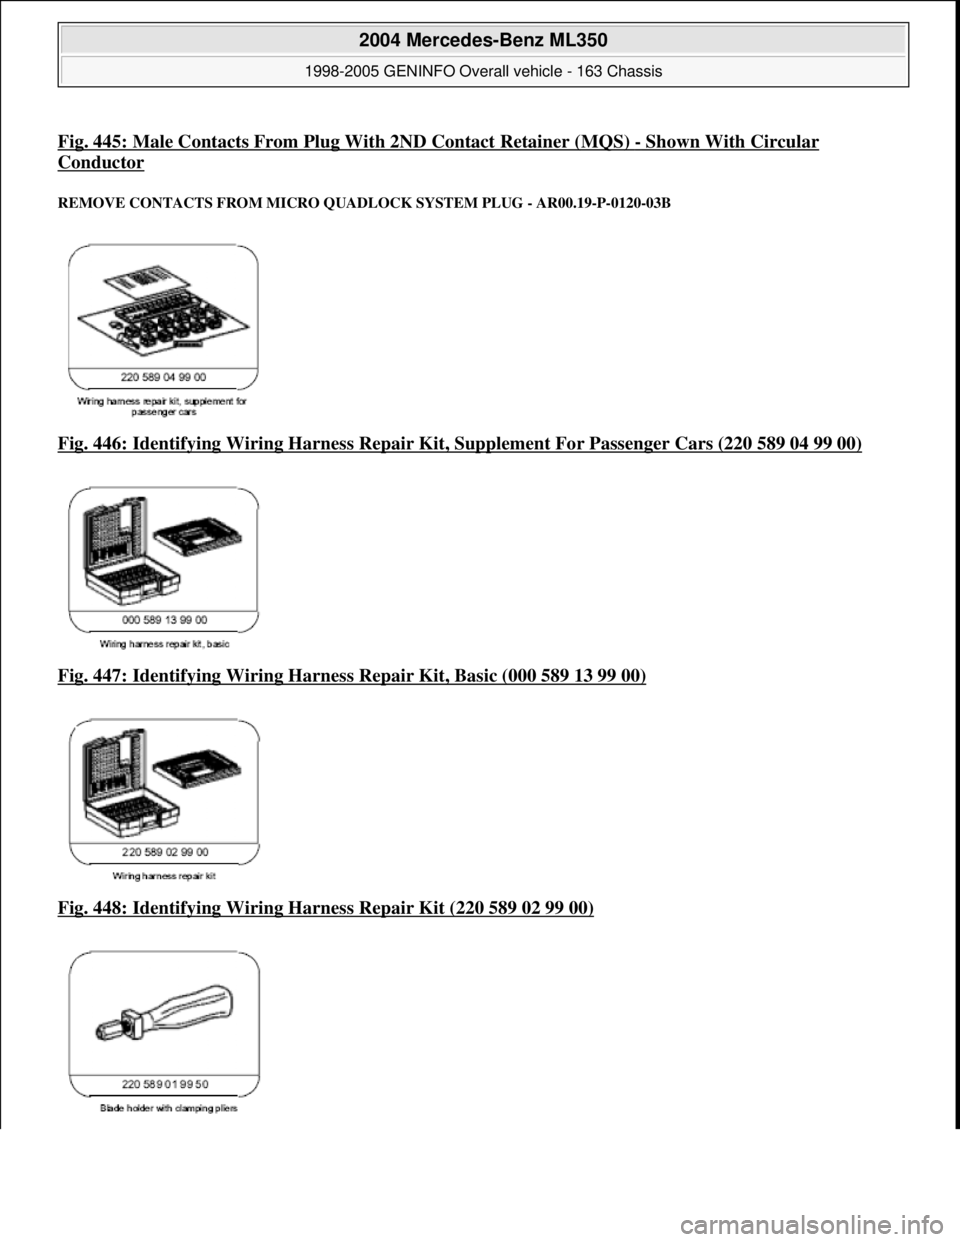
Fig. 445: Male Contacts From Plug With 2ND Contact Retainer (MQS) -Shown With Circular
Conductor
REMOVE CONTACTS FROM MICRO QUADLOCK SYSTEM PLUG - AR00.19-P-0120-03B
Fig. 446: Identifying Wiring Harness Repair Kit, Supplement Fo r Passenger Cars (220 589 04 99 00)
Fig. 447: Identifying Wiring Harness Repair Kit, Basic (000 589 13 99 00)
Fig. 448: Identifying Wiring Ha rness Repair Kit (220 589 02 99 00)
2004 Mercedes-Benz ML350
1998-2005 GENINFO Overall vehicle - 163 Chassis
me
Saturday, October 02, 2010 3:47:49 PMPage 300 © 2006 Mitchell Repair Information Company, LLC.
Page 2946 of 4133
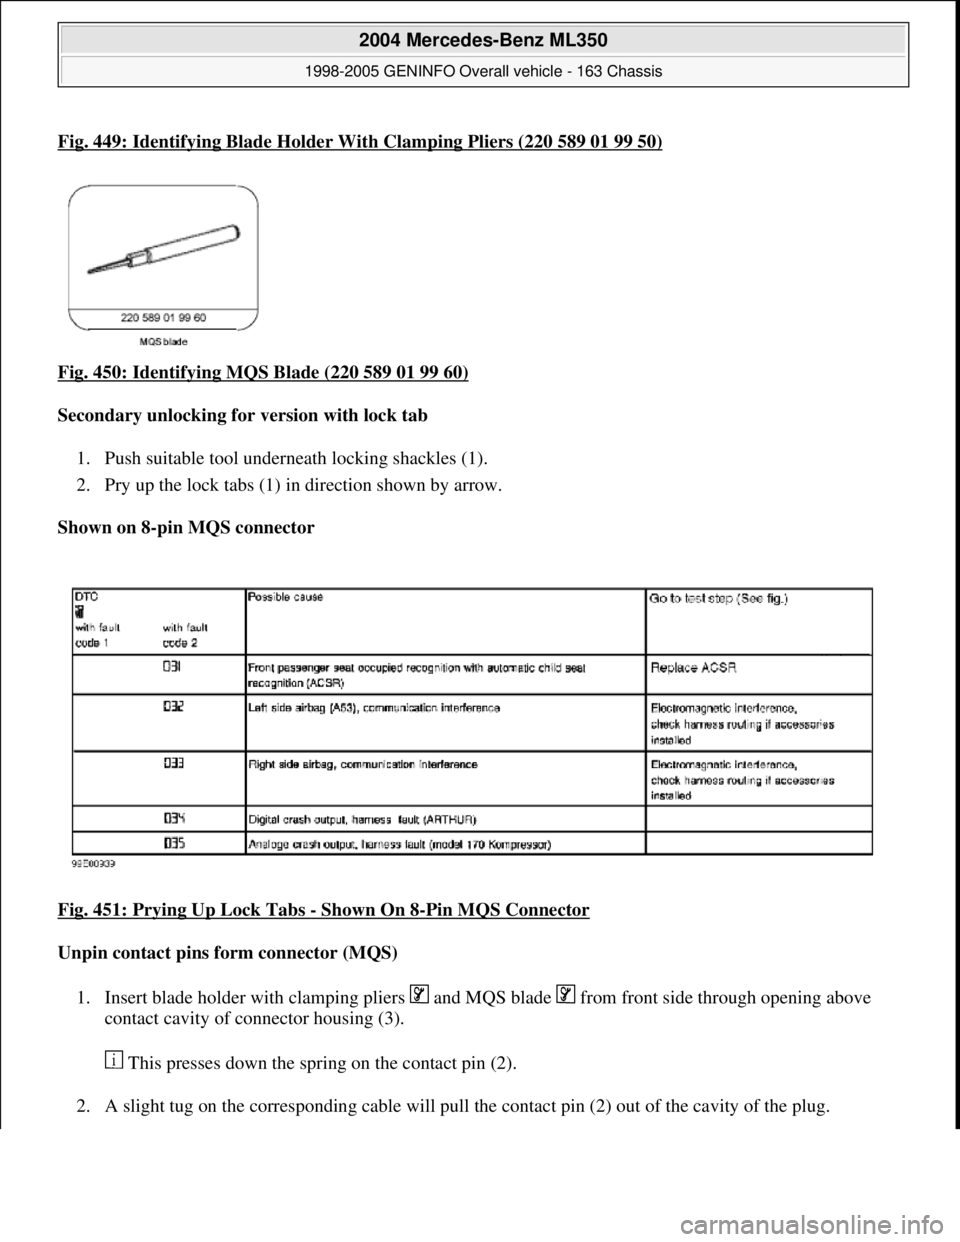
Fig. 449: Identifying Blade Holder With Clamping Pliers (220 589 01 99 50)
Fig. 450: Identifying MQS Blade (220 589 01 99 60)
Secondary unlocking for version with lock tab
1. Push suitable tool underneath locking shackles (1).
2. Pry up the lock tabs (1) in direction shown by arrow.
Shown on 8-pin MQS connector
Fig. 451: Prying Up Lock Tabs
- Shown On 8-Pin MQS Connector
Unpin contact pins form connector (MQS)
1. Insert blade holder with clampi ng pliers and MQS blade from front side through opening above
contact cavity of connector housing (3).
This presses down the spring on the contact pin (2).
2. A sli
ght tug on the corresponding cable will pull the contact pin (2) out of the cavity of the plug.
2004 Mercedes-Benz ML350
1998-2005 GENINFO Overall vehicle - 163 Chassis
me
Saturday, October 02, 2010 3:47:49 PMPage 301 © 2006 Mitchell Repair Information Company, LLC.
Page 2947 of 4133
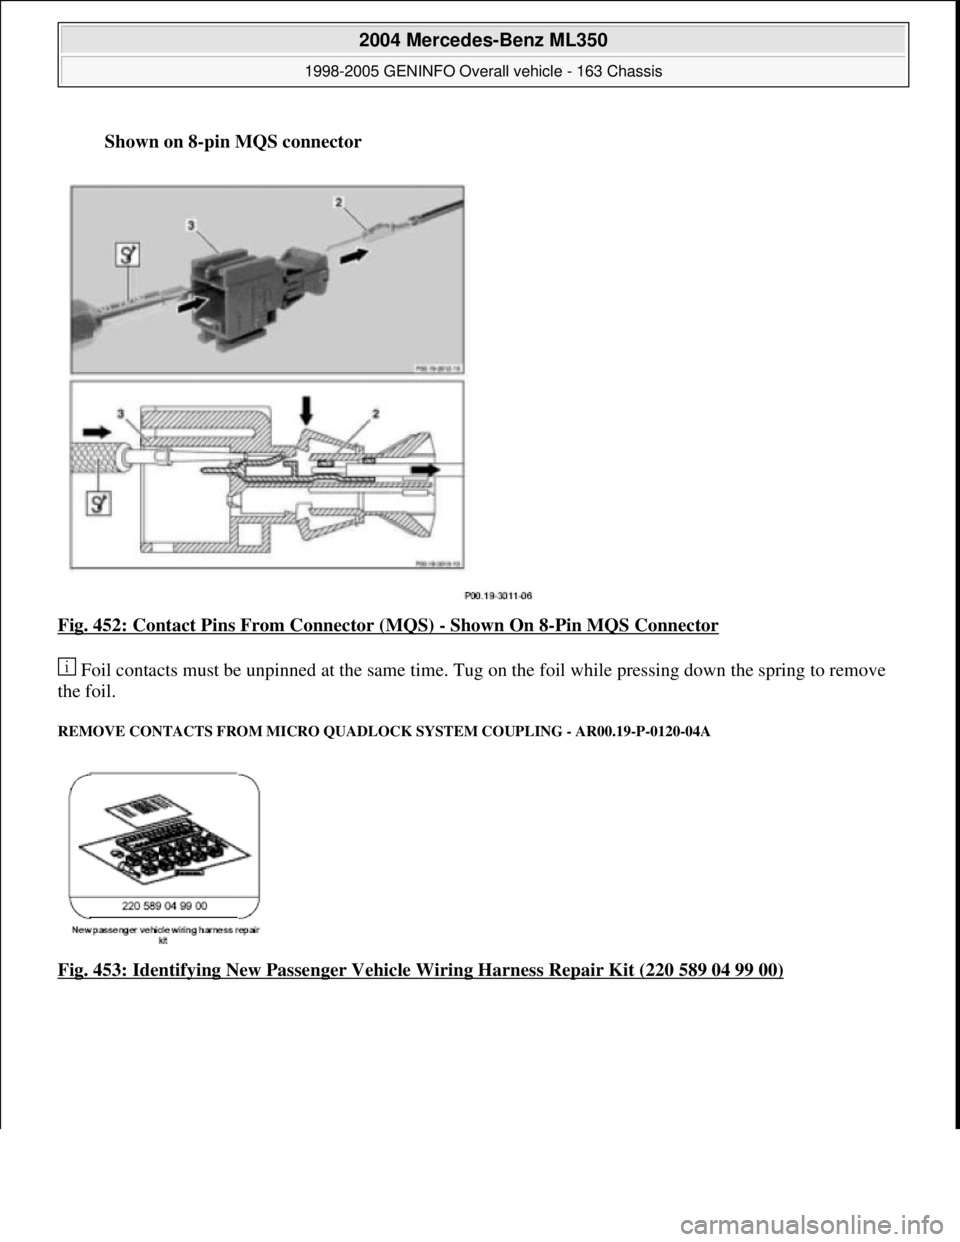
Shown on 8-pin MQS connector
Fig. 452: Contact Pins From Connector (MQS)
- Shown On 8-Pin MQS Connector
Foil contacts must be unpinned at the same time. Tug on the foil while pressing down the spring to remove
the foil.
REMOVE CONTACTS FROM MICRO QUADLOCK SYSTEM COUPLING - AR00.19-P-0120-04A
Fig. 453: Identifying New Passenger Vehicle Wiring Harness Repair Kit (220 589 04 99 00)
2004 Mercedes-Benz ML350
1998-2005 GENINFO Overall vehicle - 163 Chassis
me
Saturday, October 02, 2010 3:47:49 PMPage 302 © 2006 Mitchell Repair Information Company, LLC.
Page 2948 of 4133
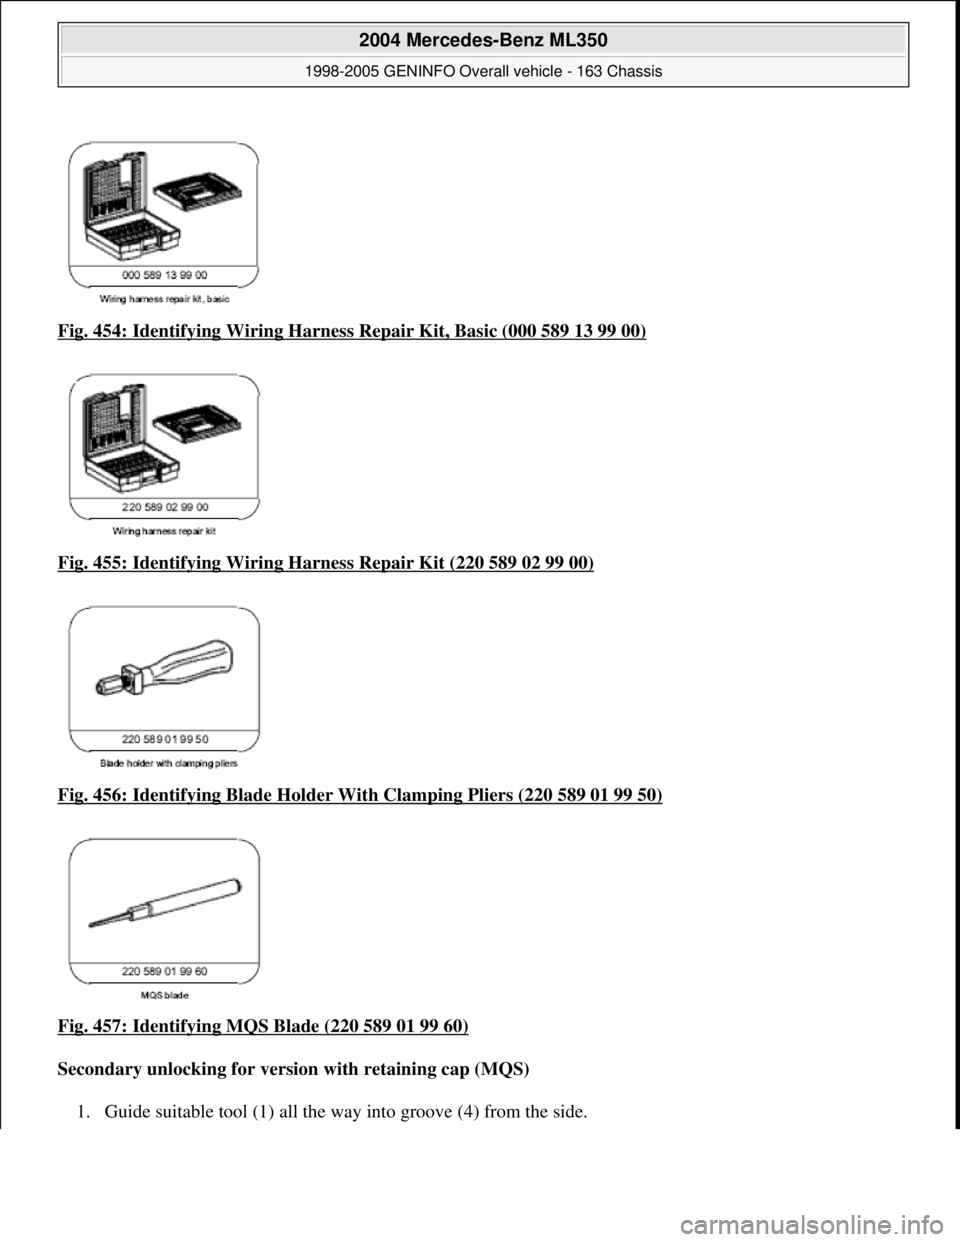
Fig. 454: Identifying Wiring Harness Repair Kit, Basic (000 589 13 99 00)
Fig. 455: Identifying Wiring Ha rness Repair Kit (220 589 02 99 00)
Fig. 456: Identifying Blad e Holder With Clamping Pliers (220 589 01 99 50)
Fig. 457: Identifying MQS Blade (220 589 01 99 60)
Secondary unlocking for version with retaining cap (MQS)
1. Guide suitable tool (1) all the wa
y into groove (4) from the side.
2004 Mercedes-Benz ML350
1998-2005 GENINFO Overall vehicle - 163 Chassis
me
Saturday, October 02, 2010 3:47:49 PMPage 303 © 2006 Mitchell Repair Information Company, LLC.
Page 2949 of 4133
2. Remove retaining cap (2) from coupli ng housing (3) in direction of arrow.
Shown on 3/3-pin MQS coupling
Fig. 458: Retaining Cap From Coupling Housing
- Shown On 3/3-Pin MQS Coupling
Secondary unlocking for version with retaining housing (MQS)
1. Lift locking catch (2) of retaining cap (4) using a suitable tool (1).
2. Pull coupling housing (3) from retaining cap (4) in direction shown by arrow.
Shown on a 3/3-pin MQS/MCP coupling
2004 Mercedes-Benz ML350
1998-2005 GENINFO Overall vehicle - 163 Chassis
me
Saturday, October 02, 2010 3:47:49 PMPage 304 © 2006 Mitchell Repair Information Company, LLC.
Page 2950 of 4133
Fig. 459: Pulling Coupling Housing From Retaining Cap - Shown On A 3/3-Pin MQS/MCP Coupling
Secondary unlocking for version with cap (MQS)
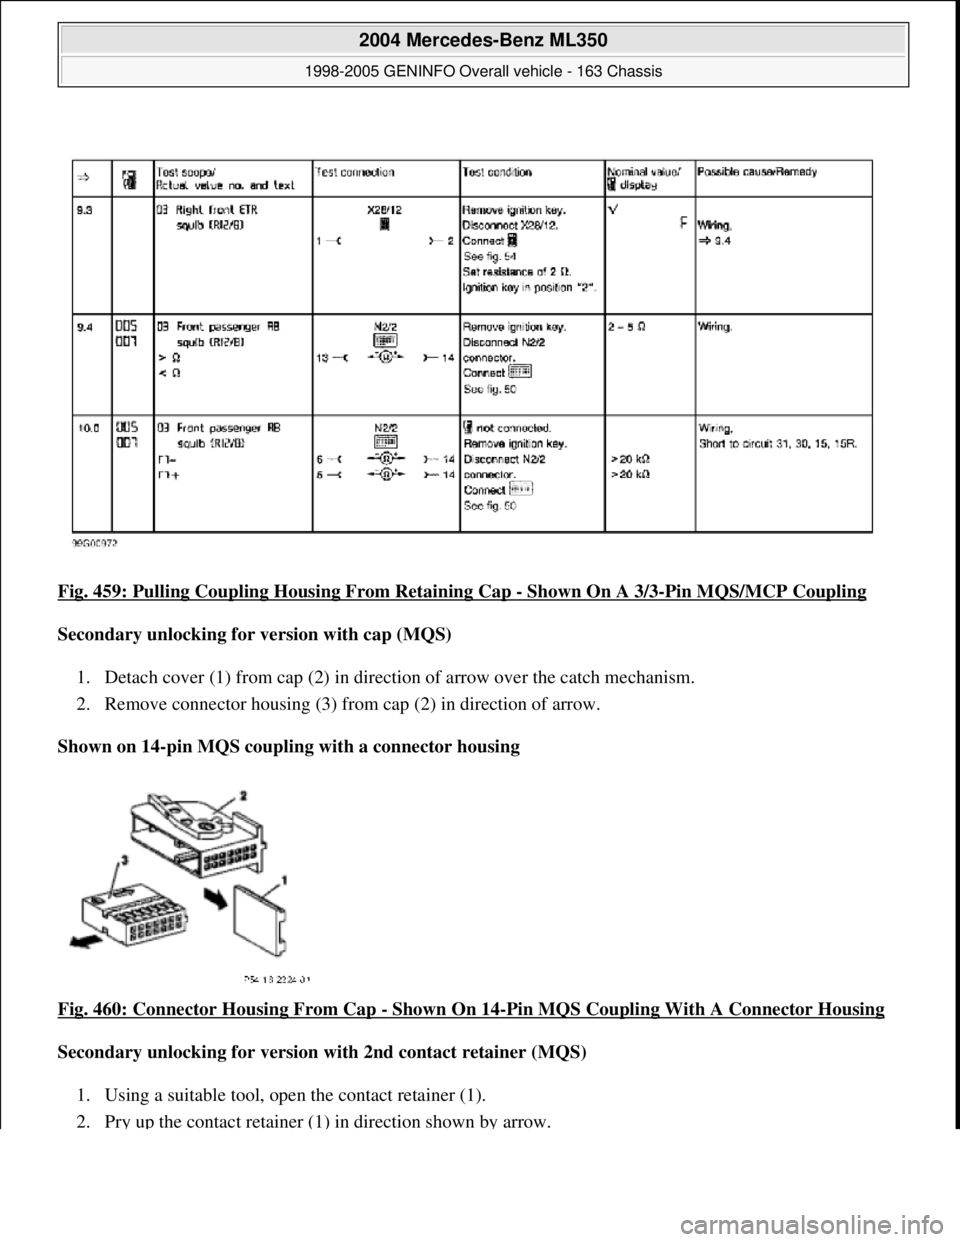
1. Detach cover (1) from cap (2) in direct ion of arrow over the catch mechanism.
2. Remove connector housing (3) from cap (2) in direction of arrow.
Shown on 14-pin MQS coupling with a connector housing
Fig. 460: Connector Housing From Cap
- Shown On 14-Pin MQS Coupling With A Connector Housing
Secondary unlocking for version with 2nd contact retainer (MQS)
1. Using a suitable tool, open the contact retainer (1).
2. Pr
y up the contact retainer (1) in direction shown by arrow.
2004 Mercedes-Benz ML350
1998-2005 GENINFO Overall vehicle - 163 Chassis
me
Saturday, October 02, 2010 3:47:49 PMPage 305 © 2006 Mitchell Repair Information Company, LLC.
Trending: climate settings, timing belt, belt, reset sun roof, change key battery, oil capacity, wiring diagram
