window MERCEDES-BENZ R-CLASS MPV 2008 Service Manual
[x] Cancel search | Manufacturer: MERCEDES-BENZ, Model Year: 2008, Model line: R-CLASS MPV, Model: MERCEDES-BENZ R-CLASS MPV 2008Pages: 373, PDF Size: 6.75 MB
Page 218 of 373

Features
215
X
Use æ orç on the multi-function
steering wheel to select the Vehiclesub-
menu.
X Keep pressing jork until the Com-
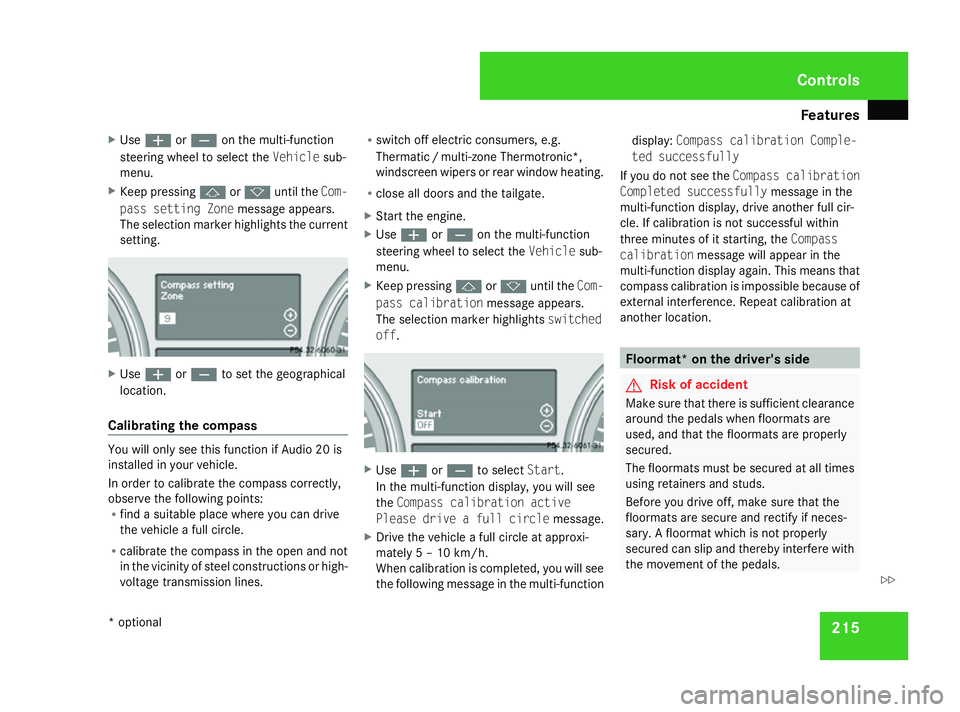
pass setting Zone message appears.
The selection marker highlights the current
setting. X
Use æ orç to set the geographical
location.
Calibrating the compass You will only see this function if Audio 20 is
installed in your vehicle.
In order to calibrate the compass correctly,
observe the following points:
R find a suitable place where you can drive
the vehicle a full circle.
R calibrate the compass in the open and not
in the vicinity of steel constructions or high-
voltage transmission lines. R
switch off electric consumers, e.g.
Thermati c/multi-zone Thermotronic*,
windscreen wipers or rear window heating.
R close all doors and the tailgate.
X Start the engine.
X Use æ orç on the multi-function
steering wheel to select the Vehiclesub-
menu.
X Keep pressing jork until the Com-
pass calibration message appears.
The selection marker highlights switched
off . X
Use æ orç to select Start.
In the multi-function display, you will see
the Compass calibration active
Please drive a full circle message.
X Drive the vehicle a full circle at approxi-
mately 5 – 10 km/h.
When calibration is completed, you will see
the following message in the multi-function display:
Compass calibration Comple-
ted successfully
If you do not see the Compass calibration
Completed successfully message in the
multi-function display, drive another full cir-
cle. If calibration is not successful within
three minutes of it starting, the Compass
calibration message will appear in the
multi-function display again. This means that
compass calibration is impossible because of
external interference. Repeat calibration at
another location. Floormat* on the driver's side
G
Risk of accident
Make sure that there is sufficient clearance
around the pedals when floormats are
used, and that the floormats are properly
secured.
The floormats must be secured at all times
using retainers and studs.
Before you drive off, make sure that the
floormats are secure and rectify if neces-
sary. A floormat which is not properly
secured can slip and thereby interfere with
the movement of the pedals. Controls
* optional
251_AKB; 5; 7, en-GB
wobuchh,
Version: 2.10.6 2008-05-11T14:51:51+02:00 - Seite 215 ZDateiname: 6515_1825_02_buchblock.pdf; preflight
Page 247 of 373

Care
244 H
Environmental note
Dispose of empty packaging, cleaning
cloths and polishing wads in an environ-
mentally responsible manner.
! Do not affix:
R stickers
R films
R magnetic plates or similar items
to painted surfaces, otherwise you could
damage the paintwork. Vehicle care
! Do not park the vehicle for a long period
of time directly after cleaning, especially if
the wheels have just been cleaned with a
wheel cleaner. Wheel cleaners could cause
rapid corrosion of the brake discs and
brake pads/linings. After cleaning, park
the vehicle when it is at normal operating
temperature.
Automatic car wash You can wash the vehicle in an automatic car
wash from the very start. !
Do not use a touch-free automatic car
wash that uses chemical agents to wash
the vehicle.
Preferably use one without brushes.
If the vehicle is very dirty, prewash it before
cleaning it in an automatic car wash.
! Make sure that the automatic car wash is
suitable for the size of the vehicle. Fold in
the exterior mirrors before the vehicle is
washed. There is otherwise a risk of dam-
age to the exterior mirrors.
! Make sure that the automatic transmis-
sion is not in position Pwhen washing your
vehicle in an automatic car wash.
R Vehicles with a key:
Do not remove the key from the ignition
lock. Do not open the driver's or front-
passenger door when the engine is
switched off, as this automatically shifts
the automatic transmission to park posi-
tion Pand locks the wheels, unless you
have shifted the automatic transmission
to N.
R Vehicles with KEYLESS GO*:
Do not open the driver's or front-
passenger door when the engine is
switched off, as this shifts the automatic transmission to park position
Pand locks
the wheels.
! Make sure the side windows are com-
pletely closed, the ventilation/heater
blower is fully turned off and the wind-
screen wiper switch is set to 0. The rain
sensor may otherwise be activated, for
instance, leading to inadvertent wiper
sweeps being triggered. This could cause
damage to the vehicle.
After using an automatic car wash, wipe off
wax from the windscreen and the wiper
blades. This will prevent smears and reduce
wiping noises caused by residue on the wind-
screen.
High-pressure cleaners G
Risk of accident
Do not use high-pressure cleaners with cir-
cular-jet nozzles (dirt grinders) to clean
your vehicle or - especially - the tyres. You
could otherwise damage the tyres and
cause an accident.
! Observe the instructions issued by the
equipment manufacturer concerning the
distance to be maintained between the Operation
* optional
251_AKB; 5; 7, en-GB
wobuchh,
Version: 2.10.6 2008-05-11T14:51:51+02:00 - Seite 244Dateiname: 6515_1825_02_buchblock.pdf; preflight
Page 248 of 373

Care
245
nozzle of the high-pressure cleaner and the
vehicle (at least 30 cm).
Move the high-pressure cleaner nozzle
around when cleaning your vehicle.
Do not aim directly at any of the following:
R
tyres
R door joint
R electrical components
R battery
R connectors
R lights
R seals
Damaged seals or electrical components
can lead to failures or leaks.
Cleaning the wiper blades and the out-
side of the windscreen G
Risk of injury
Turn the key to position 0in the ignition
lock before cleaning the windscreen or the
wiper blades. There is otherwise a risk of
the windscreen wipers being set in motion
and causing injury. X
Turn the key to position 1(Y page 76)in the
ignition lock.
X Set the windscreen wipers to position u
(Y page 104) on the combination switch.
X Turn the key to position 0(Y page 76)or
remove it when the wiper arms are vertical.
! Only fold the wiper arms away from the
windscreen when they are in a vertical posi-
tion, otherwise you will damage the bonnet.
X Fold the wiper arms away from the wind-
screen until you feel them engage.
X Clean the windscreen and the wiper blades.
X Fold the windscreen wipers back again
before the ignition is switched on.
! Do not clean the wiper blades too often
as this will result in the rubber becoming
porous, leading to wiper noise.
Cleaning the windows !
Do not use dry cloths, abrasive products,
solvents or cleaning agents containing sol-
vents to clean the inside of the windows.
Clean the insides of the windows with a
damp cloth or commercially-available glass
cleaner. Avoid touching the inside of the
rear windscreen and the side windows with hard objects, e.g. ice scrapers or rings. You
could otherwise cause damage to the win-
dows, rear window heating or aerial on the
rear window.
i Anti-glare film retrofitted to the insides of
the windows could interfere with radio or
mobile phone reception, especially if it is
conductive or metal-coated film. Informa-
tion about anti-glare film can be obtained
from any Mercedes-Benz Service Centre.
Cleaning the headlamps X
Clean the plastic lenses of the headlamps
with a damp sponge.
! Only use washer fluid which is suitable
for plastic lenses. Unsuitable washer fluid
could damage the plastic lenses of the
headlamps.
Do not use the following:
R dry cloths
R abrasive cleaning agents
R solvents
R cleaning agents containing solvent
You could otherwise scratch or damage the
surface of the lenses. Operation
251_AKB; 5; 7, en-GB
wobuchh,
Version: 2.10.6 2008-05-11T14:51:51+02:00 - Seite 245 ZDateiname: 6515_1825_02_buchblock.pdf; preflight
Page 273 of 373

Display
messages 270 Display messages Possible cause/consequence Possible solution
B Top up coolant See
Owner's Manual The coolant level is too low. X
Top up the coolant, observing the warning
notes before doing so (Y page 223).
X Have the coolant system checked at a qualified
specialist workshop if the coolant needs top-
ping up more often than usual. . Left-hand Corner-
ing light
or
Right-hand Corner-
ing light The left-hand and/or right-hand cornering
lamp* is faulty. X
Replace the bulb (Y page 306).. Left-hand dipped
beam
or
Right-hand dipped
beam The right-hand or left-hand dipped-beam
headlamp is faulty. X
Halogen headlamp: replace the bulb
(Y page 306).
X Bi-xenon headlamp*: visit a qualified special-
ist workshop. . AUTO lights inop-
erative The light sensor is faulty. Constant head-
lamp mode is switched on. X
Switch the lights to manual control in the on-
board computer (Y page 132).
X Switch the lights on and off using the light
switch. . Trailer Left-hand
turn signal
or
Trailer Right-hand
turn signal There is a malfunction in the left- or right-
hand windowbag. X
Replace the bulb. Practical advi
ce
* optional
251_AKB; 5; 7, en-GB
wobuchh,
Version: 2.10.6 2008-05-11T14:51:51+02:00 - Seite 270Dateiname: 6515_1825_02_buchblock.pdf; preflight
Page 282 of 373

Troubleshooting
279Problem Possible cause/consequence Suggested solutions
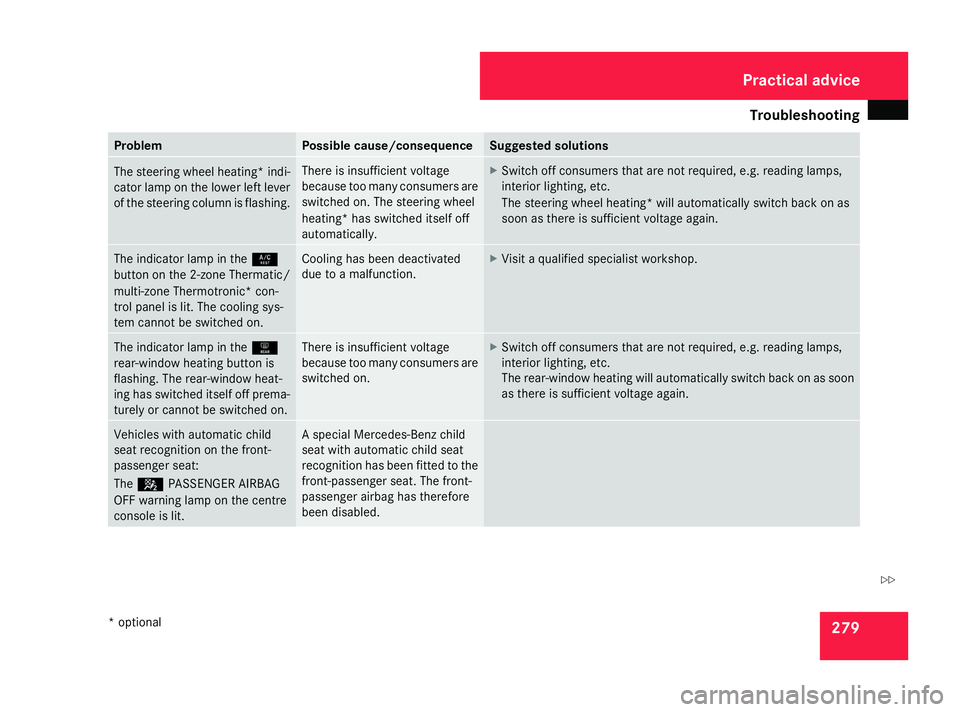
The steering wheel heating* indi-
cator lamp on the lower left lever
of the steering column is flashing. There is insufficient voltage
because too many consumers are
switched on. The steering wheel
heating* has switched itself off
automatically. X
Switch off consumers that are not required, e.g. reading lamps,
interior lighting, etc.
The steering wheel heating* will automatically switch back on as
soon as there is sufficient voltage again. The indicator lamp in the
9
button on the 2-zone Thermatic/
multi-zone Thermotronic* con-
trol panel is lit. The cooling sys-
tem cannot be switched on. Cooling has been deactivated
due to a malfunction. X
Visit a qualified specialist workshop. The indicator lamp in the
1
rear-window heating button is
flashing. The rear-window heat-
ing has switched itself off prema-
turely or cannot be switched on. There is insufficient voltage
because too many consumers are
switched on. X
Switch off consumers that are not required, e.g. reading lamps,
interior lighting, etc.
The rear-window heating will automatically switch back on as soon
as there is sufficient voltage again. Vehicles with automatic child
seat recognition on the front-
passenger seat:
The 5 PASSENGER AIRBAG
OFF warning lamp on the centre
console is lit. A special Mercedes-Benz child
seat with automatic child seat
recognition has been fitted to the
front-passenger seat. The front-
passenger airbag has therefore
been disabled. Practical advice
* optional
251_AKB; 5; 7, en-GB
wobuchh
,V ersion: 2.10.6
2008-05-11T14:51:51+02:00 - Seite 279 ZDateiname: 6515_1825_02_buchblock.pdf; preflight
Page 298 of 373

Troubleshooting
295Windows
Problem Possible cause/consequence Suggested solutions
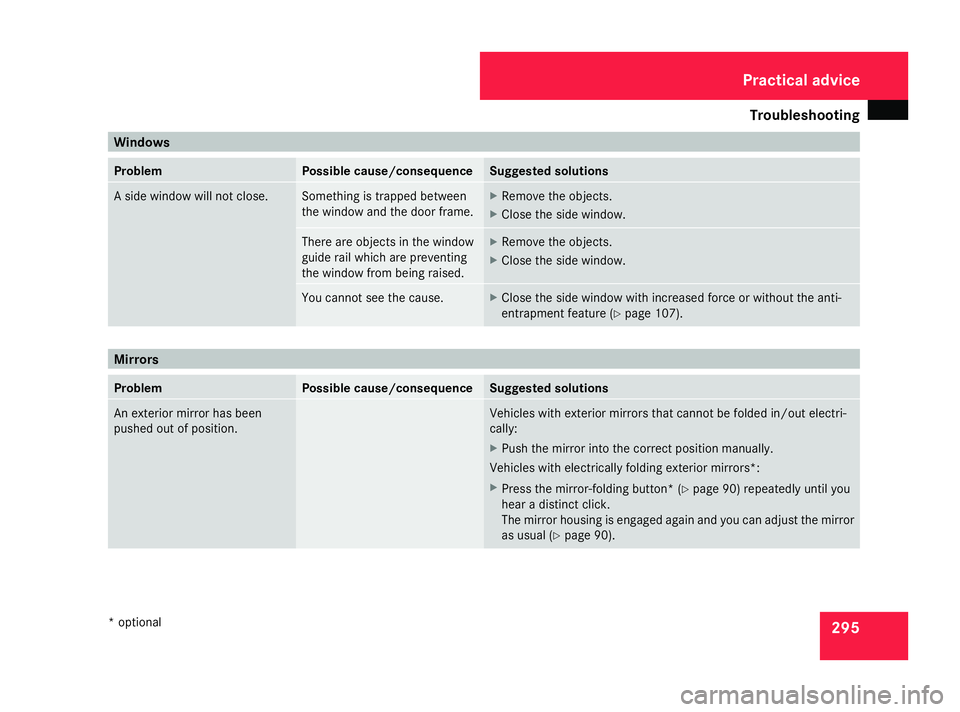
A side window will not close. Something is trapped between
the window and the door frame. X
Remove the objects.
X Close the side window. There are objects in the window
guide rail which are preventing
the window from being raised. X
Remove the objects.
X Close the side window. You cannot see the cause. X
Close the side window with increased force or without the anti-
entrapment feature ( Ypage 107). Mirrors
Problem Possible cause/consequence Suggested solutions
An exterior mirror has been
pushed out of position. Vehicles with exterior mirrors that cannot be folded in/out electri-
cally:
X Push the mirror into the correct position manually.
Vehicles with electrically folding exterior mirrors*:
X Press the mirror-folding button* ( Ypage 90) repeatedly until you
hear a distinct click.
The mirror housing is engaged again and you can adjust the mirror
as usual (Y page 90). Practical advice
* optional
251_AKB; 5; 7, en-GB
wobuchh
,V ersion: 2.10.6
2008-05-11T14:51:51+02:00 - Seite 295 ZDateiname: 6515_1825_02_buchblock.pdf; preflight
Page 315 of 373

Replacing the wiper blades
312
Fitting
1
Wiper blade
2 Retaining clips
3 Folding direction
4 Bracket
5 Lug
6 Recess
X Position new wiper blade 1with
recess 6on lug 5.
X Fold wiper blade 1in the direction of
arrow 3onto the wiper arm, until retaining
clips 2engage in bracket 4.X
Make sure that wiper blade 1is seated
correctly.
X Fold the wiper arm back onto the wind-
screen. Rear window wiper blade
G
Risk of injury
The wiper arm could be set in motion and
injure you if the windscreen wipers are
switched on.
Remove the key from the ignition lock
before replacing the wiper blade.
Removing 1
Wiper arm
2 Wiper blade X
Remove the key from the ignition lock.
X Fold wiper arm 1away from the rear win-
dow until it engages.
X Position wiper blade 2at a right angle to
wiper arm 1.
X Hold wiper arm 1and press wiper
blade 2in the direction of the arrow until
it releases.
X Remove wiper blade 2.
Fitting X
Place the new wiper blade 2onto wiper
arm 1.
X Hold wiper arm 1and press wiper blade
2 in the opposite direction to the arrow
until it engages.
X Make sure that wiper blade 2is seated
correctly.
X Position wiper blade 2parallel to wiper
arm 1.
X Fold wiper arm 1back onto the rear win-
dow. Practical advice
251_AKB; 5; 7, en-GB
wobuchh,
Version: 2.10.6 2008-05-11T14:51:51+02:00 - Seite 312Dateiname: 6515_1825_02_buchblock.pdf; preflight
Page 331 of 373

Battery
328
!
Only charge the installed battery with a
battery charger which has been tested and
approved by Mercedes-Benz. These battery
chargers allow the battery to be charged
while it is still installed. Otherwise, the vehi-
cle's electronic system may be damaged.
! Only use battery chargers with a maxi-
mum charging voltage of 14.8 V.
X Charge the battery. Observe the notes in
the operating instructions for your battery
charger.
X Refit the charged battery.
To do this, follow the steps described in
"Removing the battery" (Y page 327) in
reverse order.
i You can charge the battery using the
jump-start terminals. These are located on
the right when viewed in the direction of
travel.
X Open the bonnet (Y page 220). Jump-start terminals
1
Body earth point (negative terminal)
2 Positive terminal (under cover)
3 Cover Reconnecting the battery
! Always reconnect the battery in the
sequence described below. Never swap the
terminal clamps. You may otherwise dam-
age the vehicle electronics.
X Switch off all electrical consumers.
X Connect the positive terminal clamp and
secure the cover.
X Connect the negative terminal clamp.
X Connect the breather hose. Make sure that
a cell cap is fitted is fitted on the side. i
If the battery power supply has been inter-
rupted (e.g. if it has been reconnected), you
must carry out the following tasks:
R Set the time (Y page 132).
On vehicles with COMAND and a naviga-
tion system*, the clock is set automati-
cally
R Reset the sliding/tilting sun-
roof* (Y page 180).
R Reset the panorama sliding/tilting sun-
roof (Y page 183).
R Reset the function for folding the exterior
mirrors in/out automatically* by folding
the mirrors out once ( Ypage 91).
R Reset the side windows (Y page 107)Practical advice
* optional
251_AKB; 5; 7, en-GB
wobuchh
, Version: 2.10.6
2008-05-11T14:51:51+02:00 - Seite 328 Dateiname: 6515_1825_02_buchblock.pdf; preflight