MERCEDES-BENZ S-Class 2013 W221 Owner's Manual
Manufacturer: MERCEDES-BENZ, Model Year: 2013, Model line: S-Class, Model: MERCEDES-BENZ S-Class 2013 W221Pages: 542, PDF Size: 7.97 MB
Page 301 of 542
Setting the temperature in the rear
compartment using the front control
panel X
Turn the SmartKey to position 2in the
ignition lock.
X Activate the "rear 0007" function via
COMAND (Y page 273).
Using the "rear 0007" function, the rear-
compartment climate control can be
controlled via the front control panel.
X To increase/reduce: press the0012
rocker switch up or down.
Only change the temperature setting in
small increments. Start at 72 ‡ (22 † ).
i To return to the standard display, activate
the front climate control function via
COMAND (Y page 273).
i The rear display changes to the standard
display automatically after five seconds.
Setting the temperature in the rear
compartment using the rear control
panel X
Turn the SmartKey to position 2in the
ignition lock.
X To increase/reduce: press rocker
switch 001Cor0022 up or down (Y page 295).
Only change the temperature setting in
small increments. Start at 72 ‡ (22 † ).
Setting the footwell temperature The footwell temperature can be set via
COMAND (Y page 272). Setting the air distribution
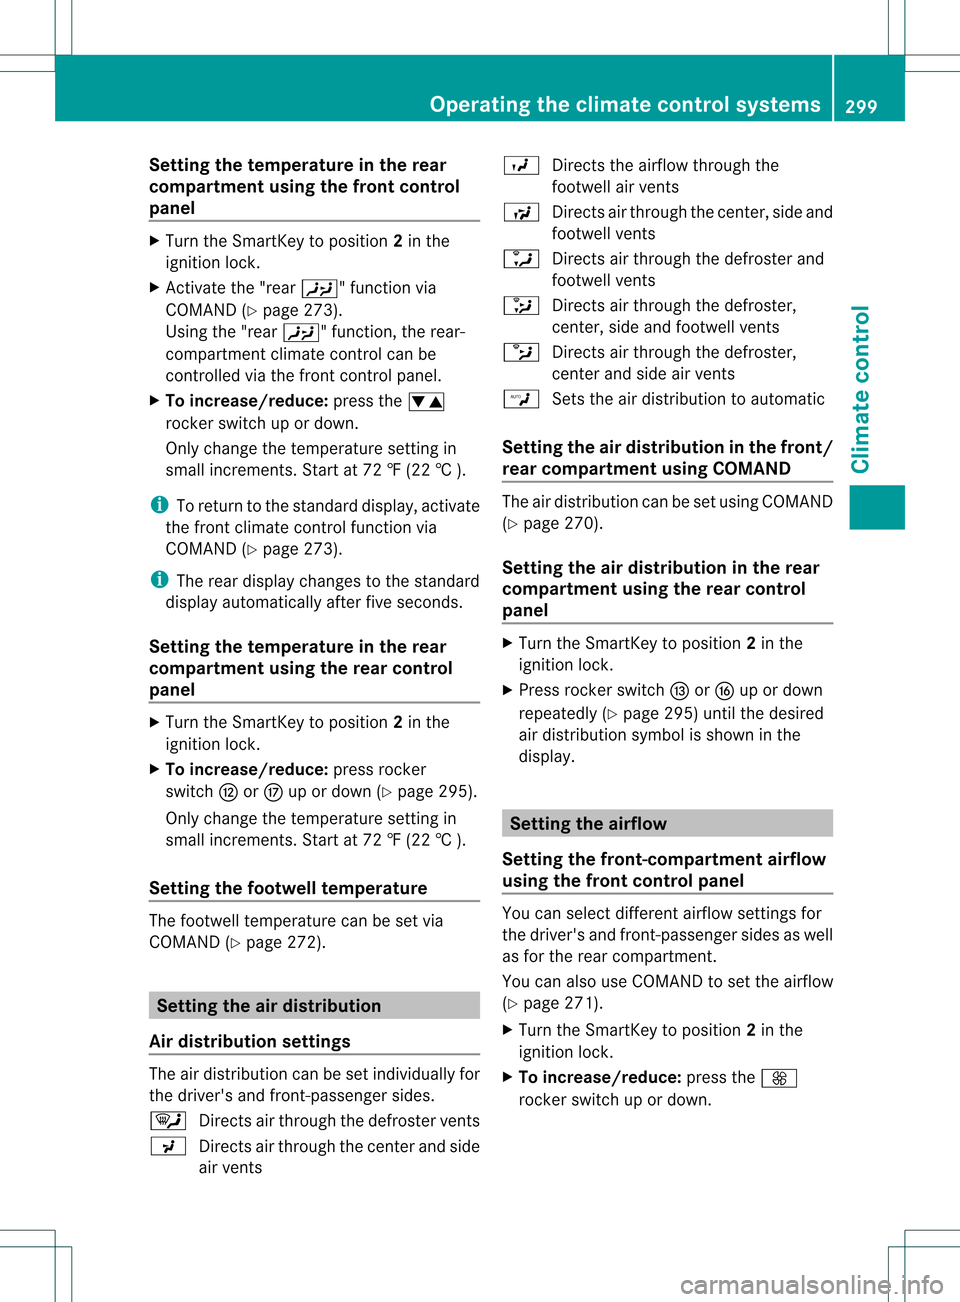
Air distribution settings The air distribution can be set individually for
the driver's and front-passenger sides.
0005 Directs air through the defroster vents
0018 Directs air through the center and side
air vents 0017
Directs the airflow through the
footwell air vents
0019 Directs air through the center, side and
footwell vents
0013 Directs air through the defroster and
footwell vents
0015 Directs air through the defroster,
center, side and footwell vents
0014 Directs air through the defroster,
center and side air vents
0006 Sets the air distribution to automatic
Setting the air distribution in the front/
rear compartment using COMAND The air distribution can be set using COMAND
(Y
page 270).
Setting the air distribution in the rear
compartment using the rear control
panel X
Turn the SmartKey to position 2in the
ignition lock.
X Press rocker switch 001Dor0021 up or down
repeatedly (Y page 295) until the desired
air distribution symbol is shown in the
display. Setting the airflow
Setting the front-compartment airflow
using the front control panel You can select different airflow settings for
the driver's and front-passenger sides as well
as for the rear compartment.
You can also use COMAND to set the airflow
(Y
page 271).
X Turn the SmartKey to position 2in the
ignition lock.
X To increase/reduce: press the0016
rocker switch up or down. Operating the climate control systems
299Climate control Z
Page 302 of 542
Setting the rear-compartment airflow
using the front control panel X
Turn the SmartKey to position 2in the
ignition lock.
X Activate the 0007rear compartment
function via COMAND (Y page 273).
The rear-compartment climate control can
be controlled via the front control panel
using the 0007rear compartment function.
X To increase/reduce: press the0016
rocker switch up or down.
Setting the rear-compartment airflow
using the rear control panel X
Turn the SmartKey to position 2in the
ignition lock.
X To increase/reduce: press rocker switch
001E up or down (Y page 295). Defrosting the windshield
You can use this function to defrost the
windshield or to defrost the inside of the
windshield and the side windows.
i You should only select the defrosting
function until the windshield is clear again.
X Turn the SmartKey to position 2in the
ignition lock.
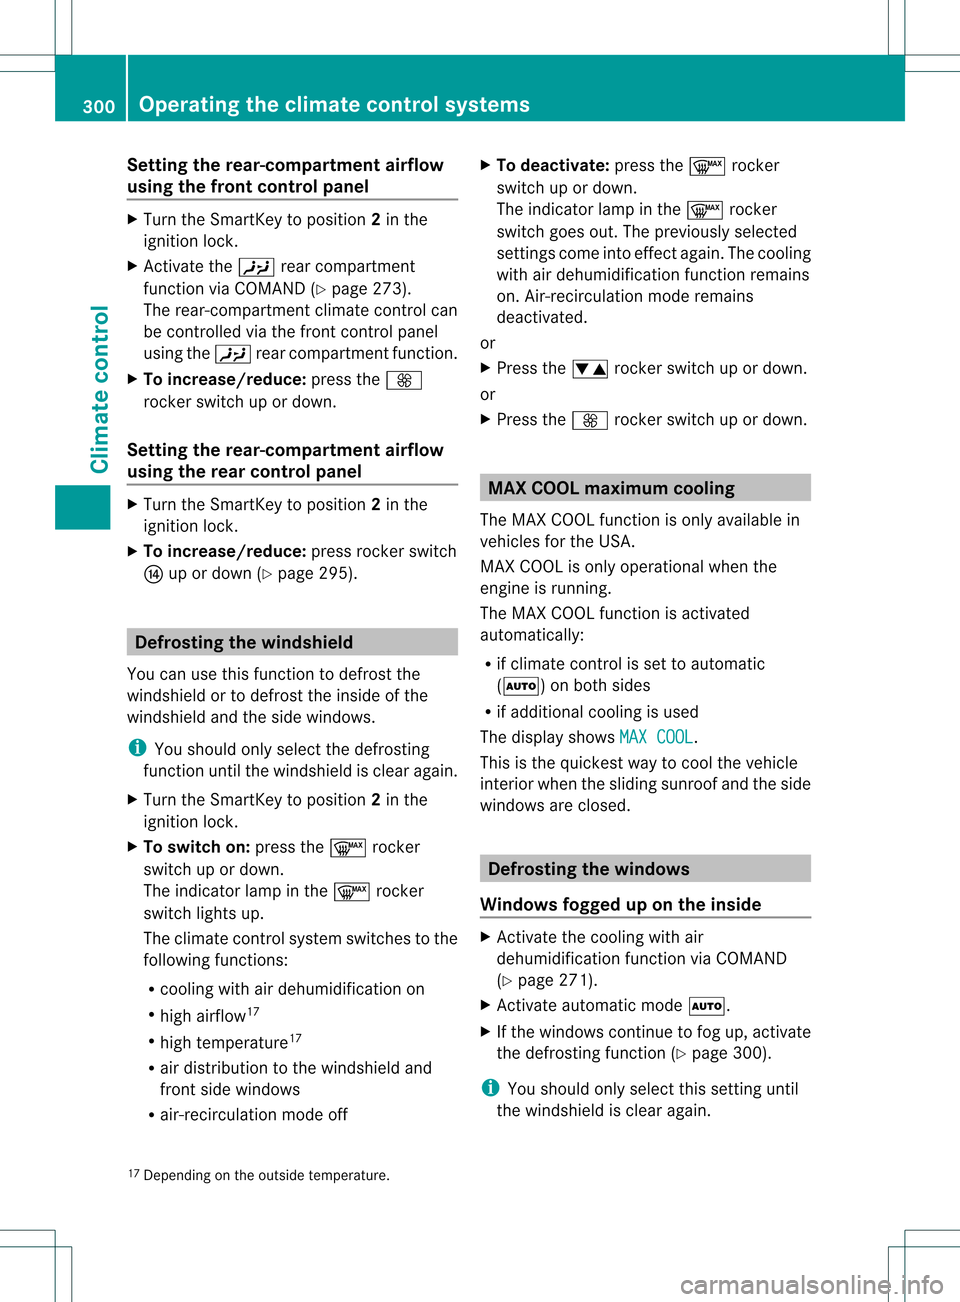
X To switch on: press the0008rocker
switch up or down.
The indicator lamp in the 0008rocker
switch lights up.
The climate control system switches to the
following functions:
R cooling with air dehumidification on
R high airflow 17
R high temperature 17
R air distribution to the windshield and
front side windows
R air-recirculation mode off X
To deactivate: press the0008rocker
switch up or down.
The indicator lamp in the 0008rocker
switch goes out. The previously selected
settings come into effect again. The cooling
with air dehumidification function remains
on. Air-recirculation mode remains
deactivated.
or
X Press the 0012rocker switch up or down.
or
X Press the 0016rocker switch up or down. MAX COOL maximum cooling
The MAX COOL function is only available in
vehicles for the USA.
MAX COOL is only operational when the
engine is running.
The MAX COOL function is activated
automatically:
R if climate control is set to automatic
(0004) on both sides
R if additional cooling is used
The display shows MAX COOL .
This is the quickest way to cool the vehicle
interior when the sliding sunroof and the side
windows are closed. Defrosting the windows
Windows fogged up on the inside X
Activate the cooling with air
dehumidification function via COMAND
(Y page 271).
X Activate automatic mode 0004.
X If the windows continue to fog up, activate
the defrosting function (Y page 300).
i You should only select this setting until
the windshield is clear again.
17 Depending on the outside temperature. 300
Operating the climate control systemsClimate control
Page 303 of 542
Windows fogged up on the outside
X
Switch on the windshield wipers.
X Activate automatic climate control.
i You should only select this setting until
the windshield is clea ragain. Rear window defroster
Activating/deactivating G
WARNING
Any accumulation of snow and ice should be
removed from the rear window before driving.
Visibility could otherwise be impaired,
endangering you and others.
The rear window defroster has a high current
draw. You should therefore switch it off as
soon as the window is clear. Otherwise, the
rear window defroster switches off
automatically after several minutes.
If the battery voltage is too low, the rear
window defroster may switch off.
X Turn the SmartKey to position 2in the
ignition lock.
X Press the 000Brocker switch up or down.
The indicator lamp in the 000Brocker
switch lights up or goes out.
Problems with the rear window
defroster The rear window defroster has deactivated
prematurely or cannot be activated.
X
Switch off any consumers that are not
required, e.g. reading lamps or interior
lighting.
When the battery is sufficiently charged,
the rear window defroster is activated
again automatically. Activating/deactivating air-
recirculation mode
You can deactivate the flow of fresh air if
unpleasant odors are entering the vehicle
from outside. The air already inside the
vehicle will then be recirculated. G
WARNING
Fogged windows impair visibility,
endangering you and others. If the windows
begin to fog on the inside, switching off the
air recirculation mode immediately should
clear interior window fogging. If interior
window fogging persists, make sure the air
conditioning is activated, or press the 0008
button.
X Turn the SmartKey to position 2in the
ignition lock.
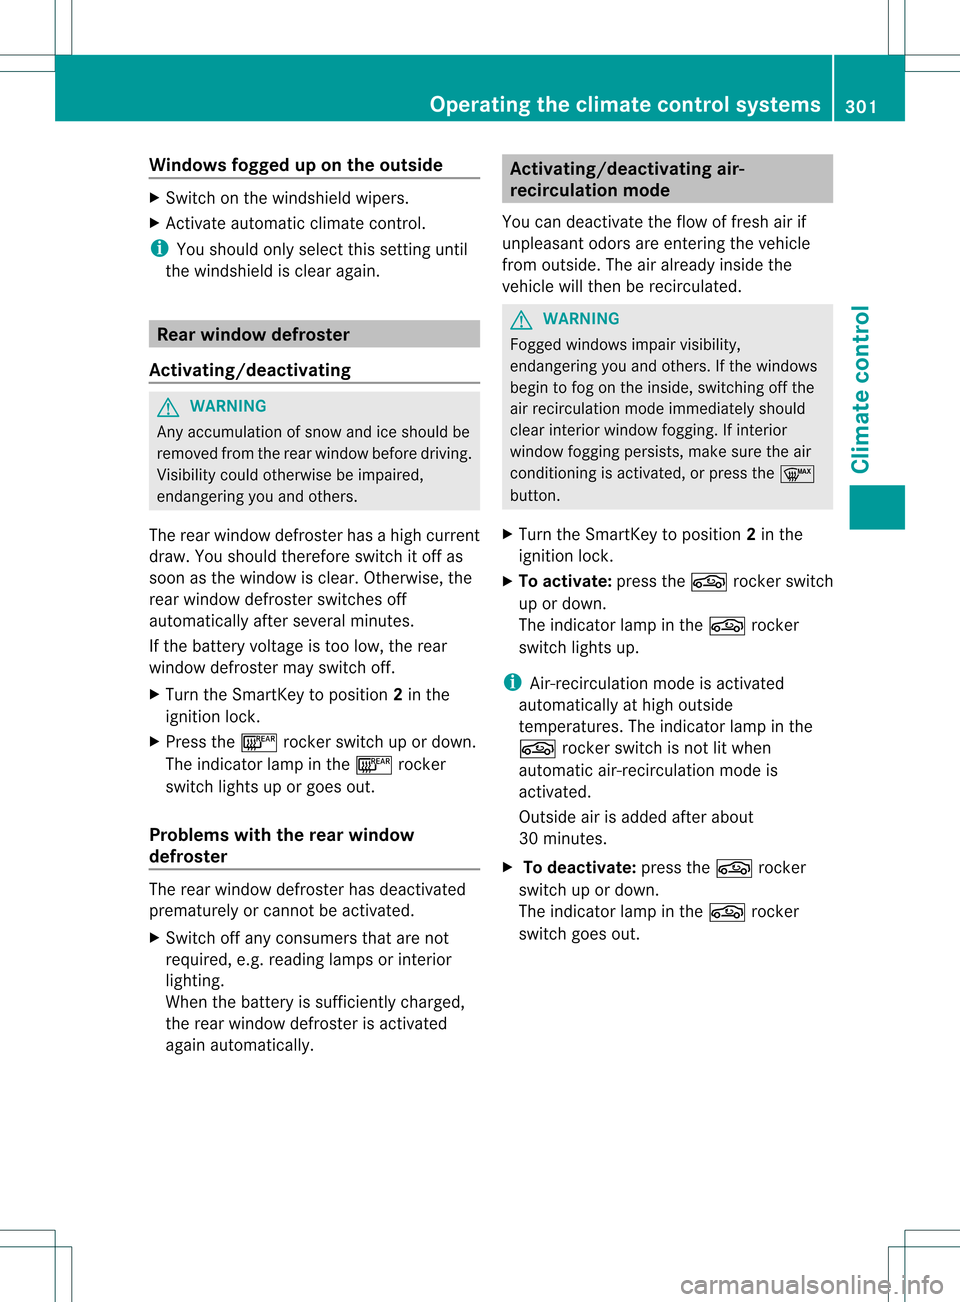
X To activate: press the0010rocker switch
up or down.
The indicator lamp in the 0010rocker
switch lights up.
i Air-recirculation mode is activated
automatically at high outside
temperatures. The indicator lamp in the
0010 rocker switch is not lit when
automatic air-recirculation mode is
activated.
Outside air is added after about
30 minutes.
X To deactivate: press the0010rocker
switch up or down.
The indicator lamp in the 0010rocker
switch goes out. Operating the climate control systems
301Climate control Z
Page 304 of 542

i
Air-recirculatio nmode deactivates
automatically:
R after approximately five minutes at
outside temperatures below
approximately 41 ‡ (5 †)
R after approximately five minutes if
cooling with air dehumidification is
deactivated
R after approximately 30 minutes at
outside temperatures above
approximately 41 ‡ (5 †) Activating/deactivating the residual
heat function
It is possible to make use of the residual heat
of the engine to continue heating the
stationary vehicle for up to 30 minutes after
the engine has been switched off. The heating
time depends on the temperature that has
been set.
i The blower will run at a low speed
regardless of the airflow setting.
i If you activate the residual heat function
at high temperatures, only the ventilation
will be activated. The blower runs at
medium speed.
X Turn the SmartKey to position 0in the
ignition lock or remove it.
X To activate: press the0002rocker switch
up or down.
The indicator lamp in the 0002rocker
switch lights up.
X To deactivate: press the0002rocker
switch up or down.
The indicator lamp in the 0002rocker
switch goes out.
i Residual heat is deactivated
automatically:
R after about 30 minutes
R when the ignition is switched on
R if the battery voltage drops
R if the coolant temperature is too low Setting the air vents
Important safety notes
G
WARNING
When operating the climate control, the air
that enters the passenger compartment
through the air vents can be very hot or very
cold (depending on the set temperature). This
could cause burns or frostbite to unprotected
skin in the immediate area of the air vents.
Always keep sufficient distance between
unprotected parts of the body and the air
vents. If necessary, use the air distribution
adjustmen tto direct the air to air vents in the
vehicle interior that are not in the immediate
area of unprotected skin.
In order to ensure the direct flow of fresh air
through the air vents into the vehicle interior,
please observe the following notes:
R keep the air intake grille on the hood free
of blockages, such as ice, snow or leaves
R never cover the air vents or air intake grille
in the vehicle interior.
i For virtually draft-free ventilation, adjust
the sliders of the air vents to the center
position. Setting the center air vents
0002
Fixed center air vent
0003 Center air vent, right
0026 Center vent thumbwheel, right 302
Setting the air ventsClimate control
Page 305 of 542

0025
Cente rvent thumbwheel, left
0023 Center air vent, left
X To open/close: turn thumbwheels 0026
and 0025up or down. Setting the side air vents
X
To open/close: turn thumbwheel 0026up or
down.
i Side window defroster vent 0002is never
completely shut, even if side air vent 0003is
shut. Setting the glove box air vent
When automatic climate control is activated,
the glove box can be ventilated, for instance
to cool its contents. The level of airflow
depends on the airflow and air distribution
settings.
! Close the air vent when heating the
vehicle.
At high outside temperatures, open the air
vent and activate the "cooling with air
dehumidification" function .Otherwise,
temperature-sensitive items stored in the
glove bo xcould be damaged. X
To open: turn thumbwheel 0002counter-
clockwise from position 0007to position 0006.
X To close: turn thumbwheel 0002clockwise
from position 0006to position 0007. Setting the rear-compartment air
vents
Setting the center vents in the rear
compartment 0002
Rear-compartment air vent, left
0003 Rear-compartment air vent, right
0026 Rear-compartment air vent thumbwheel,
right
0025 Rear control panel for automatic climate
control
0023 Rear-compartment air vent thumbwheel,
left
X To open/close: turn thumbwheel 0026or
0023 to the right or left.
i In vehicles without rear-compartmen tair-
conditioning system: close the rear- Setting the air vents
303Climate control Z
Page 306 of 542

compartment ai
rvents when heating mode
is activated, as no warm air flows through
the rear vents in the basic heating setting.
Setting the B-pillar air vents 0002
B-pillar air vent
0003 Thumbwheel for B-pillar air vent
X To open/close: turn thumbwheel 0003to the
left or right. 304
Setting the air ventsClimate control
Page 307 of 542
Useful information
............................306
Breaking-in notes .............................. 306
Driving ............................................... 306
Automatic transmission ...................314
Refueling ............................................ 321
Parking ............................................... 327
Driving tips ........................................ 330
Driving systems ................................ 334 305Driving and parking
Page 308 of 542
Useful information
i This Operator's Manual describes all
models and all standard and optional
equipment of your vehicle available at the
time of publication of the Operator's
Manual. Country-specific differences are
possible. Please note that your vehicle may
not be equipped with all features
described. This also applies to safety-
related systems and functions.
i Please read the information on qualified
specialist workshops (Y page 31).Breaking-in notes
The first 1,000miles (1,500 km)
The more you look after the engine when it is
new, the more satisfied you will be with its
performance in the future.
R You should therefore drive at varying
vehicle and engine speeds for the first
1,000miles (1,500km).
R Avoid heavy loads, e.g. driving at full
throttle, during this period.
R Change gear in good time, before the
tachometer needle is 0001of the way to the
red area of the tachometer.
R Do not manually shift to a lower gear to
brake the vehicle.
R If possible, do not depress the accelerator
pedal past the point of resistance
(kickdown).
R Only select shift ranges 3,2or 1when
driving slowly, e.g. in mountainous terrain.
R If possible, for the first 1,000miles
(1,500km), drive in drive program E(in
AMG vehicles in drive program C).
After 1,000 miles (1,500km), you can
increase the engine speed gradually and bring
the vehicle up to full speed. Additional breaking-in notes for AMG
vehicles:
R
do not drive faster than 85 mph
(140 km/h) for the first 1,000 miles
(1,500 km).
R only allow the engine to reach a maximum
engine speed of 4,50 0rpm briefly.
R change gear in good time.
i You should also observe these breaking-
in notes if the engine or parts of the drive
train on your vehicle have been replaced.
i Always observe the respective speed
limits. Driving
Important safety notes
G
WARNING
Make sure absolutely no objects are
obstructing the pedals' range of movement.
Keep the driver's footwell clear of all
obstacles. If there are any floormats or
carpets in the footwell, make sure the pedals
still have sufficient clearance.
During sudden driving or braking maneuvers
the objects could get caught between the
pedals. You could then no longer brake or
accelerate. This could lead to accidents and
injury. G
WARNING
On slippery road surfaces, never downshif tin
order to obtain braking action. This could
result in drive wheel slip and reduced vehicle
control. Your vehicle's ABS will not prevent
this type of loss of control. G
WARNING
It is dangerous to shift the automatic
transmission out of parking position Por
neutral position Nif the engine speed is
higher than idle speed. If your foot is not firmly
on the brake pedal, the vehicle could
accelerate quickly forward or in reverse. You 306
DrivingDriving and parking
Page 309 of 542

could lose control of the vehicle and hit
someone or something .Only shift into gear
when the engine is idling normally and when
your right foo tis firmly on the brake pedal. G
WARNING
HYBRID vehicles: It is imperative that you read
the HYBRID Supplemental Operating
Instructions included in your vehicle literature
portfolio. You may otherwise not receive all
necessary safety information and warning for
the operation of your vehicle.
! Warm up the engine quickly. Do not use
the engine's full performance until it has
reached operating temperature.
Only shift the automatic transmission to
the desired drive position when the vehicle
is stationary.
Where possible, avoid spinning the drive
wheels when pulling away on slippery
roads. You could otherwise damage the
drive train.
! S63A MG: at low engine oil temperatures
below 68 ‡(+20 †), the maximum engine
speed is restricted in order to protect the
engine. To protect the engine and maintain
smooth engine operation, avoid driving at
full throttle when the engine is cold. SmartKey positions
SmartKey 0010
To remove the SmartKey
0005 Power supply for some consumers, such
as the windshield wipers
0006 Ignition (power supply for all consumers)
and drive position
0007 To star tthe engine
i The SmartKey can be turned in the
ignition lock even if it is not the correct
SmartKey for the vehicle. The ignition is not
switched on. The engine cannot be started.
KEYLESS-GO General information
Vehicles with KEYLESS-GO are equipped with
aS
martKey featuring an integrated KEYLESS-
GO function and a detachable Start/Stop
button.
The Start/Stop button must be inserted into
the ignitio nlock and the SmartKey must be in
the vehicle.
Pressing the Start/Stop button several times
in succession corresponds to the different
SmartKey positions in the ignition lock. This
is only the case if you are not depressing the
brake pedal.
If you depress the brake pedal and press the
Start/Stop button, the engine starts
immediately.
The Start/Stop button can be removed from
the ignition lock. Then, you can insert the
SmartKey into the ignition lock. Driving
307Driving and parking Z
Page 310 of 542
i
You do not have to remove the Start/Stop
button from the ignition lock when you
leave the vehicle. However, you should
always take the SmartKey with you when
leaving the vehicle. The vehicle can be
started with the Start/Stop button and the
electrical equipmen tcan be operated while
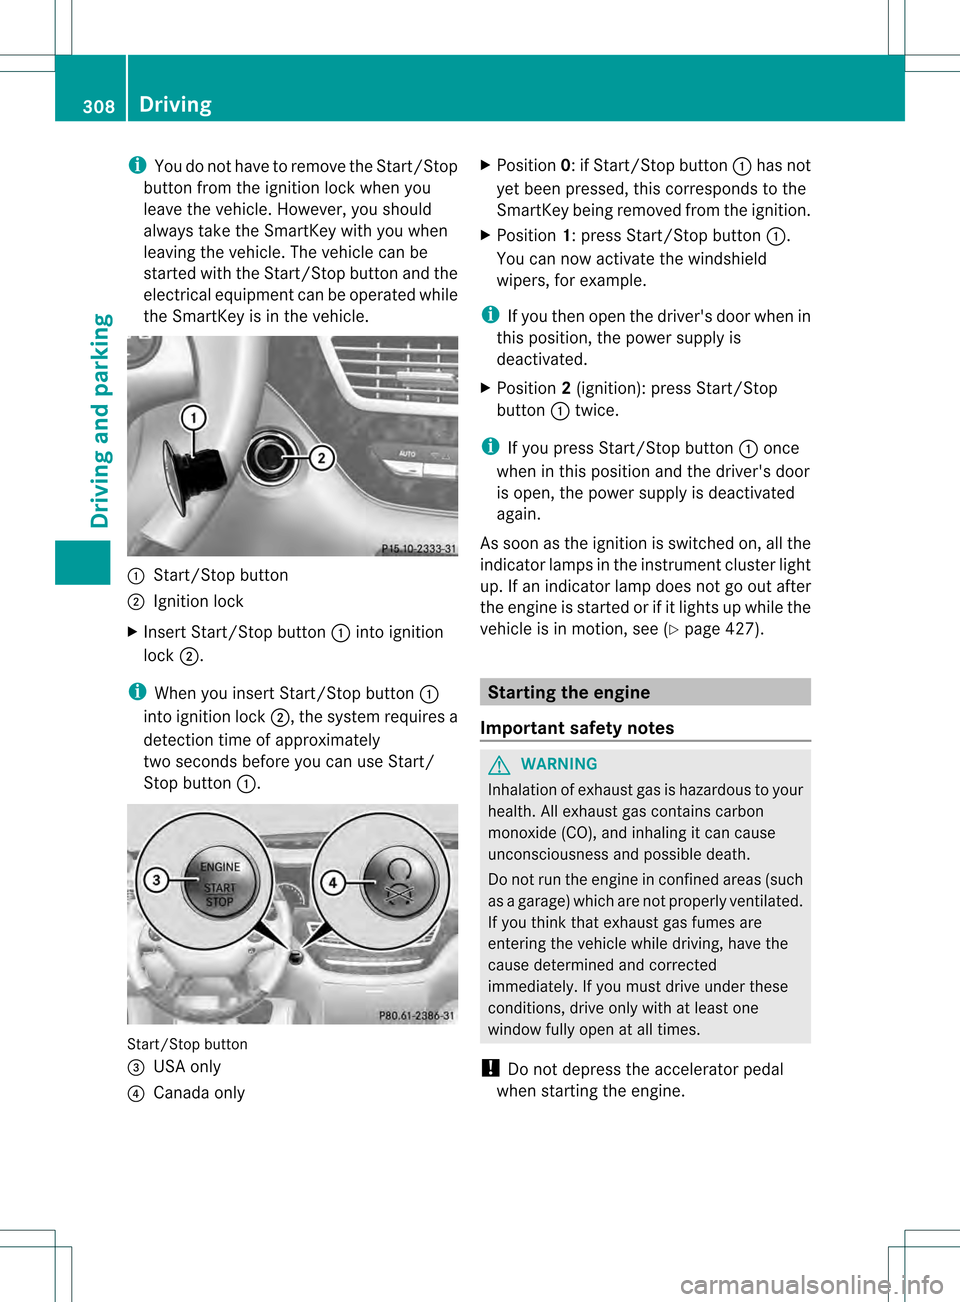
the SmartKey is in th evehicle. 0002
Start/Stop button
0003 Ignition lock
X Insert Start/Stop button 0002into ignition
lock 0003.
i When you insert Start/Stop button 0002
into ignition lock 0003, the system requires a
detection time of approximately
two seconds before you can use Start/
Stop button 0002. Start/Stop button
0026 USA only
0025 Canada only X
Position 0: if Start/Stop button 0002has not
yet been pressed, this corresponds to the
SmartKey being removed from the ignition.
X Position 1: press Start/Stop button 0002.
You can now activate the windshield
wipers, for example.
i If you then open the driver's door when in
this position, the power supply is
deactivated.
X Position 2(ignition): press Start/Stop
button 0002twice.
i If you press Start/Stop button 0002once
when in this position and the driver's door
is open, the power supply is deactivated
again.
As soon as the ignition is switched on, all the
indicator lamps in the instrument cluster light
up. If an indicator lamp does not go out after
the engine is started or if it lights up while the
vehicle is in motion, see (Y page 427). Starting the engine
Important safety notes G
WARNING
Inhalation of exhaust gas is hazardous to your
health. All exhaust gas contains carbon
monoxide (CO), and inhaling it can cause
unconsciousness and possible death.
Do not run the engin einconfined areas (such
as a garage) which are not properly ventilated.
If you think that exhaust gas fumes are
entering the vehicle while driving, have the
cause determined and corrected
immediately. If you must drive under these
conditions, drive only with at least one
window fully open at all times.
! Do not depress the accelerator pedal
when starting the engine. 308
DrivingDriving and parking