MERCEDES-BENZ S-Class 2014 W222 Comand Manual
Manufacturer: MERCEDES-BENZ, Model Year: 2014, Model line: S-Class, Model: MERCEDES-BENZ S-Class 2014 W222Pages: 278, PDF Size: 6.65 MB
Page 51 of 278
Your COMAND equipment
..................50
Vehicle settings .................................. 50
Seats .................................................... 55
Climate control settings .....................59
Child-proof locks ................................. 63
360° camera ....................................... 64
Rear view camera ............................... 64 49Vehicle functions
Page 52 of 278
Your COMAND equipment
These operating instructions describe all
standard and optional equipment available
for your COMAND system at the time of
purchase. Country-specific differences are
possible. Please note that your
COMAND system may not be equipped with
all the features described. This also applies to
safety-relevant systems and functions.
Therefore, the equipment on your COMAND
system may differ from that in the
descriptions and illustrations. Should you
have any questions concerning equipment
and operation, please consult an authorized
Mercedes-Benz Center. Vehicle settings
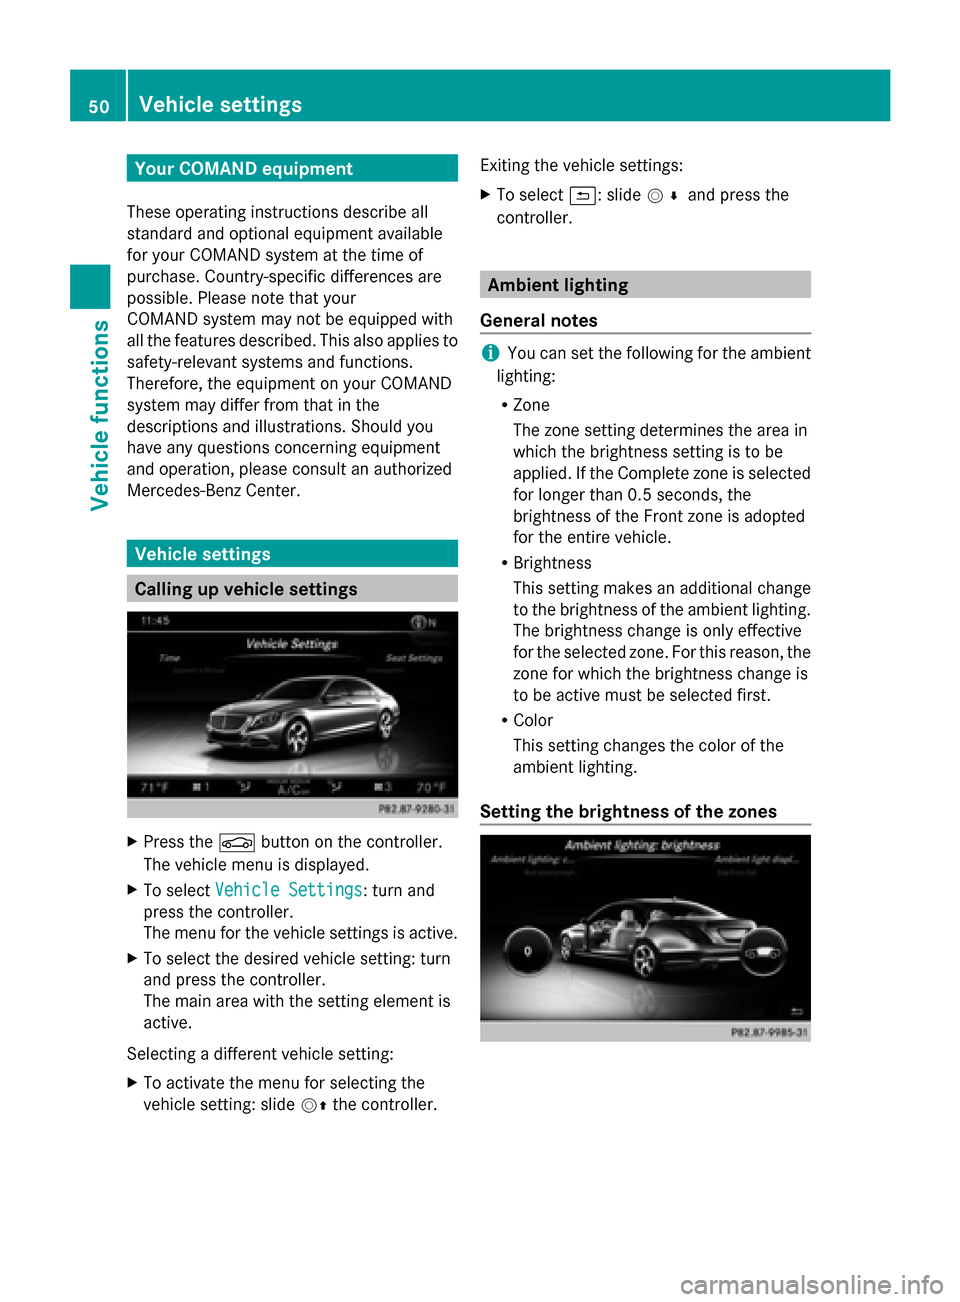
Calling up vehicle settings
X
Press the 00D4button on the controller.
The vehicle menu is displayed.
X To select Vehicle Settings
Vehicle Settings : turn and
press the controller.
The menu for the vehicle settings is active.
X To select the desired vehicle setting: turn
and press the controller.
The main area with the setting element is
active.
Selecting a different vehicle setting:
X To activate the menu for selecting the
vehicle setting: slide 00520097the controller. Exiting the vehicle settings:
X
To select 0039: slide 005200C5and press the
controller. Ambient lighting
General notes i
You can set the following for the ambient
lighting:
R Zone
The zone setting determines the area in
which the brightness setting is to be
applied. If the Complete zone is selected
for longer than 0.5 seconds, the
brightness of the Front zone is adopted
for the entire vehicle.
R Brightness
This setting makes an additional change
to the brightness of the ambient lighting.
The brightness change is only effective
for the selected zone. For this reason, the
zone for which the brightness change is
to be active must be selected first.
R Color
This setting changes the color of the
ambient lighting.
Setting the brightness of the zones 50
Vehicle set
tingsVehicle fun ctions
Page 53 of 278
X
Call up vehicle settings ( Ypage 50).
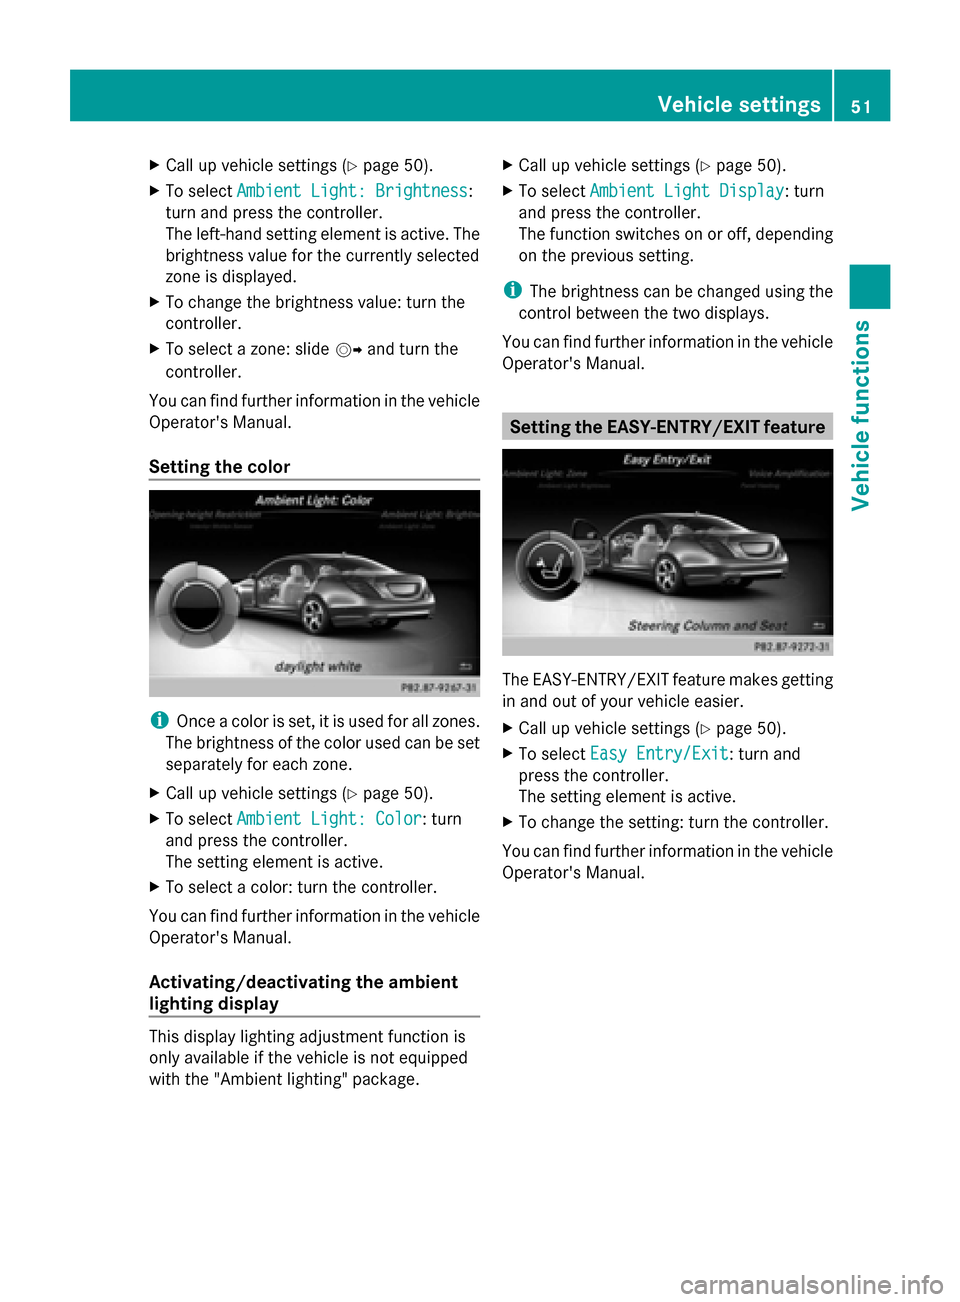
X To select Ambient Light: Brightness
Ambient Light: Brightness:
turn and press the controller.
The left-hand setting element is active. The
brightness value for the currently selected
zone is displayed.
X To change the brightness value: turn the
controller.
X To select a zone: slide 00520096and turn the
controller.
You can find further information in the vehicle
Operator's Manual.
Setting the color i
Once a color is set, it is used for all zones.
The brightness of the color used can be set
separately for each zone.
X Call up vehicle settings ( Ypage 50).
X To select Ambient Light: Color
Ambient Light: Color: turn
and press the controller.
The setting element is active.
X To select a color: turn the controller.
You can find further information in the vehicle
Operator's Manual.
Activating/deactivating the ambient
lighting display This display lighting adjustment function is
only available if the vehicle is not equipped
with the "Ambient lighting" package. X
Call up vehicle settings ( Ypage 50).
X To select Ambient Light Display
Ambient Light Display: turn
and press the controller.
The function switches on or off, depending
on the previous setting.
i The brightness can be changed using the
control between the two displays.
You can find further information in the vehicle
Operator's Manual. Setting the EASY-ENTRY/EXIT feature
The EASY-ENTRY/EXIT feature makes getting
in and out of your vehicle easier.
X
Call up vehicle settings ( Ypage 50).
X To select Easy Entry/Exit Easy Entry/Exit: turn and
press the controller.
The setting element is active.
X To change the setting: turn the controller.
You can find further information in the vehicle
Operator's Manual. Vehicle settings
51Vehicle functions
Page 54 of 278
Activating/deactivating the panel
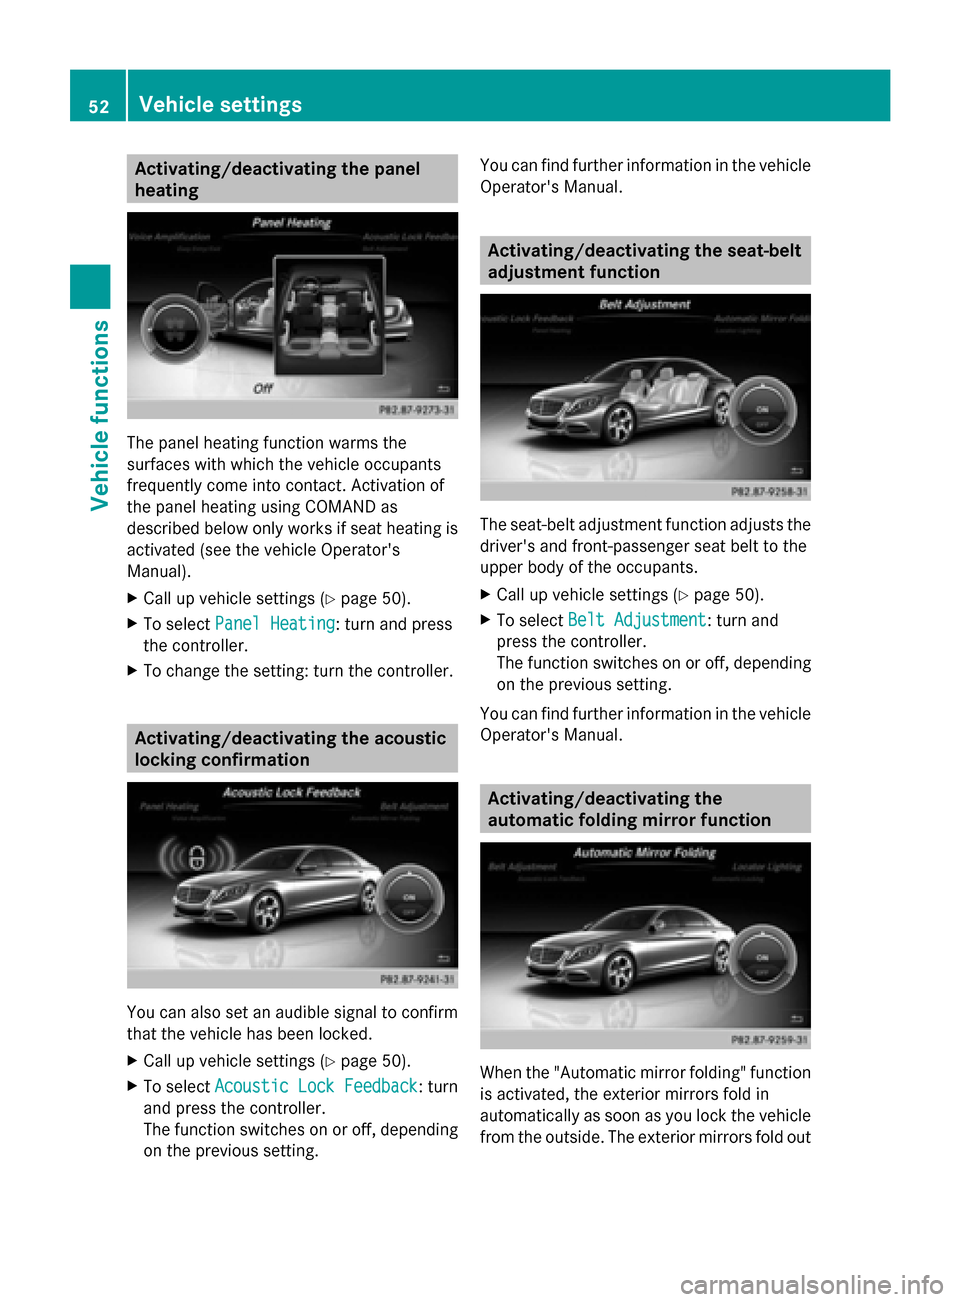
heating The panel heating function warms the
surfaces with which the vehicle occupants
frequently come into contact. Activation of
the panel heating using COMAND as
described below only works if seat heating is
activated (see the vehicle Operator's
Manual).
X Call up vehicle settings ( Ypage 50).
X To select Panel Heating
Panel Heating: turn and press
the controller.
X To change the setting: turn the controller. Activating/deactivating the acoustic
locking confirmation You can also set an audible signal to confirm
that the vehicle has been locked.
X Call up vehicle settings ( Ypage 50).
X To select Acoustic Lock Feedback
Acoustic Lock Feedback : turn
and press the controller.
The function switches on or off, depending
on the previous setting. You can find further information in the vehicle
Operator's Manual. Activating/deactivating the seat-belt
adjustment function
The seat-belt adjustment function adjusts the
driver's and front-passenger seat belt to the
upper body of the occupants.
X Call up vehicle settings ( Ypage 50).
X To select Belt Adjustment Belt Adjustment: turn and
press the controller.
The function switches on or off, depending
on the previous setting.
You can find further information in the vehicle
Operator's Manual. Activating/deactivating the
automatic folding mirror function
When the "Automatic mirror folding" function
is activated, the exterior mirrors fold in
automatically as soon as you lock the vehicle
from the outside. The exterior mirrors fold out 52
Vehicle settingsVehicle functions
Page 55 of 278
automatically again as soon as you unlock the
vehicle.
X Call up vehicle settings ( Ypage 50).
X To select Automatic Mirror Folding Automatic Mirror Folding:
turn and press the controller.
The function switches on or off, depending
on the previous setting.
You can find further information in the vehicle
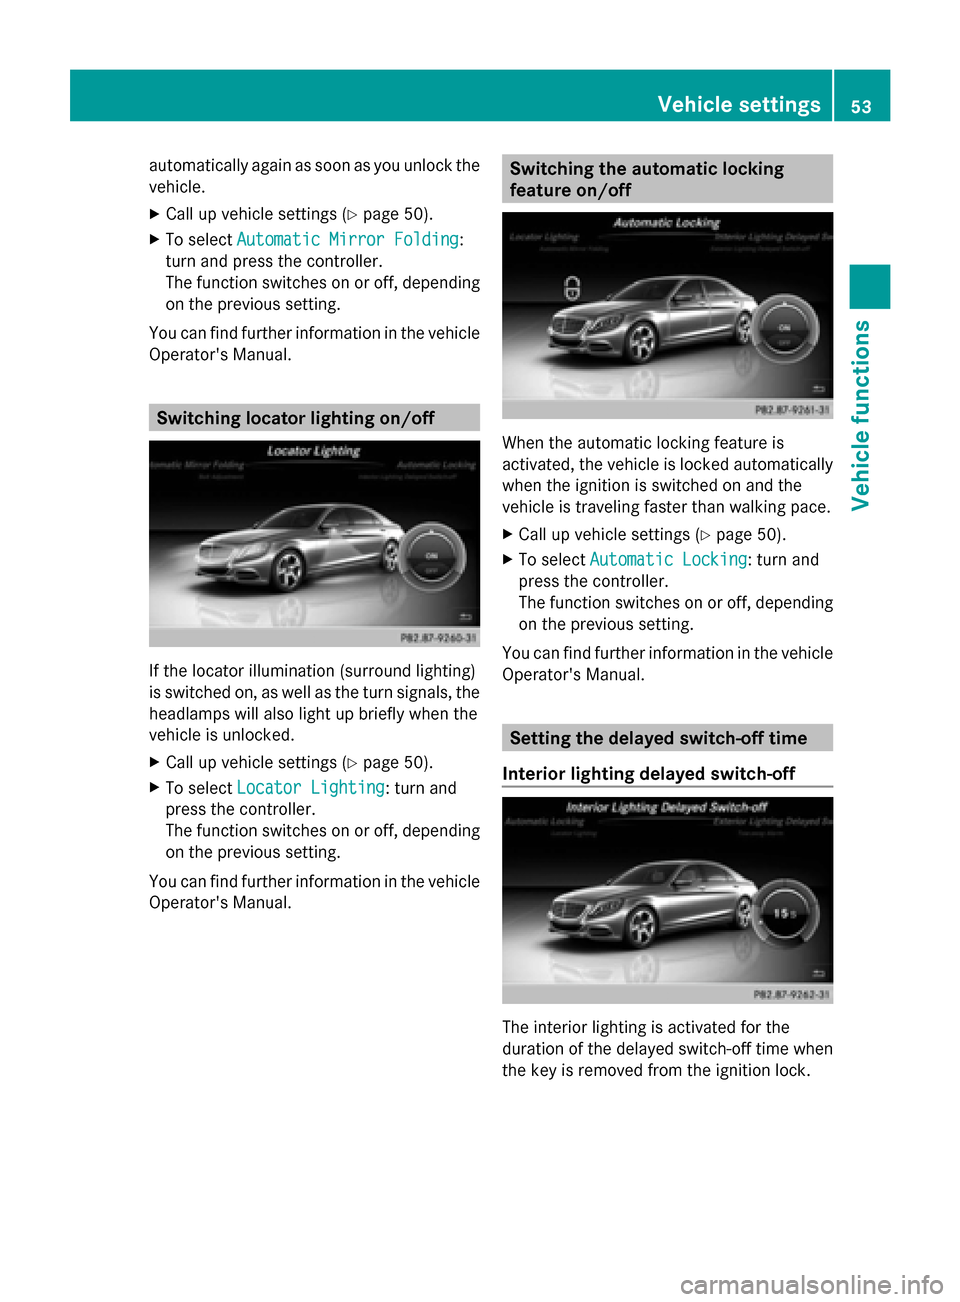
Operator's Manual. Switching locator lighting on/off
If the locator illumination (surround lighting)
is switched on, as well as the turn signals, the
headlamps will also light up briefly when the
vehicle is unlocked.
X Call up vehicle settings ( Ypage 50).
X To select Locator Lighting
Locator Lighting: turn and
press the controller.
The function switches on or off, depending
on the previous setting.
You can find further information in the vehicle
Operator's Manual. Switching the automatic locking
feature on/off
When the automatic locking feature is
activated, the vehicle is locked automatically
when the ignition is switched on and the
vehicle is traveling faster than walking pace.
X
Call up vehicle settings ( Ypage 50).
X To select Automatic Locking Automatic Locking: turn and
press the controller.
The function switches on or off, depending
on the previous setting.
You can find further information in the vehicle
Operator's Manual. Setting the delayed switch-off time
Interior lighting delayed switch-off The interior lighting is activated for the
duration of the delayed switch-off time when
the key is removed from the ignition lock. Vehicle settings
53Vehicle functions
Page 56 of 278
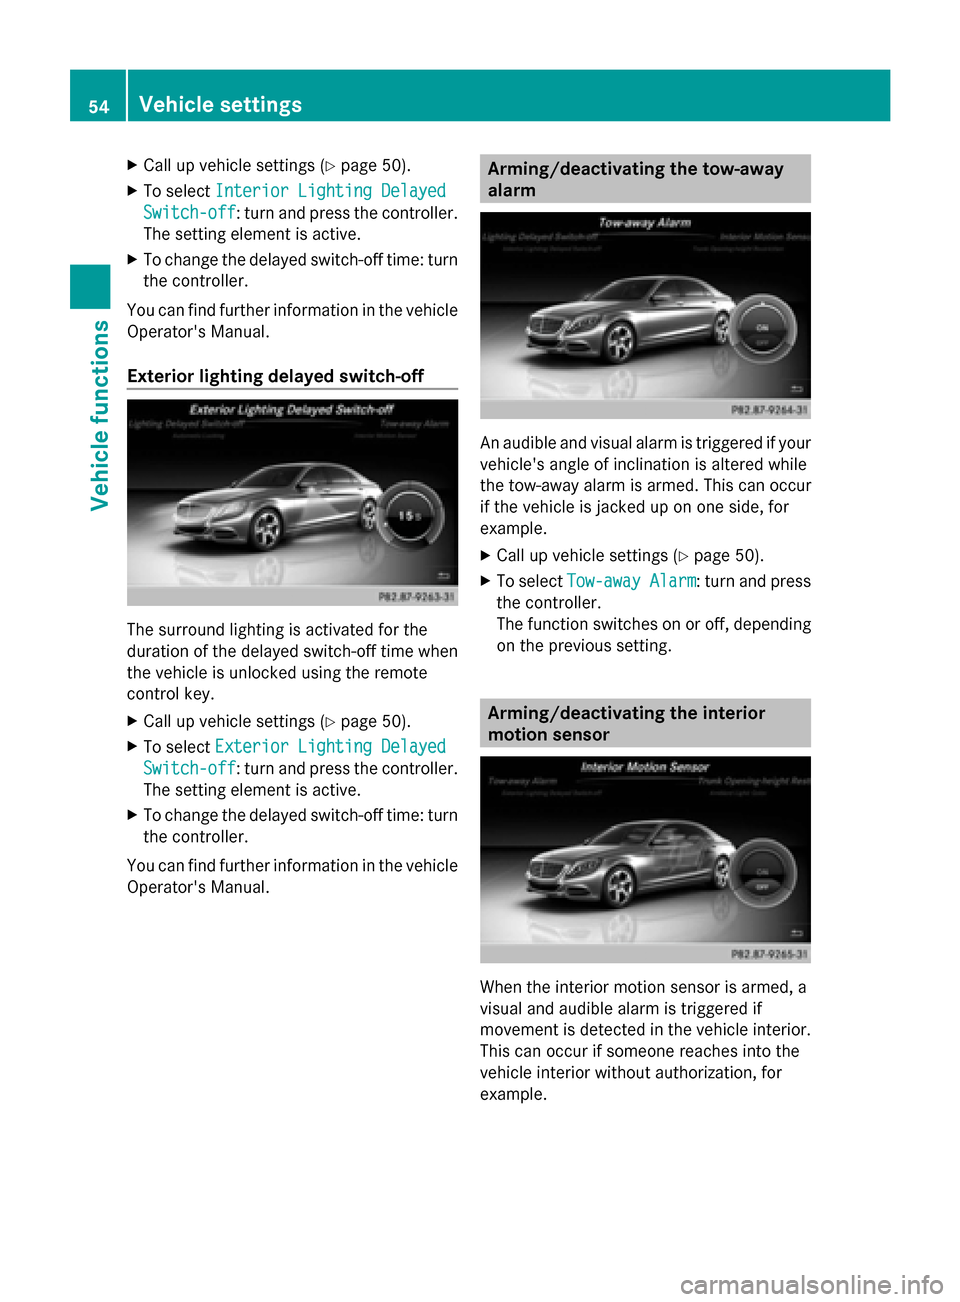
X
Call up vehicle settings ( Ypage 50).
X To select Interior Lighting Delayed
Interior Lighting Delayed
Switch-off
Switch-off: turn and press the controller.
The setting element is active.
X To change the delayed switch-off time: turn
the controller.
You can find further information in the vehicle
Operator's Manual.
Exterior lighting delayed switch-off The surround lighting is activated for the
duration of the delayed switch-off time when
the vehicle is unlocked using the remote
control key.
X Call up vehicle settings ( Ypage 50).
X To select Exterior Lighting Delayed
Exterior Lighting Delayed
Switch-off
Switch-off: turn and press the controller.
The setting element is active.
X To change the delayed switch-off time: turn
the controller.
You can find further information in the vehicle
Operator's Manual. Arming/deactivating the tow-away
alarm
An audible and visual alarm is triggered if your
vehicle's angle of inclination is altered while
the tow-away alarm is armed. This can occur
if the vehicle is jacked up on one side, for
example.
X Call up vehicle settings ( Ypage 50).
X To select Tow-away Alarm Tow-away Alarm : turn and press
the controller.
The function switches on or off, depending
on the previous setting. Arming/deactivating the interior
motion sensor
When the interior motion sensor is armed, a
visual and audible alarm is triggered if
movement is detected in the vehicle interior.
This can occur if someone reaches into the
vehicle interior without authorization, for
example. 54
Vehicle settingsVehicle functions
Page 57 of 278
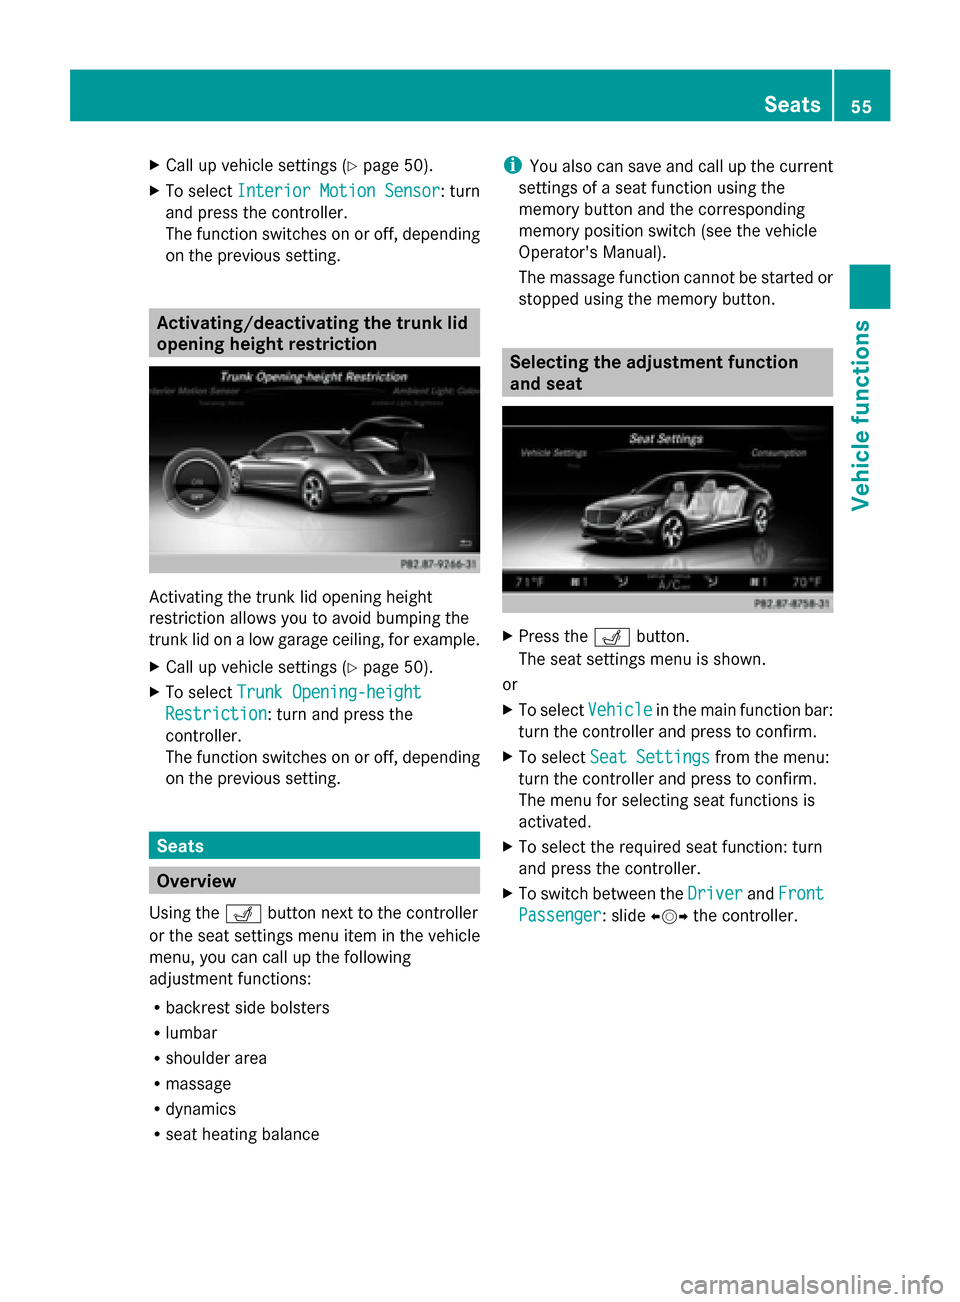
X
Call up vehicle settings ( Ypage 50).
X To select Interior Motion Sensor
Interior Motion Sensor : turn
and press the controller.
The function switches on or off, depending
on the previous setting. Activating/deactivating the trunk lid
opening height restriction Activating the trunk lid opening height
restriction allows you to avoid bumping the
trunk lid on a low garage ceiling, for example.
X Call up vehicle settings ( Ypage 50).
X To select Trunk Opening-height
Trunk Opening-height
Restriction
Restriction: turn and press the
controller.
The function switches on or off, depending
on the previous setting. Seats
Overview
Using the 0050button next to the controller
or the seat settings menu item in the vehicle
menu, you can call up the following
adjustment functions:
R backrest side bolsters
R lumbar
R shoulder area
R massage
R dynamics
R seat heating balance i
You also can save and call up the current
settings of a seat function using the
memory button and the corresponding
memory position switch (see the vehicle
Operator's Manual).
The massage function cannot be started or
stopped using the memory button. Selecting the adjustment function
and seat
X
Press the 0050button.
The seat settings menu is shown.
or
X To select Vehicle Vehiclein the main function bar:
turn the controller and press to confirm.
X To select Seat Settings
Seat Settings from the menu:
turn the controller and press to confirm.
The menu for selecting seat functions is
activated.
X To select the required seat function: turn
and press the controller.
X To switch between the Driver DriverandFront
Front
Passenger
Passenger : slide009500520096the controller. Seats
55Vehicle functions
Page 58 of 278
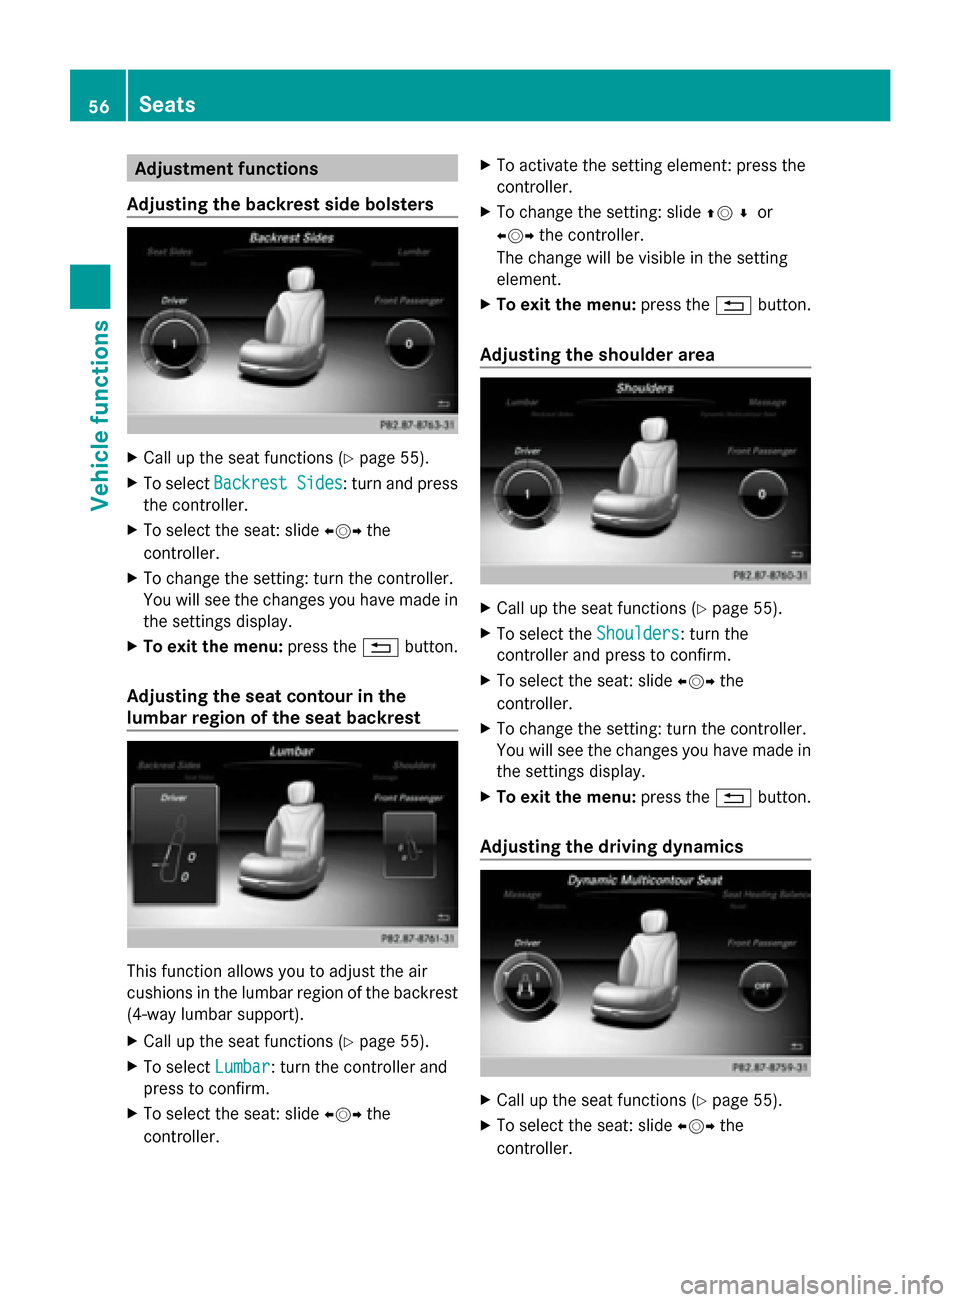
Adjustment functions
Adjusting the backrest side bolsters X
Call up the seat functions ( Ypage 55).
X To select Backrest Sides
Backrest Sides : turn and press
the controller.
X To select the seat: slide 009500520096the
controller.
X To change the setting: turn the controller.
You will see the changes you have made in
the settings display.
X To exit the menu: press the0038button.
Adjusting the seat contour in the
lumbar region of the seat backrest This function allows you to adjust the air
cushions in the lumbar region of the backrest
(4-way lumbar support).
X Call up the seat functions ( Ypage 55).
X To select Lumbar
Lumbar : turn the controller and
press to confirm.
X To select the seat: slide 009500520096the
controller. X
To activate the setting element: press the
controller.
X To change the setting: slide 0097005200C5or
009500520096 the controller.
The change will be visible in the setting
element.
X To exit the menu: press the0038button.
Adjusting the shoulder area X
Call up the seat functions ( Ypage 55).
X To select the Shoulders Shoulders: turn the
controller and press to confirm.
X To select the seat: slide 009500520096the
controller.
X To change the setting: turn the controller.
You will see the changes you have made in
the settings display.
X To exit the menu: press the0038button.
Adjusting the driving dynamics X
Call up the seat functions ( Ypage 55).
X To select the seat: slide 009500520096the
controller. 56
SeatsVehicle functions
Page 59 of 278
X
To select Dynamic Multicontour Seat
Dynamic Multicontour Seat:
turn the controller and press to confirm.
You can select:
R 0
0: Off
R 1 1: Level 1 (weak)
R 2
2: Level 2 (strong)
X To select the setting: turn the controller.
X To exit the menu: press the0038button.
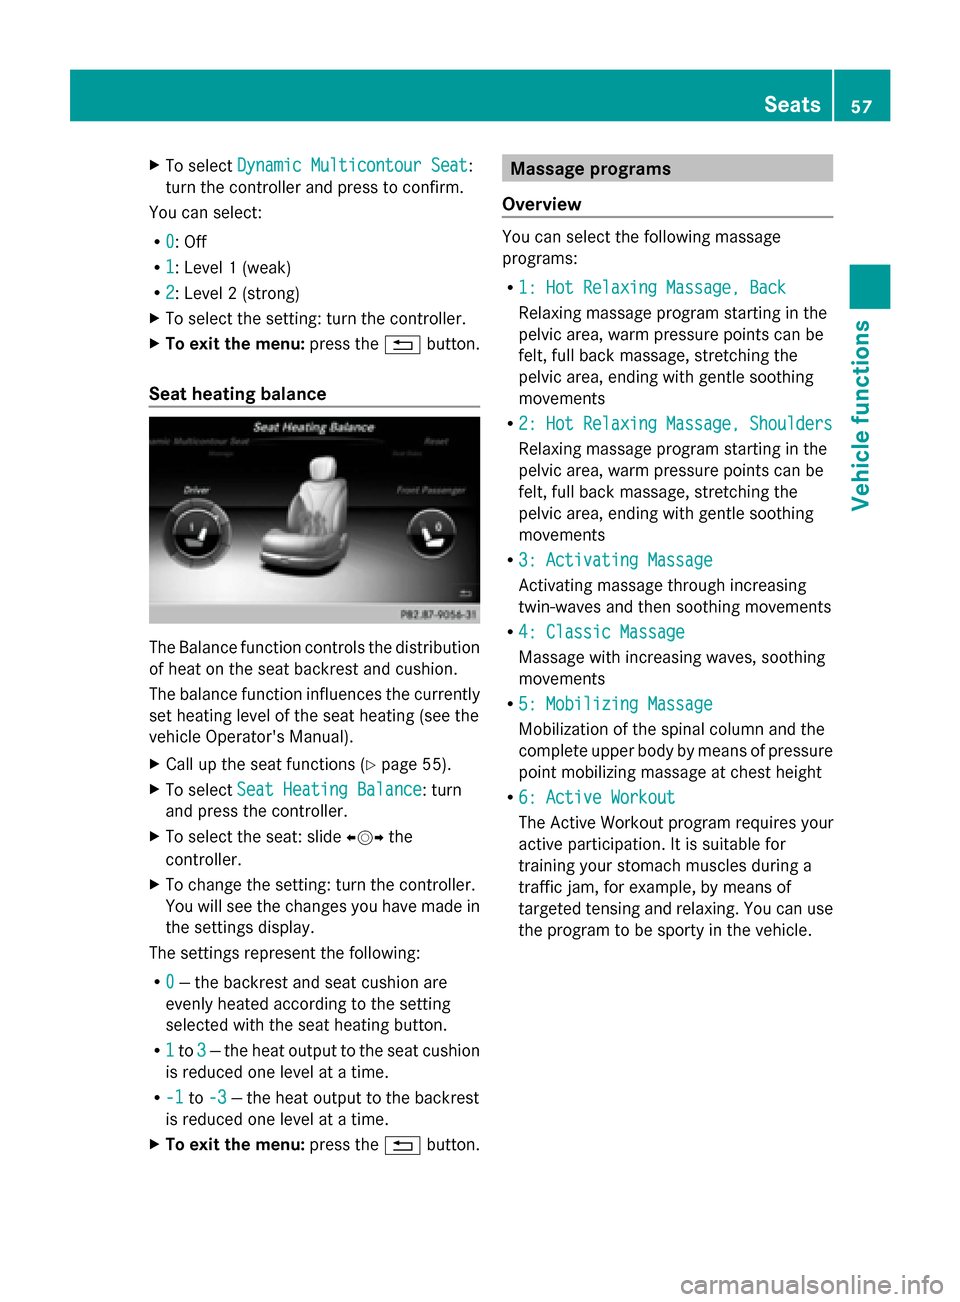
Seat heating balance The Balance function controls the distribution
of heat on the seat backrest and cushion.
The balance function influences the currently
set heating level of the seat heating (see the
vehicle Operator's Manual).
X Call up the seat functions (Y page 55).
X To select Seat Heating Balance
Seat Heating Balance: turn
and press the controller.
X To select the seat: slide 009500520096the
controller.
X To change the setting: turn the controller.
You will see the changes you have made in
the settings display.
The settings represent the following:
R 0
0 — the backrest and seat cushion are
evenly heated according to the setting
selected with the seat heating button.
R 1 1to 3
3—t he heat output to the seat cushion
is reduced one level at a time.
R -1
-1 to-3
-3 — the heat output to the backrest
is reduced one level at a time.
X To exit the menu: press the0038button. Massage programs
Overview You can select the following massage
programs:
R
1: Hot Relaxing Massage, Back 1: Hot Relaxing Massage, Back
Relaxing massage program starting in the
pelvic area, warm pressure points can be
felt, full back massage, stretching the
pelvic area, ending with gentle soothing
movements
R 2: Hot Relaxing Massage, Shoulders 2: Hot Relaxing Massage, Shoulders
Relaxing massage program starting in the
pelvic area, warm pressure points can be
felt, full back massage, stretching the
pelvic area, ending with gentle soothing
movements
R 3: Activating Massage 3: Activating Massage
Activating massage through increasing
twin-waves and then soothing movements
R 4: Classic Massage 4: Classic Massage
Massage with increasing waves, soothing
movements
R 5: Mobilizing Massage 5: Mobilizing Massage
Mobilization of the spinal column and the
complete upper body by means of pressure
point mobilizing massage at chest height
R 6: Active Workout 6: Active Workout
The Active Workout program requires your
active participation. It is suitable for
training your stomach muscles during a
traffic jam, for example, by means of
targeted tensing and relaxing. You can use
the program to be sporty in the vehicle. Seats
57Vehicle functions
Page 60 of 278
As soon as you feel a pressure point in the
backrest cushion, this indicates that you
should press against this point.
- As soon as you feel pressure on your
back, press against it.
- Keep the pressure under your feet even.
Do not wedge yourself against the
pedals.
- You will feel how your stomach muscles
tense.
- Continue to breath normally, do not hold
your breath.
- When the pressure in the backrest
cushion stops, stop pressing against it
and relax briefly.
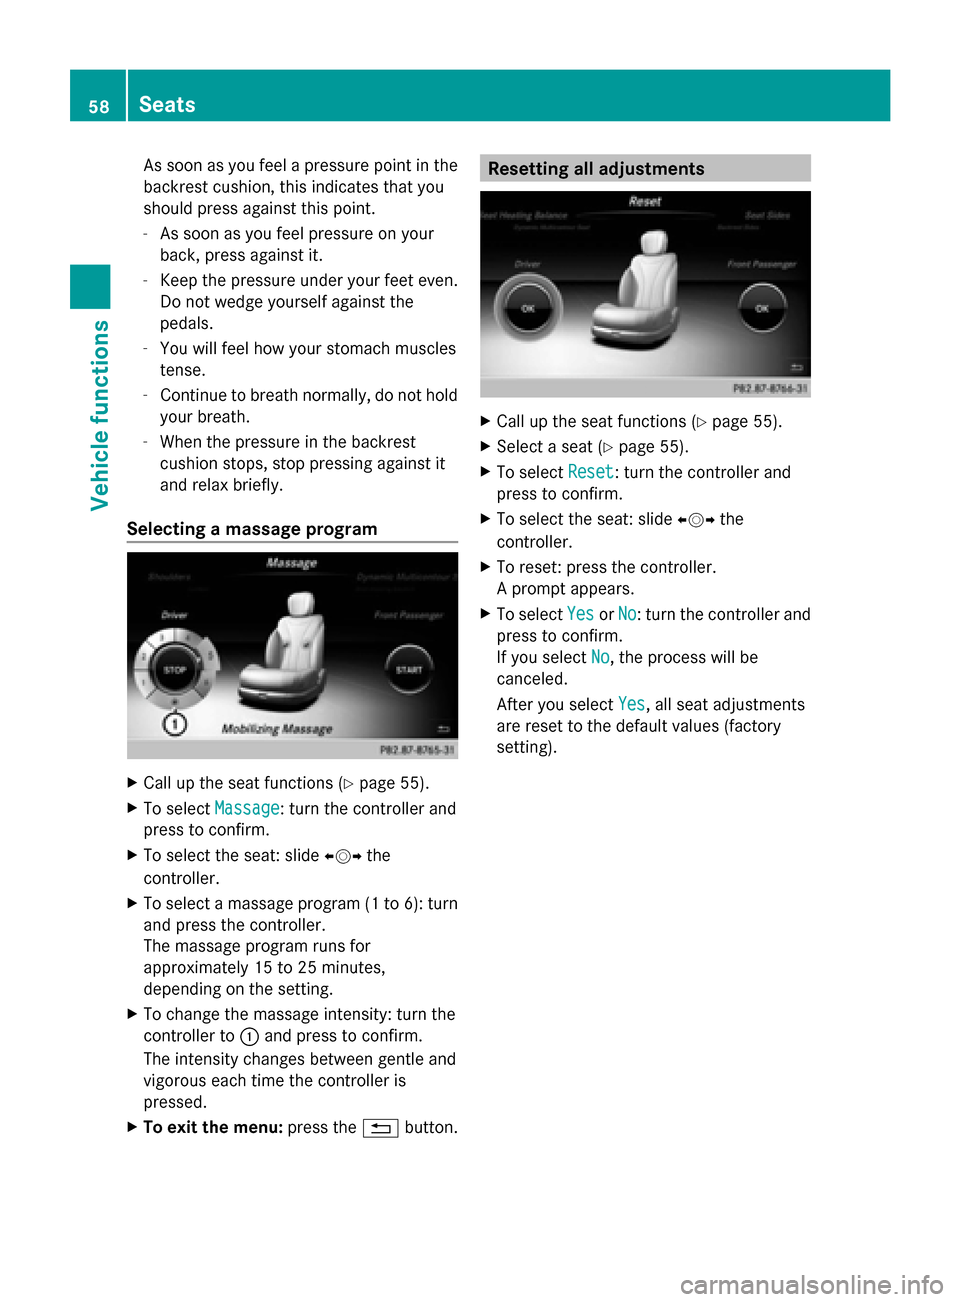
Selecting a massage program X
Call up the seat functions (Y page 55).
X To select Massage
Massage: turn the controller and
press to confirm.
X To select the seat: slide 009500520096the
controller.
X To select a massage program (1 to 6): turn
and press the controller.
The massage program runs for
approximately 15 to 25 minutes,
depending on the setting.
X To change the massage intensity: turn the
controller to 0043and press to confirm.
The intensity changes between gentle and
vigorous each time the controller is
pressed.
X To exit the menu: press the0038button. Resetting all adjustments
X
Call up the seat functions (Y page 55).
X Select a seat (Y page 55).
X To select Reset Reset: turn the controller and
press to confirm.
X To select the seat: slide 009500520096the
controller.
X To reset: press the controller.
A prompt appears.
X To select Yes YesorNo
No: turn the controller and
press to confirm.
If you select No No, the process will be
canceled.
After you select Yes Yes, all seat adjustments
are reset to the default values (factory
setting). 58
SeatsVehicle functions