MERCEDES-BENZ S-Class 2014 W222 Comand Manual
Manufacturer: MERCEDES-BENZ, Model Year: 2014, Model line: S-Class, Model: MERCEDES-BENZ S-Class 2014 W222Pages: 278, PDF Size: 6.65 MB
Page 61 of 278
Climate control settings
Basic settings
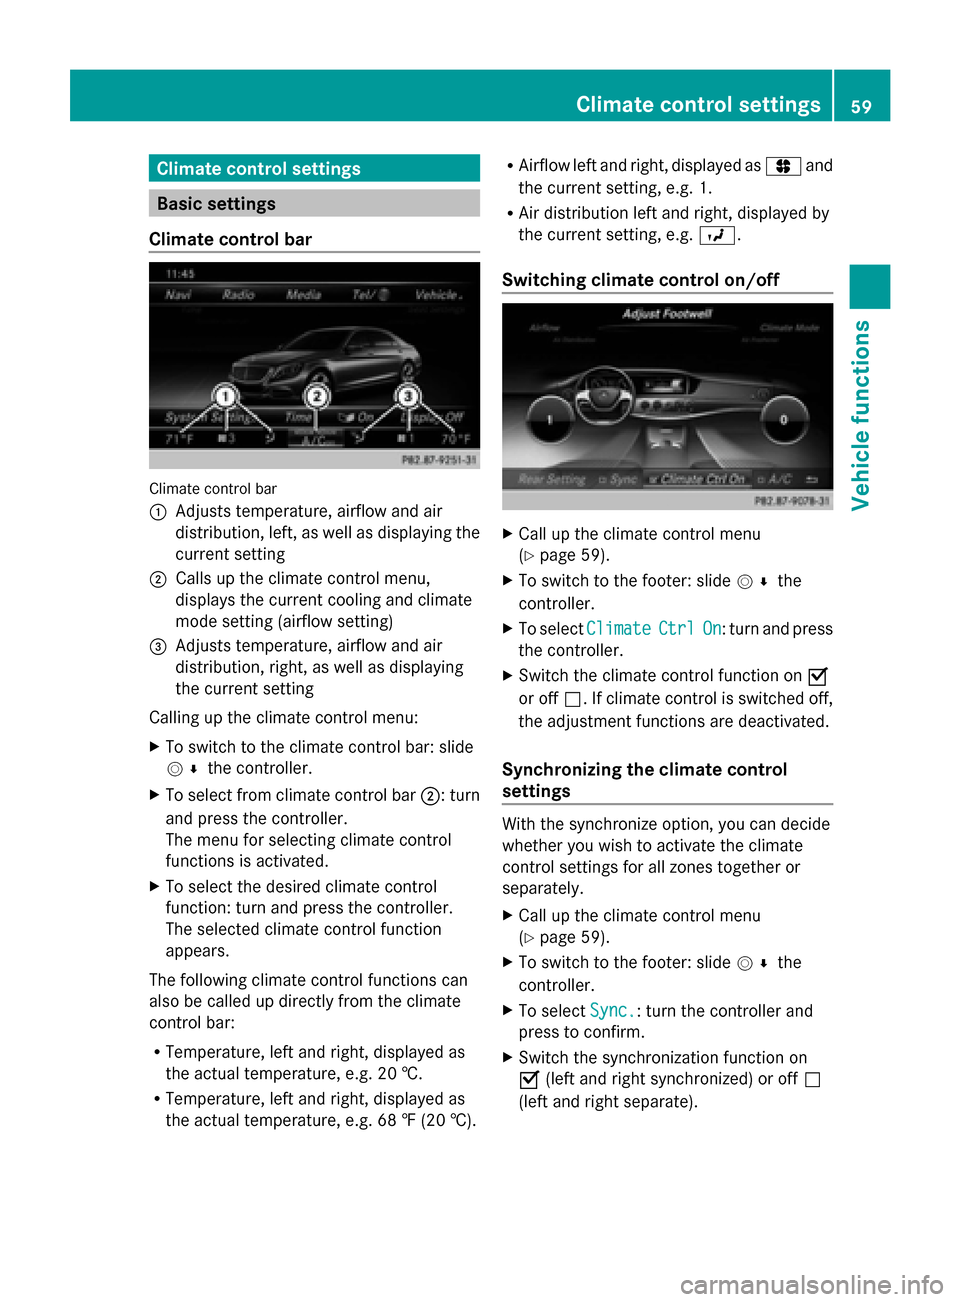
Climate control bar Climate control bar
0043
Adjusts temperature, airflow and air
distribution, left, as well as displaying the
current setting
0044 Calls up the climate control menu,
displays the current cooling and climate
mode setting (airflow setting)
0087 Adjusts temperature, airflow and air
distribution, right, as well as displaying
the current setting
Calling up the climate control menu:
X To switch to the climate control bar: slide
005200C5 the controller.
X To select from climate control bar 0044: turn
and press the controller.
The menu for selecting climate control
functions is activated.
X To select the desired climate control
function: turn and press the controller.
The selected climate control function
appears.
The following climate control functions can
also be called up directly from the climate
control bar:
R Temperature, left and right, displayed as
the actual temperature, e.g. 20 †.
R Temperature, left and right, displayed as
the actual temperature, e.g. 68 ‡ (20 †). R
Airflow left and right, displayed as 0096and
the current setting, e.g. 1.
R Air distribution left and right, displayed by
the current setting, e.g. 009B.
Switching climate control on/off X
Call up the climate control menu
(Y page 59).
X To switch to the footer: slide 005200C5the
controller.
X To select Climate Climate Ctrl
CtrlOn
On: turn and press
the controller.
X Switch the climate control function on 0073
or off 0053. If climate control is switched off,
the adjustment functions are deactivated.
Synchronizing the climate control
settings With the synchronize option, you can decide
whether you wish to activate the climate
control settings for all zones together or
separately.
X Call up the climate control menu
(Y page 59).
X To switch to the footer: slide 005200C5the
controller.
X To select Sync.
Sync.: turn the controller and
press to confirm.
X Switch the synchronization function on
0073 (left and right synchronized) or off 0053
(left and right separate). Climate control settings
59Vehicle functions
Page 62 of 278
With the synchronization function switched
off, you can alternate between driver and
front passenger.
X To switch from the footer to the main area:
slide 00520097the controller.
X To switch between left and right: slide
009500520096 the controller.
Not all climate control functions allow
switching between the driver and front
passenger.
i The synchronize function can also be
deactivated by sliding the controller to the
left or right in the setting area. The setting
elements for the driver and front passenger
are then shown separately once again.
Further information (see the vehicle
Operator's Manual).
Switching to the rear-compartment air
conditioning setting You can also set the rear-compartment air
conditioning from the front.
X Call up the climate control menu
(Y page 59).
X To switch to the footer: slide 005200C5the
controller.
X To select the Rear Setting
Rear Setting: turn and
press the controller.
X You switch to the rear-compartment air
conditioning setting. The vehicle interior
display changes accordingly.
X To switch the setting back to the front
again: select Return to Front Return to Front.
After a short time, COMAND automatically
switches the adjustment functions back to
the front.
Switching cooling with air
dehumidification on/off Activating the cooling with air
dehumidification facilitates the cooling of the
vehicle interior even with high outside
temperatures. X
Call up the climate control menu
(Y page 59).
X To switch to the footer: slide 005200C5the
controller.
X To select A/C A/C: turn and press the controller.
X Switch cooling with air dehumidification on
0073 or off 0053.
i The current status of the cooling function
is displayed in the climate control bar: AC
on – activated, AC off – deactivated
(Y page 59).
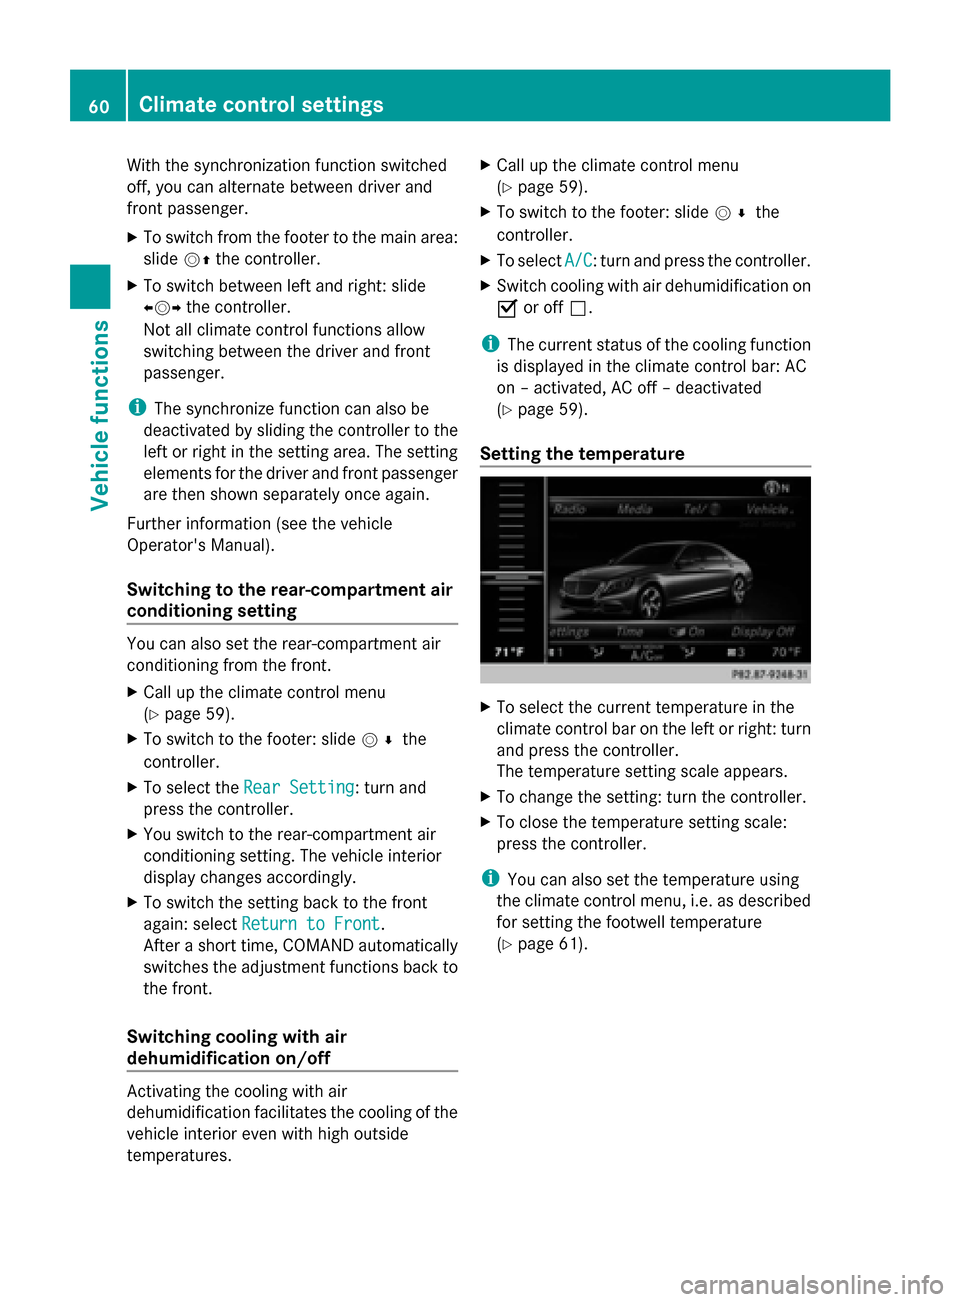
Setting the temperature X
To select the current temperature in the
climate control bar on the left or right: turn
and press the controller.
The temperature setting scale appears.
X To change the setting: turn the controller.
X To close the temperature setting scale:
press the controller.
i You can also set the temperature using
the climate control menu, i.e. as described
for setting the footwell temperature
(Y page 61). 60
Climate control settingsVehicle functions
Page 63 of 278
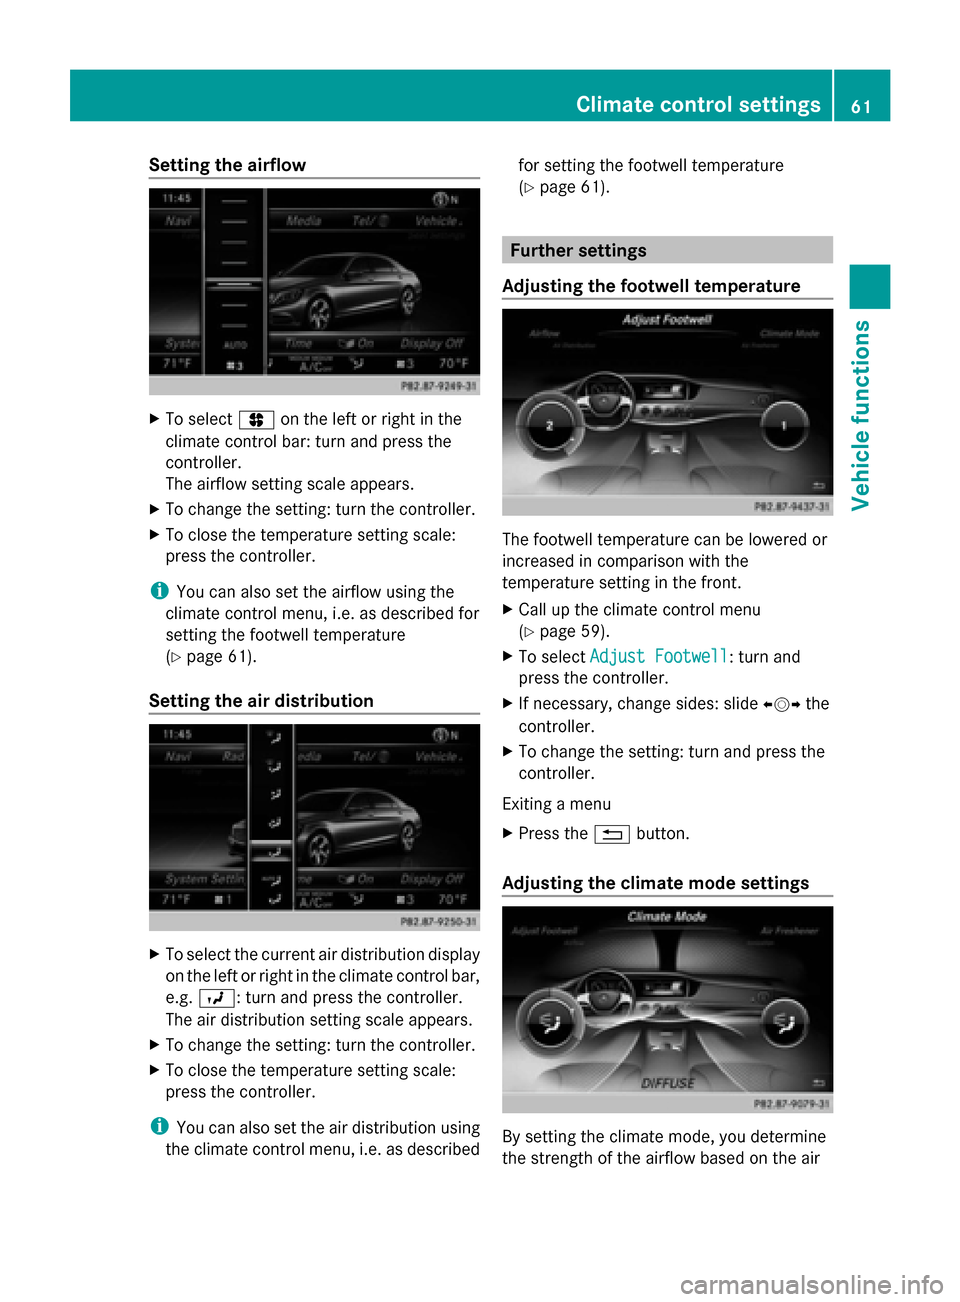
Setting the airflow
X
To select 0096on the left or right in the
climate control bar: turn and press the
controller.
The airflow setting scale appears.
X To change the setting: turn the controller.
X To close the temperature setting scale:
press the controller.
i You can also set the airflow using the
climate control menu, i.e. as described for
setting the footwell temperature
(Y page 61).
Setting the air distribution X
To select the current air distribution display
on the left or right in the climate control bar,
e.g. 009B: turn and press the controller.
The air distribution setting scale appears.
X To change the setting: turn the controller.
X To close the temperature setting scale:
press the controller.
i You can also set the air distribution using
the climate control menu, i.e. as described for setting the footwell temperature
(Y
page 61). Further settings
Adjusting the footwell temperature The footwell temperature can be lowered or
increased in comparison with the
temperature setting in the front.
X
Call up the climate control menu
(Y page 59).
X To select Adjust Footwell Adjust Footwell: turn and
press the controller.
X If necessary, change sides: slide 009500520096the
controller.
X To change the setting: turn and press the
controller.
Exiting a menu
X Press the 0038button.
Adjusting the climate mode settings By setting the climate mode, you determine
the strength of the airflow based on the air Climate control settings
61Vehicle functions
Page 64 of 278
distribution set. The setting is only active
when the air-conditioning system is set to
"AUTO".
X Call up the climate control menu
(Y page 59).
X To select Climate Mode Climate Mode: turn and press
the controller.
X If necessary, change sides: slide 009500520096the
controller.
X To change the setting: turn and press the
controller.
Exiting a menu
X Press the 0038button.
i The current climate mode setting is set in
the climate control bar: DIFFUSE, MEDIUM
or FOCUS (Y page 59).
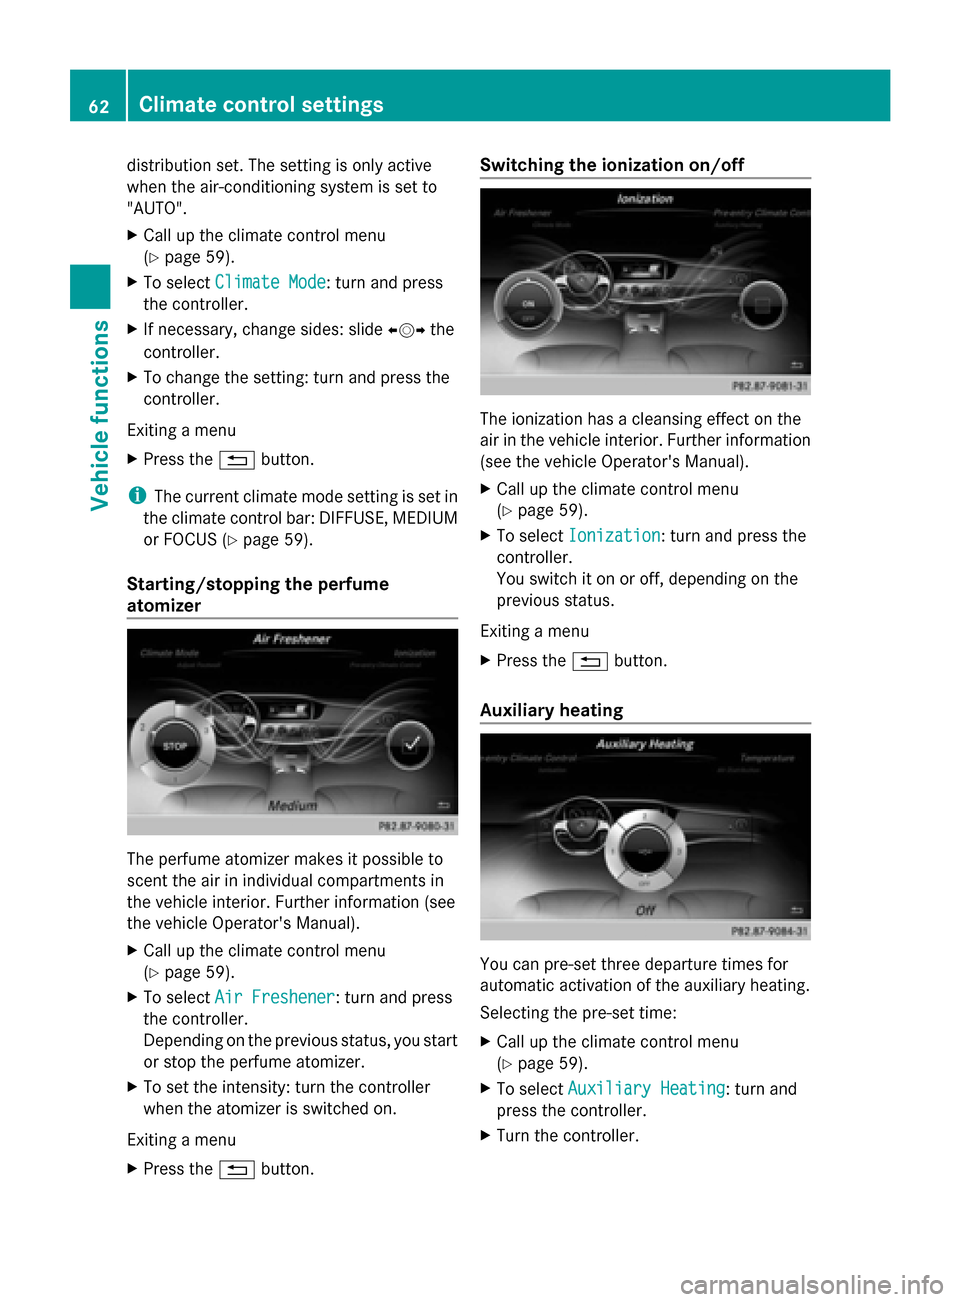
Starting/stopping the perfume
atomizer The perfume atomizer makes it possible to
scent the air in individual compartments in
the vehicle interior. Further information (see
the vehicle Operator's Manual).
X Call up the climate control menu
(Y page 59).
X To select Air Freshener
Air Freshener: turn and press
the controller.
Depending on the previous status, you start
or stop the perfume atomizer.
X To set the intensity: turn the controller
when the atomizer is switched on.
Exiting a menu
X Press the 0038button. Switching the ionization on/off
The ionization has a cleansing effect on the
air in the vehicle interior. Further information
(see the vehicle Operator's Manual).
X
Call up the climate control menu
(Y page 59).
X To select Ionization Ionization: turn and press the
controller.
You switch it on or off, depending on the
previous status.
Exiting a menu
X Press the 0038button.
Auxiliary heating You can pre-set three departure times for
automatic activation of the auxiliary heating.
Selecting the pre-set time:
X
Call up the climate control menu
(Y page 59).
X To select Auxiliary Heating Auxiliary Heating: turn and
press the controller.
X Turn the controller. 62
Climate control settingsVehicle functions
Page 65 of 278
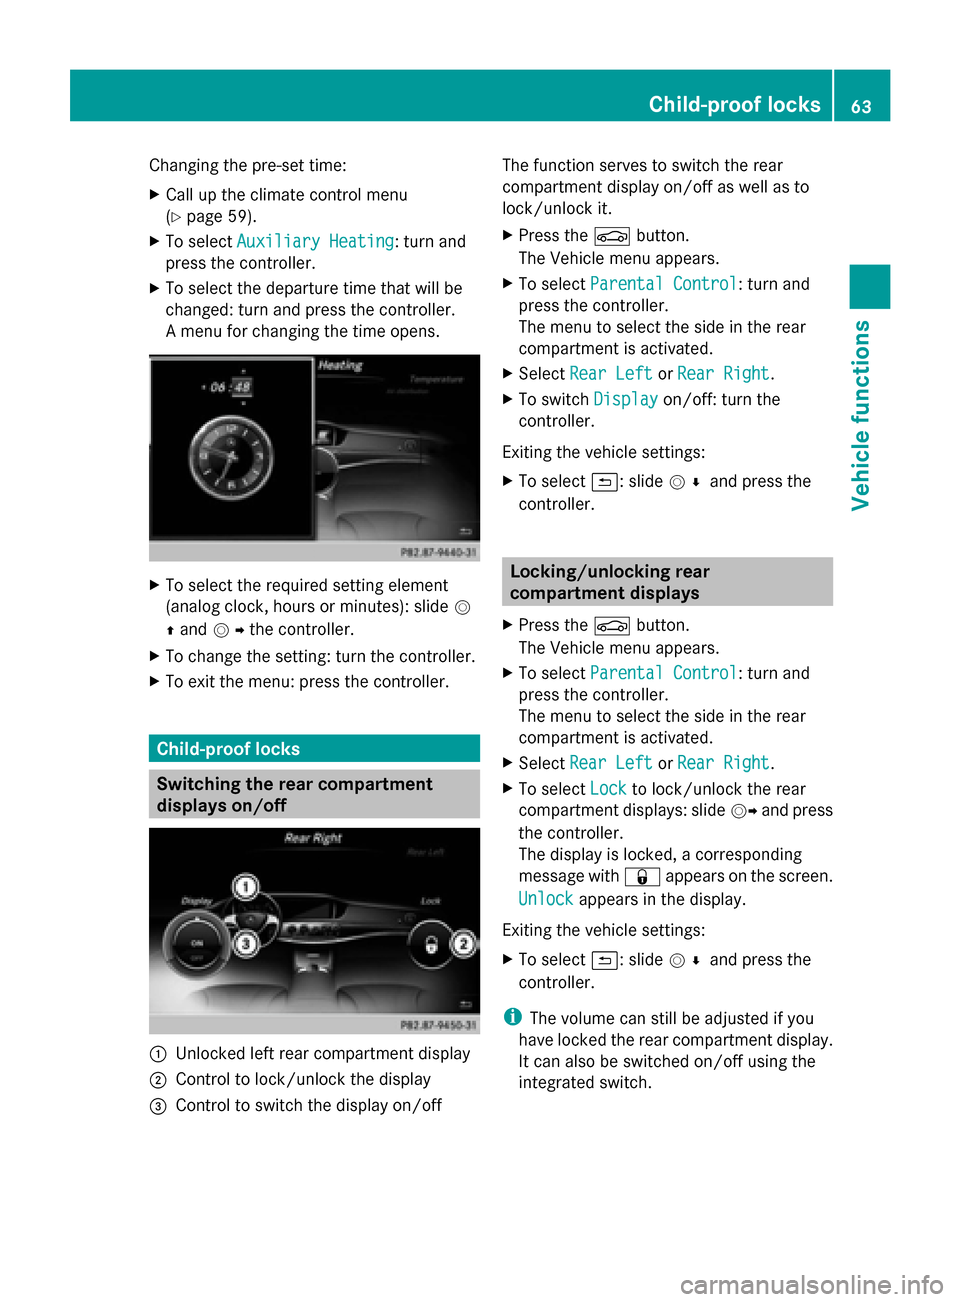
Changing the pre-set time:
X
Call up the climate control menu
(Y page 59).
X To select Auxiliary Heating Auxiliary Heating: turn and
press the controller.
X To select the departure time that will be
changed: turn and press the controller.
A menu for changing the time opens. X
To select the required setting element
(analog clock, hours or minutes): slide 0052
0097 and 00520096the controller.
X To change the setting: turn the controller.
X To exit the menu: press the controller. Child-proof locks
Switching the rear compartment
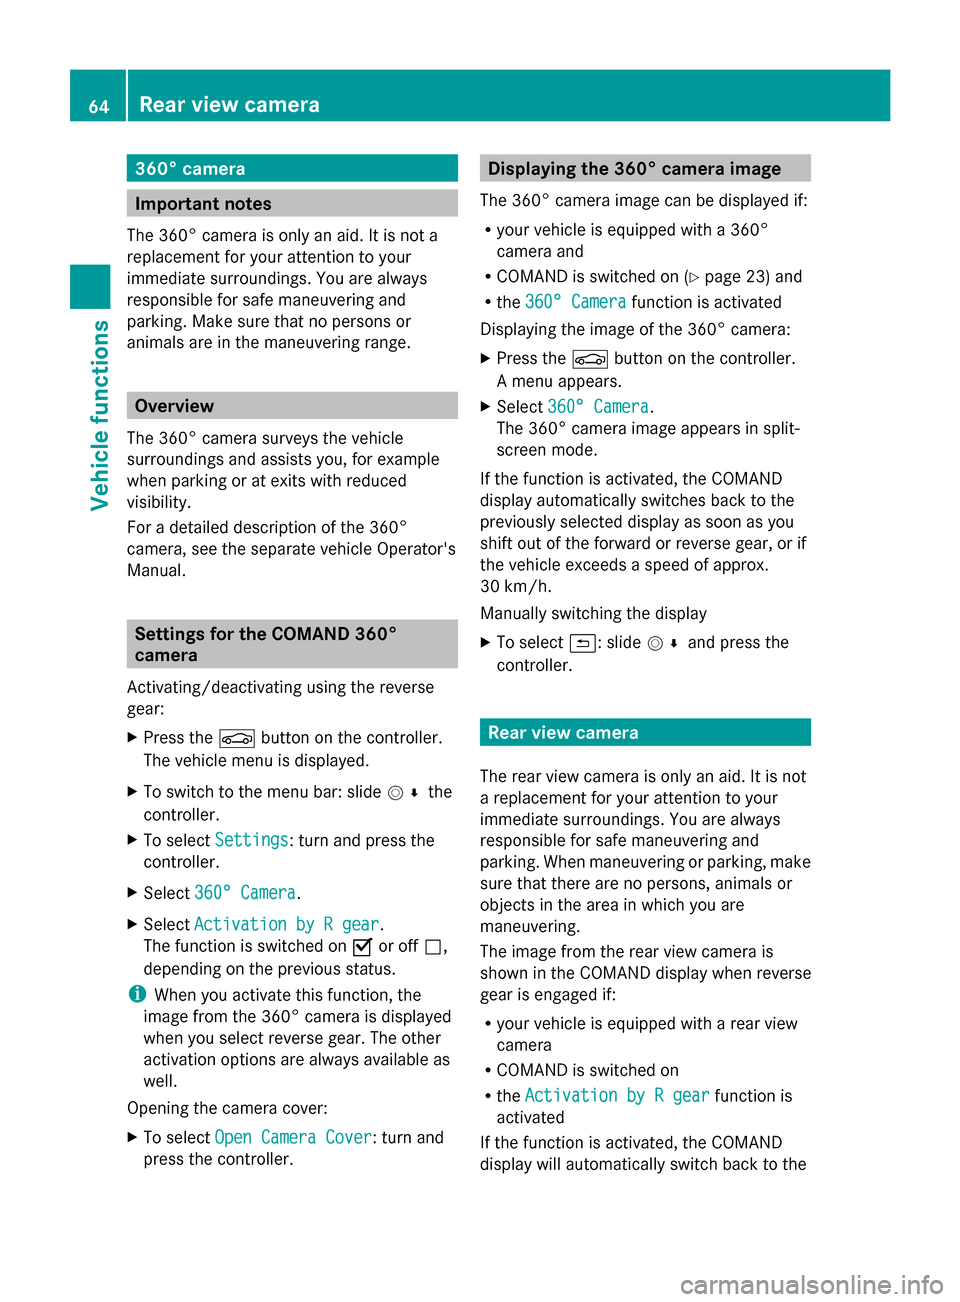
displays on/off 0043
Unlocked left rear compartment display
0044 Control to lock/unlock the display
0087 Control to switch the display on/off The function serves to switch the rear
compartment display on/off as well as to
lock/unlock it.
X
Press the 00D4button.
The Vehicle menu appears.
X To select Parental Control
Parental Control: turn and
press the controller.
The menu to select the side in the rear
compartment is activated.
X Select Rear Left Rear Left orRear Right
Rear Right.
X To switch Display
Displayon/off: turn the
controller.
Exiting the vehicle settings:
X To select 0039: slide 005200C5and press the
controller. Locking/unlocking rear
compartment displays
X Press the 00D4button.
The Vehicle menu appears.
X To select Parental Control
Parental Control: turn and
press the controller.
The menu to select the side in the rear
compartment is activated.
X Select Rear Left Rear Left orRear Right
Rear Right.
X To select Lock
Lockto lock/unlock the rear
compartment displays: slide 00520096and press
the controller.
The display is locked, a corresponding
message with 0037appears on the screen.
Unlock Unlock appears in the display.
Exiting the vehicle settings:
X To select 0039: slide 005200C5and press the
controller.
i The volume can still be adjusted if you
have locked the rear compartment display.
It can also be switched on/off using the
integrated switch. Child-proof locks
63Vehicle functions
Page 66 of 278
360° camera
Important notes
The 360° camera is only an aid. It is not a
replacement for your attention to your
immediate surroundings. You are always
responsible for safe maneuvering and
parking. Make sure that no persons or
animals are in the maneuvering range. Overview
The 360° camera surveys the vehicle
surroundings and assists you, for example
when parking or at exits with reduced
visibility.
For a detailed description of the 360°
camera, see the separate vehicle Operator's
Manual. Settings for the COMAND 360°
camera
Activating/deactivating using the reverse
gear:
X Press the 00D4button on the controller.
The vehicle menu is displayed.
X To switch to the menu bar: slide 005200C5the
controller.
X To select Settings
Settings: turn and press the
controller.
X Select 360° Camera
360° Camera .
X Select Activation by R gear Activation by R gear.
The function is switched on 0073or off 0053,
depending on the previous status.
i When you activate this function, the
image from the 360° camera is displayed
when you select reverse gear. The other
activation options are always available as
well.
Opening the camera cover:
X To select Open Camera Cover
Open Camera Cover: turn and
press the controller. Displaying the 360° camera image
The 360° camera image can be displayed if:
R your vehicle is equipped with a 360°
camera and
R COMAND is switched on (Y page 23) and
R the 360° Camera
360° Camera function is activated
Displaying the image of the 360° camera:
X Press the 00D4button on the controller.
A menu appears.
X Select 360° Camera
360° Camera .
The 360° camera image appears in split-
screen mode.
If the function is activated, the COMAND
display automatically switches back to the
previously selected display as soon as you
shift out of the forward or reverse gear, or if
the vehicle exceeds a speed of approx.
30 km/h.
Manually switching the display
X To select 0039: slide 005200C5and press the
controller. Rear view camera
The rear view camera is only an aid. It is not
a replacement for your attention to your
immediate surroundings. You are always
responsible for safe maneuvering and
parking. When maneuvering or parking, make
sure that there are no persons, animals or
objects in the area in which you are
maneuvering.
The image from the rear view camera is
shown in the COMAND display when reverse
gear is engaged if:
R your vehicle is equipped with a rear view
camera
R COMAND is switched on
R the Activation by R gear
Activation by R gear function is
activated
If the function is activated, the COMAND
display will automatically switch back to the 64
Rear view cameraVehicle functions
Page 67 of 278

previously selected display as soon as you
shift out of reverse gear.
You can find further information about the
rear view camera in the vehicle Operator's
Manual.
X Switch on COMAND (Y page 23).
X Press the 00D4button.
The vehicle menu is displayed.
X Slide 00520064the controller.
X To select System Settings
System Settings: turn and
press the controller.
X Select Rear View Camera Rear View Camera .
The rear view camera menu appears.
X Select Activation by R gear
Activation by R gear.
The function is switched on 0073or off 0053,
depending on the previous status.
When you start the vehicle and engage
reverse gear, the camera cover opens
automatically if the function is activated.
The area behind the vehicle is shown in the
COMAND display with guide lines (see the
vehicle Operator's Manual).
The rear view camera can detect moving and
stationary objects. If, for example, a
pedestrian or another vehicle is detected,
these objects are marked with bars. The
system is only able to detect and mark
stationary objects when your vehicle is
moving. By contrast, stationary objects will
always be detected and marked.
Switching object detection on/off
X To select Object Detection
Object Detection in the rear
view camera menu: turn and press the
controller.
The function is switched on 0073or off 0053,
depending on the previous status.
Opening the camera cover for cleaning
X To select Open Camera Cover
Open Camera Cover in the rear
view camera menu: turn and press the
controller.
The Please Please Wait...
Wait... message appears for
approximately three seconds. The camera cover opens. The camera cover
closes automatically when you lock the
vehicle or pull away. Rear view camera
65Vehicle functions
Page 68 of 278

66
Page 69 of 278
Your COMAND equipment
..................68
Introduction ......................................... 68
Basic settings ...................................... 72
Destination input ................................ 75
Route guidance ................................... 88
Real-time traffic reports ...................101
Storing destinations .........................105
Map functions ................................... 108
Navigation functions ........................116
Problems with the navigation sys-
tem ..................................................... 119 67Navigation
Page 70 of 278
Your COMAND equipment
These operating instructions describe all
standard and optional equipment available
for your COMAND system at the time of
purchase. Country-specific differences are
possible. Please note that your
COMAND system may not be equipped with
all the features described. This also applies to
safety-relevant systems and functions.
Therefore, the equipment on your COMAND
system may differ from that in the
descriptions and illustrations. Should you
have any questions concerning equipment
and operation, please consult an authorized
Mercedes-Benz Center. Introduction
Important safety notes
G
WARNING
If you operate information systems and
communication equipment integrated in the
vehicle while driving, you will be distracted
from traffic conditions. You could also lose
control of the vehicle. There is a risk of an
accident.
Only operate the equipment when the traffic
situation permits. If you are not sure that this
is possible, park the vehicle paying attention
to traffic conditions and operate the
equipment when the vehicle is stationary.
You must observe the legal requirements for
the country in which you are currently driving
when operating COMAND.
COMAND calculates the route to the
destination without taking account of the
following, for example:
R traffic lights
R stop and give way signs
R merging lanes
R parking or stopping in a no parking/no
stopping zone R
other road and traffic rules and regulations
R narrow bridges
COMAND can give incorrect navigation
commands if the actual street/traffic
situation does not correspond with the digital
map's data. Digital maps do not cover all
areas nor all routes in an area. For example,
a route may have been diverted or the
direction of a one-way street may have
changed.
For this reason, you must always observe
road and traffic rules and regulations during
your journey. Road and traffic rules and
regulations always have priority over the
system's driving recommendations.
Navigation announcements are intended to
direct you while driving without diverting your
attention from the road and driving.
Please always use this feature instead of
consulting the map display for directions.
Looking at the icons or map display can
distract you from traffic conditions and
driving, and increase the risk of an accident. General notes
Operational readiness of the navigation
system The navigation system must determine the
position of the vehicle before first use or
whenever operational status is restored.
Therefore, you may have to drive for a while
before precise route guidance is possible.
GPS reception Among other things, correct functioning of
the navigation system depends on GPS
reception. In certain situations, GPS
reception may be impaired, there may be
interference or there may be no reception at
all, e.g. in tunnels or parking garages.
i Using roof carriers may impair the correct
functioning of a roof antenna (phone,
satellite radio, GPS). 68
Int
roductionNavigation