display MERCEDES-BENZ S-Class SEDAN 2016 W222 Comand Manual
[x] Cancel search | Manufacturer: MERCEDES-BENZ, Model Year: 2016, Model line: S-Class SEDAN, Model: MERCEDES-BENZ S-Class SEDAN 2016 W222Pages: 298, PDF Size: 9.16 MB
Page 88 of 298
XSelectSettings.
A menu appears.
XSelect an option.
Switch the option on Oor off ª.
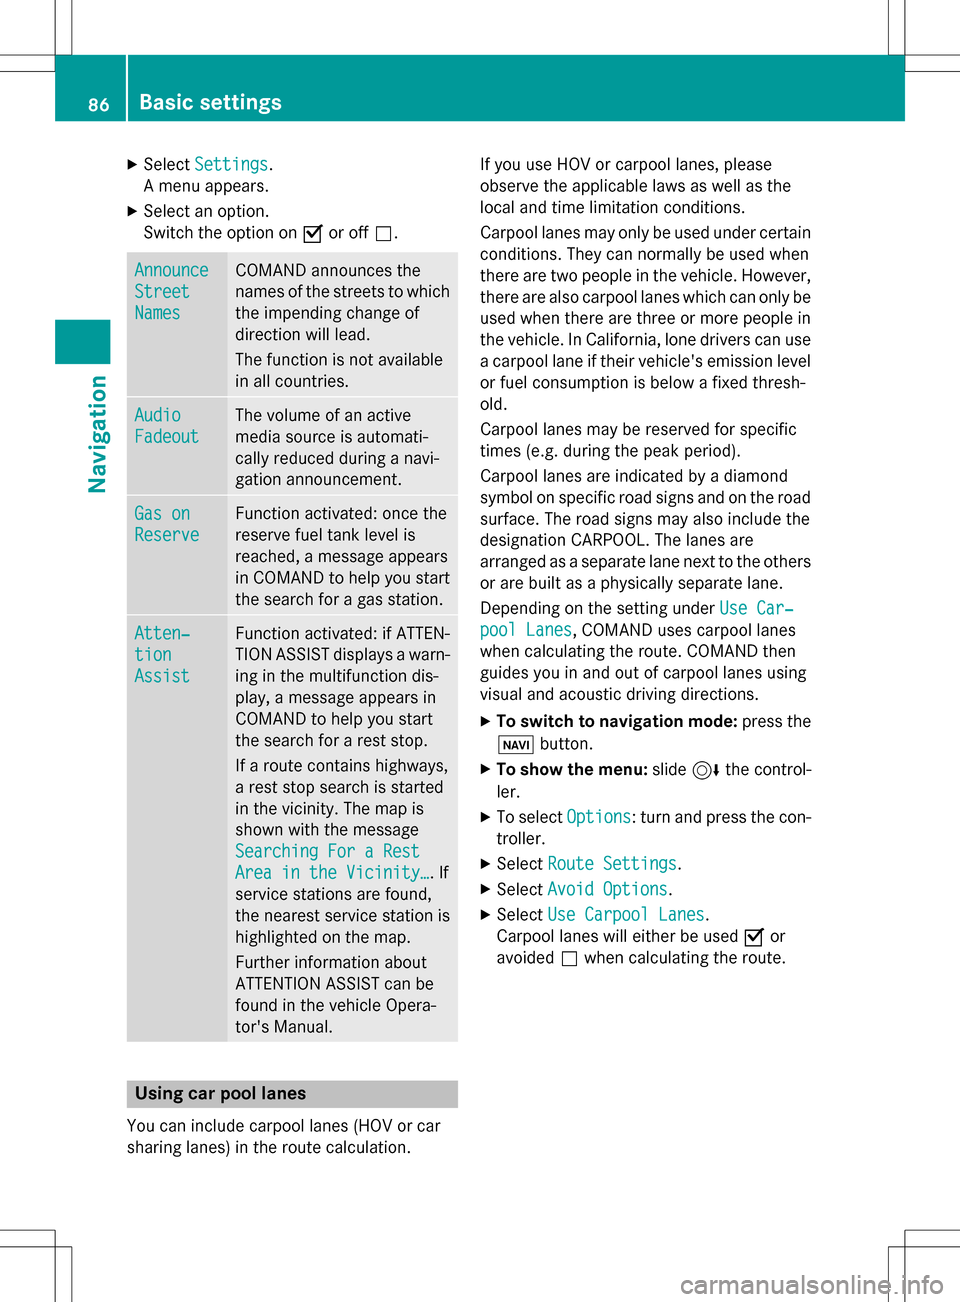
Announce
Street
Names
COMAND announces the
names of the streets to which
the impending change of
direction will lead.
The function is not available
in all countries.
Audio
Fadeout
The volume of an active
media source is automati-
cally reduced during a navi-
gation announcement.
Gas on
Reserve
Function activated: once the
reserve fuel tank level is
reached, a message appears
in COMAND to help you start
the search for a gas station.
Atten‐
tion
Assist
Function activated: if ATTEN-
TION ASSIST displays a warn-
ing in the multifunction dis-
play, a message appears in
COMAND to help you start
the search for a rest stop.
If a route contains highways,
a rest stop search is started
in the vicinity. The map is
shown with the message
Searching For a Rest
Area in the Vicinity…. If
service stations are found,
the nearest service station is
highlighted on the map.
Further information about
ATTENTION ASSIST can be
found in the vehicle Opera-
tor's Manual.
Using car pool lanes
You can include carpool lanes (HOV or car
sharing lanes) in the route calculation. If you use HOV or carpool lanes, please
observe the applicable laws as well as the
local and time limitation conditions.
Carpool lanes may only be used under certain
conditions. They can normally be used when
there are two people in the vehicle. However,
there are also carpool lanes which can only be
used when there are three or more people in
the vehicle. In California, lone drivers can use
a carpool lane if their vehicle's emission level
or fuel consumption is below a fixed thresh-
old.
Carpool lanes may be reserved for specific
times (e.g. during the peak period).
Carpool lanes are indicated by a diamond
symbol on specific road signs and on the road
surface. The road signs may also include the
designation CARPOOL. The lanes are
arranged as a separate lane next to the others
or are built as a physically separate lane.
Depending on the setting under Use Car‐
pool Lanes, COMAND uses carpool lanes
when calculating the route. COMAND then
guides you in and out of carpool lanes using
visual and acoustic driving directions.
XTo switch to navigation mode: press the
ß button.
XTo show the menu: slide6the control-
ler.
XTo select Options: turn and press the con-
troller.
XSelect Route Settings.
XSelectAvoid Options.
XSelectUse Carpool Lanes.
Carpool lanes will either be used Oor
avoided ªwhen calculating the route.
86Basic settings
Navigation
Page 92 of 298
Starting route calculation
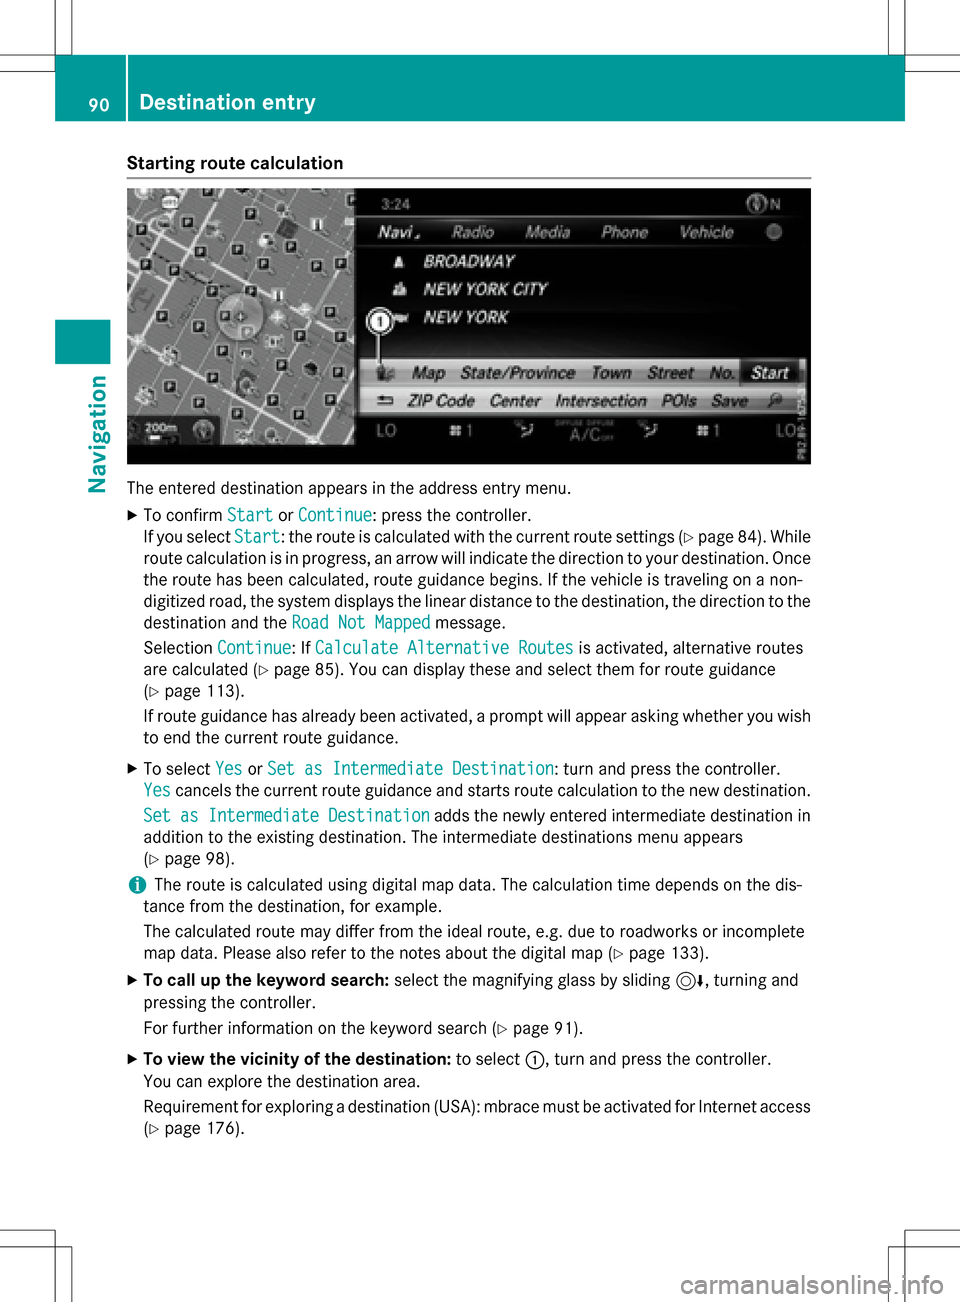
The entered destination appears in the address entry menu.
XTo confirmStartorContinue: press the controller.
If you select Start
: the route is calculated with the current route settings (Ypage 84). While
route calculation is in progress, an arrow will indicate the direction to your destination. Once
the route has been calculated, route guidance begins. If the vehicle is traveling on a non-
digitized road, the system displays the linear distance to the destination, the direction to the
destination and the Road Not Mapped
message.
Selection Continue
: IfCalculate Alternative Routesis activated, alternative routes
are calculated (
Ypage 85). You can display these and select them for route guidance
(
Ypage 113).
If route guidance has already been activated, a prompt will appear asking whether you wish
to end the current route guidance.
XTo select YesorSet as Intermediate Destination: turn and press the controller.
Yes
cancels the current route guidance and starts route calculation to the new destination.
Set as Intermediate Destination
adds the newly entered intermediate destination in
addition to the existing destination. The intermediate destinations menu appears
(
Ypage 98).
iThe route is calculated using digital map data. The calculation time depends on the dis-
tance from the destination, for example.
The calculated route may differ from the ideal route, e.g. due to roadworks or incomplete
map data. Please also refer to the notes about the digital map (
Ypage 133).
XTo call up the keyword search: select the magnifying glass by sliding 6, turning and
pressing the controller.
For further information on the keyword search (
Ypage 91).
XTo view the vicinity of the destination: to select:, turn and press the controller.
You can explore the destination area.
Requirement for exploring a destination (USA): mbrace must be activated for Internet access
(
Ypage 176).
90Destination entry
Navigation
Page 93 of 298
Requirement for exploring adestination (Canada): amobile phone mus tbe connecte dvia
Bluetoot h®(Ypage 140) or US B (Ypage 235) withCOMAND .
Keywordsearch
Entering keyword s
The keywordsearch is used to help fin ddes -
tination susin gfragments of words. The key-
wor dsearch is tolerant of errors .
It can be used for an address or aPOI .Fo r
example, you can search for th eEmpir eState
Buildin gin New Yor kin this way.
The keywor dsearch finds geographically tol-
eran thits. If ,for example, you are searchin g
for astree tlocate don th eedge of amajor
city, th esearch will also cover adjacent
smaller cities.
The keywor dsearch support slanguage s
usin gLatin characters .
XTo switch to navigation mode: press the
Ø button.
XTo sho wthemenu: slide6 thecontrol -
ler .
XTo select Destination:tur nand press th e
controller .
XSelectKeywor dSearch.
XEnte rth efirst few letters of th ecit yand
stree tor th ePOI ,e.g. EMP
and STATE.
Whil eenterin gth einformation ,th enumber
of exact matches/all hit sis shown.
---/-- -
is displayed if fewer than three
characters hav ebeen entered . 999
+
is displayed if there are to oman yhits.
XSelec tOK.
The search result sare displayed
(
Ypage 91).
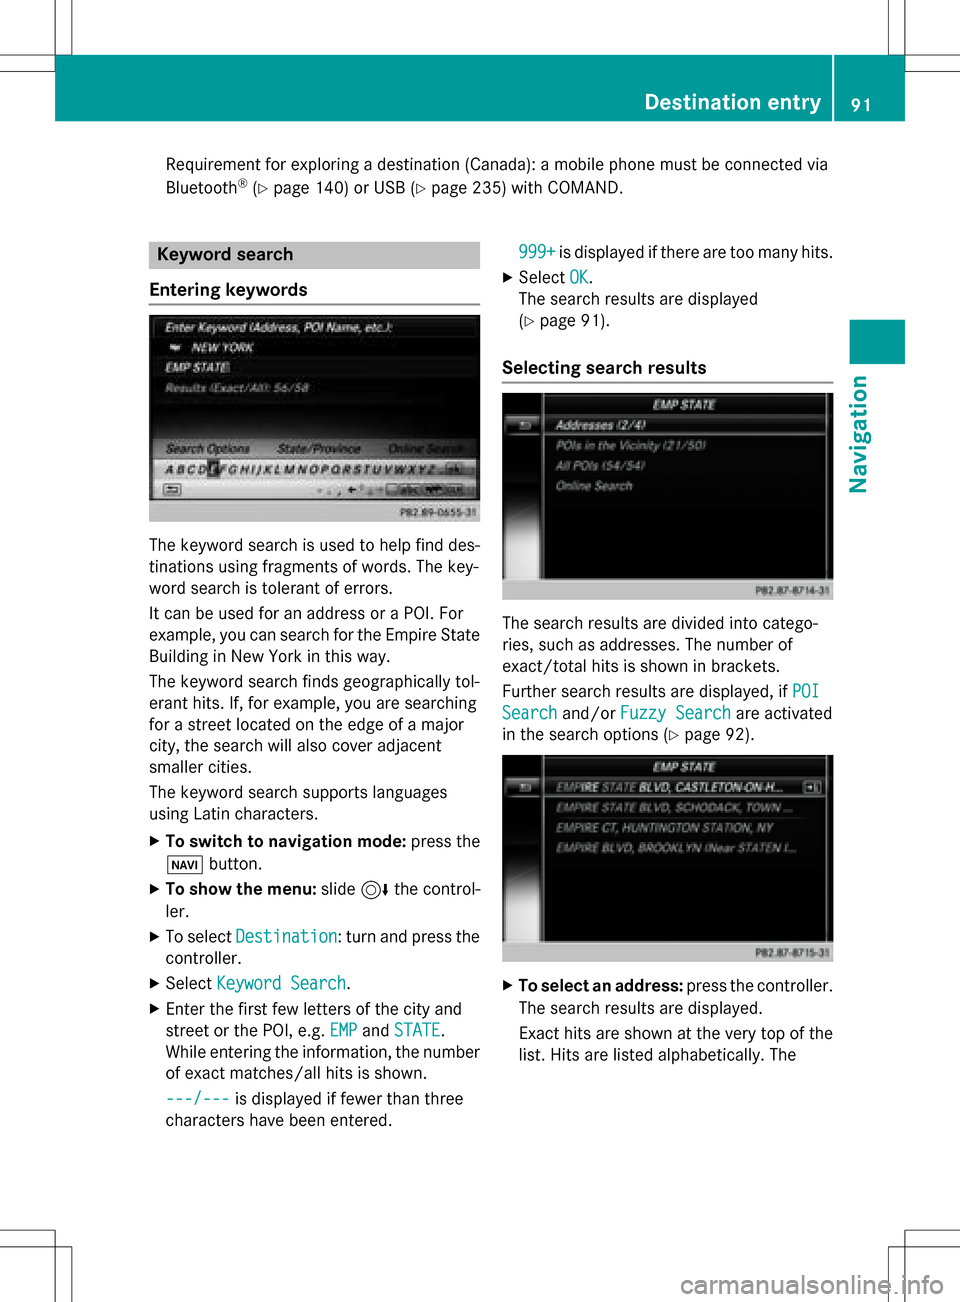
Selecting search results
The search result sare divided into catego -
ries, suc has addresses. The number of
exact/total hit sis shown in brackets .
Further search result sare displayed, if POI
Searchand/orFuzzy Searchare activated
in th esearch option s (
Ypage 92).
XTo select an address: press thecontroller .
The search result sare displayed.
Exact hit sare shown at th ever yto pof th e
list .Hit sare listed alphabetically. The
Destination entry91
Navigation
Z
Page 97 of 298
SelectionInstructions
Menu itemSearch By
Name
Search for all POIs on the
digital map or around
one of the three previ-
ously specified positions
XCall up the POI menu (Ypage 93).
XTo selectSearch By Name: turn and press the controller.
XSelectAll POIsor one of the three previously selected posi-
tions.
The POI list with character bar appears.
XEnter a name.
or
XTo select Mercedes-Benz Service: turn and press the con-
troller.
Menu item Search By
Phone Number
This function gives you
access to all POIs that
have a phone number.
XCall up the POI menu (Ypage 93).
XTo selectSearchByPhoneNumber: turn and press the con-
troller.
You will see a list of phone numbers.
XEnter the telephone number.
The telephone number consists of:
Rthe country code (international dialing code)
Rthe area code
When entering the area code, omit the leading "0"
Rthe telephone number of the participating caller
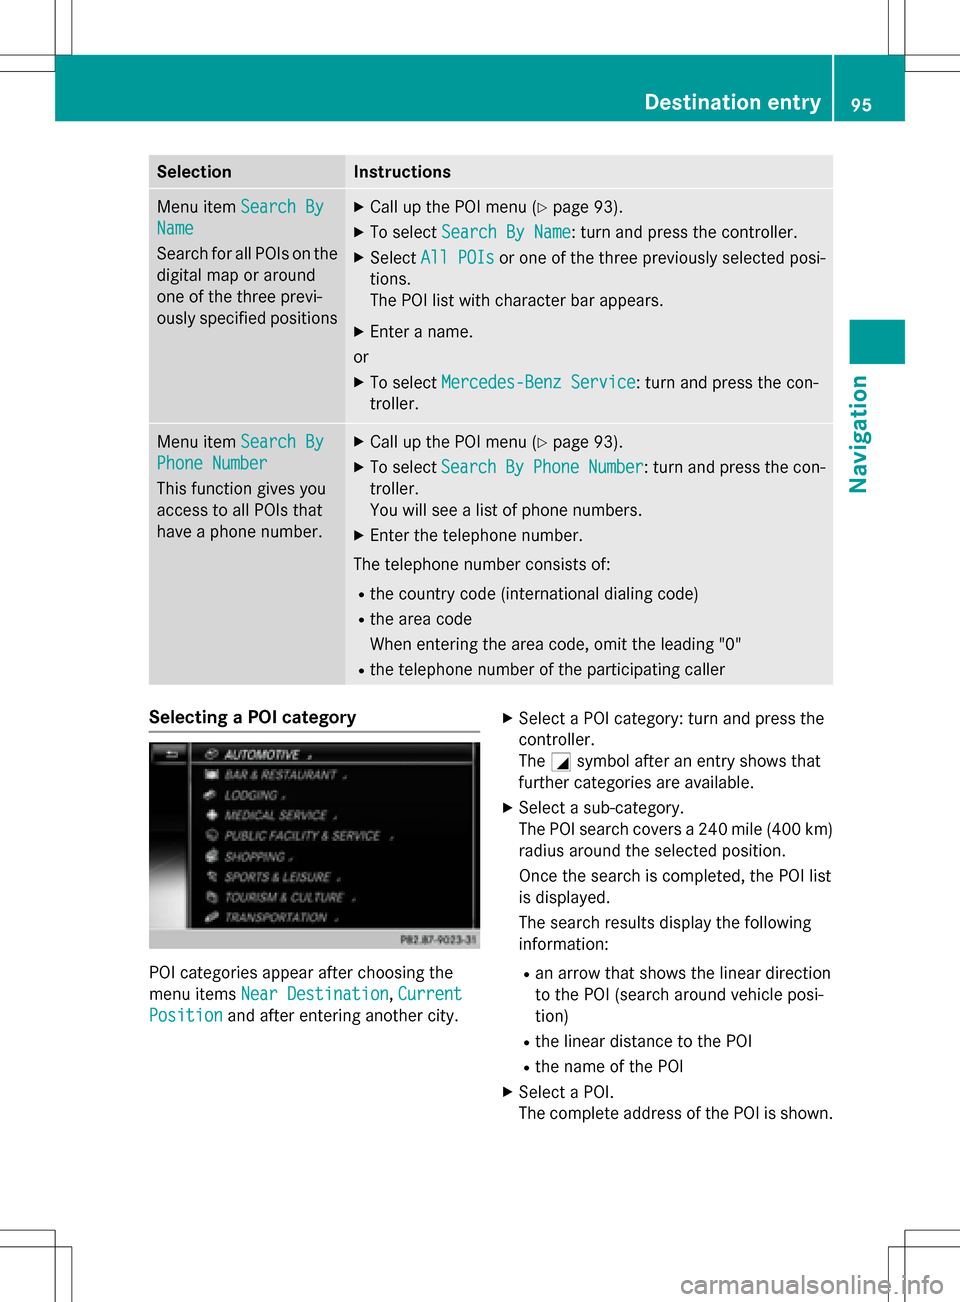
Selecting a POI category
POI categories appear after choosing the
menu items Near Destination
,Current
Positionand after entering another city.
XSelect a POI category: turn and press the
controller.
The Gsymbol after an entry shows that
further categories are available.
XSelect a sub-category.
The POI search covers a 240 mile (400 km)
radius around the selected position.
Once the search is completed, the POI list
is displayed.
The search results display the following
information:
Ran arrow that shows the linear direction
to the POI (search around vehicle posi-
tion)
Rthe linear distance to the POI
Rthe name of the POI
XSelect a POI.
The complete address of the POI is shown.
Destination entry95
Navigation
Z
Page 99 of 298
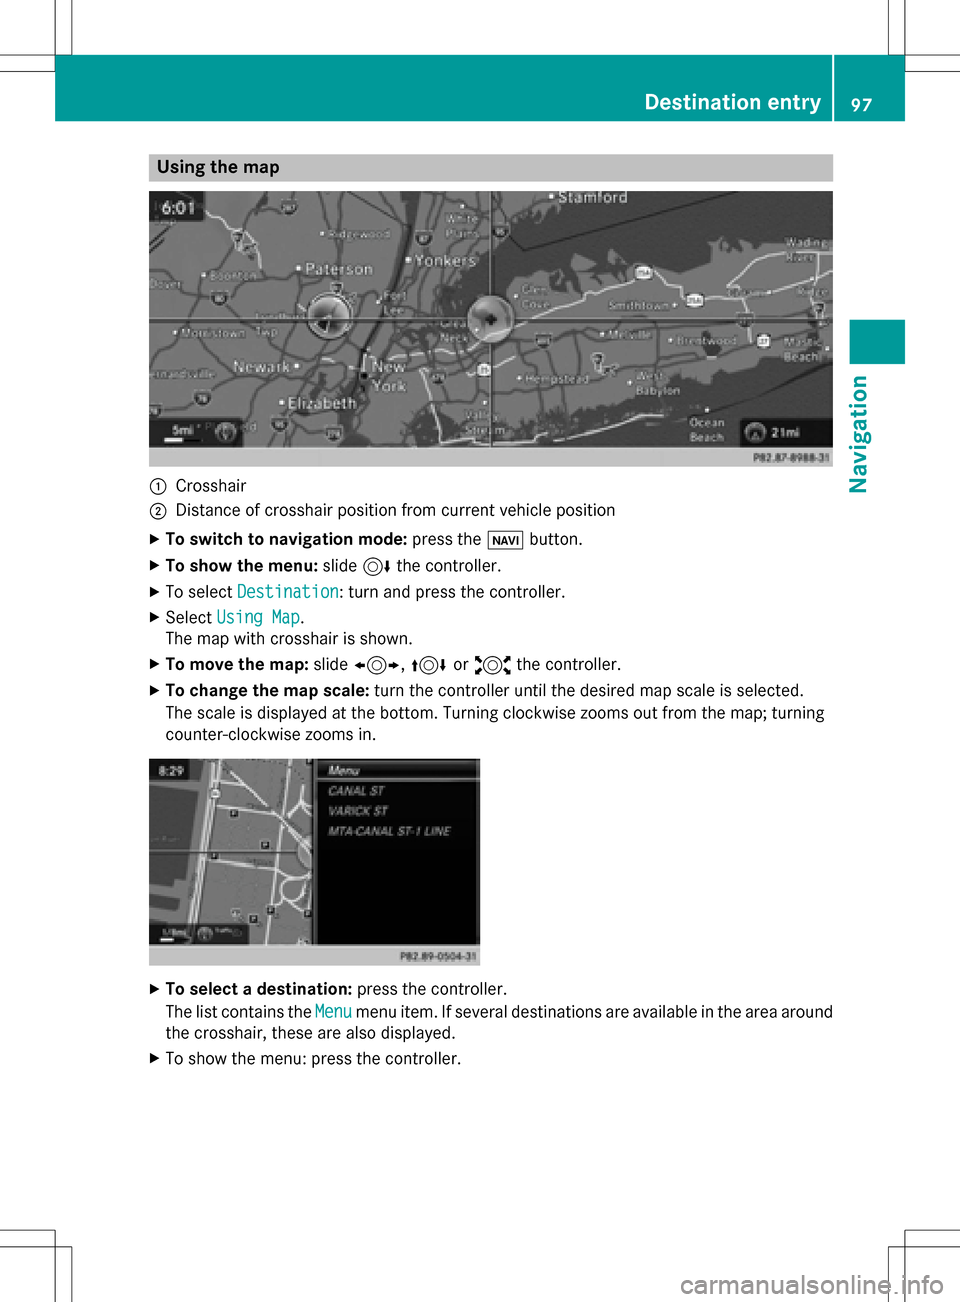
Using the map
:Crosshair
;Distance of crosshair position from current vehicle position
XTo switch to navigation mode:press theßbutton.
XTo show the menu: slide6the controller.
XTo select Destination: turn and press the controller.
XSelectUsing Map.
The map with crosshair is shown.
XTo move the map: slide1, 4or2 the controller.
XTo change the map scale: turn the controller until the desired map scale is selected.
The scale is displayed at the bottom. Turning clockwise zooms out from the map; turning
counter-clockwise zooms in.
XTo select a destination: press the controller.
The list contains the Menu
menu item. If several destinations are available in the area around
the crosshair, these are also displayed.
XTo show the menu: press the controller.
Destination entry97
Navigation
Z
Page 100 of 298
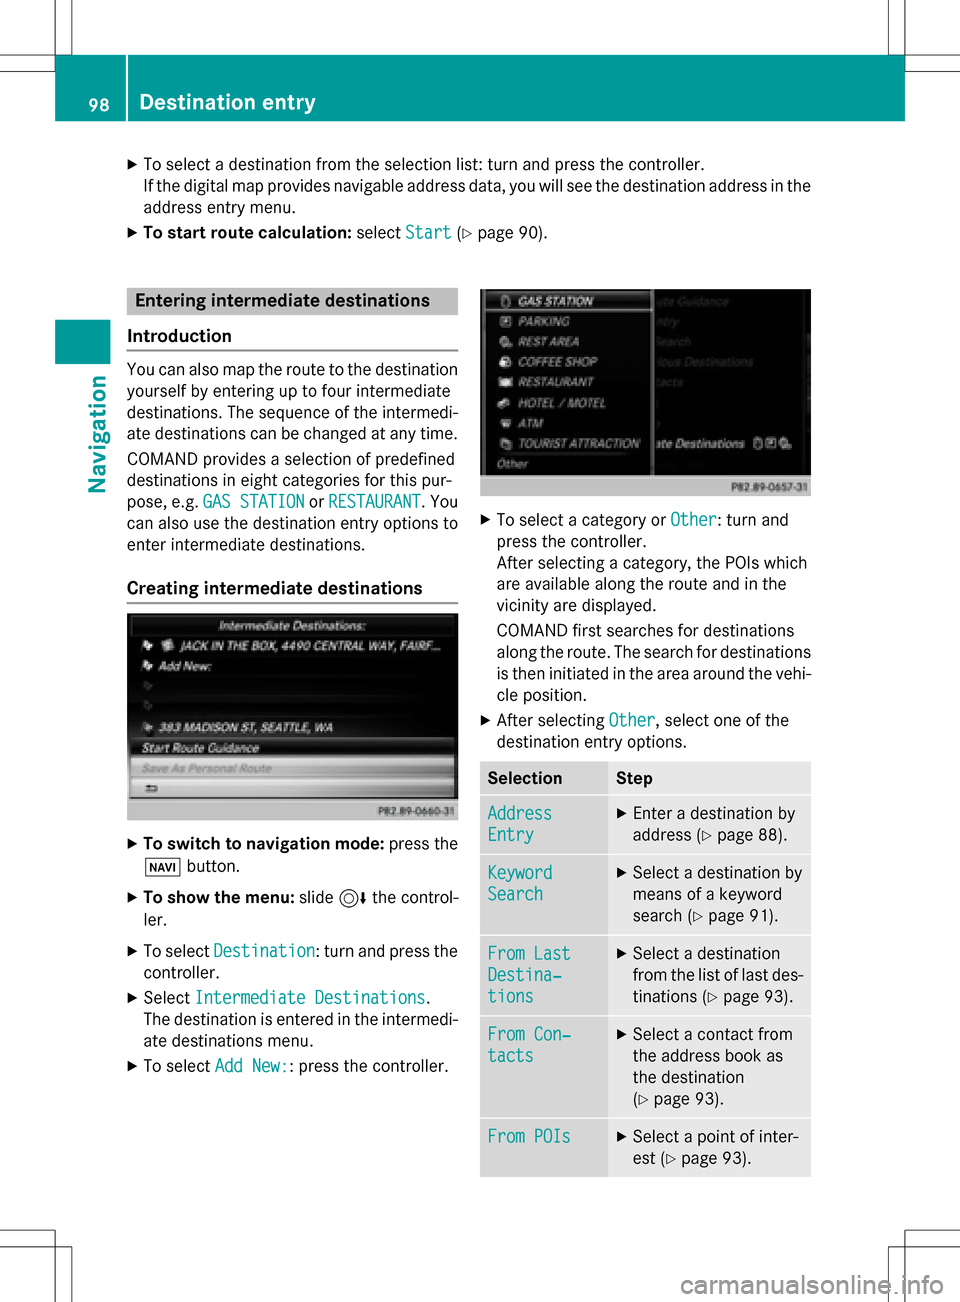
XTo select a destination from the selection list: turn and press the controller.
If the digital map provides navigable address data, you will see the destination address in the
address entry menu.
XTo start route calculation:selectStart(Ypage 90).
Entering intermediate destinations
Introduction
You can also map the route to the destination yourself by entering up to four intermediate
destinations. The sequence of the intermedi-
ate destinations can be changed at any time.
COMAND provides a selection of predefined
destinations in eight categories for this pur-
pose, e.g. GAS STATION
orRESTAURANT. You
can also use the destination entry options to
enter intermediate destinations.
Creating intermediate destinations
XTo switch to navigation mode: press the
Ø button.
XTo show the menu: slide6the control-
ler.
XTo select Destination: turn and press the
controller.
XSelect Intermediate Destinations.
The destination is entered in the intermedi-
ate destinations menu.
XTo select Add New:: press the controller.
XTo select a category or Other: turn and
press the controller.
After selecting a category, the POIs which
are available along the route and in the
vicinity are displayed.
COMAND first searches for destinations
along the route. The search for destinations
is then initiated in the area around the vehi-
cle position.
XAfter selecting Other, select one of the
destination entry options.
SelectionStep
Address
Entry
XEnter a destination by
address (
Ypage 88).
Keyword
Search
XSelect a destination by
means of a keyword
search (
Ypage 91).
From Last
Destina‐
tions
XSelect a destination
from the list of last des-
tinations (
Ypage 93).
From Con‐
tacts
XSelect a contact from
the address book as
the destination
(
Ypage 93).
From POIsXSelect a point of inter-
est (
Ypage 93).
98Destination entry
Navigation
Page 101 of 298
SelectionStep
Using MapXEnter a destination
using the map
(
Ypage 97).
From Memory
Card
XSelect a personal POI
(
Ypage 103).
From
Mercedes-
Benz Apps
XEnter a destination
from Mercedes-Benz
Apps (
Ypage 101).
Using Geo-
Coordinates
XEnter a destination
using the geo-coordi-
nates (
Ypage 101).
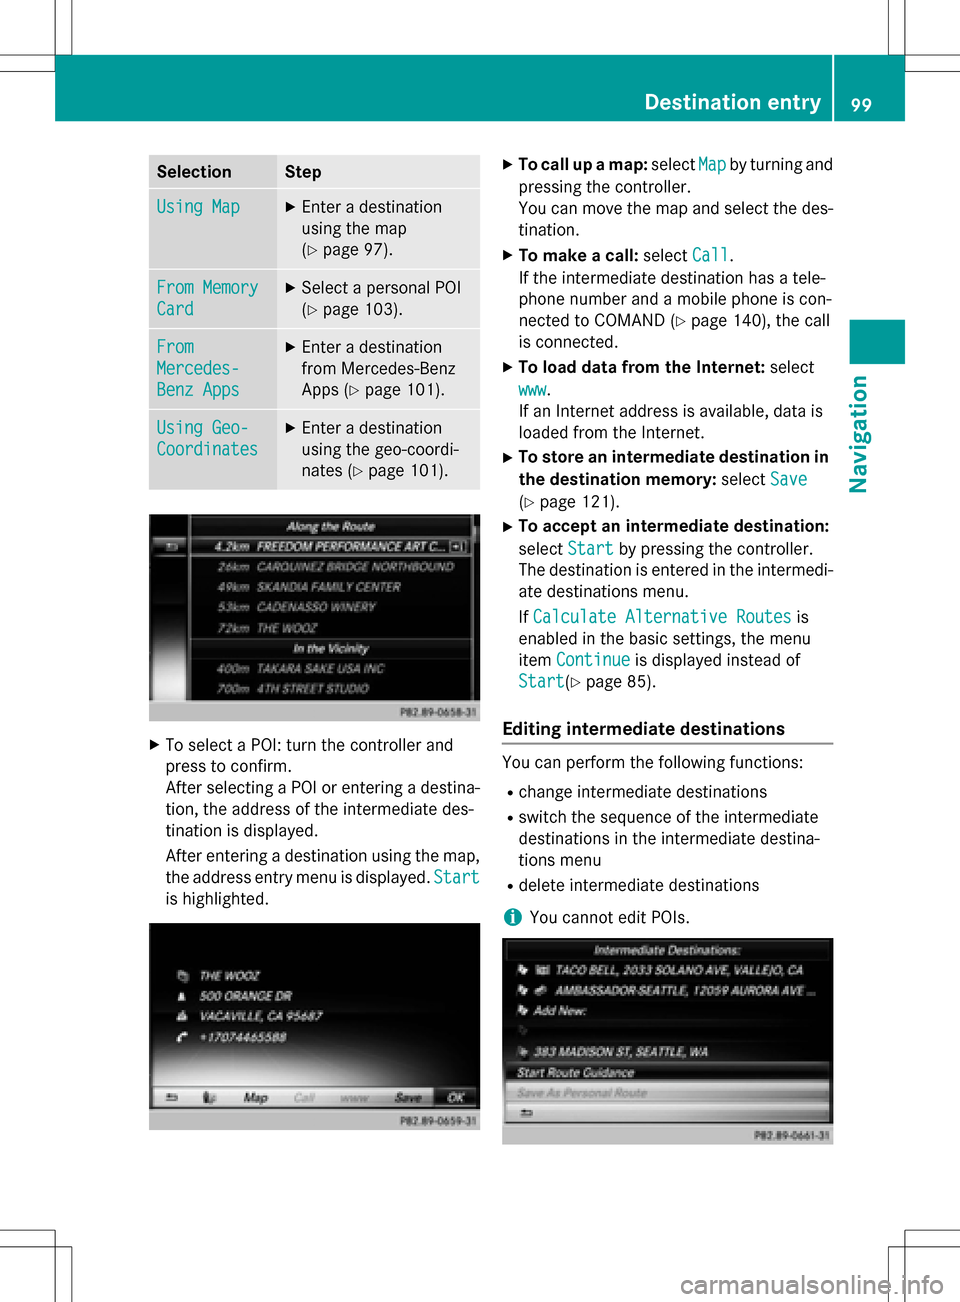
XTo select a POI: turn the controller and
press to confirm.
After selecting a POI or entering a destina-
tion, the address of the intermediate des-
tination is displayed.
After entering a destination using the map,
the address entry menu is displayed.Start
is highlighted.
XTo call up a map:selectMapby turning and
pressing the controller.
You can move the map and select the des-
tination.
XTo make a call: selectCall.
If the intermediate destination has a tele-
phone number and a mobile phone is con-
nected to COMAND (
Ypage 140), the call
is connected.
XTo load data from the Internet: select
www
.
If an Internet address is available, data is
loaded from the Internet.
XTo store an intermediate destination in
the destination memory: selectSave
(Ypage 121).
XTo accept an intermediate destination:
selectStart
by pressing the controller.
The destination is entered in the intermedi-
ate destinations menu.
If Calculate Alternative Routes
is
enabled in the basic settings, the menu
item Continue
is displayed instead of
Start
(Ypage 85).
Editing intermediate destinations
You can perform the following functions:
Rchange intermediate destinations
Rswitch the sequence of the intermediate
destinations in the intermediate destina-
tions menu
Rdelete intermediate destinations
iYou cannot edit POIs.
Destination entry99
Navigation
Z
Page 102 of 298
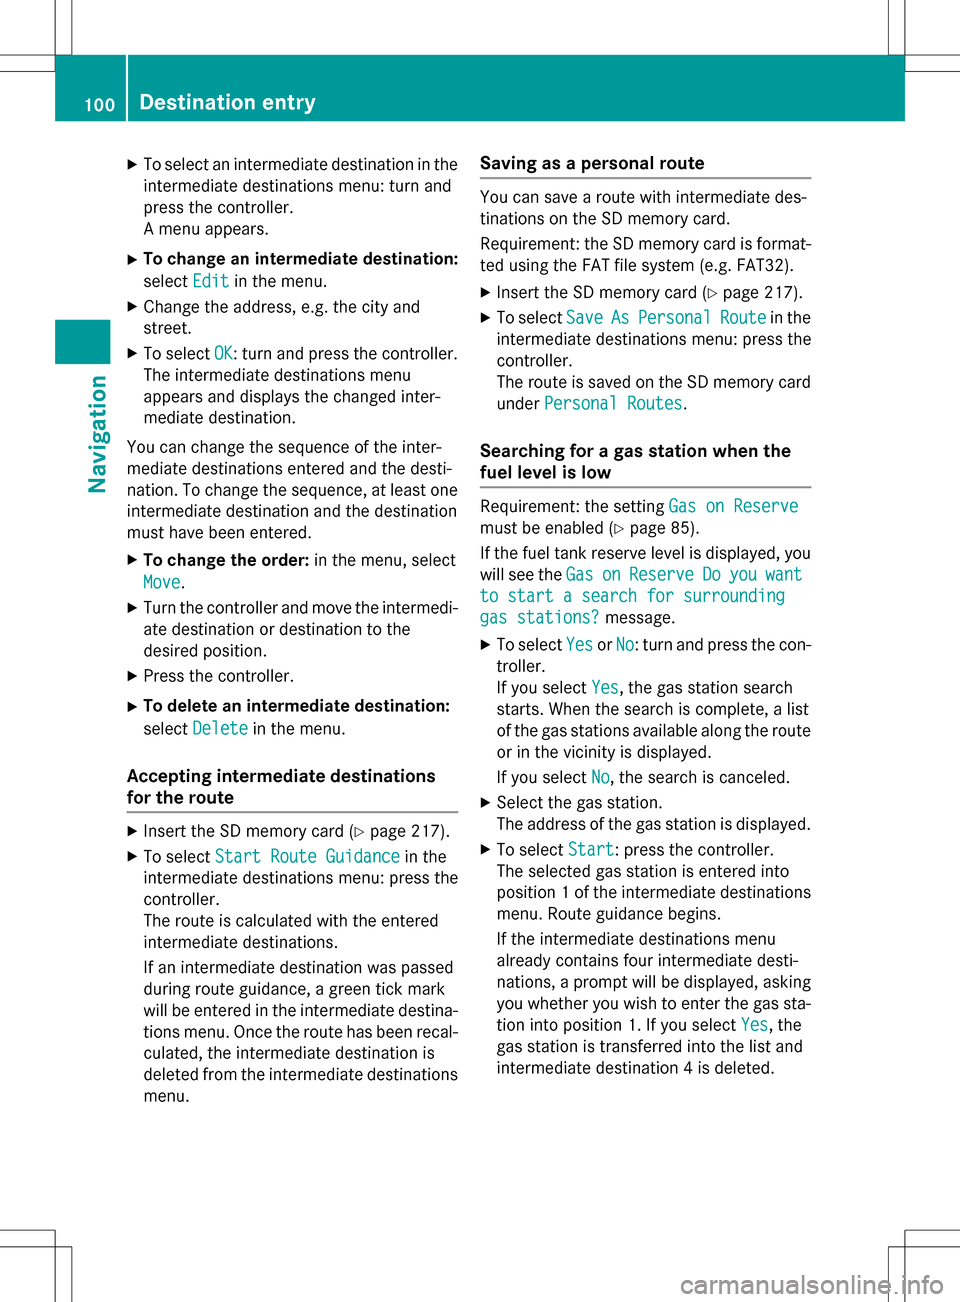
XTo select an intermediate destination in the
intermediate destinations menu: turn and
press the controller.
A menu appears.
XTo change an intermediate destination:
selectEdit
in the menu.
XChange the address, e.g. the city and
street.
XTo select OK: turn and press the controller.
The intermediate destinations menu
appears and displays the changed inter-
mediate destination.
You can change the sequence of the inter-
mediate destinations entered and the desti-
nation. To change the sequence, at least one
intermediate destination and the destination
must have been entered.
XTo change the order: in the menu, select
Move
.
XTurn the controller and move the intermedi-
ate destination or destination to the
desired position.
XPress the controller.
XTo delete an intermediate destination:
select Delete
in the menu.
Accepting intermediate destinations
for the route
XInsert the SD memory card (Ypage 217).
XTo select Start Route Guidancein the
intermediate destinations menu: press the
controller.
The route is calculated with the entered
intermediate destinations.
If an intermediate destination was passed
during route guidance, a green tick mark
will be entered in the intermediate destina-
tions menu. Once the route has been recal-
culated, the intermediate destination is
deleted from the intermediate destinations
menu.
Saving as a personal route
You can save a route with intermediate des-
tinations on the SD memory card.
Requirement: the SD memory card is format-
ted using the FAT file system (e.g. FAT32).
XInsert the SD memory card (Ypage 217).
XTo select SaveAsPersonalRoutein the
intermediate destinations menu: press the
controller.
The route is saved on the SD memory card
under Personal Routes
.
Searching for a gas station when the
fuel level is low
Requirement: the setting Gas on Reserve
must be enabled (Ypage 85).
If the fuel tank reserve level is displayed, you
will see the Gas
onReserveDoyouwant
to start a search for surrounding
gas stations?message.
XTo selectYesorNo: turn and press the con-
troller.
If you select Yes
, the gas station search
starts. When the search is complete, a list
of the gas stations available along the route
or in the vicinity is displayed.
If you select No
, the search is canceled.
XSelect the gas station.
The address of the gas station is displayed.
XTo selectStart: press the controller.
The selected gas station is entered into
position 1 of the intermediate destinations
menu. Route guidance begins.
If the intermediate destinations menu
already contains four intermediate desti-
nations, a prompt will be displayed, asking
you whether you wish to enter the gas sta-
tion into position 1. If you select Yes
, the
gas station is transferred into the list and
intermediate destination 4 is deleted.
100Destination entry
Navigation
Page 103 of 298
Entering a destination from
Mercedes-Benz Apps
Requirement (USA): mbrace is activated for
the Mercedes-Benz Apps (
Ypage 176).
Requirement (Canada): a mobile phone must be connected via Bluetooth
®(Ypage 140) or
USB (
Ypage 235) with COMAND.
XTo switch to navigation mode: press the
Ø button.
XTo show the menu: slide6the control-
ler.
XTo select Destination: turn and press the
controller.
XSelect From Mercedes-Benz Apps.
A list shows the available destinations that
have been transmitted to the vehicle up to
this point (
Ypage 185).
Using geo-coordinates
XTo switch to navigation mode: press the
ß button.
XTo show the menu: slide6the control-
ler.
XTo select Destination: turn and press the
controller.
XSelect Using Geo-Coordinates.
Geo-coordinates are entered in degrees,
minutes and seconds.
Entering the latitude and longitude coor-
dinates
XTo change the value: turn the controller.
XTo move the selection within the line: slide
1 the controller.
XTo move the selection between lines: slide
4the controller.
XTo confirm the value: press the controller.
Saving a destination
XTo select Save: turn and press the control-
ler.
The destination can be saved:
Ras a navigable address book contact
Rto an SD memory card
Rhome address
Starting route calculation
XTo select Start Route Guidance: turn
and press the controller.
Personal POIs and routes
General notes
The use of personal POIs for displaying traffic surveillance equipment is not permitted in
every country. Please observe the country-
specific regulations and always drive at a suit-
able speed.
Personal POIs are filed in categories:
RNot Classified
Standard entry for personal POIs
RMercedes-Benz Apps
Personal POIs (destinations, routes) that
you have imported via the online functions
(
Ypage 187)
RCategories which you have created your-
self, e.g. on your PC
Personal routes are not categorized.
Settings for personal POIs
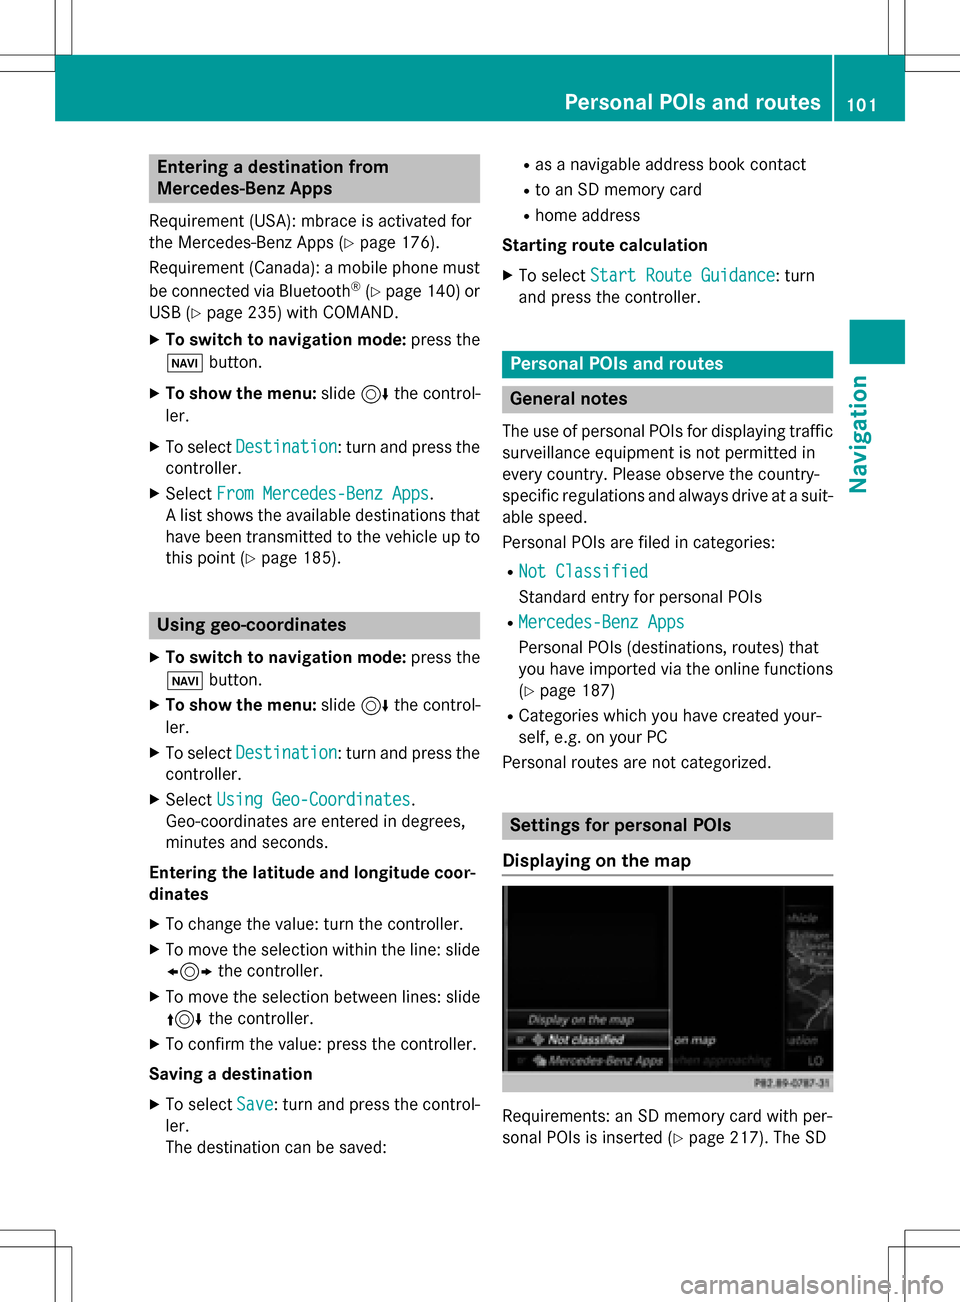
Displaying on the map
Requirements: an SD memory card with per-
sonal POIs is inserted (
Ypage 217). The SD
Personal POIs and routes101
Navigation
Z
Page 104 of 298
memory card is formatted using the FAT file
system (e.g. FAT32).
All personal POIs of the selected category are
displayed on the map with a corresponding
symbol.
If the "Alert when approaching" (
Ypage 102)
function is activated, the symbols are dis-
played up to a map scale of 2 km.
XTo switch to navigation mode: press the
ß button.
XTo show the menu: slide6the control-
ler.
XTo select Options: turn and press the con-
troller.
XSelect Personal POIs.
XSelectDisplay on the Map.
The menu displays the categories available
on the SD memory card.
XTo select a category: turn the controller and
press to confirm.
All personal POIs in the selected category
are displayed Oor not displayed ª,
depending on the previous status.
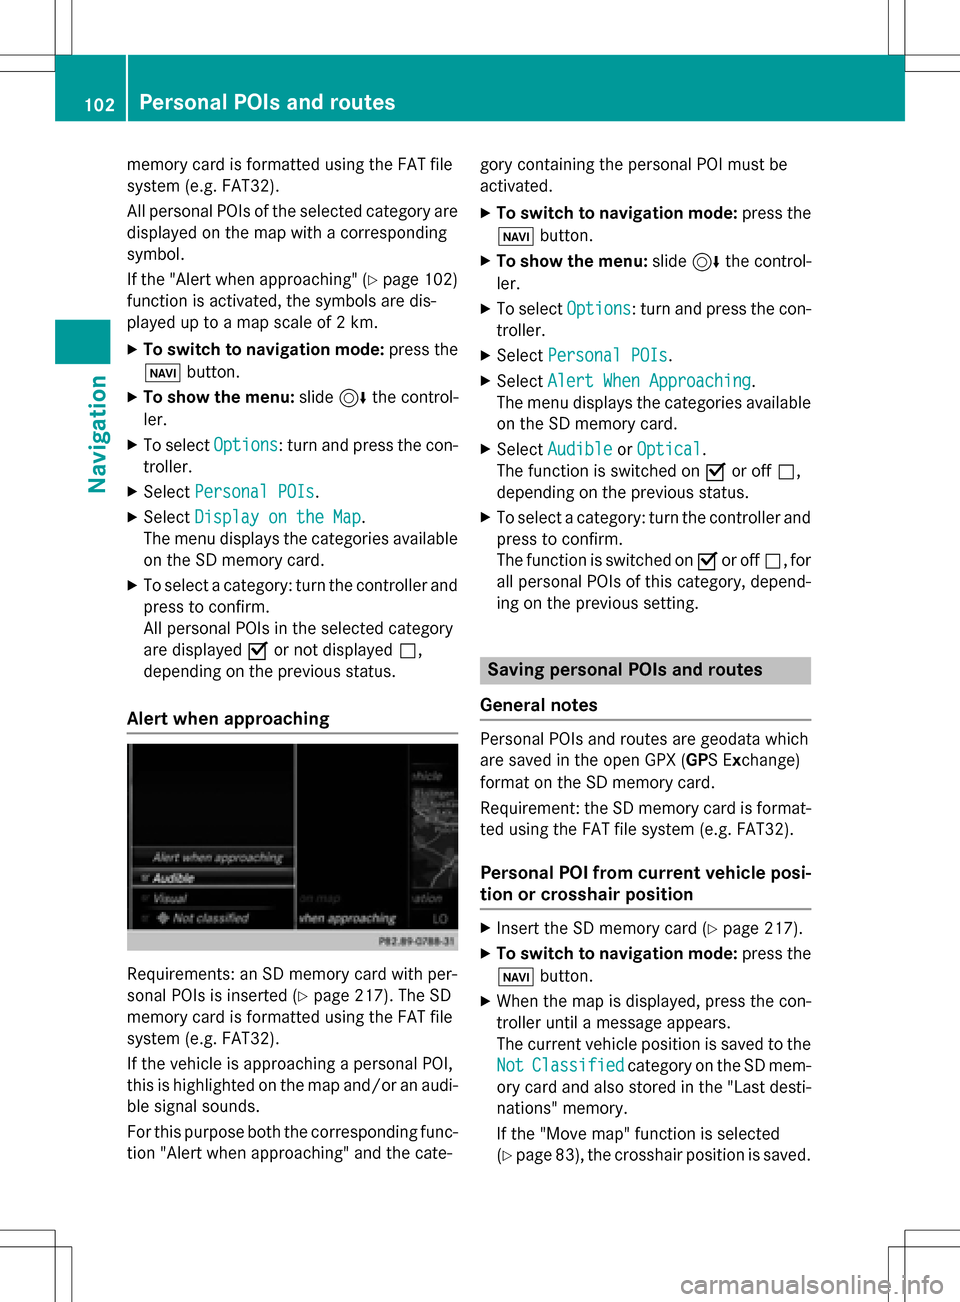
Alert when approaching
Requirements: an SD memory card with per-
sonal POIs is inserted (
Ypage 217). The SD
memory card is formatted using the FAT file
system (e.g. FAT32).
If the vehicle is approaching a personal POI,
this is highlighted on the map and/or an audi- ble signal sounds.
For this purpose both the corresponding func-
tion "Alert when approaching" and the cate- gory containing the personal POI must be
activated.
XTo switch to navigation mode:
press the
ß button.
XTo show the menu: slide6the control-
ler.
XTo select Options: turn and press the con-
troller.
XSelect Personal POIs.
XSelectAlert When Approaching.
The menu displays the categories available
on the SD memory card.
XSelect AudibleorOptical.
The function is switched on Oor off ª,
depending on the previous status.
XTo select a category: turn the controller and
press to confirm.
The function is switched on Oor off ª, for
all personal POIs of this category, depend-
ing on the previous setting.
Saving personal POIs and routes
General notes
Personal POIs and routes are geodata which
are saved in the open GPX (GPS Exchange)
format on the SD memory card.
Requirement: the SD memory card is format-
ted using the FAT file system (e.g. FAT32).
Personal POI from current vehicle posi-
tion or crosshair position
XInsert the SD memory card (Ypage 217).
XTo switch to navigation mode: press the
ß button.
XWhen the map is displayed, press the con-
troller until a message appears.
The current vehicle position is saved to the
Not
Classifiedcategory on the SD mem-
ory card and also stored in the "Last desti-
nations" memory.
If the "Move map" function is selected
(
Ypage 83), the crosshair position is saved.
102Personal POIs and routes
Navigation