tow MERCEDES-BENZ SL-Class 2015 R131 Service Manual
[x] Cancel search | Manufacturer: MERCEDES-BENZ, Model Year: 2015, Model line: SL-Class, Model: MERCEDES-BENZ SL-Class 2015 R131Pages: 610, PDF Size: 12.21 MB
Page 272 of 610
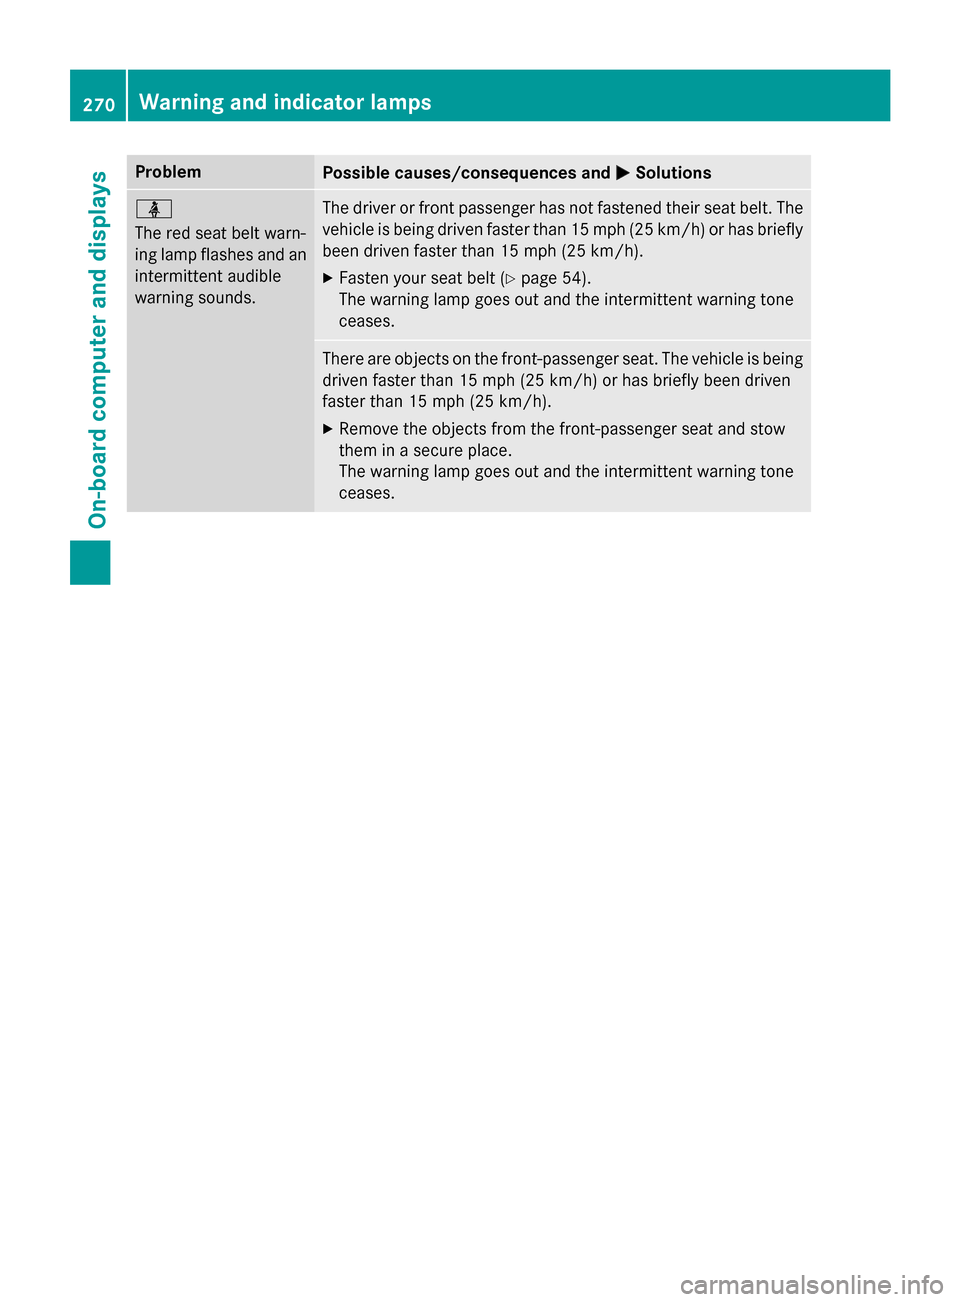
Problem
Possible causes/consequences and
0050
0050Solutions 00E9
The red seat belt warn-
ing lamp flashes and an
intermittent audible
warning sounds. The driver or front passenger has not fastened their seat belt. The
vehicle is being driven faster than 15 mph (25 km/h) or has briefly been driven faster than 15 mph (25 km/h).
X Fasten your seat belt (Y page 54).
The warning lamp goes out and the intermittent warning tone
ceases. There are objects on the front-passenger seat. The vehicle is being
driven faster than 15 mph (25 km/h) or has briefly been driven
faster than 15 mph (25 km/h).
X Remove the objects from the front-passenger seat and stow
them in a secure place.
The warning lamp goes out and the intermittent warning tone
ceases. 270
Warning and indicator lampsOn-board computer and displays
Page 379 of 610
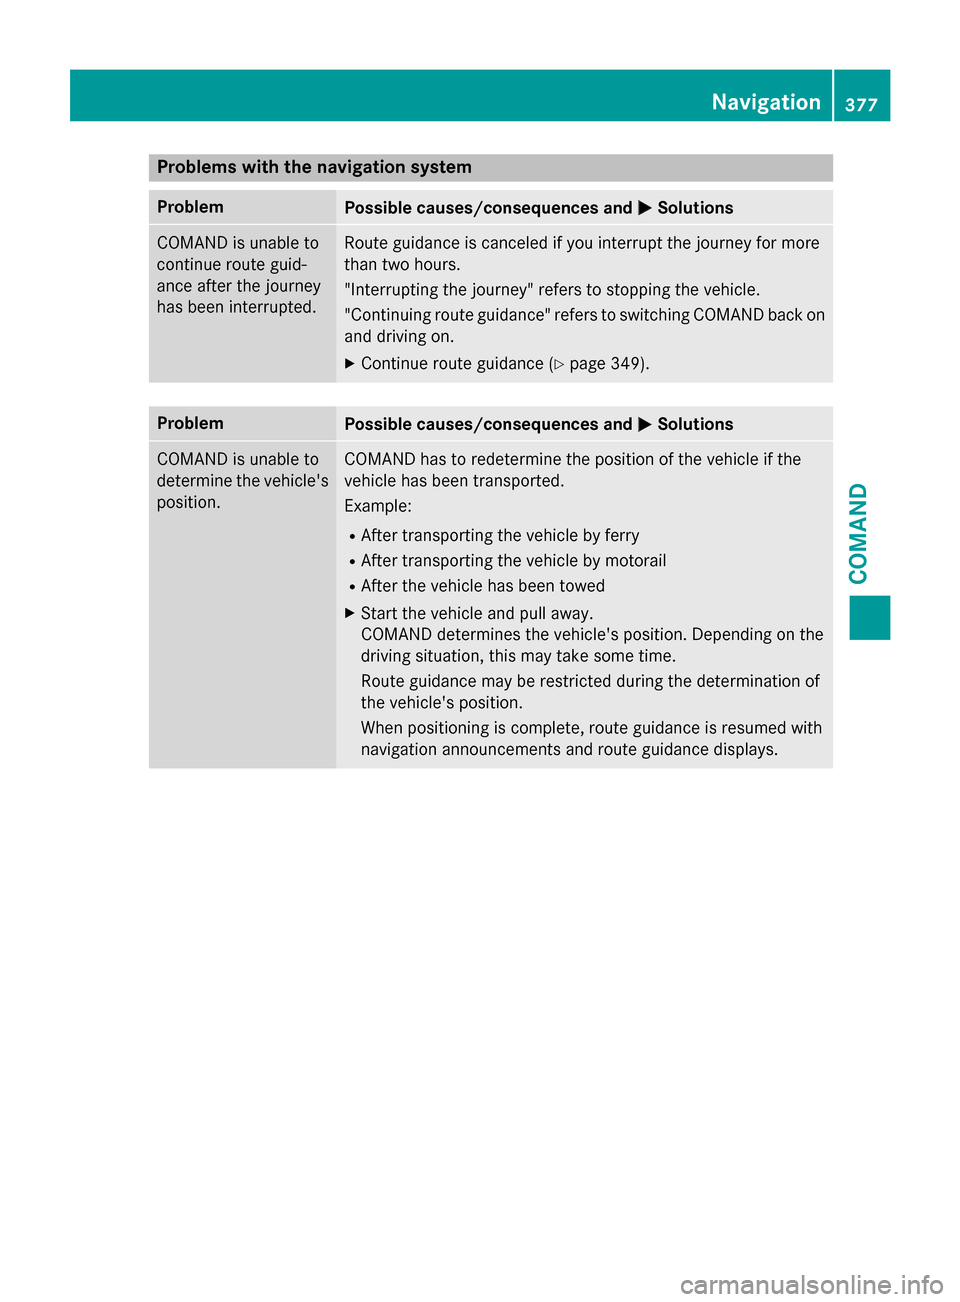
Problems with the navigation system
Problem
Possible causes/consequences and
0050
0050Solutions COMAND is unable to
continue route guid-
ance after the journey
has been interrupted. Route guidance is canceled if you interrupt the journey for more
than two hours.
"Interrupting the journey" refers to stopping the vehicle.
"Continuing route guidance" refers to switching COMAND back on
and driving on.
X Continue route guidance (Y page 349).Problem
Possible causes/consequences and
0050 0050Solutions COMAND is unable to
determine the vehicle's
position. COMAND has to redetermine the position of the vehicle if the
vehicle has been transported.
Example:
R After transporting the vehicle by ferry
R After transporting the vehicle by motorail
R After the vehicle has been towed
X Start the vehicle and pull away.
COMAND determines the vehicle's position. Depending on the
driving situation, this may take some time.
Route guidance may be restricted during the determination of
the vehicle's position.
When positioning is complete, route guidance is resumed with
navigation announcements and route guidance displays. Navigation
377COMAND Z
Page 447 of 610
i
If a medium contains other files in addi-
tion to music files, the loading time before
the first track starts to play may be longer.
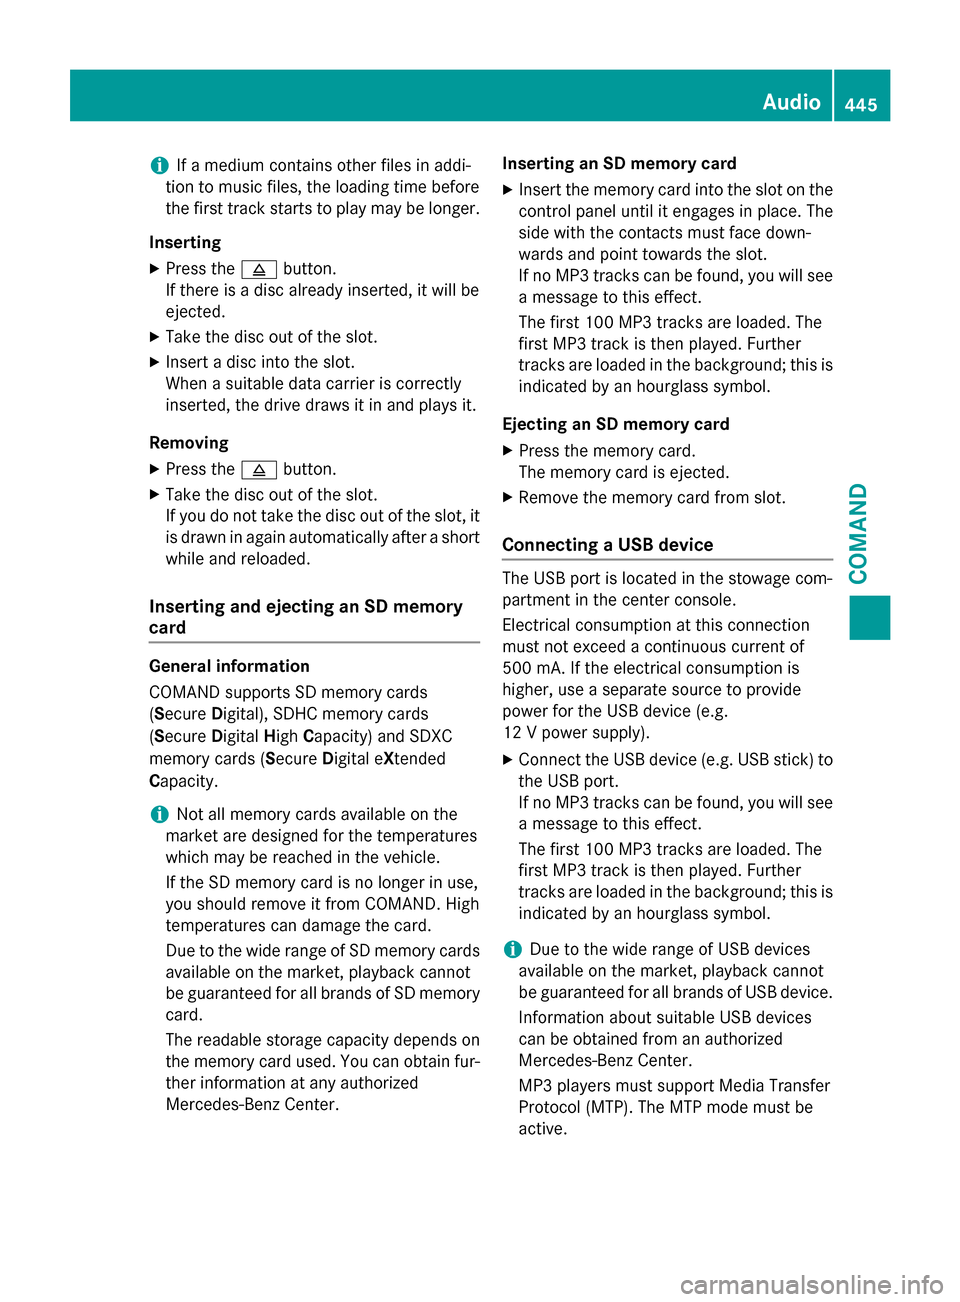
Inserting X Press the 0062button.
If there is a disc already inserted, it will be
ejected.
X Take the disc out of the slot.
X Insert a disc into the slot.
When a suitable data carrier is correctly
inserted, the drive draws it in and plays it.
Removing X Press the 0062button.
X Take the disc out of the slot.
If you do not take the disc out of the slot, it
is drawn in again automatically after a short
while and reloaded.
Inserting and ejecting an SD memory
card General information
COMAND supports SD memory cards
(Secure
Digital), SDHC memory cards
(Secure DigitalHighCapacity) and SDXC
memory cards (Secure Digital eXtended
Capacity.
i Not all memory cards available on the
market are designed for the temperatures
which may be reached in the vehicle.
If the SD memory card is no longer in use,
you should remove it from COMAND. High
temperatures can damage the card.
Due to the wide range of SD memory cards
available on the market, playback cannot
be guaranteed for all brands of SD memory
card.
The readable storage capacity depends on
the memory card used. You can obtain fur-
ther information at any authorized
Mercedes-Benz Center. Inserting an SD memory card
X Insert the memory card into the slot on the
control panel until it engages in place. The
side with the contacts must face down-
wards and point towards the slot.
If no MP3 tracks can be found, you will see a message to this effect.
The first 100 MP3 tracks are loaded. The
first MP3 track is then played. Further
tracks are loaded in the background; this is
indicated by an hourglass symbol.
Ejecting an SD memory card
X Press the memory card.
The memory card is ejected.
X Remove the memory card from slot.
Connecting a USB device The USB port is located in the stowage com-
partment in the center console.
Electrical consumption at this connection
must not exceed a continuous current of
500 mA. If the electrical consumption is
higher, use a separate source to provide
power for the USB device (e.g.
12 V power supply).
X Connect the USB device (e.g. USB stick) to
the USB port.
If no MP3 tracks can be found, you will seea message to this effect.
The first 100 MP3 tracks are loaded. The
first MP3 track is then played. Further
tracks are loaded in the background; this is
indicated by an hourglass symbol.
i Due to the wide range of USB devices
available on the market, playback cannot
be guaranteed for all brands of USB device.
Information about suitable USB devices
can be obtained from an authorized
Mercedes-Benz Center.
MP3 players must support Media Transfer
Protocol (MTP). The MTP mode must be
active. Audio
445COMAND Z
Page 467 of 610
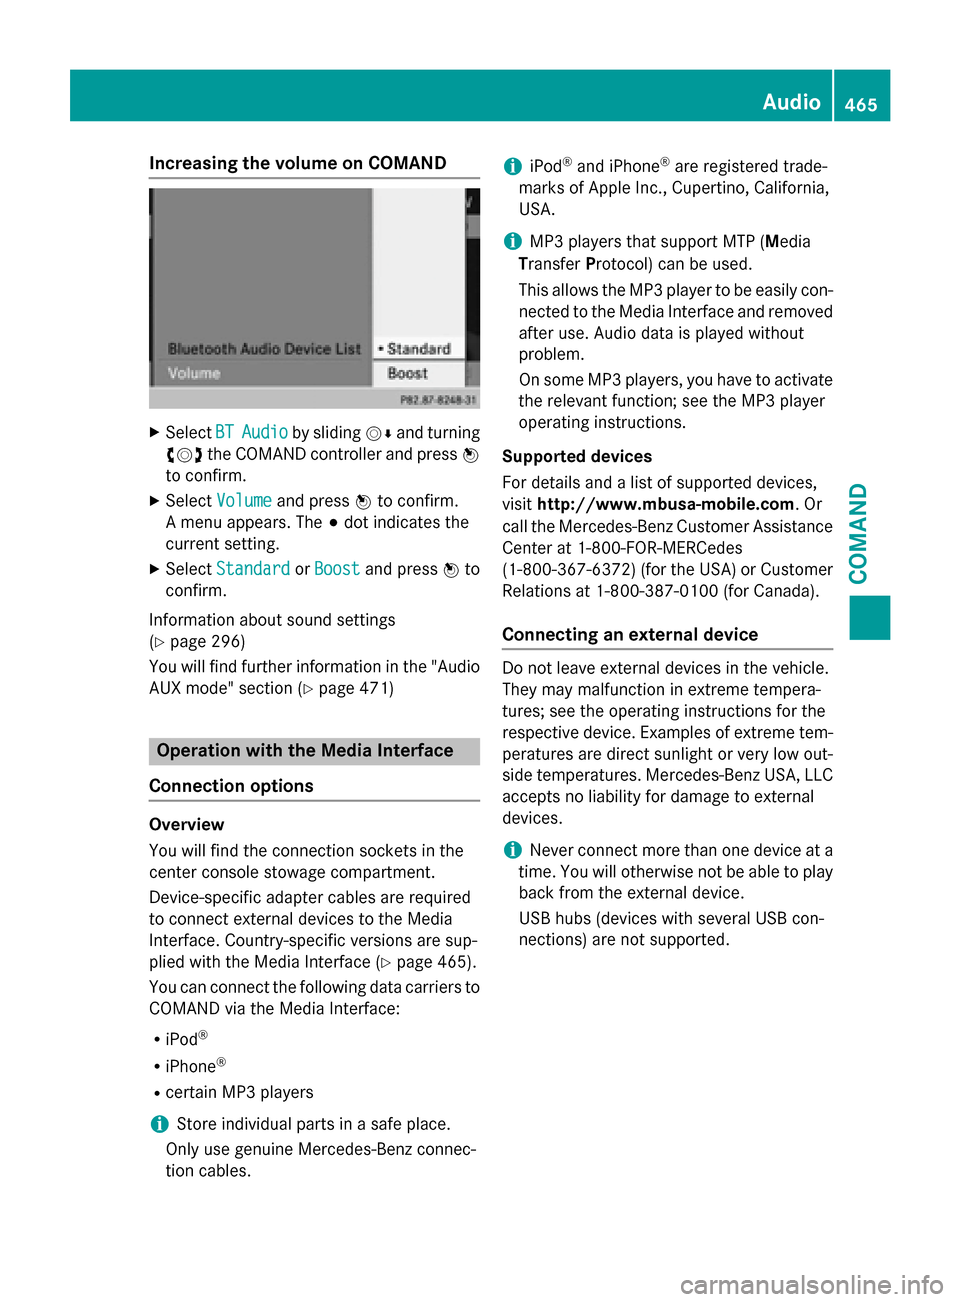
Increasing the volume on COMAND
X
Select BT
BTAudio
Audio by sliding 00520064and turning
00790052007A the COMAND controller and press 0098
to confirm.
X Select Volume
Volume and press 0098to confirm.
A menu appears. The 003Bdot indicates the
current setting.
X Select Standard
Standard orBoost
Boost and press 0098to
confirm.
Information about sound settings
(Y page 296)
You will find further information in the "Audio AUX mode" section (Y page 471)Operation with the Media Interface
Connection options Overview
You will find the connection sockets in the
center console stowage compartment.
Device-specific adapter cables are required
to connect external devices to the Media
Interface. Country-specific versions are sup-
plied with the Media Interface (Y
page 465).
You can connect the following data carriers to
COMAND via the Media Interface:
R iPod ®
R iPhone ®
R certain MP3 players
i Store individual parts in a safe place.
Only use genuine Mercedes-Benz connec-
tion cables. i
iPod ®
and iPhone ®
are registered trade-
marks of Apple Inc., Cupertino, California,
USA.
i MP3 players that support MTP (
Media
Transfer Protocol) can be used.
This allows the MP3 player to be easily con- nected to the Media Interface and removed
after use. Audio data is played without
problem.
On some MP3 players, you have to activate
the relevant function; see the MP3 player
operating instructions.
Supported devices
For details and a list of supported devices,
visit http://www.mbusa-mobile.com. Or
call the Mercedes-Benz Customer Assistance
Center at 1-800-FOR-MERCedes
(1-800-367-6372 )(for the USA) or Customer
Relations at 1-800-387-0100 (for Canada).
Connecting an external device Do not leave external devices in the vehicle.
They may malfunction in extreme tempera-
tures; see the operating instructions for the
respective device. Examples of extreme tem- peratures are direct sunlight or very low out-
side temperatures. Mercedes-Benz USA, LLC
accepts no liability for damage to external
devices.
i Never connect more than one device at a
time. You will otherwise not be able to play back from the external device.
USB hubs (devices with several USB con-
nections) are not supported. Audio
465COMAND Z
Page 473 of 610
Data formats
MP3 and WMA are supported as data formats
with fixed and variable bit rates (up to
320 kbits/s).
Special considerations when using MP3
players
Up to eight directory levels with up to 1,000
tracks per directory are supported.
Do not use USB extension leads or adapters. They can impair functionality.
i DRM (Digital Rights Management) protec-
ted files are not supported by the Media
Interface. Audio AUX mode
Notes on audio AUX mode External audio sources may have different
volumes, which can mean that system mes-
sages such as traffic announcements and
navigation system announcements are much louder. If necessary, deactivate the system
messages or adjust their volume manually.
You can connect an external audio source
(AUX) to COMAND.
Depending on the vehicle model series, the
connection is made using a jack in the stow-
age compartment in the center console or a
USB port (Y page 445).
If COMAND is equipped with the Media Inter- face, external audio sources are connected
using the cable set provided. An AUX socket
is not provided. The connections for the
Media Interface are located in the stowage
compartment in the center console.
i You will find further information online at
http://www.mbusa-mobile.com. Or call
the Mercedes-Benz Customer Assistance
Center at 1-800-FOR-MERCedes
(1-800-367-6372 )(for the USA) or Cus-
tomer Relations at 1-800-387-010 0(for
Canada). Switching to audio AUX mode Switching on using the DISC button
The external device is connected to the audio
AUX input.
X Press the 003Abutton one or more times.
By pressing the function button repeatedly,
you can change the operating mode in the
following order:
R CD/MP3 (disc)
R Memory card mode
R MUSIC REGISTER
R USB storage device
R Media Interface or audio AUX mode
R Bluetooth ®
audio mode
Switching modes via the audio menu
When you connect an external audio source,
audio AUX is not selected automatically. X Select Audio Audioin the main function bar by
sliding 00970052and turning 00790052007Athe COMAND
controller and press 0098to confirm.
If AUX mode was the last mode selected, it
will now be active.
If another audio source is switched on, you
can now switch to audio AUX mode in the
audio menu.
X Select Audio Audiousing00970052and press 0098to
confirm.
The audio menu appears.
X Select Aux Auxby turning 00790052007Aand press 0098to
confirm.
The audio AUX menu appears. The medium in the external audio source is played if the
source is connected and playback selec-
ted. Audio
471COMAND Z
Page 480 of 610
X
Select Menu Language
Menu Language orAudio Lan‐
Audio Lan‐
guage
guage and press 0098to confirm.
In both cases, a menu appears after a few
seconds. The 003Bdot in front of an entry indi-
cates the currently selected language.
X Select a setting by turning 00790052007Athe
COMAND controller and press 0098to con-
firm.
Subtitles and camera angle These functions are not available on all DVDs.
The number of subtitle languages and camera
angles available depends on the content of
the DVD. It may also be possible to access the settings from the DVD menu.
X Show the DVD menu (Y page 476).
X Select DVD-Video DVD-Video in the menu by turning
00790052007A the COMAND controller and press 0098
to confirm.
X Select DVD Functions
DVD Functions and press0098to
confirm.
X Select Subtitles
Subtitles orCamera Angle
Camera Angle and
press 0098to confirm.
In both cases, a menu appears. The 003Bdot in
front of an entry indicates the current set-
ting.
X Select a setting by turning 00790052007Athe
COMAND controller and press 0098to con-
firm.
Interactive content DVDs can contain interactive content (e.g. a
video game). In a video game, for example,
you may be able to influence events by select- ing and triggering actions. The type and num-
ber of actions depend on the DVD.
X Select an action by sliding 009700520064or009500520096 the
COMAND controller and press 0098to exe-
cute it.
A menu appears and the first entry, Select
Select ,
is highlighted.
X Press 0098the COMAND controller. Video AUX mode
Connecting external video sources External video sources may have different
volumes, which can mean that system mes-
sages such as traffic announcements and
navigation system announcements are much
louder. If necessary, deactivate the system
messages or adjust their volume manually.
If your vehicle is equipped with Media Inter-
face, you can connect an external video
source (AUX video) (Y page 465).
The 1/8 inch audio/video jacks are in the
center console stowage compartment.
i In vehicles with a rear view camera, the
AUX video jack cannot be used for external
video sources.
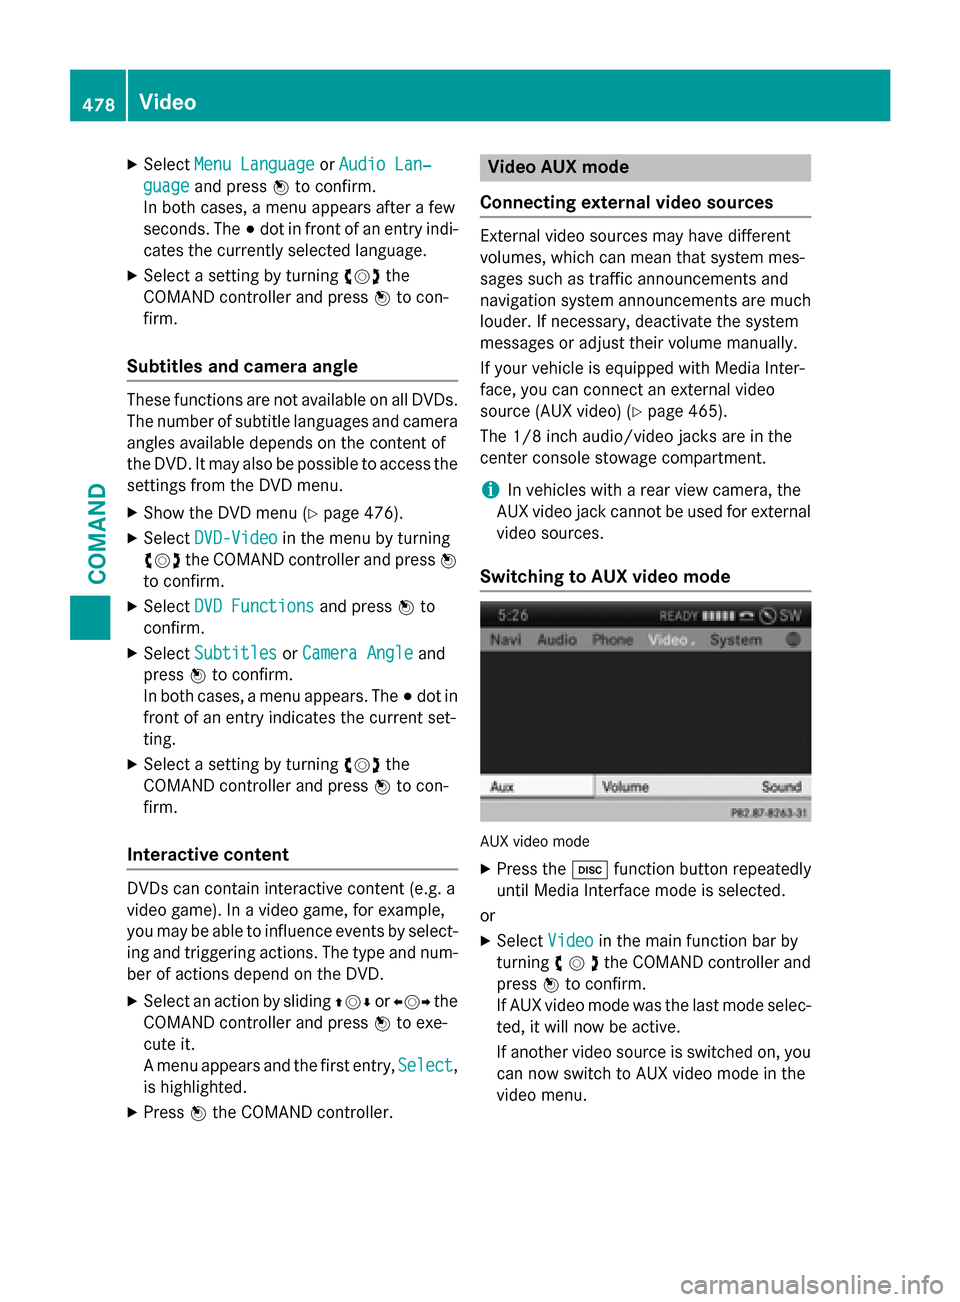
Switching to AUX video mode AUX video mode
X Press the 003Afunction button repeatedly
until Media Interface mode is selected.
or
X Select Video Videoin the main function bar by
turning 00790052007Athe COMAND controller and
press 0098to confirm.
If AUX video mode was the last mode selec-
ted, it will now be active.
If another video source is switched on, you can now switch to AUX video mode in the
video menu. 478
VideoCOMAND
Page 483 of 610
Overview
Important safety notes G
WARNING
The CD/DVD drive is a class 1 laser product. If you open the housing of the CD/DVD drive,
there is a risk of exposure to invisible laser
radiation. This laser radiation could damage
your retina. There is a risk of injury.
Never open the housing. Always have main-
tenance and repair work carried out at a quali- fied specialist workshop. G
WARNING
If objects such as headphones/headsets or
external audio/video sources are not secured in the passenger compartment, they can be
flung around and hit vehicle occupants. There
is a risk of injury, for example in the event of
sudden braking or a sudden change in direc-
tion.
Always stow these items or similar objects
carefully so that they cannot be flung around, for example in a lockable vehicle stowage
compartment.
Components The Rear Seat Entertainment System
includes:
R two screens for the rear behind the front-
seat head restraints
R two remote controls
R a CD/DVD drive
R AUX jacks on both screens (AUX display)
and on the CD/DVD drive (AUX drive)
R two sets of cordless headphones Rear Seat Entertainment System
481COMAND Z
Page 491 of 610
Showing/hiding the picture
X
To hide the picture: selectDisplay Off
Display Off
in the system menu using the 00640065
buttons on the remote control and press
the 008Bbutton to confirm.
The picture is hidden.
X To display the picture: press the008Bbut-
ton. CD/audio DVD and MP3 mode
Important safety notes G
WARNING
The CD/DVD drive is a class 1 laser product. If you open the housing of the CD/DVD drive,
there is a risk of exposure to invisible laser
radiation. This laser radiation could damage
your retina. There is a risk of injury.
Never open the housing. Always have main-
tenance and repair work carried out at a quali- fied specialist workshop.
General notes You will find information on the following top-
ics in the Audio section:
R notes on CDs/DVDs (Y page 452)
R notes on MP3 mode (Y page 451)
R notes on copyright (Y page 452)
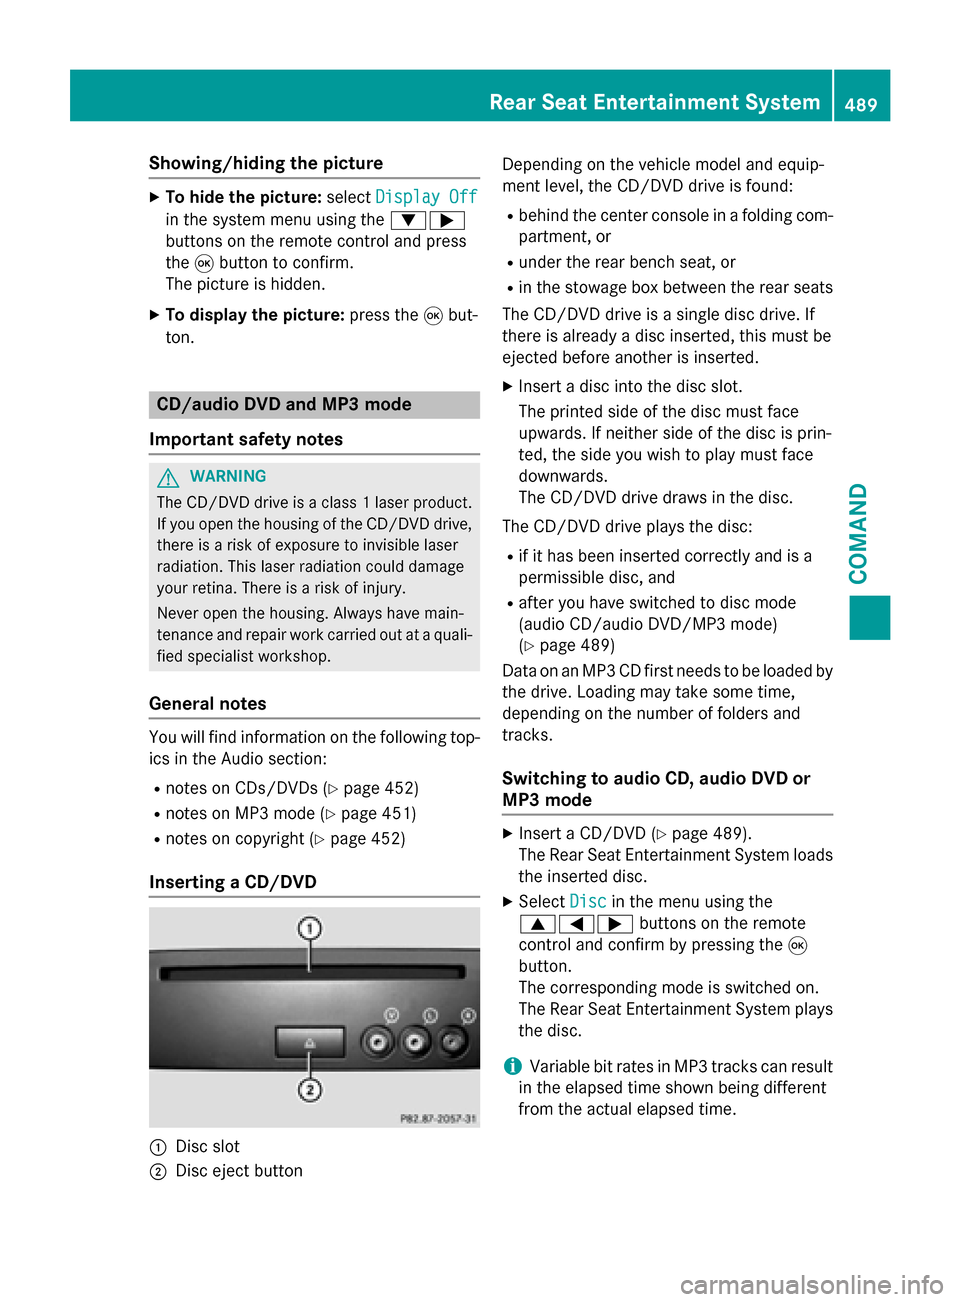
Inserting a CD/DVD 0043
Disc slot
0044 Disc eject button Depending on the vehicle model and equip-
ment level, the CD/DVD drive is found:
R behind the center console in a folding com-
partment, or
R under the rear bench seat, or
R in the stowage box between the rear seats
The CD/DVD drive is a single disc drive. If
there is already a disc inserted, this must be
ejected before another is inserted.
X Insert a disc into the disc slot.
The printed side of the disc must face
upwards. If neither side of the disc is prin-
ted, the side you wish to play must face
downwards.
The CD/DVD drive draws in the disc.
The CD/DVD drive plays the disc: R if it has been inserted correctly and is a
permissible disc, and
R after you have switched to disc mode
(audio CD/audio DVD/MP3 mode)
(Y page 489)
Data on an MP3 CD first needs to be loaded by the drive. Loading may take some time,
depending on the number of folders and
tracks.
Switching to audio CD, audio DVD or
MP3 mode X
Insert a CD/DVD (Y page 489).
The Rear Seat Entertainment System loads the inserted disc.
X Select Disc Discin the menu using the
006300590065 buttons on the remote
control and confirm by pressing the 008B
button.
The corresponding mode is switched on.
The Rear Seat Entertainment System plays
the disc.
i Variable bit rates in MP3 tracks can result
in the elapsed time shown being different
from the actual elapsed time. Rear Seat Entertainment System
489COMAND Z
Page 513 of 610
Useful information
............................512
Stowage areas .................................. 512
Features ............................................. 516 511Stowage and features
Page 514 of 610
Useful information
i This Operator's manual describes all
models and all standard and optional equip- ment of your vehicle available at the time of
publication of the Operator's manual.
Country-specific differences are possible.
Please note that your vehicle may not be
equipped with all features described. This
also applies to safety-related systems and
functions.
i Read the information on qualified special-
ist workshops (Y page 35). Stowage areas
Stowage space
Important safety notes G
WARNING
If you do not correctly store objects in the
vehicle interior, they can slip or be flung
around, thus striking vehicle occupants.
There is a risk of injury, especially when brak- ing or abruptly changing directions.
R Always store objects so that they cannot be
flung around in these or in similar situa-
tions.
R Always make sure that objects do not pro-
trude from stowage compartments, parcel
nets or stowage nets.
R Close lockable stowage compartments
while driving.
R Stow and secure objects that are heavy,
hard, pointy, sharp-edged, fragile or too
large in the trunk. Glove box X
To open: pull handle 0043and open glove box
flap 0044.
X To close: fold glove box flap 0044upwards
until it engages.
In the glove box, there are a coin holder, a
map holder and a pen holder.
i The glove box can be ventilated
(Y page 148). The glove box can be locked and unlocked
using the mechanical key.
X To lock: insert the mechanical key into the
lock and turn it to position 0048.
X To unlock: insert the mechanical key into
the lock and turn it to position 0047.512
Stowage areasStowage and features