MERCEDES-BENZ SLC ROADSTER 2018 Owner's Manual
Manufacturer: MERCEDES-BENZ, Model Year: 2018, Model line: SLC ROADSTER, Model: MERCEDES-BENZ SLC ROADSTER 2018Pages: 298, PDF Size: 5.26 MB
Page 171 of 298
the presetlistors tationlistint he desired
frequency range is shown.
XTo select astation: brieflypress 9
or :.
SIRIUS XM
®satellite radi oacts like anormal
radio.
For mor einformation on radi ooperation, see
"Satellite radio" in the Digita lOperator' sMan-
ual.
Operatin ganaudiop layer or audio
media
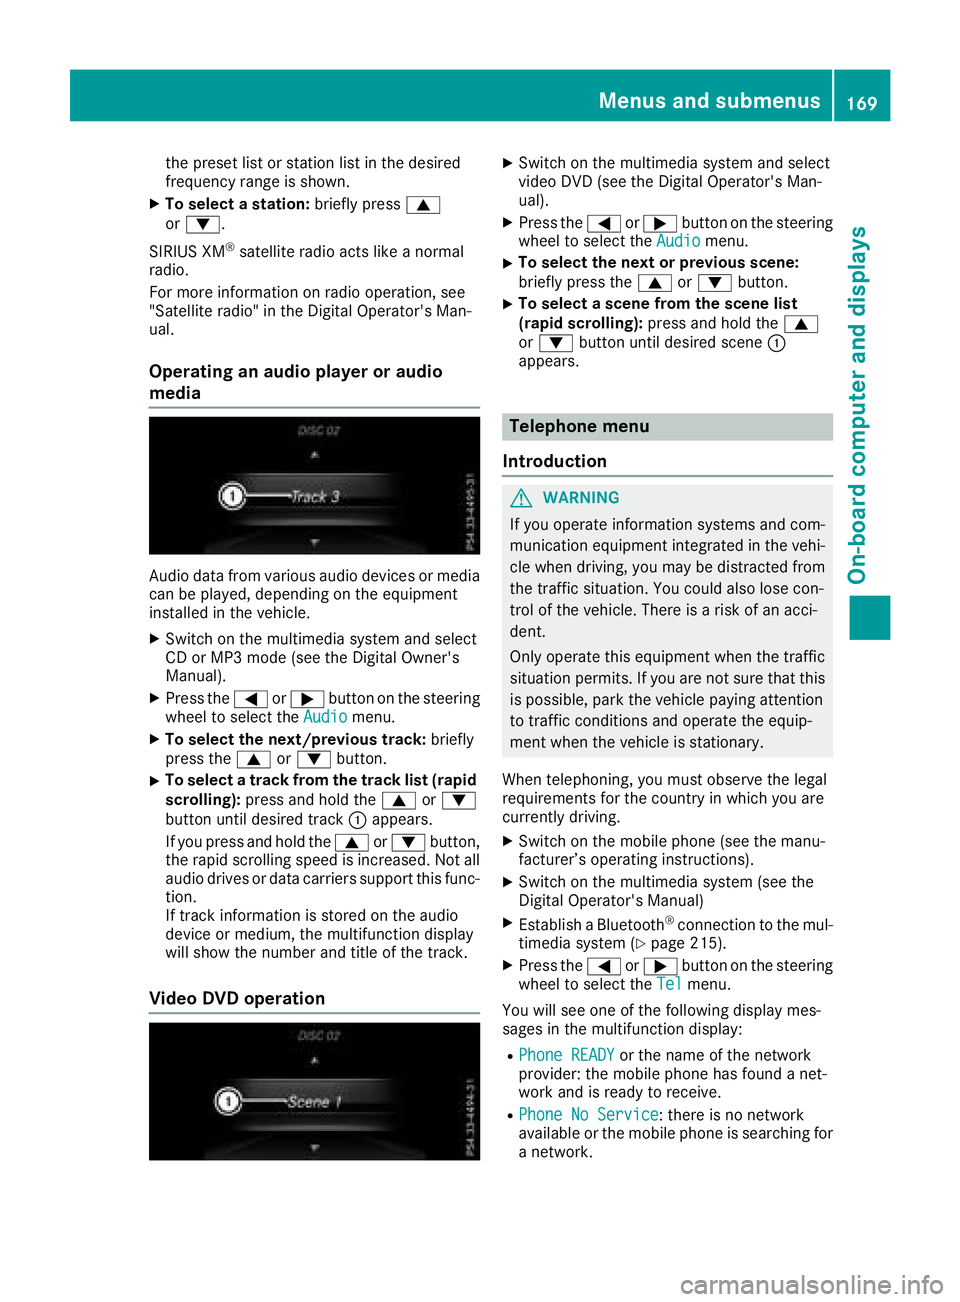
Audio data fromv arious audi odevices or media
can be played ,depen ding on the equipment
installe dinthe vehicle.
XSwitch on the multimedia systema nd select
CD or MP3m ode( seet he Digita lOwn er's
Manual).
XPress the =or; button on the steering
whee ltoselect theAudiomenu.
XTo select the next/previous track: briefly
press the 9or: button.
XTo select atrackf romthe trackl ist( rapid
scrolling): press and hol dthe 9 or:
button unti ldesir ed track :appears.
If yo upress and hol dthe 9 or: button,
the rapi dscrolling spee disincreased. Not all
audi odrives or data carriers support thisf unc-
tion.
If track information is stored on the audio
devic eorm edium, the multifunctio ndisplay
will sho wthe numbe rand titl eofthe track.
VideoDVD operation
XSwitch on the multimedia systema nd select
video DVD (see the Digita lOperator' sMan-
ual).
XPress the =or; button on the steering
whee ltoselect theAudiomenu.
XTo select the next or previous scene:
briefl ypress the 9or: button.
XTo select ascene fromt he scen elist
(rapid scrolling): press and holdthe 9
or : button unti ldesir ed scene :
appears.
Telephon emenu
Introduction
GWARNING
If yo uoperate information systems and com-
municatio nequipment integrated in the vehi-
cle when driving, yo umaybe distracted from
the traffics ituation. Yo ucould also lose con-
trol of the vehicle. There is ariskofana cci-
dent.
Onlyo perate thise quipmentwhen the traffic
situatio npermits. If yo uarenot sure thatt his
is possible, park the vehicl epayin gattention
to trafficc onditions and operate the equip-
ment when the vehicl eisstationary.
When telephoning ,you must observe the legal
requirements for the country in which yo uare
currentl ydriving.
XSwitch on the mobil ephone (see the manu-
facturer’ soperating instructions).
XSwitch on the multimedia system( seet he
Digita lOperator' sManual)
XEstablis haBluetooth®connectio ntothe mul-
timedia system(Ypage 215).
XPress the =or; button on the steering
whee ltoselect theTelmenu.
Yo uw ills ee one of the following displa ymes-
sage sint he multifunctio ndisplay :
RPhone READYor the nam eofthe network
provider: the mobil ephone hasf oundanet-
work and is ready to receive.
RPhone No Service:t here is no network
availabl eorthe mobil ephone is searching for
an etwork.
Menus and submenus169
On-board computer and displays
Z
Page 172 of 298
Acceptingacall
If someon ecallsy ou when you are in th eTelmenu, adisplay message appear sinthemulti-
function display.
You can accept acall at any time regardless of
th em enus elected.
XPress th e6 buttonont hesteering whee l
to accept an incoming call .
Rejectsorendsac all
XPress the~ buttonont hesteering whee l
to rejec torendacall.
Selecting an entry in thephone book
XPress th e= or; buttononthesteering
whee ltos elect th eTelmenu.
XPress th e9, :ora buttonto
switch to th ephone book .
XAuthorizeaccess to th ephone book on th e
phone .
XPress:or9 to select th enames on e
after th eother.
or
XTo star trap id scrolling: press and hold
th e: or9 buttonfor longer than on e
second.
The names in th ephone book are displayed
quickl yone after th eother.
Rapid scrollin gstops when you release th e
butto norr eachthe endoft helist.
XIf only one telephone number is store dfor
an ame: press th e6 ora buttonto
start dialing.
or
XIf there is mor ethano ne number for a
particular name: press the6 ora
butto ntod isplay th enumbers.
XPress th e9 or: buttontos elect th e
number you want to dial.
XPress th e6 ora buttontostart dialing.
or
XTo exit th etelephone book :press th e~
or % button.
Redialing
The on-board computer saves th elast names or
number sdialed in th eredial memory.
XPress th e= or; buttononthesteering
whee ltos elect th eTelmenu.
XPress th e6 buttontos witch to th eredial
memory.
XPress th e9 or: buttontos elect th e
desired nam eornumber .
XPress th e6 ora buttontostart dialing.
or
XTo exit th eredial memory :press th e~
or % button.
Assistance menu
Introd uction
Dependin gonyour vehicle's equipment, in th e
DriveAssistmenu, you hav ethe followin g
options:
RDisplaying th eassistanc egraphic
(Ypage 170)
RActivating/deactivating Active Brake Assis t
(Ypage 171)
RActivating/deactivating ATTENTION ASSIST
(Ypage 171)
RActivating/deactivating Blind Spot Assis t
(Ypage 171)
RActivating/deactivating Lan eKeepin gAssist
(Ypage 171)
Displaying th eassistance graphic
170Menusa nd submenus
On-boardc omputer andd isplays
Page 173 of 298
XPress the=or; button on the steering
wheel to select the DriveAssistmenu.
XPress the9or: button to select
Assist. Graphic.
XPress ato confirm your selection.
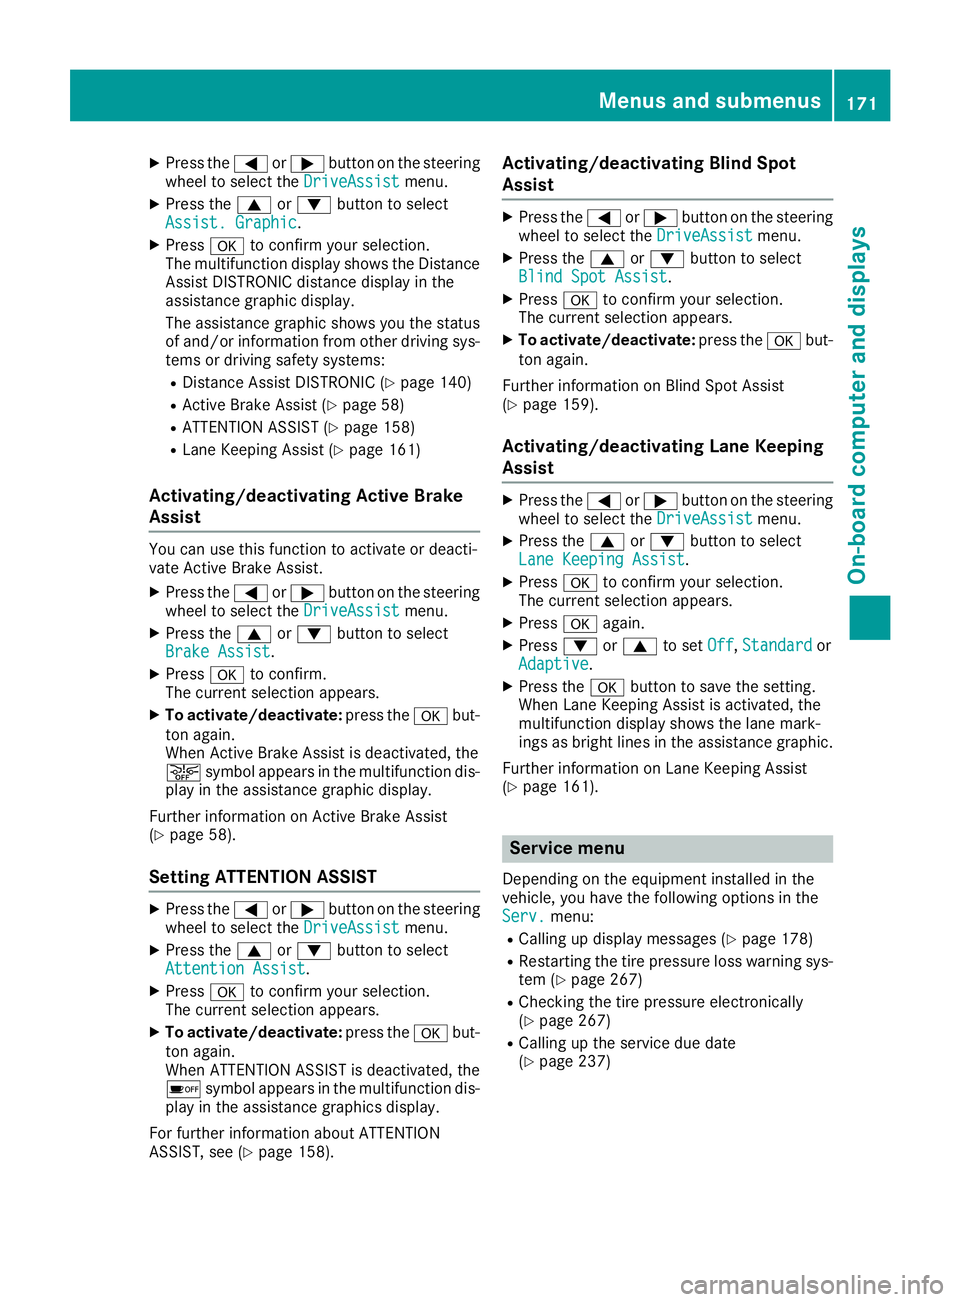
The multifunction display shows the Distance
Assist DISTRONIC distanc edisplay in the
assistanc egraphic display.
The assistanc egraphic shows you the status
of and/or information from other driving sys-
tems or driving safety systems:
RDistance Assist DISTRONIC (Ypage 140)
RActive Brake Assist (Ypage 58)
RATTENTION ASSIST (Ypage 158)
RLane Keeping Assist (Ypage 161)
Activating/deactivating Active Brake
Assist
You can use this function to activat eordeacti-
vate Active Brake Assist.
XPress the =or; button on the steering
wheel to select the DriveAssistmenu.
XPress the9or: button to select
Brake Assist.
XPress ato confirm.
The currents election appears.
XTo activate/deactivate: press theabut-
ton again.
When Active Brake Assist is deactivated, the
æ symbol appears in the multifunction dis-
play in the assistanc egraphic display.
Further information on Active Brake Assist
(
Ypage 58).
Setting ATTENTION ASSIST
XPress the =or; button on the steering
wheel to select the DriveAssistmenu.
XPress the9or: button to select
Attention Assist.
XPress ato confirm your selection.
The currents election appears.
XTo activate/deactivate: press theabut-
ton again.
When ATTENTION ASSIST is deactivated, the
é symbol appears in the multifunction dis-
play in the assistanc egraphics display.
For further information about ATTENTION
ASSIST, see (
Ypage 158).
Activating/deactivating Blind Spot
Assist
XPress the =or; button on the steering
wheel to select the DriveAssistmenu.
XPress the9or: button to select
Blind Spot Assist.
XPress ato confirm your selection.
The currents election appears.
XTo activate/deactivate: press theabut-
ton again.
Further information on Blind Spot Assist
(
Ypage 159).
Activating/deactivating Lane Keeping
Assist
XPress the =or; button on the steering
wheel to select the DriveAssistmenu.
XPress the9or: button to select
Lane Keeping Assist.
XPress ato confirm your selection.
The currents election appears.
XPressaagain.
XPress :or9 to set Off,Standardor
Adaptive.
XPress the abutton to save the setting.
When Lane Keeping Assist is activated, the
multifunction display shows the lane mark-
ings as bright lines in the assistanc egraphic.
Further information on Lane Keeping Assist
(
Ypage 161).
Service menu
Dependin gonthe equipment installed in the
vehicle, you have the following options in the
Serv.
menu:
RCalling up display messages (Ypage 178)
RRestartin gthe tire pressure loss warning sys-
tem (Ypage 267)
RChecking the tire pressure electronically
(Ypage 267)
RCalling up the service due date
(Ypage 237)
Menus and submenus171
On-board computer and displays
Z
Page 174 of 298
Settings menu
Introduction
Depending on the equipment installed in the
vehicle, in the Sett.menu you have the follow-
ing options:
RChanging the instrumentc luster settings
(Ypage 172)
RChanging the light settings (Ypage 172)
RChanging the vehicle settings (Ypage 173)
RChanging the convenience settings
(Ypage 174)
RRestoring the factory settings (Ypage 175)
Instrument cluster
Selecting the distance unit
The Display Unit Speed-/Odometer:func-
tion allowsy ou to choose whether certain dis-
playsa ppear in kilometers or miles in the mul-
tifunction display.
XPress the =or; button on the steering
wheel to select the Sett.menu.
XPress the:or9 button to select the
Instrument Clustersubmenu.
XPress ato confirm.
XPress the :or9 button to select the
Display Unit Speed-/Odometer:func-
tion.
The current setting km
ormilesappears.
XPress the abutton to save the setting.
The selected unit of measurement for distance
appliest o:
Rthe digital speedometer in the Tripmenu
Rthe odometer and trip odometer
Rthe trip computer
Rthe current consumption and the range
Rnavigation instructions in theNavimenu
Rcruise control
RDistanceAssist DISTRONIC
RASSYST PLUS service interval display
Selecting permanent display
The Permanent Display:function allowsy ou
to choose whether the multifunction display
always shows the outside temperature or the
speed.
The speed display is inverse to the speedome-
ter.
XPress the =or; button on the steering
wheel to select the Sett.menu.
XPress the:or9 button to select the
Instrument Clustersubmenu.
XPress ato confirm.
XPress the :or9 button to select the
Permanent Display:function.
The current setting, Outside Temperature
orSpeedometer [km/h]orSpeedometer[mph],appears.
XTo change the setting: pressaagain.
Lights
Setting the daytime running lamps
This function is not available in Canada.
XPress the =or; button on the steering
wheel to select the Sett.menu.
XPress the:or9 button to select the
Lightsubmenu.
XPress ato confirm.
XPress the :or9 button to select the
Daytime Running Lightsfunction.
If the DaytimeRunningLightsfunction has
been switched on, the cone of light and the
W symbol in the multifunction display are
shown in orange.
XPress the abutton to save the setting.
Further information on daytime running lamps
(
Ypage 95).
Setting the brightness of the ambient
lighting
XPress the =or; button on the steering
wheel to select the Sett.menu.
XPress the:or9 button to select the
Lightsubmenu.
XPress ato confirm.
XPress the :or9 button to select the
Amb. Light +/-function.
The current settinga ppears.
XPressato confirm.
XPress the :or9 button to adjust the
brightness to any level from OfftoLevel 5(bright).
XPress the aor% button to save the
setting.
172Menus and submenus
On-board computer and displays
Page 175 of 298
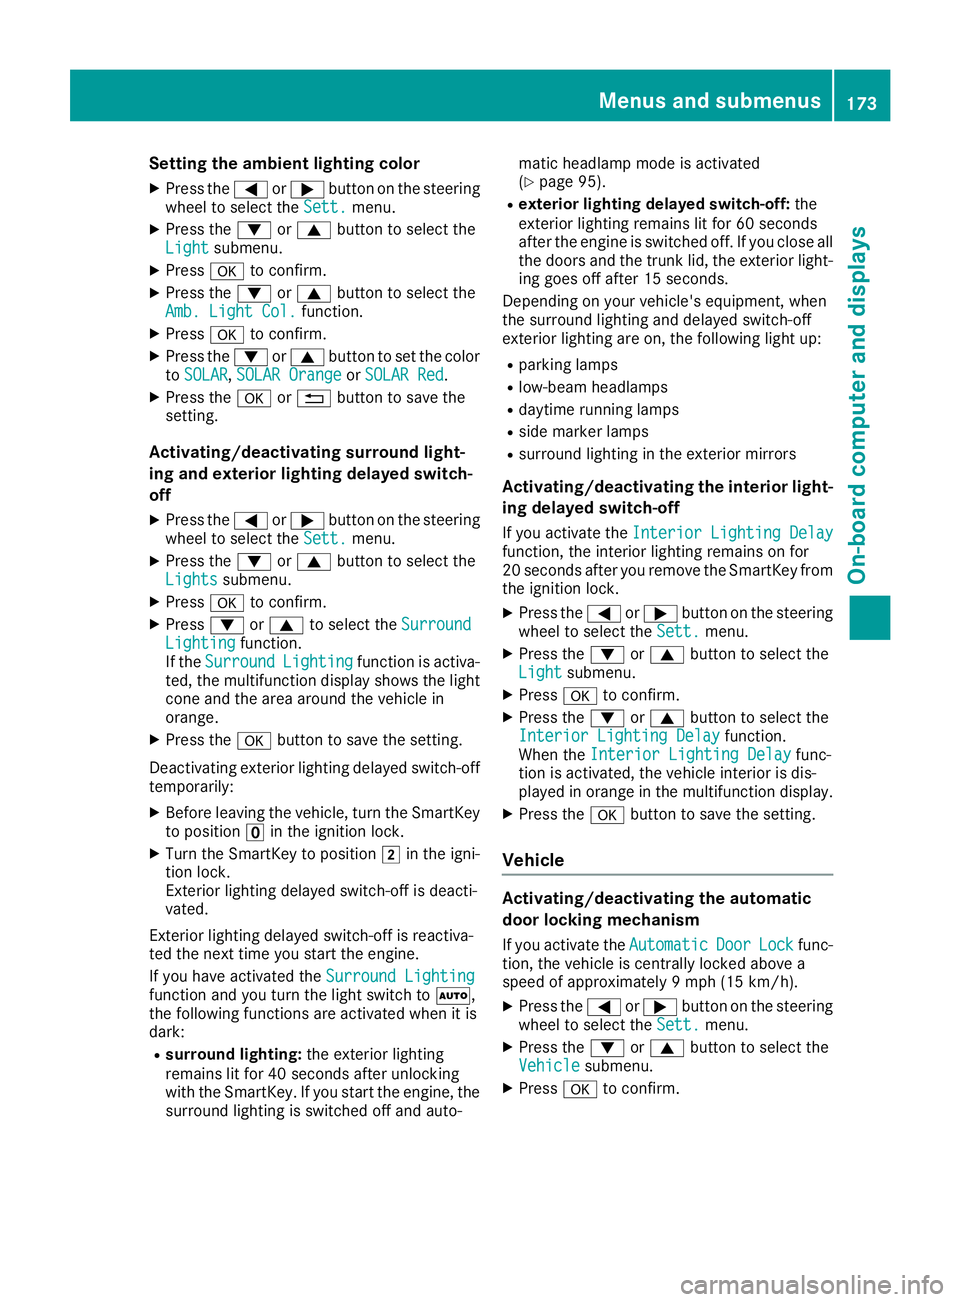
Setting the ambient lighting color
XPress the=or; button on the steering
wheel to select the Sett.menu.
XPress the:or9 button to select the
Lightsubmenu.
XPress ato confirm.
XPress the :or9 button to select the
Amb. Light Col.function.
XPress ato confirm.
XPress the :or9 button to set the color
to SOLAR,SOLAR Orangeor SOLAR Red.
XPress the aor% button to save the
setting.
Activating/deactivating surround light-
ing and exterior lighting delayed switch-
off
XPress the =or; button on the steering
wheel to select the Sett.menu.
XPress the:or9 button to select the
Lightssubmenu.
XPress ato confirm.
XPress :or9 to select the SurroundLightingfunction.
If the SurroundLightingfunction is activa-
ted, the multifunction display shows the light
cone and the area around the vehicle in
orange.
XPress the abutton to save the setting.
Deactivating exterior lighting delayed switch-off
temporarily:
XBefore leaving the vehicle, turn the SmartKey to position uin the ignition lock.
XTurn the SmartKey to position 2in the igni-
tion lock.
Exterior lighting delayed switch-of fisdeacti-
vated.
Exterior lighting delayed switch-offisr eactiva-
ted the next time you start the engine.
If you have activated the Surround Lighting
function and you turn the light switch to Ã,
the following functions are activated when it is
dark:
Rsurround lighting: the exterior lighting
remains lit for 40 seconds after unlocking
with the SmartKey. If you start the engine, the
surround lighting is switched off and auto- matic headlamp mode is activated
(
Ypage 95).
Rexterior lighting delayed switch-off:
the
exterior lighting remains lit for 60 seconds
after the engine is switched off. If you close all
the doors and the trunk lid, the exterior light- ing goes off after 15 seconds.
Depending on your vehicle's equipment, when
the surround lighting and delayed switch-off
exterior lighting are on, the following light up:
Rparking lamps
Rlow-beam headlamps
Rdaytime running lamps
Rside marker lamps
Rsurround lighting in the exterior mirrors
Activating/deactivating the interior light-
ing delayed switch-off
If you activate the Interior Lighting Delayfunction, the interior lighting remains on for
20 seconds after you remove the SmartKey from
the ignition lock.
XPress the=or; button on the steering
wheel to select the Sett.menu.
XPress the:or9 button to select the
Lightsubmenu.
XPress ato confirm.
XPress the :or9 button to select the
Interior Lighting Delayfunction.
When the Interior Lighting Delayfunc-
tion is activated, the vehicle interior is dis-
played in orange in the multifunction display.
XPress the abutton to save the setting.
Vehicle
Activating/deactivating the automatic
door locking mechanism
If you activate the AutomaticDoorLockfunc-
tion, the vehicle is centrally locked above a
speed of approximately 9mph (15 km/h).
XPress the =or; button on the steering
wheel to select the Sett.menu.
XPress the:or9 button to select the
Vehiclesubmenu.
XPress ato confirm.
Menus and submenus173
On-board computer and displays
Z
Page 176 of 298
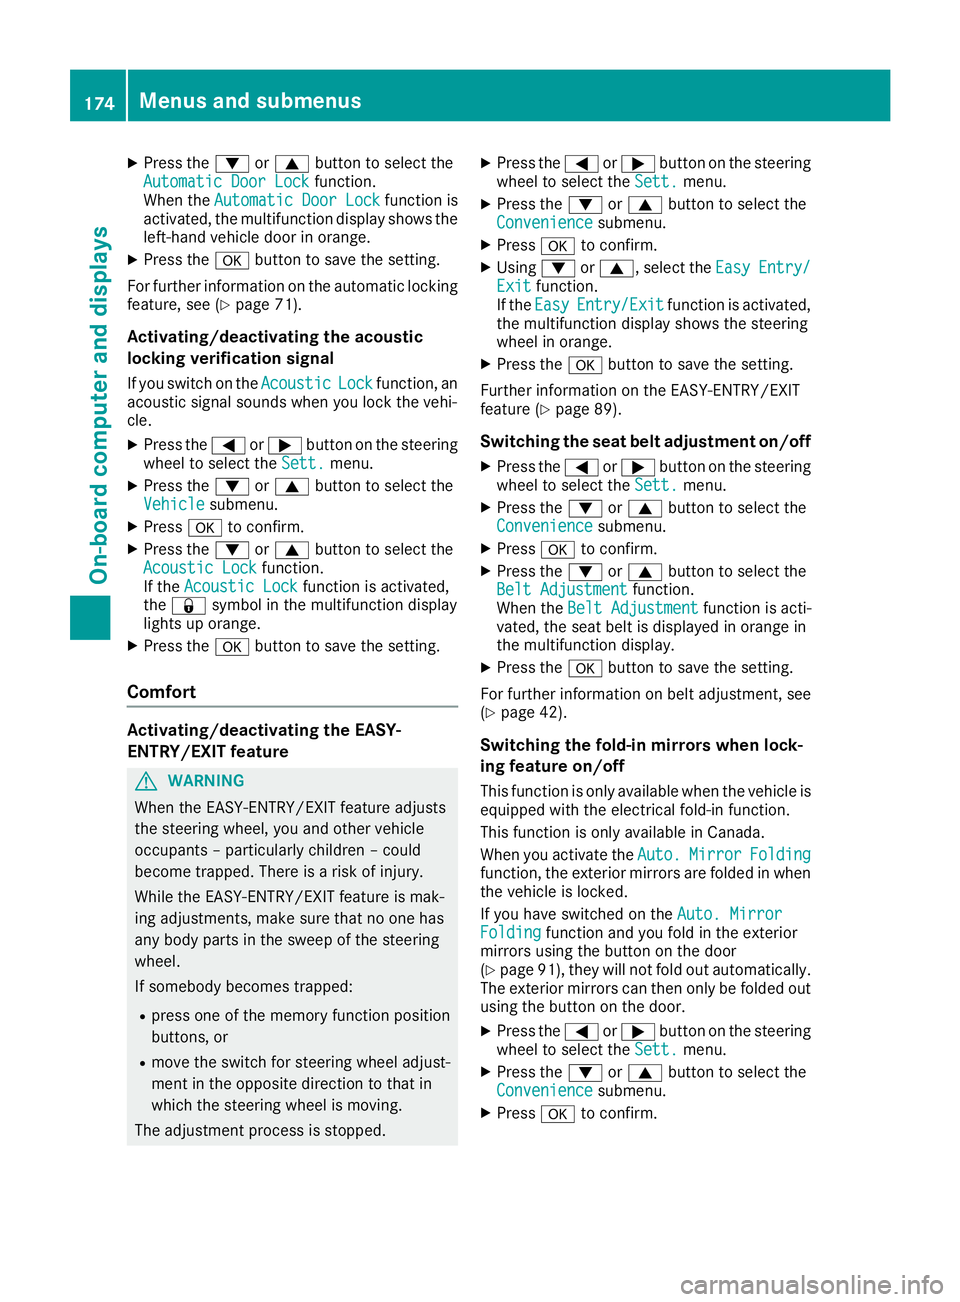
XPress the:or9 button to select the
Automatic Door Lockfunction.
When the Automatic Door Lockfunction is
activated, the multifunction display shows the
left-hand vehicle door in orange.
XPress the abutton to save the setting.
For further information on the automatic locking
feature, see (
Ypage 71).
Activating/deactivating the acoustic
locking verification signal
If you switch on the AcousticLockfunction, an
acoustic signal sounds when you lock the vehi-
cle.
XPress the =or; button on the steering
wheel to select the Sett.menu.
XPress the:or9 button to select the
Vehiclesubmenu.
XPress ato confirm.
XPress the :or9 button to select the
Acoustic Lockfunction.
If the Acoustic Lockfunction is activated,
the & symbol in the multifunction display
lights up orange.
XPress the abutton to save the setting.
Comfort
Activating/deactivating the EASY-
ENTRY/EXITf eature
GWARNING
When the EASY-ENTRY/EXIT feature adjusts
the steerin gwheel, you and other vehicle
occupants–p articularly children –could
become trapped. There is arisk of injury.
While the EASY-ENTRY/EXIT feature is mak-
ing adjustments, make sure that no one has
any body parts in the sweep of the steering
wheel.
If somebody becomes trapped:
Rpress one of the memory function position
buttons, or
Rmove the switch for steerin gwheel adjust-
ment in the opposite direction to that in
which the steerin gwheel is moving.
The adjustmen tprocess is stopped.
XPress the =or; button on the steering
wheel to select the Sett.menu.
XPress the:or9 button to select the
Conveniencesubmenu.
XPress ato confirm.
XUsing :or9,s elect the EasyEntry/Exitfunction.
If the EasyEntry/Exitfunction is activated,
the multifunction display shows the steering
wheel in orange.
XPress the abutton to save the setting.
Further information on the EASY-ENTRY/EXIT
feature (
Ypage 89).
Switching the seat belt adjustment on/off
XPress the =or; button on the steering
wheel to select the Sett.menu.
XPress the:or9 button to select the
Conveniencesubmenu.
XPress ato confirm.
XPress the :or9 button to select the
Belt Adjustmentfunction.
When the Belt Adjustmentfunction is acti-
vated, the seat belt is displayed in orange in
the multifunction display.
XPress the abutton to save the setting.
For further information on belt adjustment, see
(
Ypage 42).
Switching the fold-in mirrors when lock-
ing feature on/off
This function is only availablew hen the vehicle is
equipped with the electrical fold-in function.
This function is only availableinC anada.
When you activat ethe Auto.
MirrorFoldingfunction, the exterior mirrors are folded in when
the vehicle is locked.
If you have switched on the Auto. Mirror
Foldingfunction and you fold in the exterior
mirrors using the button on the door
(
Ypage 91), they will not fold out automatically.
The exterior mirrors can then only be folded out
using the button on the door.
XPress the =or; button on the steering
wheel to select the Sett.menu.
XPress the:or9 button to select the
Conveniencesubmenu.
XPress ato confirm.
174Menus and submenus
On-board computer and displays
Page 177 of 298
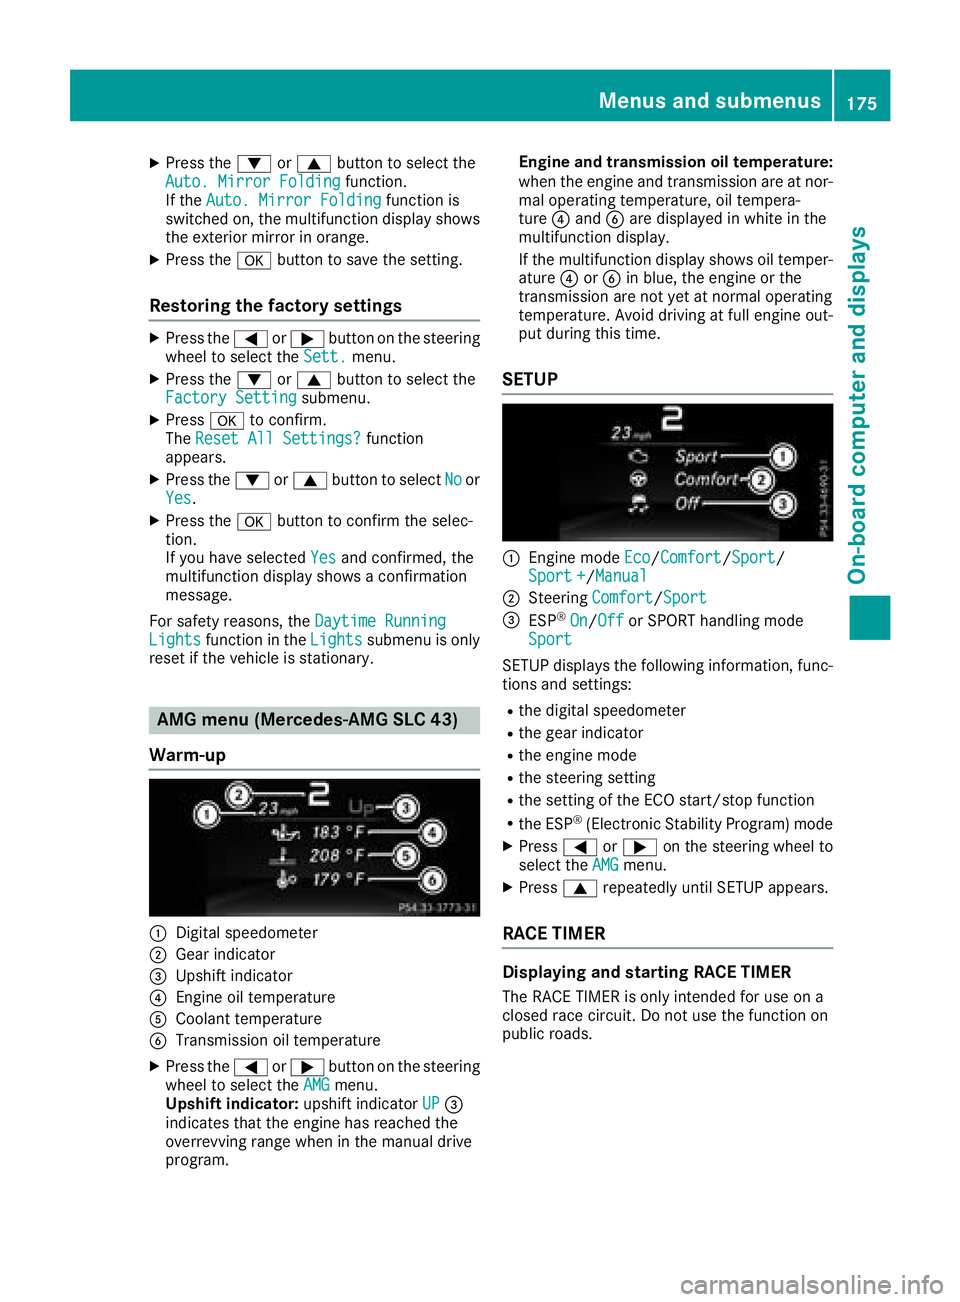
XPress the:or9 button to select the
Auto. Mirror Foldingfunction.
If the Auto. Mirror Foldingfunction is
switched on, the multifunction display shows
the exterior mirror in orange.
XPress the abutton to save the setting.
Restoring the factor ysettings
XPress the =or; button on the steering
wheel to select the Sett.menu.
XPress the:or9 button to select the
Factory Settingsubmenu.
XPress ato confirm.
The Reset All Settings?function
appears.
XPress the :or9 button to select Noor
Yes.
XPress the abutton to confirm the selec-
tion.
If you have selected Yes
and confirmed, the
multifunction display shows aconfirmation
message.
For safety reasons, the Daytime Running
Lightsfunction in theLightssubmenu is only
reset if the vehicle is stationary.
AMG menu (Mercedes-AMG SLC 43)
Warm-up
:Digital speedometer
;Gear indicator
=Upshift indicator
?Engine oil temperature
ACoolant temperature
BTransmission oil temperature
XPress the =or; button on the steering
wheel to select the AMGmenu.
Upshift indicator: upshift indicatorUP=
indicates that the engine has reached the
overrevving range when in the manual drive
program. Engine and transmission oil temperature:
when the engine and transmission are at nor-
mal operating temperature, oil tempera-
ture
?and Bare displayed in white in the
multifunction display.
If the multifunction display shows oil temper-
ature ?orB in blue, the engine or the
transmission are not yet at normal operating
temperature. Avoid driving at full engine out-
put during this time.
SETUP
:Engine mode Eco/Comfort/Sport/
Sport +/Manual
;Steering Comfort/Sport
=ESP®On/Offor SPORT handling mode
Sport
SETU Pdisplays the following information, func-
tions and settings:
Rthe digital speedometer
Rthe gear indicator
Rthe engine mode
Rthe steerin gsetting
Rthe setting of the ECO start/stop function
Rthe ESP®(Electronic Stability Program) mode
XPress =or; on the steerin gwheel to
select the AMGmenu.
XPress9repeatedly until SETU Pappears.
RACE TIMER
Displaying and starting RACE TIMER
The RACE TIMER is only intended for use on a
closed race circuit. Do not use the function on
public roads.
Menus and submenus175
On-board computer and displays
Z
Page 178 of 298
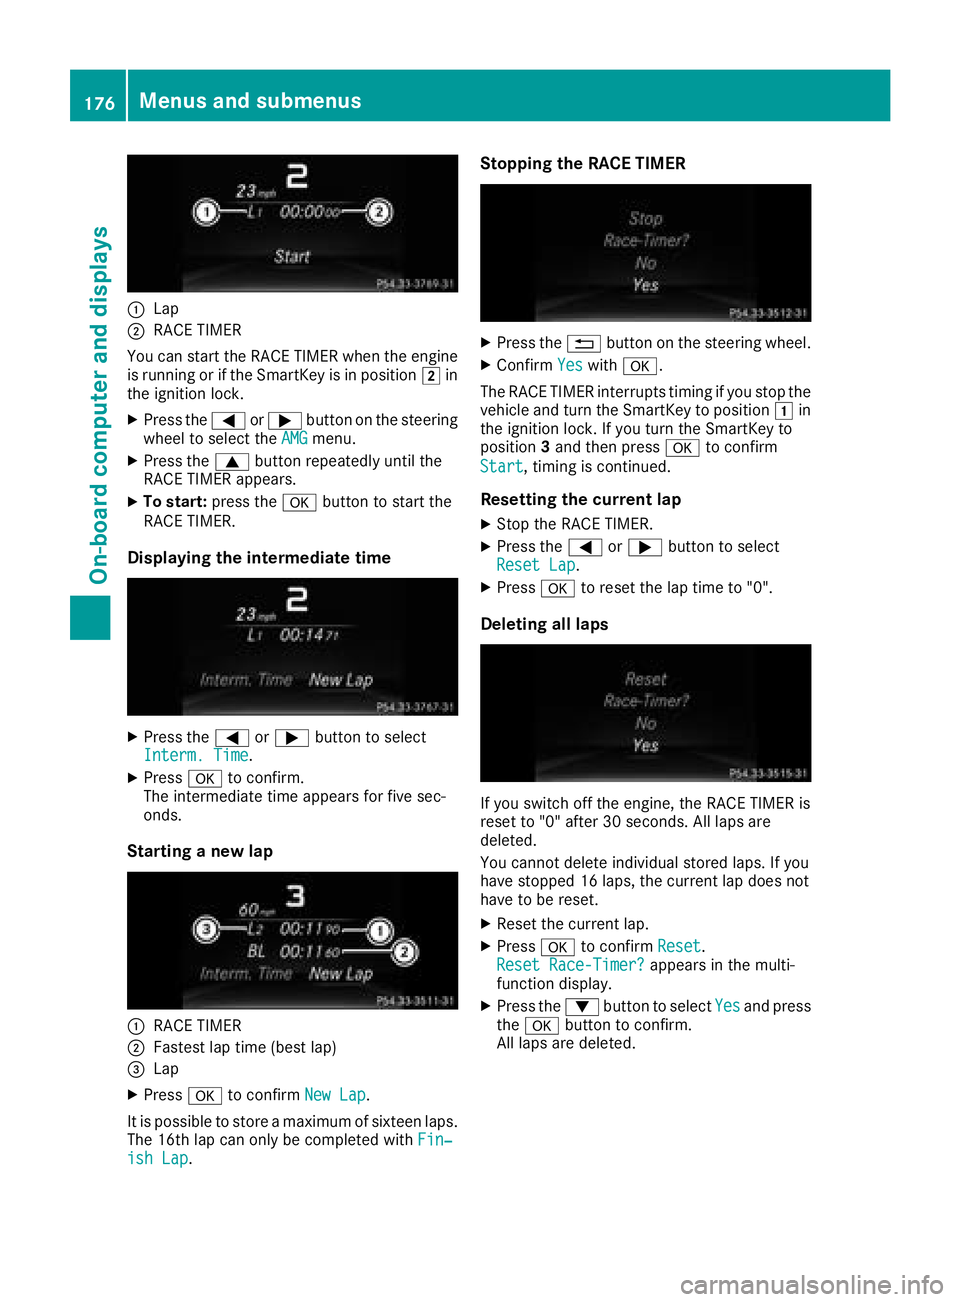
:Lap
;RACE TIMER
You can start the RACE TIMER when the engine
is running or if the SmartKey is in position 2in
the ignition lock.
XPress the =or; button on the steering
wheeltos elect theAMGmenu.
XPress the 9button repeatedly until the
RACE TIMER appears.
XTo start: press the abutton to start the
RACE TIMER.
Displaying the intermediate time
XPress the =or; button to select
Interm. Time.
XPress ato confirm.
The intermediate time appears for five sec-
onds.
Starting anew lap
:RACE TIMER
;Fastest lap time (best lap)
=Lap
XPress ato confirm New Lap.
It is possible to store amaximum of sixteen laps.
The 16th lap can only be completed with Fin‐
ish Lap.
Stopping the RACE TIMER
XPress the%button on the steering wheel.
XConfirm Yeswitha.
The RACE TIMER interrupts timing if you stop the
vehicle and turn the SmartKey to position 1in
the ignition lock. If you turn the SmartKey to
position 3and then press ato confirm
Start
,t iming is continued.
Resetting the current lap
XStop the RACE TIMER.
XPress the =or; button to select
Reset Lap.
XPress ato reset the lap time to "0".
Deleting all laps
If you switch off the engine, the RACE TIMER is
reset to "0" after 30 seconds. All lapsa re
deleted.
You cannot delete individual stored laps. If you
have stopped 16 laps, the current lap does not
have to be reset.
XRese tthe current lap.
XPress ato confirm Reset.
Reset Race-Timer?appears in the multi-
function display.
XPress the :button to select Yesand press
the a button to confirm.
All lapsa re deleted.
176Menus and submenus
On-board computer and displays
Page 179 of 298
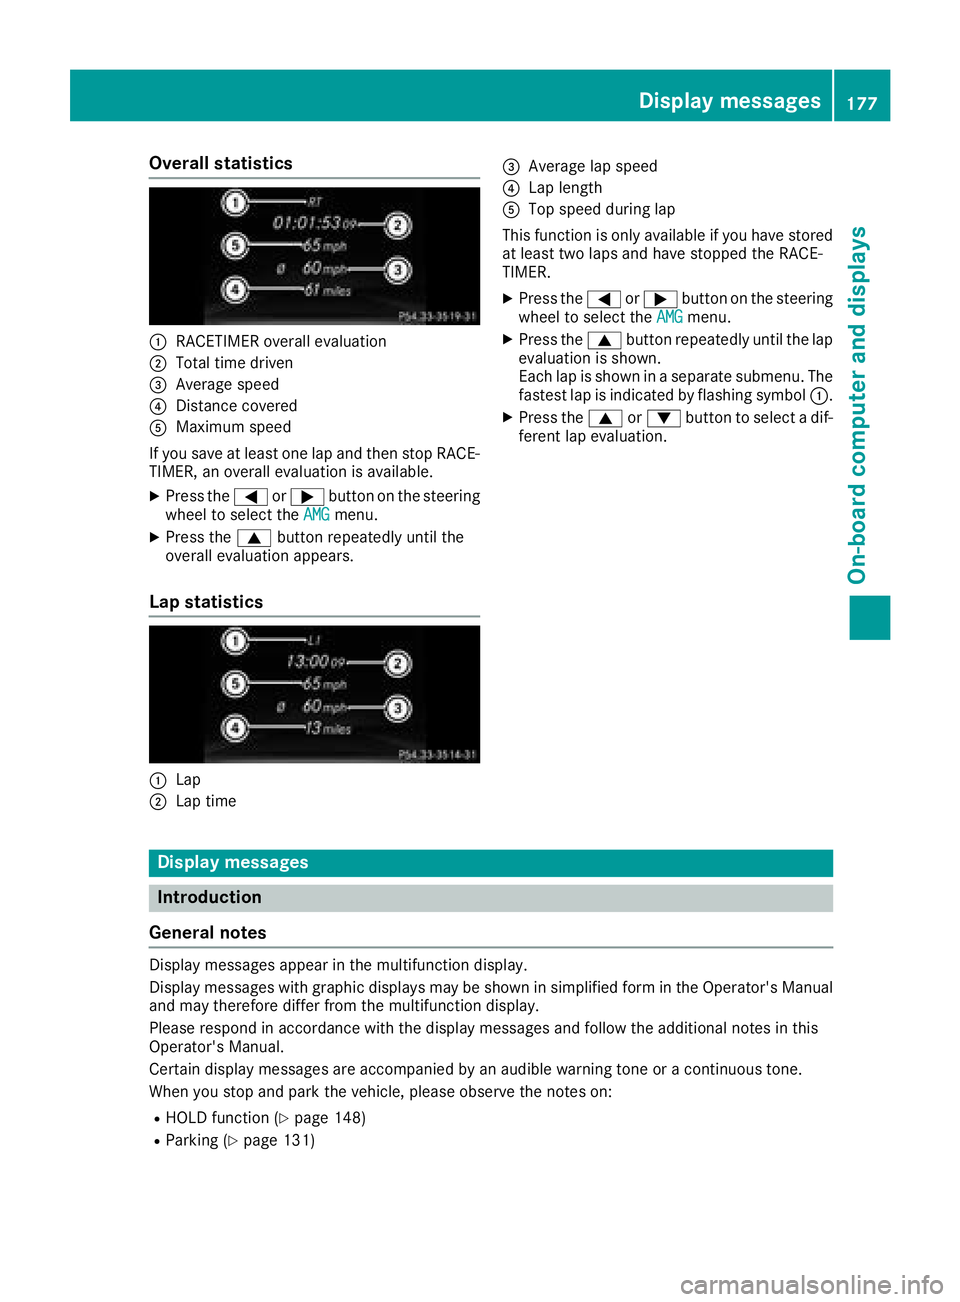
Overall statistics
:RACETIMERoverall evaluation
;Total time driven
=Average speed
?Distance covered
AMaximum speed
If you save at least one lap and then stop RACE-
TIMER, an overall evaluation is available.
XPress the =or; button on the steering
wheel to select the AMGmenu.
XPress the9button repeatedly until the
overall evaluation appears.
Lap statistics
:Lap
;Lap time
=Average lap speed
?Lap length
ATop speed during lap
This function is only available if you have stored
at least two laps and have stopped the RACE-
TIMER.
XPress the =or; button on the steering
wheel to select the AMGmenu.
XPress the9button repeatedly until the lap
evaluation is shown.
Each lap is shown in aseparate submenu. The
fastest lap is indicated by flashing symbol :.
XPress the9or: button to select adif-
ferentl ap evaluation.
Display messages
Introduction
General notes
Display messages appear in the multifunction display.
Display messages with graphic displays may be shown in simplified form in the Operator's Manual
and may therefore differ from the multifunction display.
Please respond in accordance with the display messages and follow the additional notes in this
Operator's Manual.
Certain display messages are accompanied by an audible warning ton eoracontinuous tone.
When you stop and park the vehicle, please observe the notes on:
RHOLD function (Ypage 148)
RParkin g(Ypage 131)
Display messages177
On-boardc omputer and displays
Z
Page 180 of 298
Hiding display messages
XPress theaor% button on the steering wheel.
The multifunction display hidest he display message.
High-priority display messages are showninr ed in the multifunction display.Some high-priority
display messages cannot be hidden.
The multifunction display showst hese messages continuously until the causes for the messages
have been remedied.
Message memory
The on-board compute rsave scertain display messages in the messagememory.You can call up
the display messages:
XPress the =or; button on the steering wheeltos elect theServ.menu.
If there are display messages, the multifunction display shows 2Messages,for example.
XPress the 9or: button to select the entry, e.g. 2Messages.
XPress ato confirm.
XPress the 9or: button to scroll through the display messages.
When the ignitio nisswitched off, all display messages are deleted, apart from some high-priority
display messages. Once the causes of the high-priority display messages have been rectified, the
corresponding display messages are als odeleted.
178Display messages
On-board computer and displays